Michelle Ling
cs194-26-abk
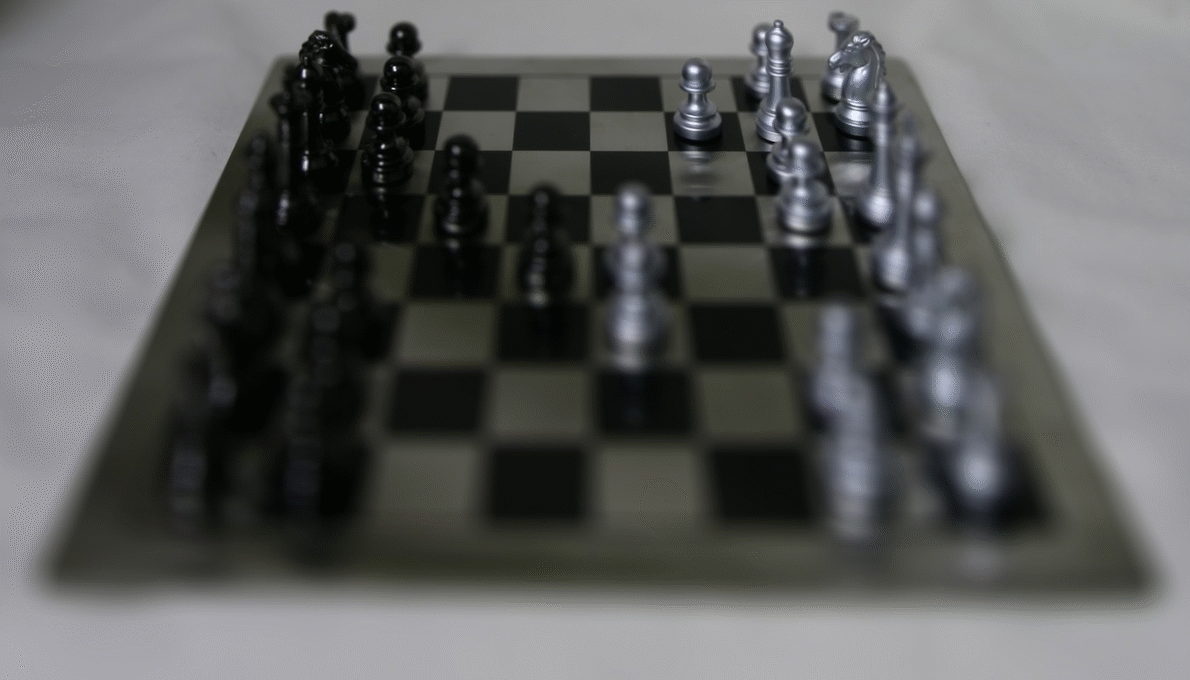
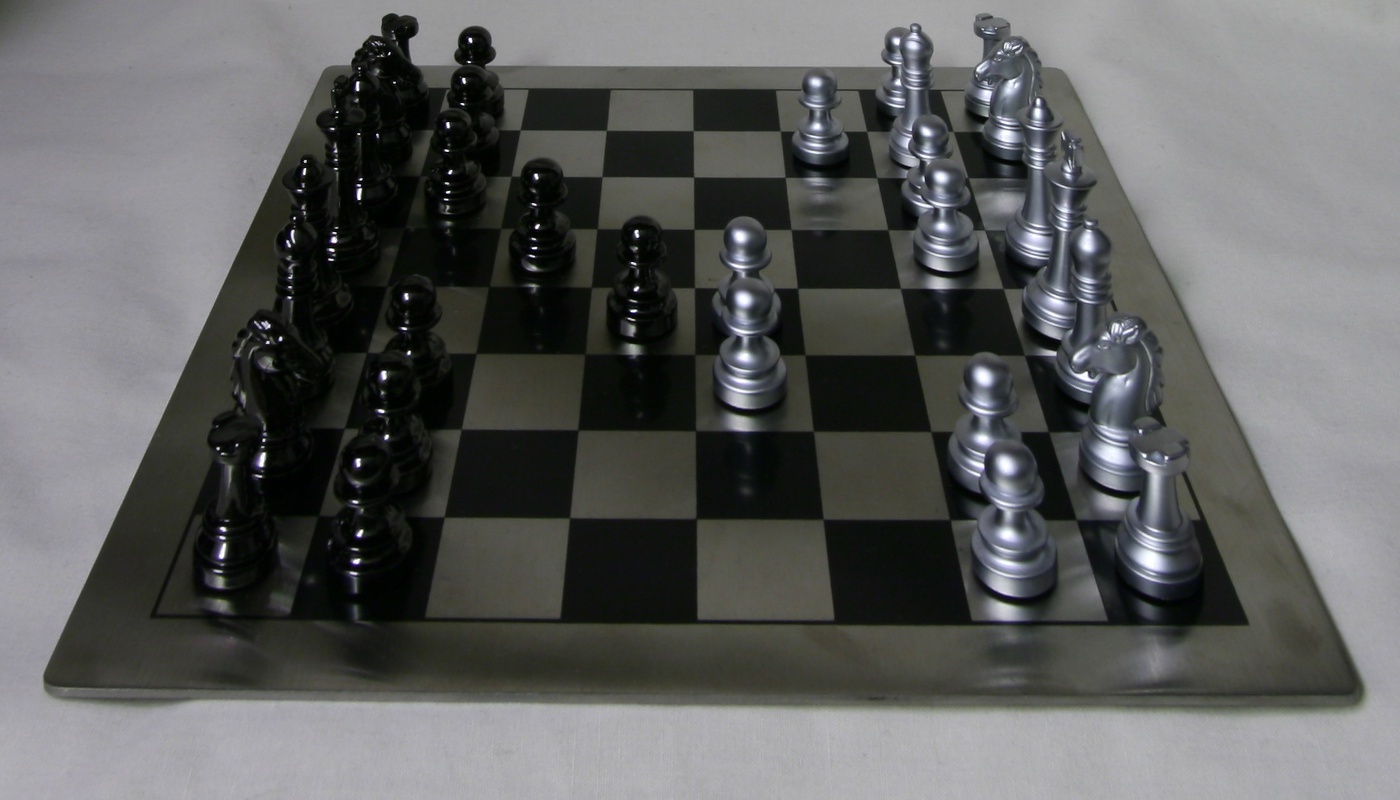
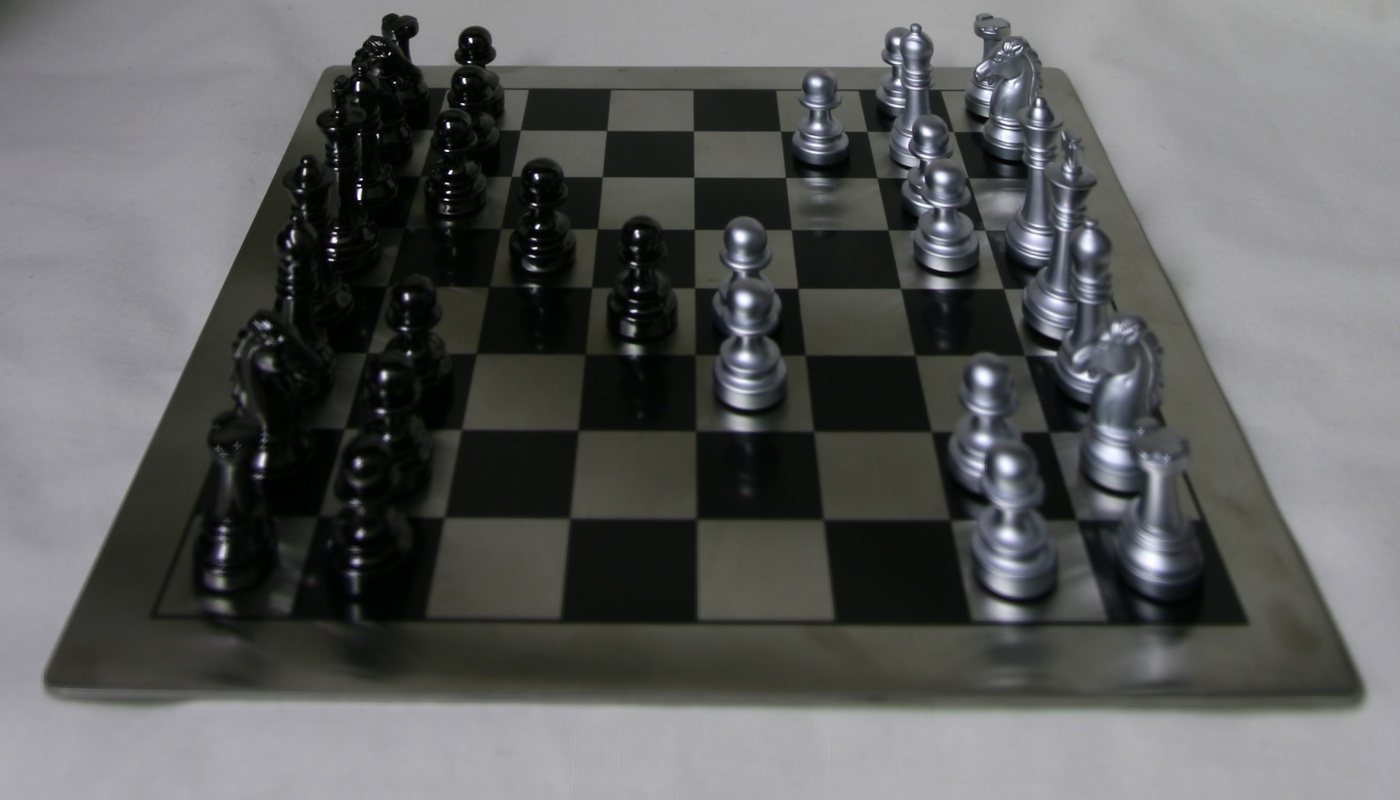
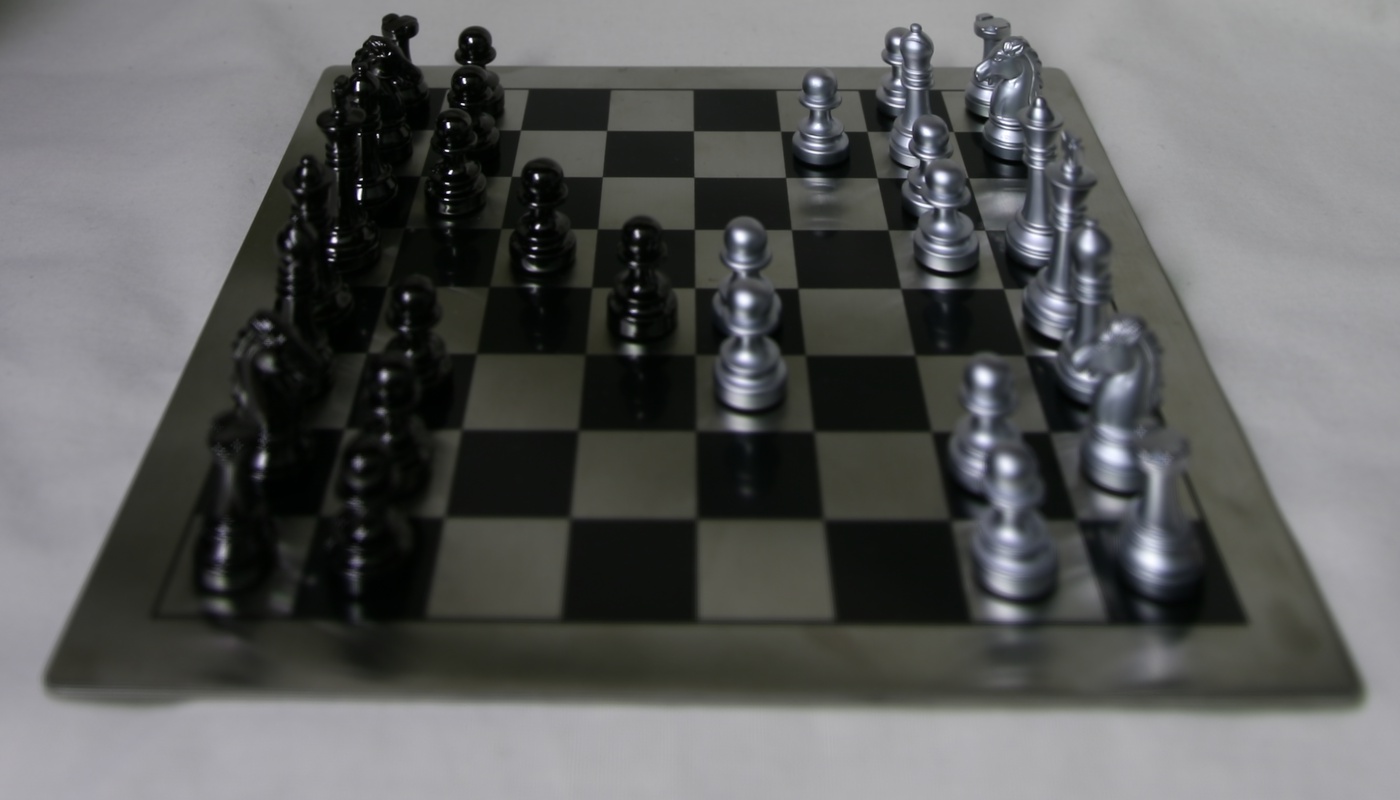
In this project, we use light field data gathered in the Stanford Light Field Archive in order to achieve depth refocusing and aperture adjustment. The light field data consists of using multiple images of the same object captured from multiple cameras along the same orthogonal plane to the optical axis. This allows us to create many different effects.
Part 1: Depth Refocusing
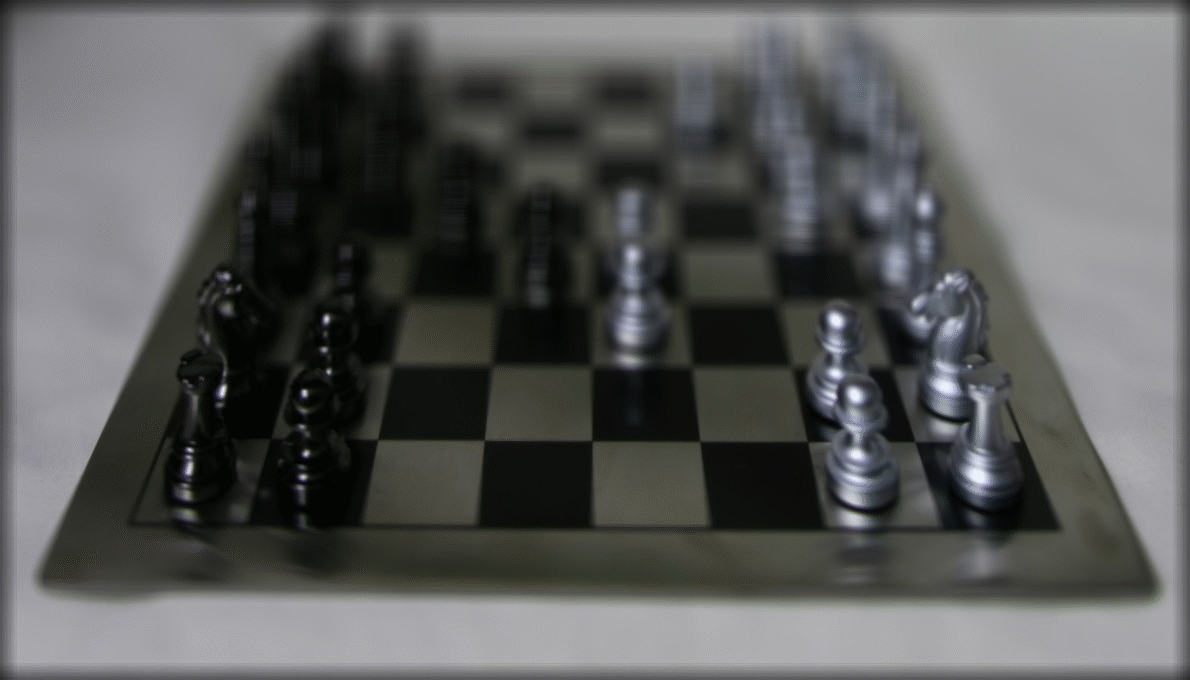
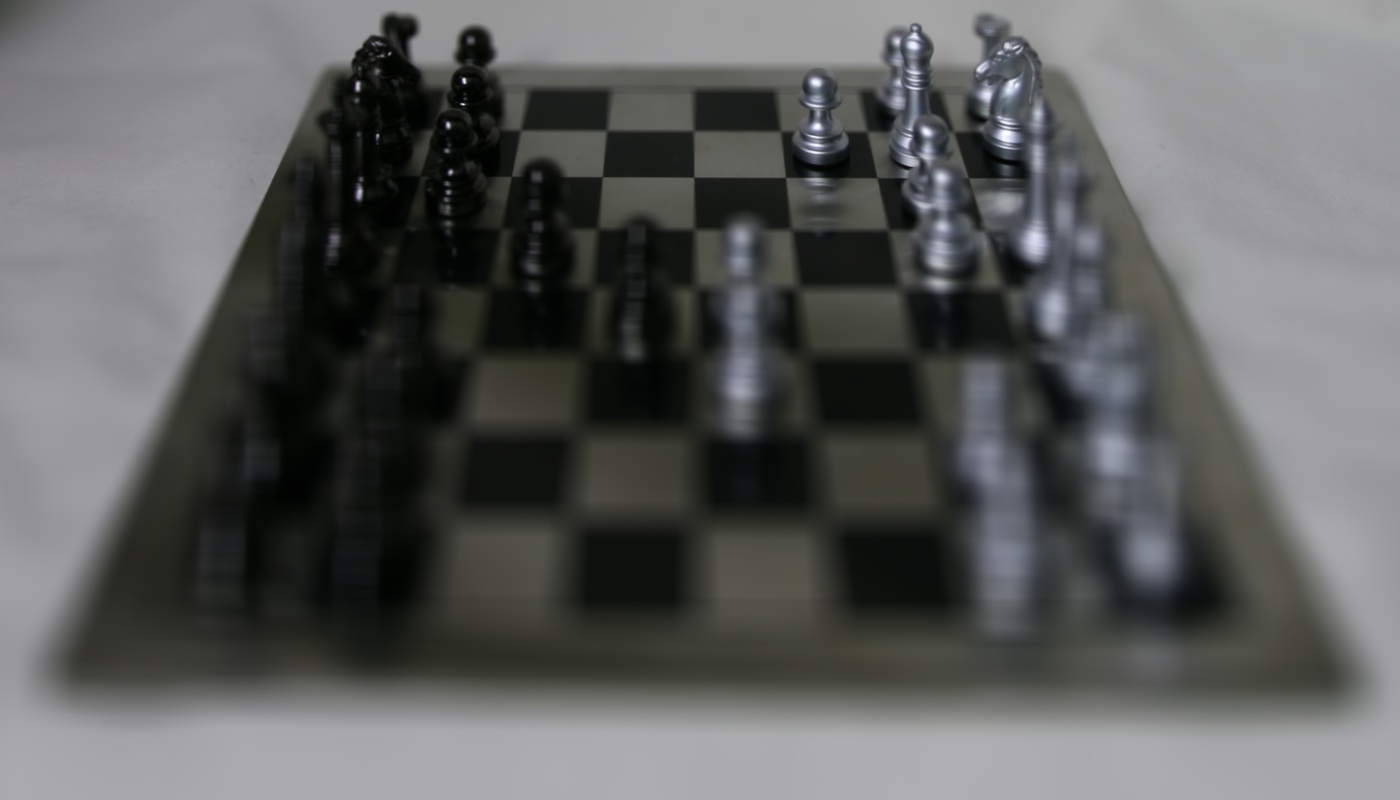
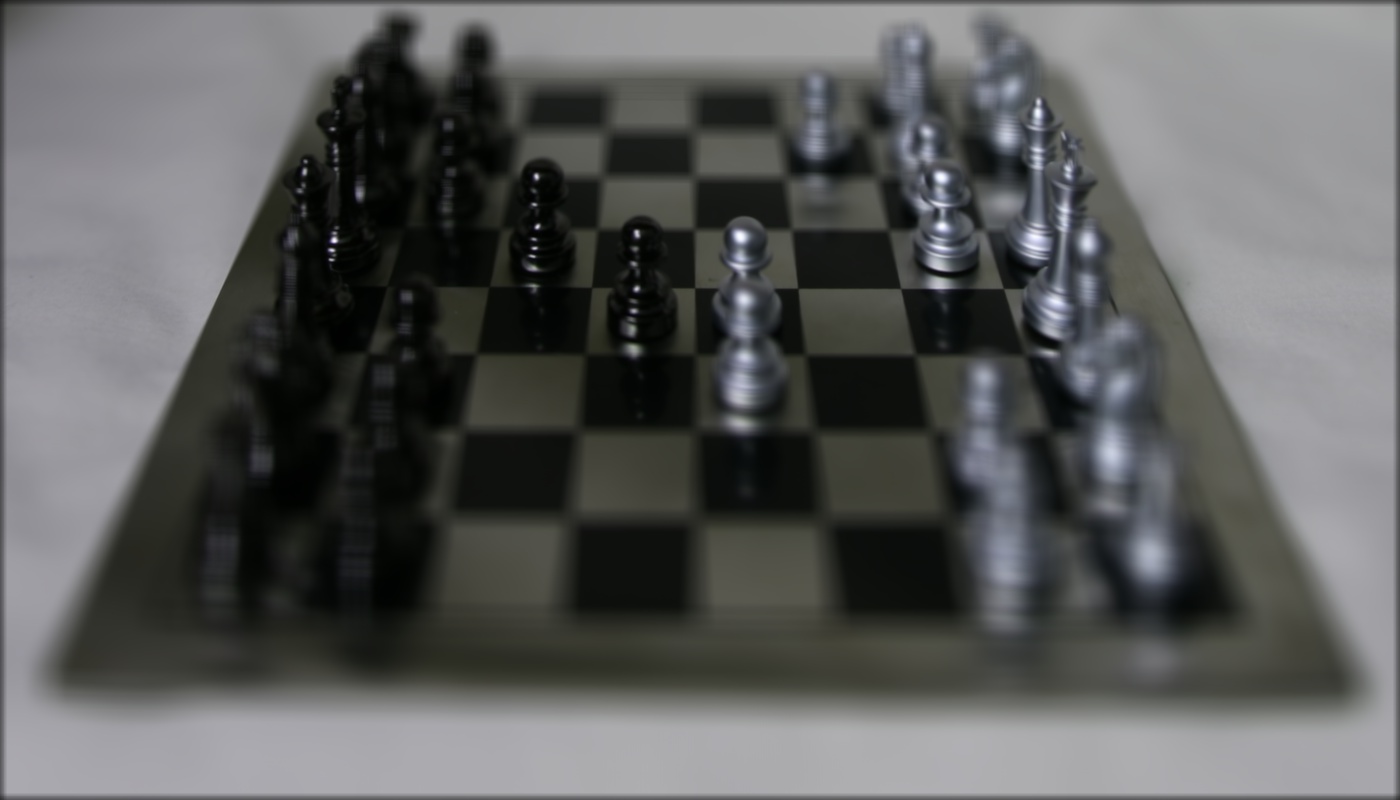
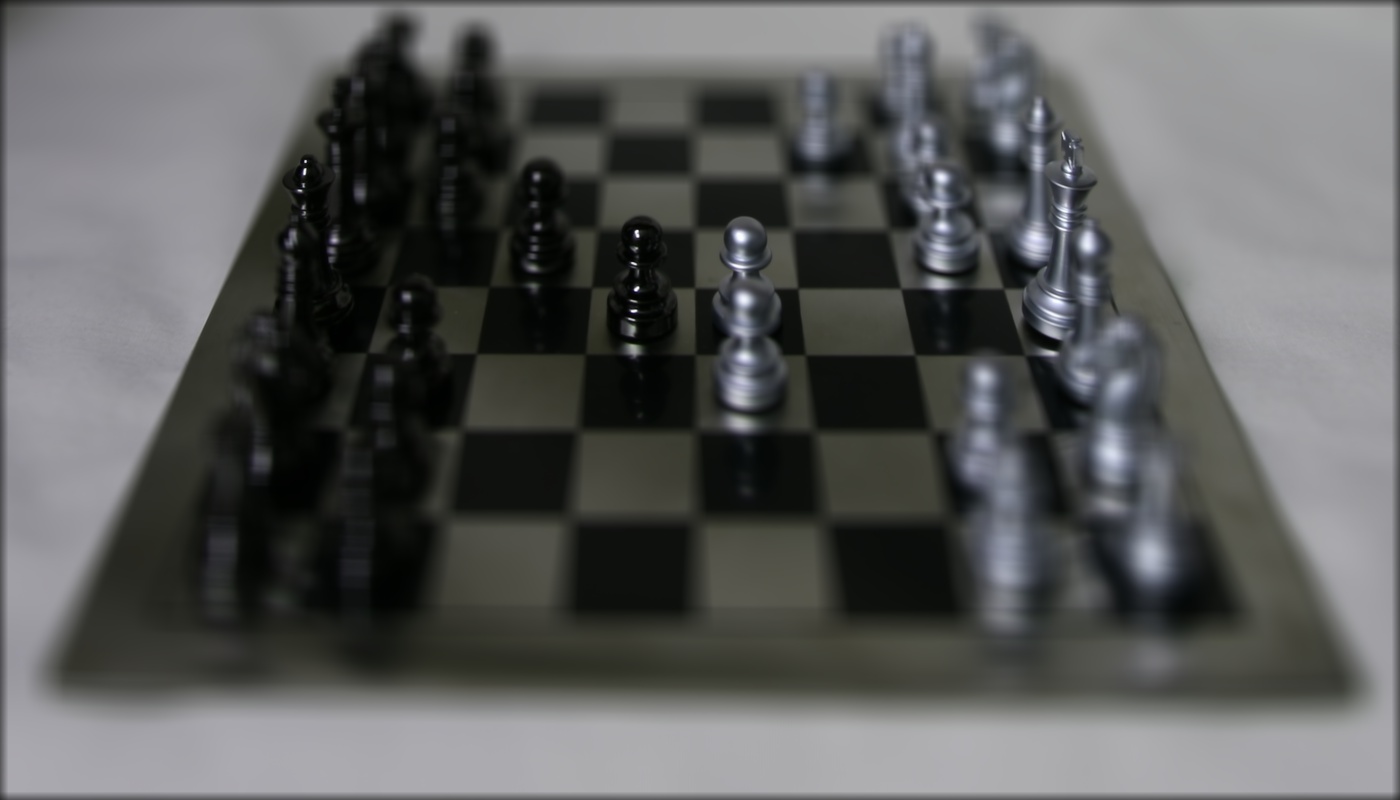
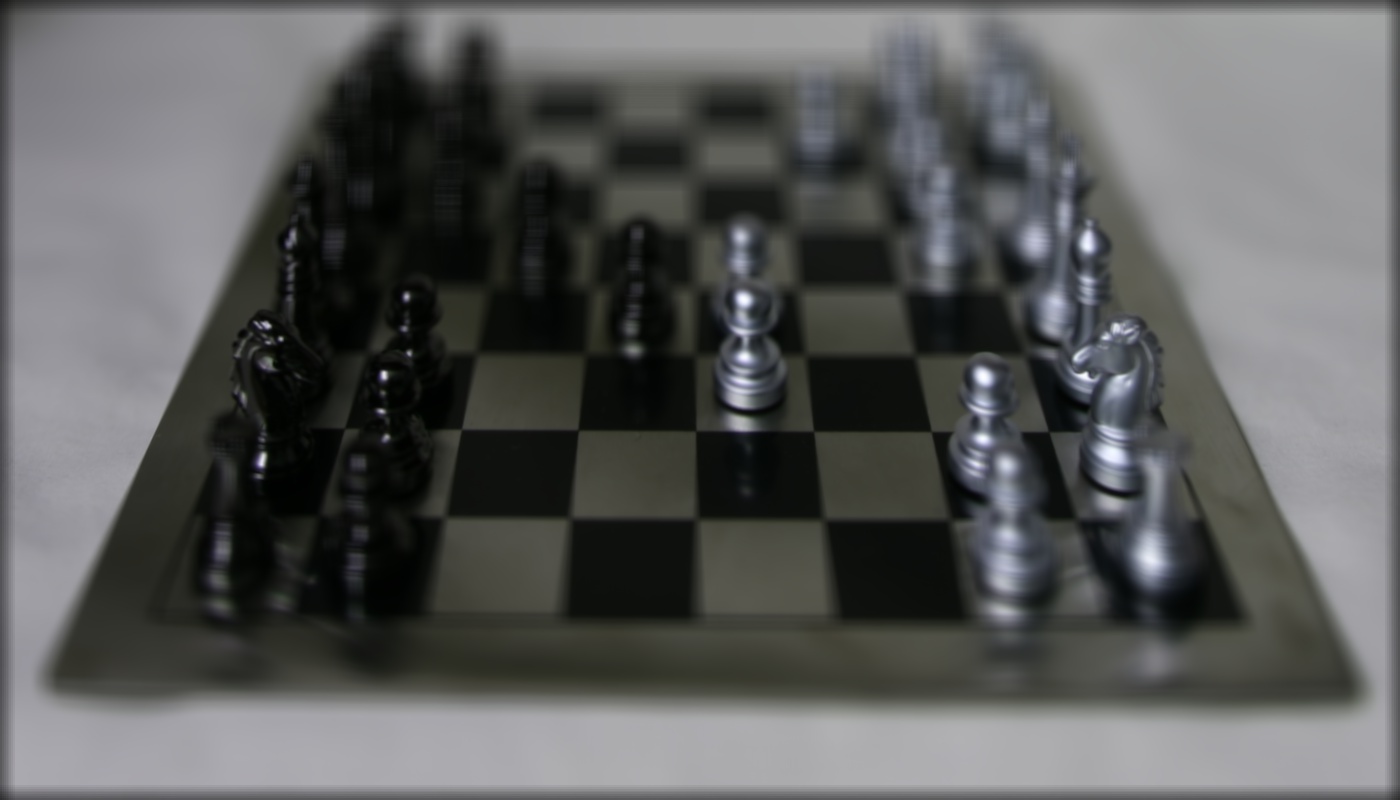
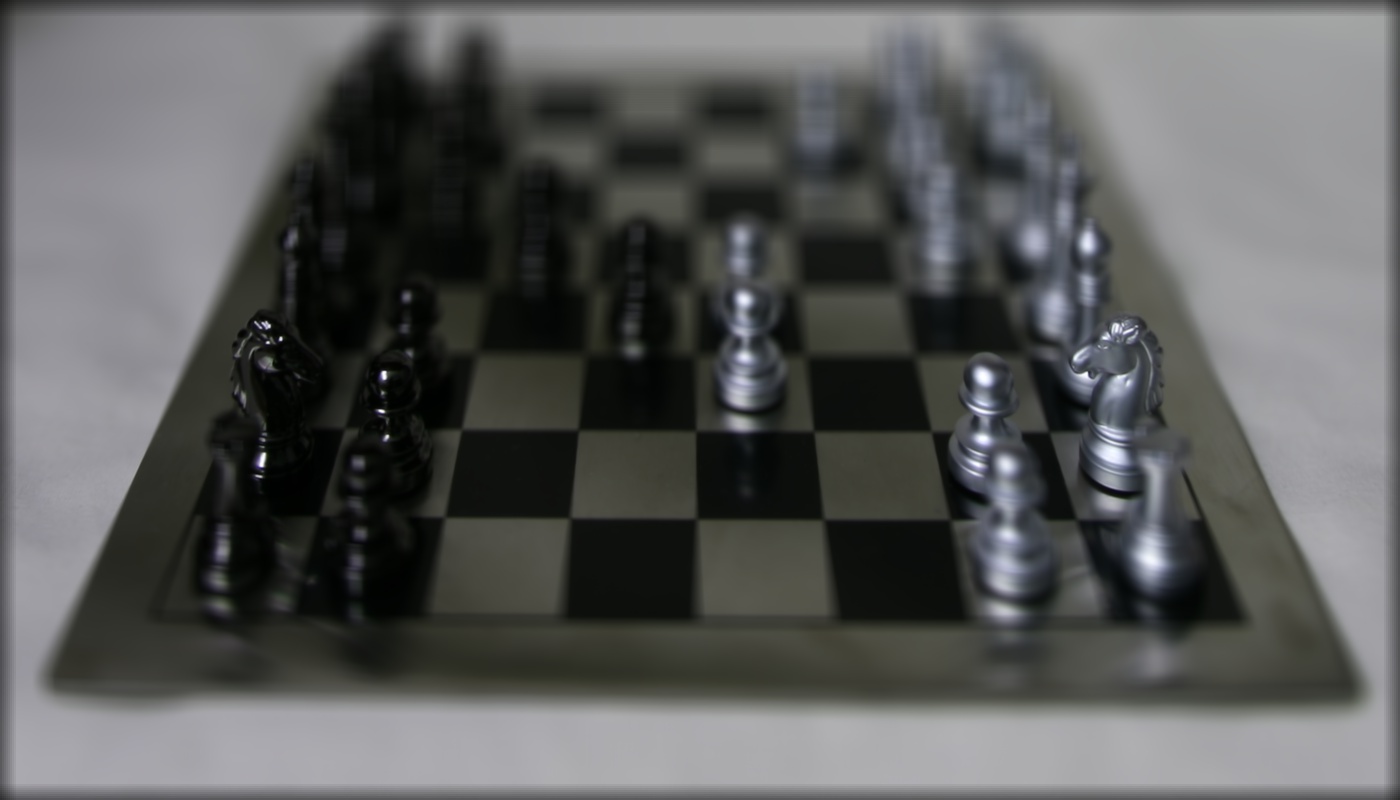
In photographs, not all objects are in focus in a single image. Oftentimes, some objects will have more detail and be sharper than other objects that will appear blurry. If one chooses to focus on objects that are closer, than the far away objects will end up looking blurrier. If one chooses to focus on far away objects, than the closer objects will look blurrier. Using the light field data, we can vary the depth at which we choose to bring into focus or focus on. In order to do this we first find the u, v coordinates from the difference between an image in the dataset and the reference image that we have chosen. Then we choose a constant c that we will use to scale this difference by. We will then shift the image by this c * u, c * v and incorporate this into an average of all of the shifted images. By varying the constant c, we can vary the depth at which we focus on. A larger c implies focusing on objects that are closer, whereas a smaller c will result in focus in objects that are farther away. I used a c range of 0 - 2.6 as this gave me the best range over the images.


Part 2: Aperture adjustment
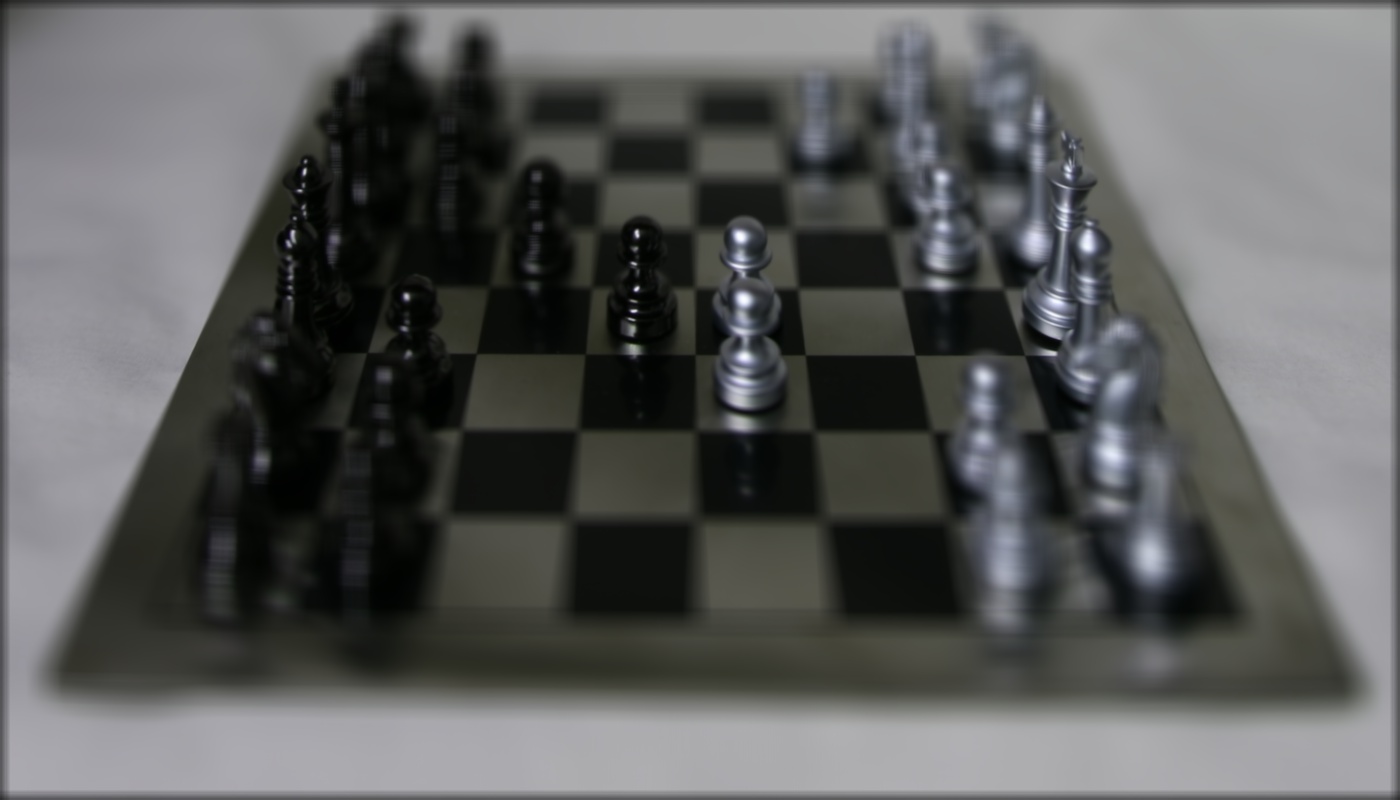
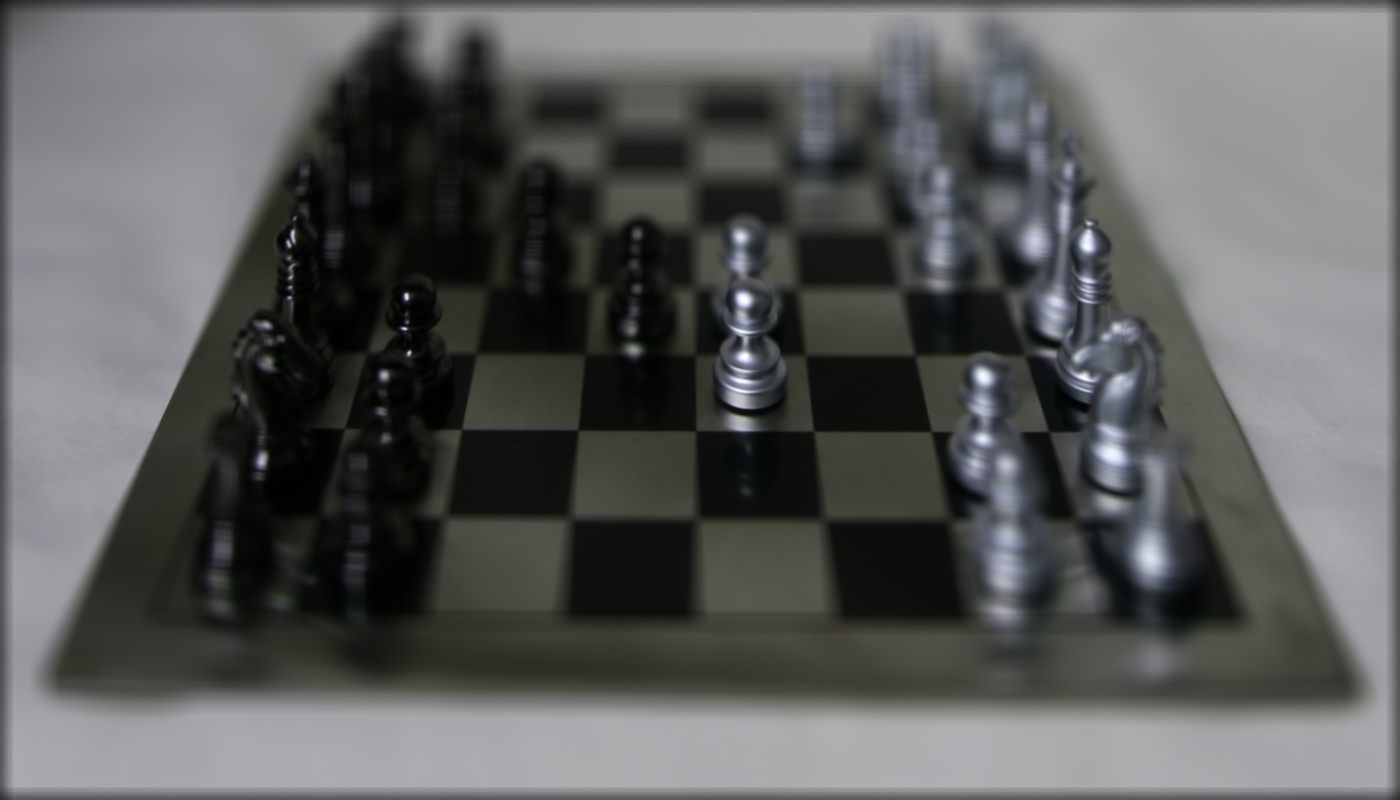
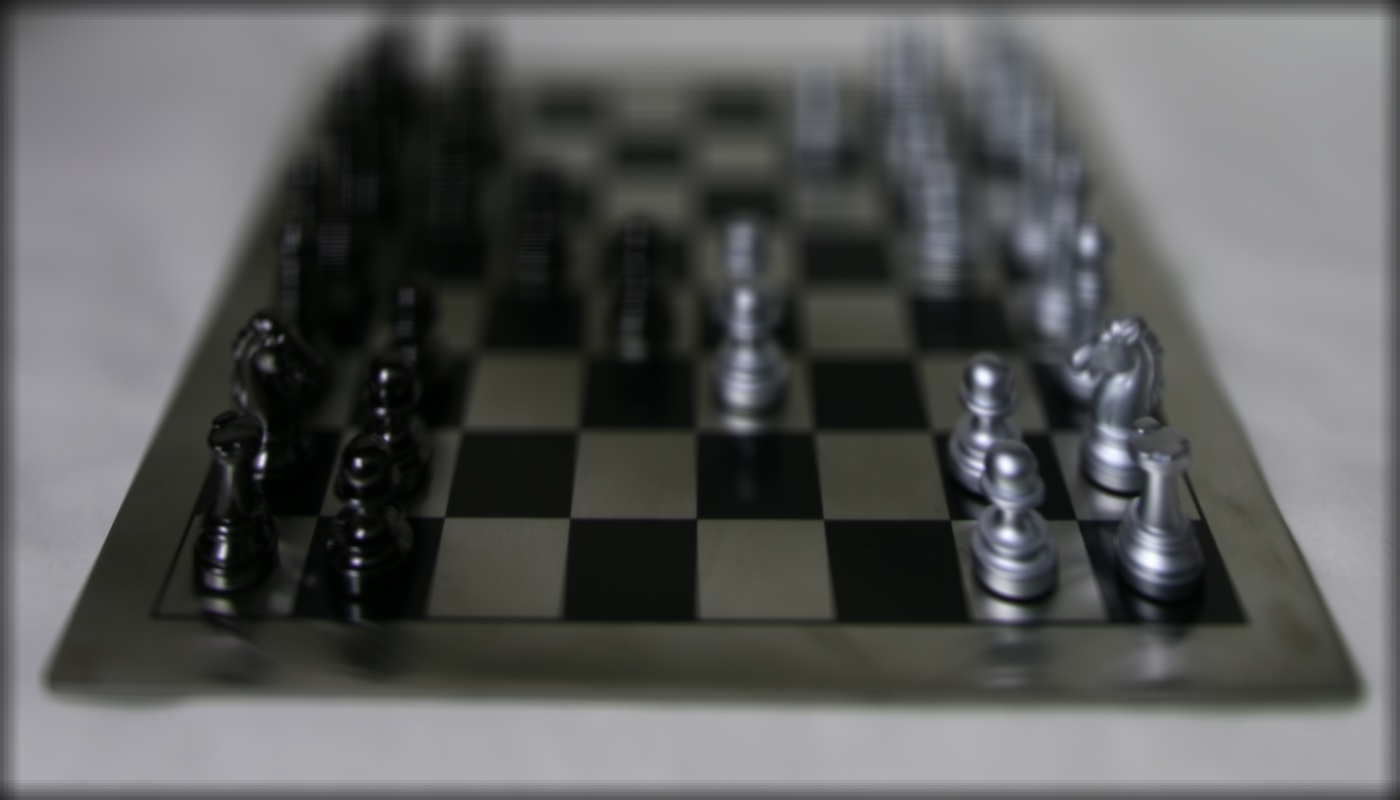
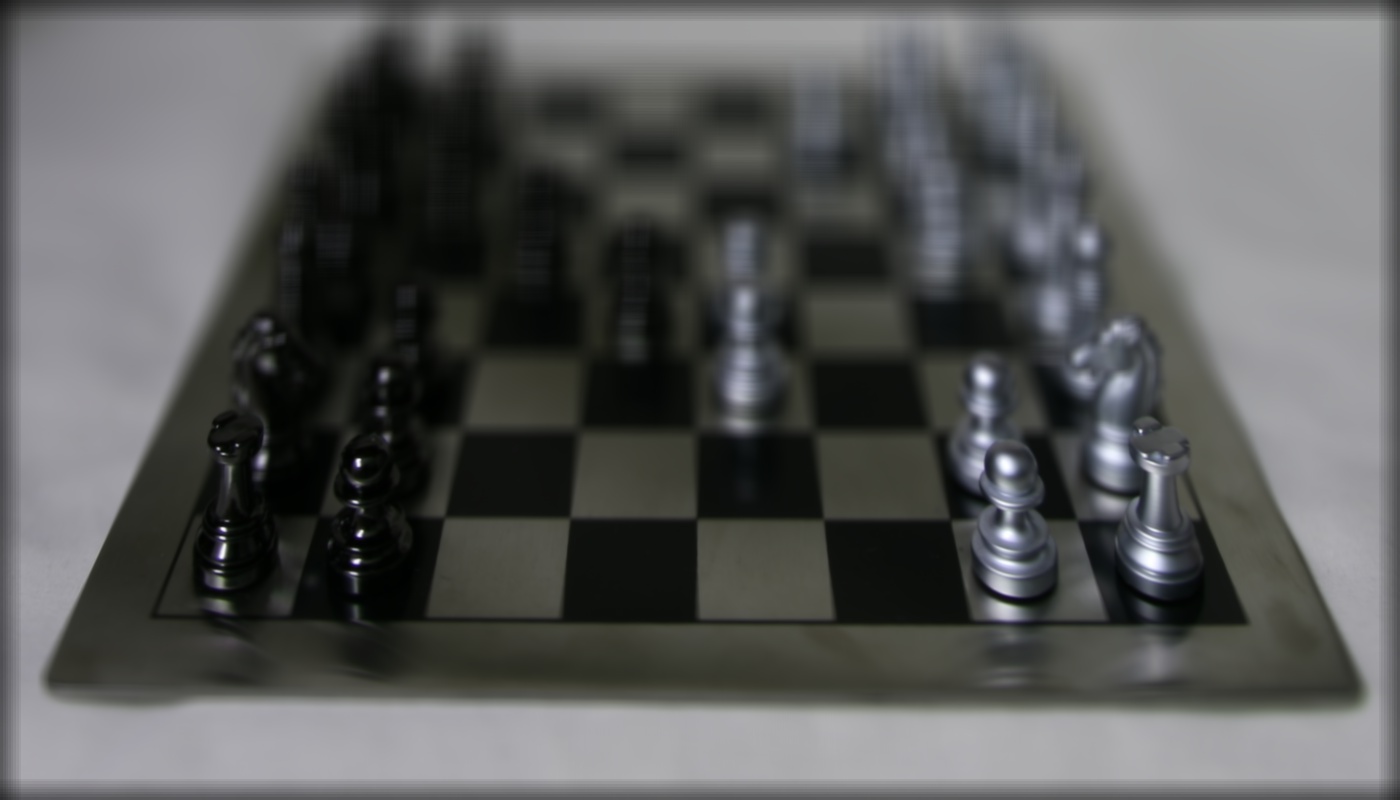
This portion of the project involved using the lightfield images in order to simulate aperture adjustment of a camera. We can do this by varying the number of images that are used in creating the average image. By setting a variable radius we can control the number of images that are averaged by stipulating that only images within this radius distance to the reference image coordinates will be averaged. A larger radius indicates that more images will be averaged in thus simulating a larger aperture. This in turn results in a blurrier image as more images are taken into account. I used a range of radii from 0 - 8.


Summary
Overall I found this project to be very interesting. It taught me a lot about different camera features and I also learned a lot about light fields and how easy it was to do some simple algebra and modify the way images appeared. Light fields can be manipulated in order to change other aspects of a photograph - some subtleties that I didn't really notice before.