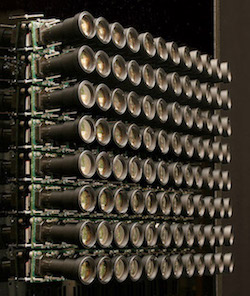
An example of a 12 x 12 camera array that replicates the effects of a light field camera, developed by Stanford
CS196-24 FA18 // David Xiong (cs194-26-abr)
A lightfield is a vector function that describes the plenoptic function - a function describing amount of light flowing in every direction through every point in a given space. Lightfield cameras, also called plenoptic cameras, are specialized cameras that capture these lightfields (or more generally, information about the light rays in a given scene), rather than just light intensity as regular cameras do.
The goal of this project was to reproduce the depth and aperture refocusing capabilities of lightfield cameras. As Ren Ng (professor at Berkeley, and founder of Lytro) demonstrates in his paper, we can achieve these effects fairly effortlessly if we capture multiple images over a plane orthogonal to the optical axis.
An example of a 12 x 12 camera array that replicates the effects of a light field camera, developed by Stanford
For the purposes of this project, we used images from the Stanford Light Field Archive - specifically, the ones captured by Andrew Adams. These particular images were captured with a 17 x 17 camera array, and each image captured has a slightly different position and angle - this allows us to recombine them with a series of shifts and averages to produce refocused photos.
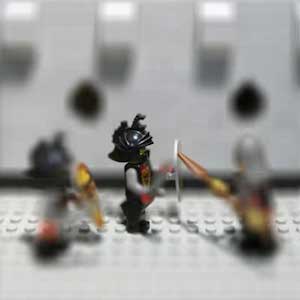
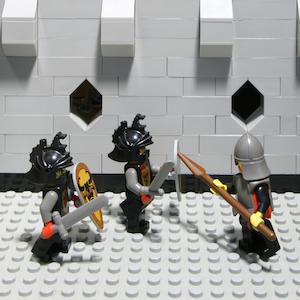
Here is a visualization of the images included in the knights image set to show how the angle of the picture changes based on the coordinates of the camera it was taken with.
 Click on image for higher-res version
Now that we have \( 17^2 = 286 \) images to use as an array of lightfield data, we can generate images that are focused at various depths. We achieve this using the following process:
Identify the center image: In this case, since we have a 17 x 17 array (with index starting at 0), our center image is the one located at coordinates \((8, 8)\).
Select an depth value (called alpha): The smaller alpha is, the more forwards the focus will be. I've found the optimal alpha range for images in this set to be mostly between -3 and +3.
Compute the displacement vector \((d_x, d_y)\) from the center for each image: These displacements are just the distance of the image from the center, scaled by alpha. Or, in other words: \(d_x = \alpha (x - x_{center})\) and \(d_y = \alpha (y - y_{center})\) (where \((x,y)\) is the coordinates of the image)
Shift each image by its displacement vector: Ideally, we'd use scipy.ndimage.shift with mode reflect to cut down on noticable artifacting near the edges. However, for the purporses of this project, I used np.roll to cut down on computation time. It's not the best solution as the artifacting becomes very obvious as \(|(d_x, d_y)|\) gets large, but it cut my computation time for each image almost by half.
Average together all shifted images: By averaging across all 289 images, we can generate an image that will be focused at our specified depth and blurry at the others.
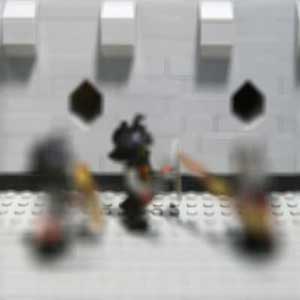
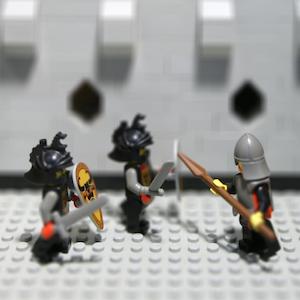
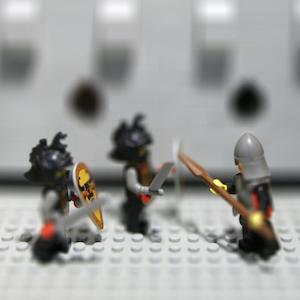
Here are the resulting images for the knights set, processed at three different alpha values. Notice the focus slowly shifting towards the wall in the back - the textured floor does a great job of highlighting this.
| alpha = 0 | alpha = 2 | alpha = 4 |
|---|---|---|
 |
 |
 |
And here is a gif demonstrating this effect. It includes alpha values from -2 to 6 in increments of 0.25:

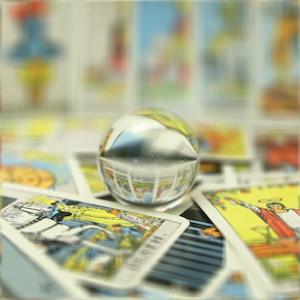
Here's another example, the tarot image set calculated with alpha values from -3.5 to 4 in increments of 0.25:
| alpha = -1 | alpha = 0.5 | alpha = 2 |
|---|---|---|
 |
 |
 |

As an additional bells and whistles
challenge, I created my own set of 5 x 5 = 25 images using frames from a video I took. Here are the results of a limited version of the refocusing process using alpha values from -2 to 2 in increments of 0.25:
| alpha = -2 | alpha = 0 | alpha = 2 |
|---|---|---|
 |
 |
 |

As we can see, the effect is much more subtle - likely attributable to the fact that I only captured a 5 x 5 array and that the images were not captured equidistant from each other (due to my shaky hands).
Using a similar idea of averaging images together, we can simulate taking a picture with different apertures. Each image in a set is taken at a slightly different angle than adjacent ones, meaning that more images simulate more light rays coming through.
On a camera, the size of the aperture determines how much light is captured. If we average together fewer images (i.e. ones within a specified radius of the center image), we can achieve a less blurry result (by capturing fewer light rays) and thus simulate a smaller aperture.
Here's the effect demonstrated on radii from 0 through 7 for the knights image set:
| radius = 0 | radius = 3 | radius = 6 |
|---|---|---|
 |
 |
 |

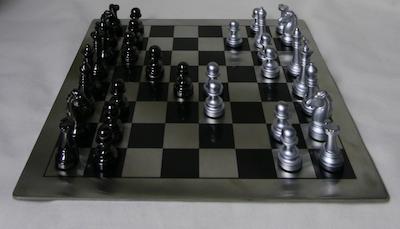
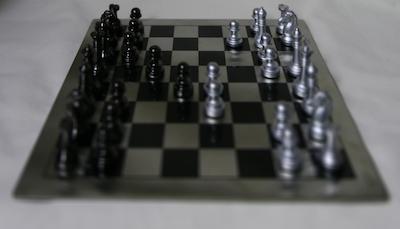
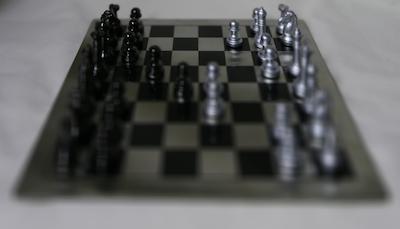
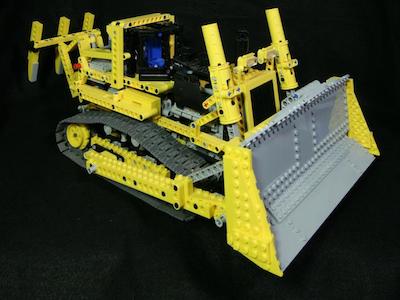
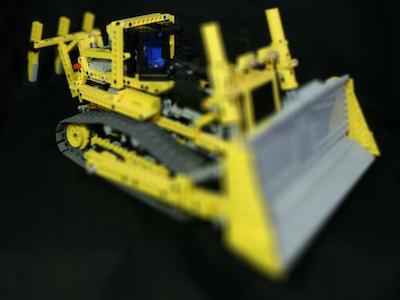
Here are two more examples of aperture adjustment, this time on the chess and bulldozer image sets:
| radius = 0 | radius = 3 | radius = 6 |
|---|---|---|
 |
 |
 |

| radius = 0 | radius = 3 | radius = 6 |
|---|---|---|
 |
 |
 |

This project was great fun, and I learned a lot about the theory behind lightfield cameras! We can use lightfield images to provide angular resolution and to simulate light rays, which we can in turn use to make post-processing effects such as focus or aperture adjustment.
Although carrying around a 17 x 17 camera rig may not be the particularly practical, we can still see the idea behind lightfield imaging at work in dual-lens smartphone cameras and the fake bokeh effects they create. That being said though - perhaps one day we'll all be carrying around tiny lightfield camera-imitating arrays in our pockets? ;)
Writeup by David Xiong, for CS194-26 FA18 Image Manipulation and Computational Photography