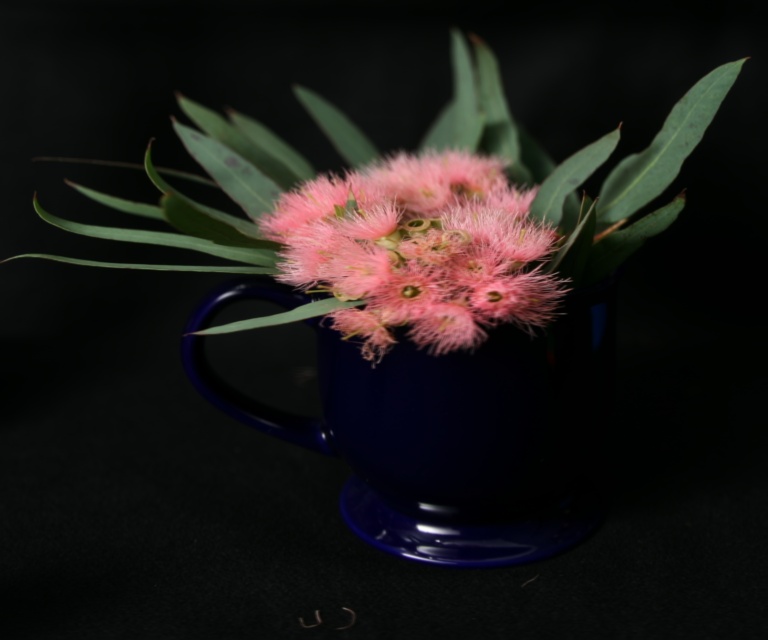
f0.53 with aperture 0.5
CS 194 Project 5

Lightfield Camera: Depth Refocusing and Aperture Adjustment with Light Field Data
By Stephanie Claudino Daffara
Lightfield Camera's allow the photographer to later decide where to focus their shot, or simulate movement with the camera creating a sort of 3D effect. In this project I played around with Stanford's lightfield camera database and refocusing the image, and also simulating a change in aperture.
Depth Refocusing
Lightfield cameras are especially cool because they allow you to refocus an image at a certain depth. This can be done by shifting images towards a center point so that you align corresponding parts of the image. The center point can be any point in the image that you would like to "focus" on.
I initially computed this using scipy.ndimage.shift but realized that it took way too long to compute the refocused image. I then tried shifting my images using numpy.roll, which worked much faster, but had less quality in the result. This is due to the fact that numpy.roll simply shifts over integer values while scipy.ndimage.shift actually interpolates over float values, giving sharper and more focused results. I ended up using a third option, scipy.interpolate.RectBivariateSpline, because it worked faster and produced the same visual results as the other scipy function. Observe the following video loop:
roll creates a ghosted image, while the shift properly interpolates and
gives sharper results.
Here is the result using the scipy.interpolate.RectBivariateSpline function which interpolates the values of the corresponding pixels in each image, instead of shifting. I set my focus parameter's max and min to 60 and -60, and created the following video shifting between those two values:
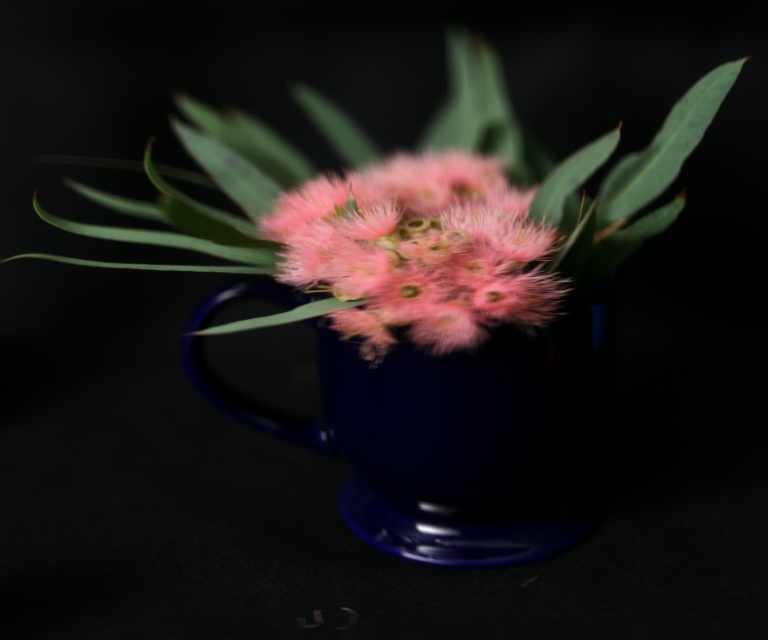
Aperture Adjustment
By keeping my focus variable static and moving only my radius variable, I determined
what size radius around my center of focus I wanted to include in my final image result. This way we create
a smaller and wider aperture. The following video demonstrates my results:
Summary
I learned how a lightfield image is setup, and how to access each camera's perspective by shifting over the images and aligning your chosen camera's center. I also found it interesting, although not a surprise that you get basically a pinhole image when you set your aperture to 0.1, and therefore can view what point of view each camera in the lightfield has, without the blur effect.
Here are some other stills from the project:
In case the videos above do not play in your browser, here they are in gif format (less quality):
❤