CS 194-26 Project 4: Lightfield Camera
Name: Andrew Oeung
Instructional Account: cs194-26-adz
Objective:
This project focuses on using lightfields to simulate depth refocusing and aperture adjustment. A light field is the amount of light flowing in at every point in space from every direction. The plenoptic function generates all possible light rays. By using a lightfield camera we will capture a larger subset of the plenoptic function through post-processing. I will accomplish this using a dataset of images taken from a two-dimensional, 17x17 grid of cameras on an image (a chess board in this case). A combination of shifting and averaging will change the depth of focus for an image, and averaging a subset of images will simulate images with different apertures.
Depth Refocusing:
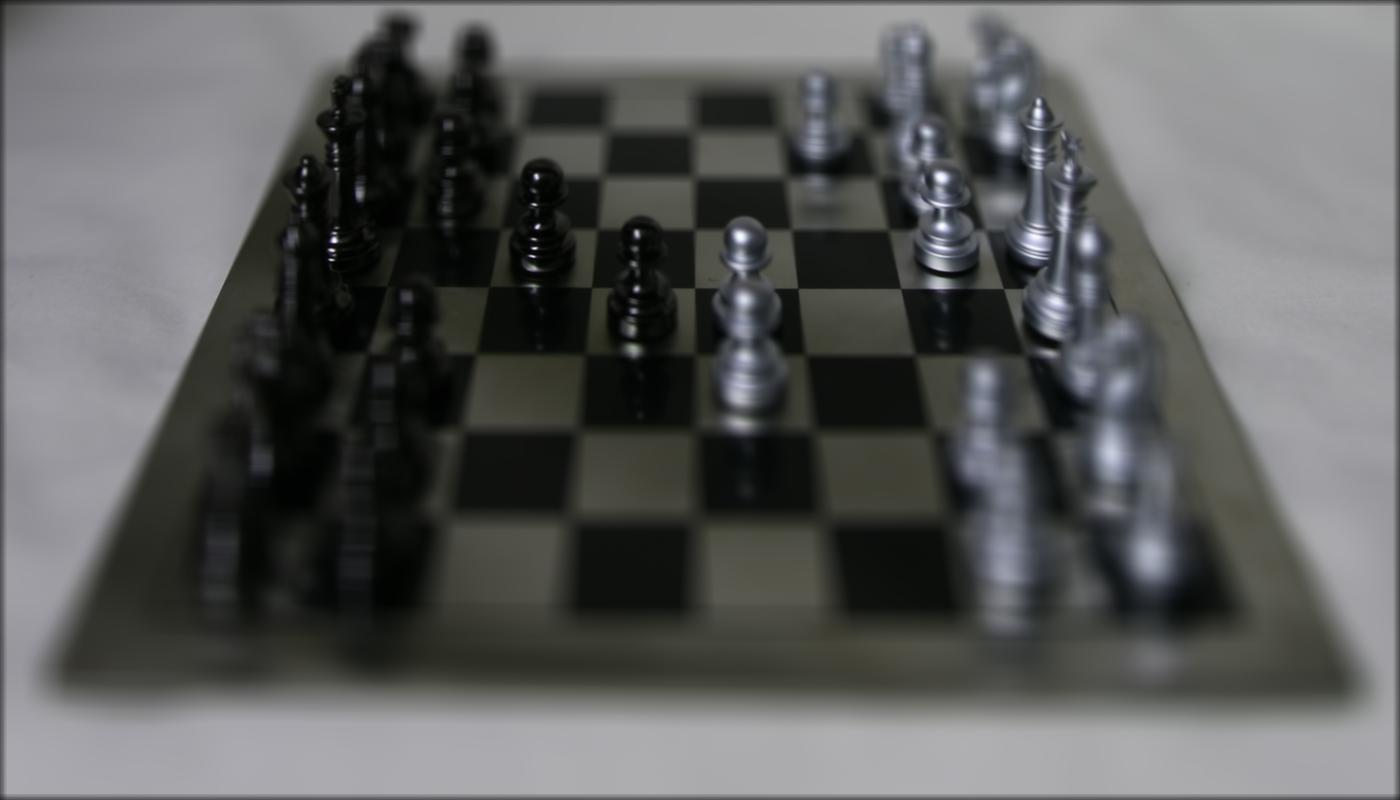
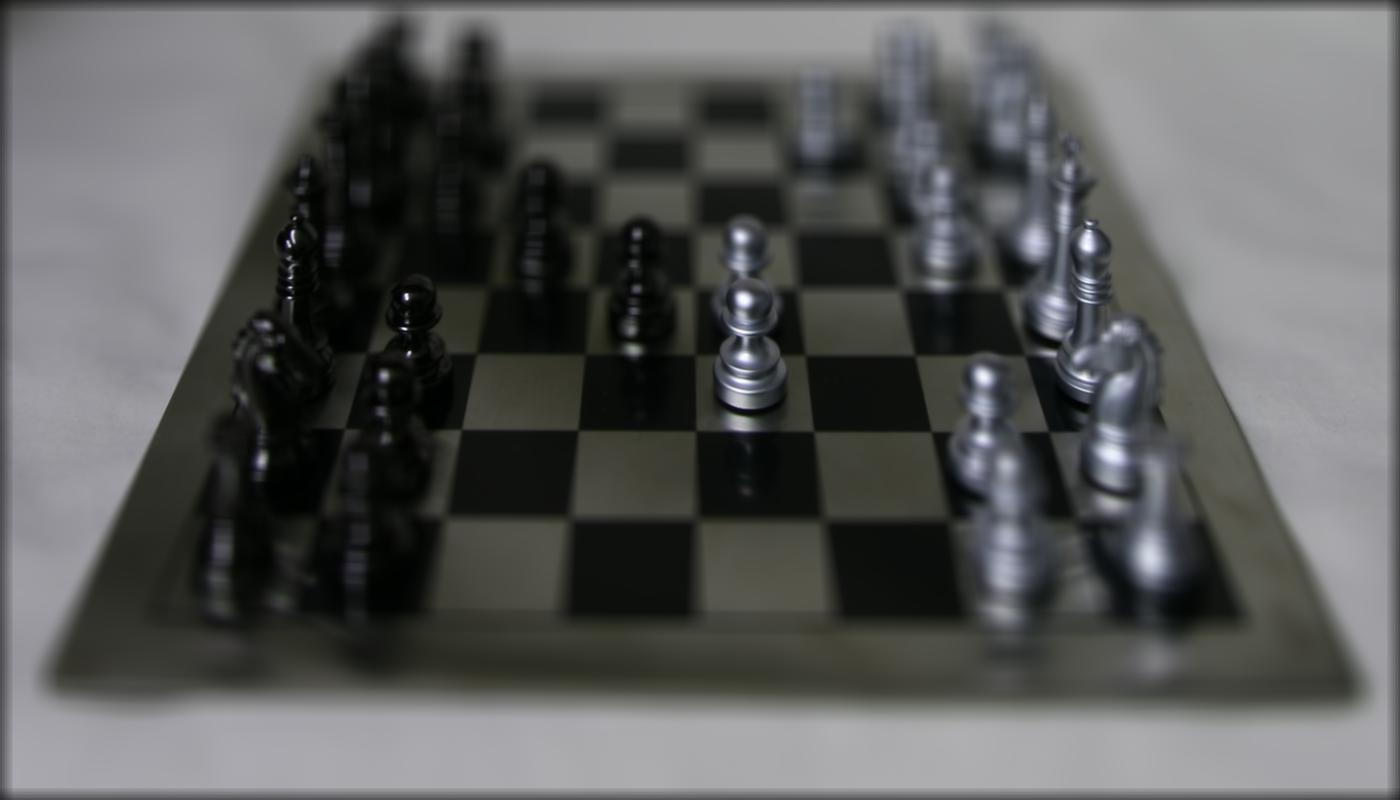
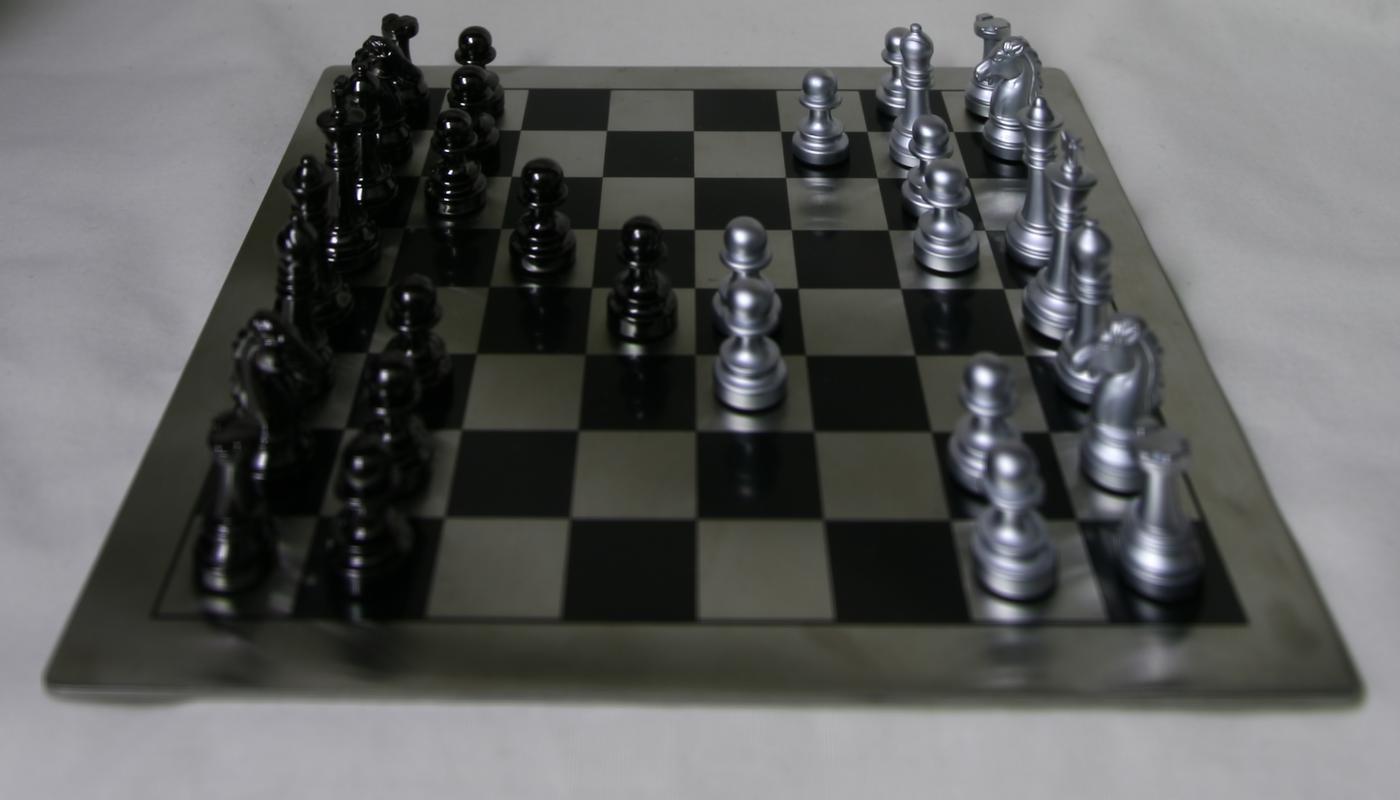
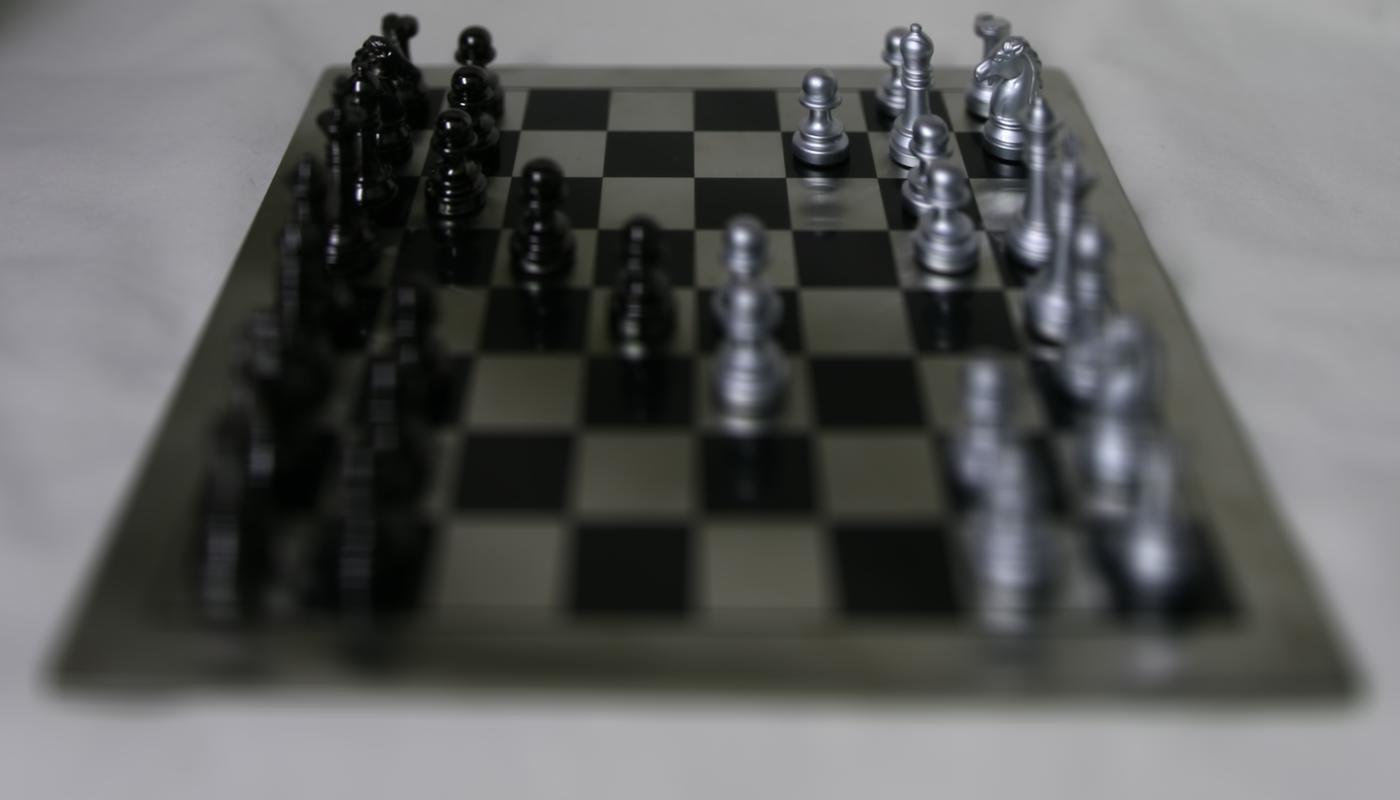
We can focus different subjects in an image by shifting images around and averaging them. If the images are unshifted and averaged, far away subjects will remain in focus because a far away object will not move very much with varying camera position, while a nearby object will move much more. By shifting images and averaging them, we can simulate depth refocusing. We take the (x, y) location of the center image (designated as (8, 8) in camera coordinates) and calculate the difference between the (x, y) location of image i and the camera array's center, then average. We can create images that focus on different depths by scaling the difference by a multiplicative factor (denoted as alpha) before averaging.
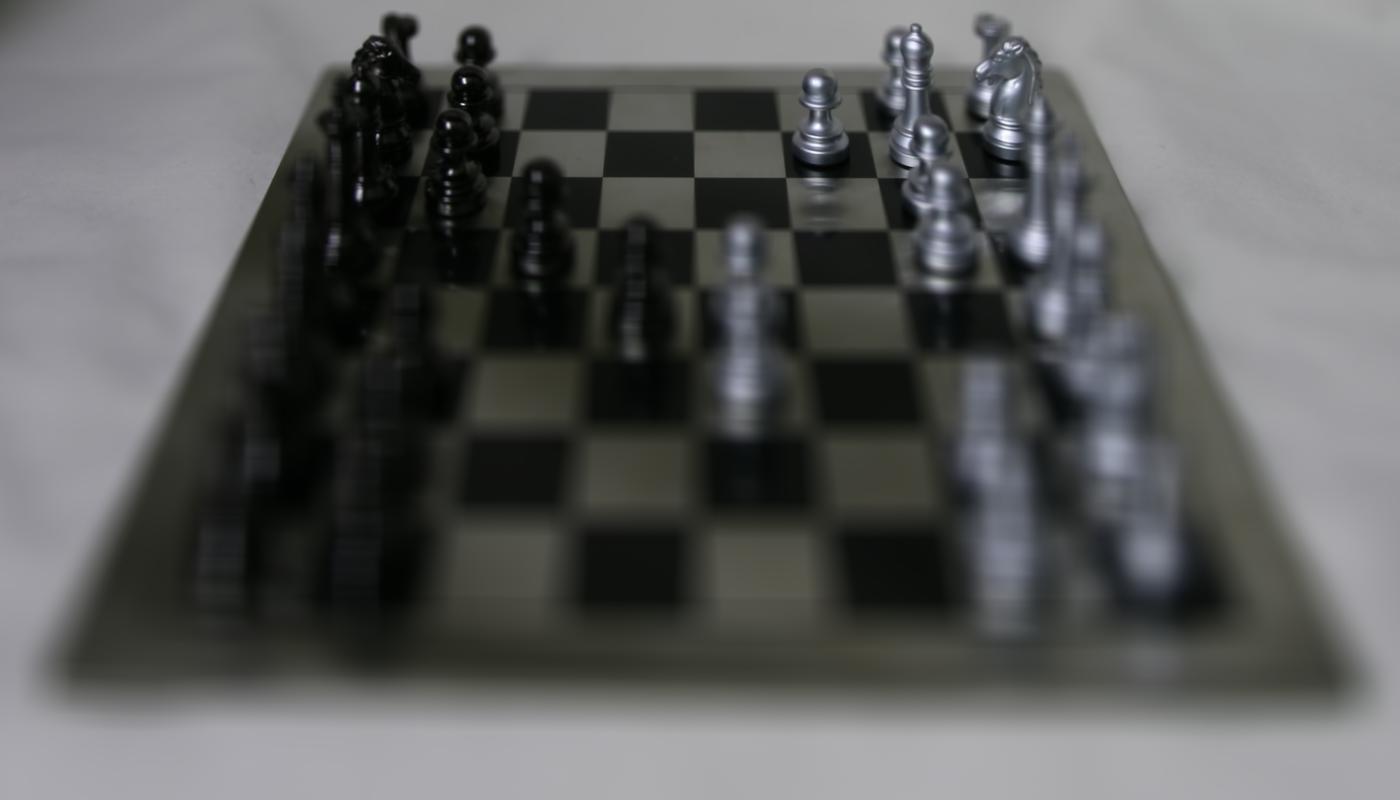
Averaged Image, No Shifting |
Shifted Image, Alpha = 0.15 |
Shifted Image, Alpha = 0.30 |

Shifted Image, Alpha = 0.45 |

Shifted Image, Alpha = 0.60 |

Animated GIF, Alpha Transition: 0.6 -> 0.45 -> 0.3 -> 0.15 -> 0 |
Aperture Adjustment:
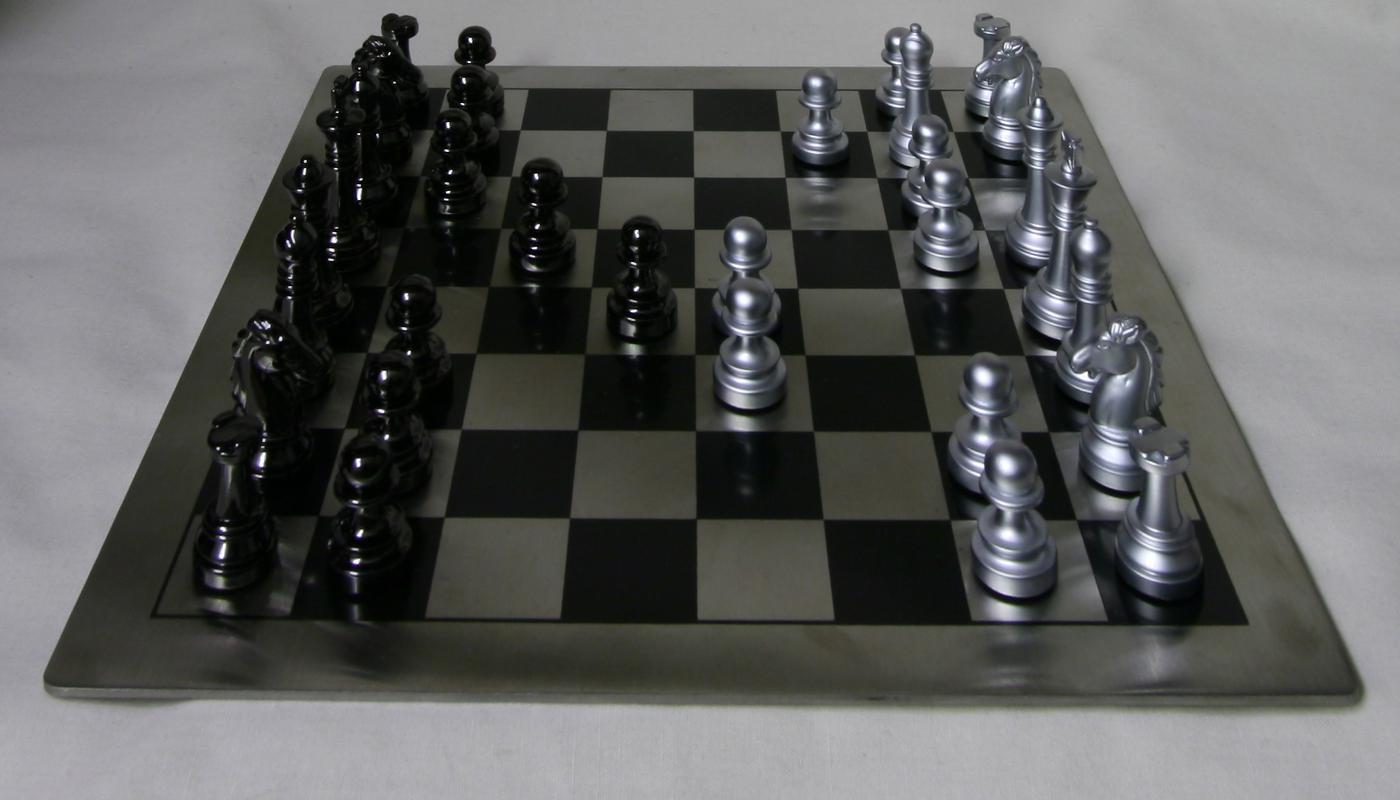
Aperture adjustment can be achieved by varying the camera opening for the images that we average on. This can be simulated by averaging only a subset of the dataset. I will take the center image to be my reference image, and average images if the absolute difference between xi and the center's x coordinate as well as yi and the center's y coordinate are less than the radius I choose. An image will not be considered if either of the differences between their (x, y) coordinates and the center's (x, y) coordinates is greater than the radius designated. Increasing the radius will increase the size of my subset that I average on. The smallest radius will consist of only the center image, and represents the smallest aperture, while the largest radius I use will average over several images, and represents a larger aperture.
Aperture Image, Radius = 0 |
Aperture Image, Radius = 1 |

Aperture Image, Radius = 3 |
Aperture Image, Radius = 5 |

Aperture Image, Radius = 7 |

Animated GIF, Radius Transition: 7 -> 5 -> 3 -> 1 -> 0 |
Summary/Reflection:
I thought this project was really cool-looking and made me reflect on how light fields properly work. It's quite powerful that we can process an image's depth of focus and aperture even after we take the image. I had no idea that was possible before doing this project. The power of big data truly enables us to perform a variety of techniques like editing, interpolating, depth refocusing, aperture adjustment, etc.