alpha = -0.1

alpha = 0.1
alpha = 0.5
To begin, I find the concept behind working with lightfield data very interesting. As an avid photographer, I've often struggled to capture how I see the world with my camera, and even with the sharpest images, there is still some depth lost due to the limitations of a 2D photograph. To try to re-capture this lost information, a plenoptic camera samples the 4D light field. Essentially, a microlens array captures the directional lighting distribution as it arrives at each microlens. As a result, with a single photographic exposure, we are able to capture the object from different viewpoints, and we can play around with these images to adjust aperture and depth focusing after the image has already been taken.
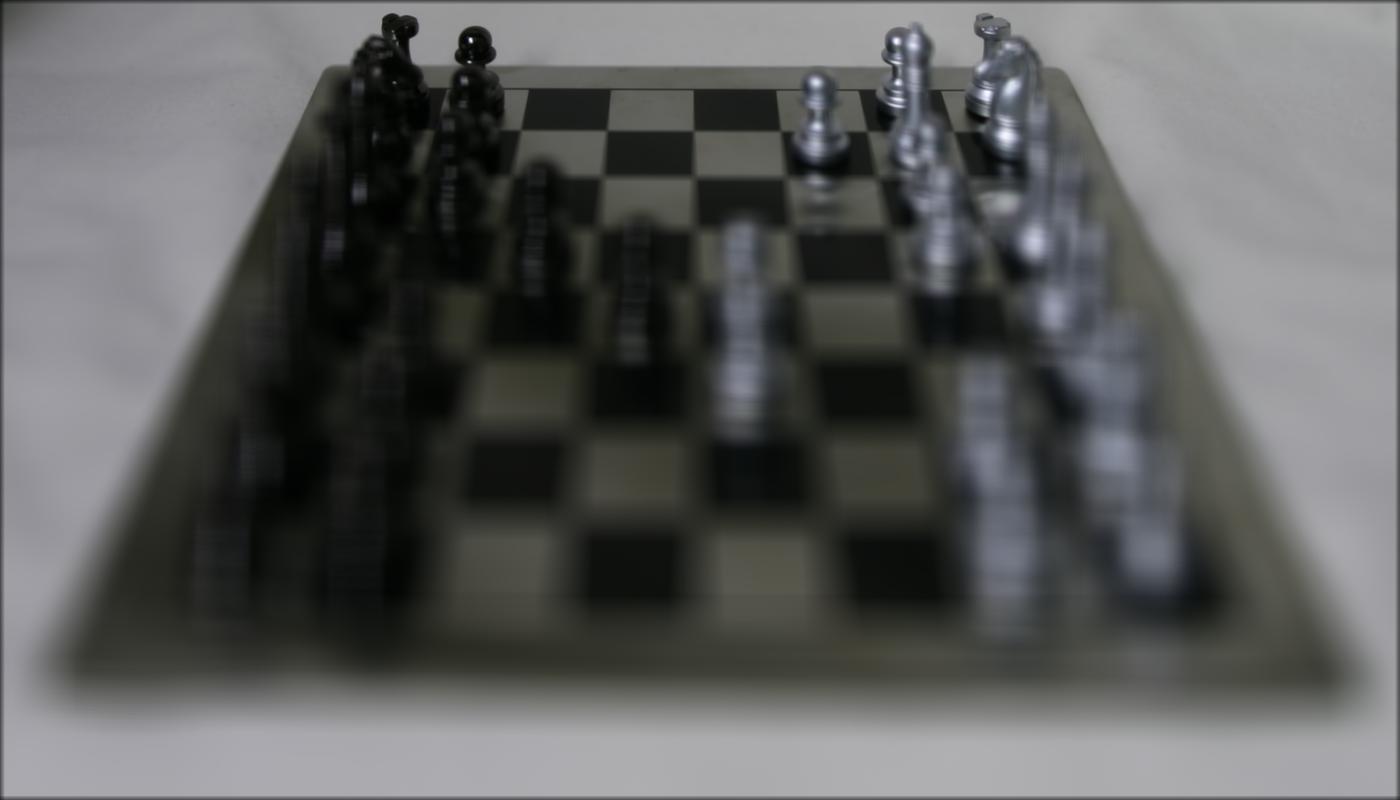
When none of the images are shifted, the further away objects are clearer while the closer ones are more blurry after the images
are all averaged. This is due to objects further away from the camera having less variance in position when the camera moves around.
To adjust the depth focus, we shift the image by some alpha multiplied by this distance of the camera away from the center.
Because objects at different depths appear at different places
of the image, by adusting the alpha values, we can make change which parts of the image are aligned, making it appear as if the image had
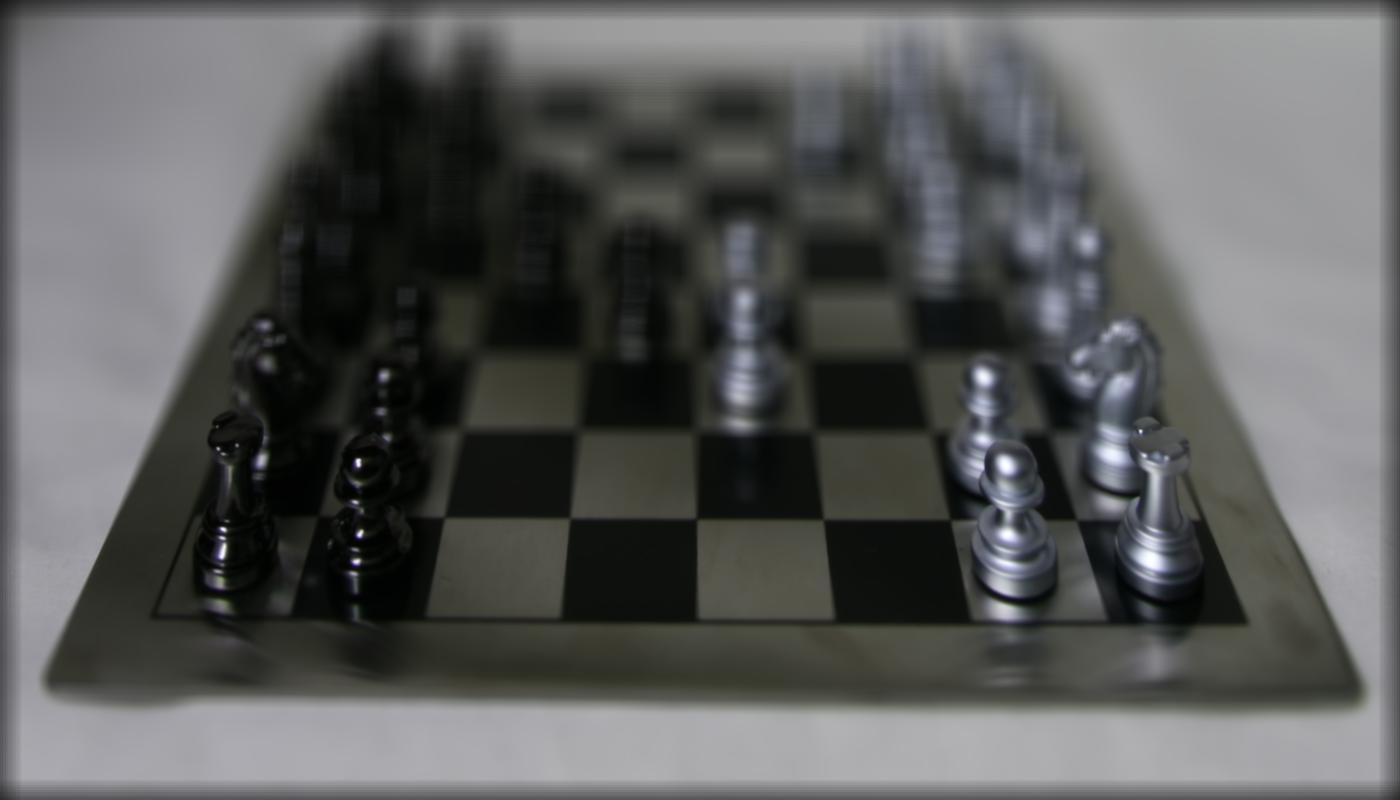
been taken with a focus on a different depth. As you can see below, the lower alpha values result in further object appearing more in focus,
while the higher values result in a nearer depth focus.
For the gif on the right, I used the same center point of (8, 8) but incremented the alpha value by 0.1 for each frame, starting at -0.1 and
ending at 0.5.
Adjusting the aperture for the image is quite similar to the depth refocusing procedure described above. The main difference is that instead of averaging all the images, we only choose to average images whose distance from the center are within a certain radius.


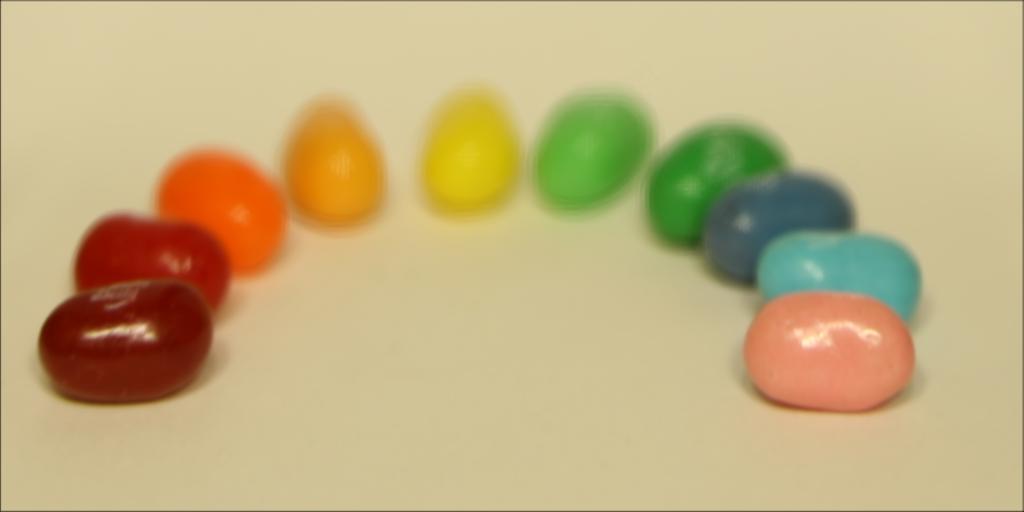

A smaller radius mimics a smaller aperture, resulting in more of the image being in focus.
On the other hand, having a larger radius mimics having a larger aperture, which results in less of the image being in focus.
In the images above, as the radius increases, less of the jellybeans are in focus. The gif on the right shows a sequence
of images with the radius increasing by 3, starting from a radius of 1 to a radius of 19. While the jellybeans in front
remain focused, the jellybeans further back becoming increasingly blurrier.