Overview
In this project, we used the data from a Lightfield camera to carry out post-processing on an image. This involves simulating the change of parameters of an image after the picture has been taken. We can do this by averaging different shifts and different combinations of the sub-aperture images. The main benefit of a lightfield camera is that you can simulate these changes after the image has already been taken.
Section I: Post-processing
Part 1: Depth Refocusing
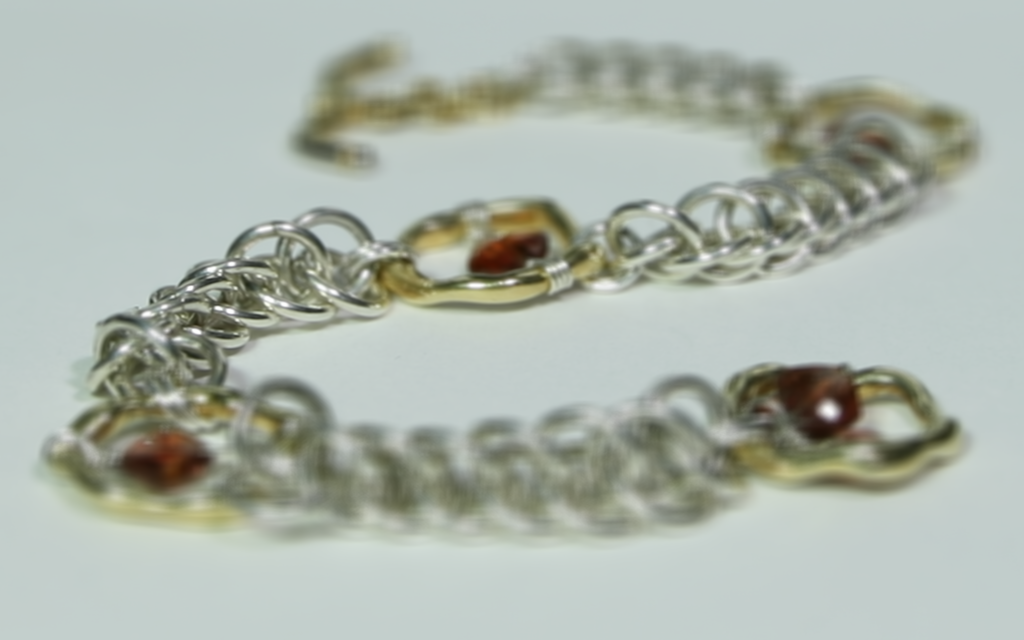
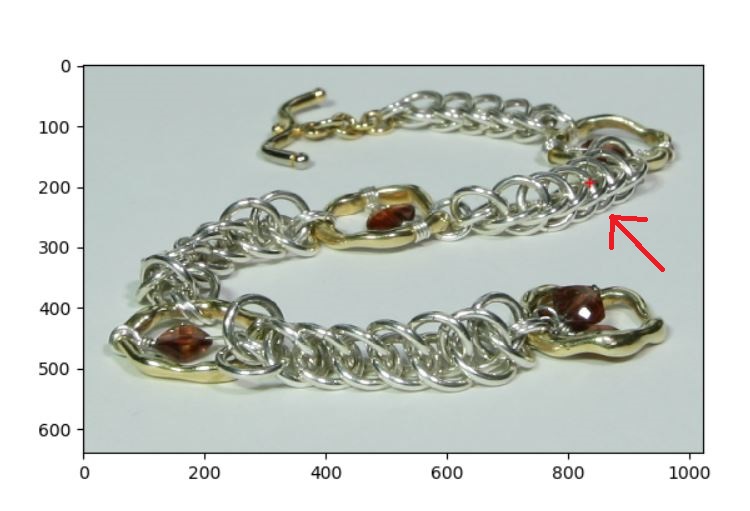
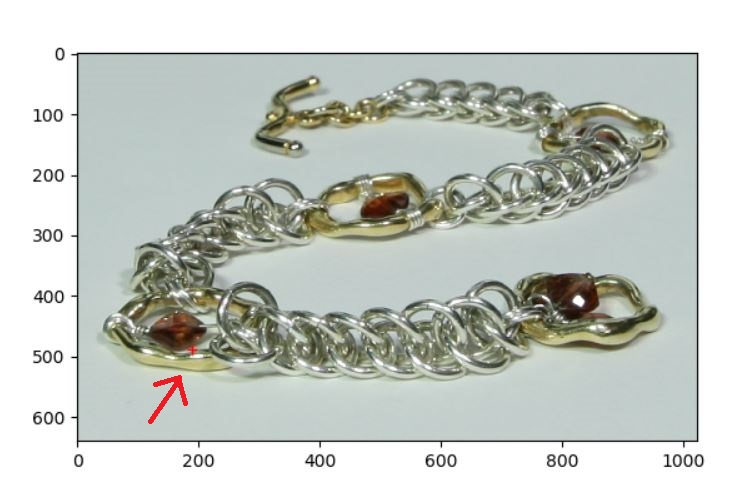
For this part, I implemented depth refocusing by calculating the shift of each of the sub-aperture images that corresponds to a certain depth. This can be done by using the (u,v) coordinates provided in the file names of the data. These (u,v) coordinates correspond to the shift of each sub-aperture image, and by shifting these images by different amounts controlled by a variable I have called c, I can simulate refocusing at different depths. Below, I have shown images of the scene with a bracelet, focused at different depths, along with their corresponding c values.

|

|
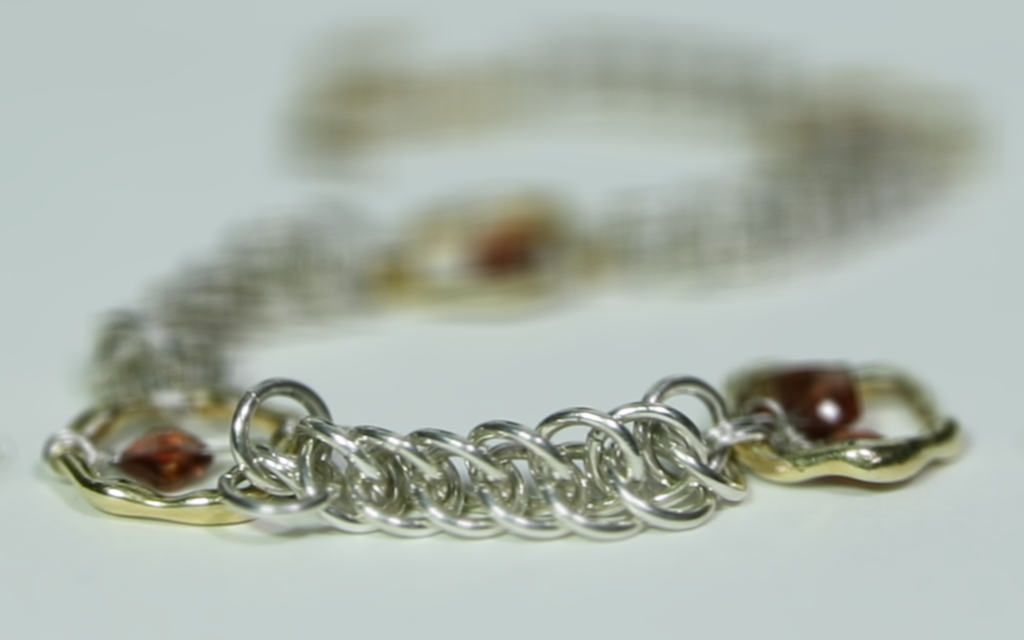
|
|
Part 2: Aperture Adjustment
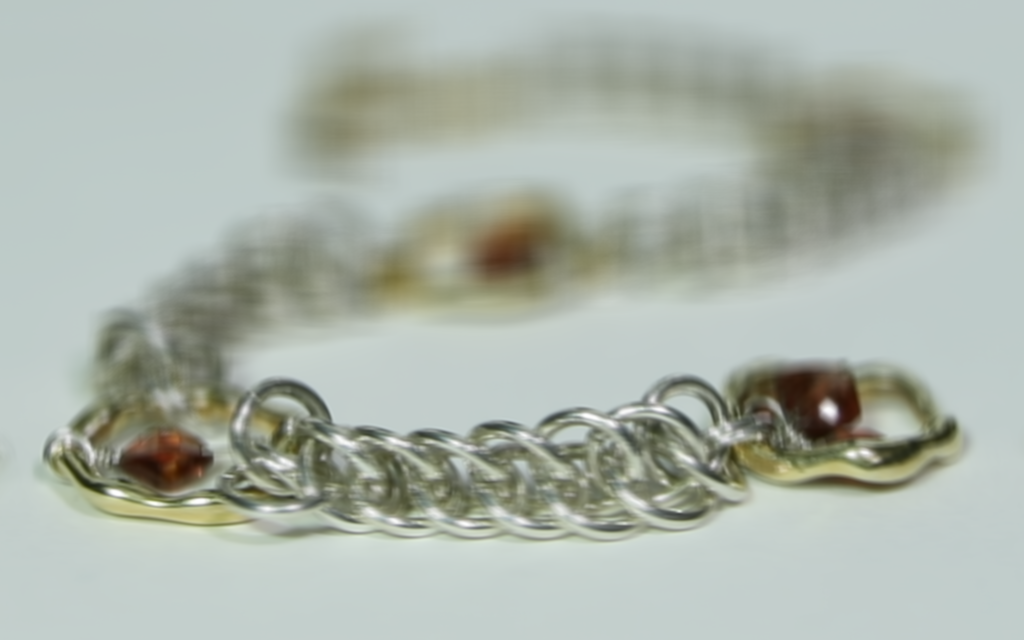
In order to implement aperture adjustment, we simply chose a subset of the images to average, instead of using all 289 images. The size of the aperture corresponds to the size of the subset of images I used, centered around the middle image at coordinates (8,8). Below are some of the results, which all use a c value of 0.2 to refocus slightly closer to the plane (to make the image look better). Each of the images simulates a different aperture size, described by the text below the image.

|
|

|
|
Part 3: Summary
From this project, I learned that lightfields are really cool! It's interesting to be able to refocus an image after it's already been taken. It's also a great idea to have multiple images taken from different angles (the sub-aperture images) and manipulate them to represent the absorption of light from one larger camera. On a slightly related side note, I have also seen an interesting paper that uses convolutional neural nets to achieve a similar but different effect (changing the angle the object is viewed from), by identifying foreground and background in the image and predicting the rest of the image.
Section II: Bells and Whistles
Part 4: Interactive Refocusing
In order to implement interactive refocusing, I first take in an input from ginput to get a point to focus around. Then I find the shift from the image at location (0,0) to the center image at (8,8), using techniques similar to project 1 where we tried multiple shifts over a range of values. Once I have found the shift, I use that shift divided by the difference in (u,v) values between image (0,0) and image (8,8) as my c constant. Then I multiply this into the difference in uv values between each image and the center in order to find the shift for each sub-aperture image. An example result is shown below.
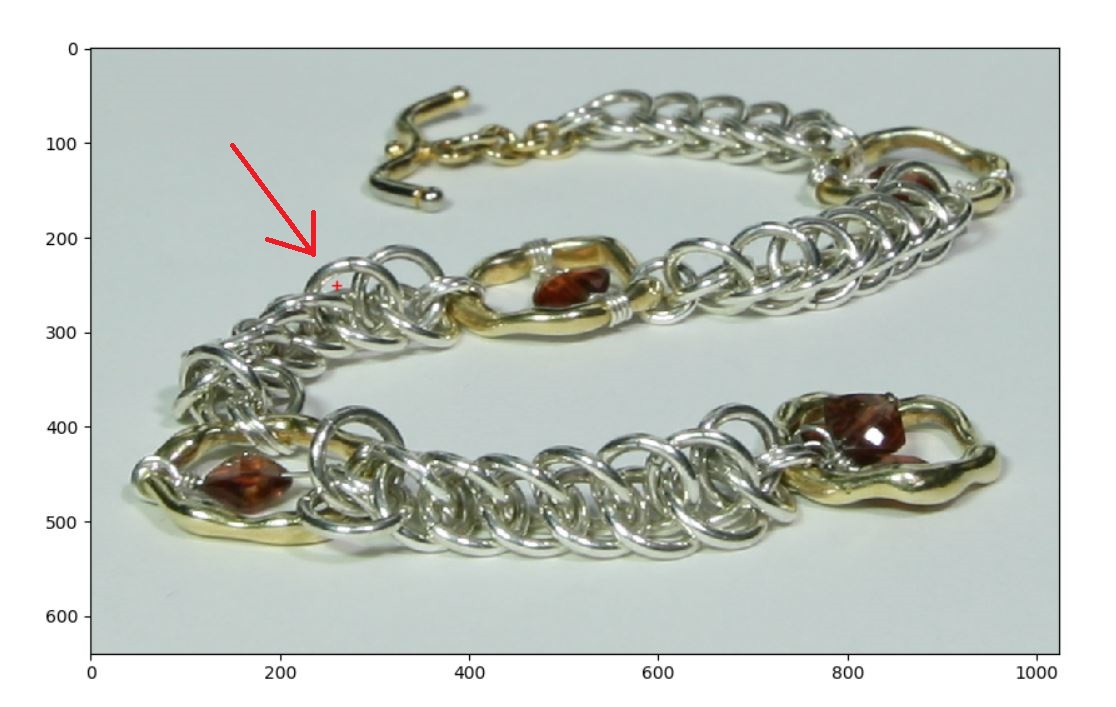
|
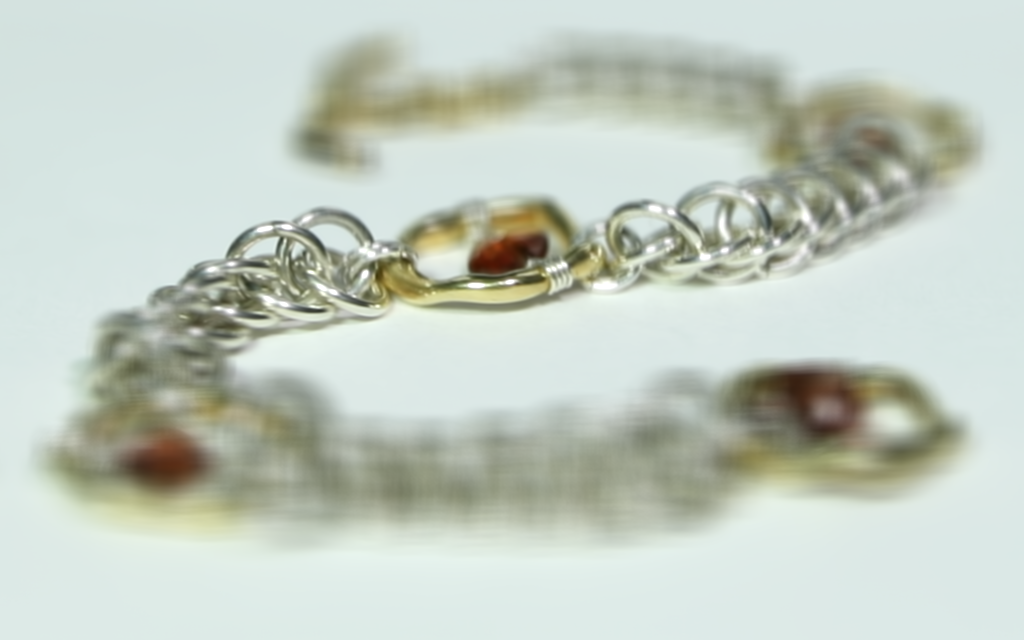
|
|

|
|
|
Part 5: Using Real Data
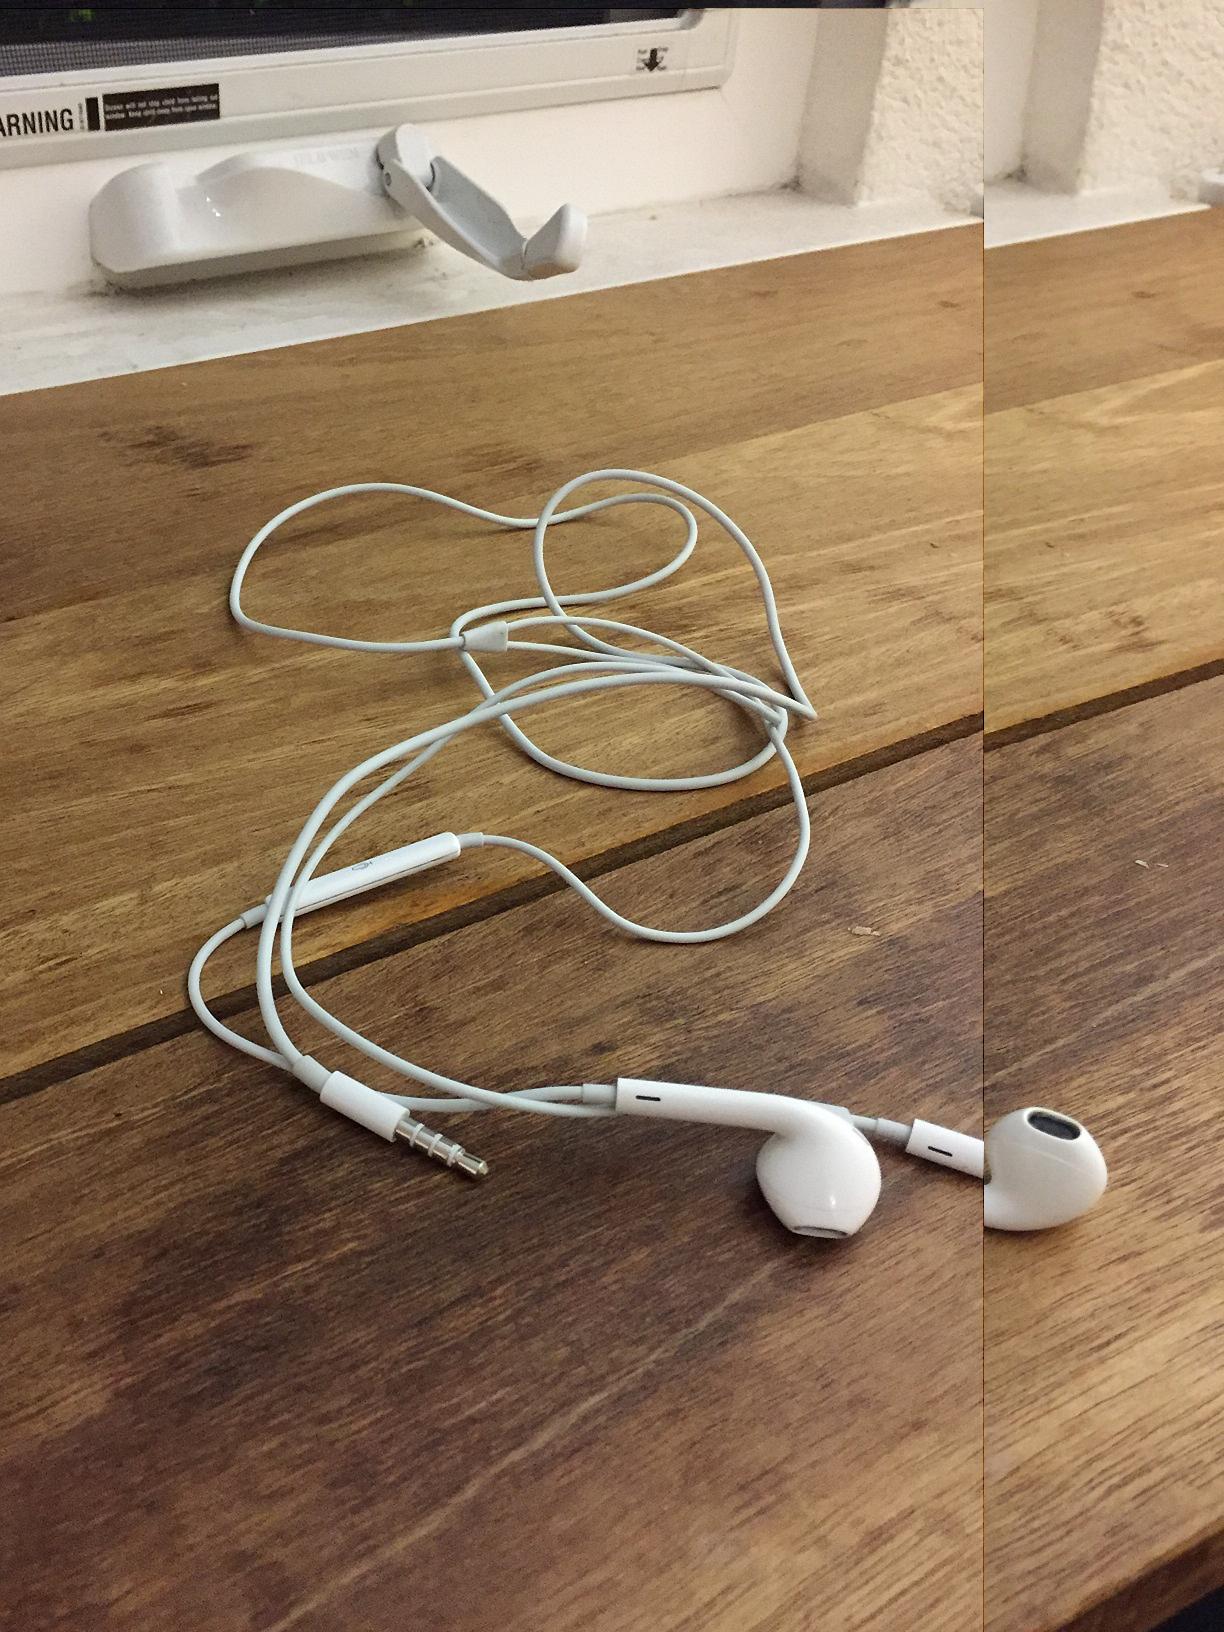
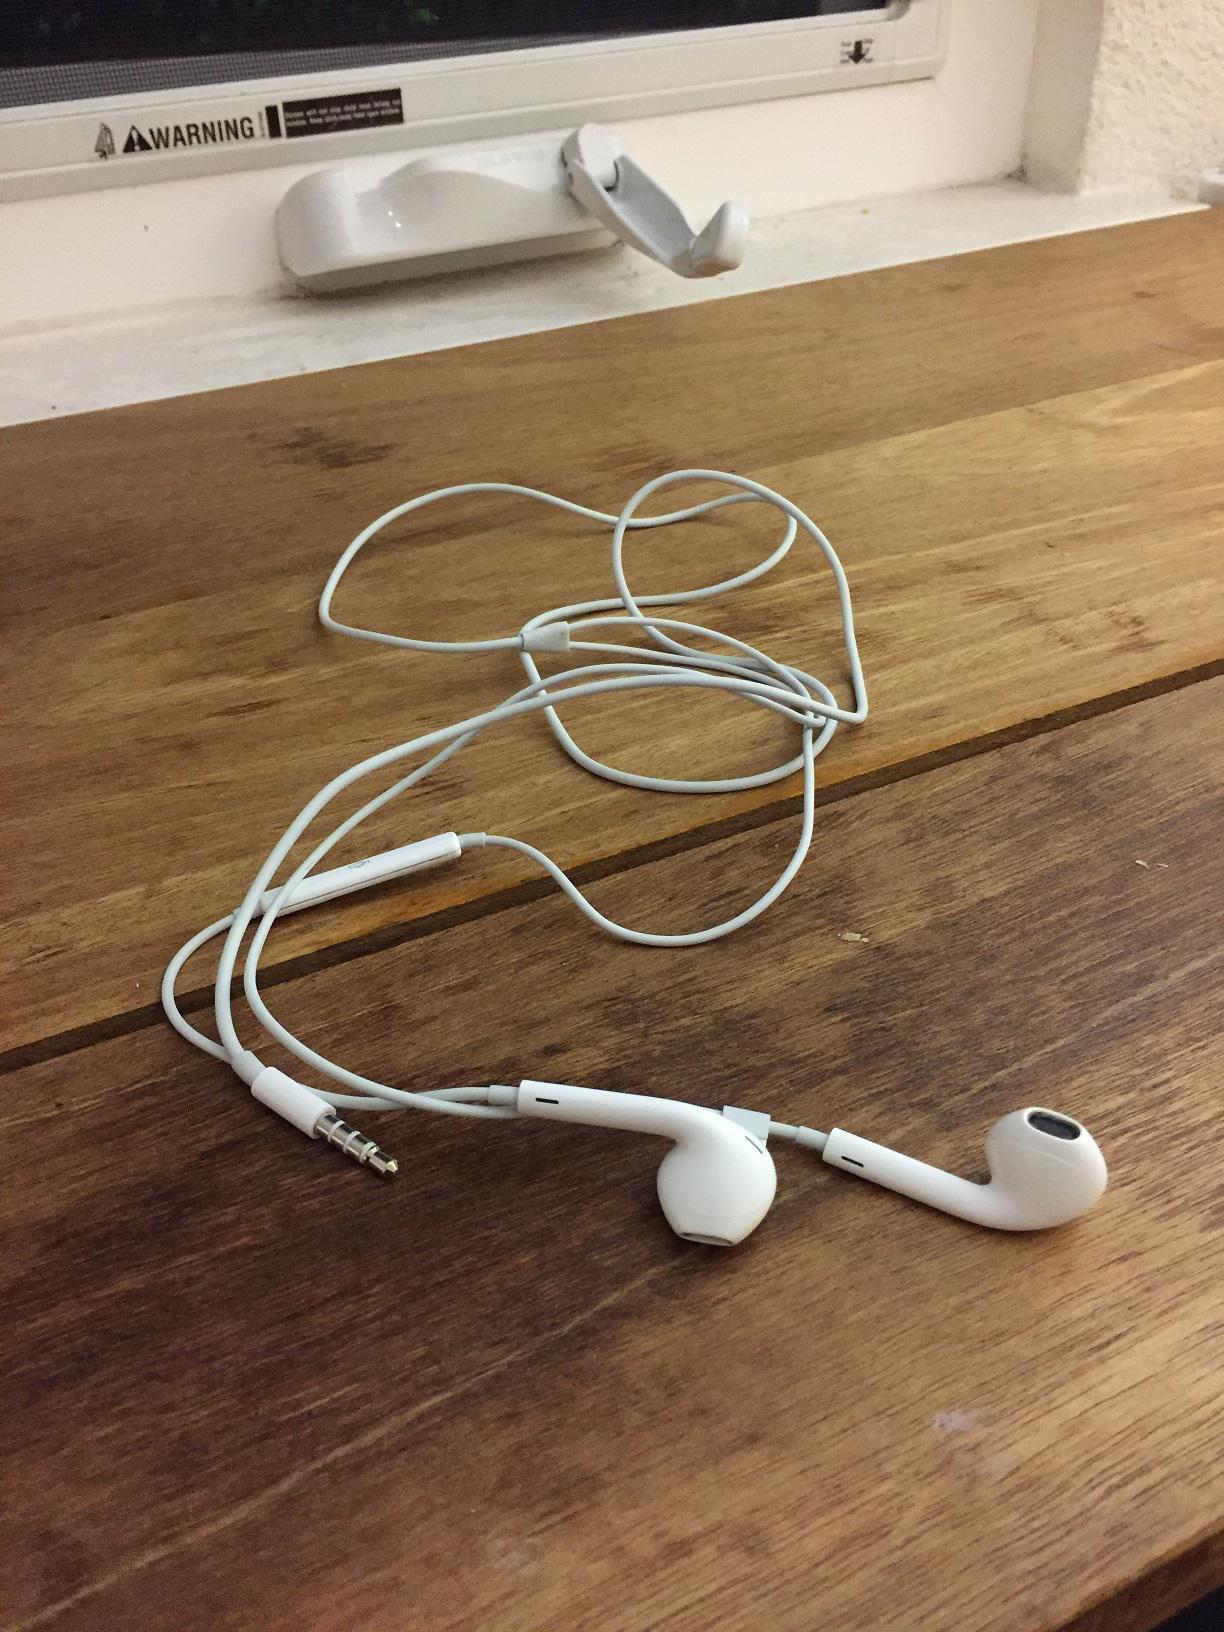
I took pictures of a scene in a grid of width and height 3, giving me a total of 9 images, and then readjusted them to focus on a certain point. I manually realigned the images to a certain extent (to speed up the computation by reducing the range of images to search over), and then used image shifts around a the chosen point to find a closer match for each image. The shifts that were found were not completely accurate because of errors in taking the images (some of the images at an angle did not capture the entire headphones), so I did end up manually readjusting some of the images again to get the final result.
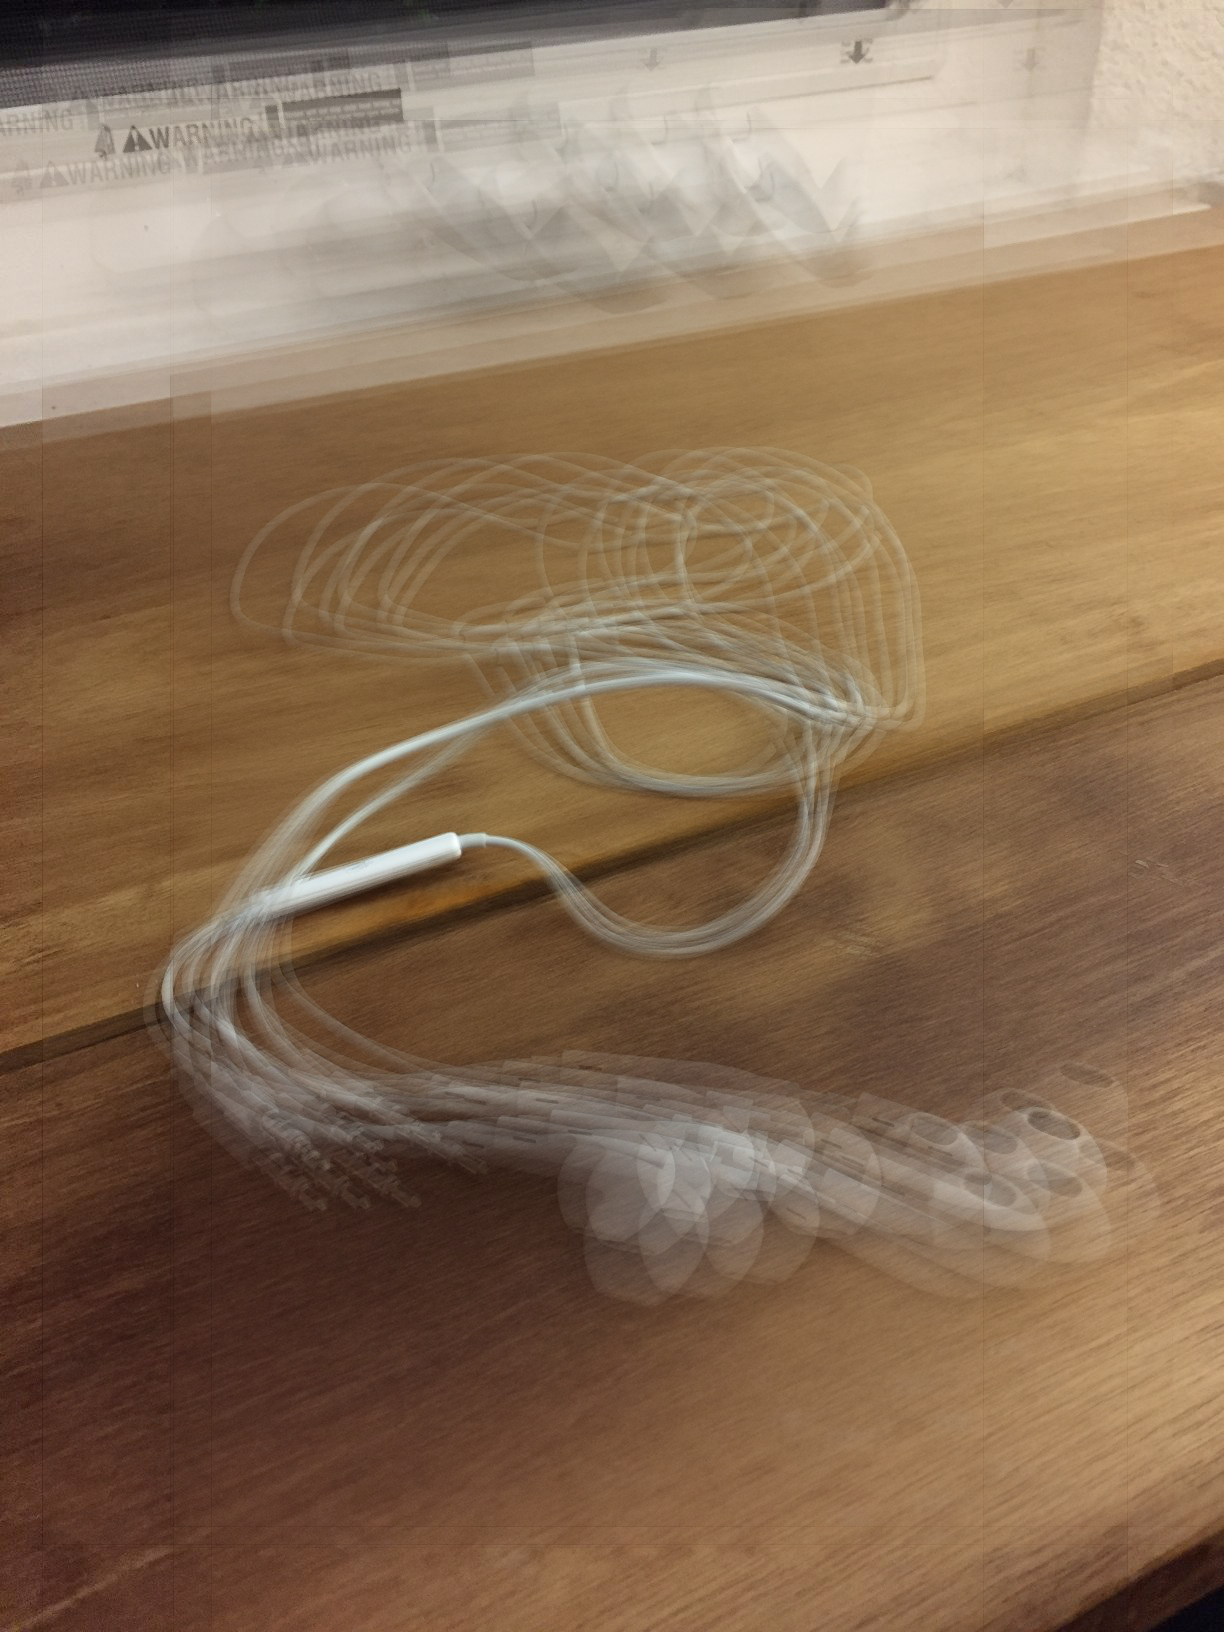
The results for depth refocusing are shown below, focused at the top of the volume control of the headphones. As is clearly shown, these images were taken too far apart for the blur at the top and bottom of the image to look natural. However, if there were more pictures, taken at a closer distance from each other, this method would work. The problem with having more pictures taken manually without specific separations is that it becomes computationally difficult to realign all of them. This is why the lightfield camera has lenses at a fixed distance from each other.
Aperture adjustment can be modeled in this instance by simply comparing just the center image (aperture = 1), to the image created from all the other images averaged together (aperture = 2). This is because just the center image simulates a very small aperture size, and all the images together simulate more light coming in from varied sources to each sensor, corresponding to a larger aperture size.
|
|

|
|
|
|
|