Part 1: Depth Refocusing
First, I record the camera positions in an array with a parser. I pick the image form the middle camera (08, 08) (out of 17 x 17 cameras) to aligh all the images. Then I compute how much each image should be shifted based on the difference in camera positions (the 4th and 5th arguments from the file name) and alpha. I decided to zero-fill the empty pixels resulted from shifting the image.
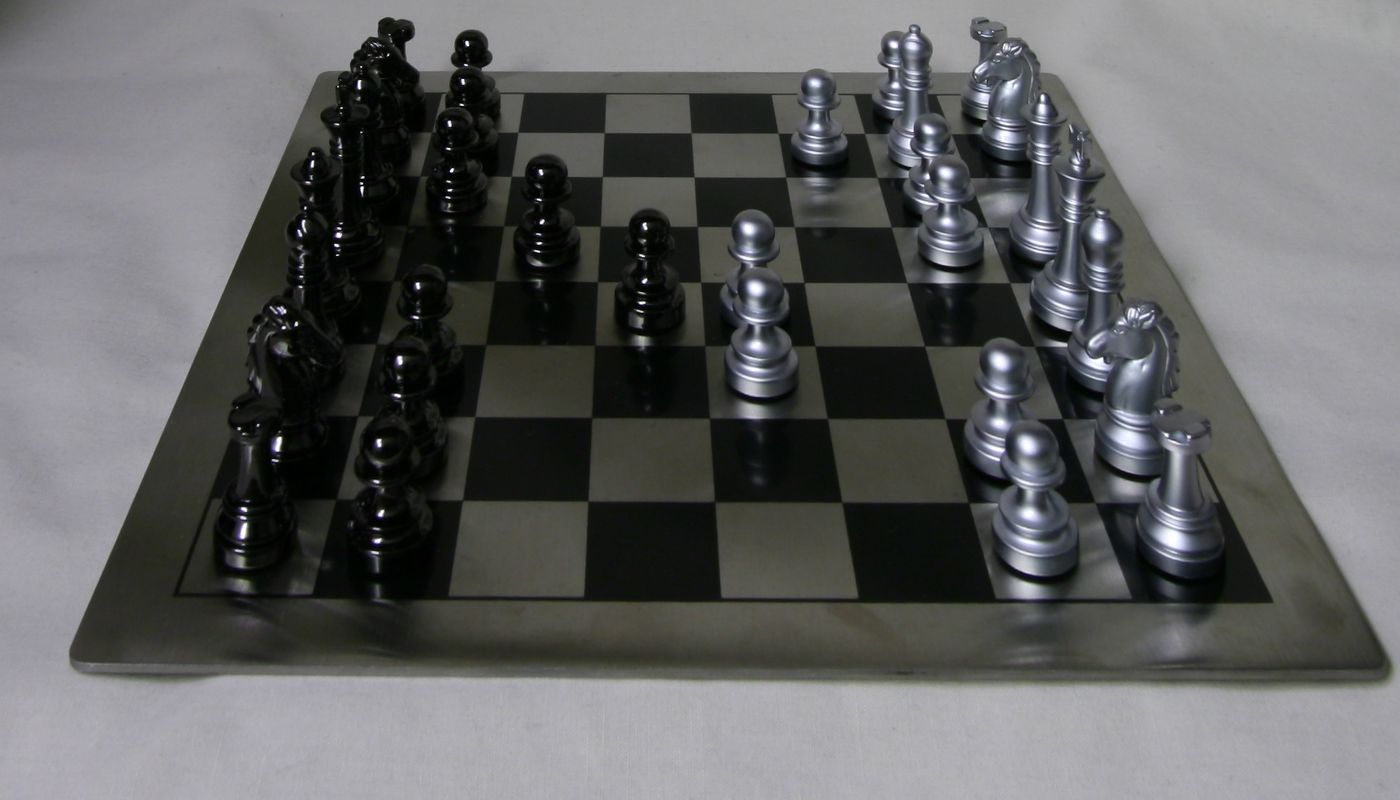
out_00_00_-780.134705_-3355.331299_.png
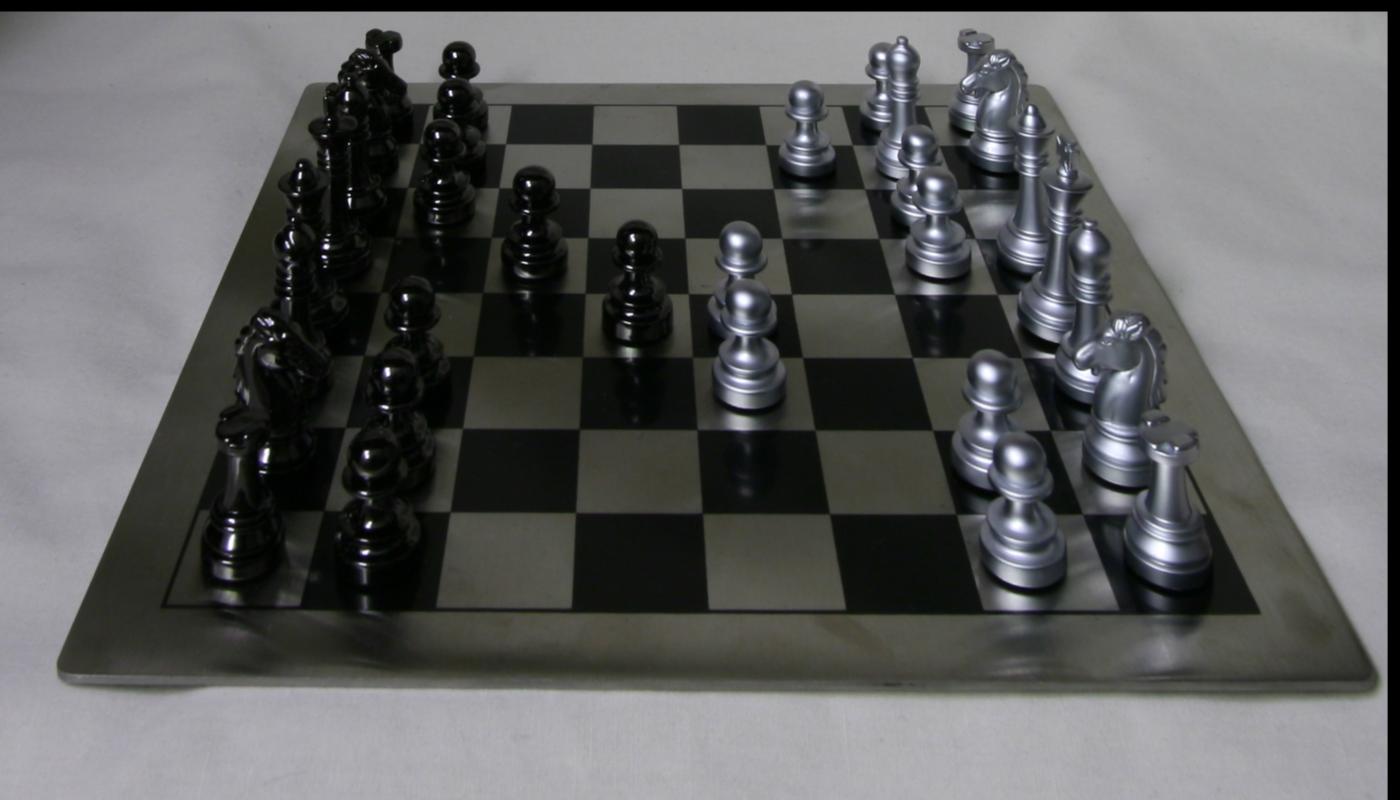
Shifted by (-12.4, 11.5331)
Shifted by (-20.6666, 19.2218)
out_16_16_-857.937622_-3271.866699_.png
Shifted by (12.6394, -11.8078)
Shifted by (21.0657, -19.6797)
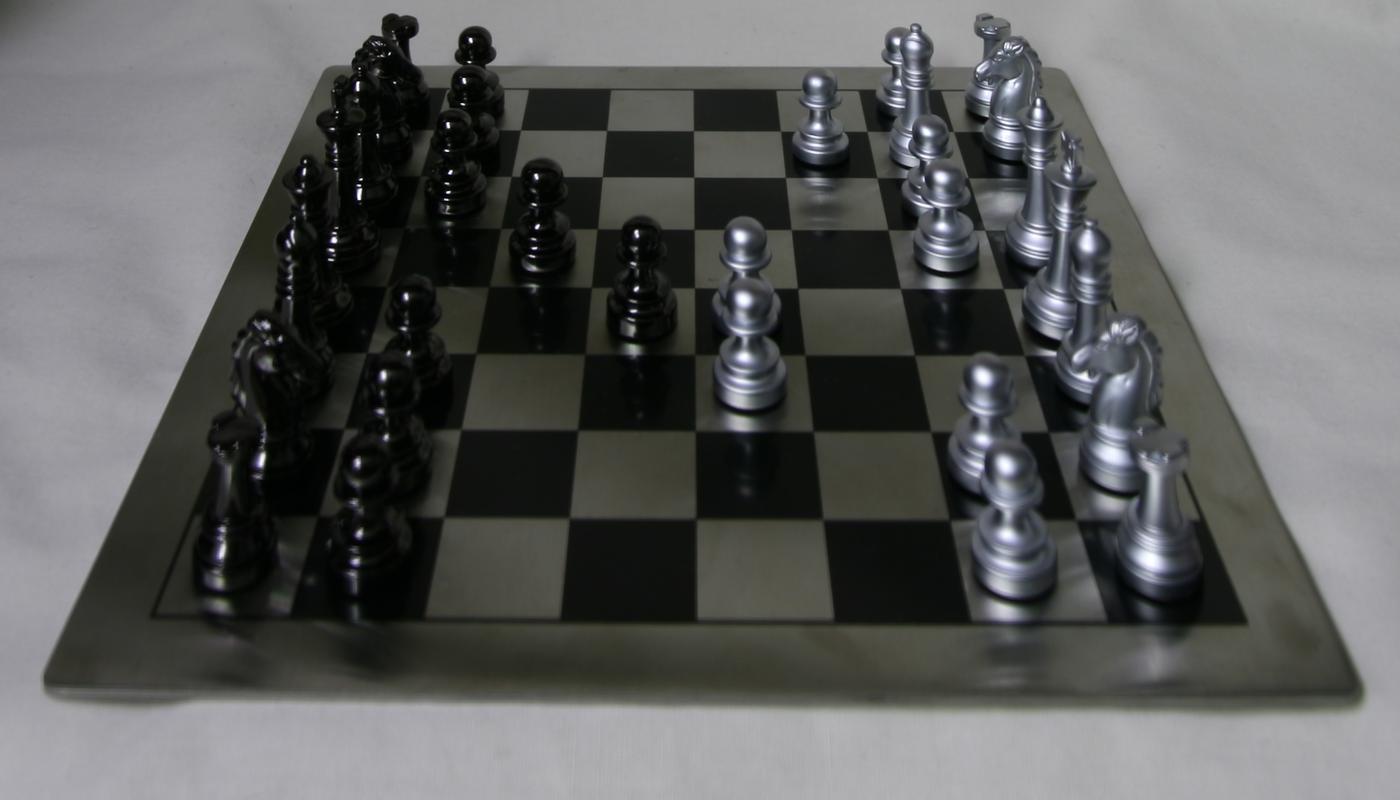
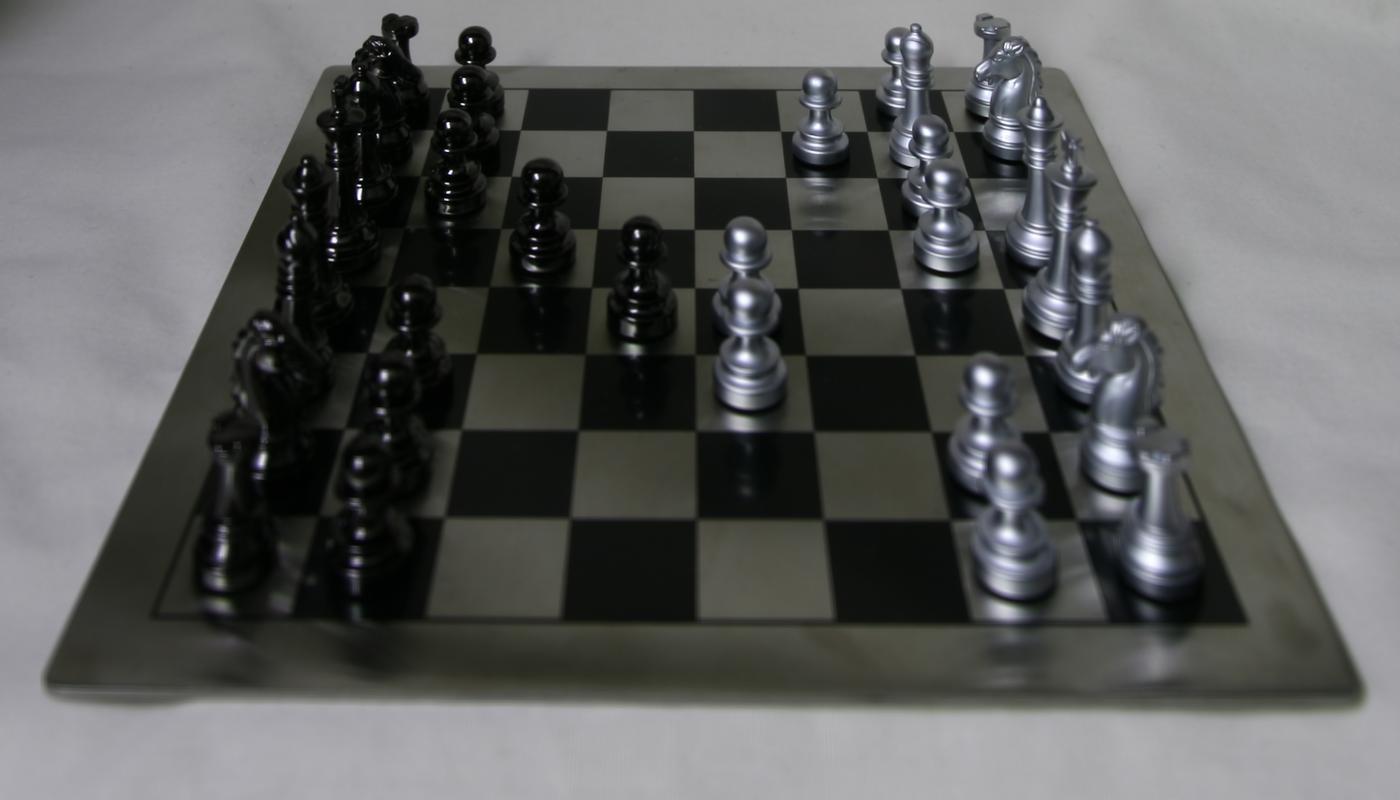
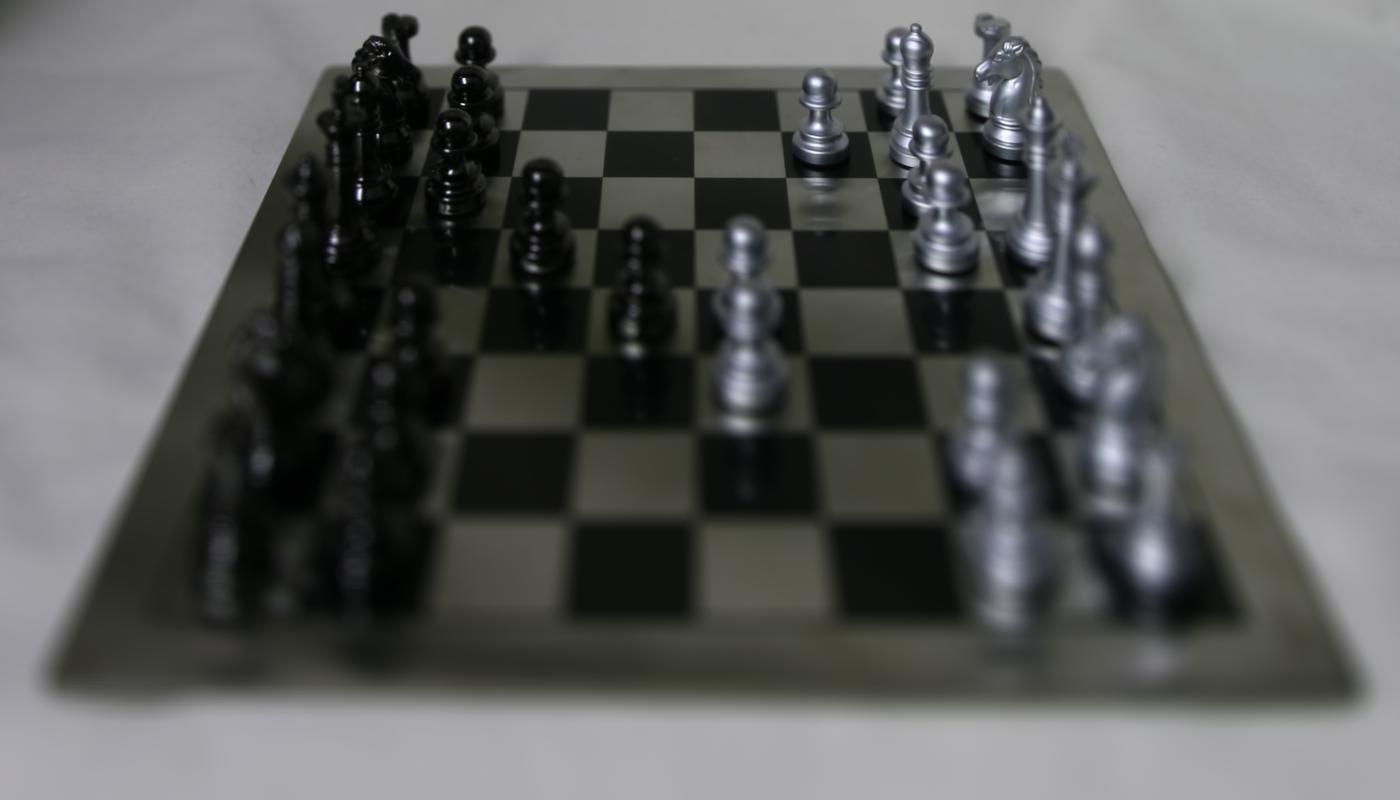
By chooising bigger (more positive) alpha, the focus is moved towards the foreground of the image. In the end, I added the individual contribution of each image to produce the final output image.

alpha = -0.1

alpha = 0.0
alpha = 0.1

alpha = 0.2
alpha = 0.3

alpha = 0.4
alpha = 0.5
The resulting gif
Part 2: Aperture Adjustment
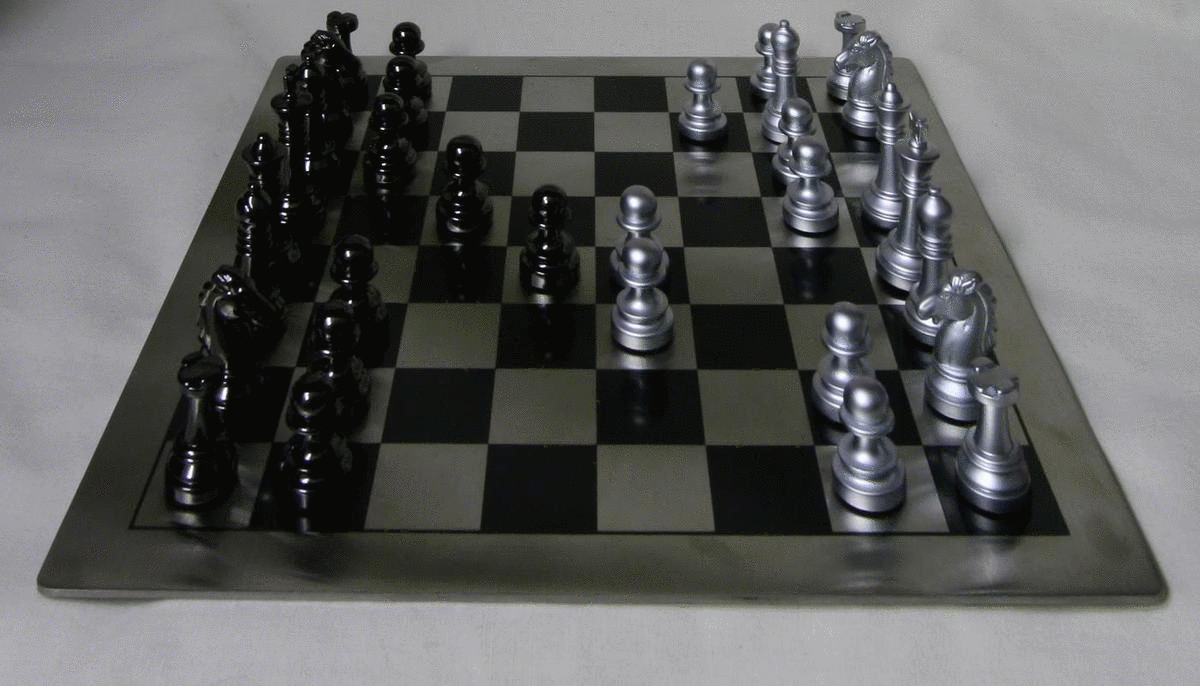
In this part, I first document the camera positions for all input images. Since I pick the center camera (08, 08) to align all the images in the previous part, I use it as the center of the aperature as well. For any given radius, I calculate the dx and dy between positions of other cameras and the center camera. If the sum of squares of dx and dy is smaller than the square of radius, I include that image in the subset of images. In the end, I average all the images in the subset to get the output image.
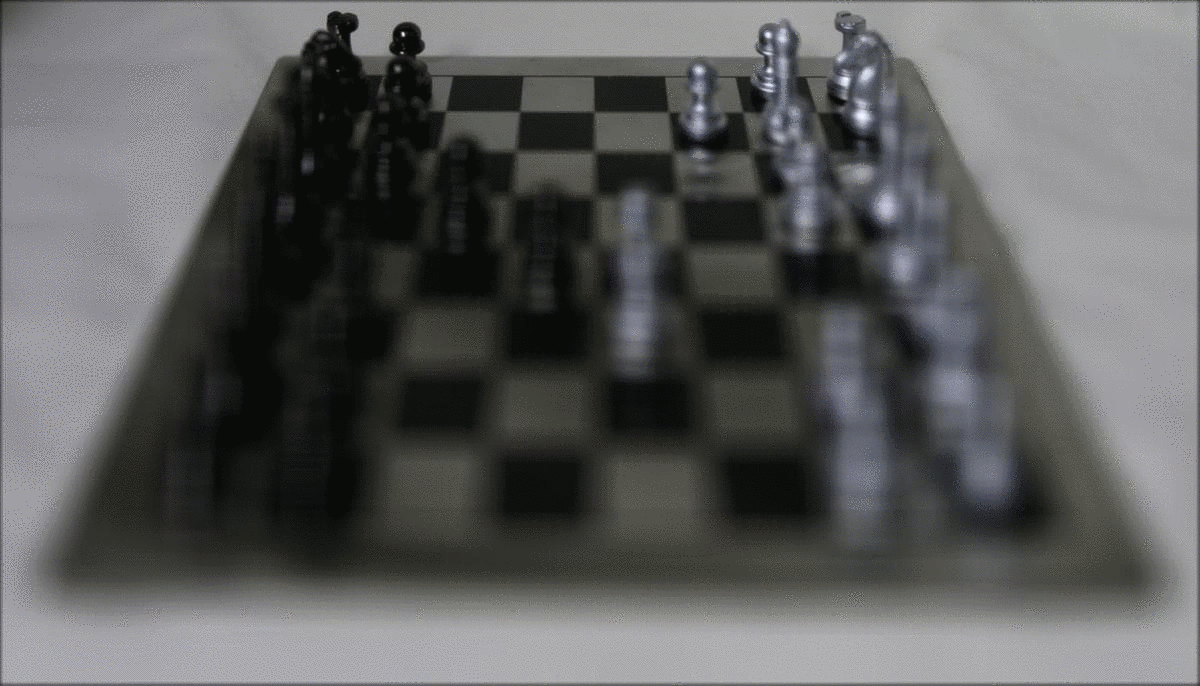
radius = 1
radius = 5
radius = 9

radius = 13

radius = 17

radius = 21

radius = 25
radius = 29

radius = 33
The resulting gif
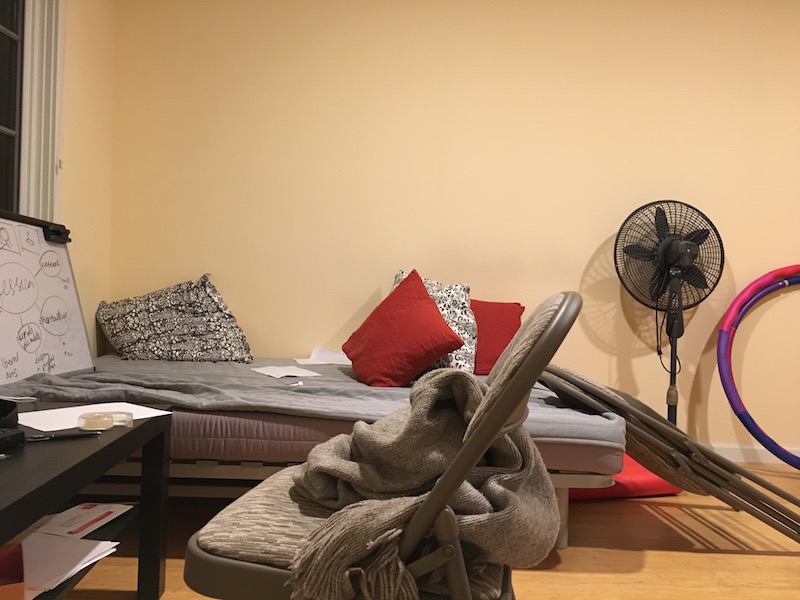
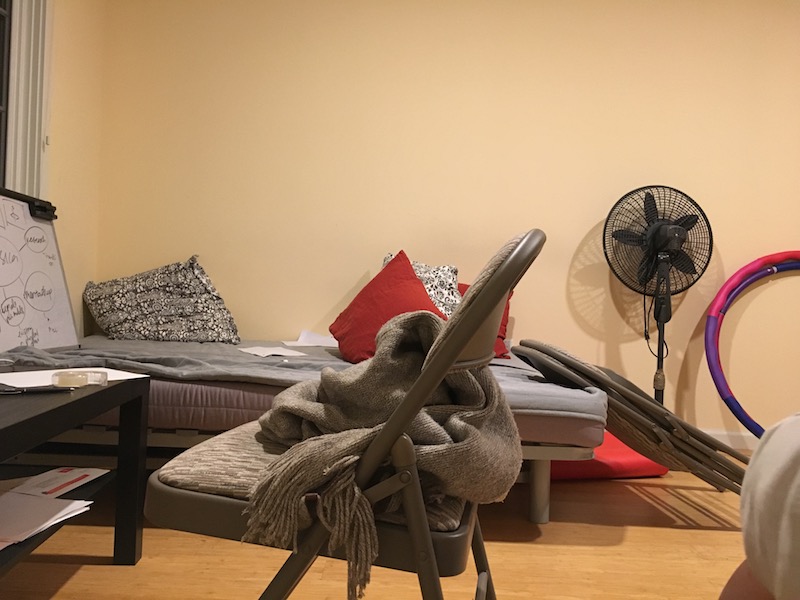
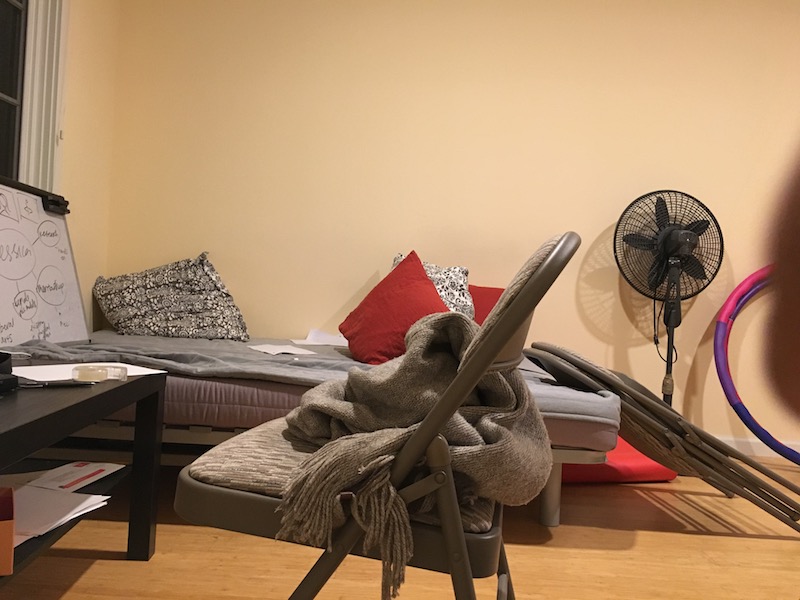
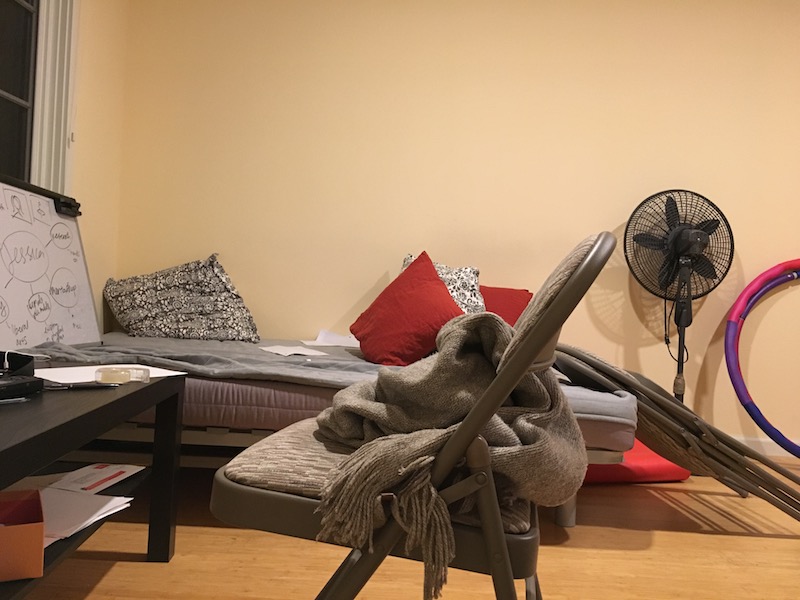
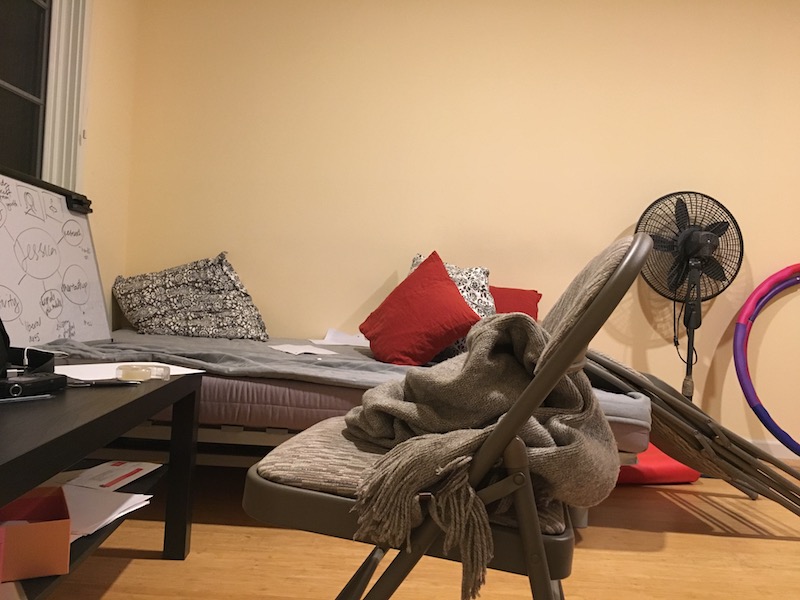
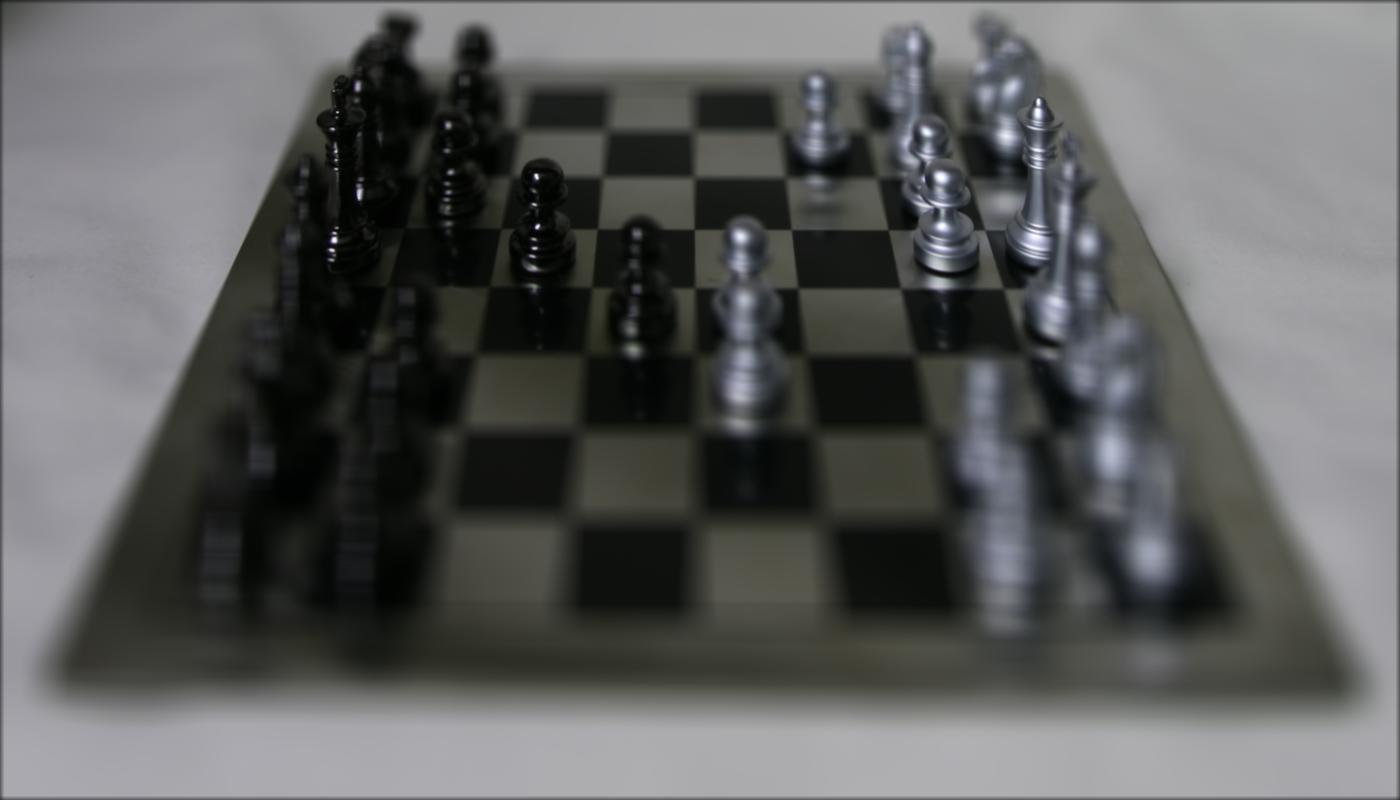
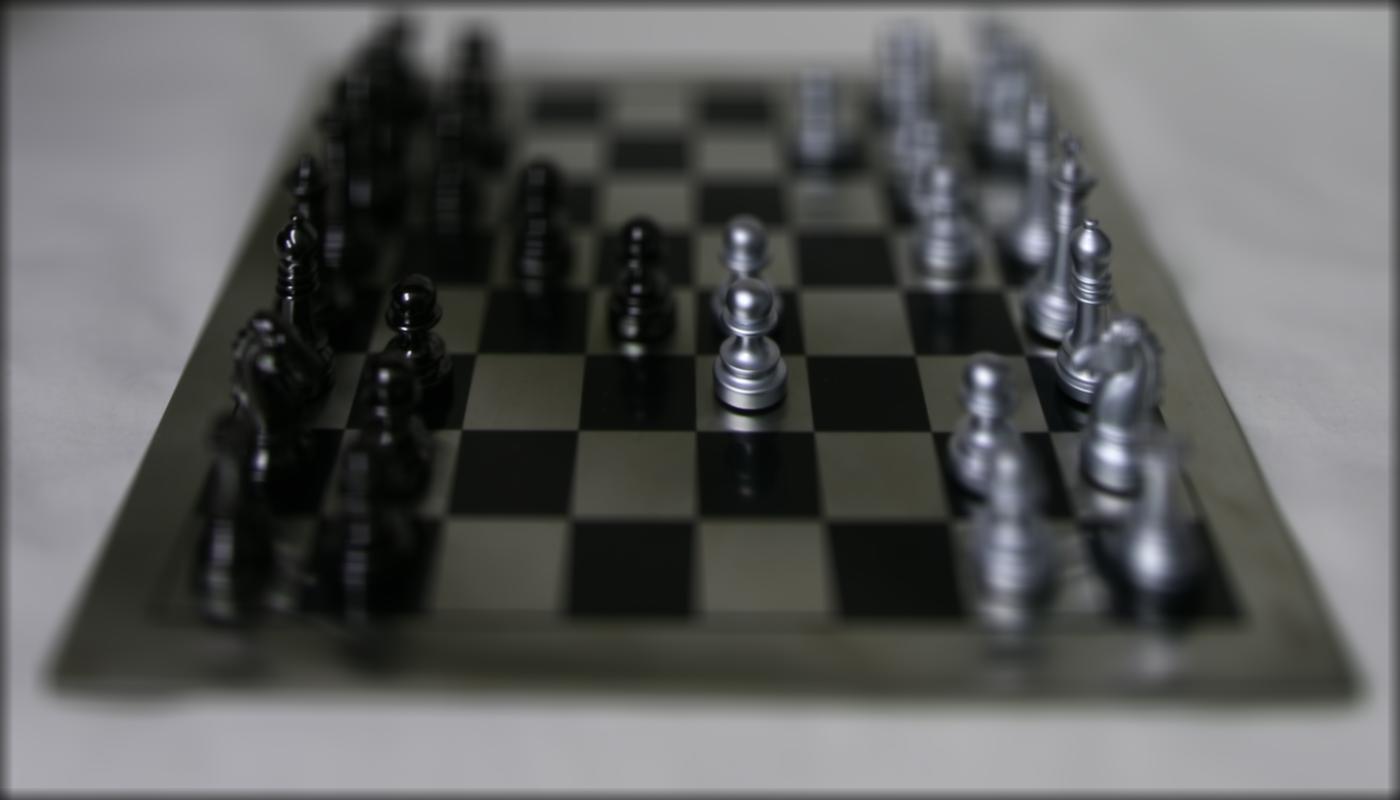
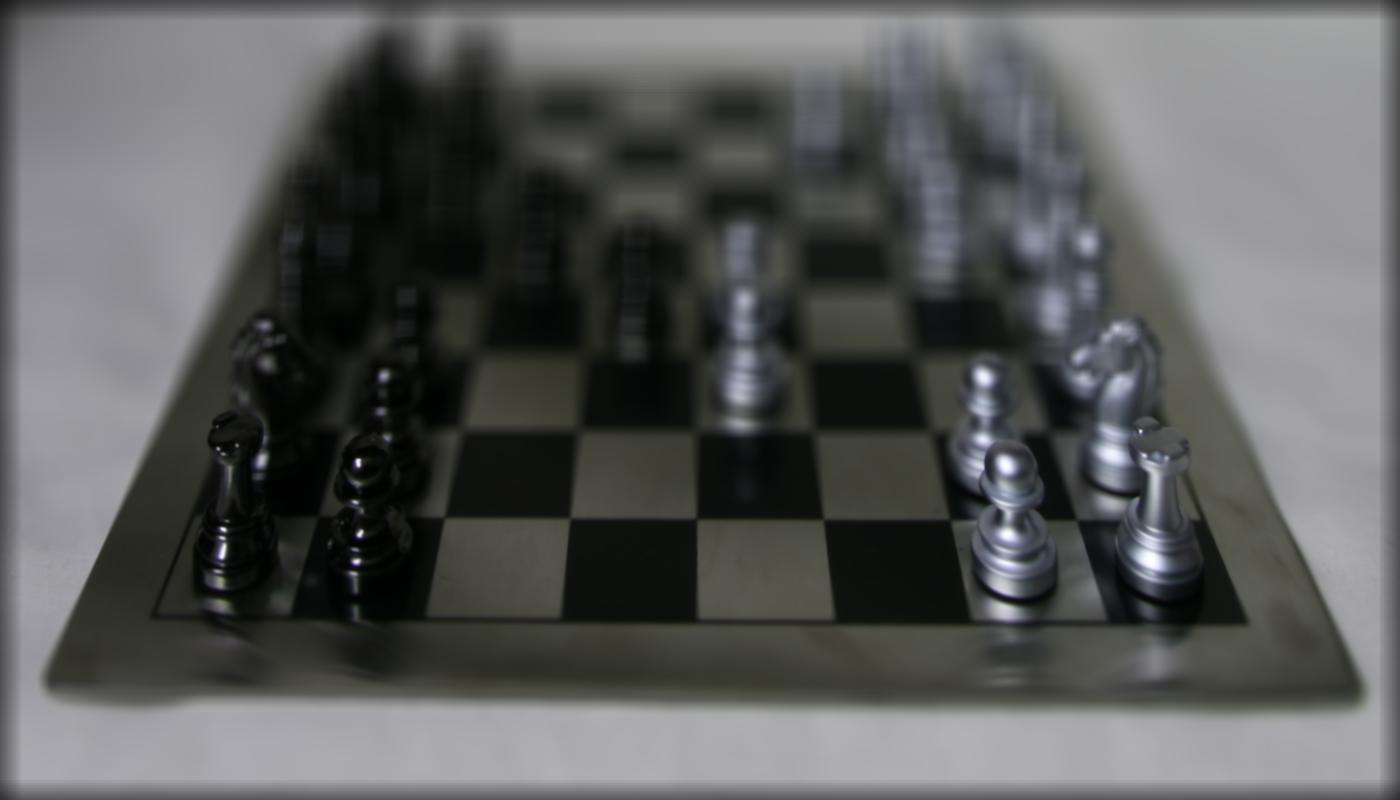
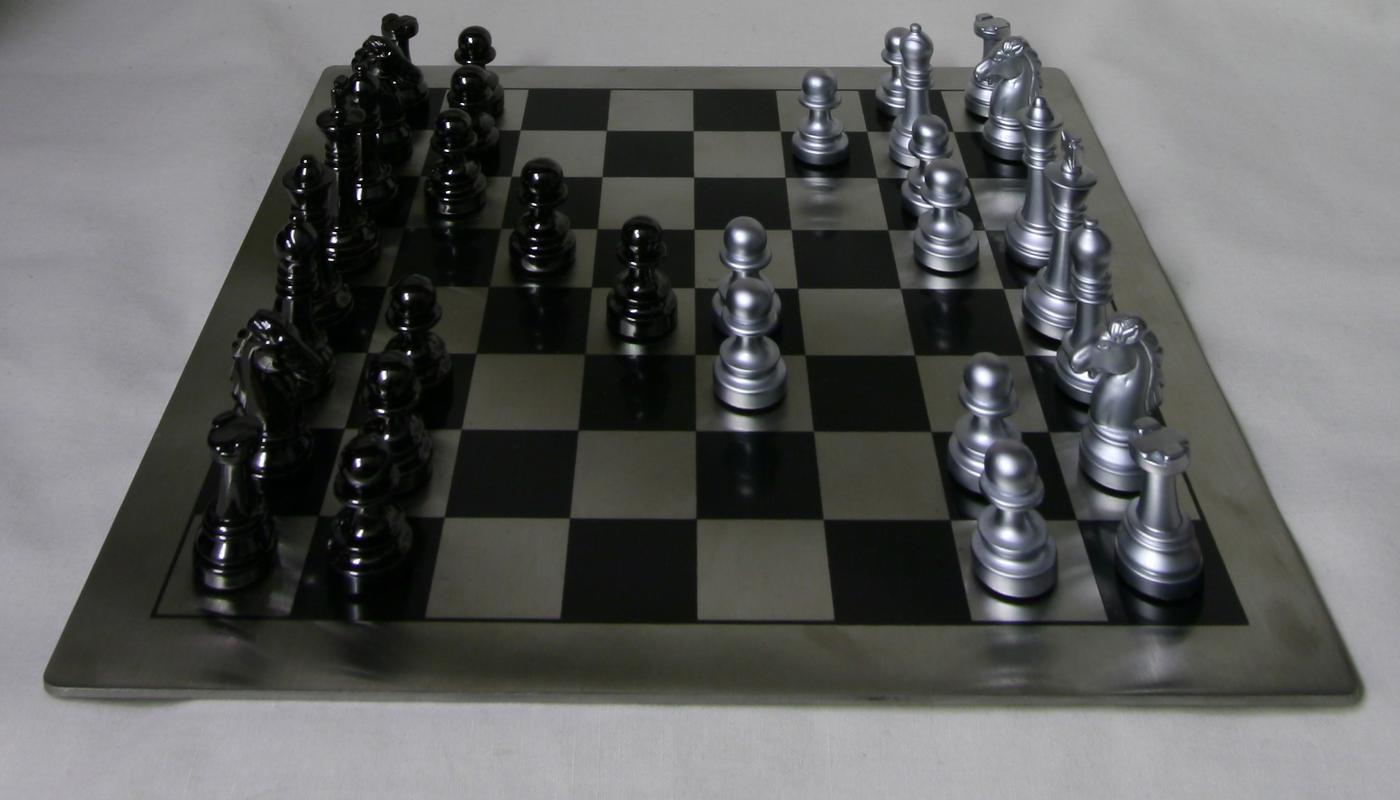
Bells and Whistles: Using Real Data
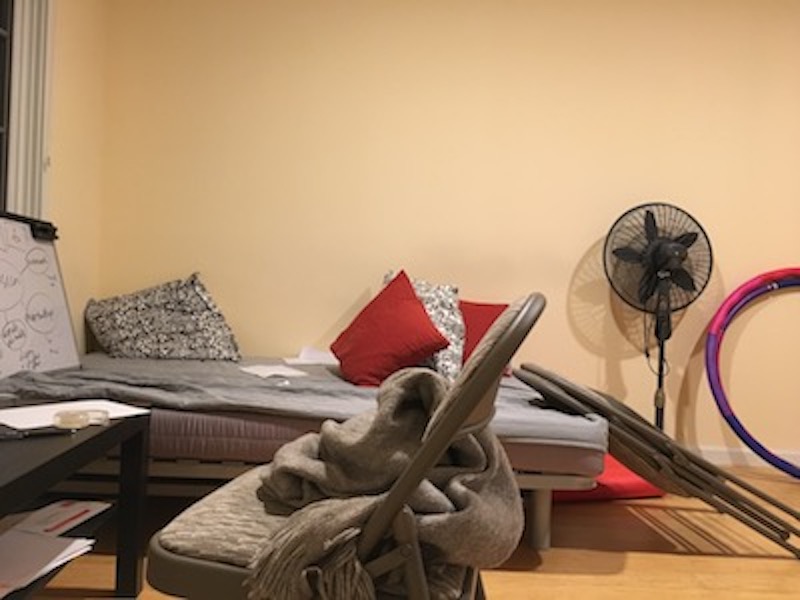
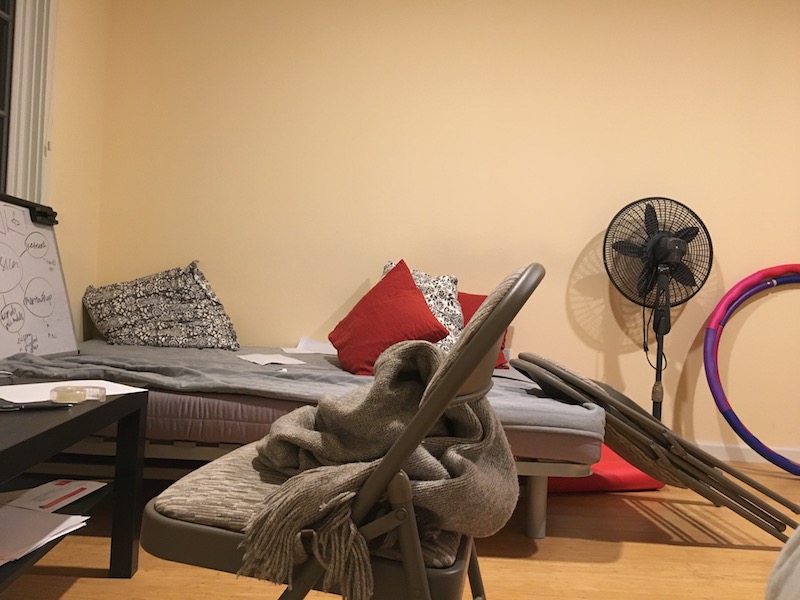
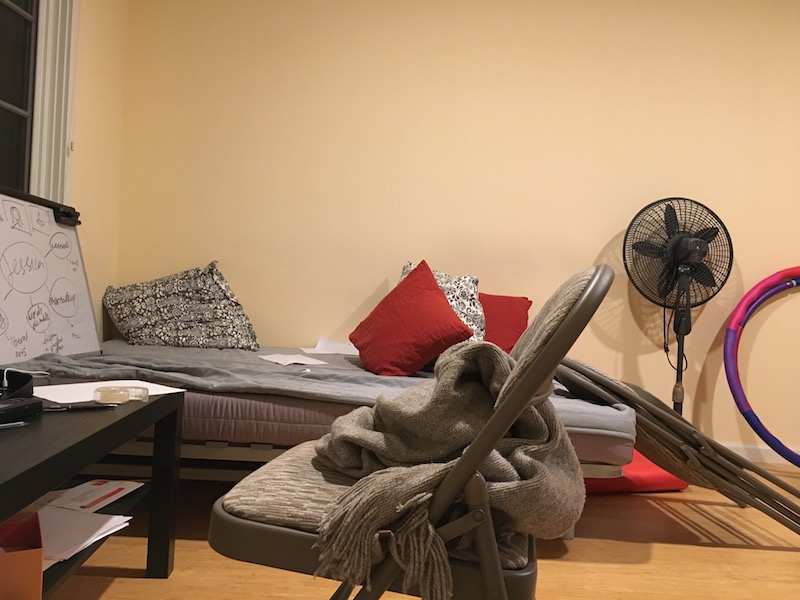
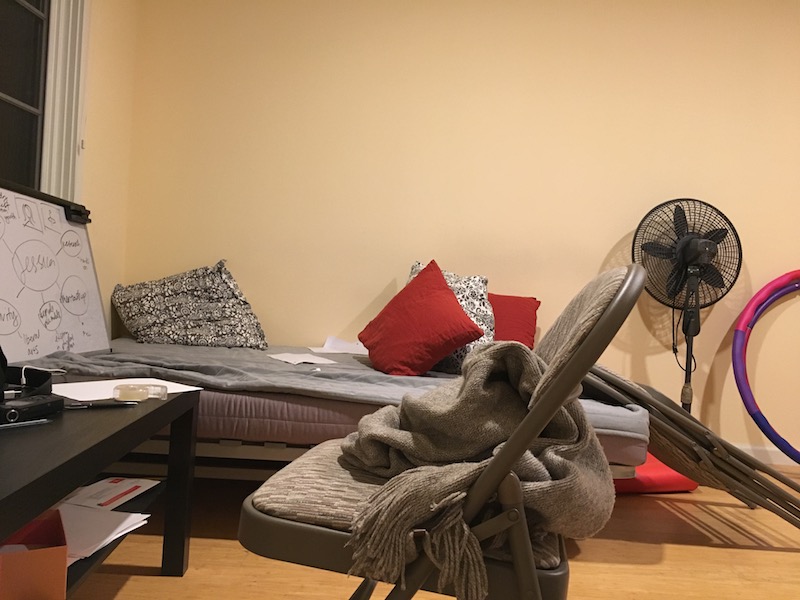
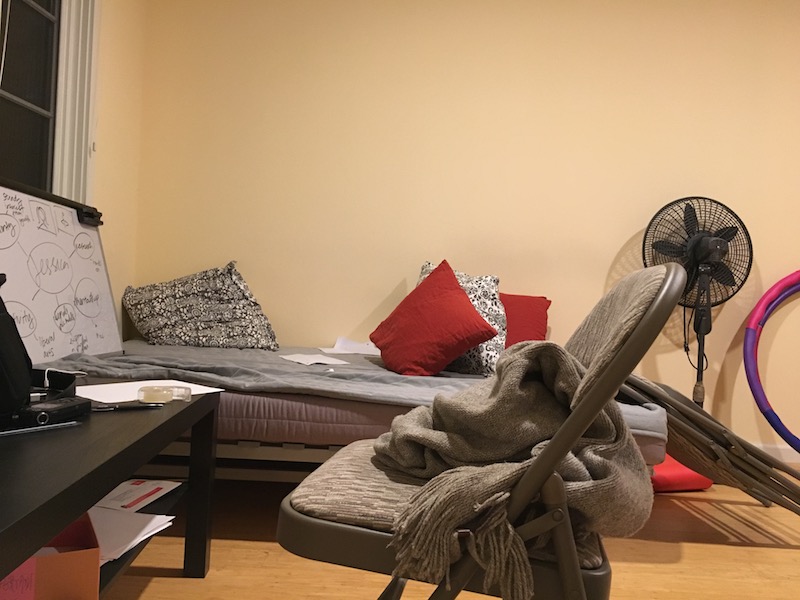
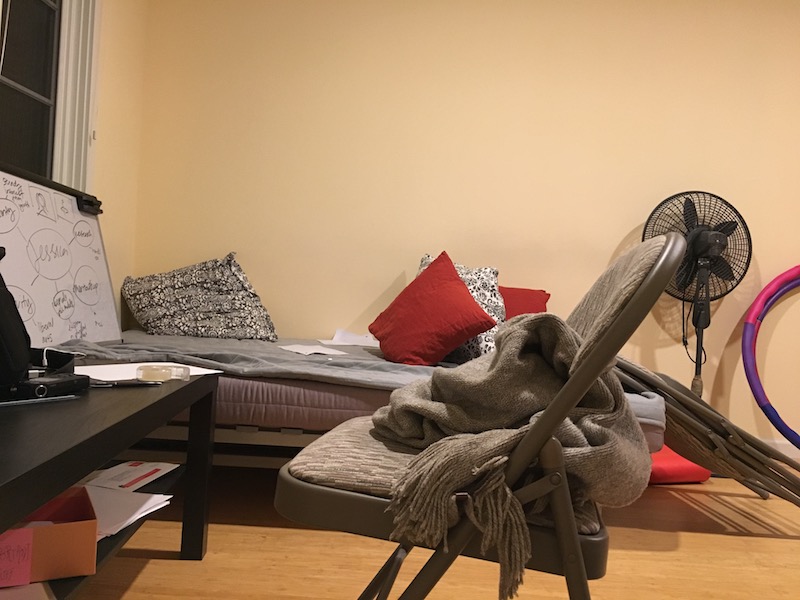
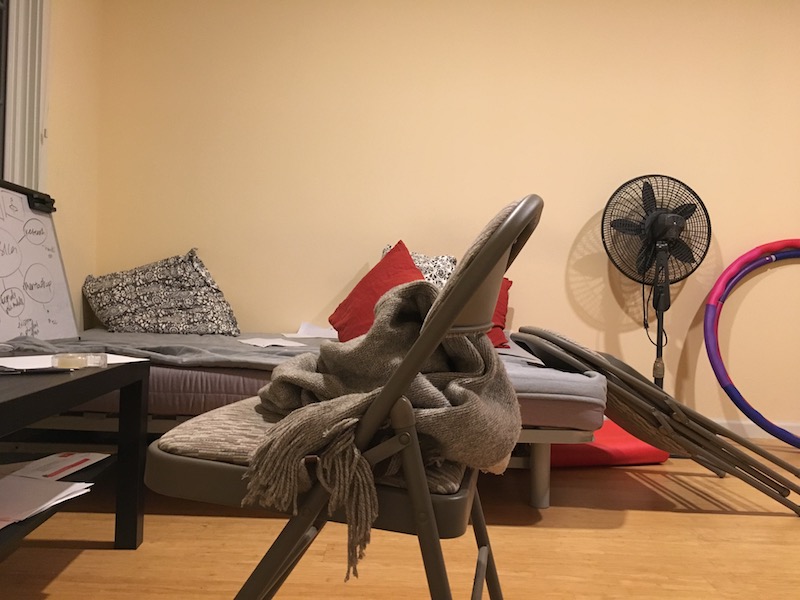
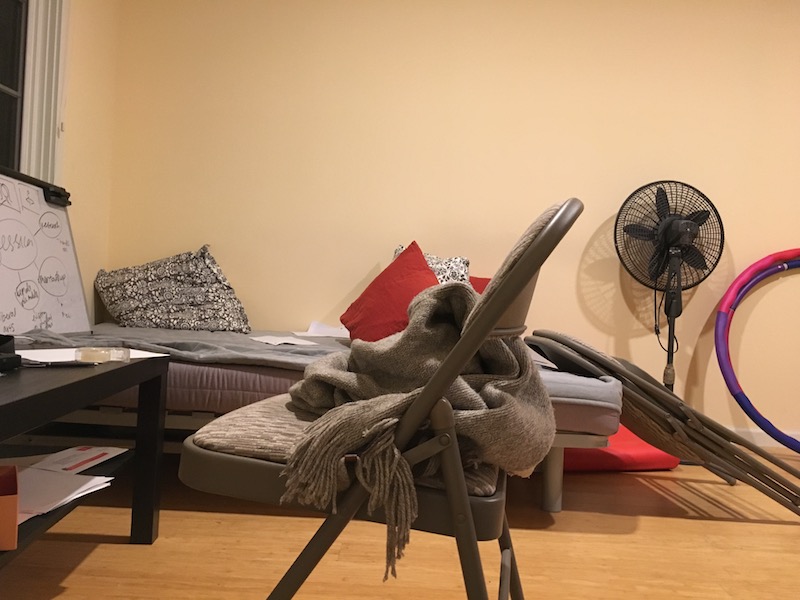
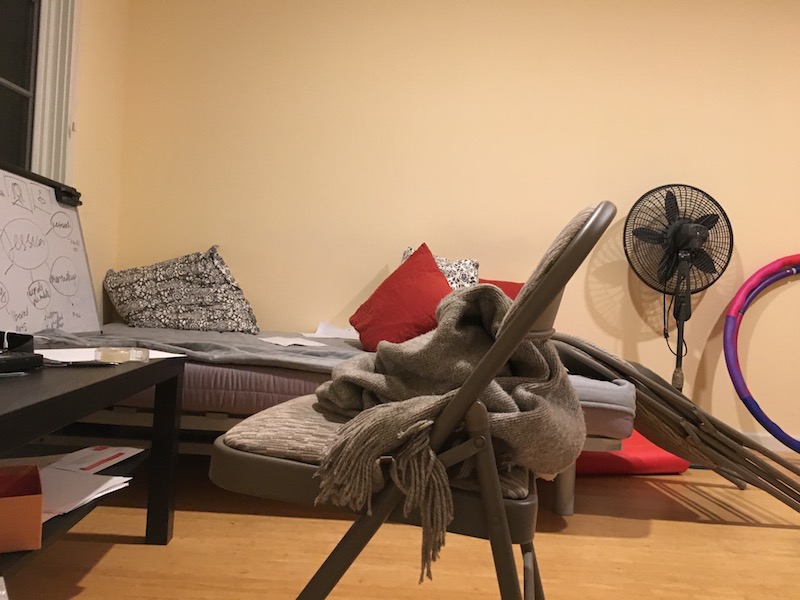
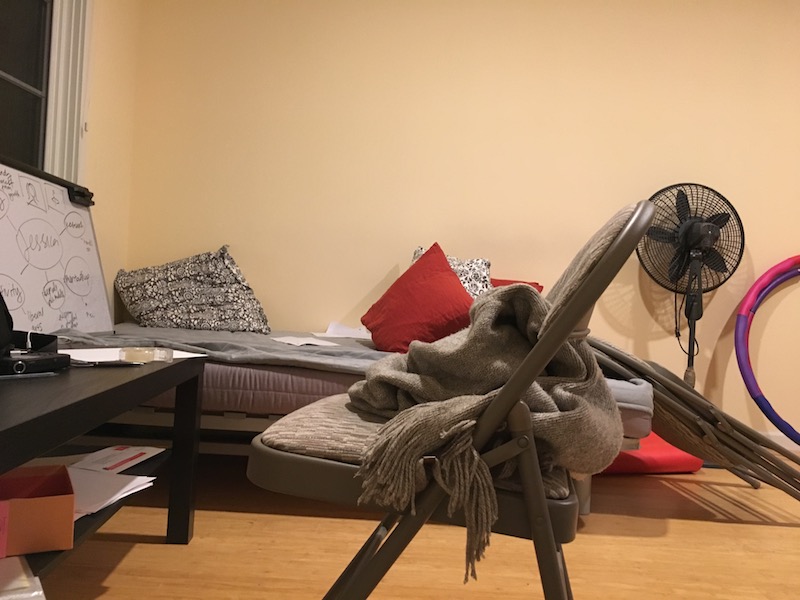
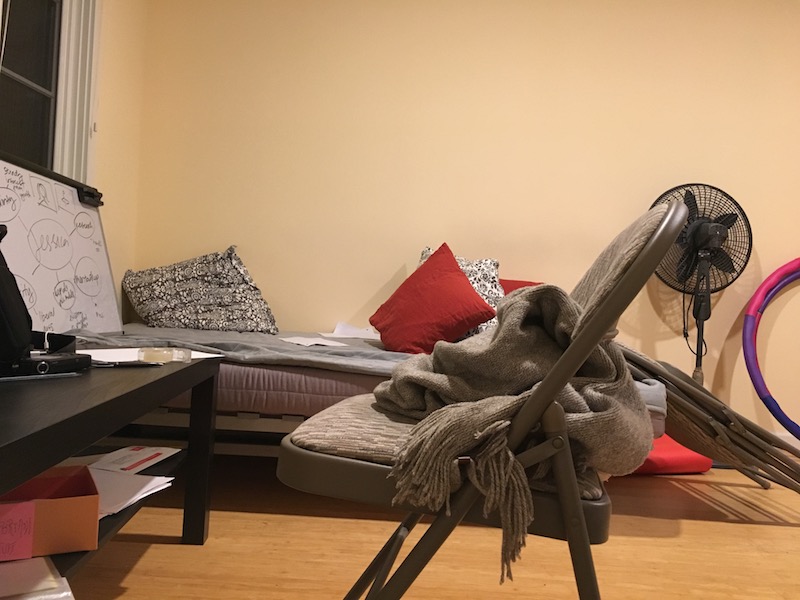
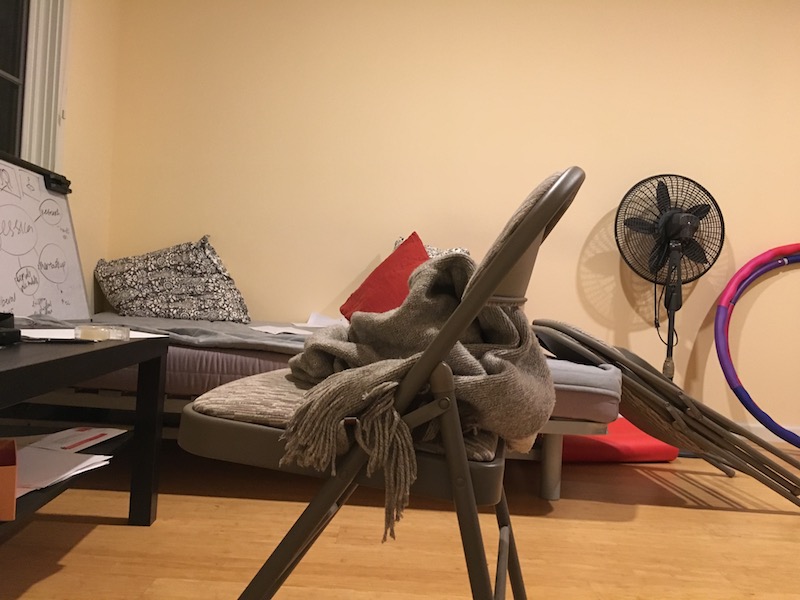
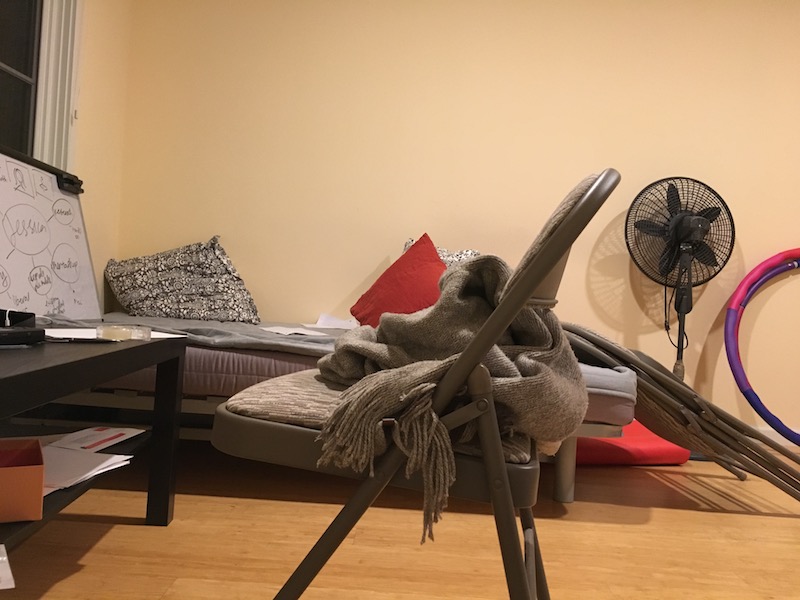
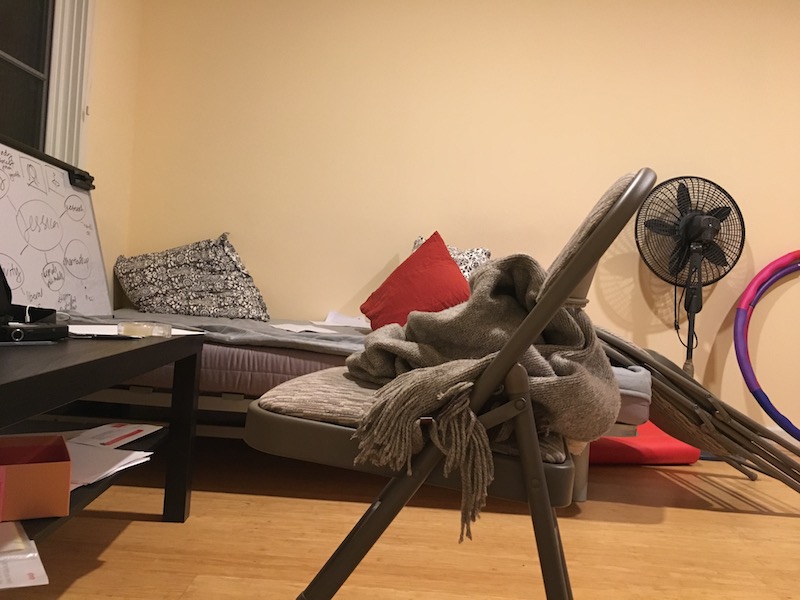
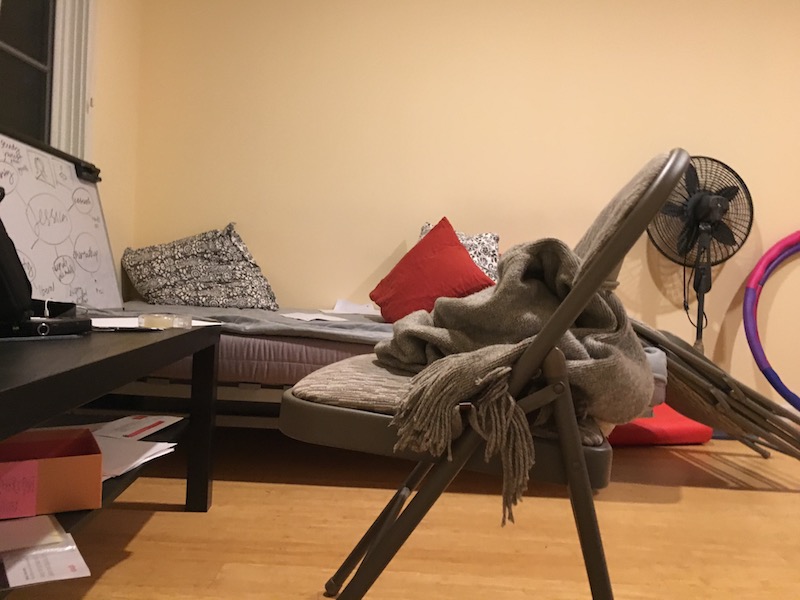
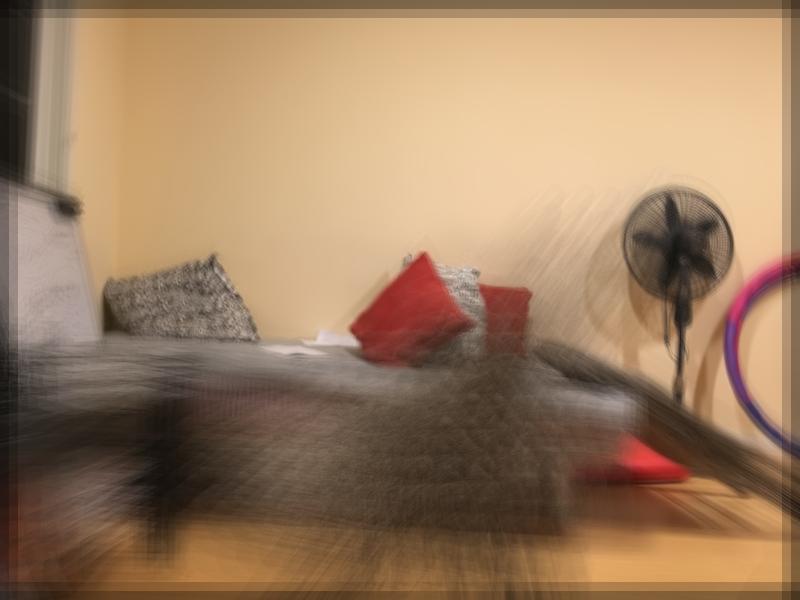
So I setup my iPhone on a 5x5 grid in a living room. I chose this setup because the vast difference in the depth of objects. I took the pictures following the order in Stanford Light Field Archive. The images I got can be seen below:
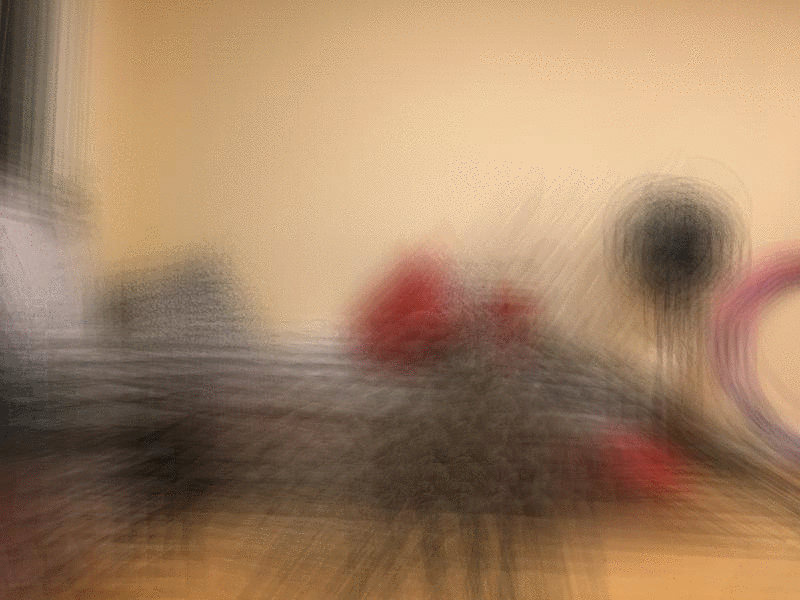
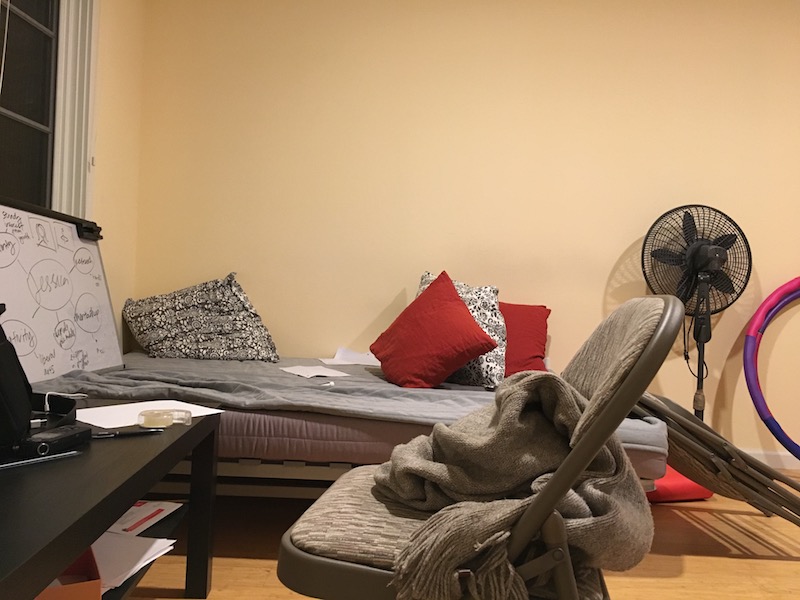
When I just take the average (without shifting), the result turns out to be quite unpromising. The whole image is just blurry.

alpha = 0 (pure average)
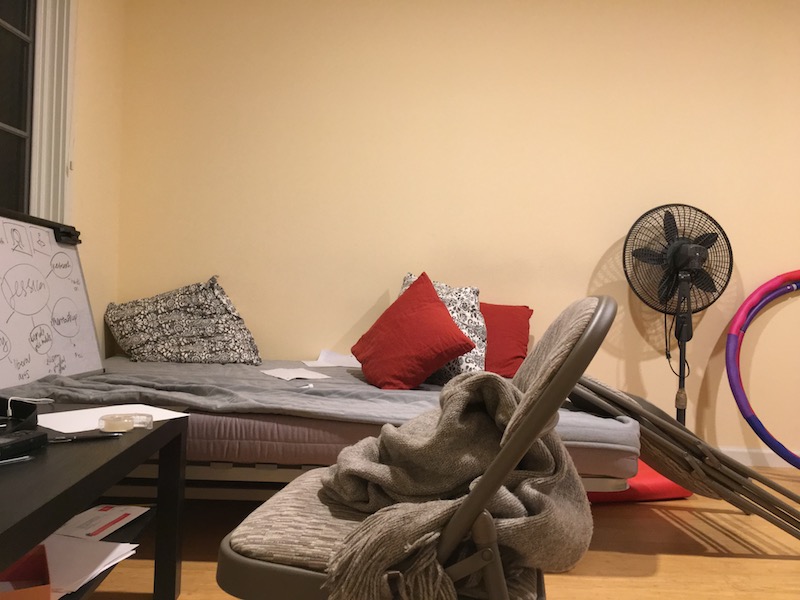
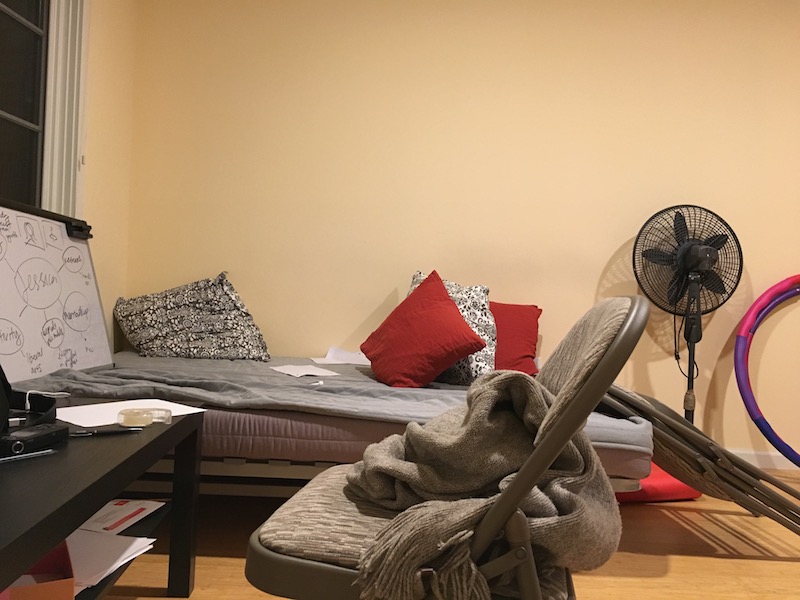
However, as I change the alpha, the lightfield is able to focus on a few things
alpha = 9, focused on the pillow in the back
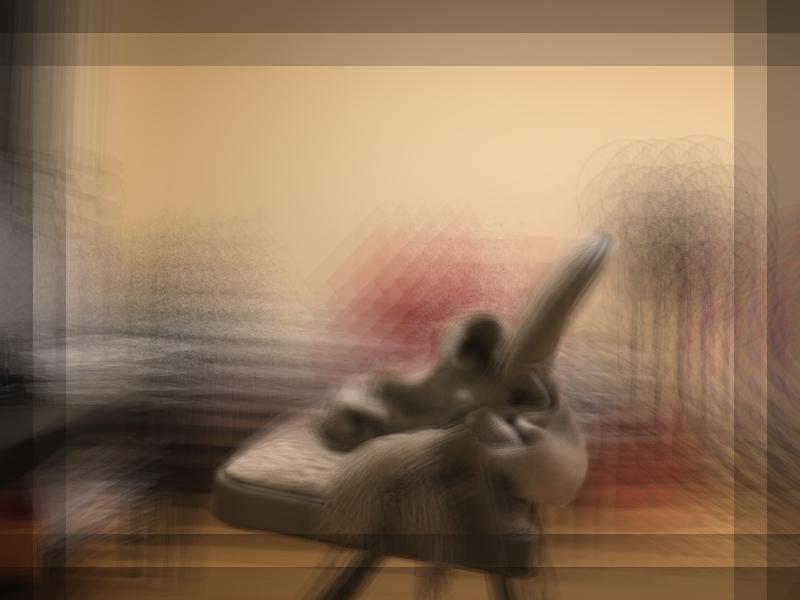
alpha = 33, focused on the chair
This is the final gif when I put the various alpha together