Overview
In this project, we manipulated the resulting dataset from a lightfield camera (i.e. a regularly-spaced grid of cameras) to produce different effects, such as refocusing the image after taking it or adjusting its aperture. The image dataset used was taken from the Stanford Light Field Archive, specifically the "Chess" image.
![]()
The dataset is comprised of 289 images, resulting from a 17 x 17
grid of cameras. These images have row and col
values associated with them (zero-indexed), as well as u and v
values, which represent the coordinates of the subaperture view.
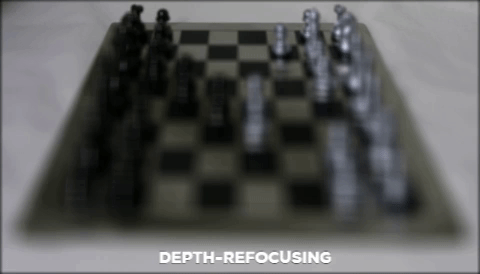
Depth Refocusing
In this section, the goal is to enable refocusing the depth of a scene even after we have taken the photo(s) of it. Because the images are taken by cameras regularly spaced in a grid, objects in the scene that are located closer to the camera array will change position significantly across images in the grid. Meanwhile, objects further away will appear to move less across images.
As a result, if we just average the images as-is, the foreground will
appear very blurry. In order to account for this, we can shift the
images to align with the image taken by the middle camera (located at
the 8th row and the 8th column, zero-indexed). More specifically, for
each camera that is not the center camera, we shift its image along the x-
and y-axes by the difference in uv-coordinates between it and the
center camera. That is, we shift it by (u_c-u, v_c-v),
where (u,v) are the other camera's uv-coordinates and
(u_c, v_c) are those of the center camera.
To generate images with varying focal lengths, we also used a
parameter c that adjusted how much the given image
would be shifted by. Our overall shift was thus: (c * (u_c-u), c * (v_c-v)).
The following GIF ranges from c=-0.3 to c=0.8.
These are the individual images:
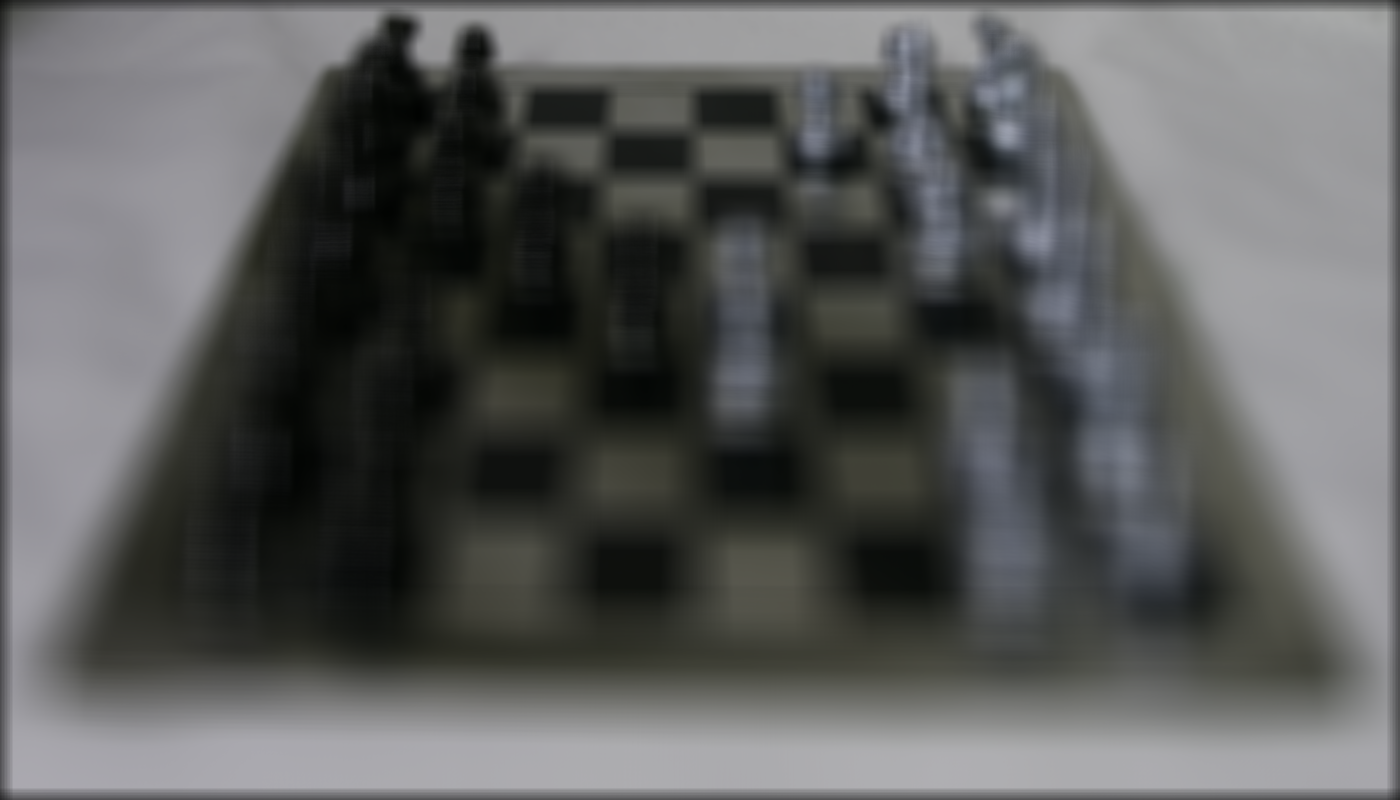
c=-0.3
c=-0.2
c=-0.1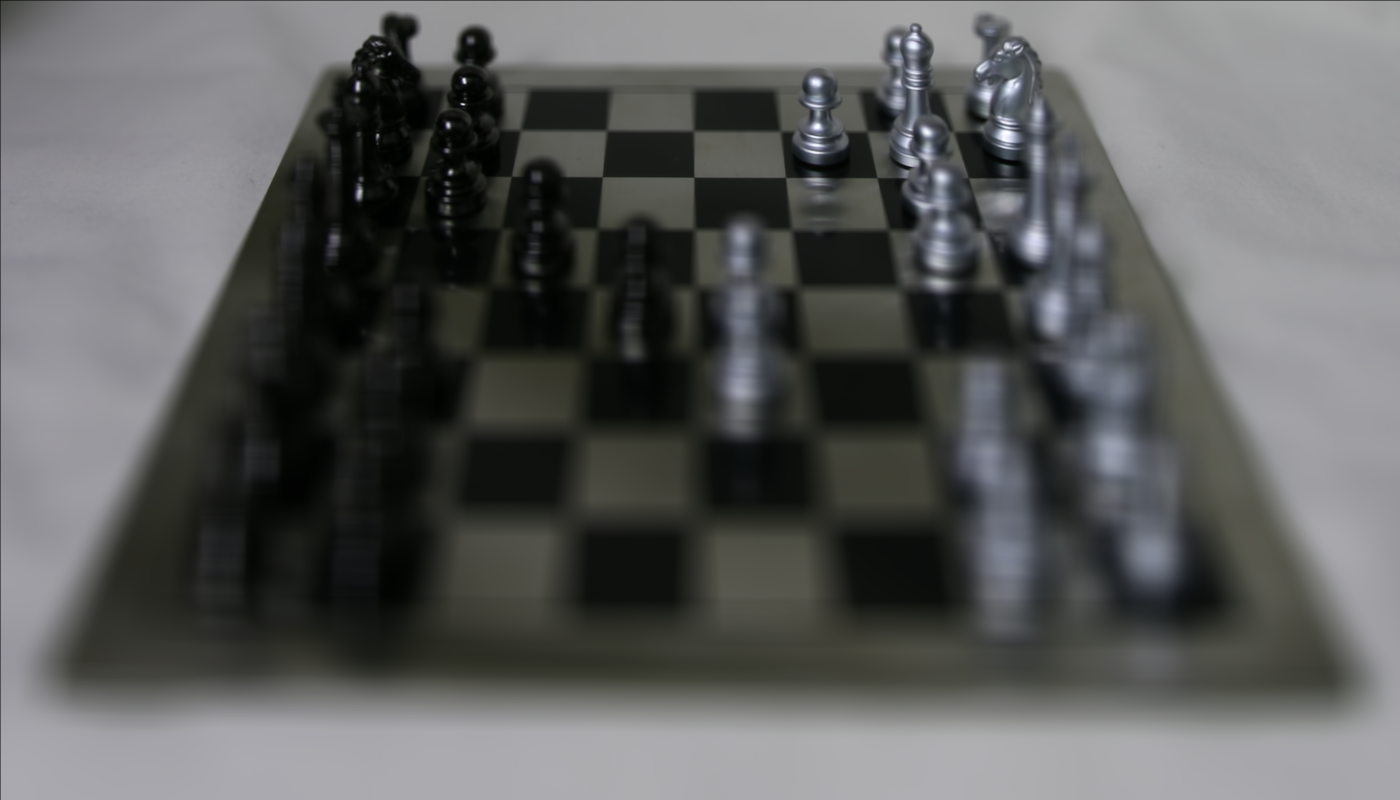
c=0.0
c=0.1
c=0.2
c=0.3
c=0.4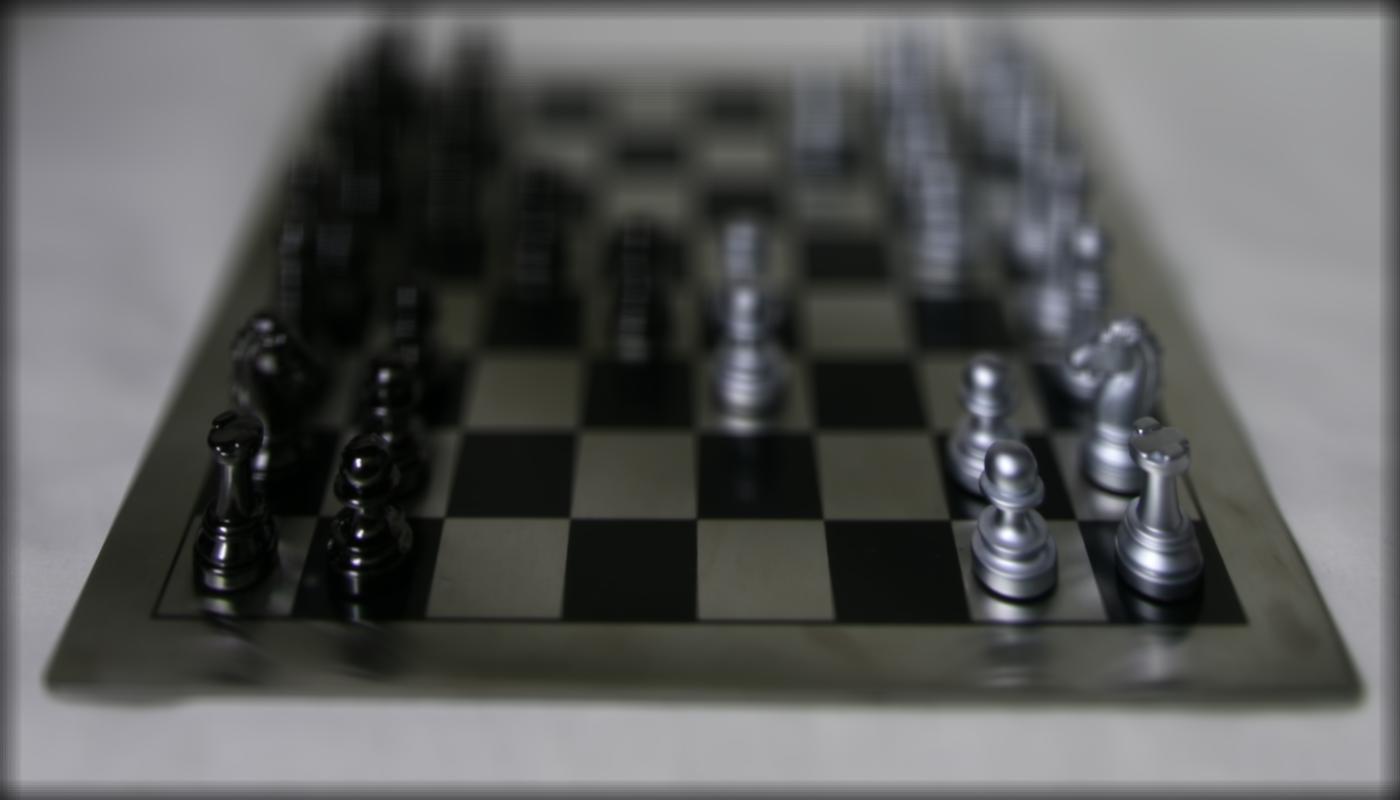
c=0.5
c=0.6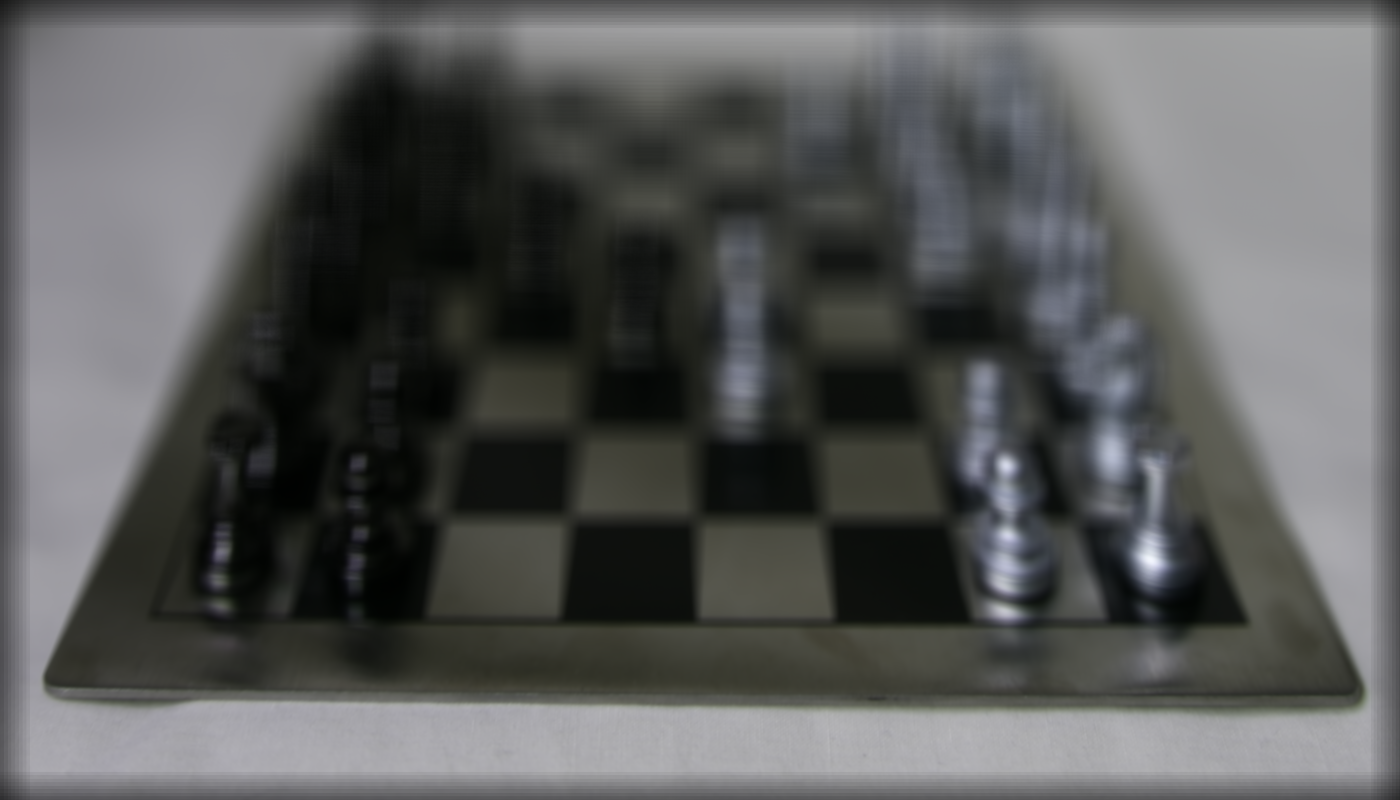
c=0.7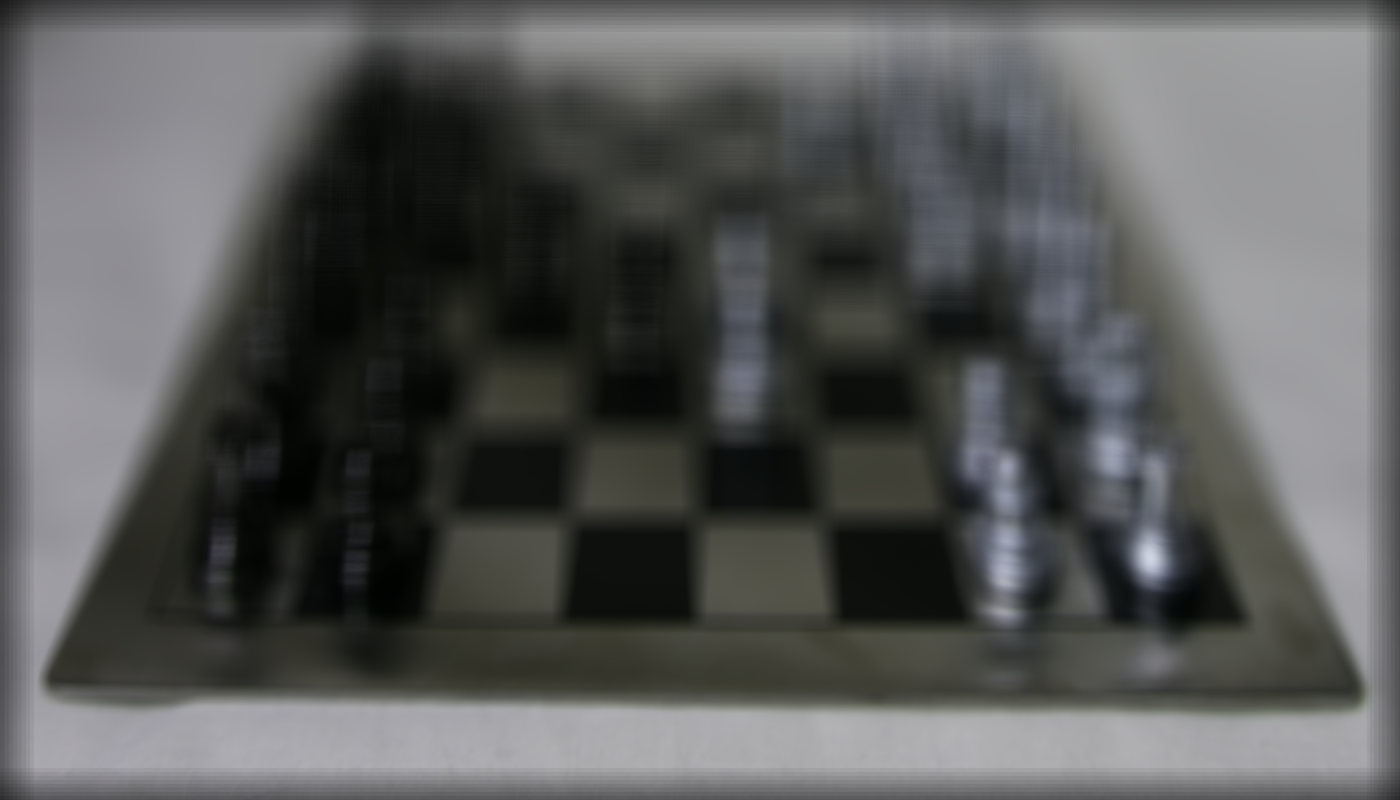
c=0.8Aperture Adjustment
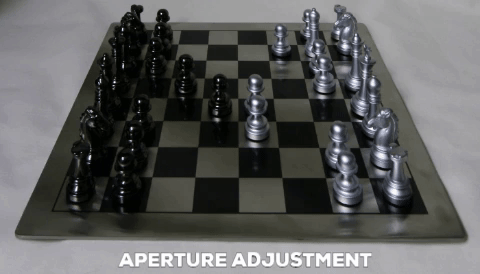
In this section, the goal is adjust the aperture of the image. Even though we have already taken the images, with a bit of post-processing, we mimic apertures of various sizes. This time, we choose to focus on a common point: the center camera at row 8, column 8 (zero-indexed). To "increase the aperture", we increase the radius of camera images we sample from and then average. For example, with a radius of 0, we'll only sample the center image; with a radius of 5, we'll sample from any camera within circular radius of 5 from the center camera.
Why does averaging multiple images simulate us the effect of taking a camera with a larger aperture? We see that more samples further from the center camera will result in an increased radius of blurriness. This is because these cameras had a different perspective (i.e. captured rays of light from different directions), similar to how an increased aperture allows more light to arrive from different directions as well. In other words: more image samples simulates getting "more light."
The following GIF ranges from radius=0 to radius=12.
These are the individual images:
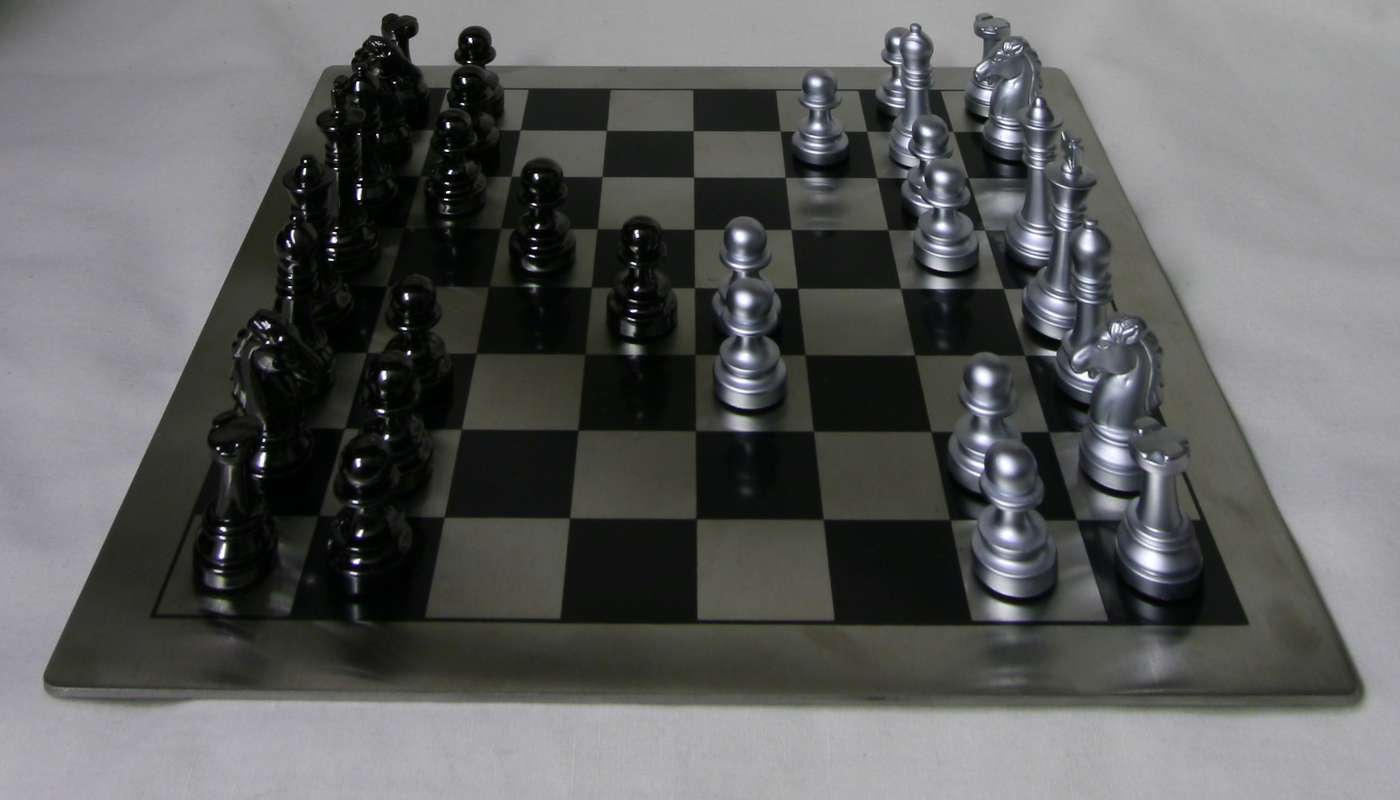
radius=0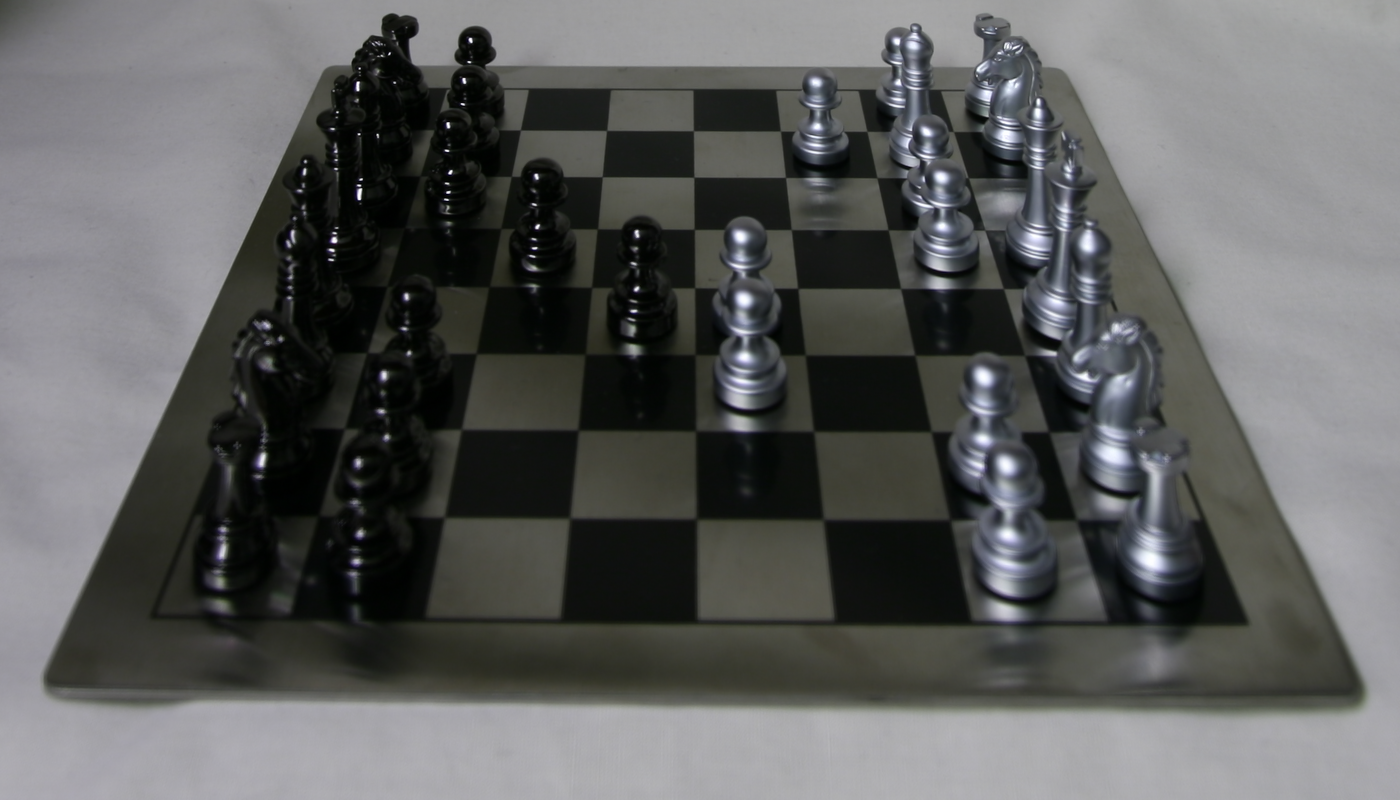
radius=1
radius=2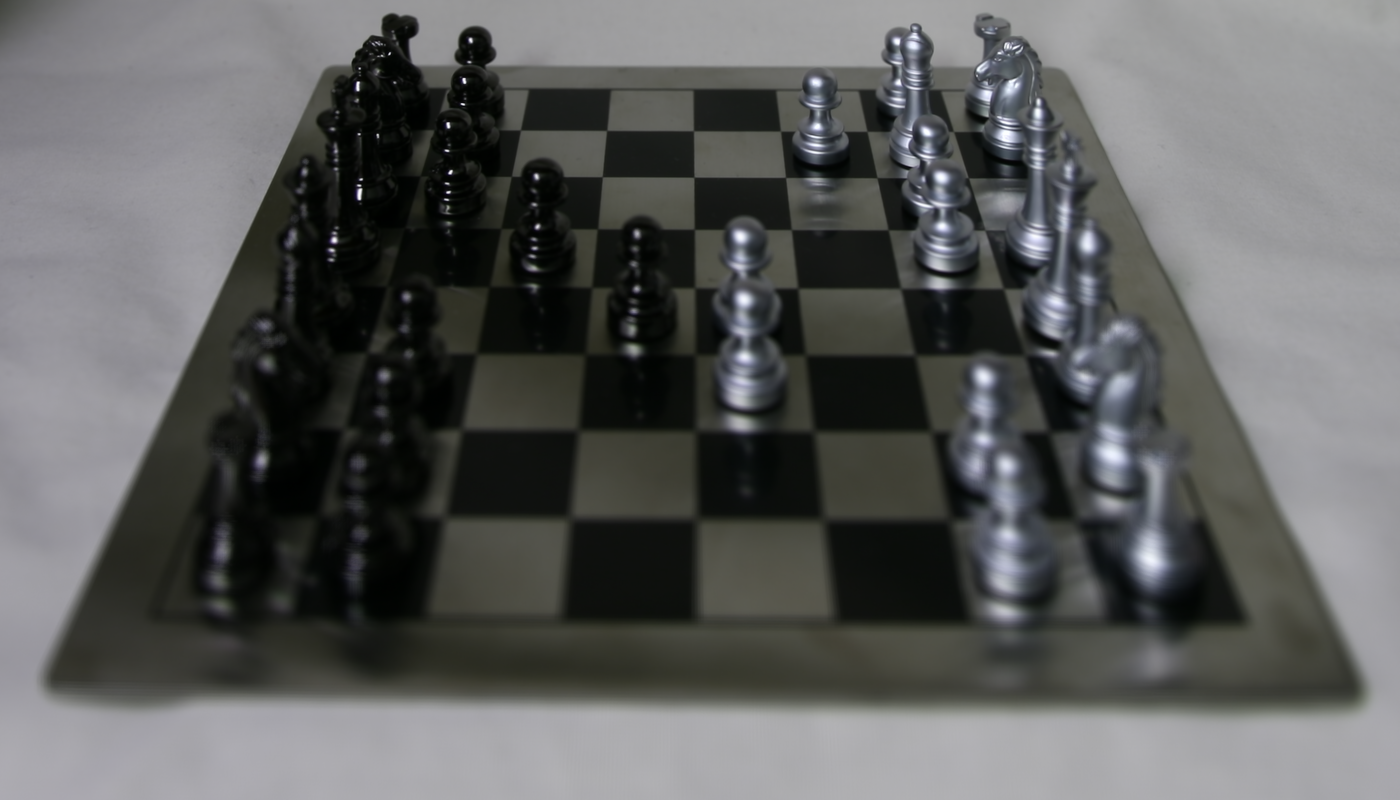
radius=3
radius=4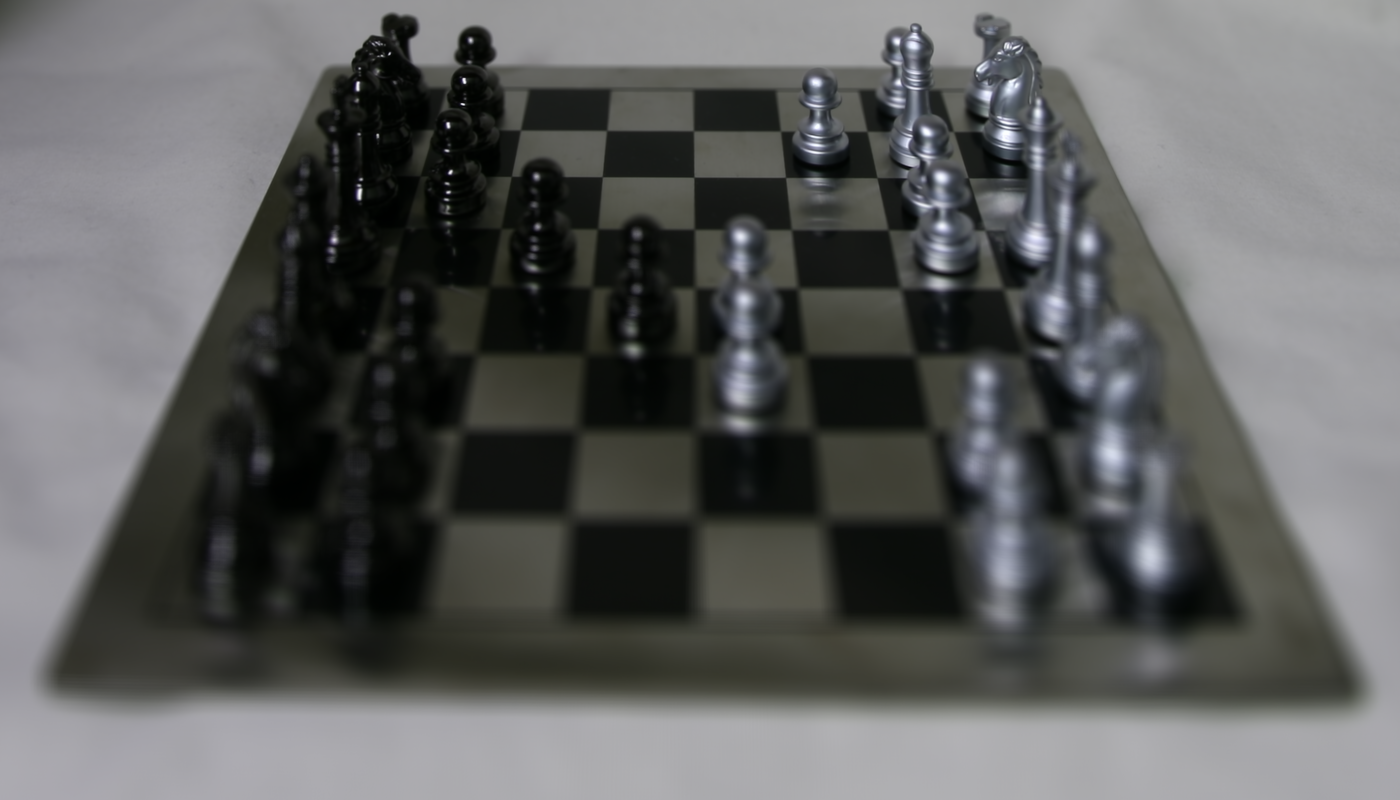
radius=5
radius=6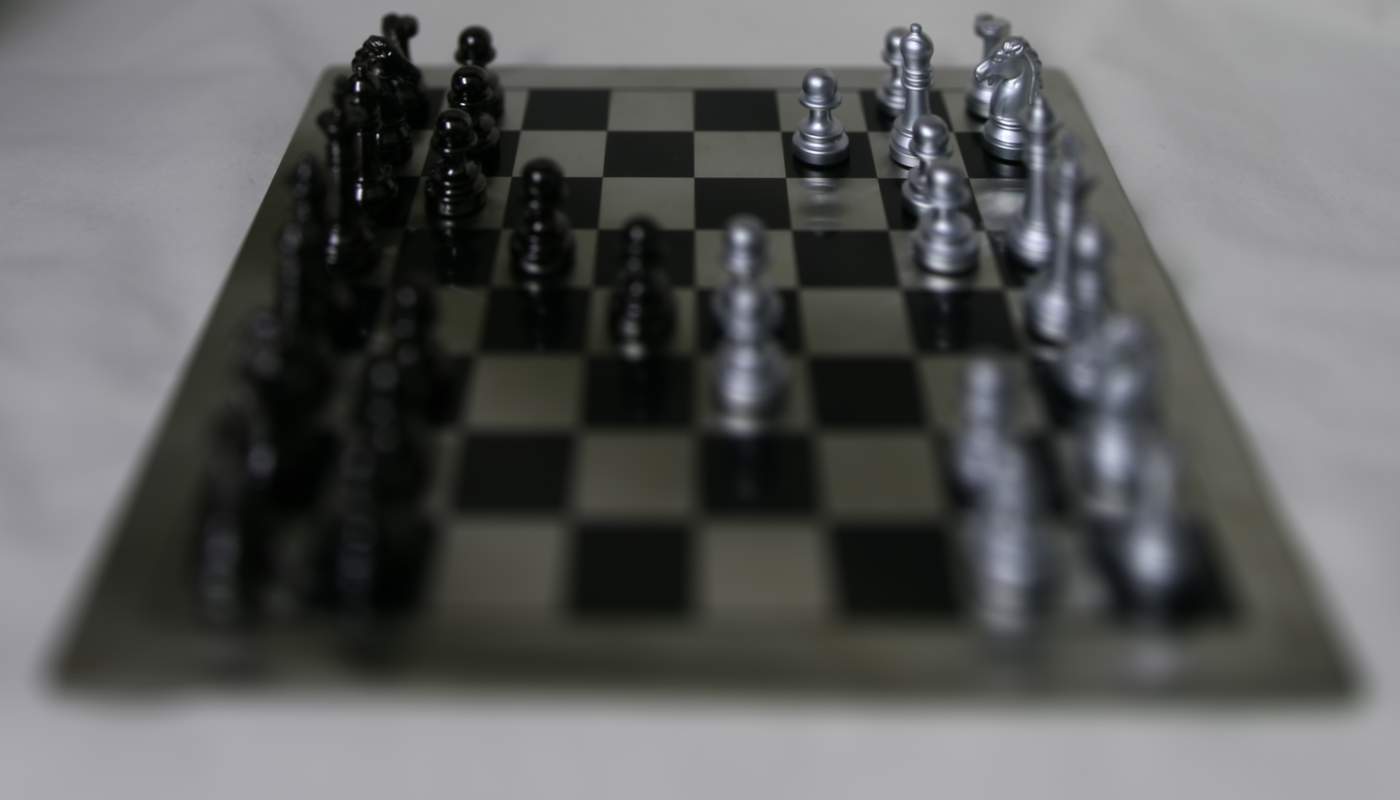
radius=7
radius=8
radius=9
radius=10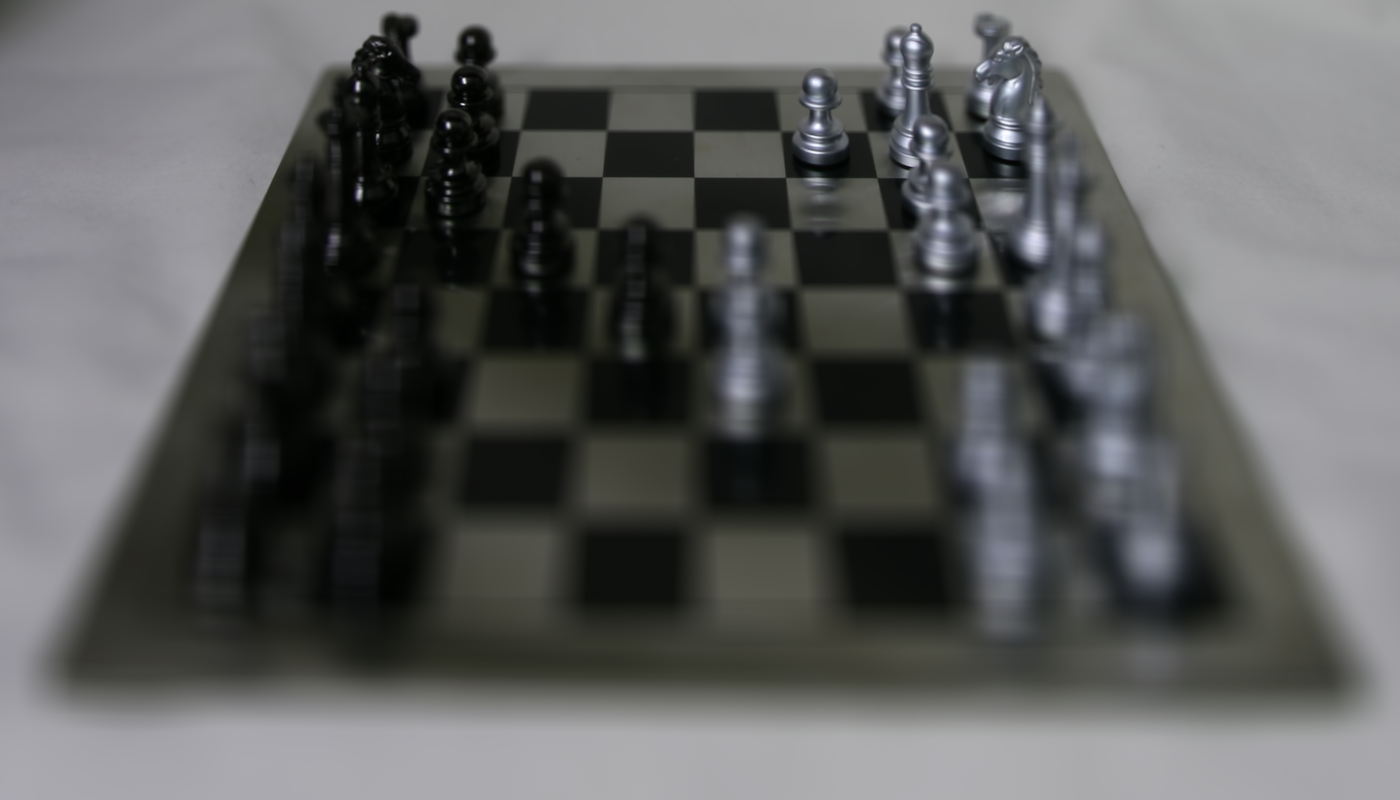
radius=11
radius=12Summary
All in all, this project gives us a glimpse of the advanced post-processing effects we can achieve using lightfield cameras over the typical single-sensor camera. There is a lot of creative flexibility that can be unlocked using these techniques! Moreover, the data that a lightfield gives us is higher dimensional than a single-sensor camera because it simutaneously captures many directions of light. This higher dimensionality allows us to later simulate effects like depth refocusing and aperture adjustment by taking advantage of this extra light information.
Acknowledgements
GIFs were created with Giphy's GIF-maker.