Project 6A: Image Warping and Mosaicing
| Author: | Tianrui Guo <aab> |
|---|
Project Spec: https://inst.eecs.berkeley.edu/~cs194-26/fa18/hw/proj6/
Project Writeup
Project Overview
The goal of this project is to warp images to create image mosaics.
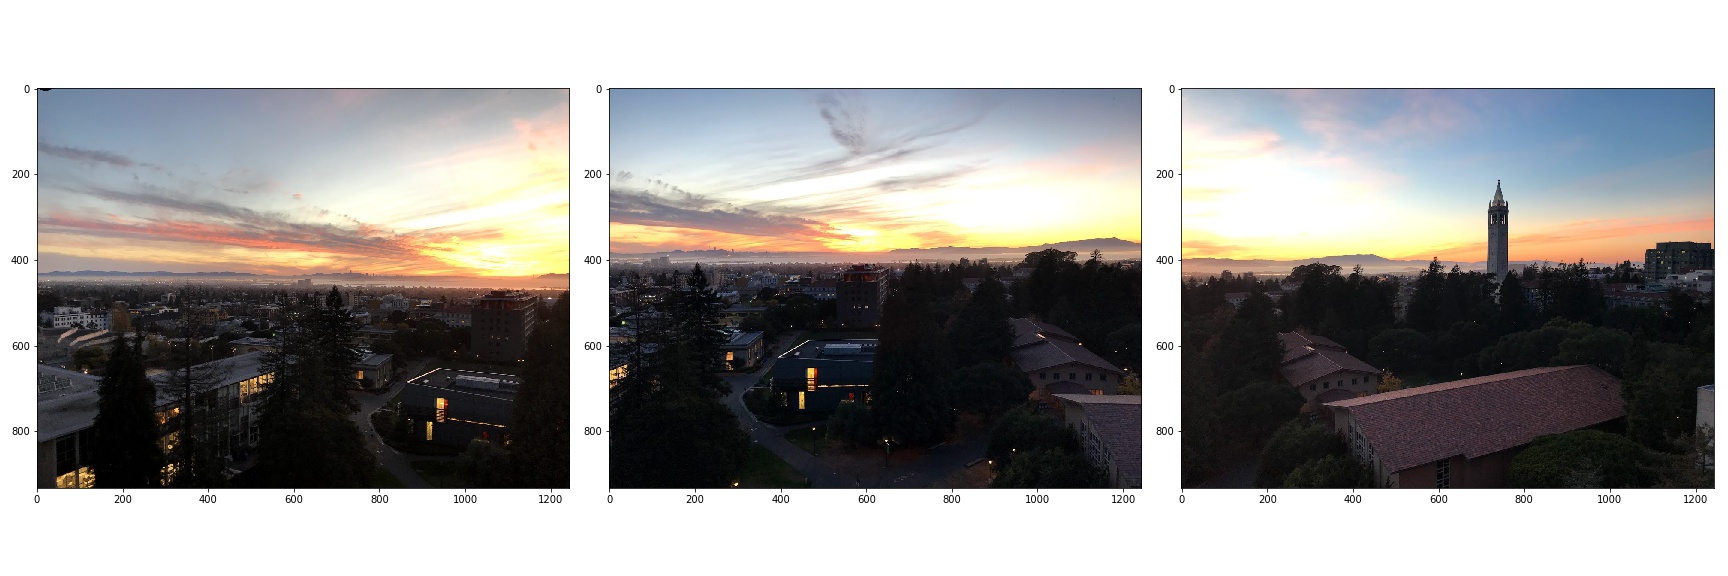
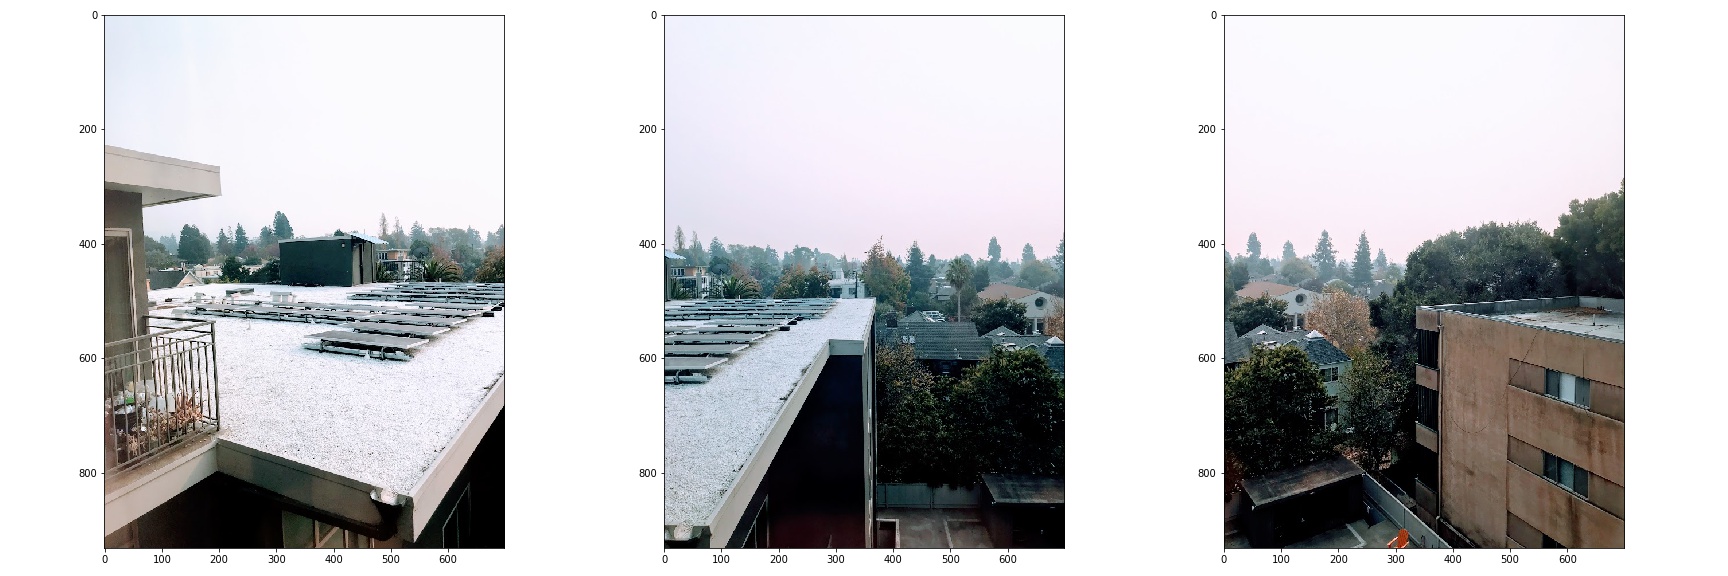
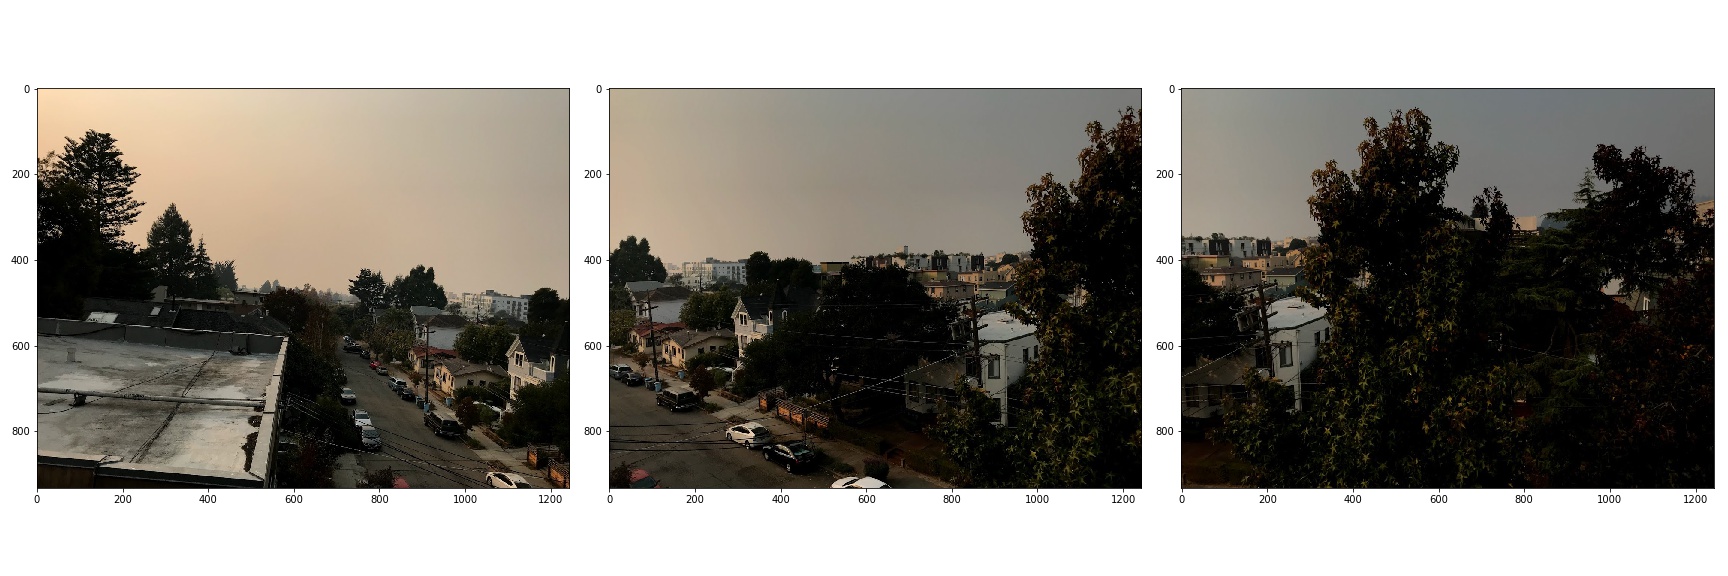
Shoot the Pictures
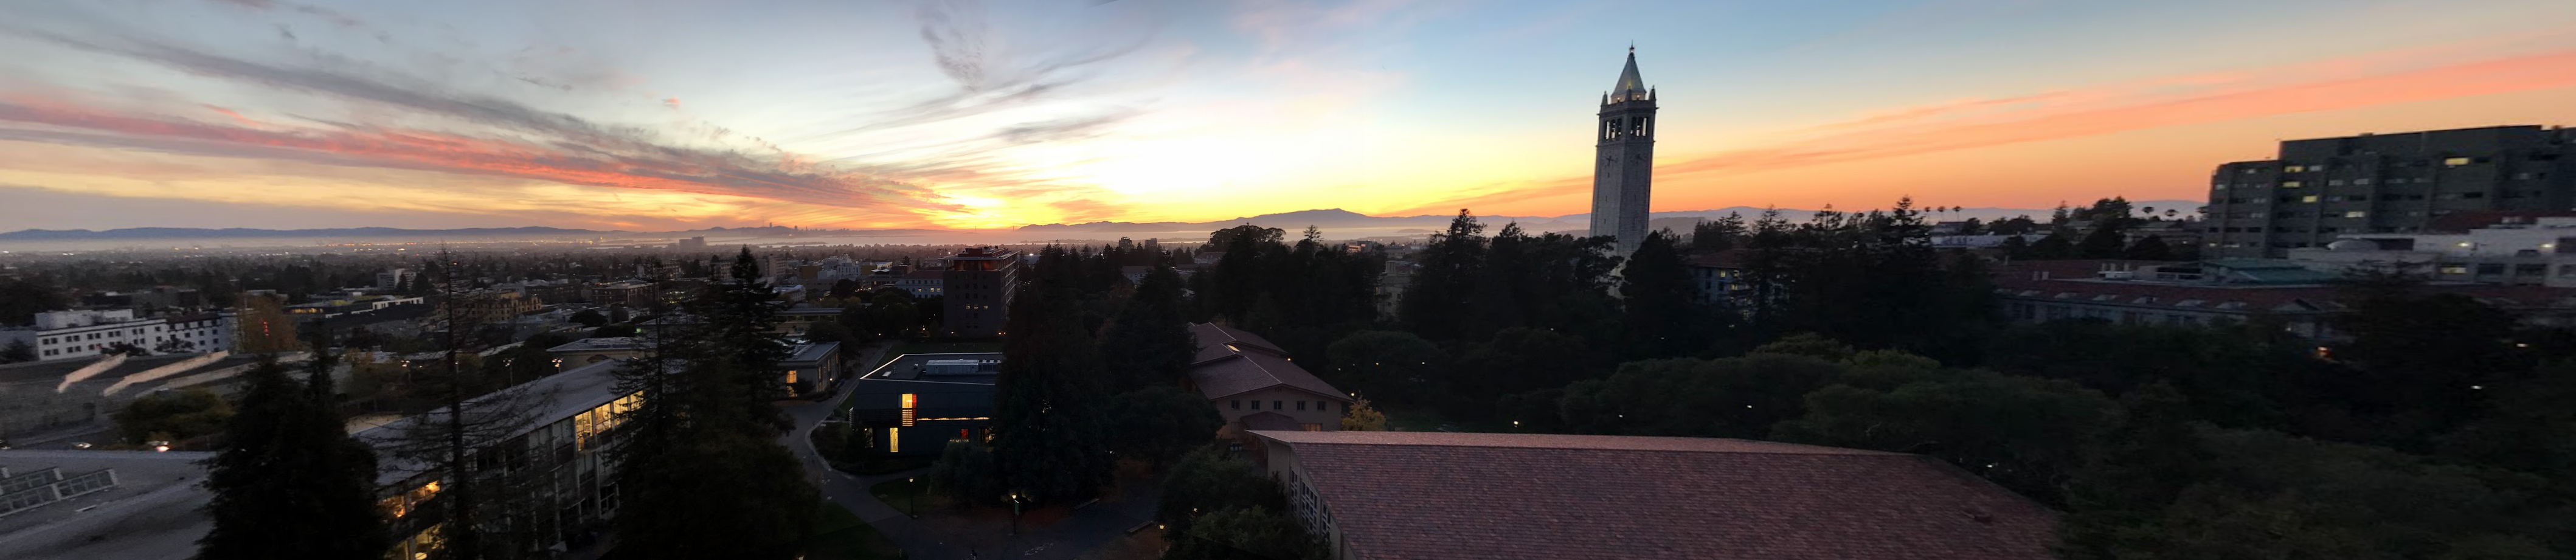
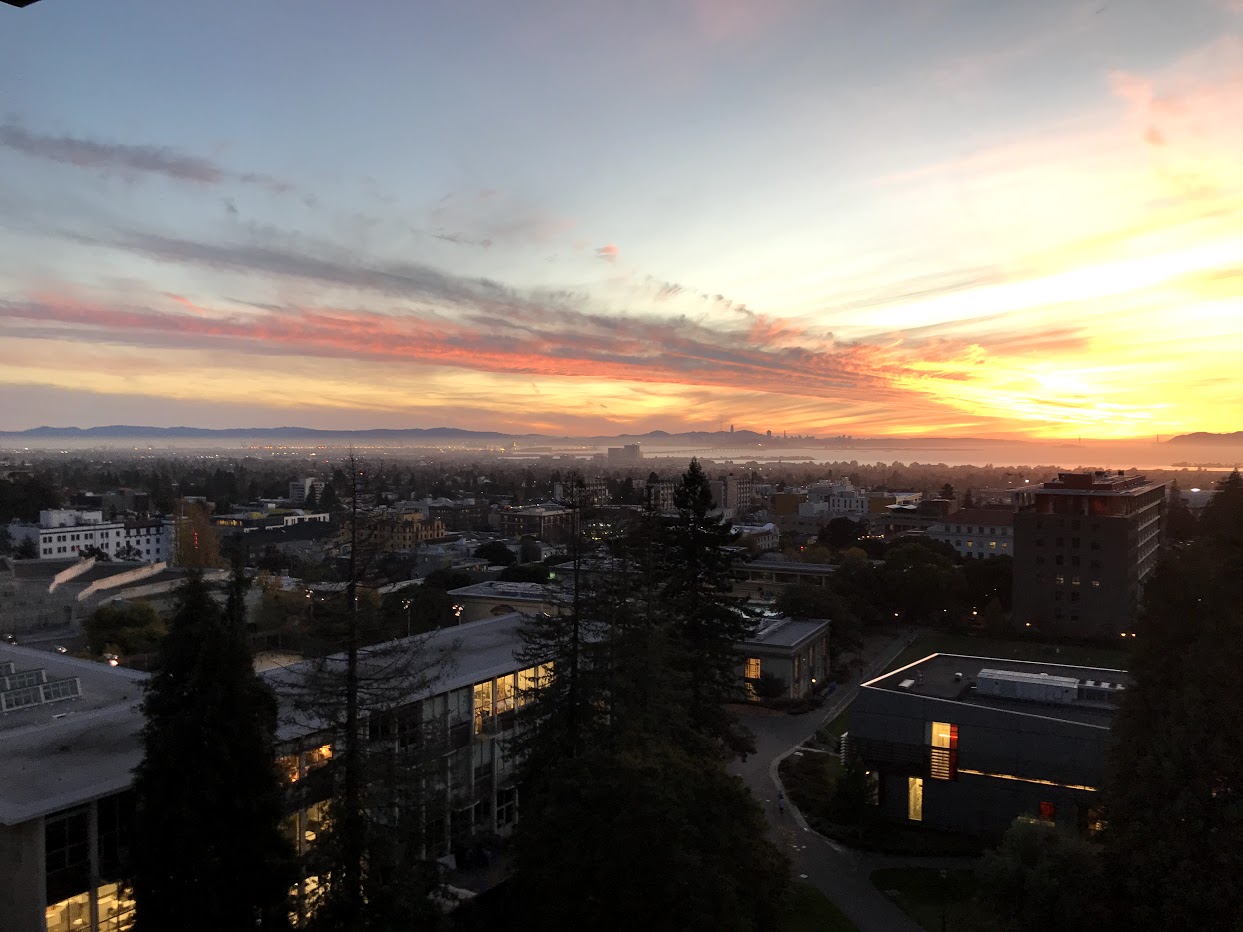
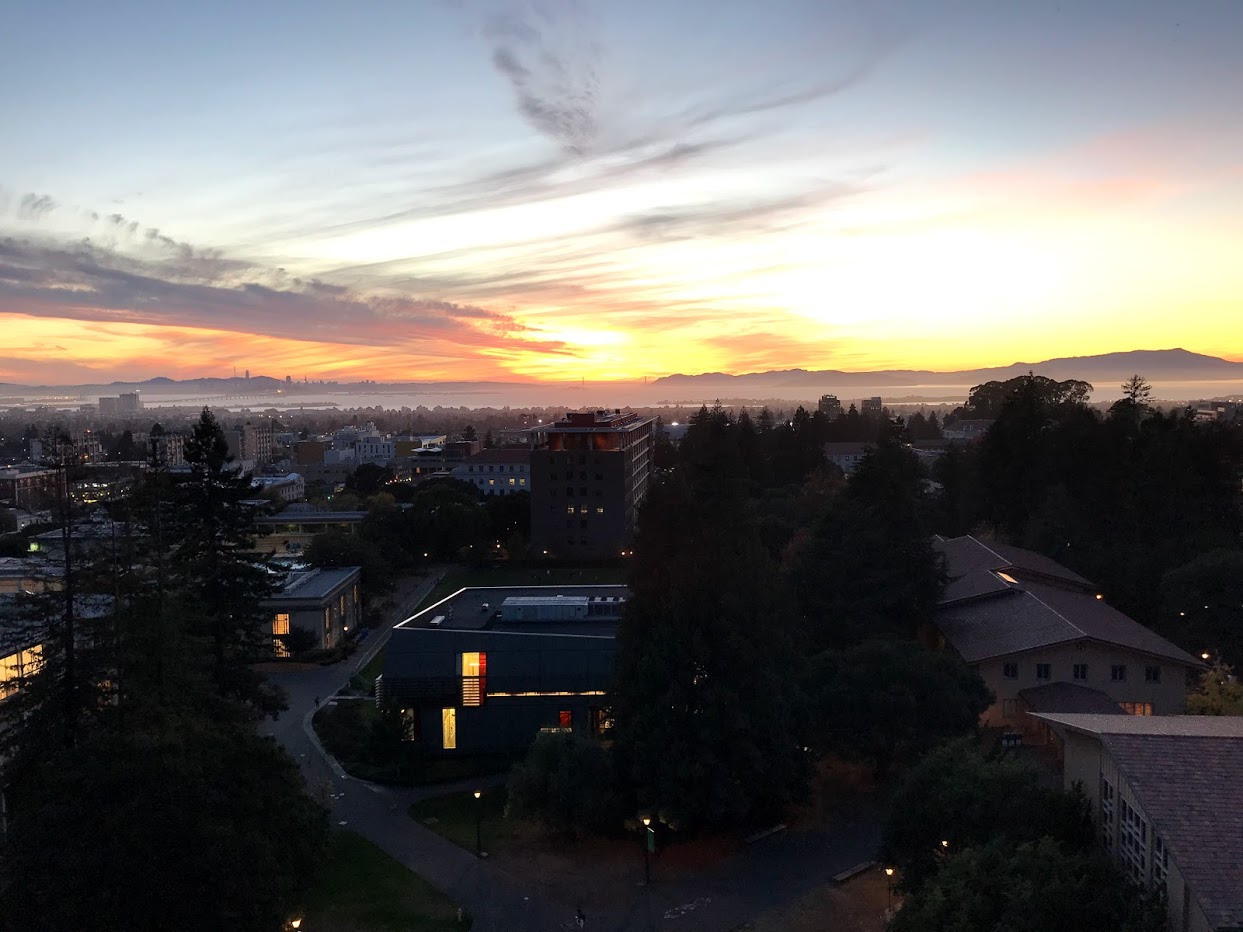
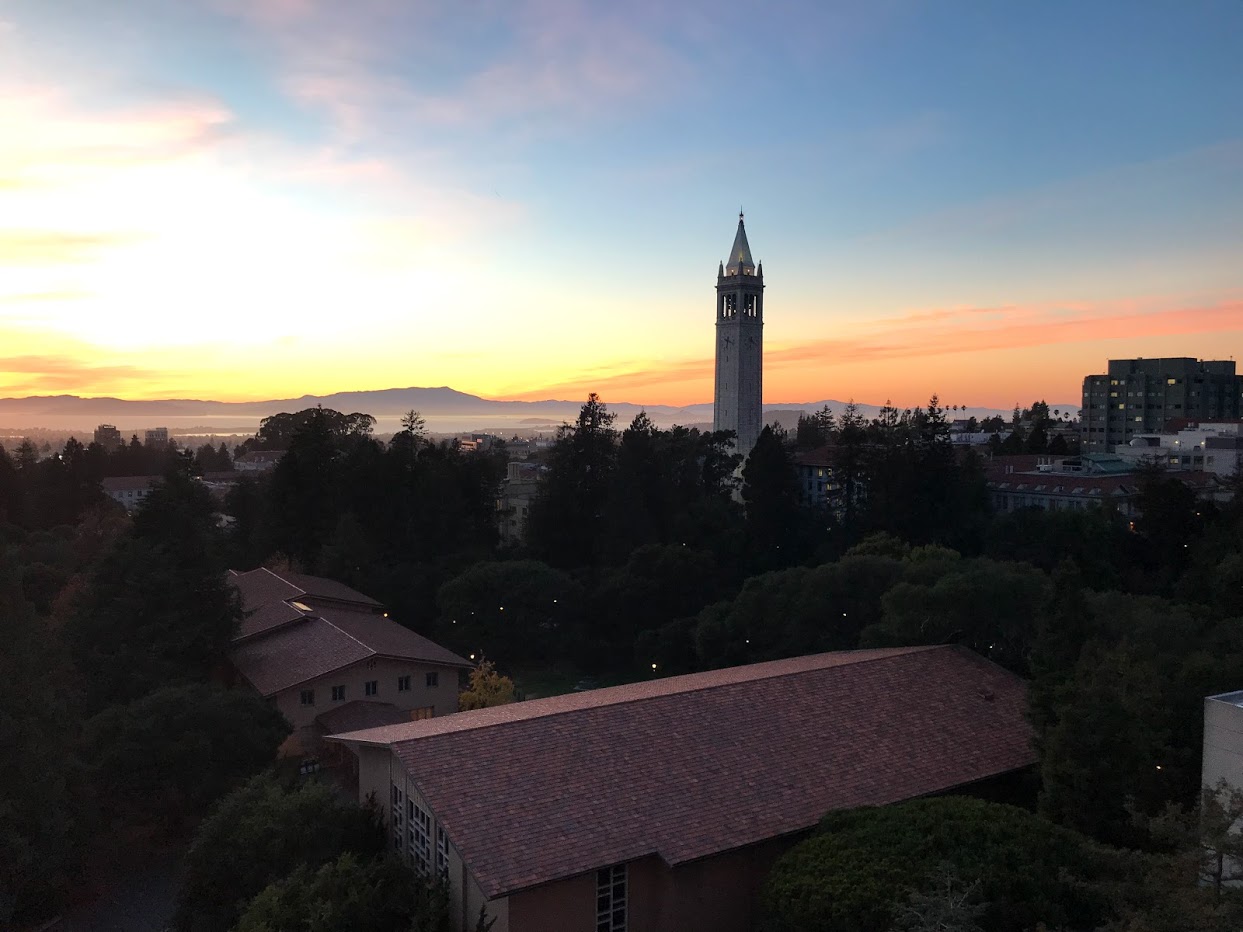
This first part of this project involved taking some pictures. When taking multiple photographs to merge together for an image mosaic, it is important to lock the focal length and exposure, and to ensure that the axis of rotation goes through the camera lens. Here is one sequence of photographs that I took:
Recover Homographies
The next part of the project is to label point correspondences in the images
and compute the transformation between two sets of corresponding points. To
select point correspondences, I used Matlab’s cpselect tool, and I tried to
select points that correspond to corners for better accuracy.
Once we have these point correspondences, the next thing to do is to find the transformation between points in two images. The transformation in this case is a homography, and the equation that describes the transformation is:
Where \(w\) is some unknown value for each pair of points and \(H\) is the matrix that we are trying to solve for. Expanding out the multiplication, we get:
We can see that if we multiply the last equation by \(x'\) or \(y'\), we can substitute the right hand side into the top two equations to eliminate \(w\). Thus, we now have a system of linear equations of the form:
Since there are 8 unknown values and each pair of points yields two new equations, we need 4 pairs of points to recover the homography. However, in this project, I chose between 16 and 24 pairs of points for each pair of images, and then found the least squares estimate for the values of \(H\). This helps to reduce the effects of imprecise point picking.
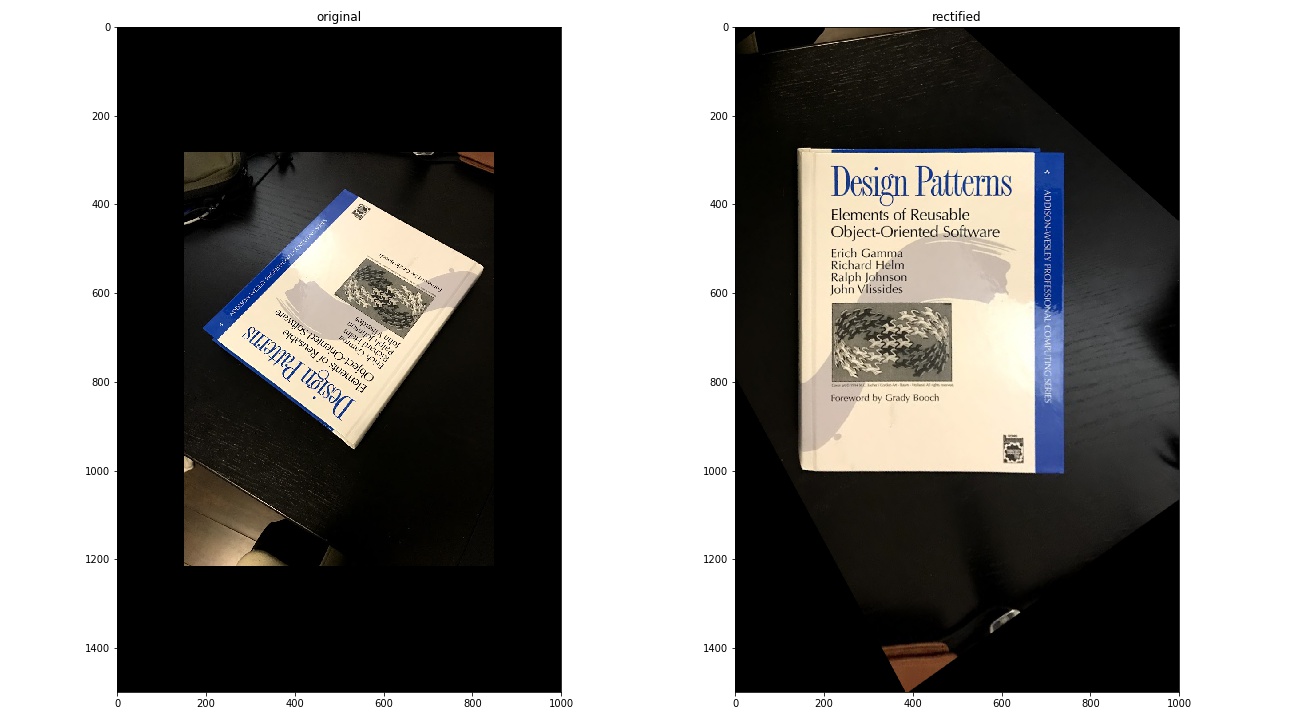
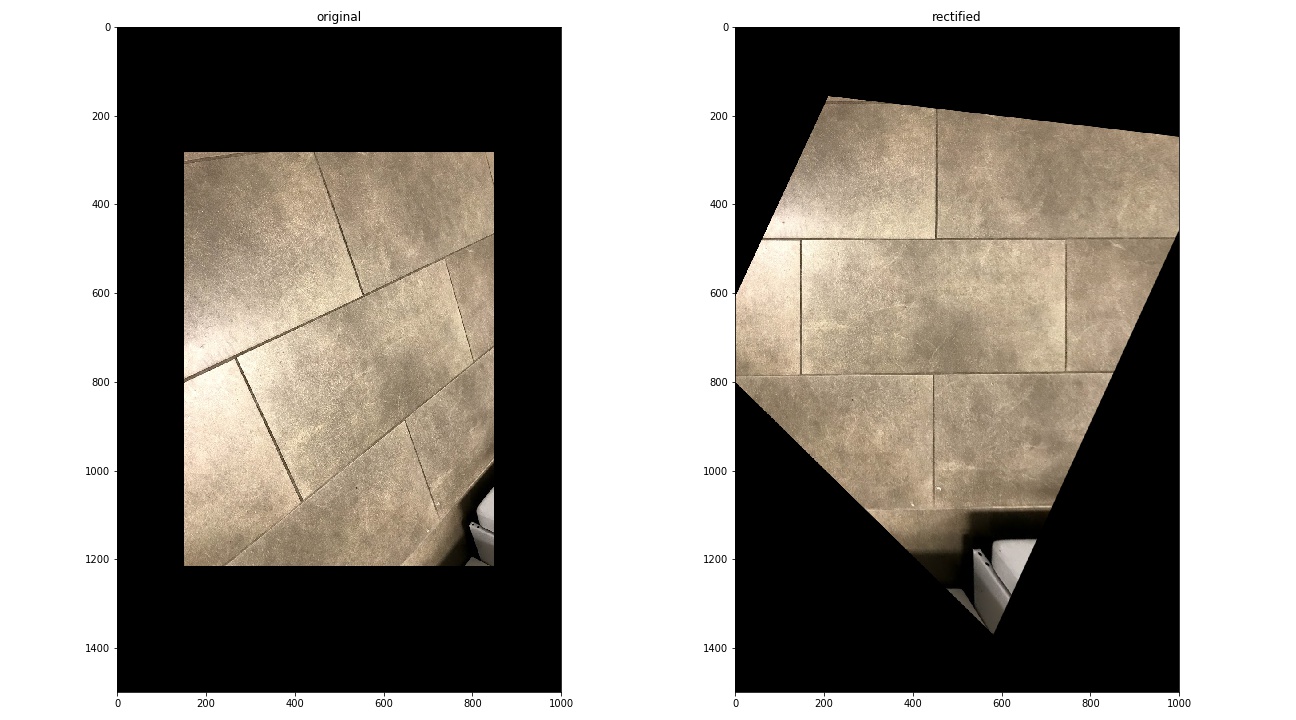
Image Rectification
Now that we have a function to compute homographies, we can use that to rectify images. The idea here is that we can take a picture of something rectangular at an off angle, select the corners of the rectangle, and then compute a homography that maps those corners into a rectangle. Here are the results:
Book
Tiles
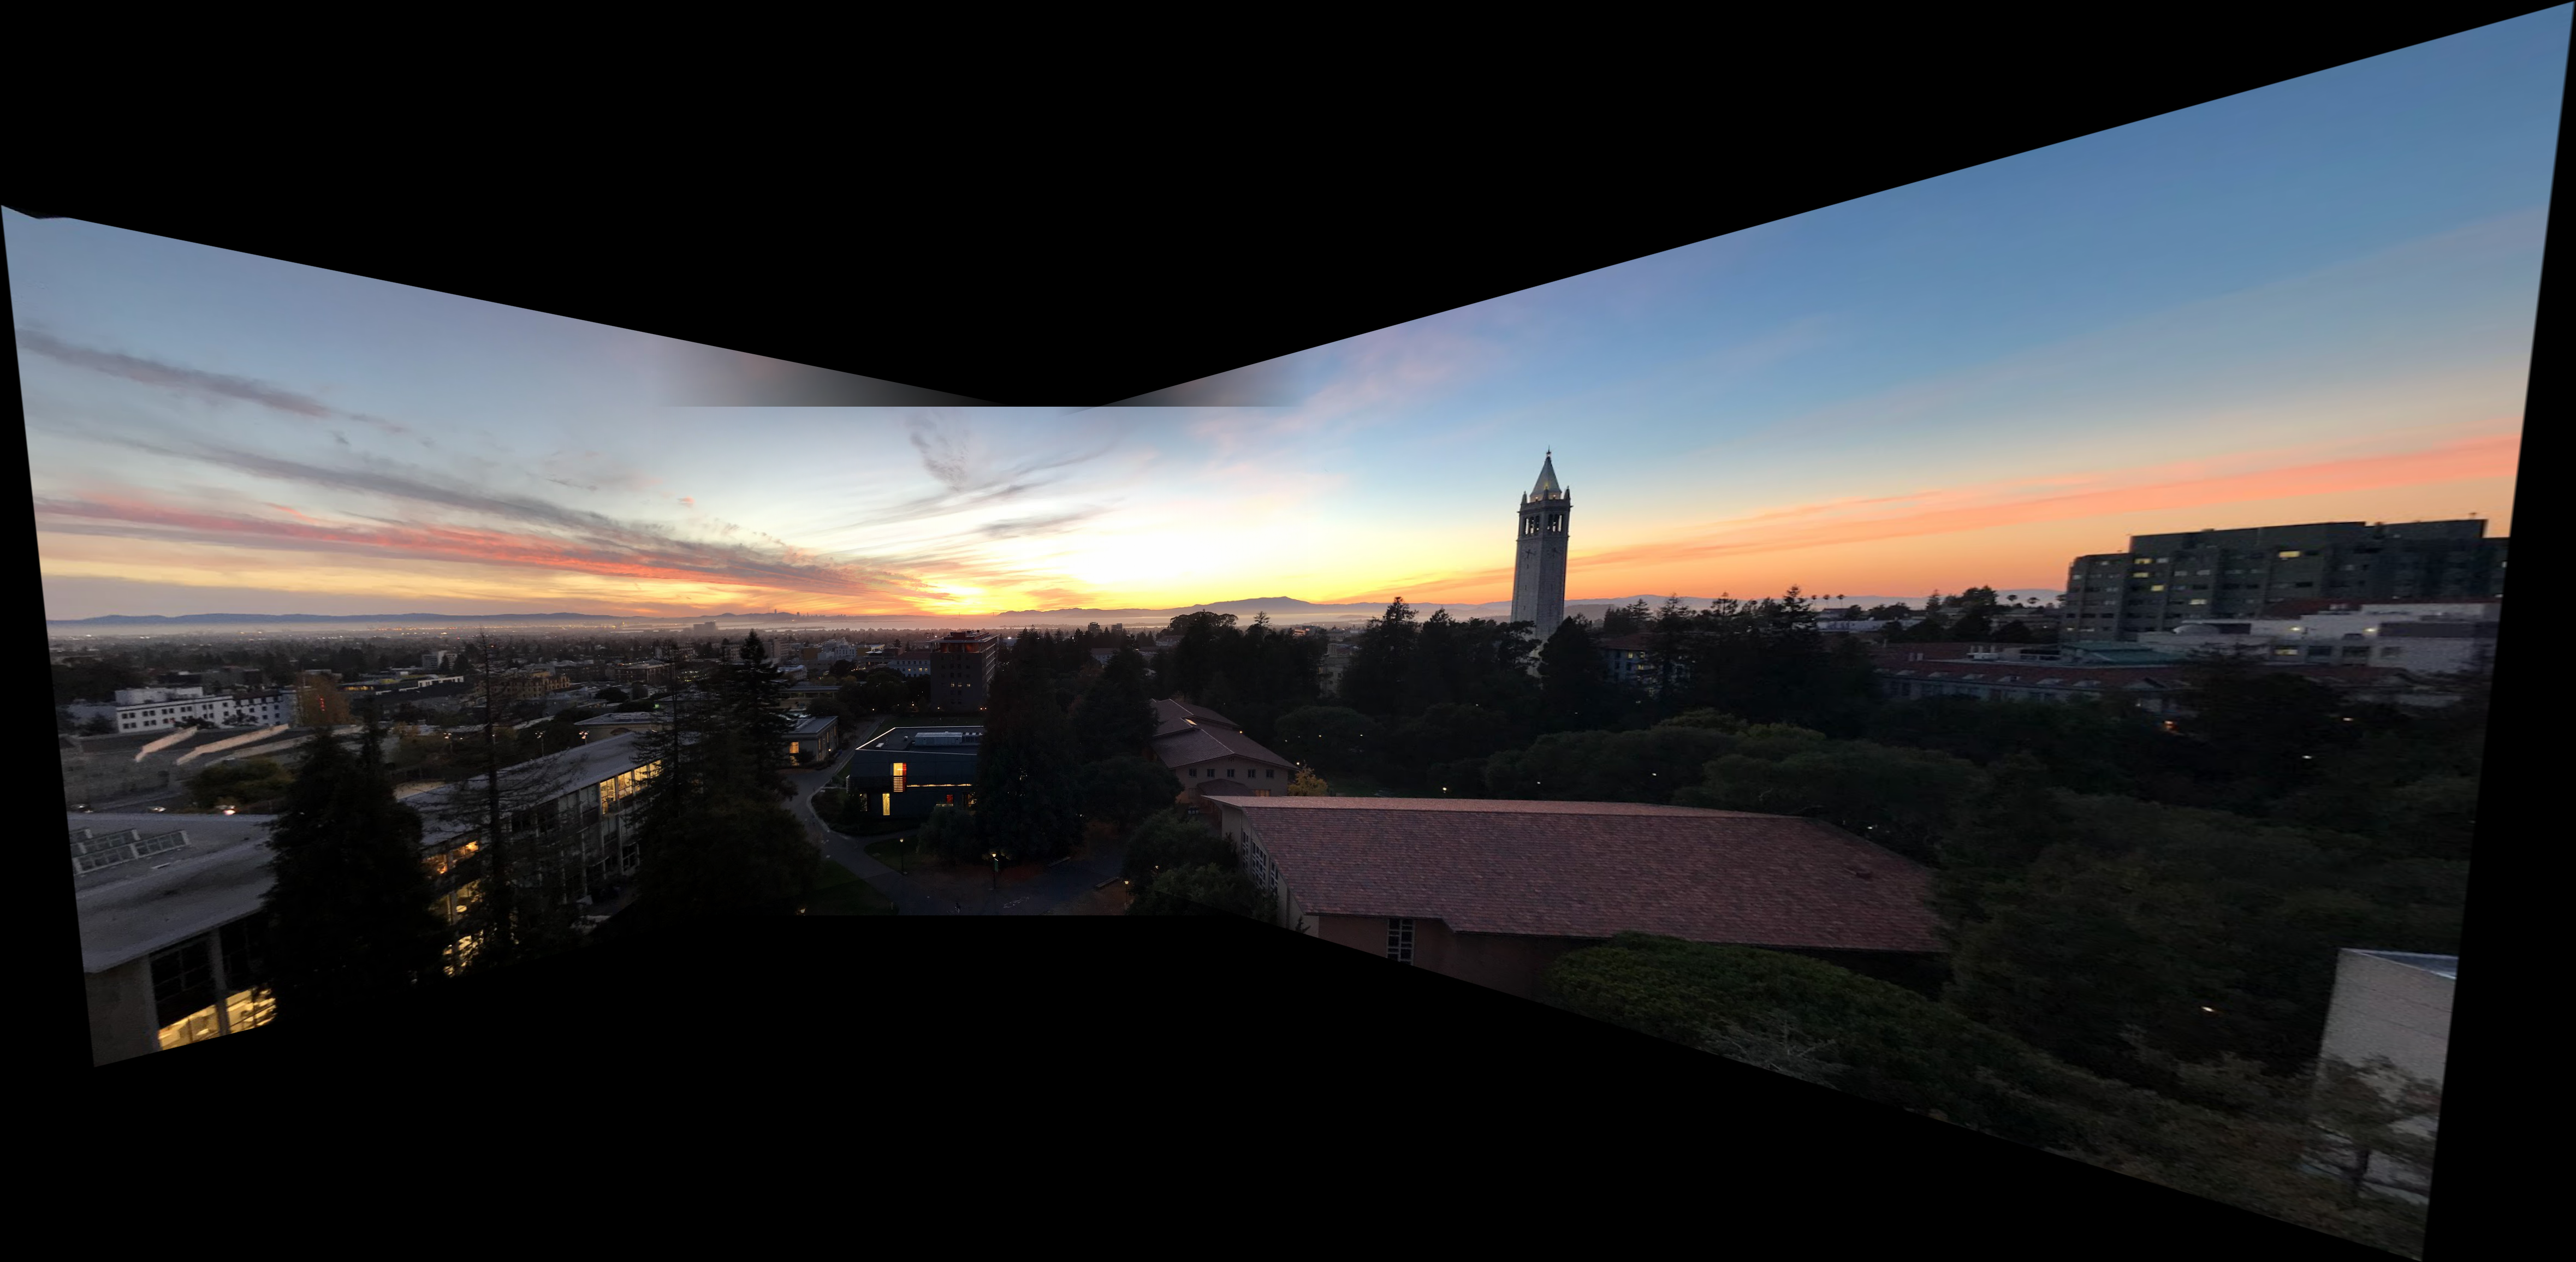
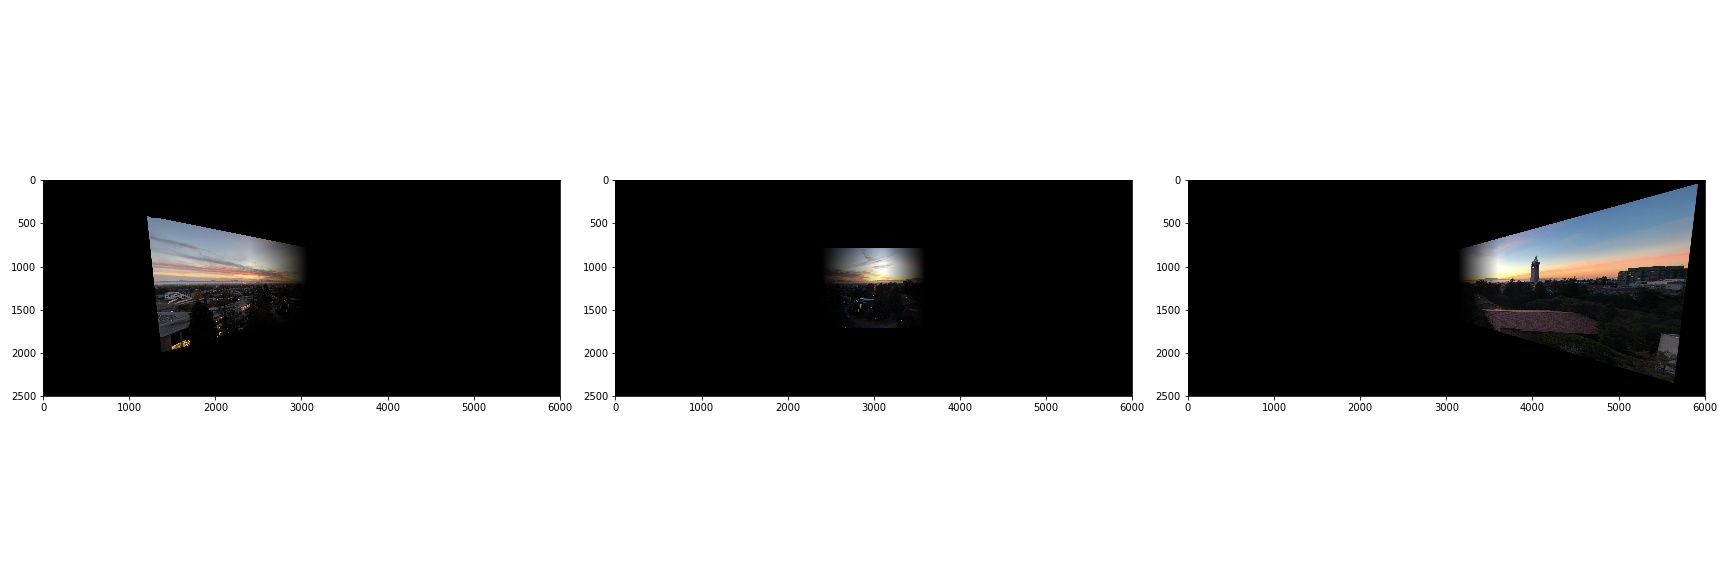
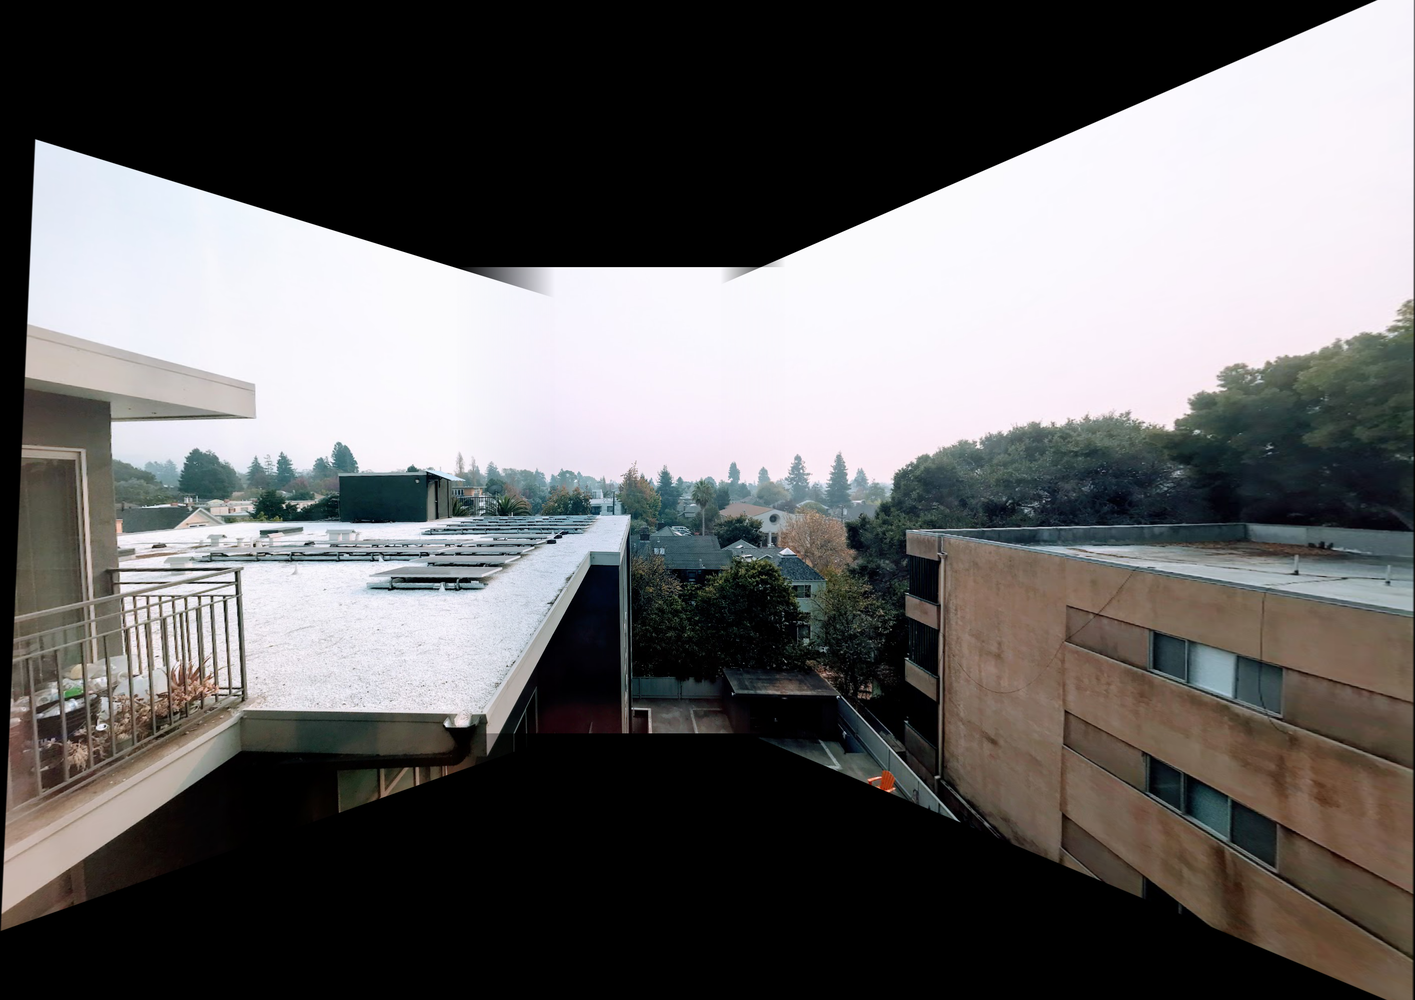
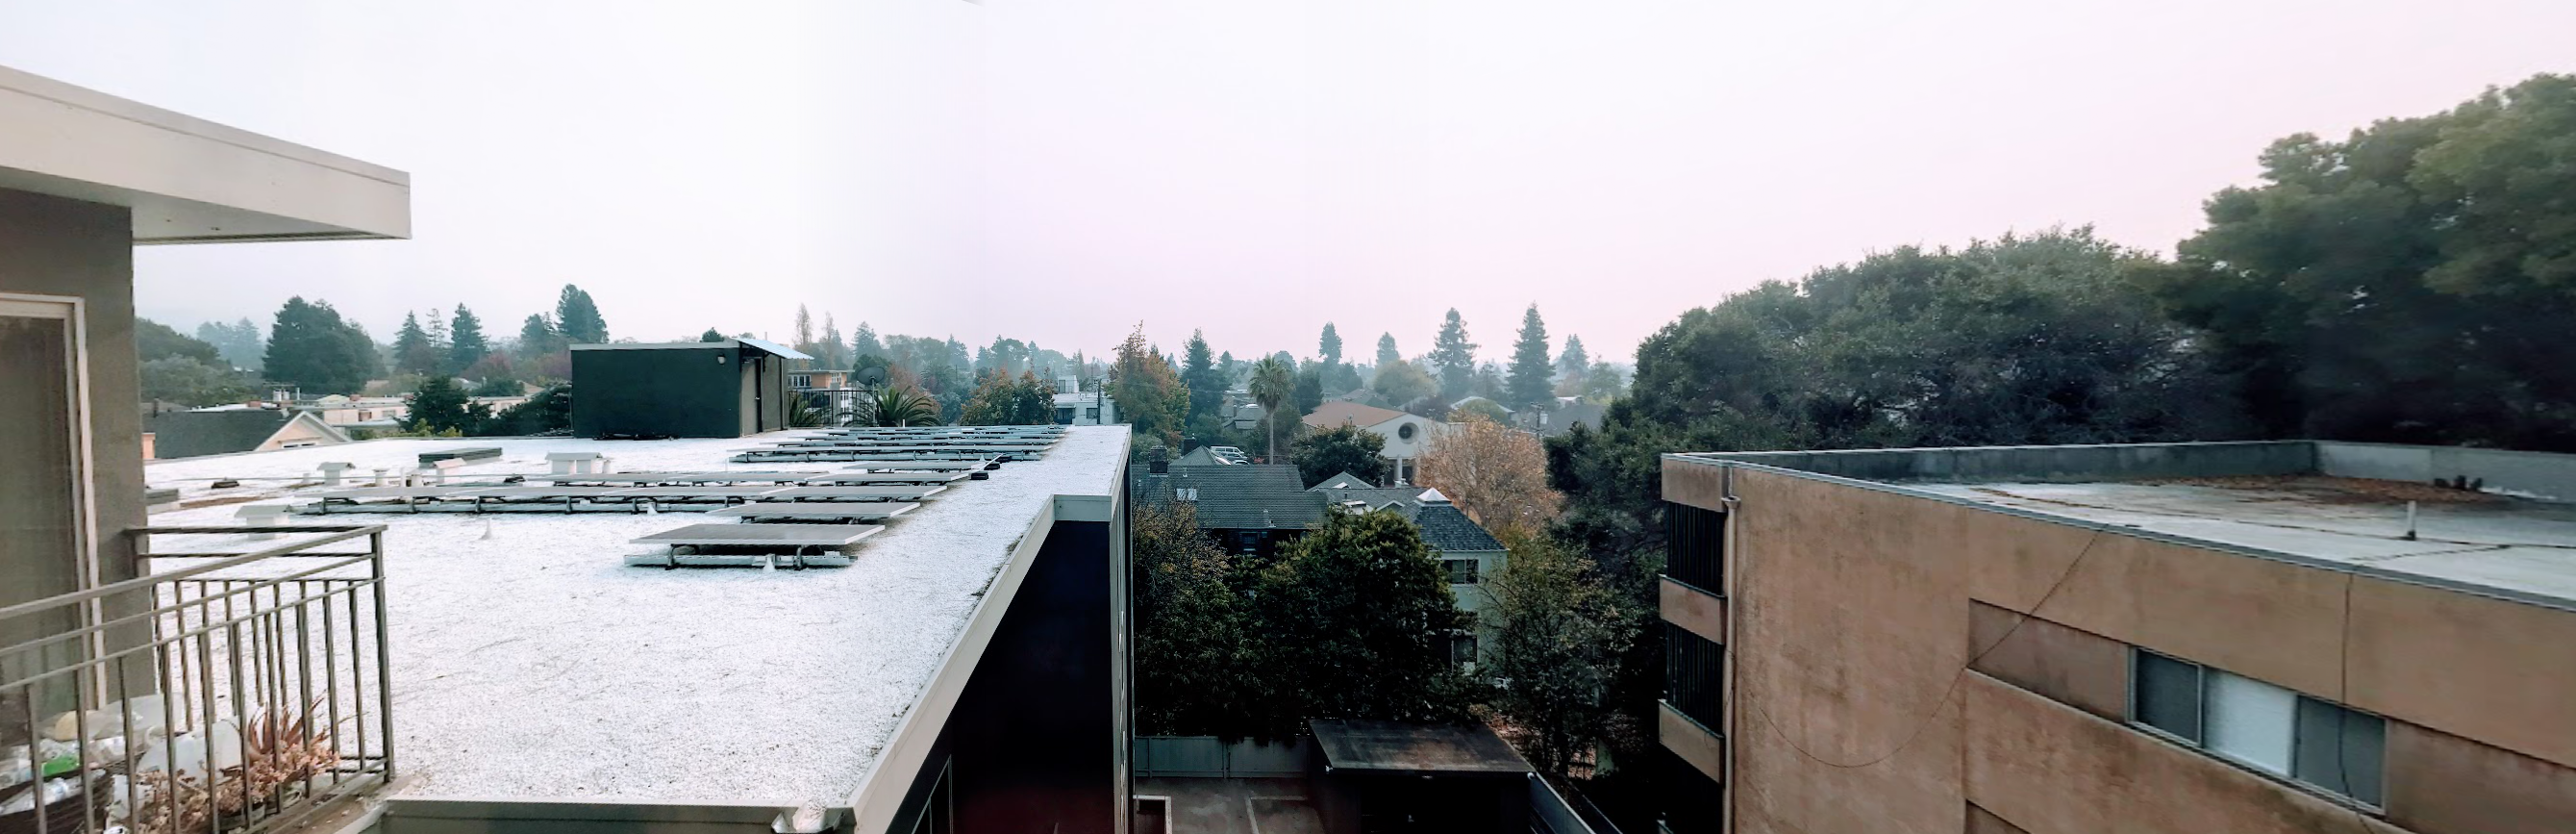
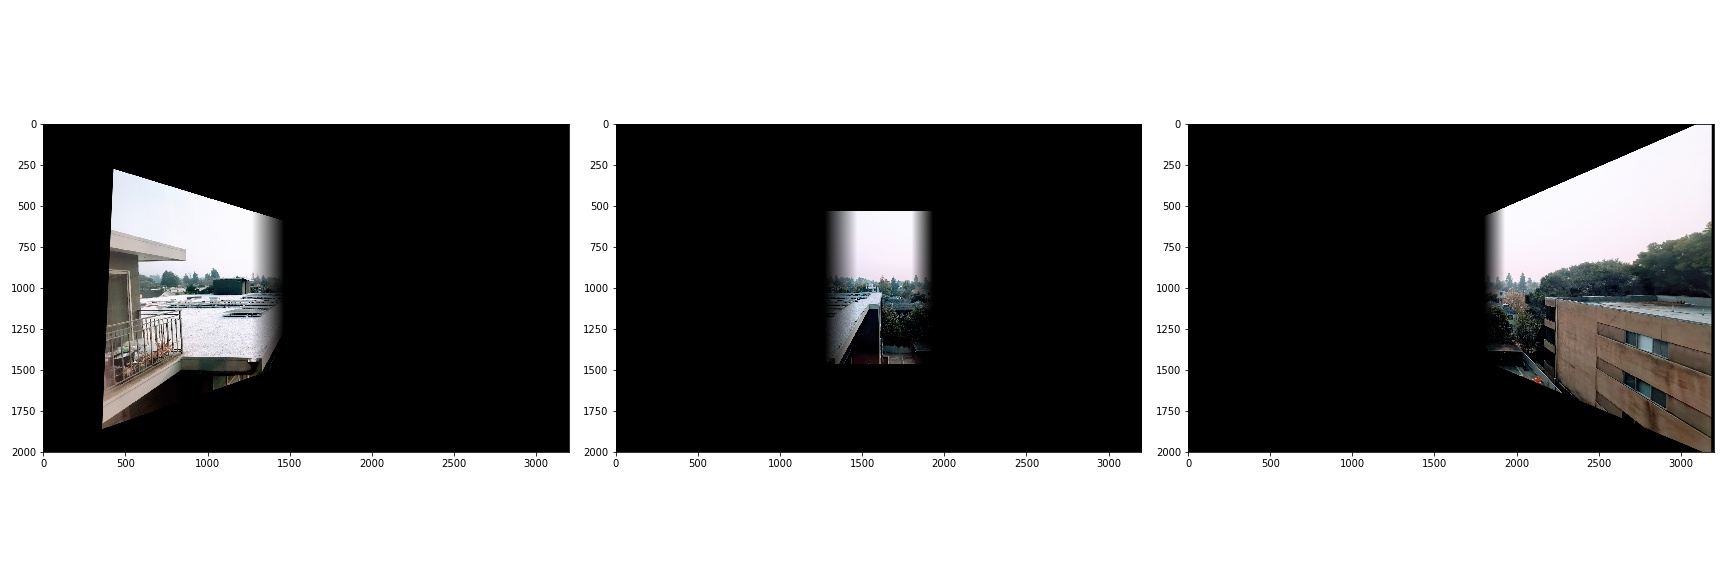
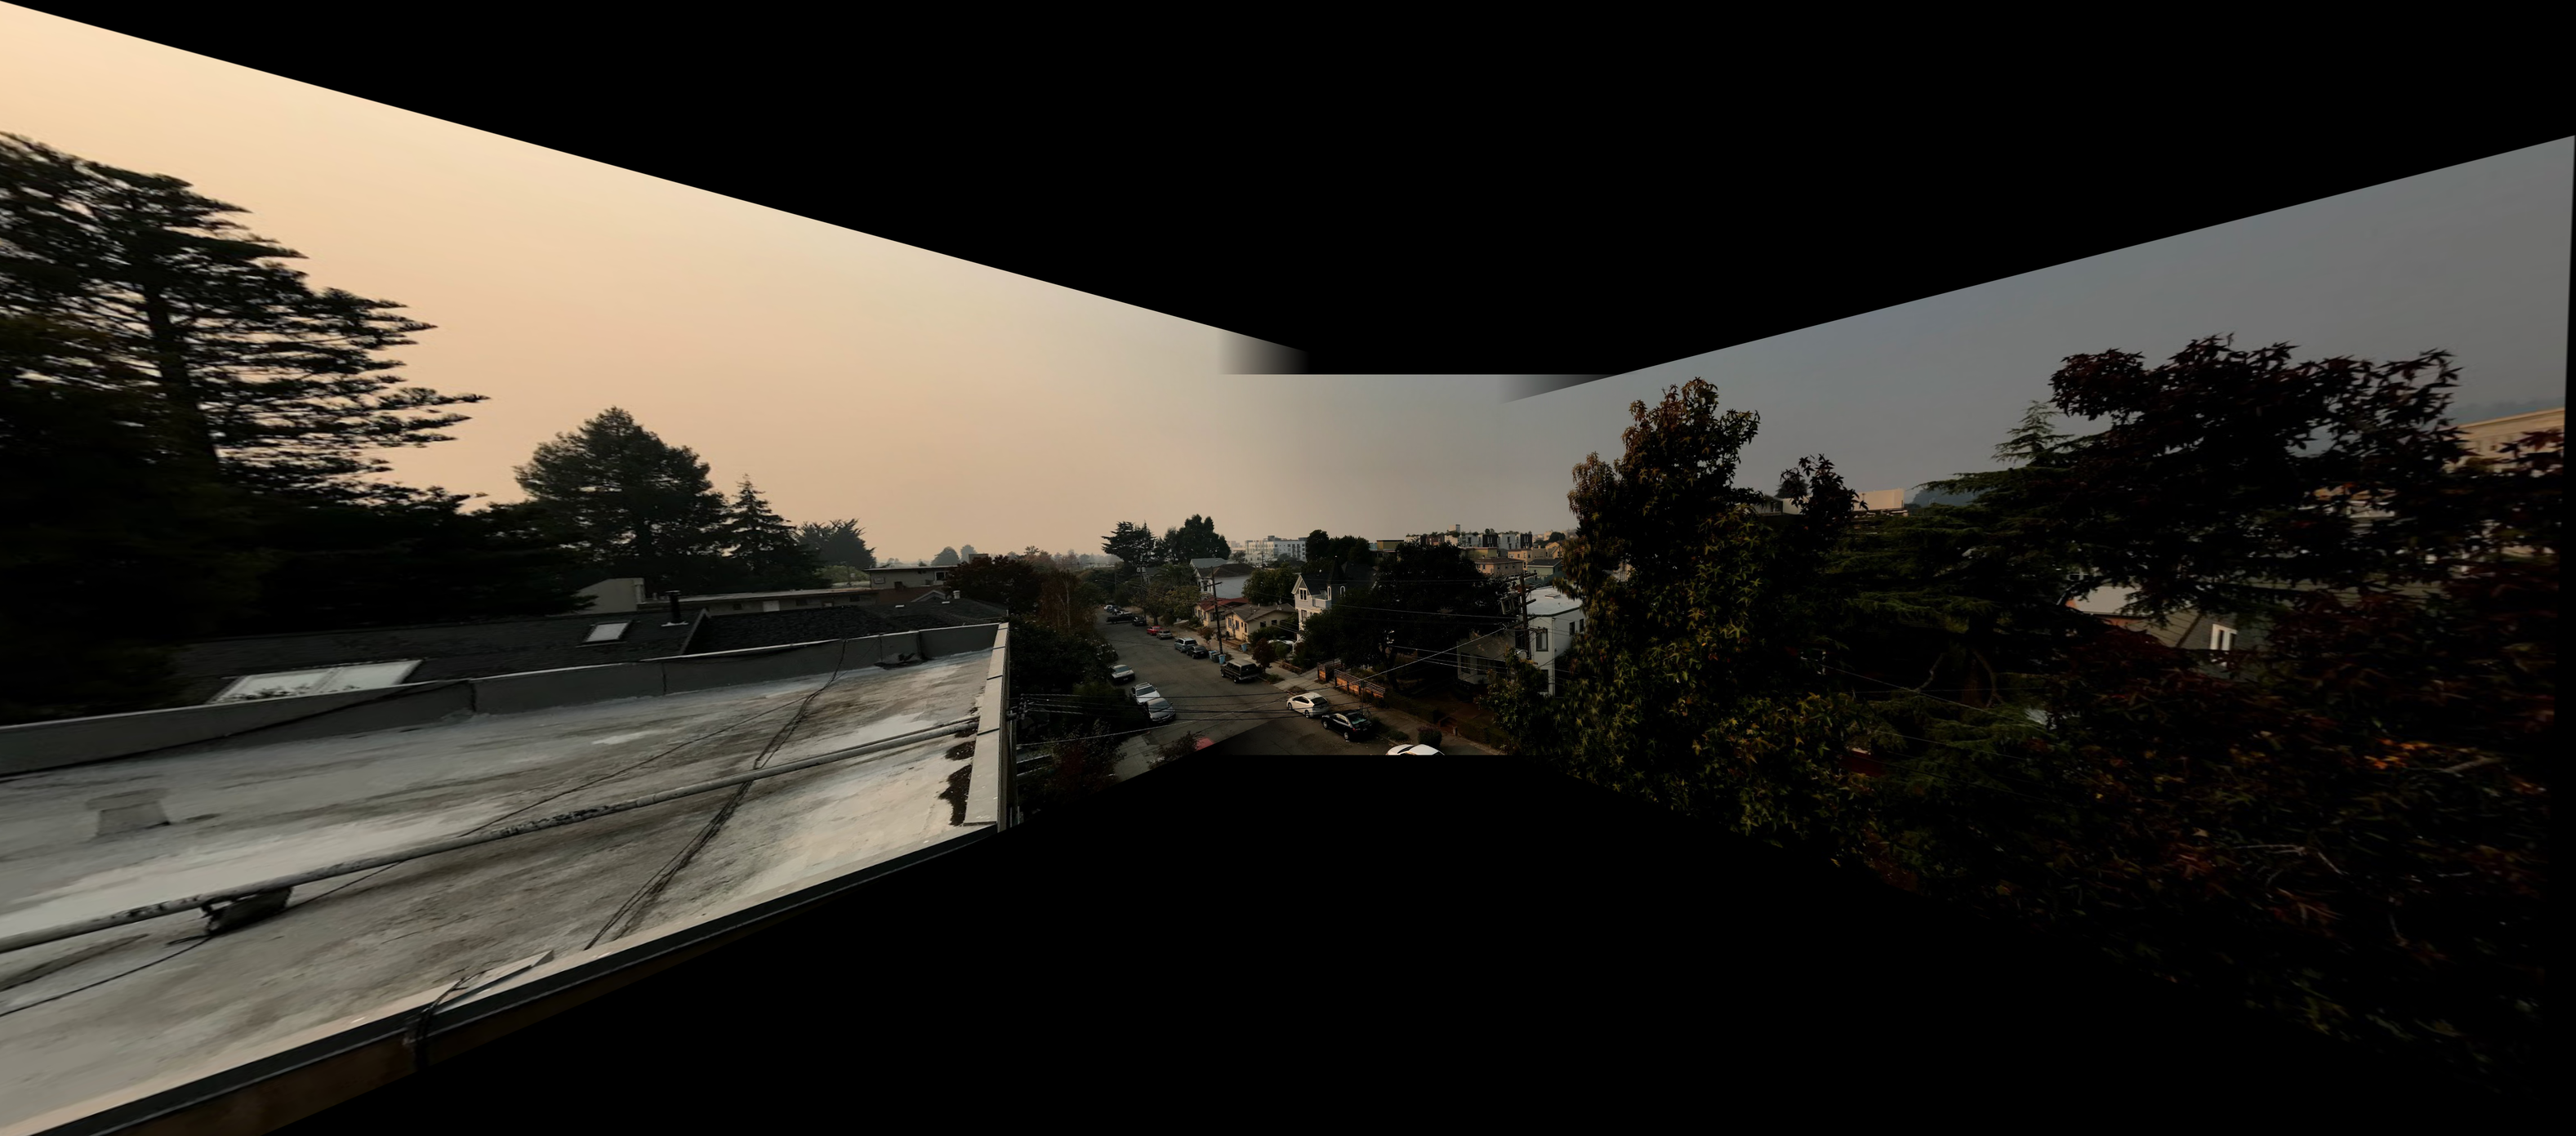
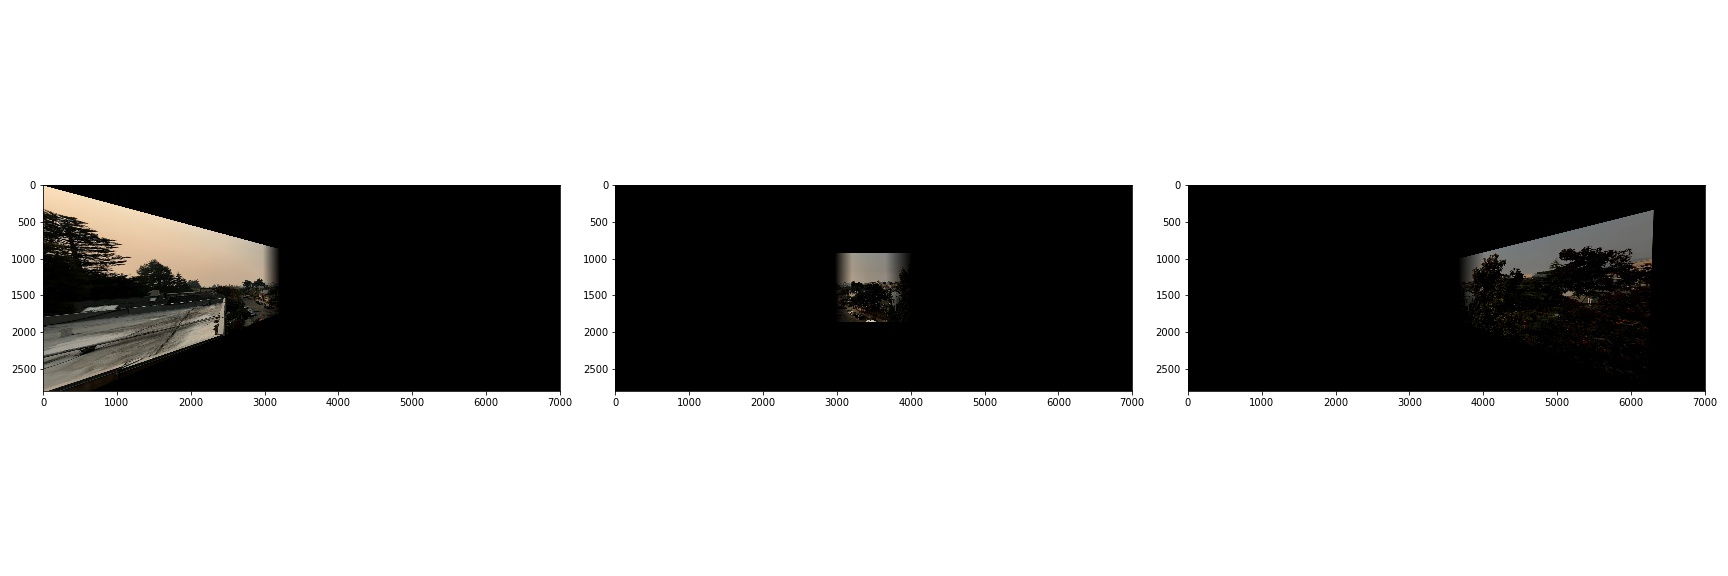
Blend the Images into a Mosaic
With the code from the previous parts, we are almost ready to produce mosaics. The only thing left to do is to blend the morphed images together to hide the transitions between images. To accomplish this, we used simple alpha blending. Here are the results:

Lessons Learned
In this project, I learned about how to morph images to create mosaics. I learned how to compute a homography from a set of point correspondences, how to use that homography to warp an image, and also how to blend warped images together.