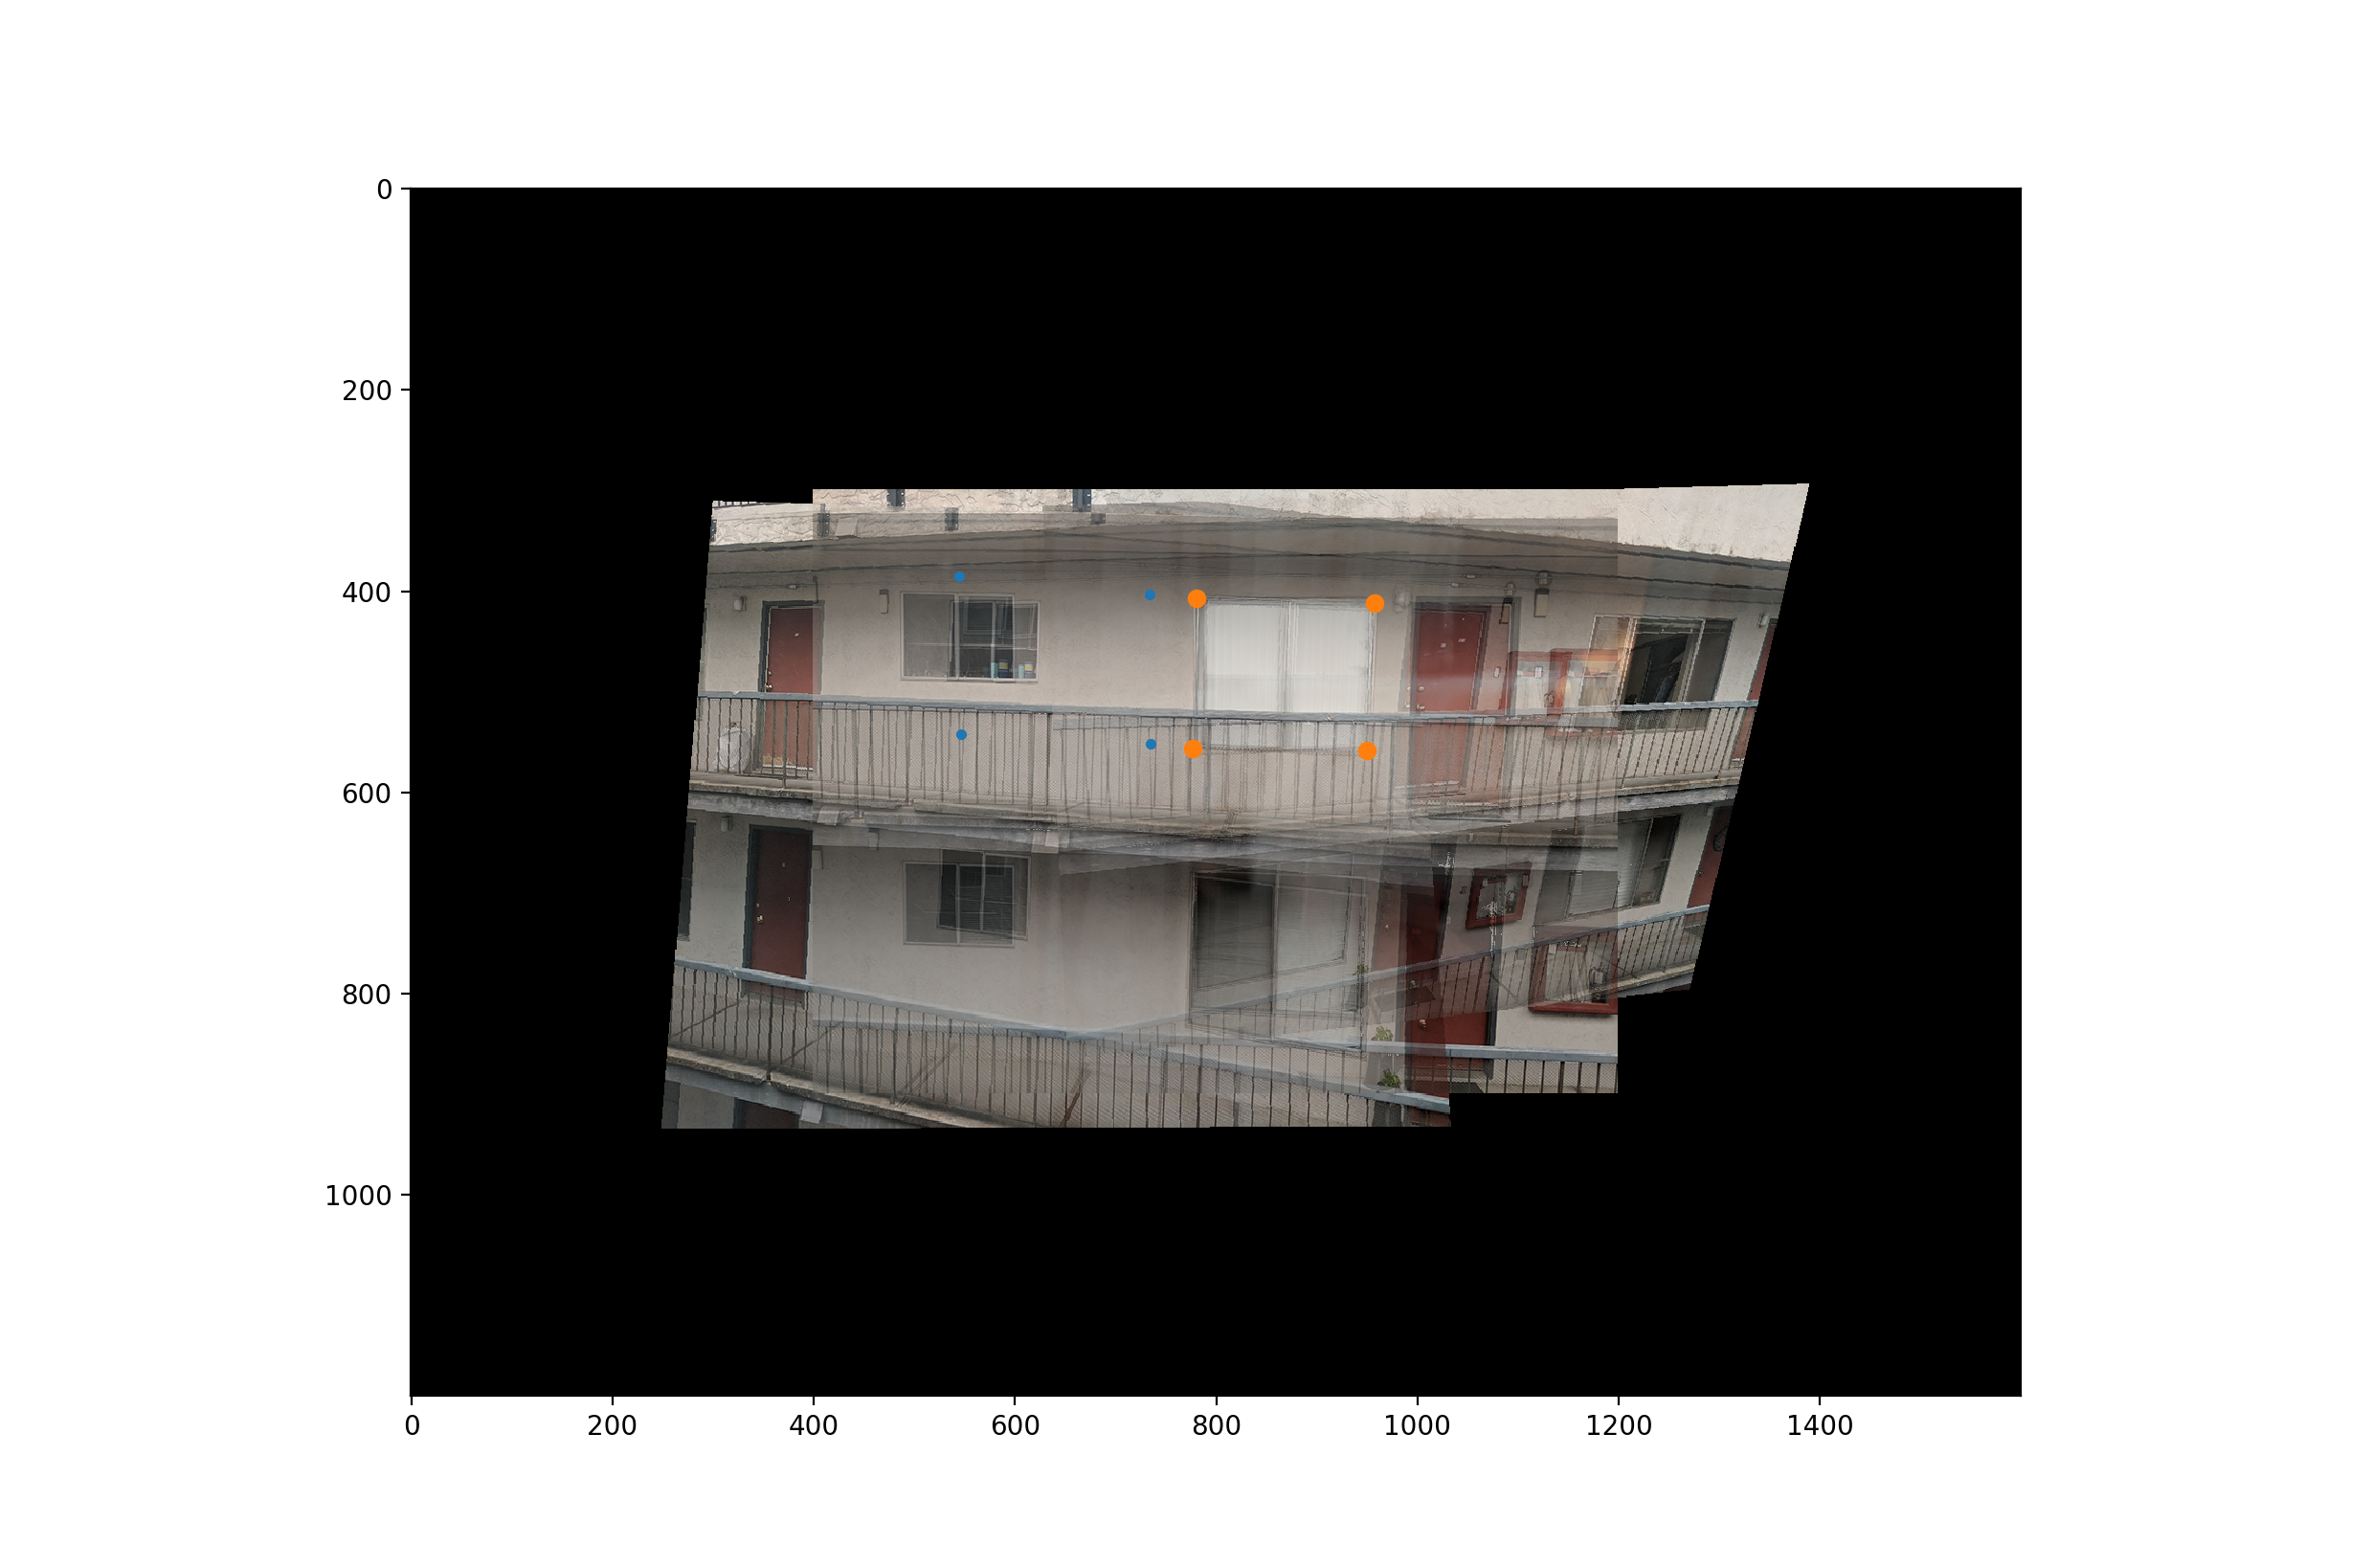
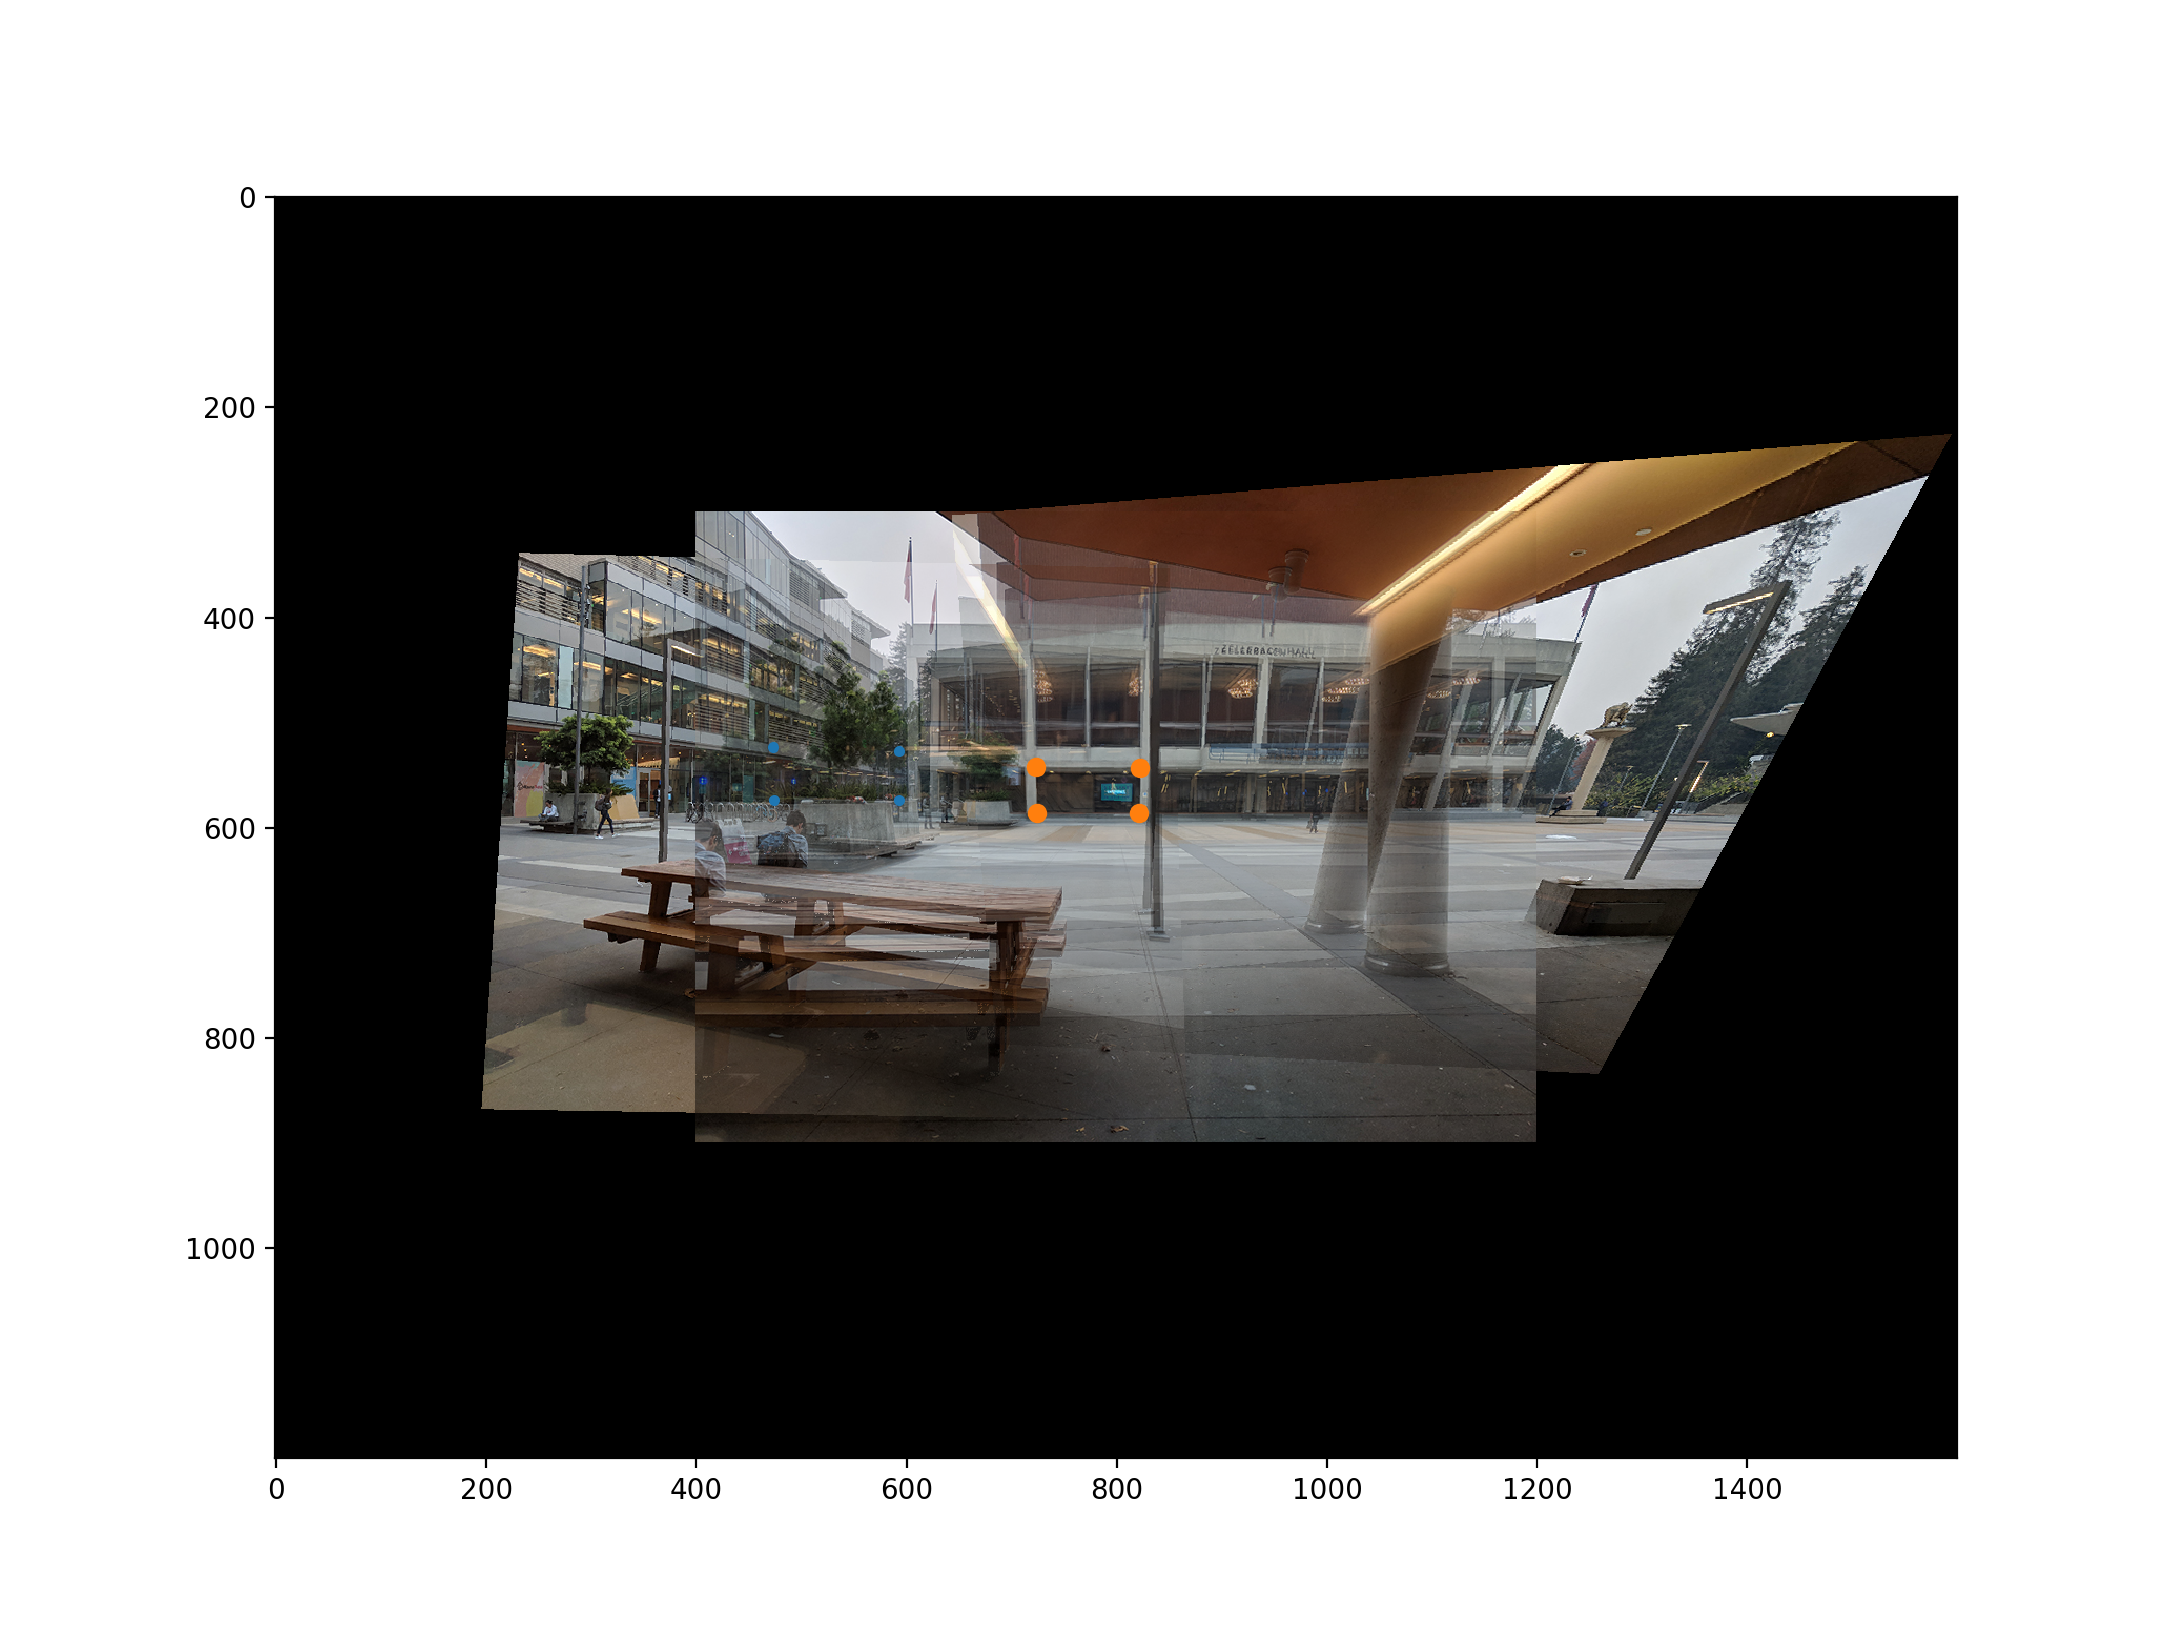
Procedure
I chose four corners of a rectangular face of an object in the image that I wanted to "rectify", meaning to
force its sides to be parallel. I saved this list to a .json
file so that I did not have to re-configure every time I ran my code.
Next, I defined the corners of the "destination" rectangle. (I edited the .json file directly so that the coordinates actually formed a perfect rectangle, i.e. the x- and y- coordinates matched up). With these two sets, I could calculate the homography or transformation between the two sets of coordinates.
The homography was a (3 x 3) matrix that could transform any coordinate (x, y, 1) to the
corresponding
point (wx, wy, w). I found the inverse warp from the destination to the source, then
multiplied the
homography with every pixel coordinate (y, x) in a blank image that I instantiated with np.zeros(img_size).
Finally, I could use the transformed coordinate (wy/w, wx/w) to sample a color in the source
image and set that color at (y, x).
Results
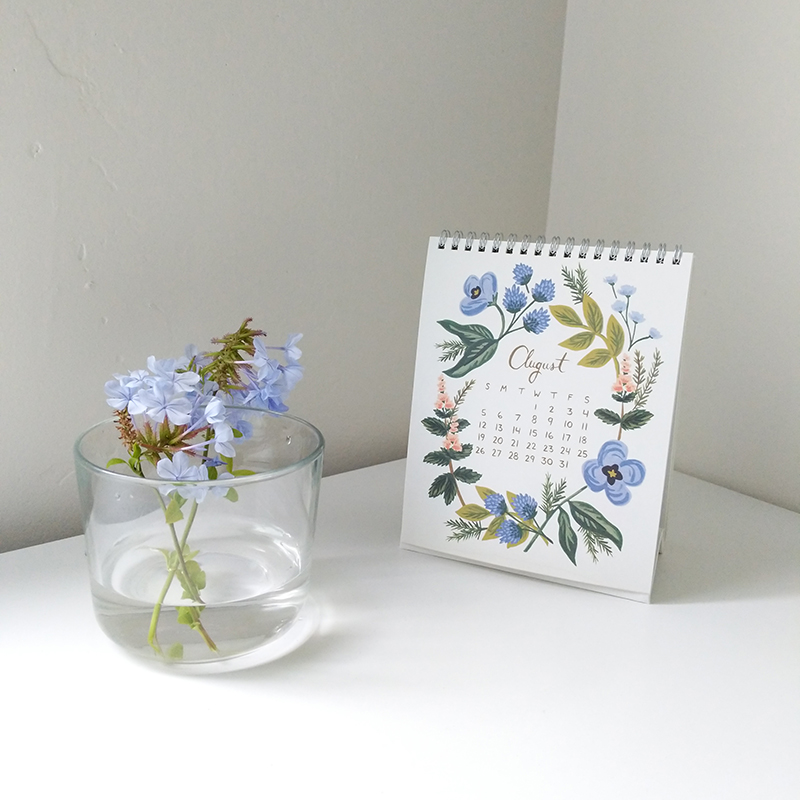
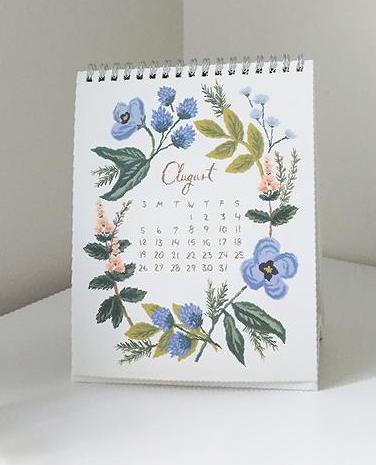
Original calendar
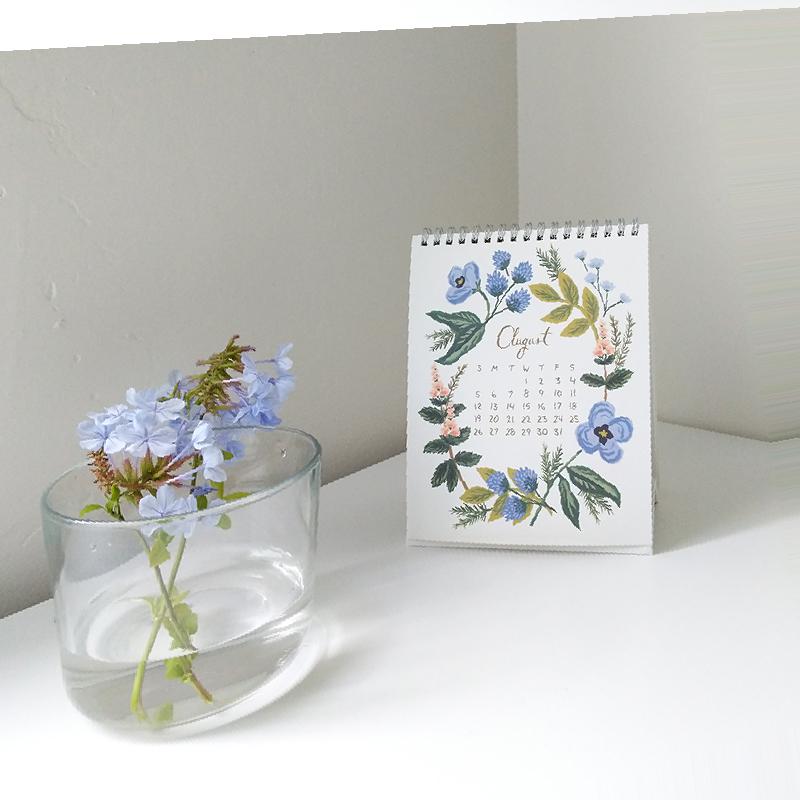
Calendar rectified
Cropped
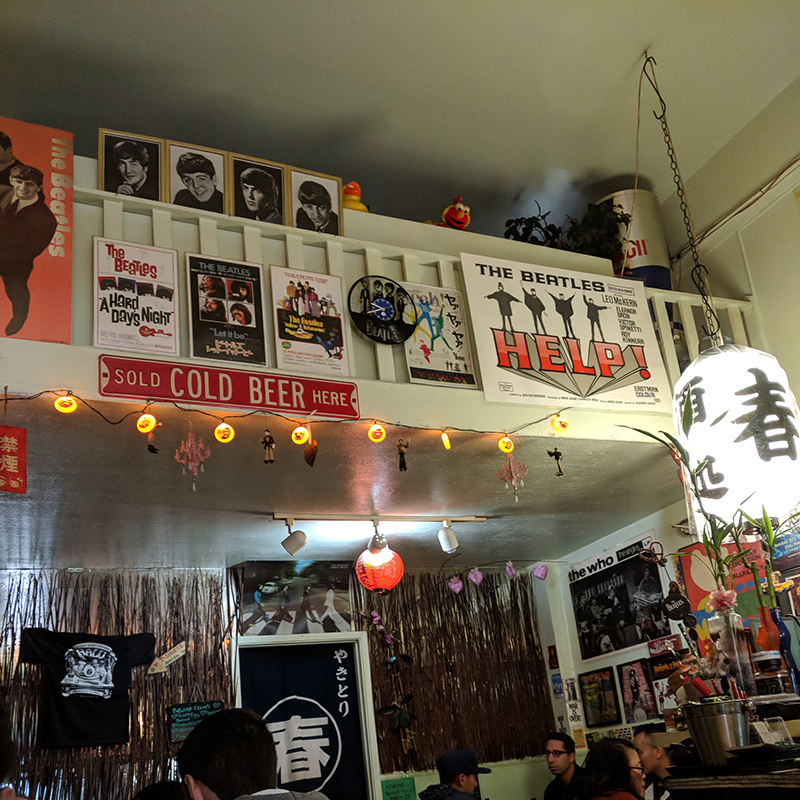
Original posters
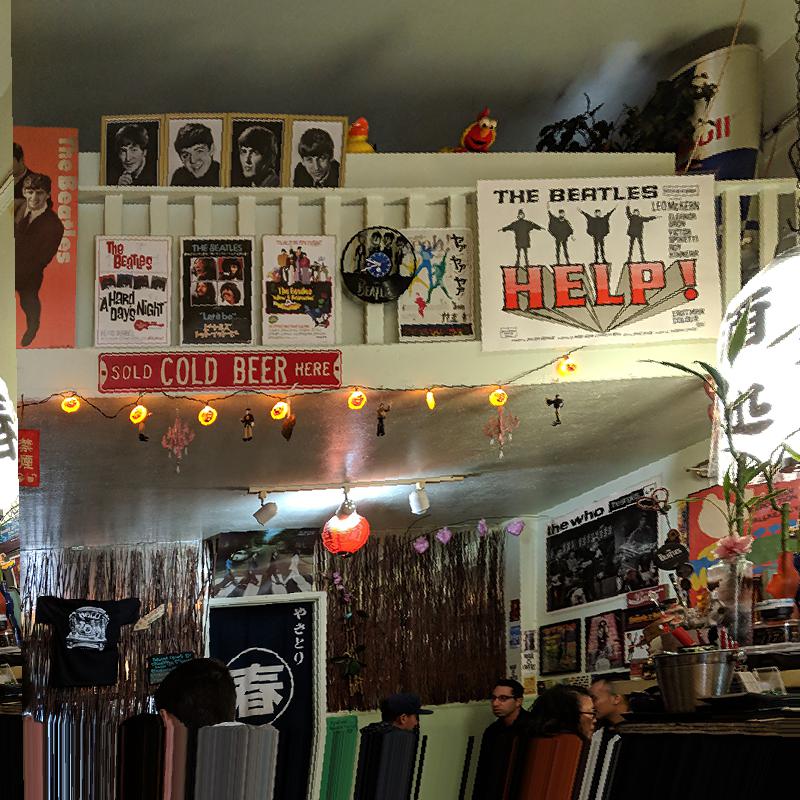
Posters rectified
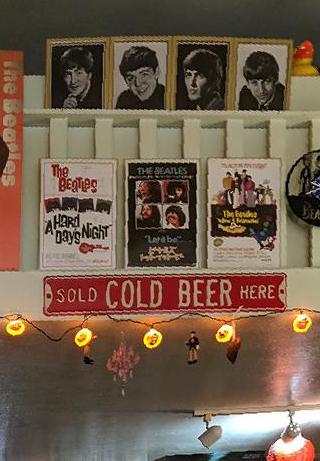
Cropped
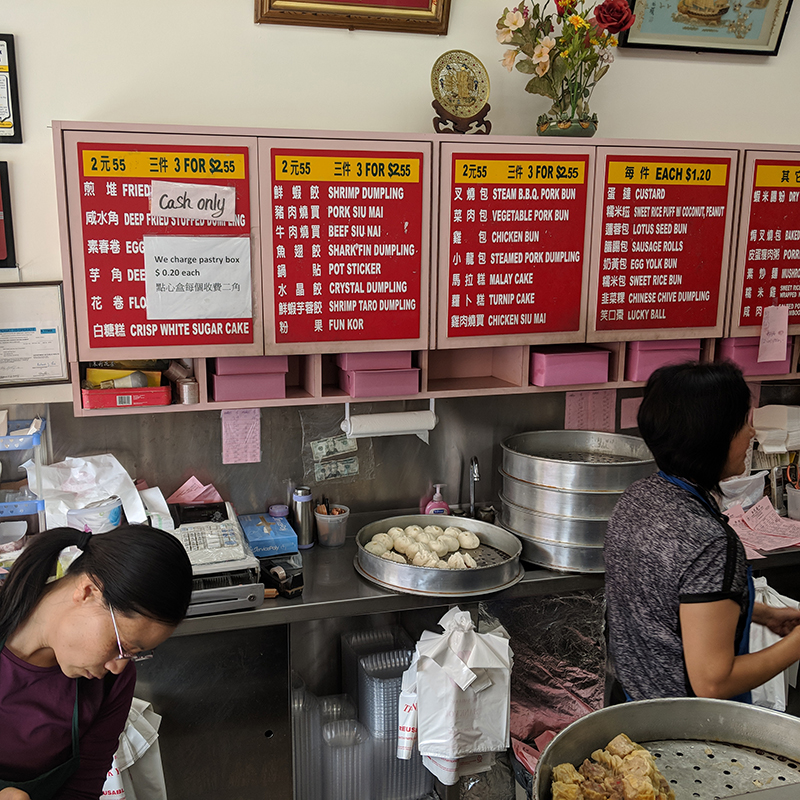
Original menus
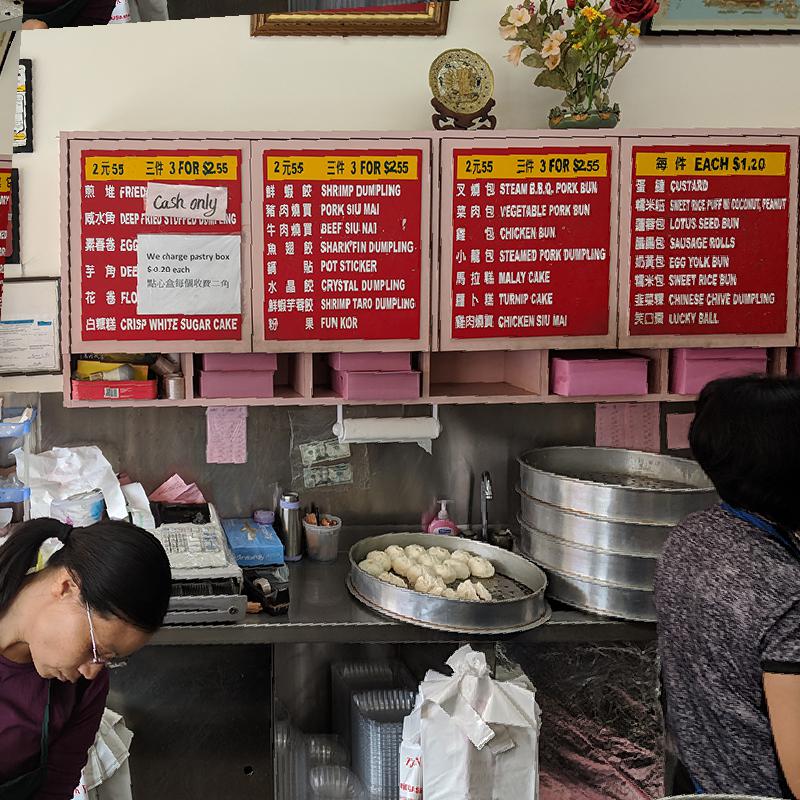
Menus rectified
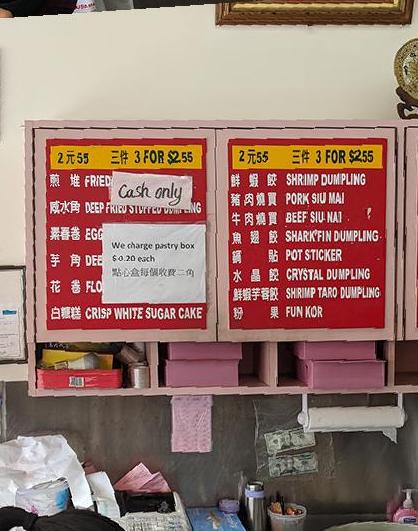
Cropped