Project 6: Image Warping and Mosaicing
by cs194-26-abp
Overview
We solved for a homography in order to change the perspective of an image. Using our homography, we rectified images (warped a planar object to the
foreground plane). Then, we created an image mosaic. I took my pictures using my iphone and the burst camera mode.
Homography
We need 4 points to define a homography. Recall that a homography is defined by
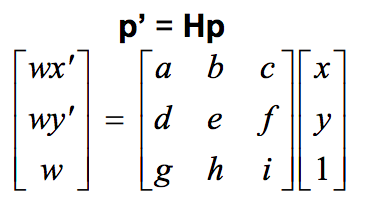
where p' is the desired coordinates and p is the coordinates of the original image. By multiplying Hp out and substituting for w, we can create a system of linear equations that allow us to solve for the unknown values of H by using least squares. We can simply H by letting i=1 since w is just a constant. We add an extra equation to force i to equal 1.
Image Rectification
To rectify an image, we need to define four points on a planar object in the image that we wish to warp to the foreground plane. Using those 4 chosen points and the predefined coordinates of a square, I computed a homography mapping the image to the foreground plane. Then, I warped the image to the foreground to complete the rectifying process. To warp the image, I first calculated a mask of the resulting image by
applying the homography to the four corner points of the original image. Then for every pixel in the mask, I applied the inverse homography to find the coordinates of the desired pixel value in the original image. Since those coordinates may not be integer valued, I interpolated the image using
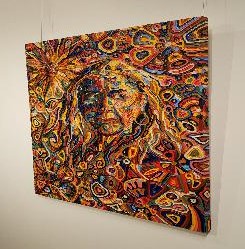
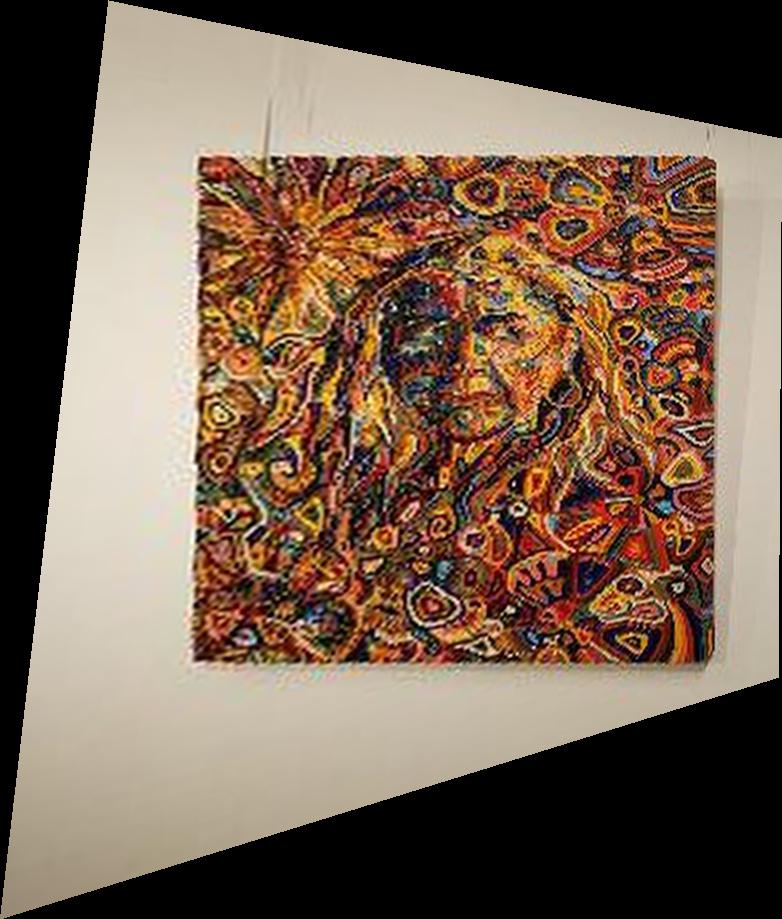
scipy.interpolate.interp2d. I rectified various artworks that were taken from an angle to get a frontal view of the piece.
Art Gallery
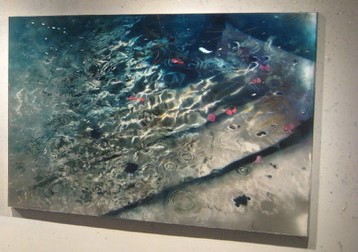
Original Image
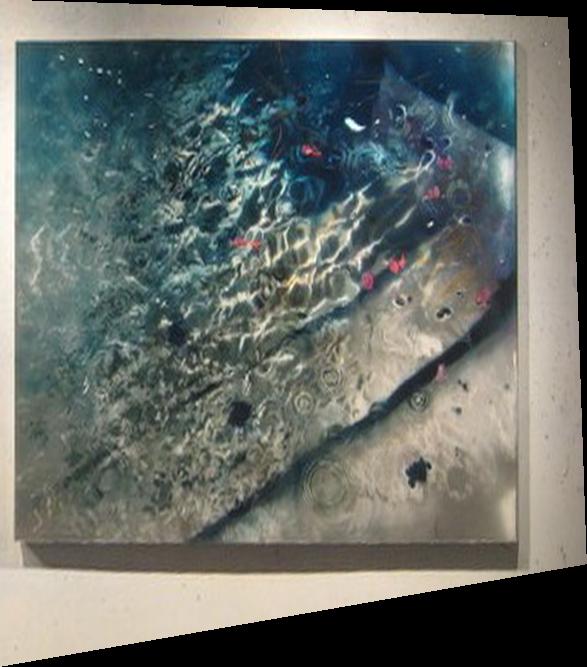
Rectified Image
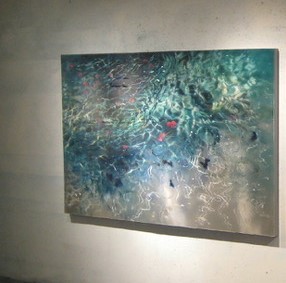
Original Image

Rectified Image
Original Image
Rectified Image
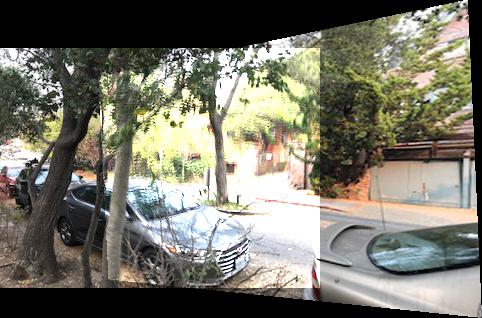
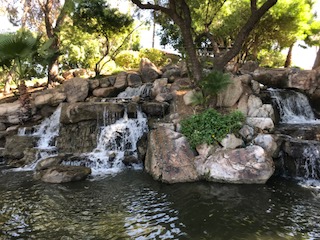
Creating Image Mosaic
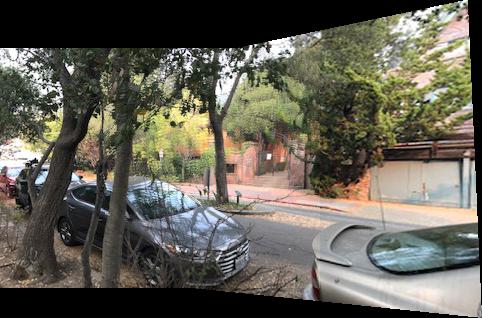
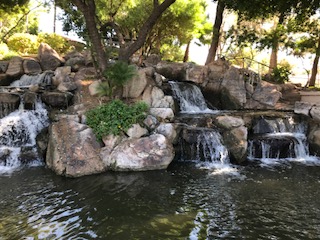
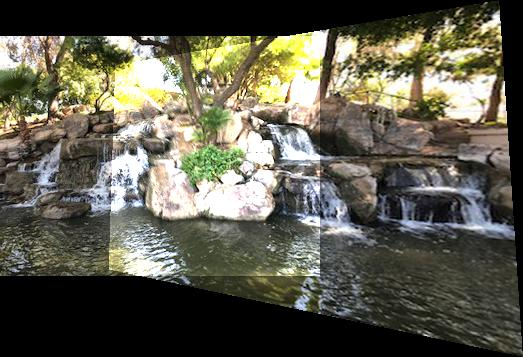
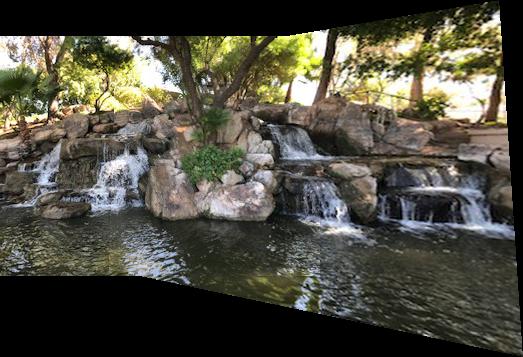
Finally, I created image mosaices by combining two source images into one coherent mosaic. To create the mosaic, I first defined at least 4 coorespondace points between the source images. I then used the coorespondances to compute the homography that warps the right source image onto the left source image's plane. Using that homography, I warped the right source image and then combined it with the left source image. I blended them by taking the maximum value of the two images. I experimented with different number of coorespondances and saw I could typically get decent results with 8 - 12 pts. More points did not tend to help and were hard to identify. The unblended results were obtained by naively adding the left image and the warped right image together.
Results
Source Image 1
Source Image 2
Images Combined
Blended Mosaic using 12 Coorrespondances
Source Image 1
Source Image 2
Images Combined
Blended Mosaic using 12 Coorrespondances
Source Image 1
Source Image 2
Images Combined
Blended Mosaic using 8 Coorrespondances
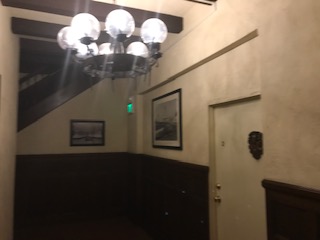
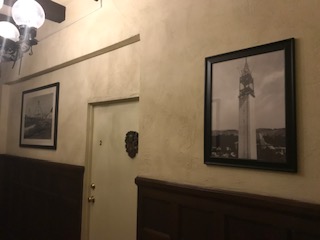
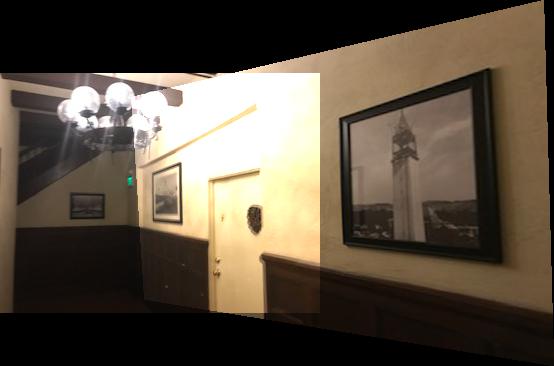
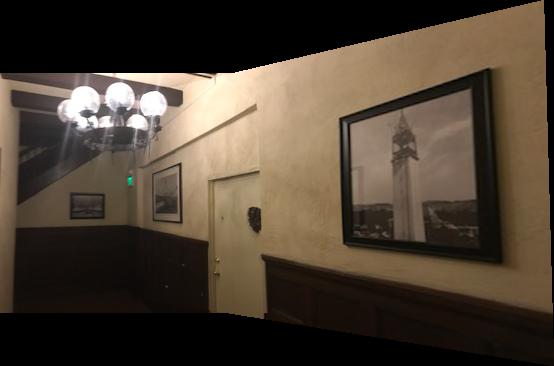
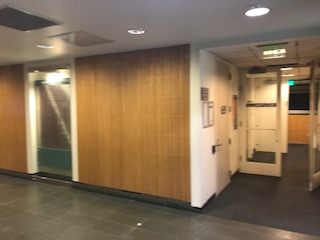
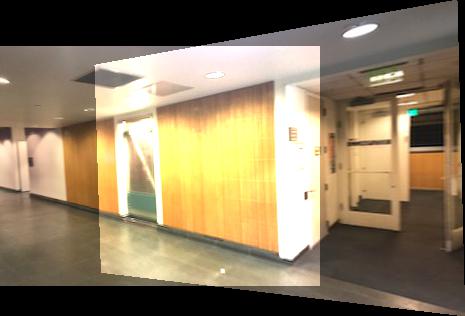
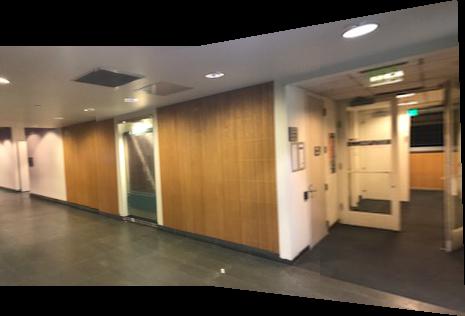
I tried making moasaics around corners in Soda. These images were challenging to identify features on since they were mostly walls.
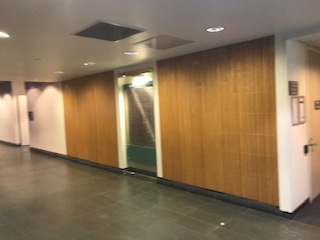
Source Image 1
Source Image 2
Images Combined
Blended Mosaic using 20 Coorrespondances
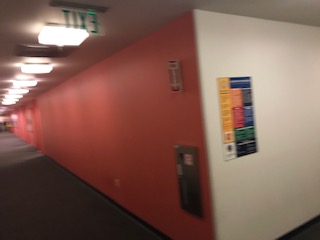
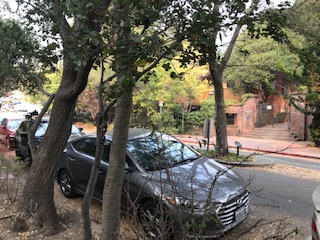
Source Image 1. This image has different color walls than the other image.
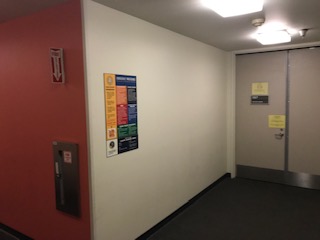
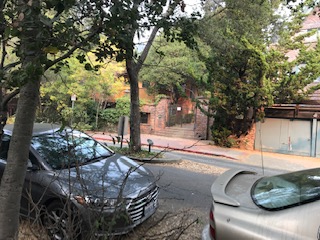
Source Image 2. I think the color difference was caused by the blur.
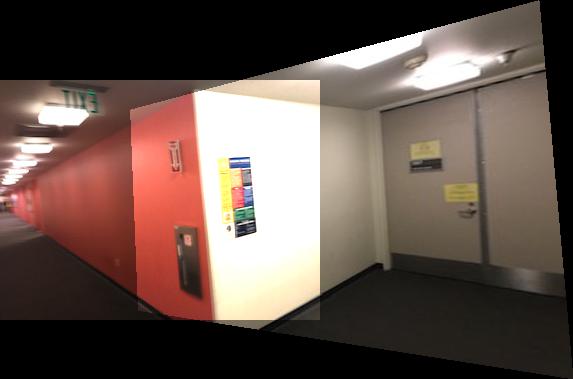
Images Combined
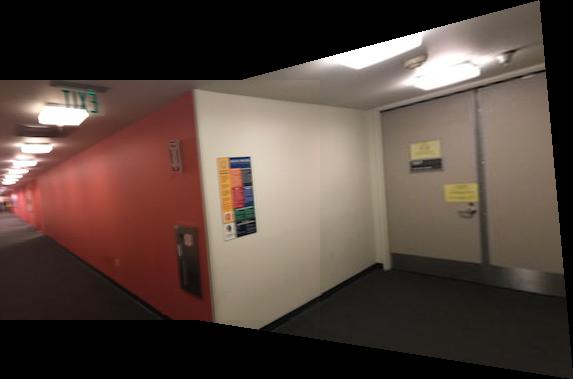
Blended Mosaic using 16 Coorrespondances
What I learned
Homographies are powerful!
I saw how a homography can be used to change an image perspective and recover a distorted image.
Homographies also allow us to stitch together multiple images taken from different rotations together
into a coherent mosaic.
I learned defining the coorrespondance points was challenging and should not be done by a human hand. Humans are too prone to
error. The coorrespondance points must be evenly distributed across the overlap between the two images. The points must be in both foreground and background of the image, and they cannot skewed towards one side of the image. If the image data is nice, then I could get decent results with fewer points. Unfortunately, no amount of coorrespondances makes up for blurry images with too little overlap and lighting changes.