Shoot and Digitize Images
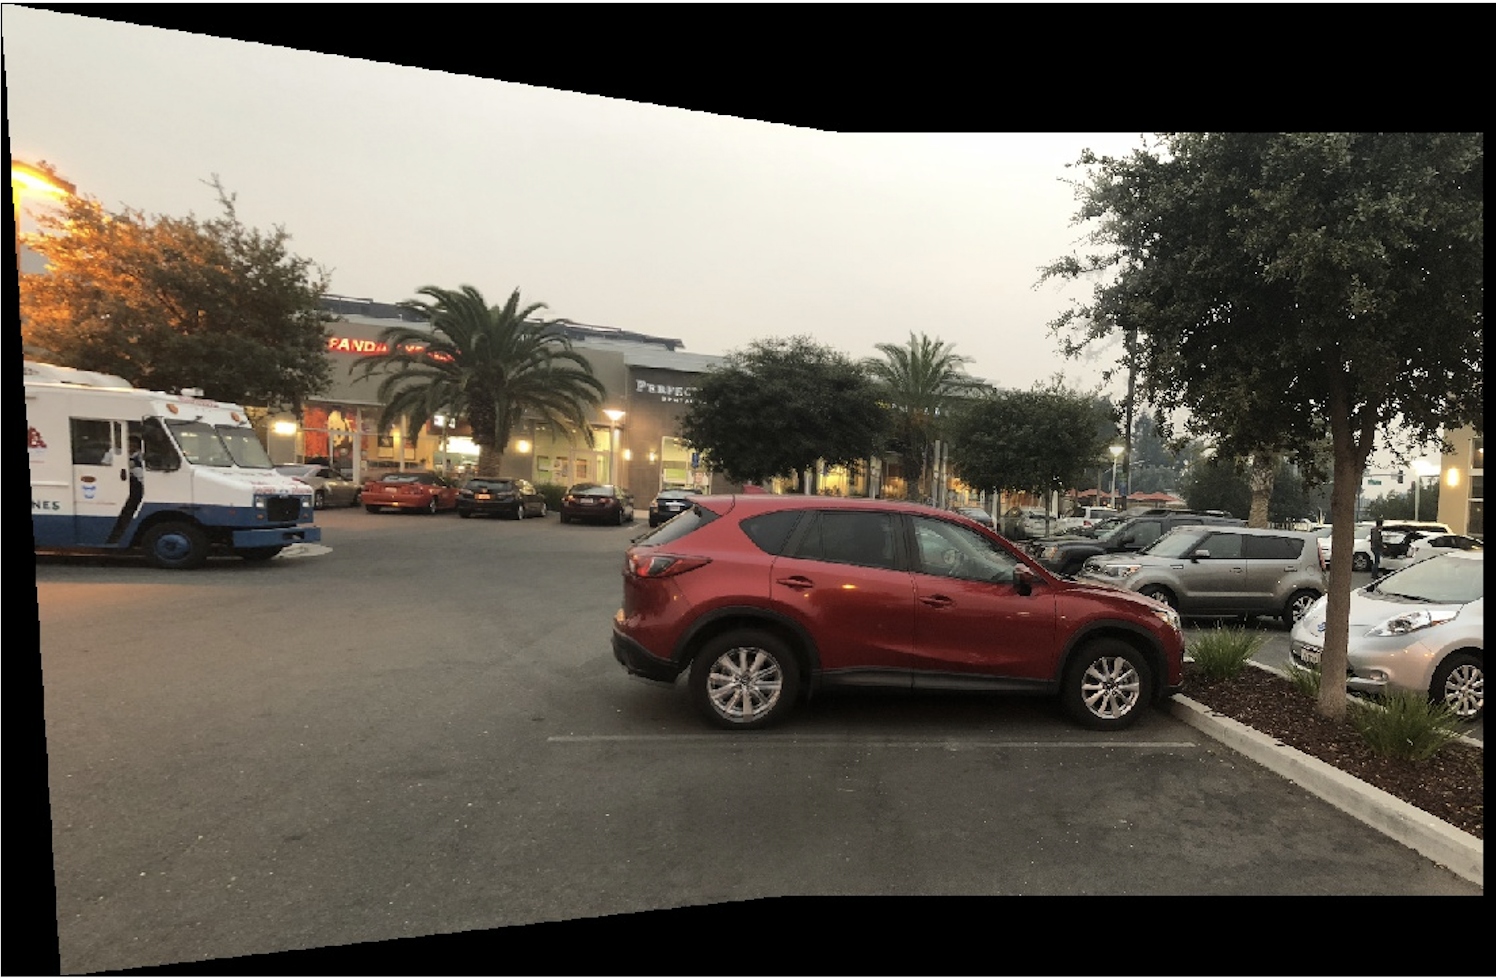
Here are some of the photos I shot
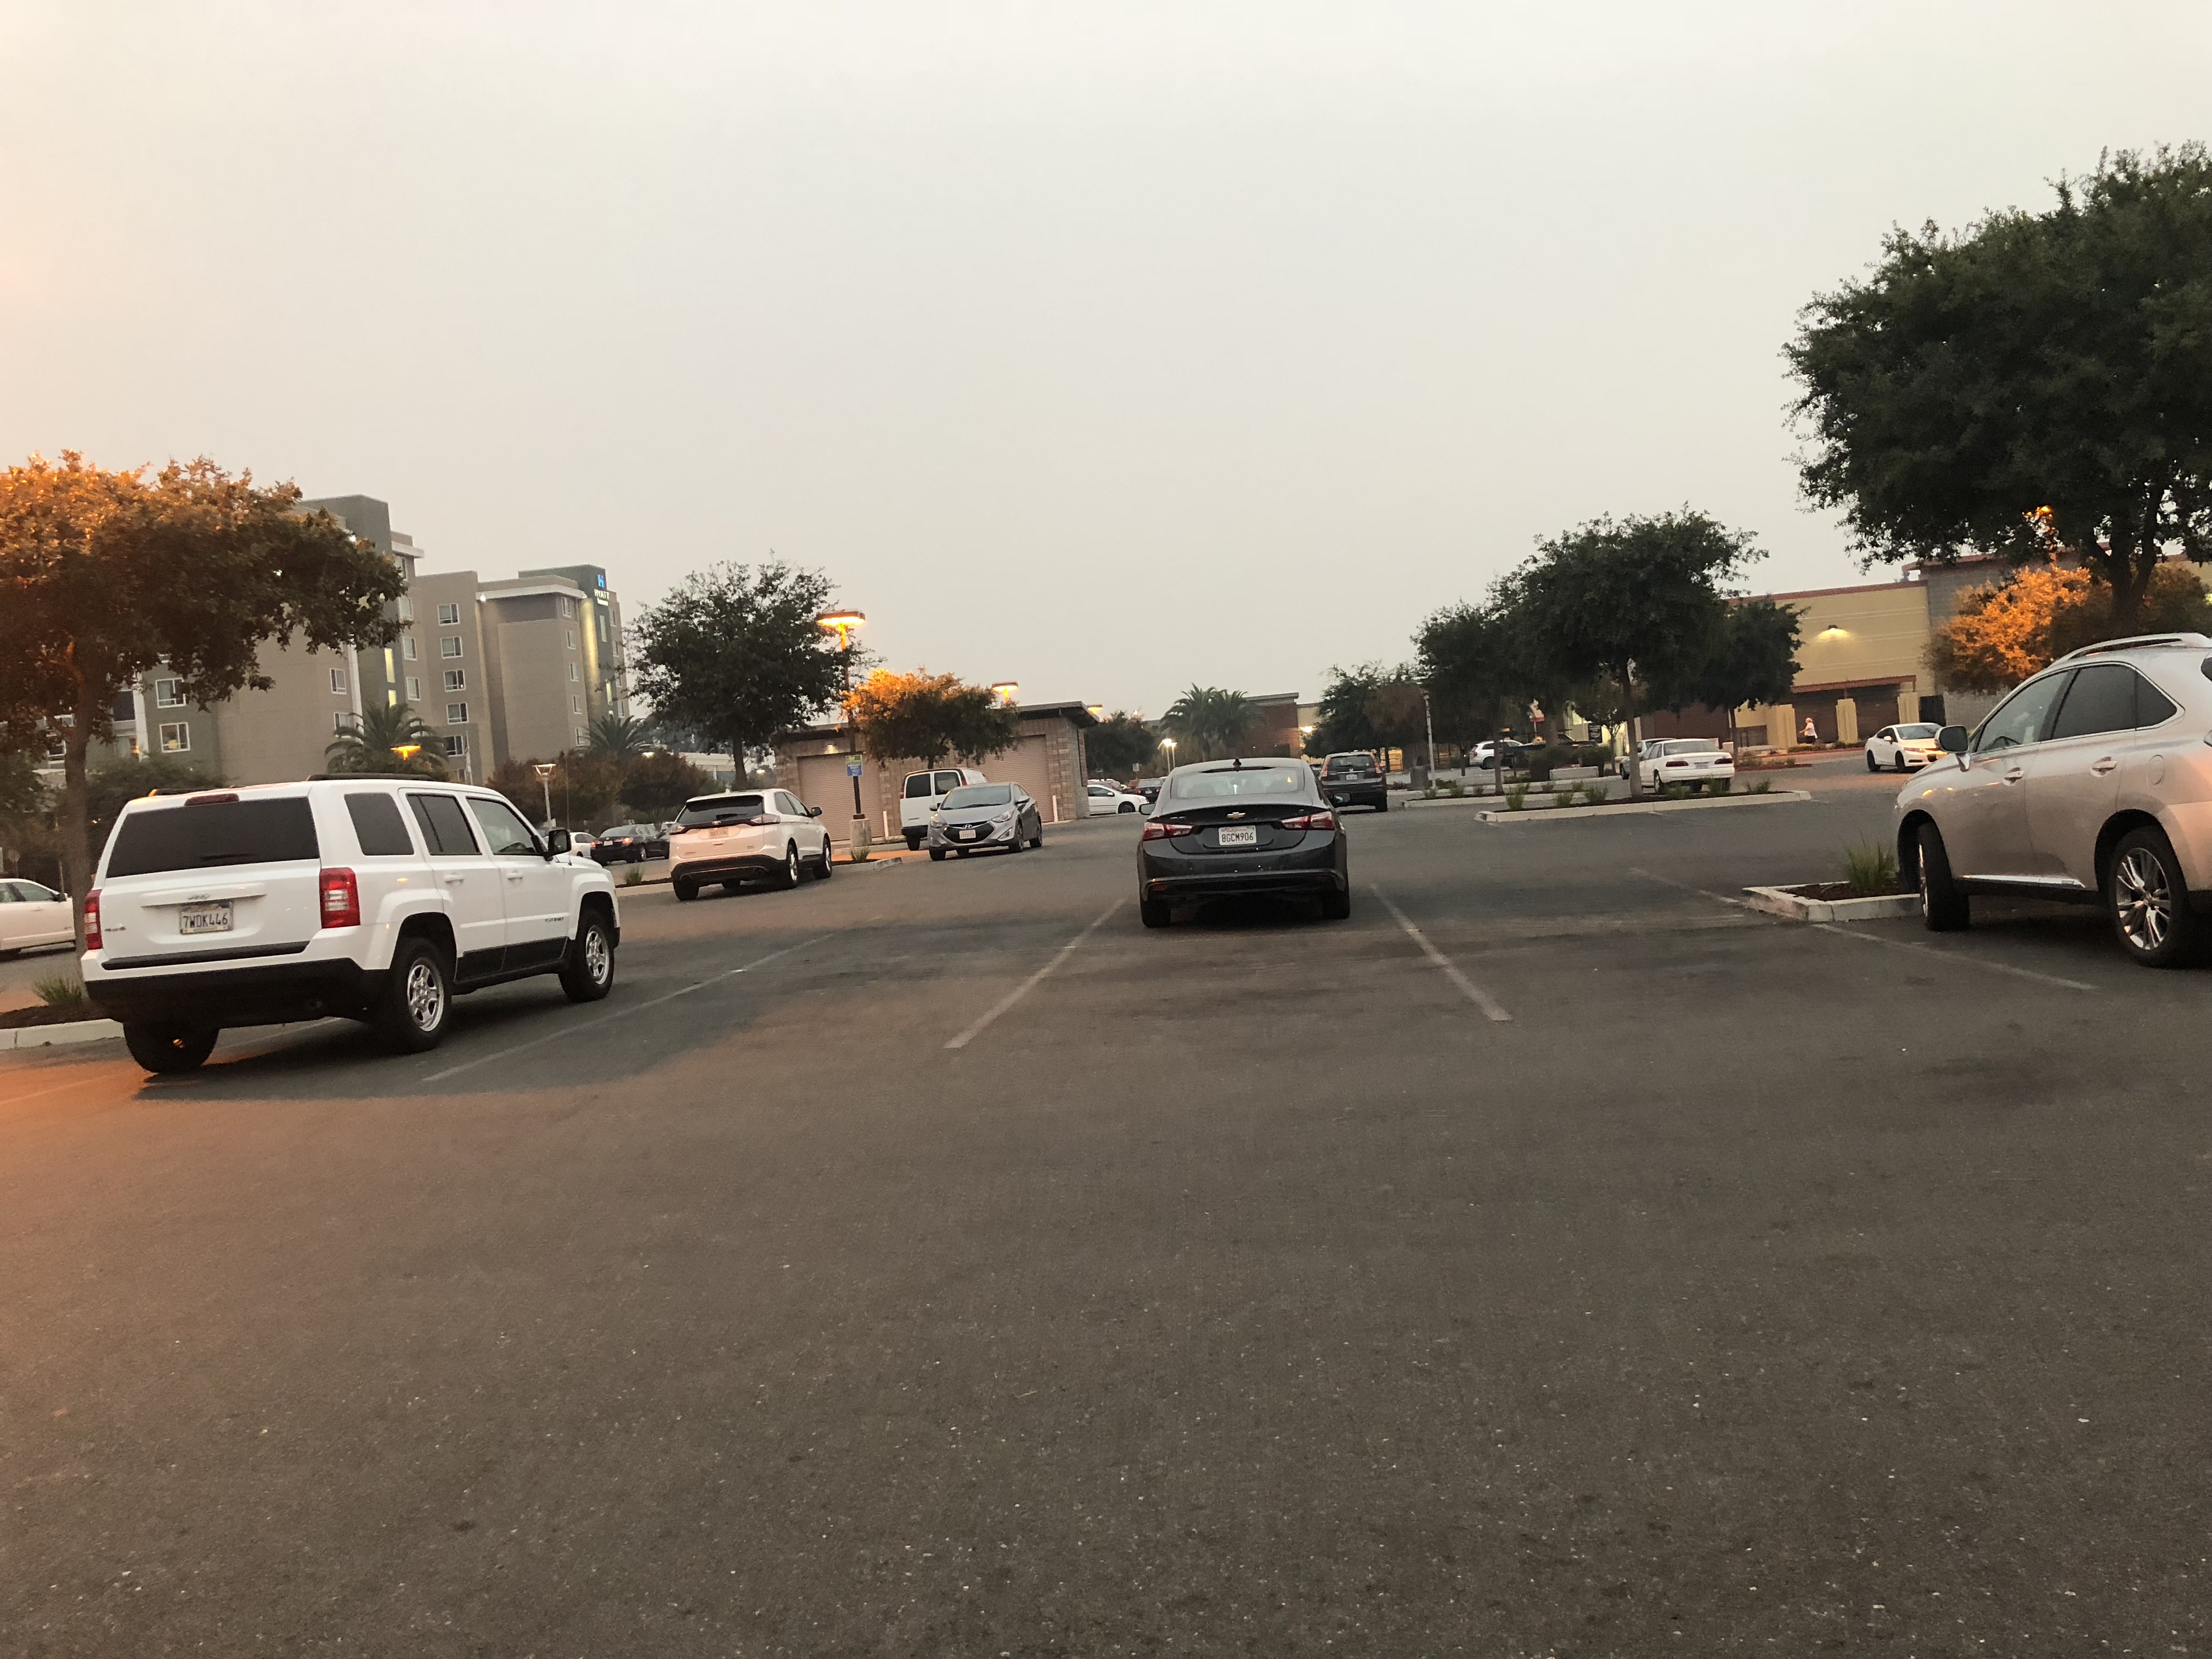
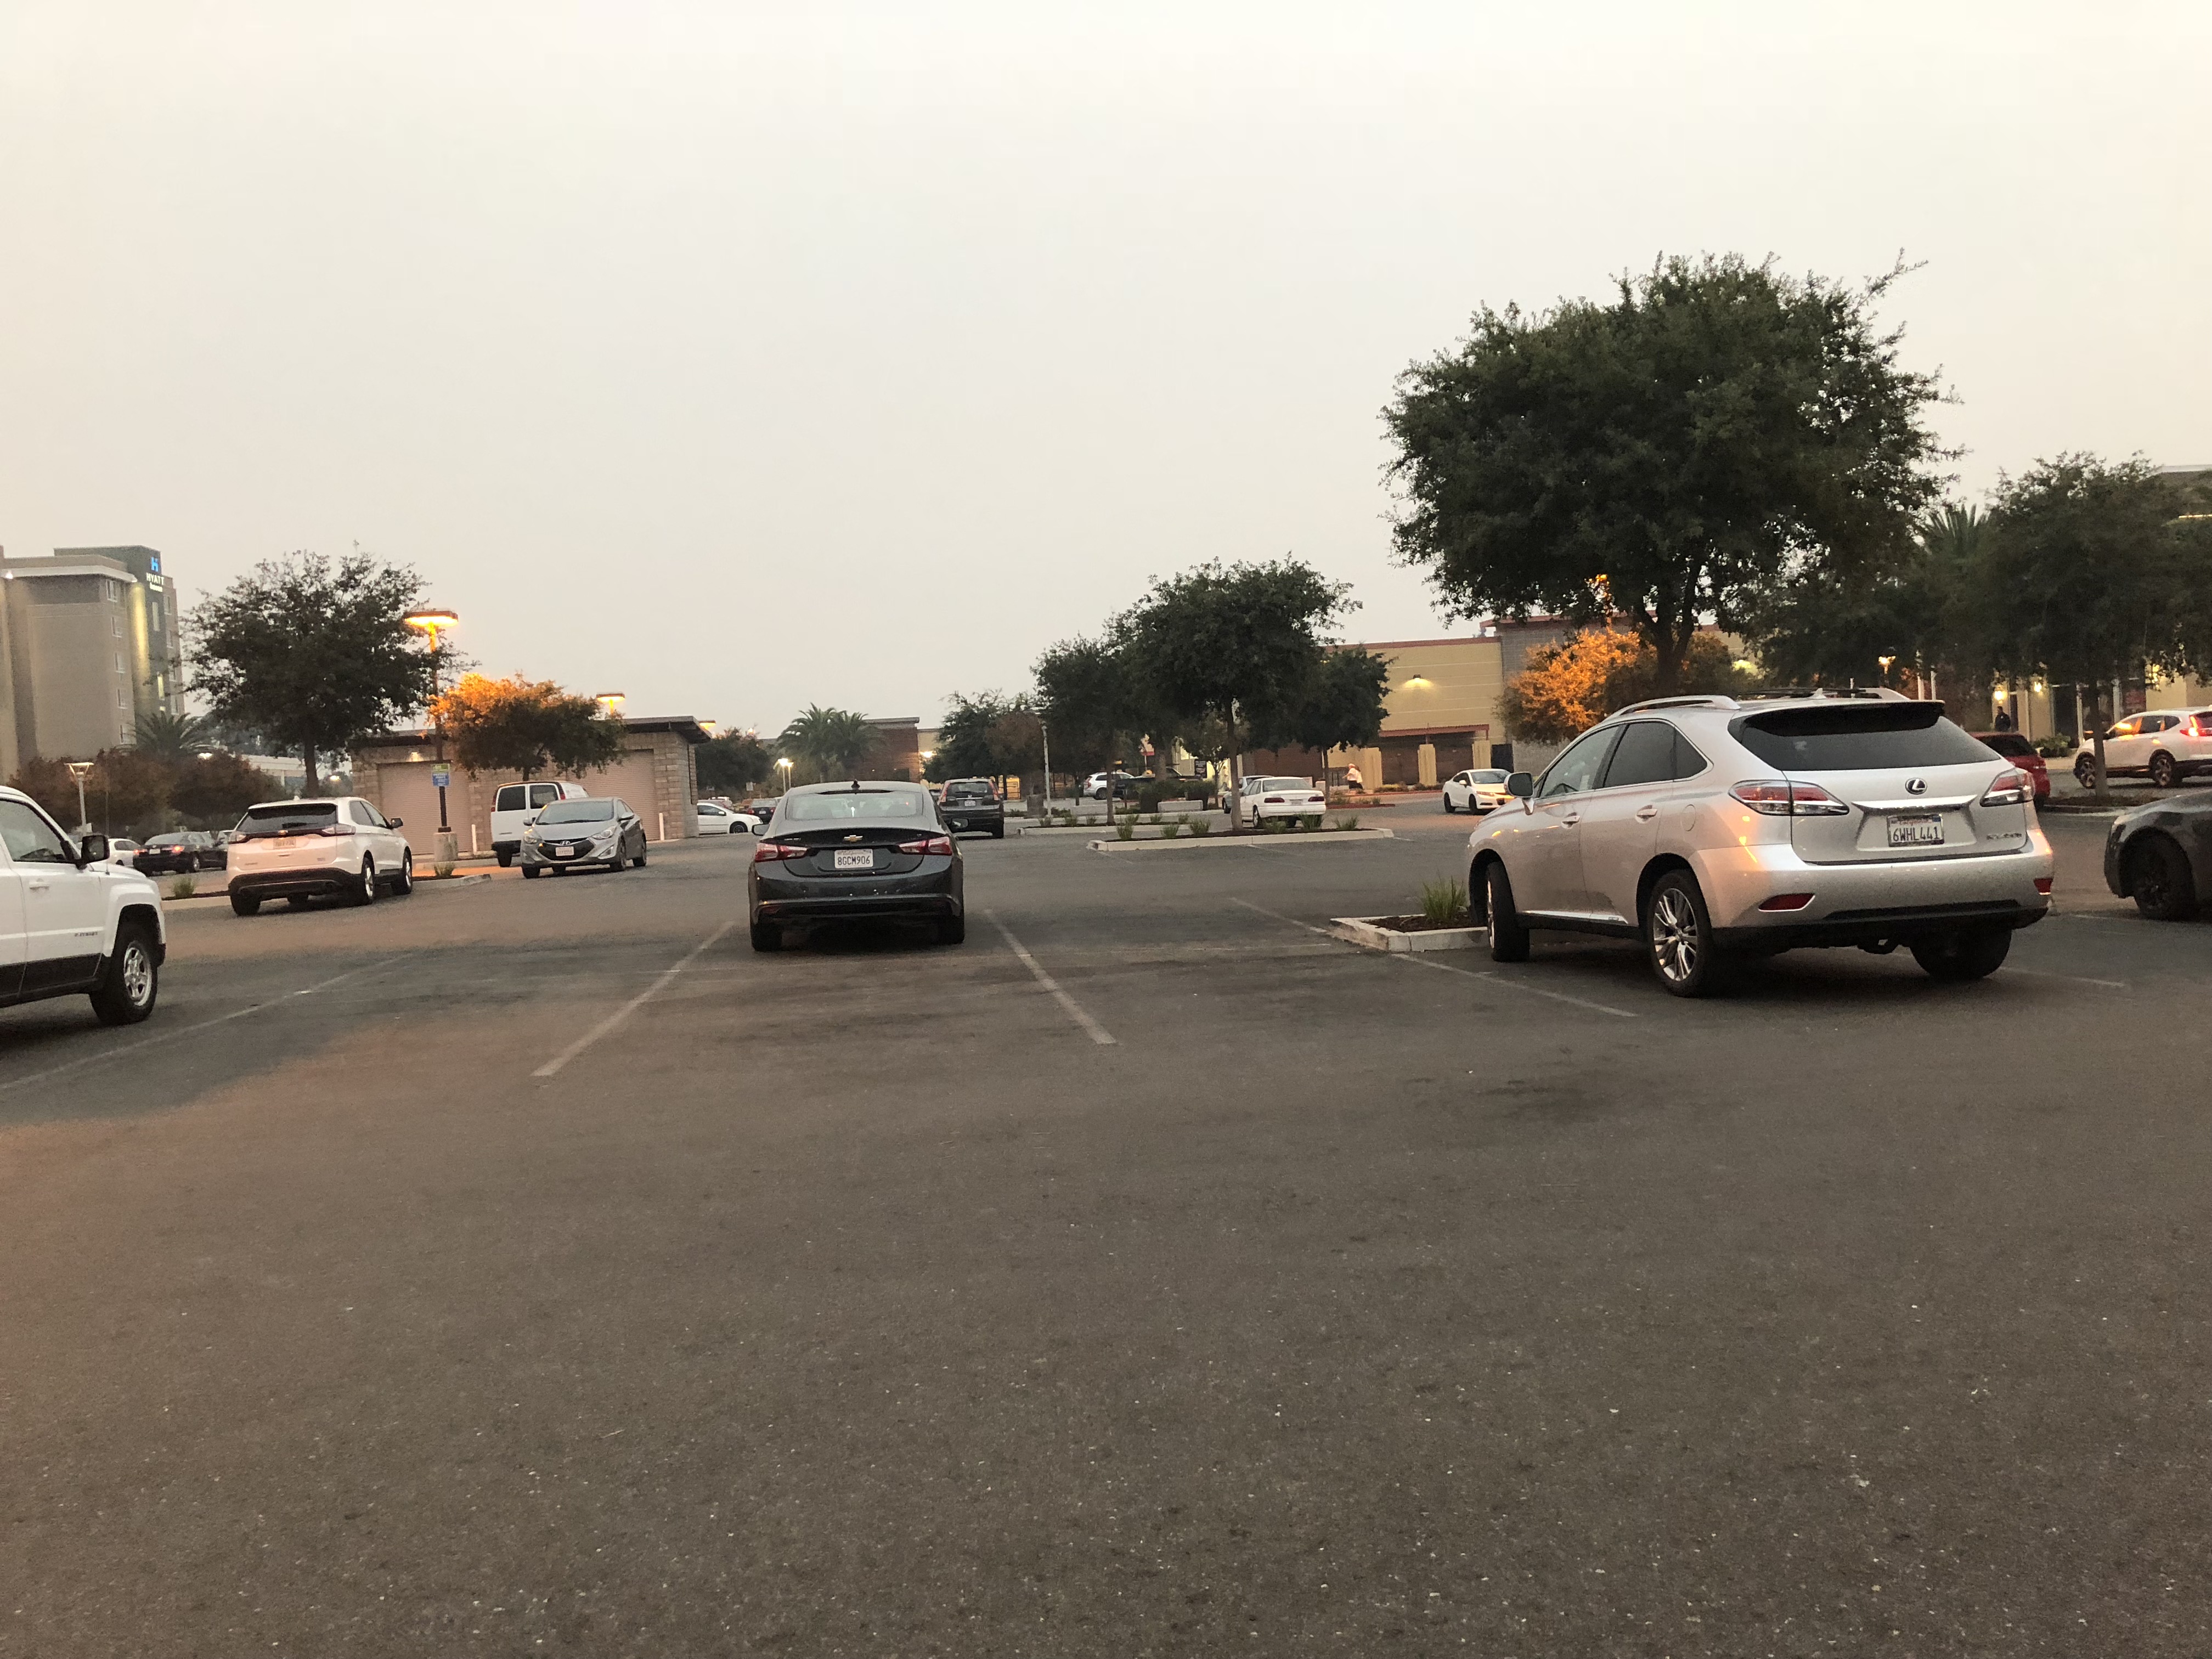

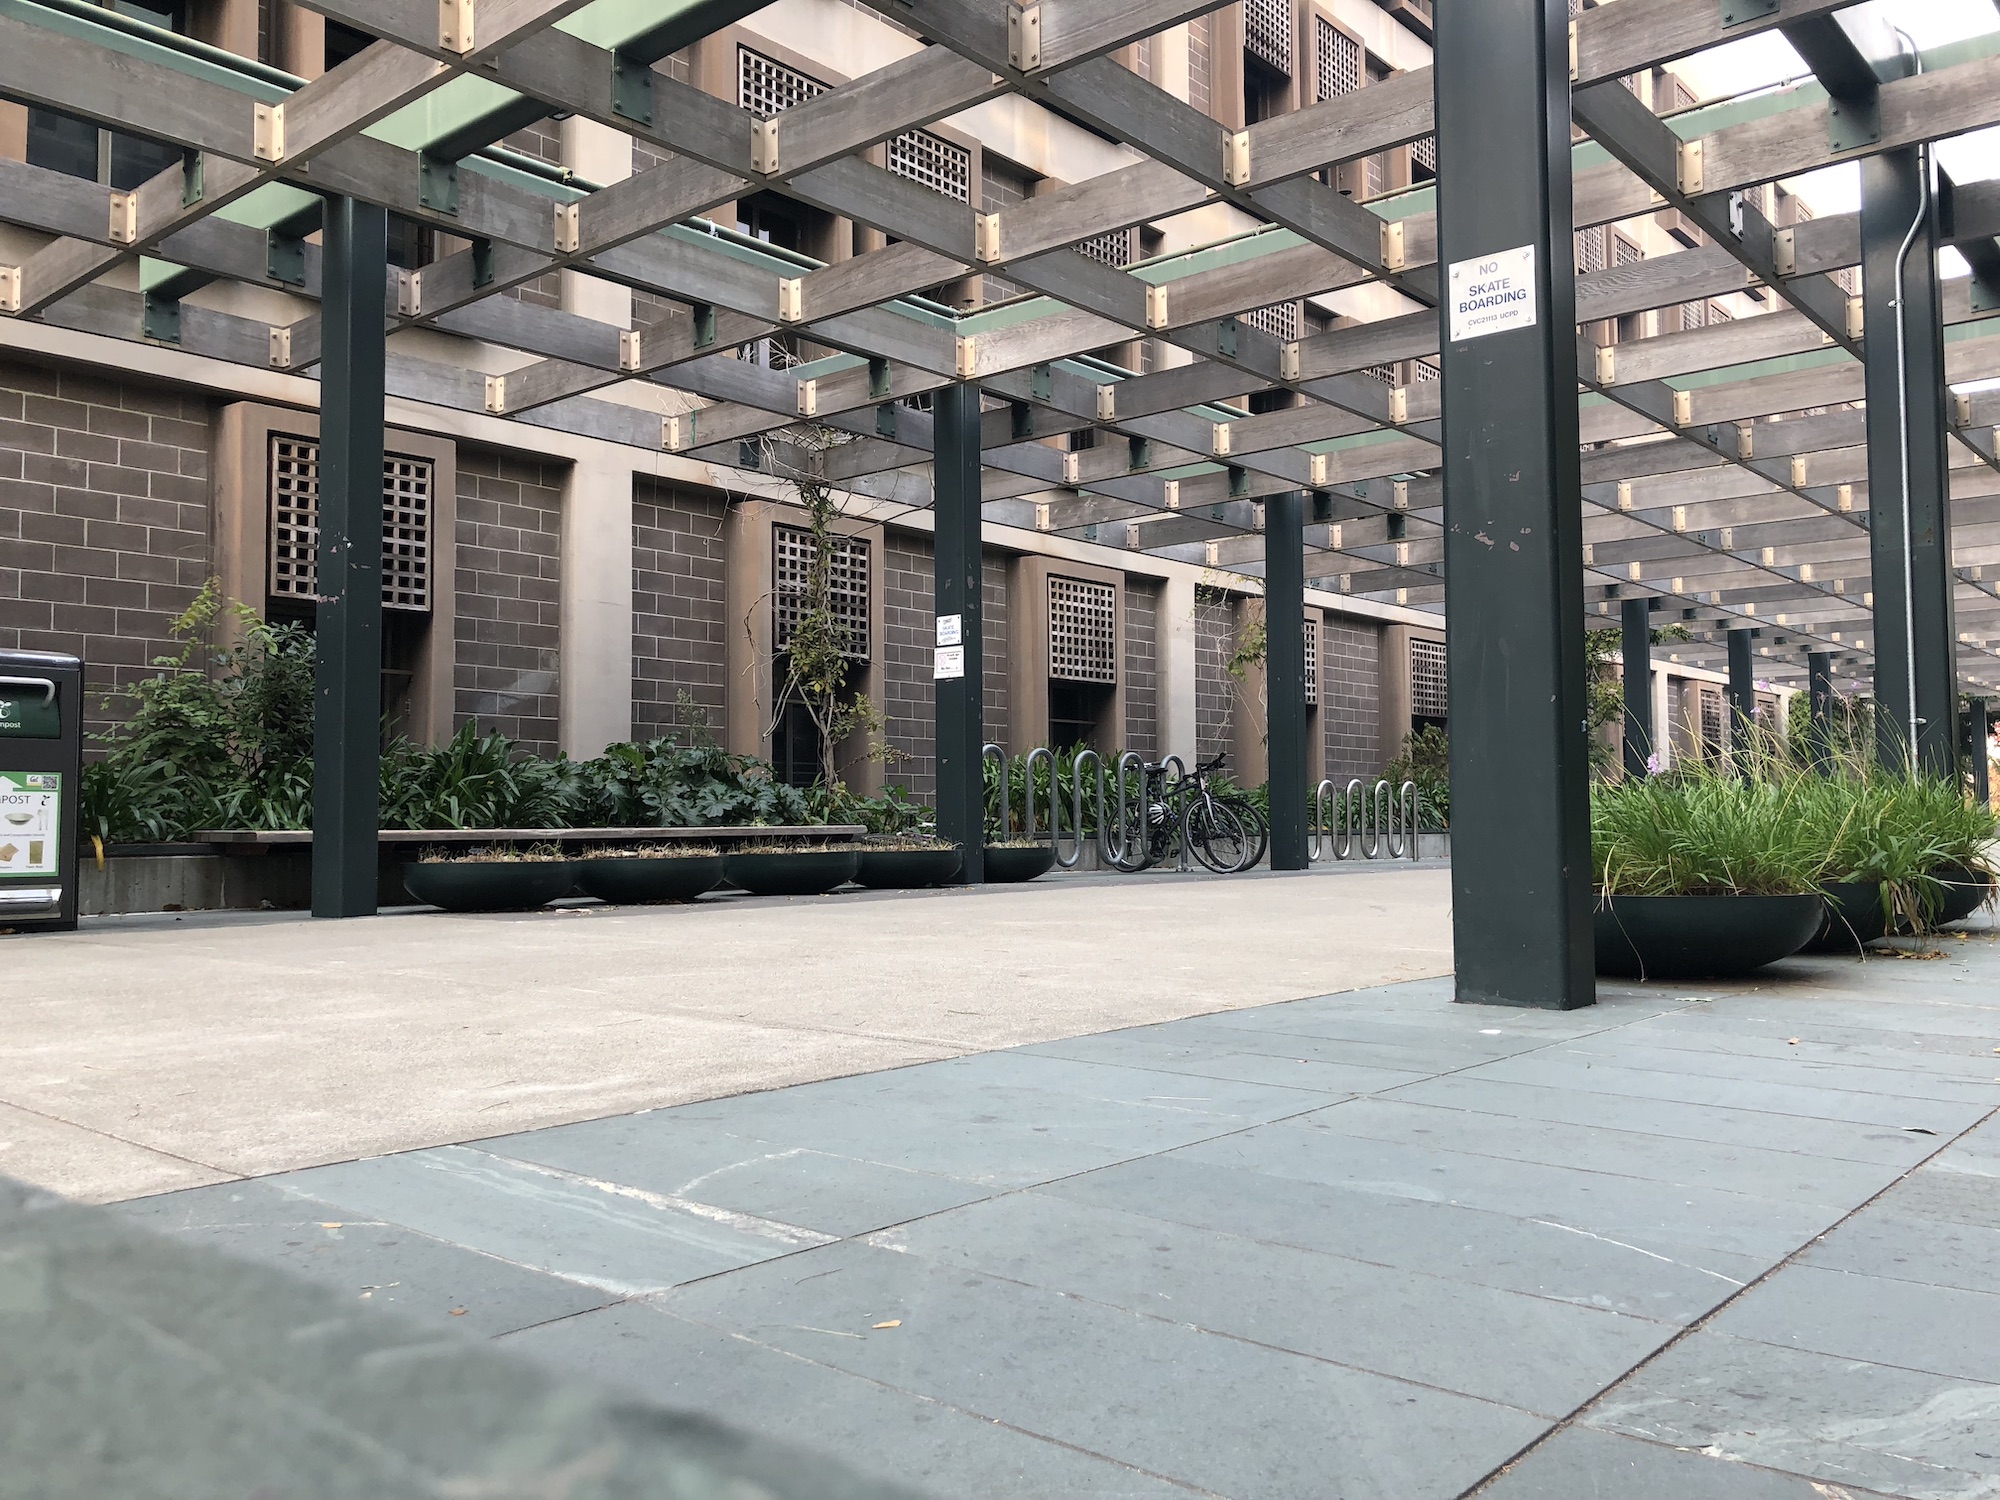
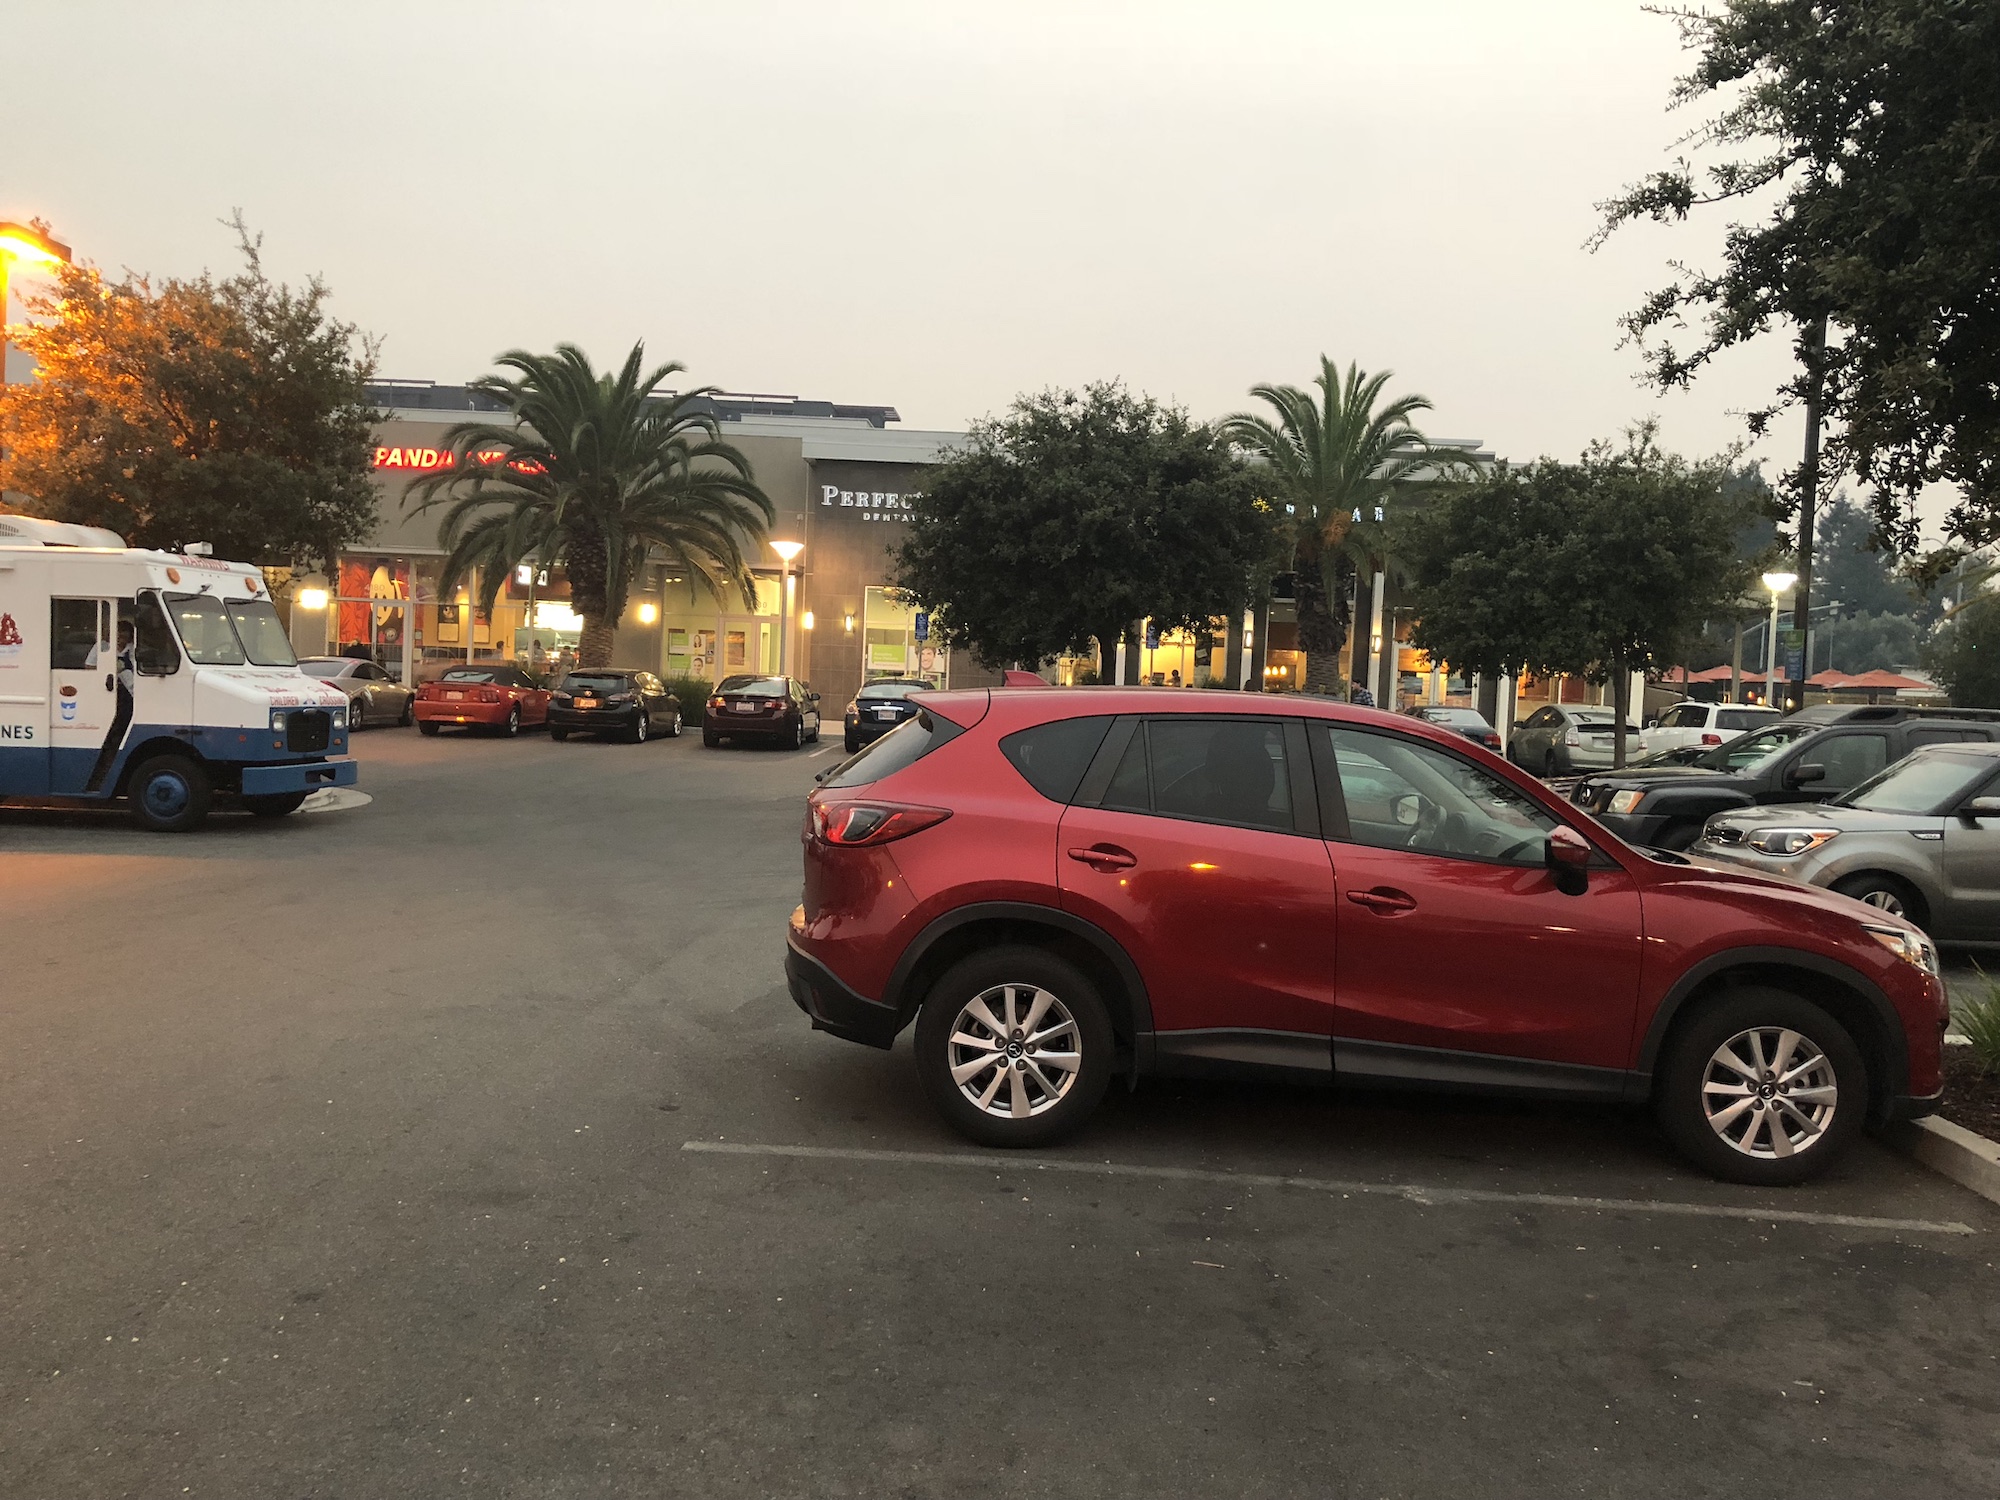

Here are some of the photos I shot
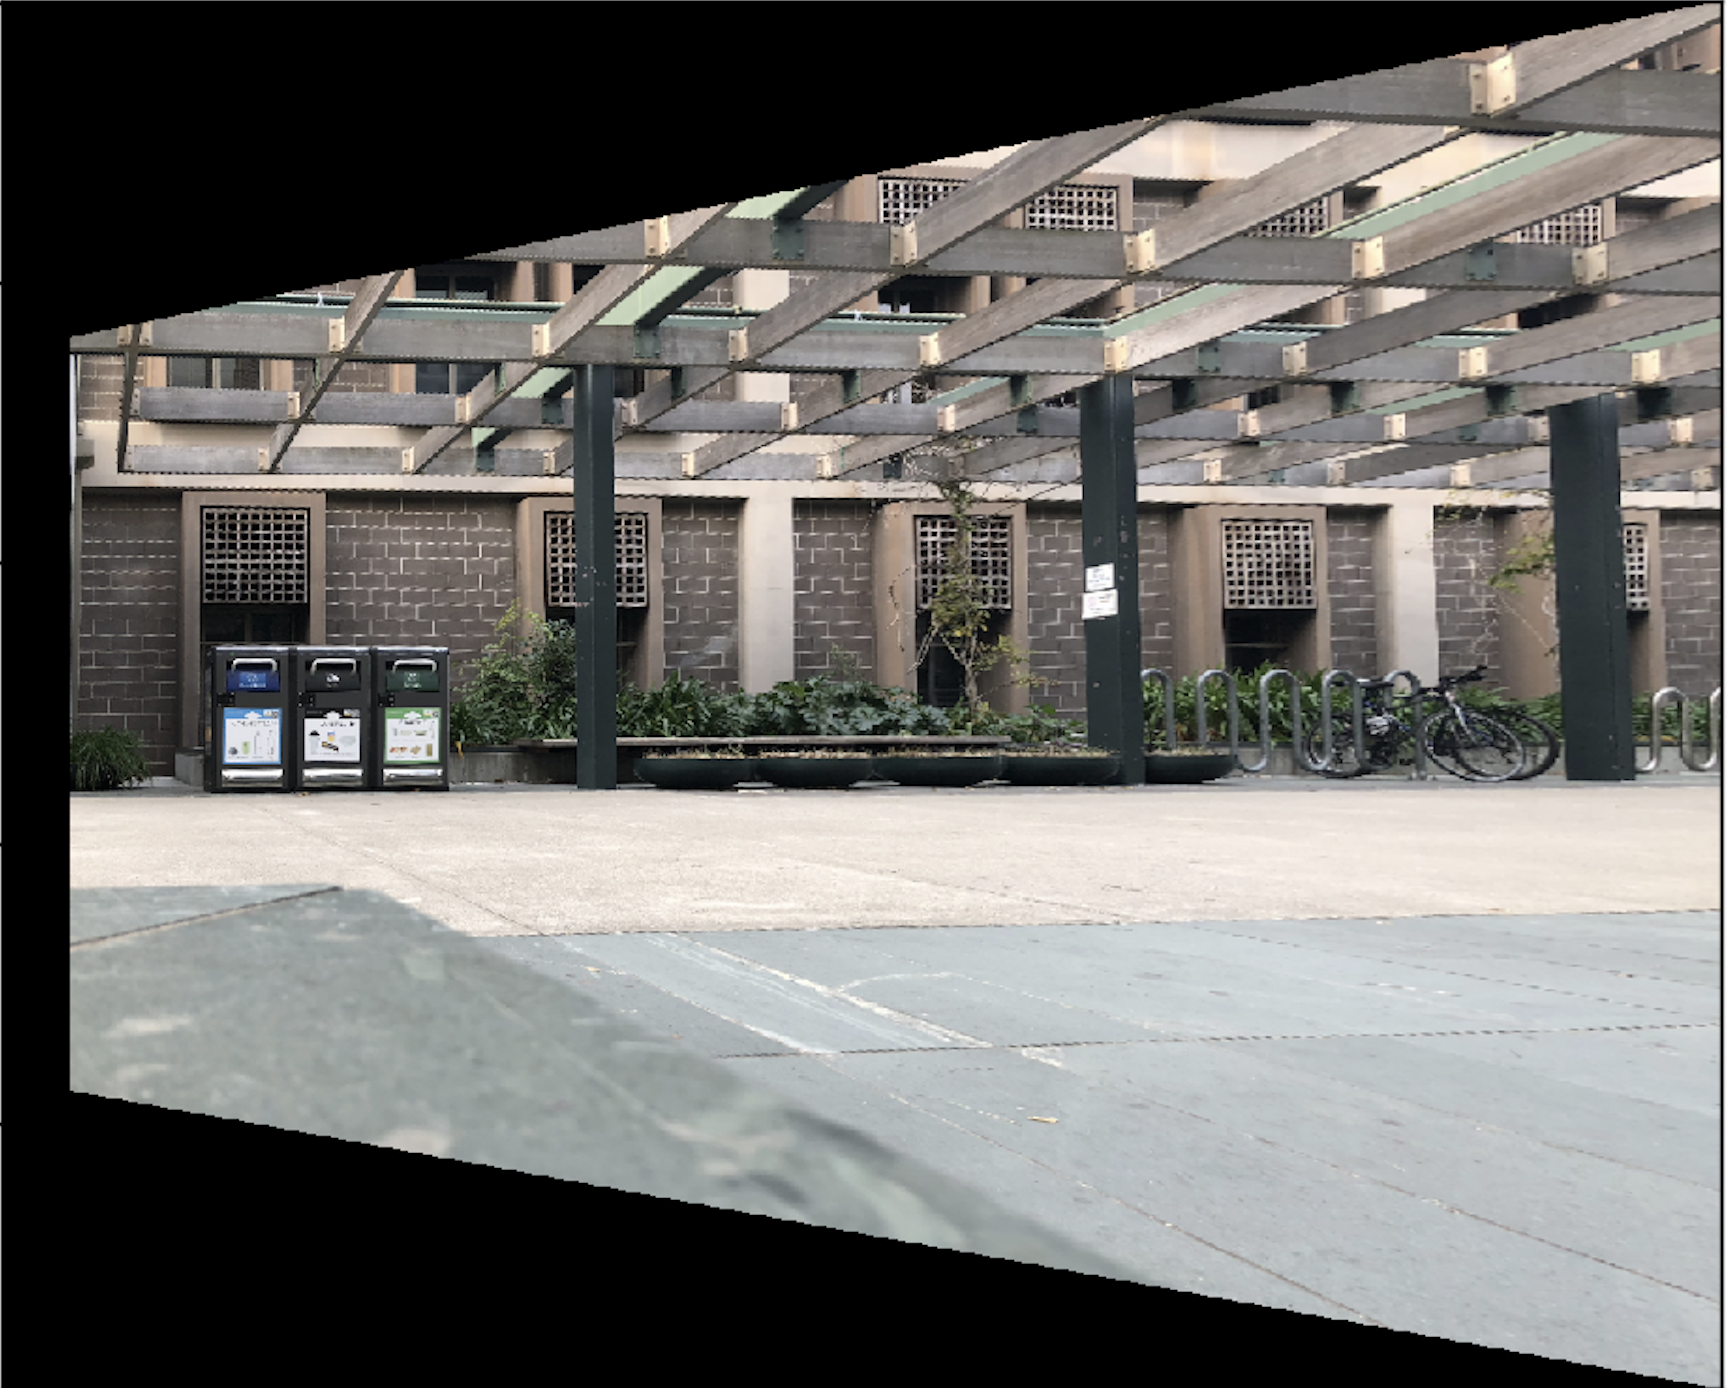
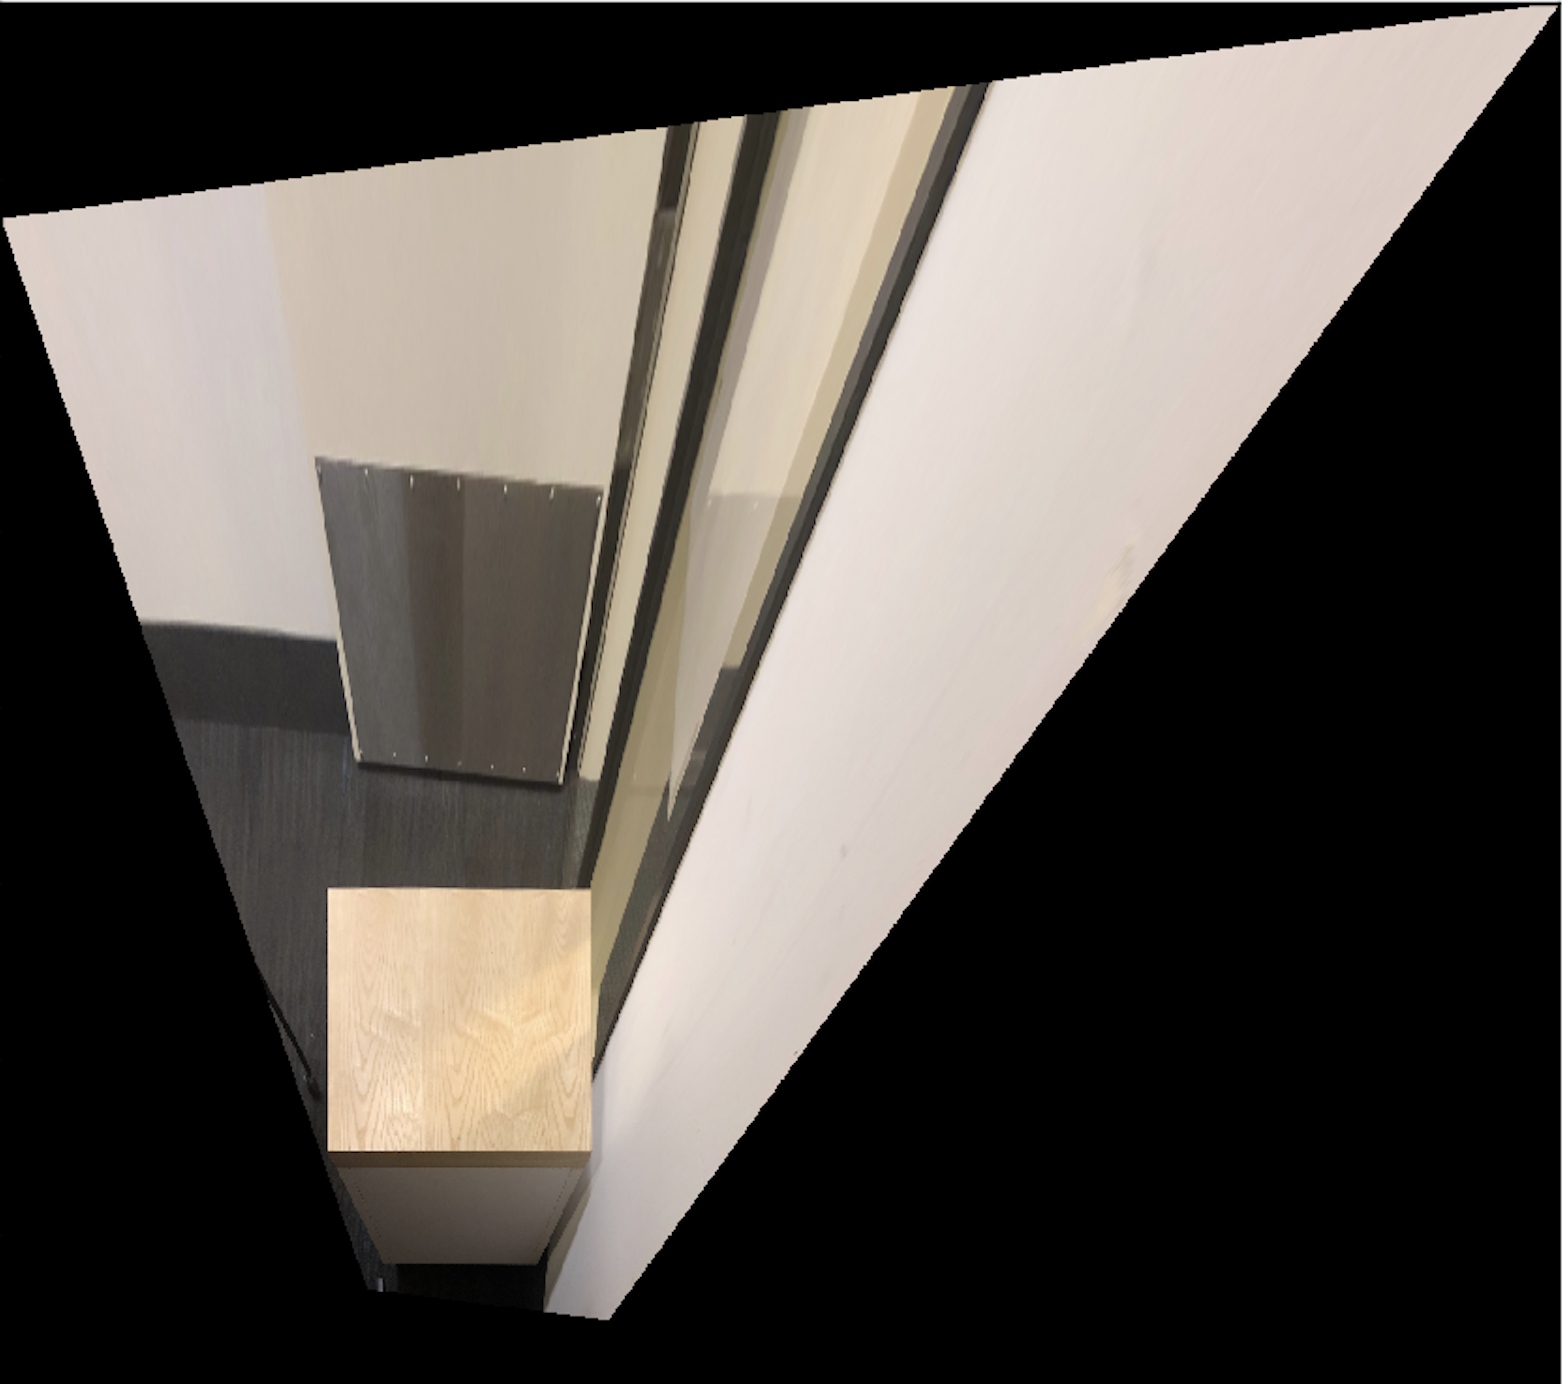
First, we compute a homography that will help us warp one image into another. To do this, we define correspondences across both images and compute the homography matrix H that will map each point to its corresponding one in the second image--this matrix is then applied to every single point in the image to give us a new warped image. We can generate some warps that can change our perspective of what we are seeing by selecting certain points that we know *should* form a rectangle from a certain point of view and warping them into a rectangle. Below, we show a front-on view of the trash cans near soda and a birds-eye view of a countertop table in Soda Hall.

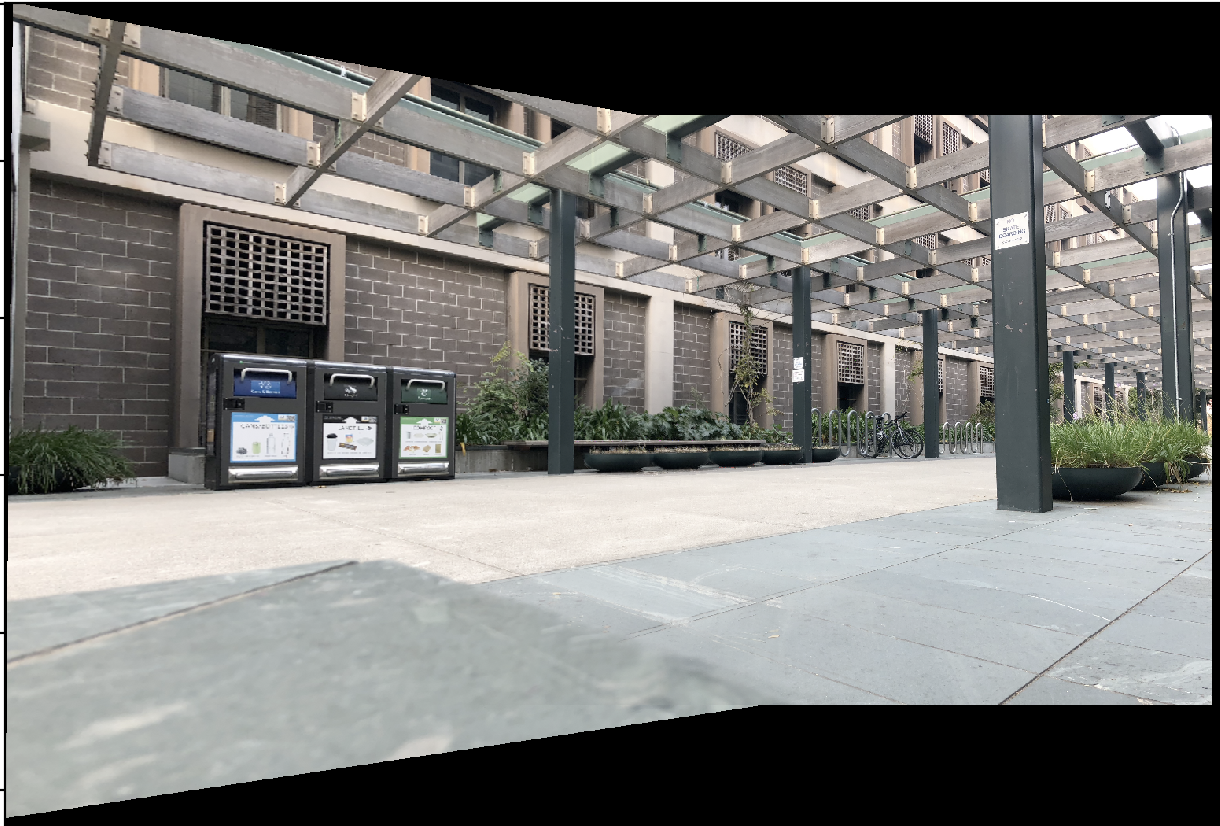
After some translation of both images (enough to get the warped image's top leftmost corner point to (0, 0)), we overlay one image on top of the other. This created a mosaic for my images. This was done through linear blending -- I recovered the overlap region through creating a mask and then, across the overlap region, computed the pixel value as alpha * im1 + (1 - alpha) * im2, with alpha starting at 1 and linearly decreasing until we got to the right edge of the overlap regions.

I learned a great deal from this project about warping and blending images, as well as exactly how we can stitch together images to create one giant shot by picking the right correspondences. I also learned how difficult it can be to actually create a panorama when picking points manually -- if you don't have enough corners, things get very hard very quickly.