CS194-26:
Image Manipulation and Computational Photography
Grace Park
SID: 3032341209
cs194-26-acd
Project 6: Image Warping and Mosaicing
Overview
In this project, multiple images will be warped and stitched together to create a panorama. First, the image will have to be taken where the position of the camera doesn't change in transition, but only in rotation. Then, homography matrix will be calculated using the corresponding points of the images and a warped image will be created. Then the images can be stitched together to create a panorama.
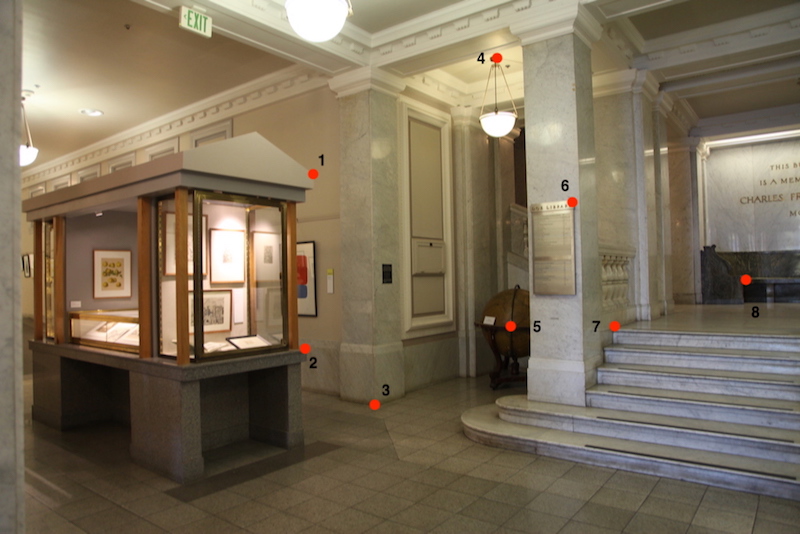
Part 1.1: Shooting the Picture
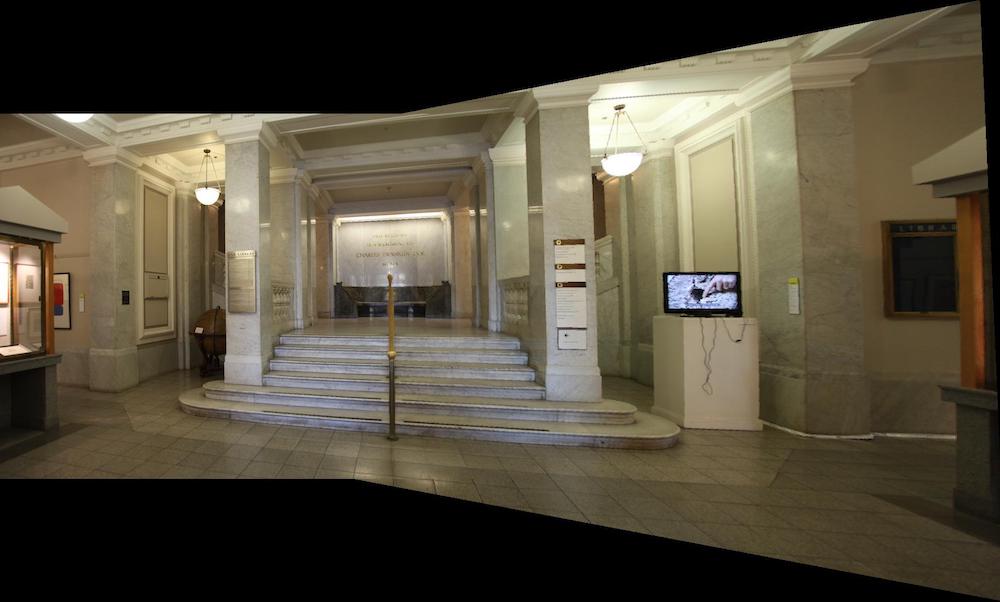
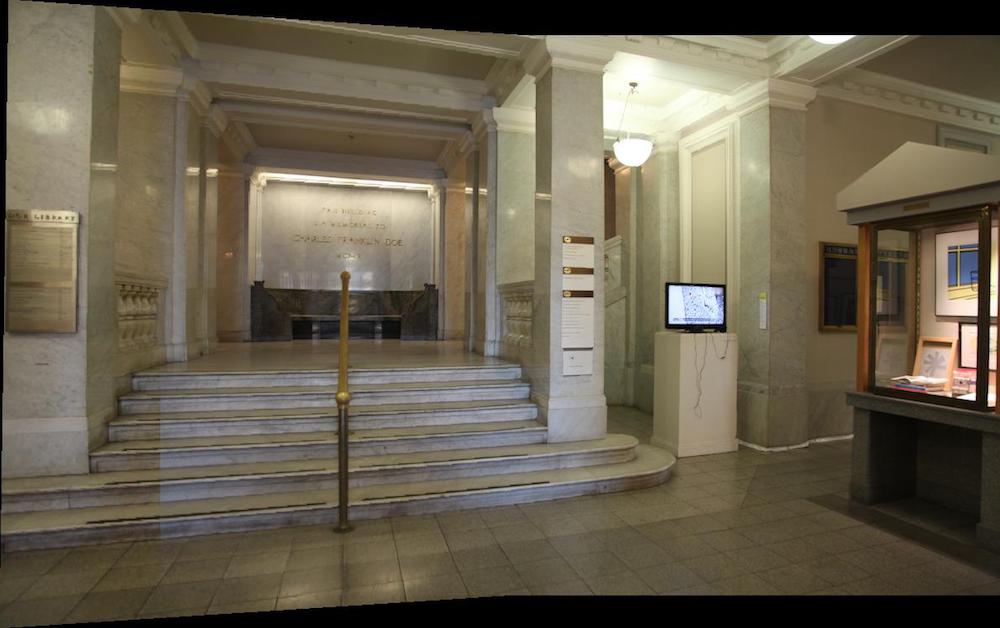
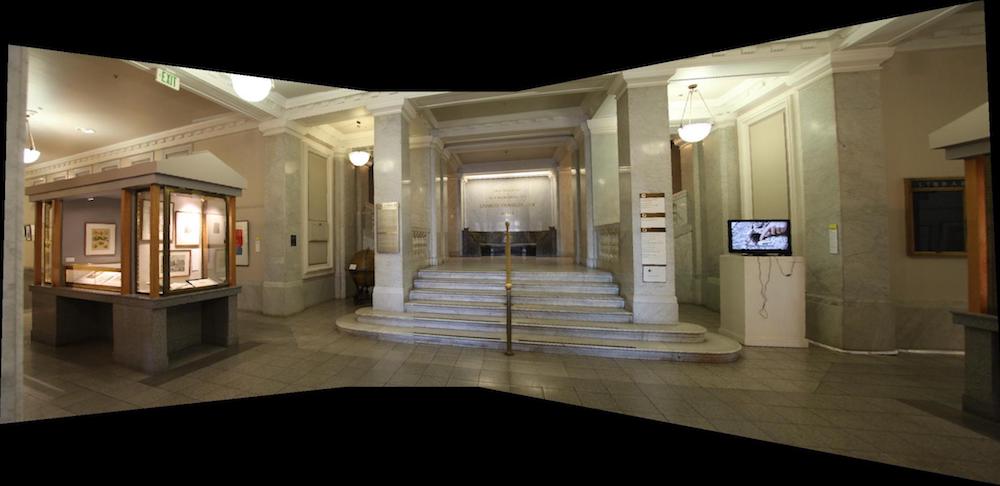
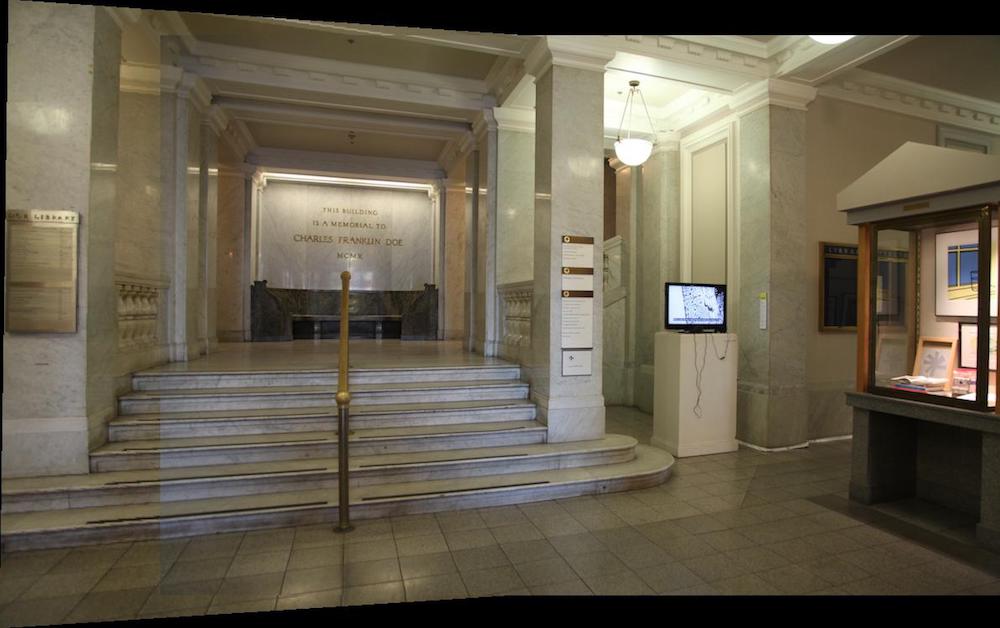
Four photos were taken using a tripod and a camera. I had to make sure that the camera only moved in rotation and the camera was stationary. It was important that the camera didn't move in translational motion for a successful panorama.

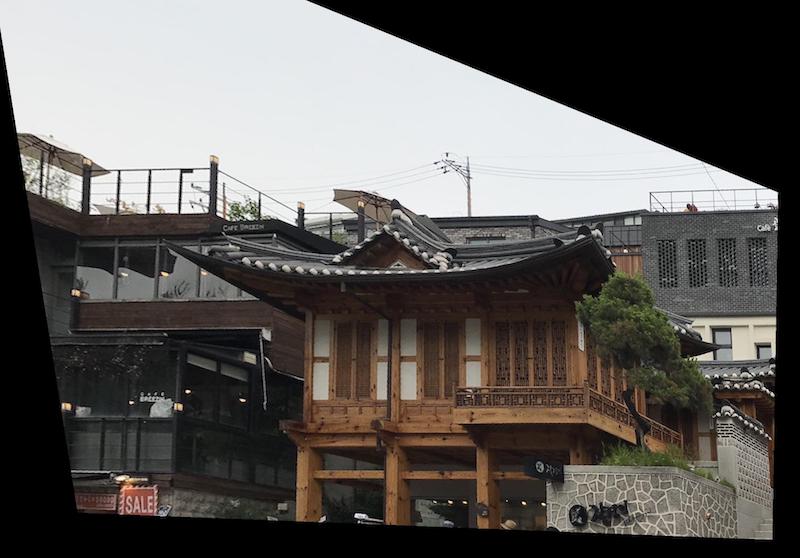
From left to right, the images will be called img1, img2, img3, and img4.
Part 1.2: Recover Homographies
In this part, the corresponding points were picked from the images and the homography matrix was calculated using least squares.
For example, in order to warp img1 from above to the img2, the following corresponding points were picked:
The corresponding points were picked from img2 in the same order.
Next, the homography matrix was calculated using the points. I picked 8 points in order to make the system overdetermined. The matrix equation below was used to calculate the matrix A of the least squares. The left most matrix is A, the second vector is x (which consists of the elements of the homography matrix), and the right most vector is b. from Ax = b, we can perform least squares to calculate x.
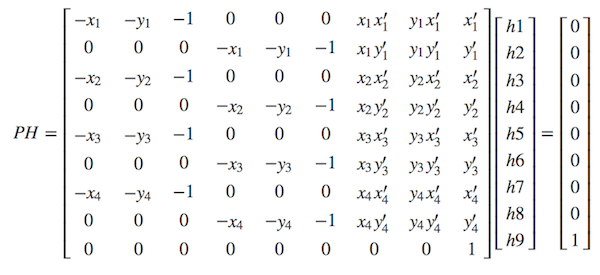
(source: https://math.stackexchange.com/questions/494238/how-to-compute-homography-matrix-h-from-corresponding-points-2d-2d-planar-homog/1289595#1289595)
After the homography matrix is calculated, the new warped points can be calculated by multiplying H with the points: Hp = p'.
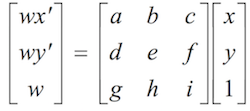
(source: https://inst.eecs.berkeley.edu/~cs194-26/fa18/Lectures/mosaic.pdf)
Notice that a, b, ..., i are h1, h2, ... h9 from the above matrix.
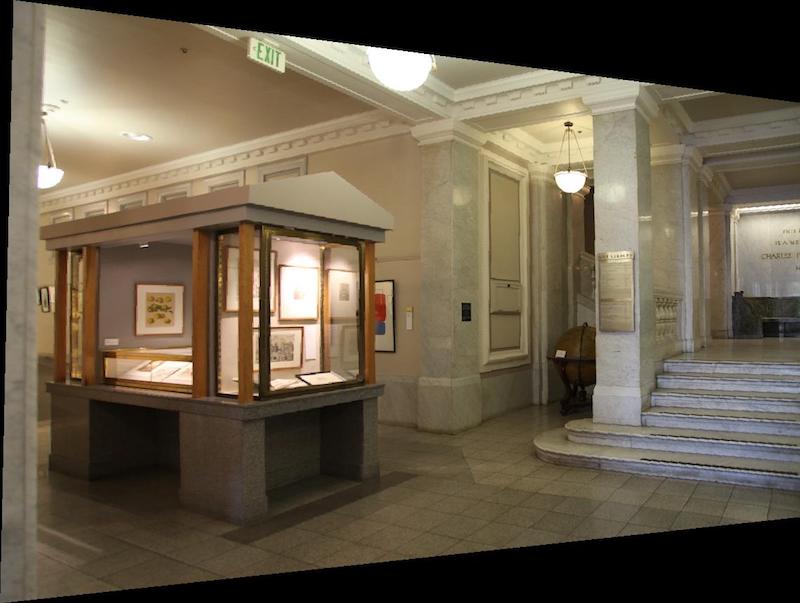
Part 1.3: Warping the Image
Next, the image is warped using the homography matrix. If the image is warped using the homography matrix calculated about, the following will occur:
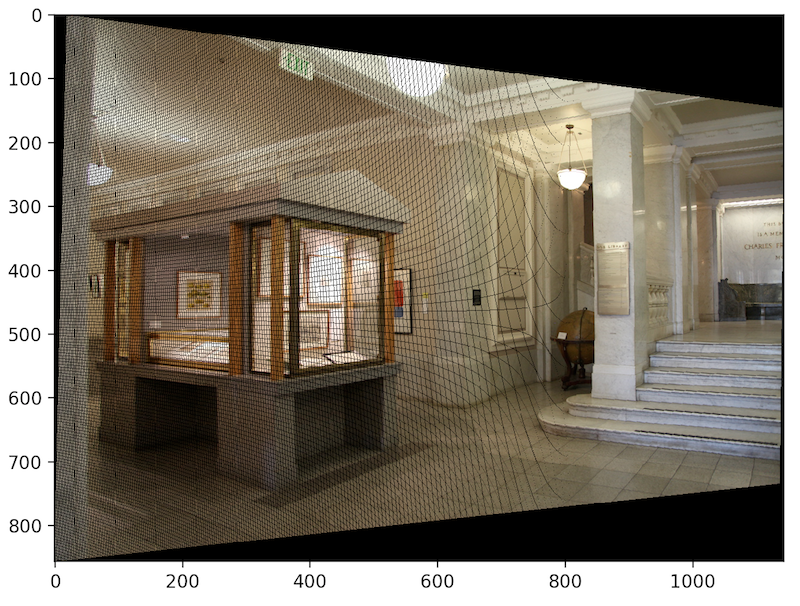
This happens because not all the pixel values will be filled on the new warped image. Therefore, an inverse homography should be done so that every single pixel in the warped image is filled.
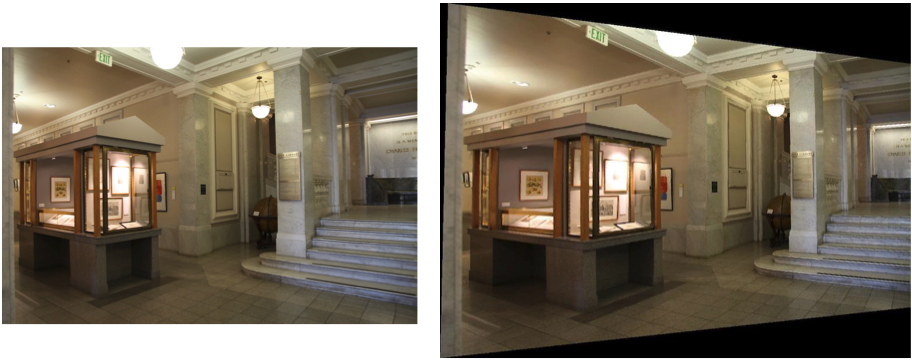
Putting the original picture next to the warped image, you can see the difference between the two.
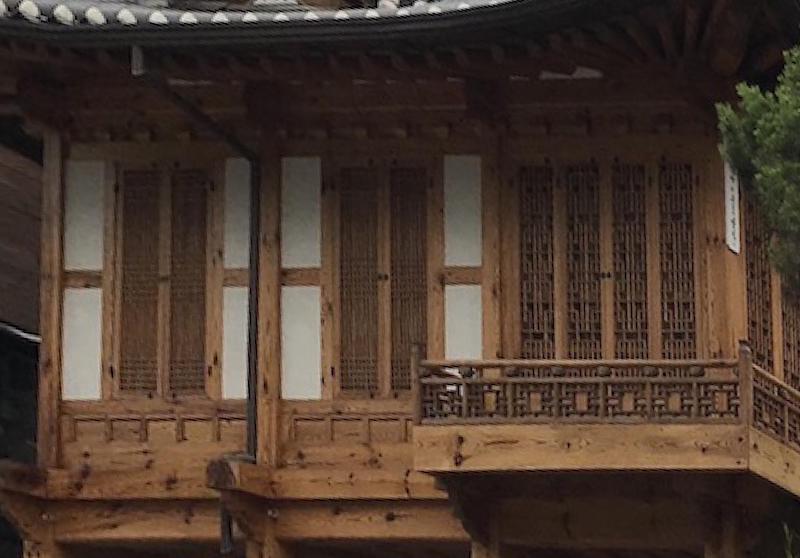
Part 1.4: Image Rectification
In this part, the image is rectified so that the photo will look like it was taken from a different angle.
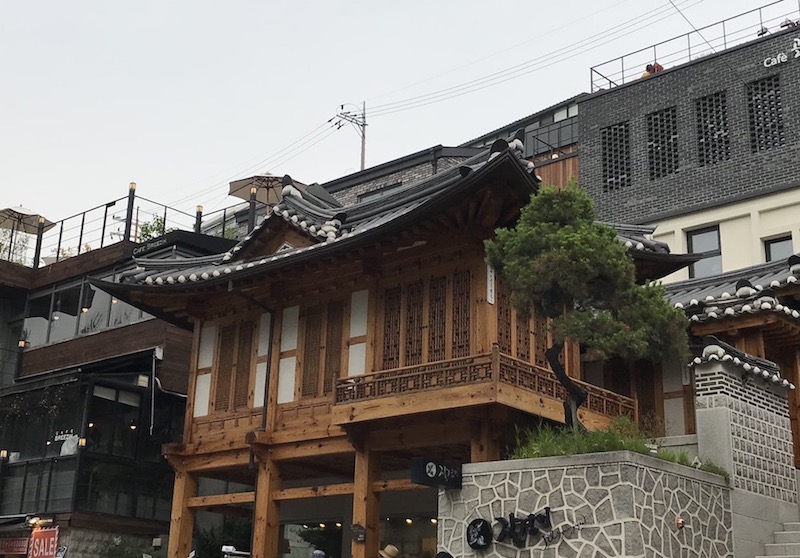
In order to rectify the image from above, I picked four points of the windows.
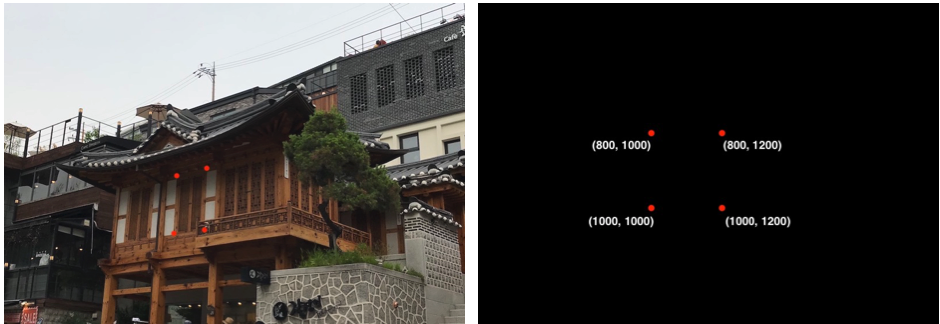
Then I mapped these four points to a rectangle with the corners at (800, 1000), (800, 1200), (1000, 1000), and (1000, 1200).
The rectified image looks like the following:
A cropped image looks better because if you notice the roof of the building, it looks weird.
Another example of the rectified image is shown at the bottom:
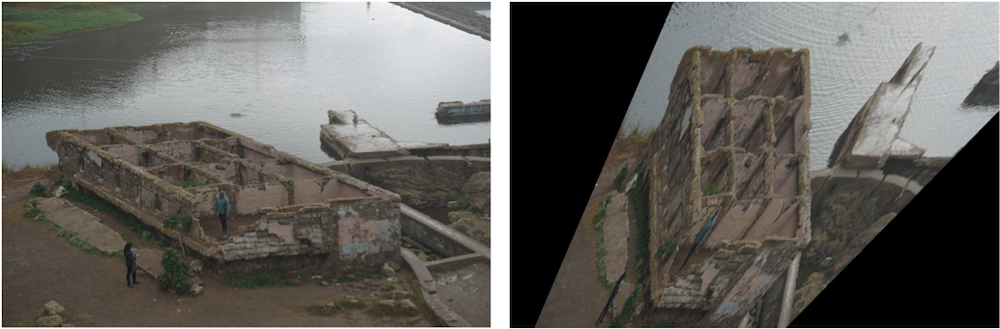
The bath house rectified image doesn't look super good because the angle that the photo was taken and the angle that I am trying to reconstruct is TOO different. I think the image above was much more successful.
Part 1.5: Blending the Images into a Mosaic
In this part, I blended the warped image with the other image.
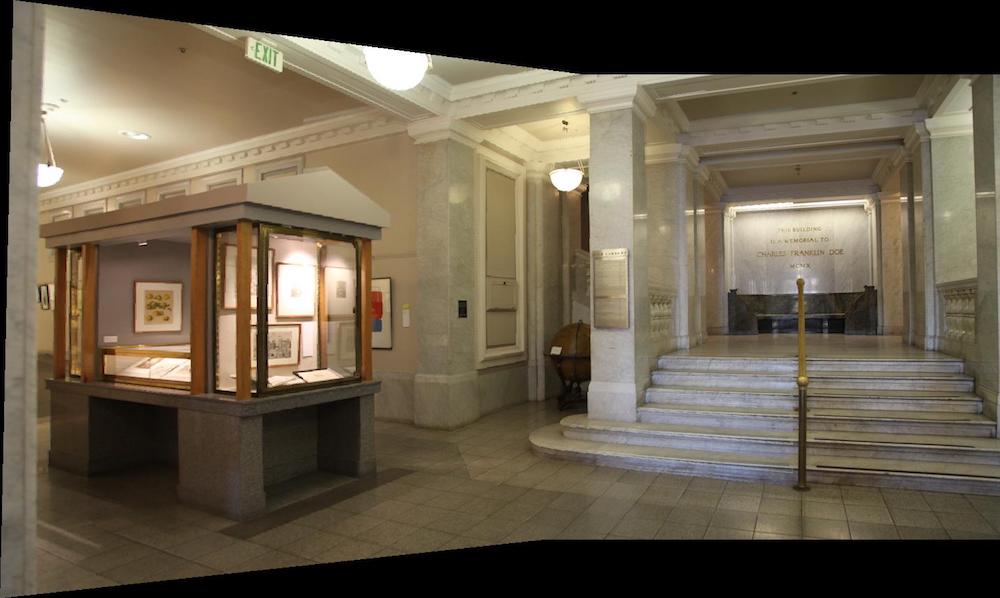
To create a full panorama, Mosaic 1 and Mosaic 2 can be stitched together.
These images are created by using stitching and blending. As you can see from the bottom, without blending the image looks like the following:
You can see from the left side of the image that there is a very clear distinction from im3 and im4. Therefore, obtaining the maximum pixel value at the point and a weight (for example 0.9) is used to blend the two pixels together. The result is successful as you can see from Mosaic 3.
What I've learned
In this project, I learned how to warp and rectify images. Warping and rectifying images uses the same concept and have similar procedure, but their purpose is different. By warping images, I was able to construct a panorama of multiple photos. By rectifying the picture, I was able to compute a photo from a different lightfield than the lightfield.
Overall, it was a cool project to understand direction of lightfields and how panorama works from my phone camera.
Last Edit: 11/10/2018