Image Warping & Mosaicing Pt. 1
CS 194-26 Computational Photography Fall 2018
Guowei Yang cs194-26-acg
Introduction
Part 1: Taking the Photos & Defining Corresponding Points
In this project, we are going to explore new image manipulation techniques including panorama and Mosaicing. We will first explore how to create an image panorama.
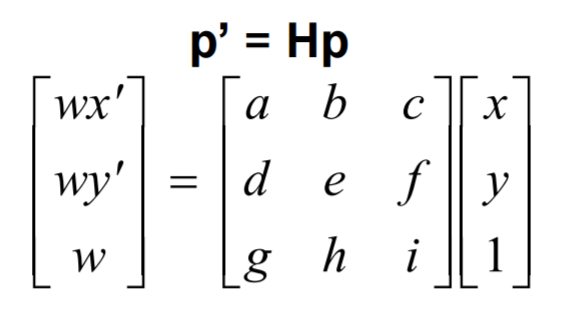
Part 2: Recover Homographies
Part 3: Image Warping & Blending
Part 5: Rectification
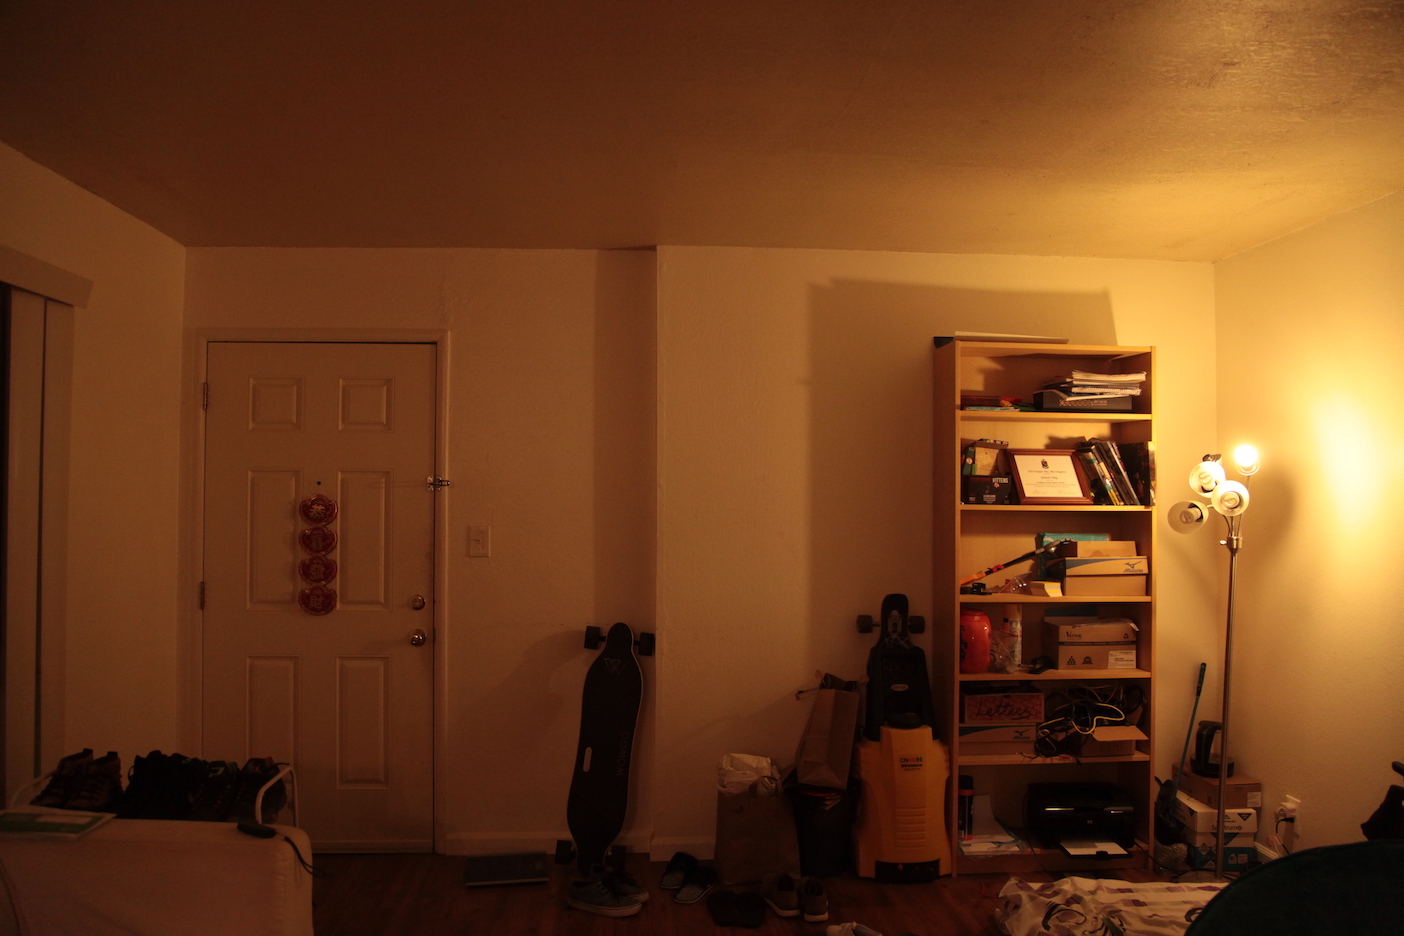
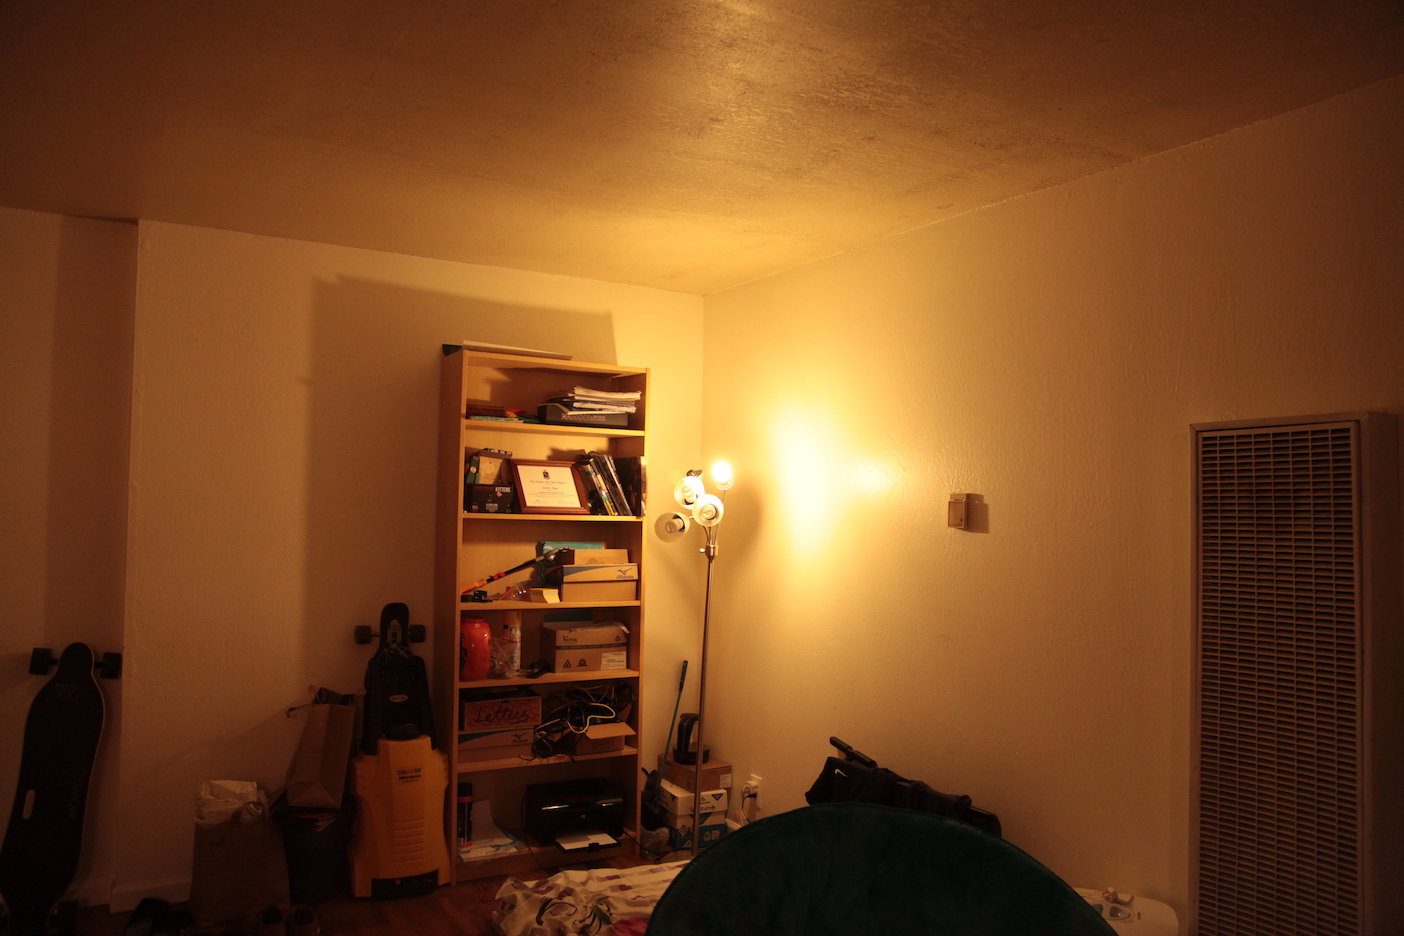
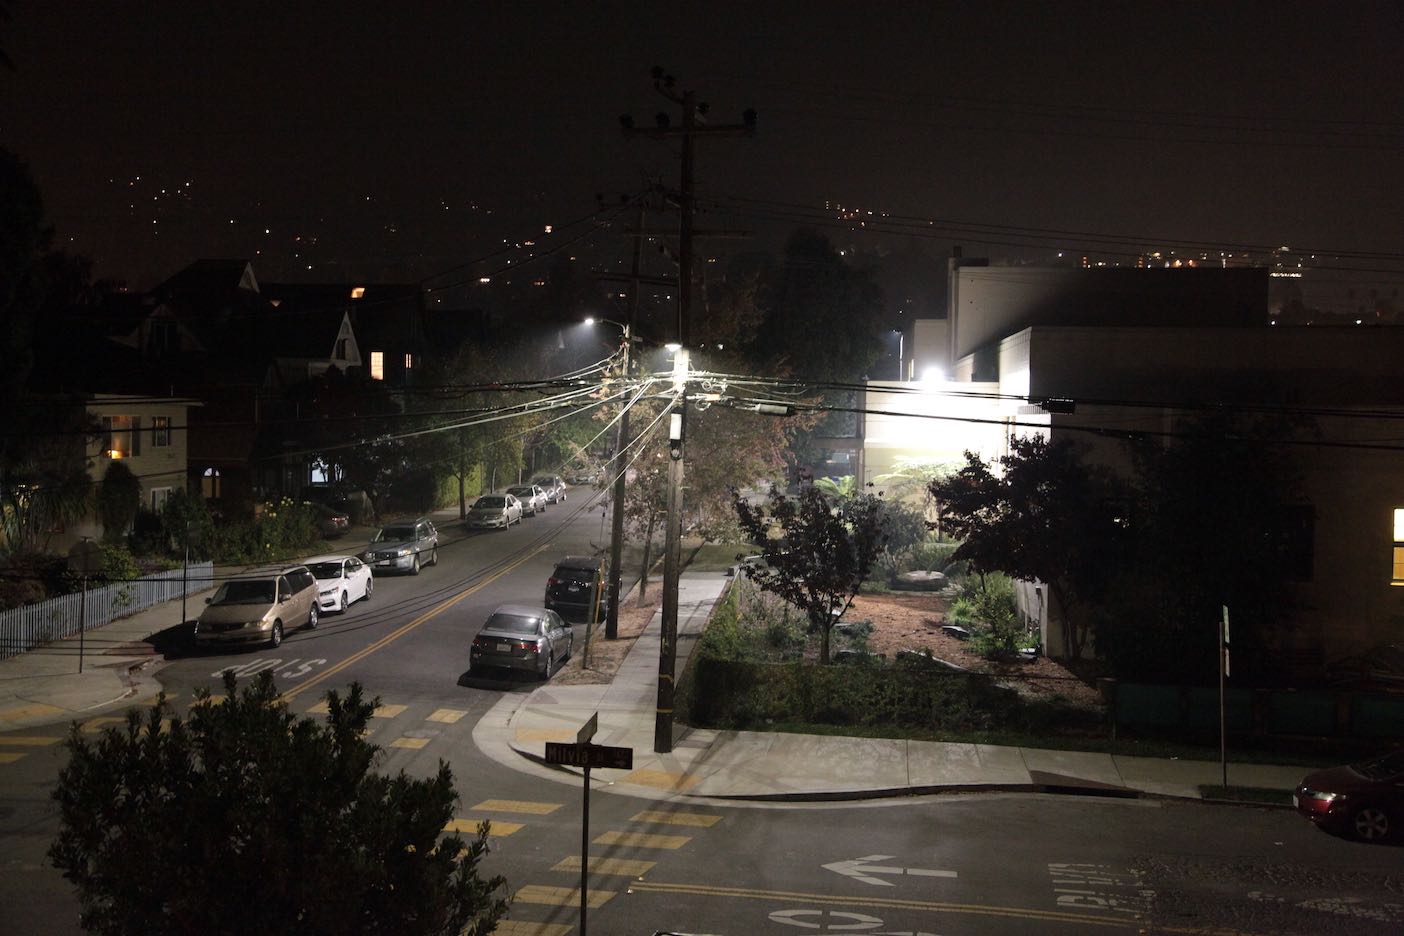
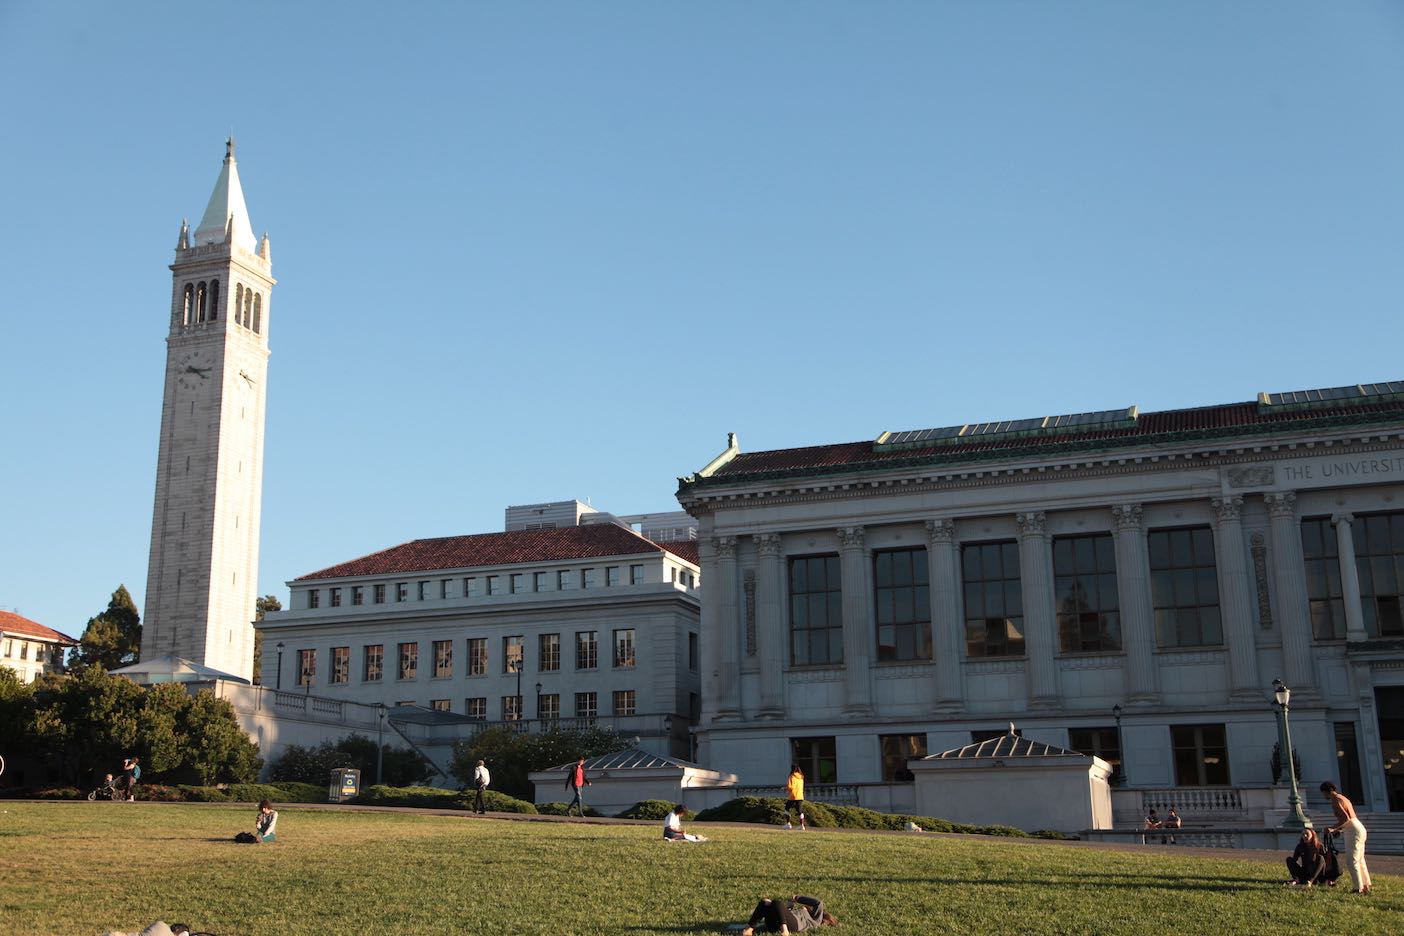
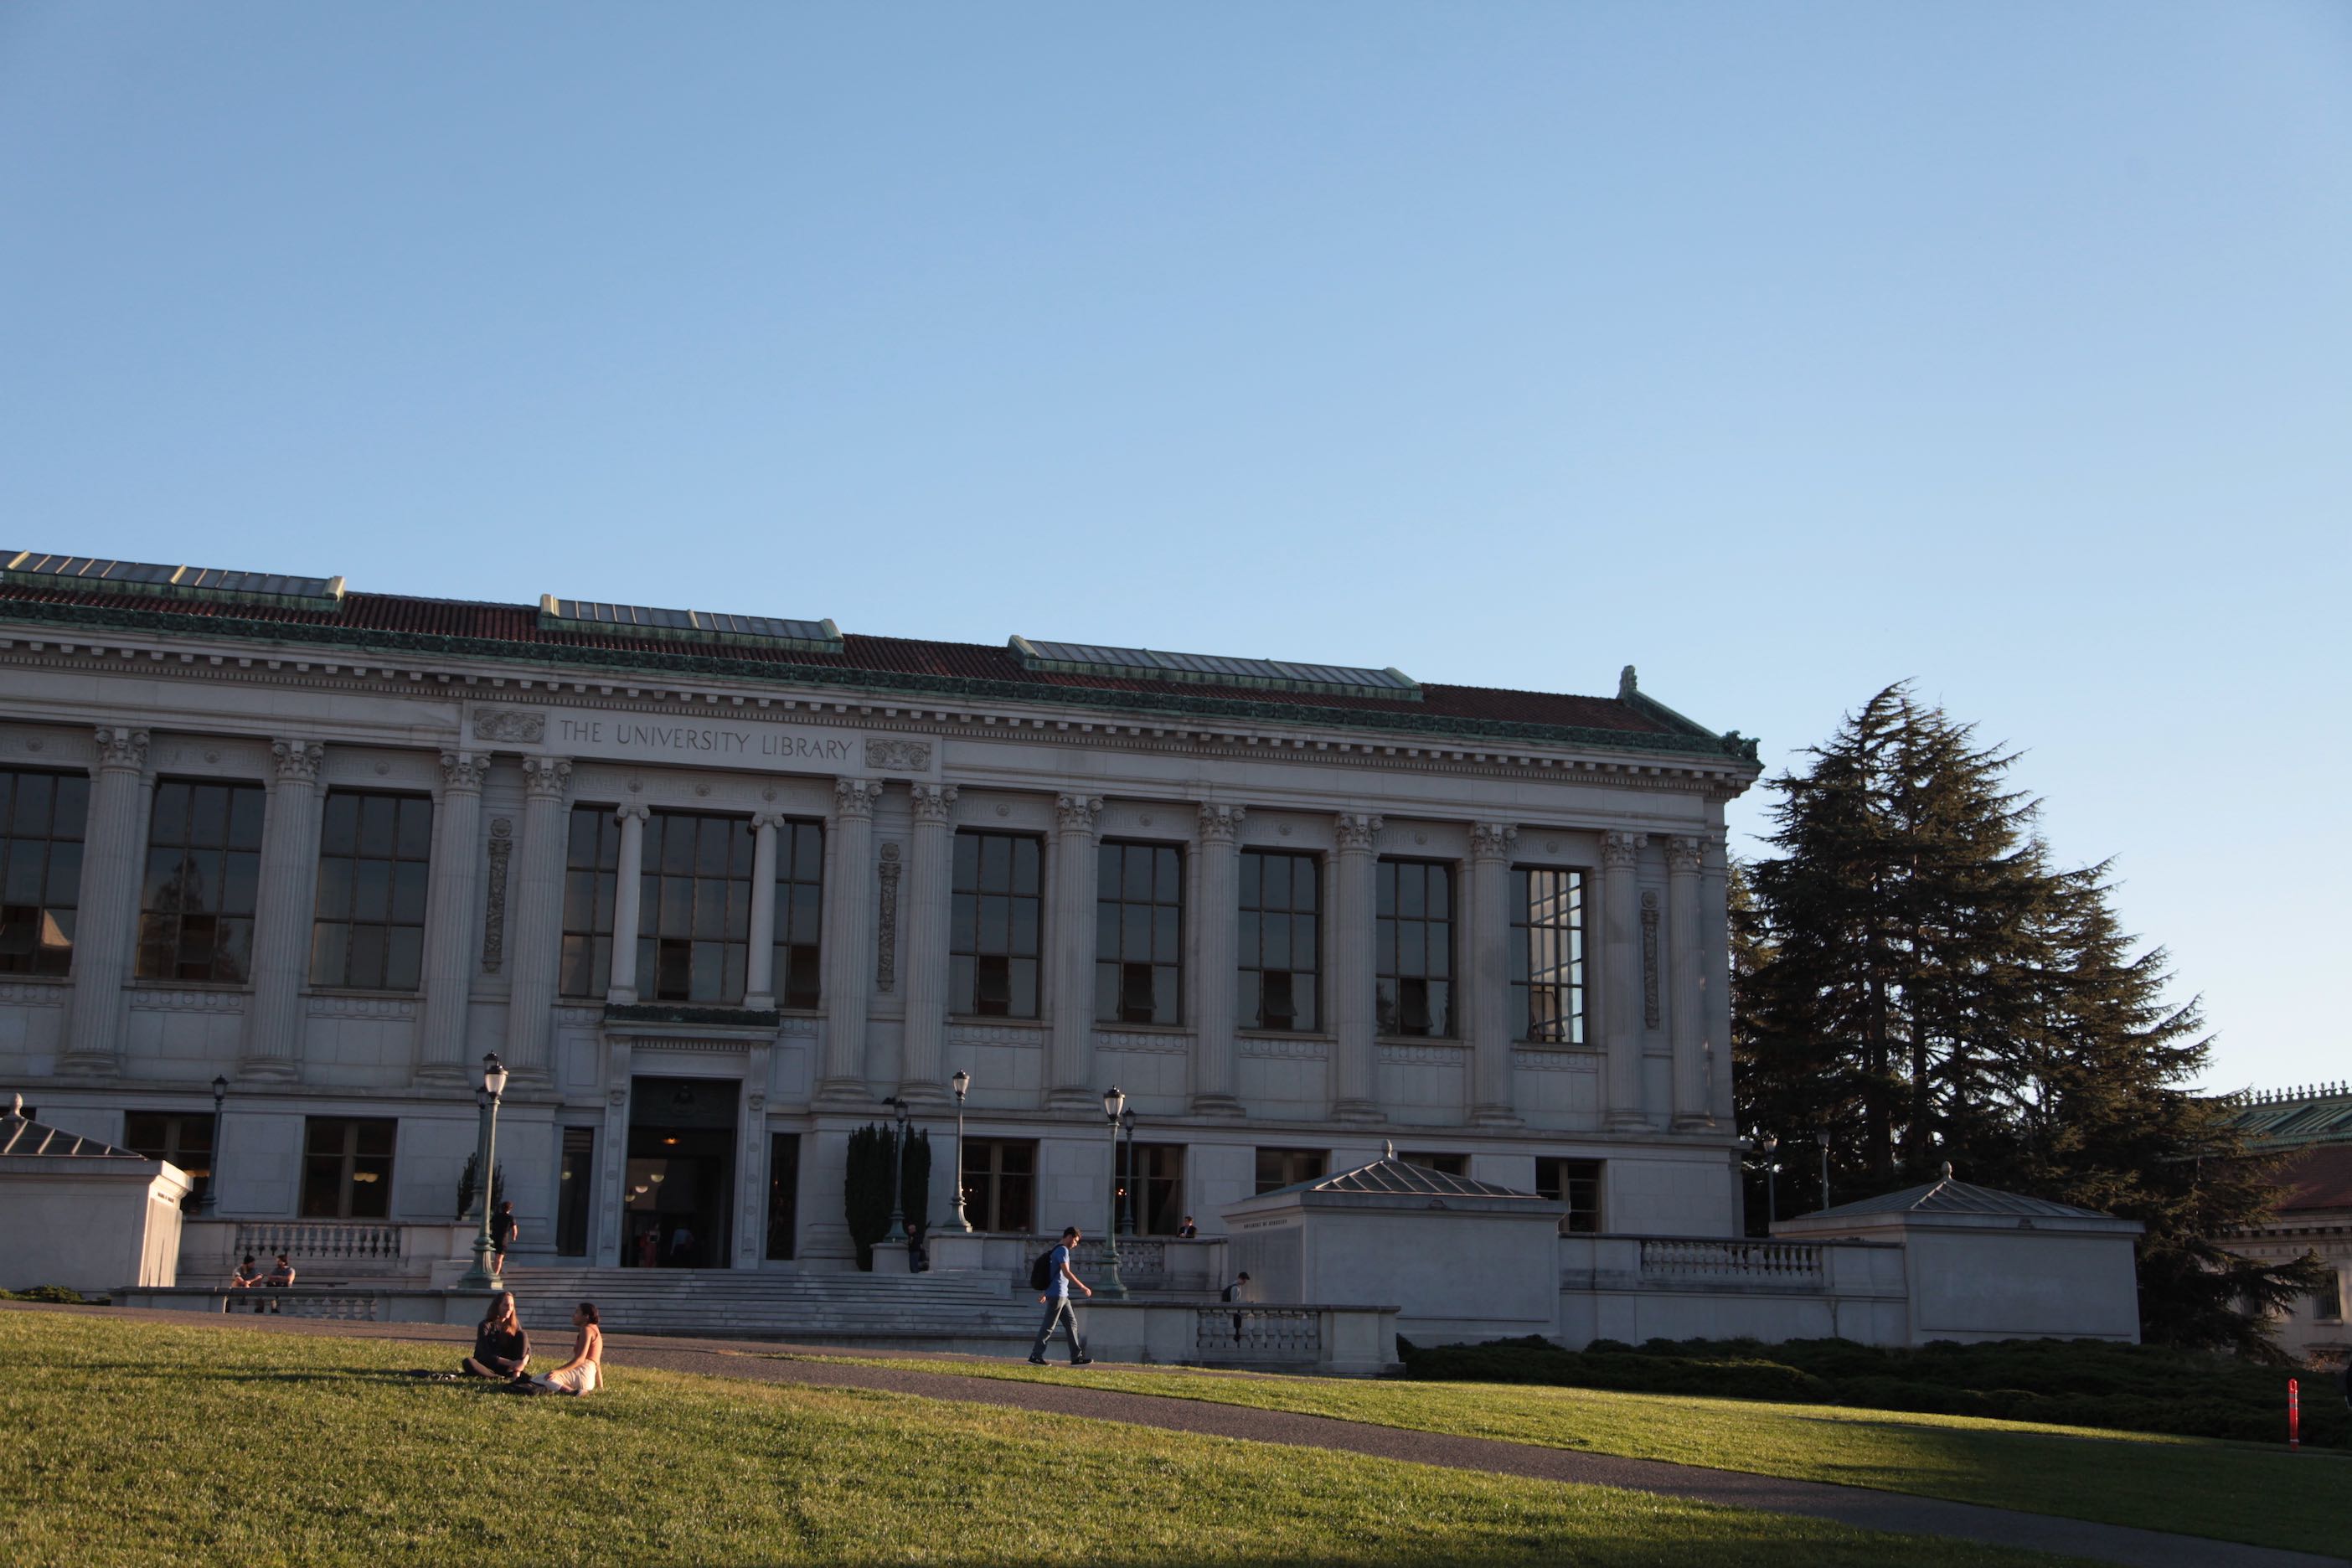
Before we even come up the algorithm, we need to obtain images that we want to stitch together. In order to get the best possible result, I used a tripod and DSLR in manual mode so that all the image taken are in a sigle point of view and same exposure, white balance and color.


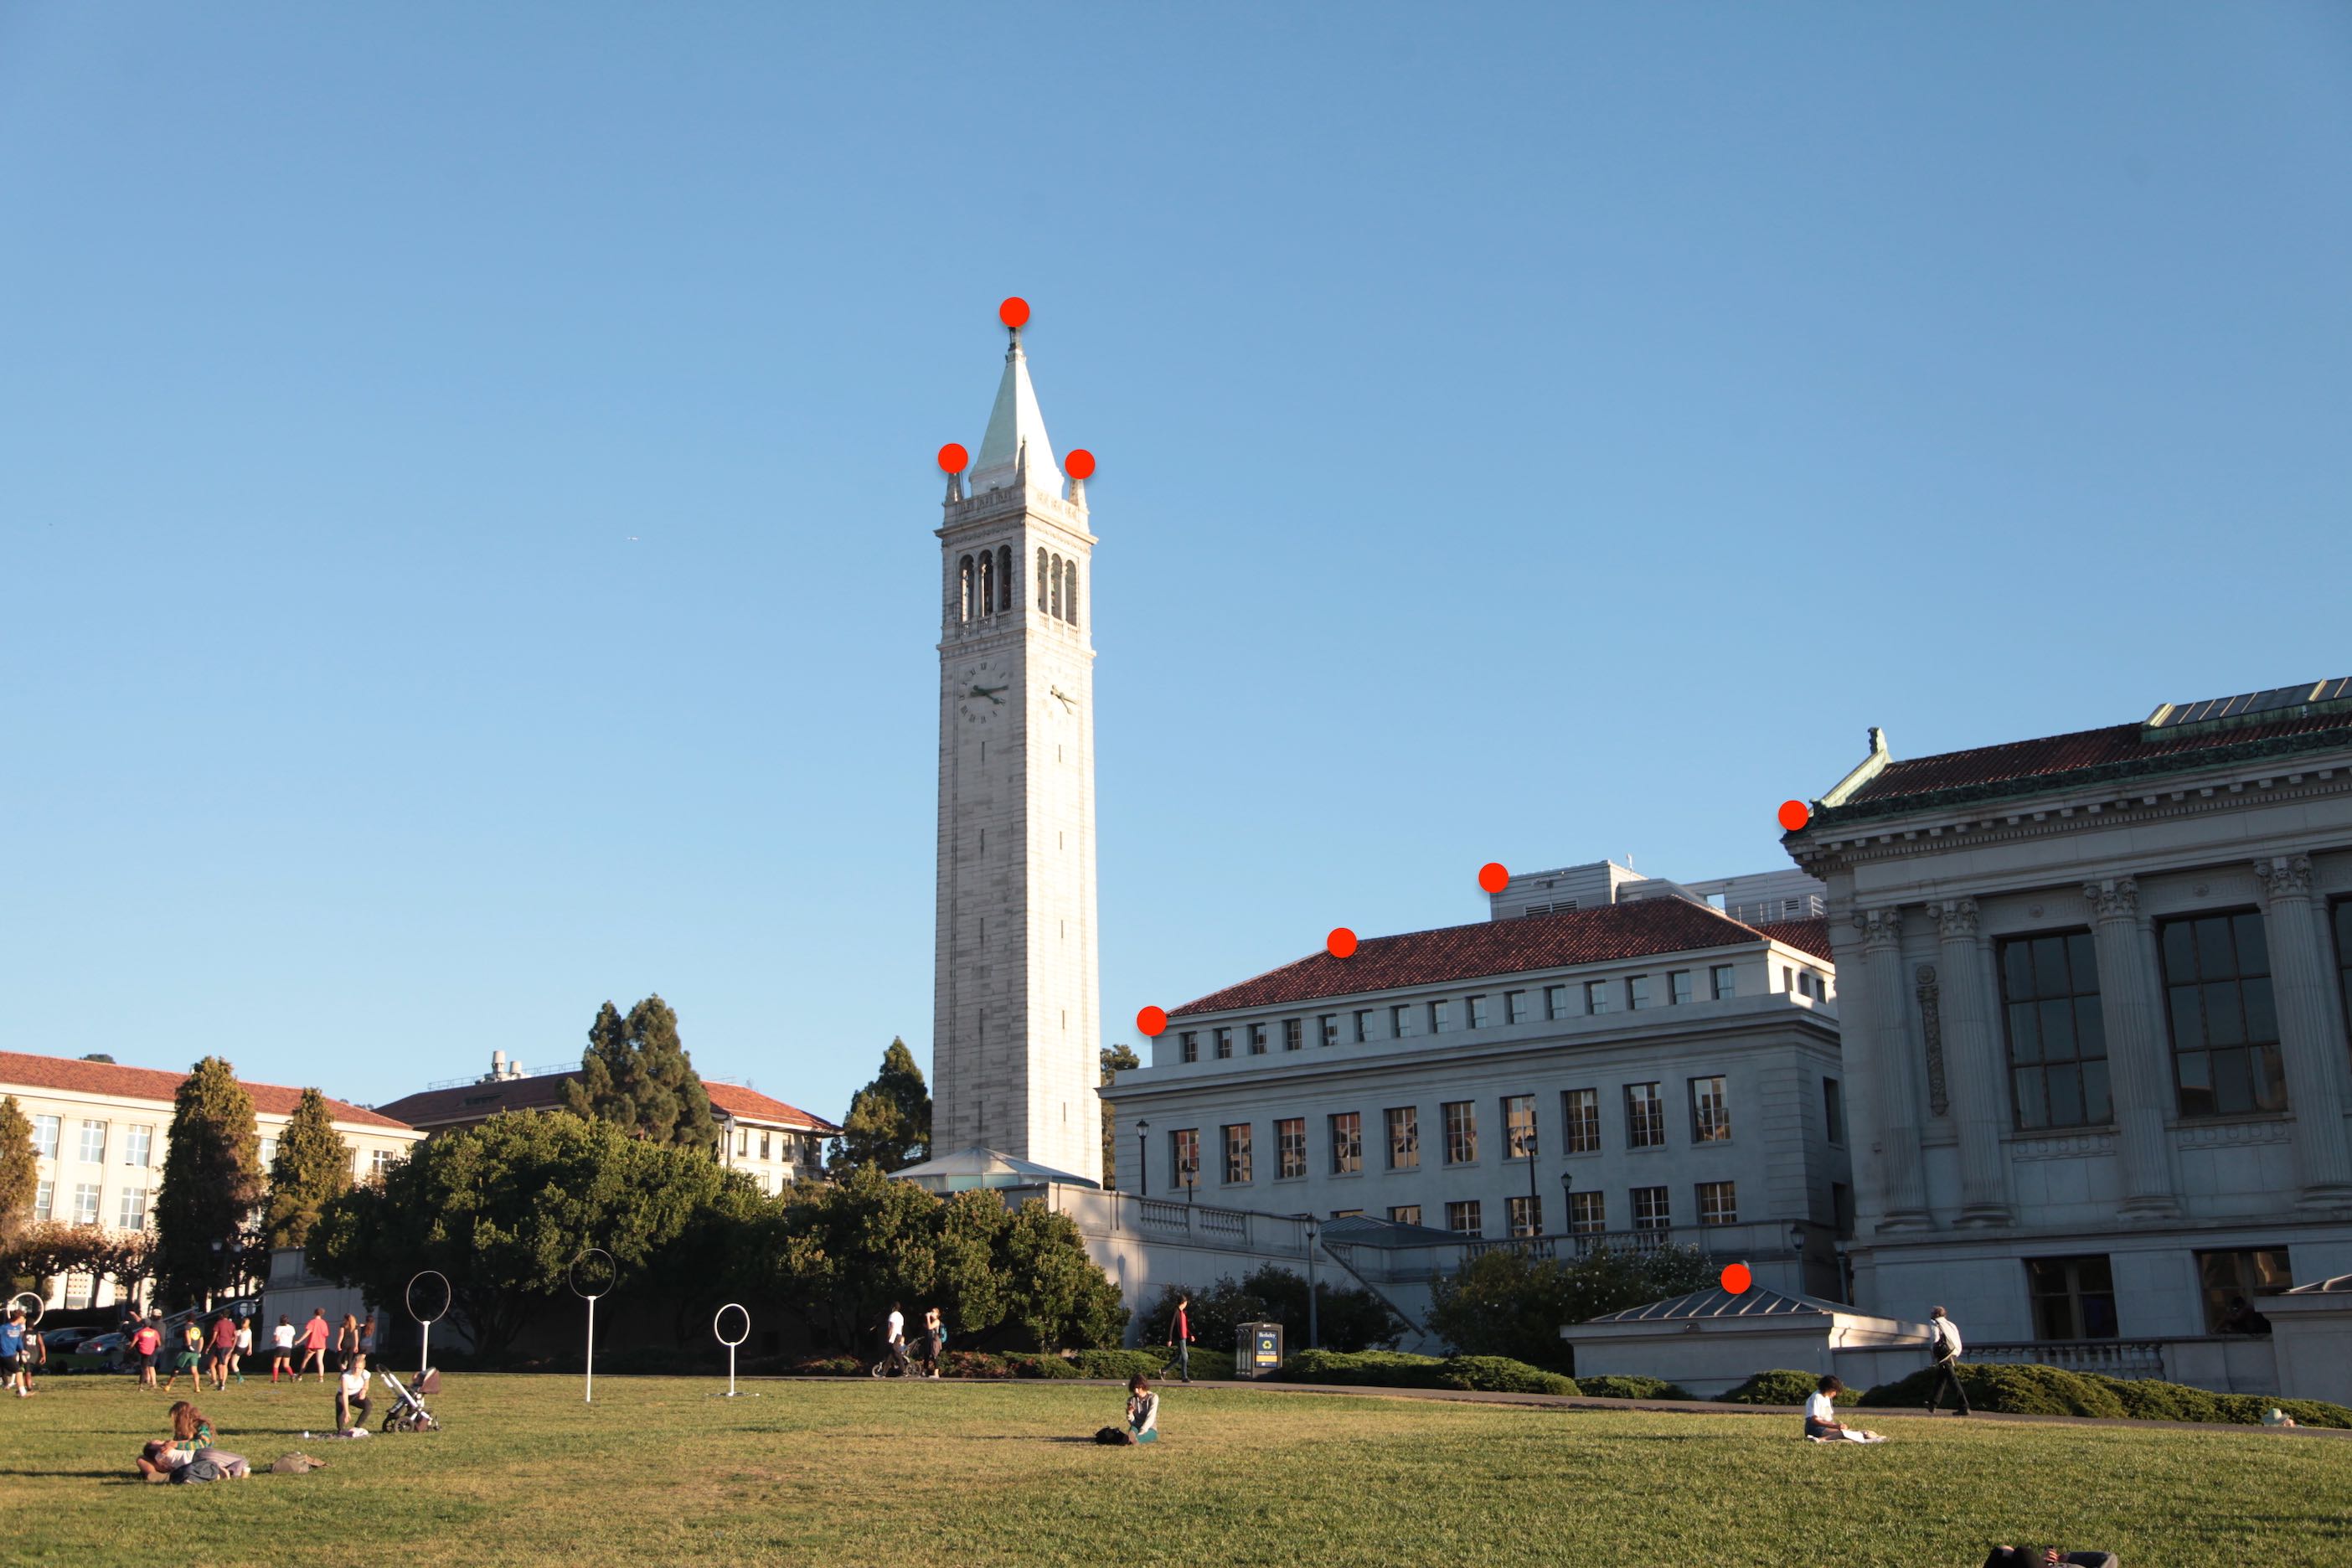
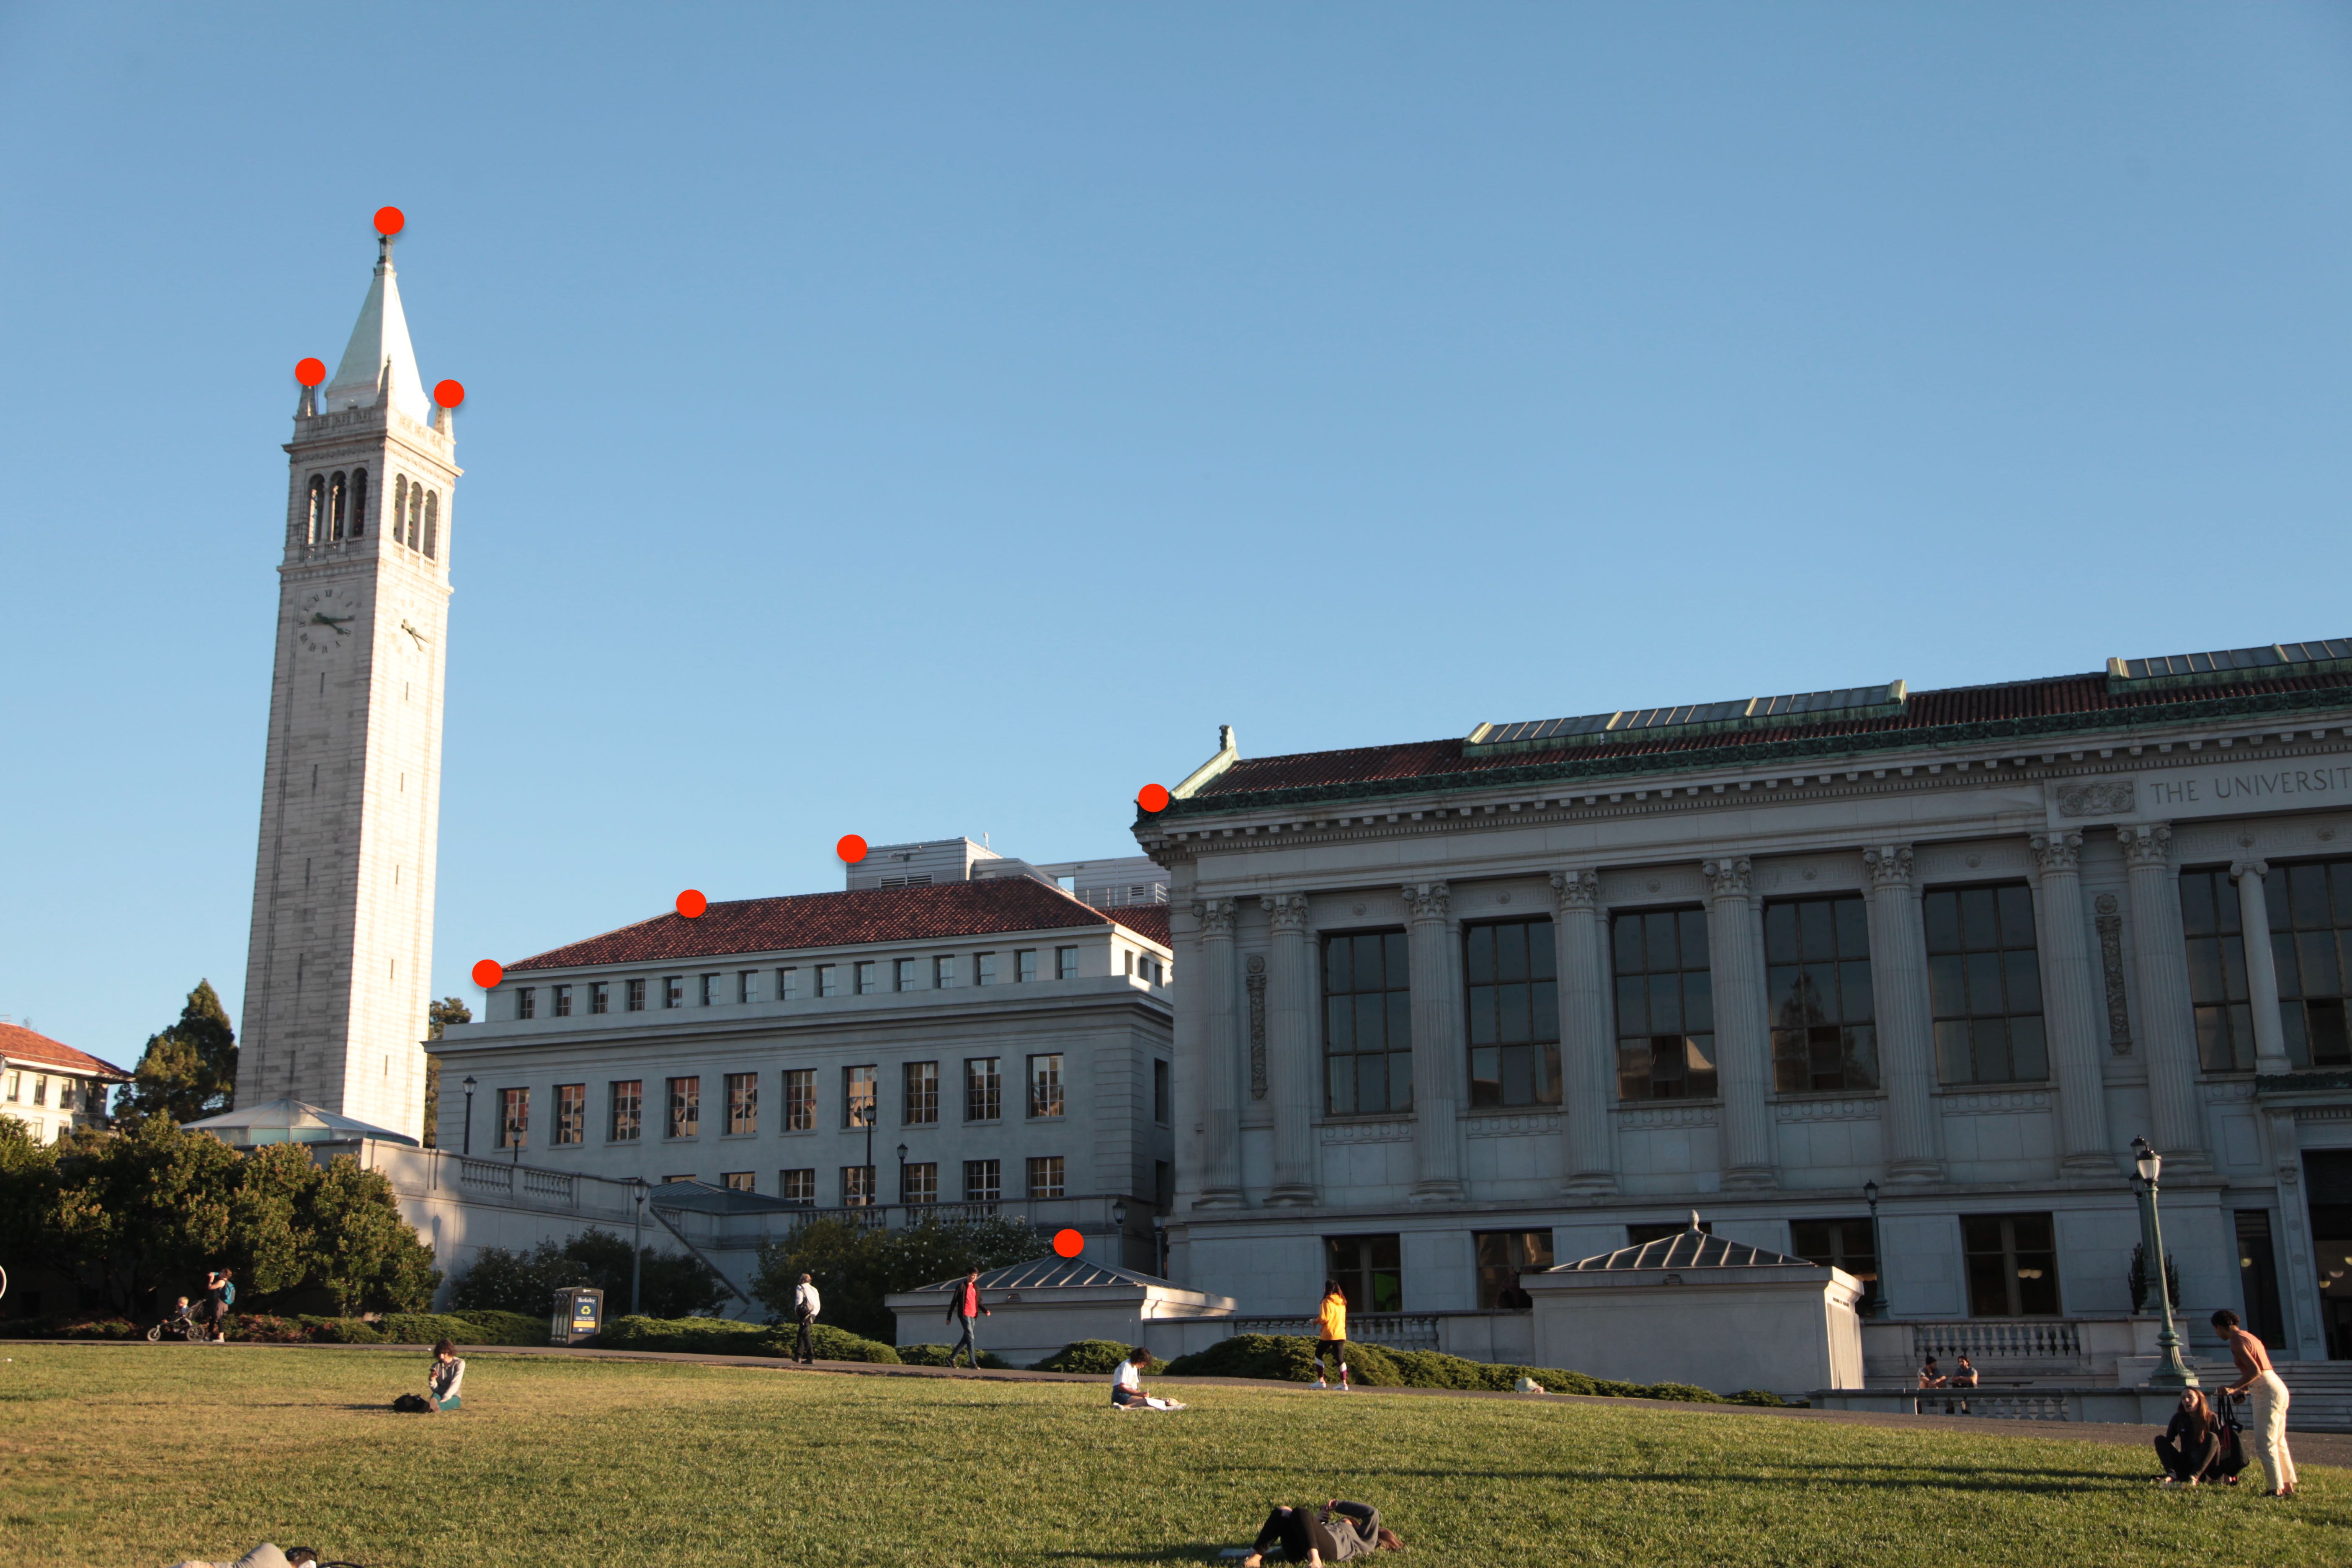
We also define key points so that we could calculate the homography matrix for each transformation:
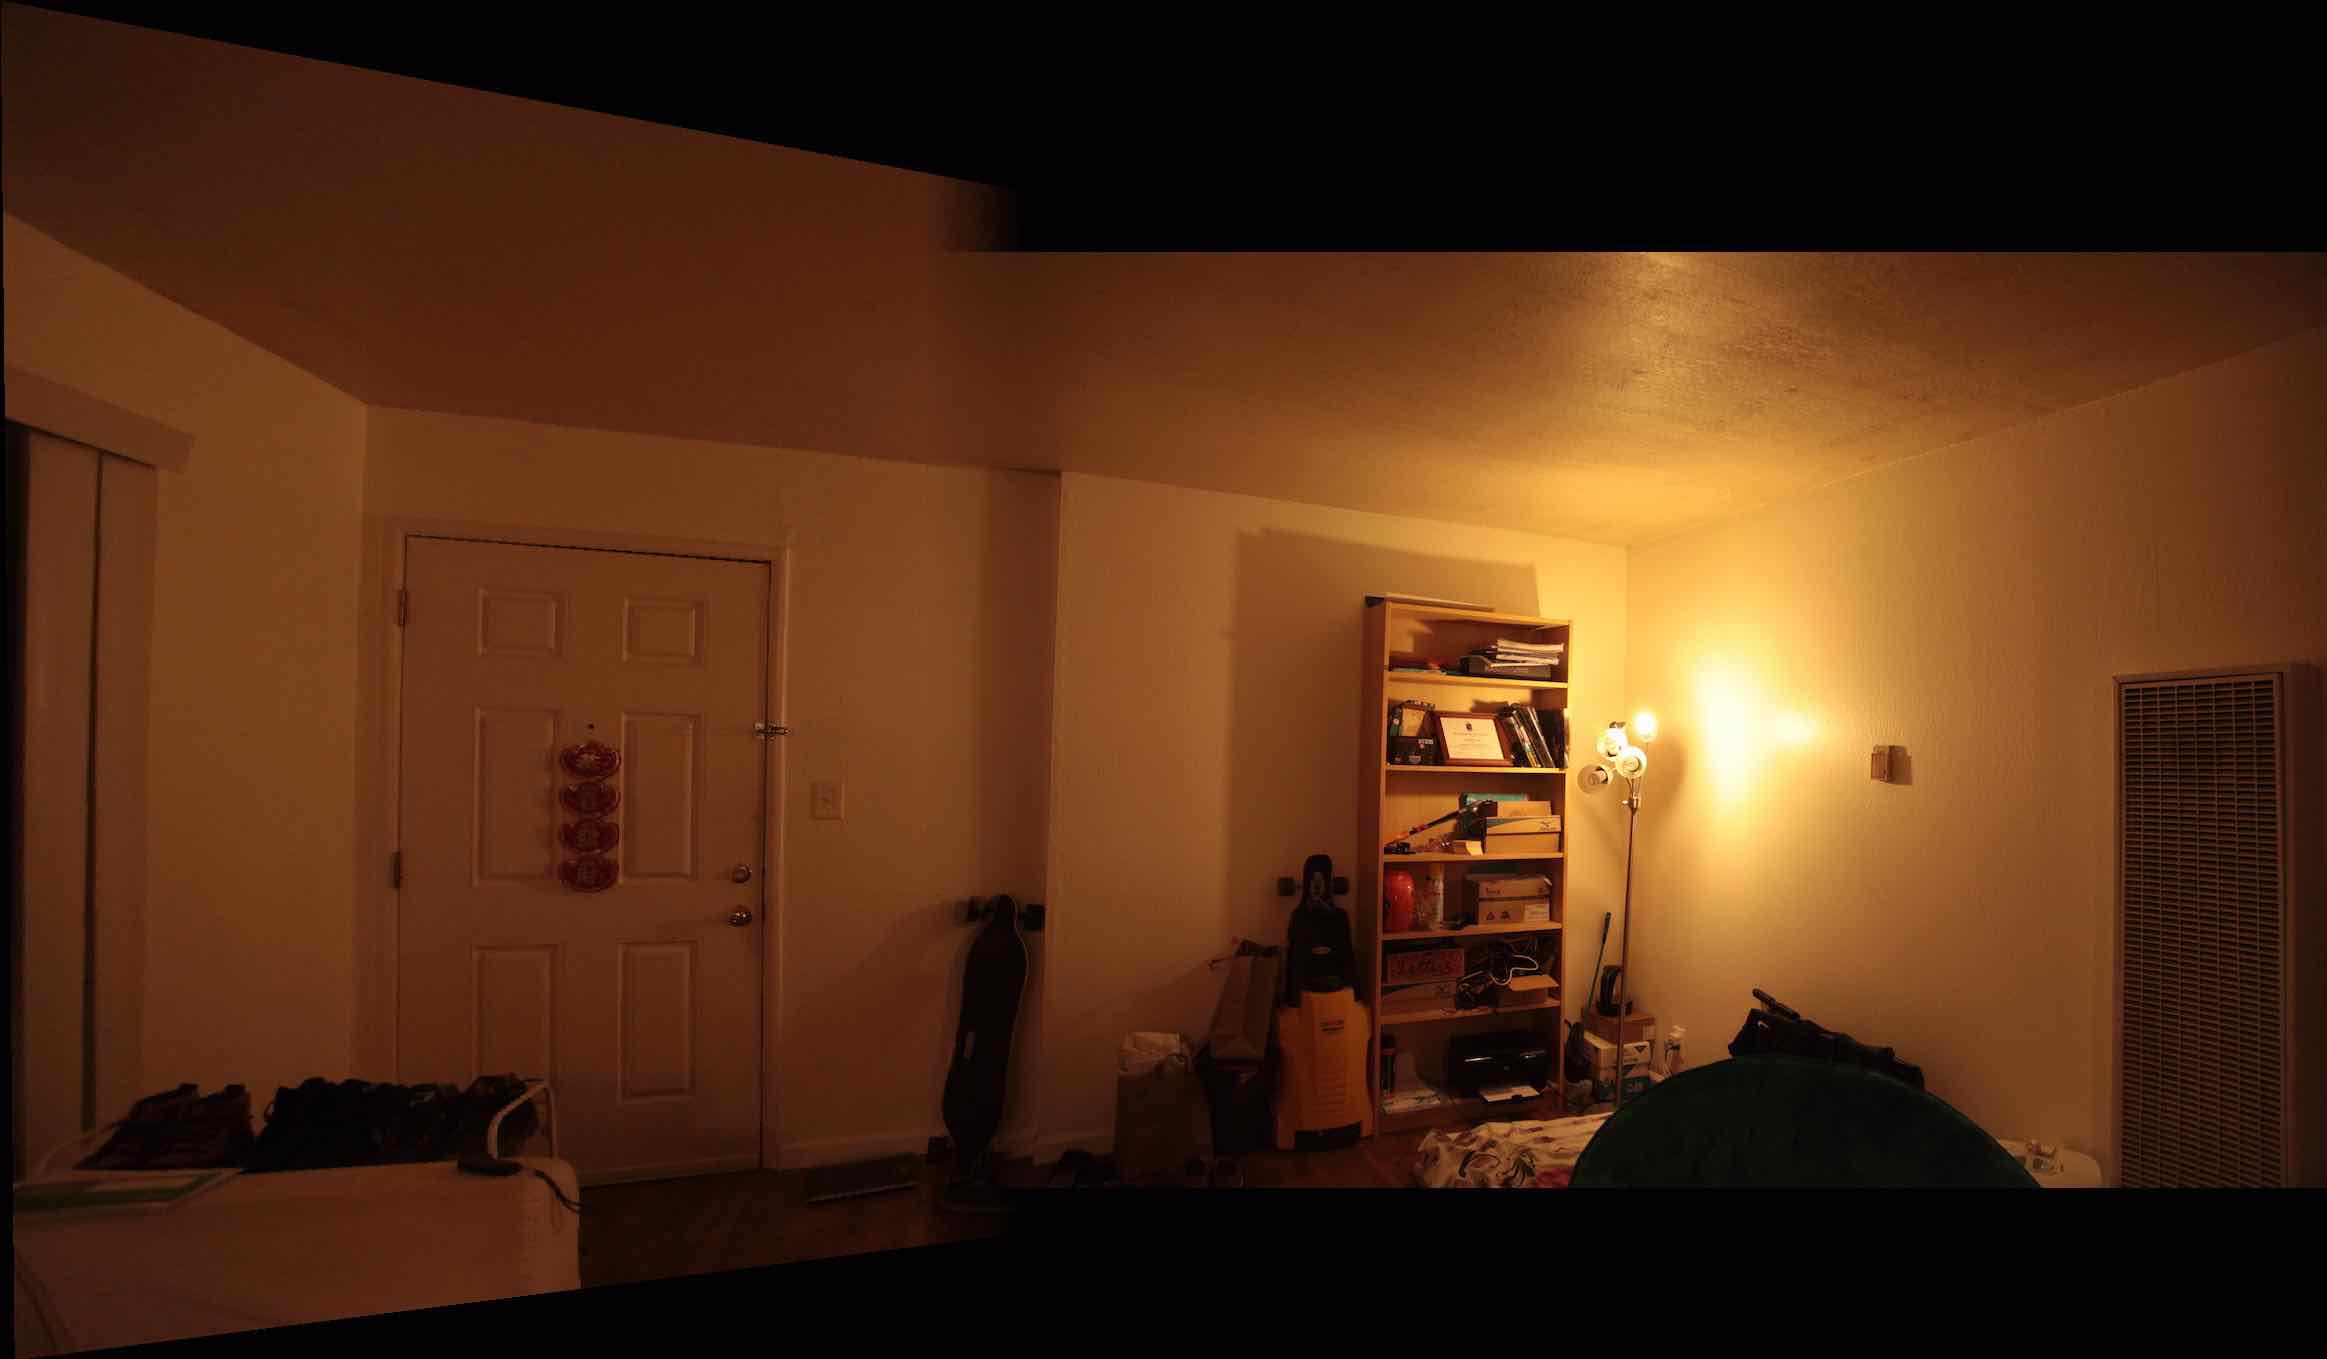
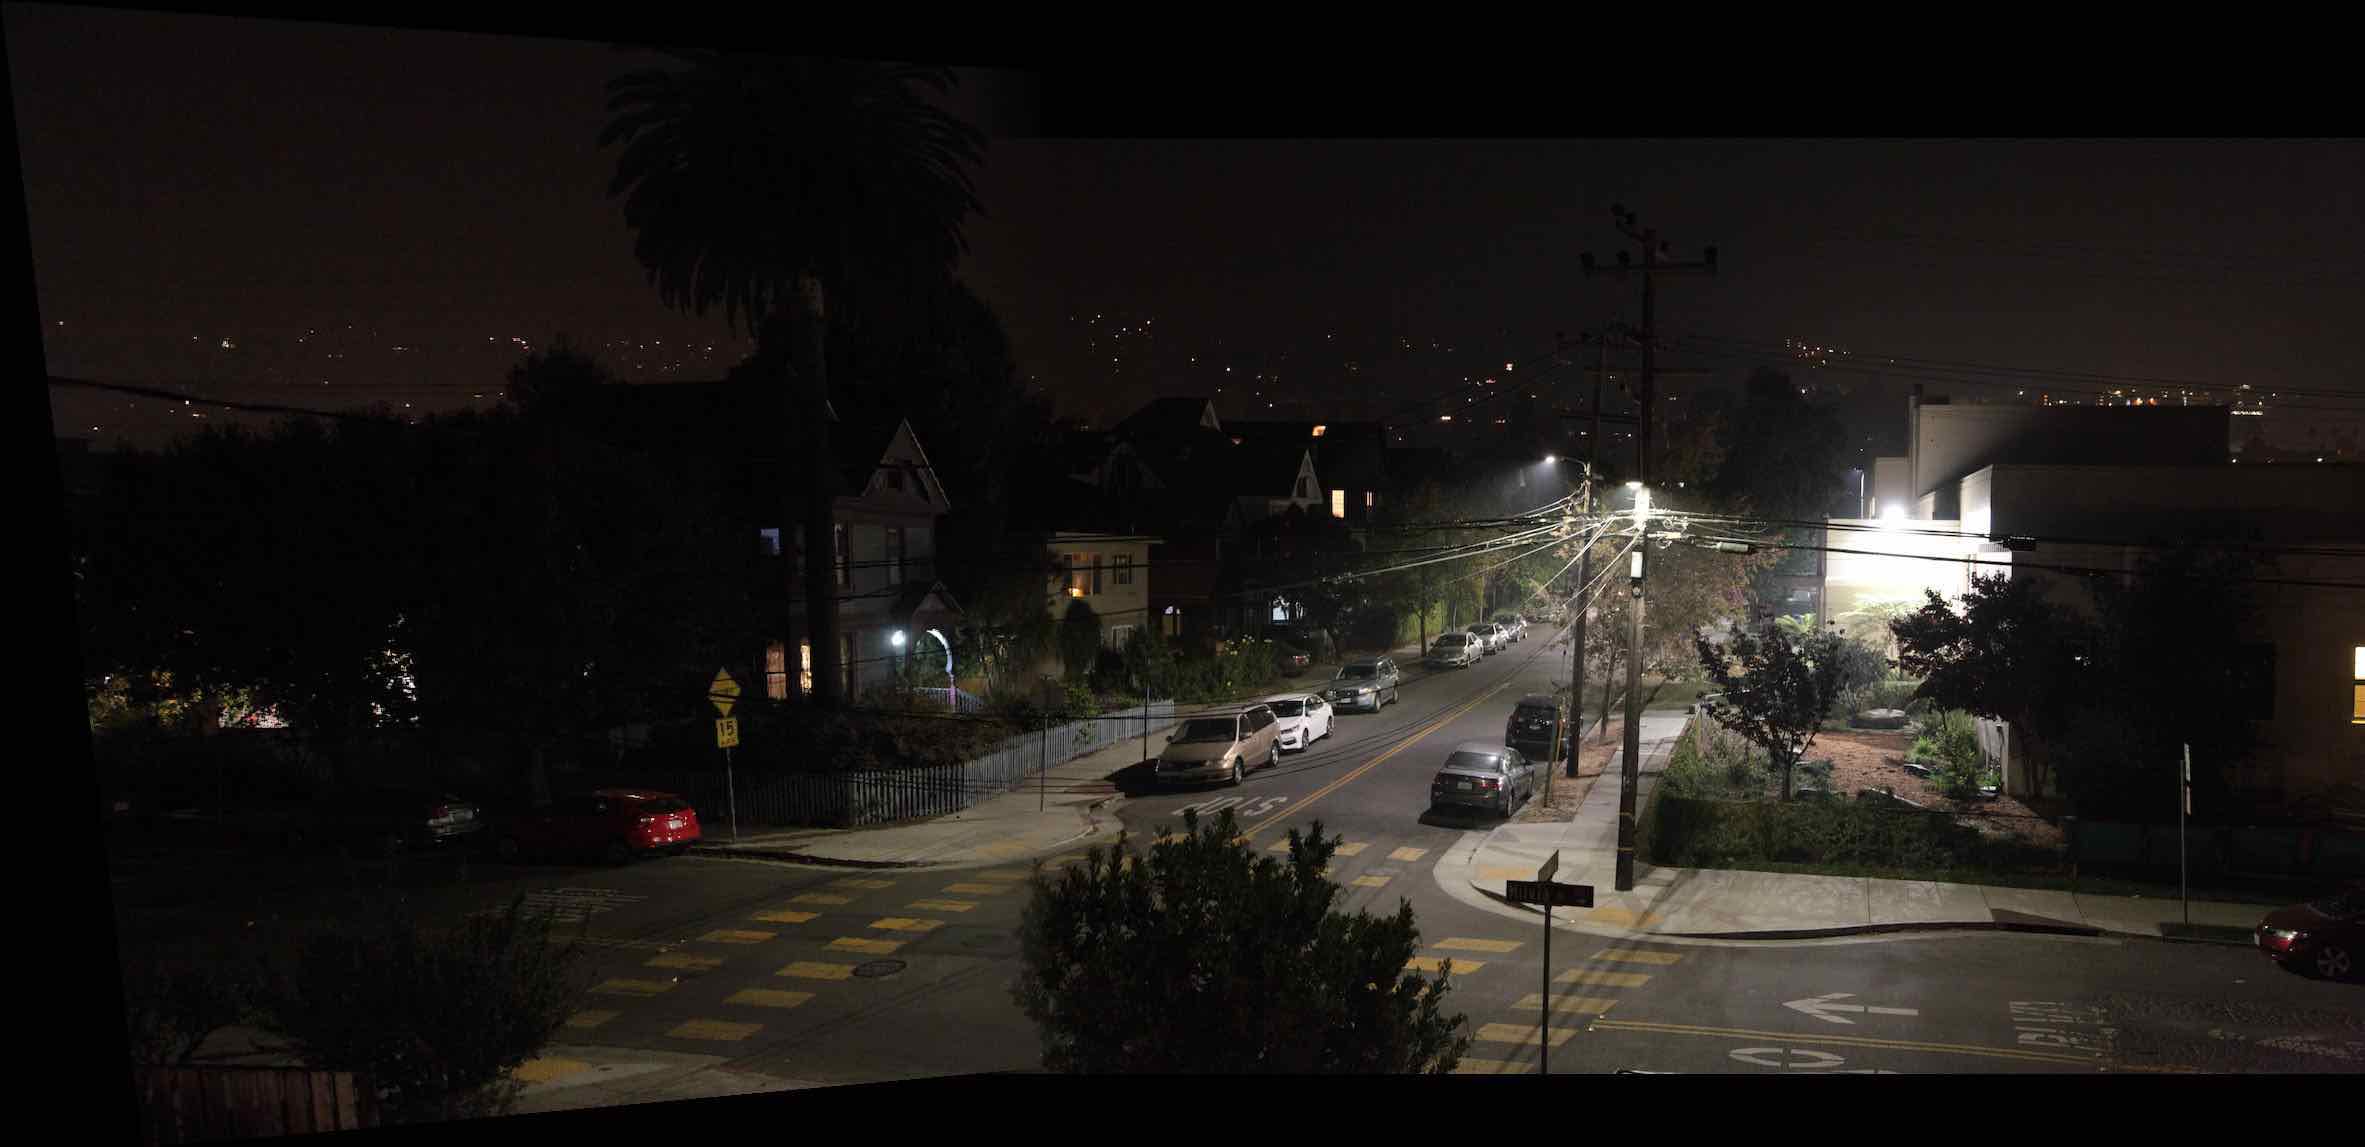
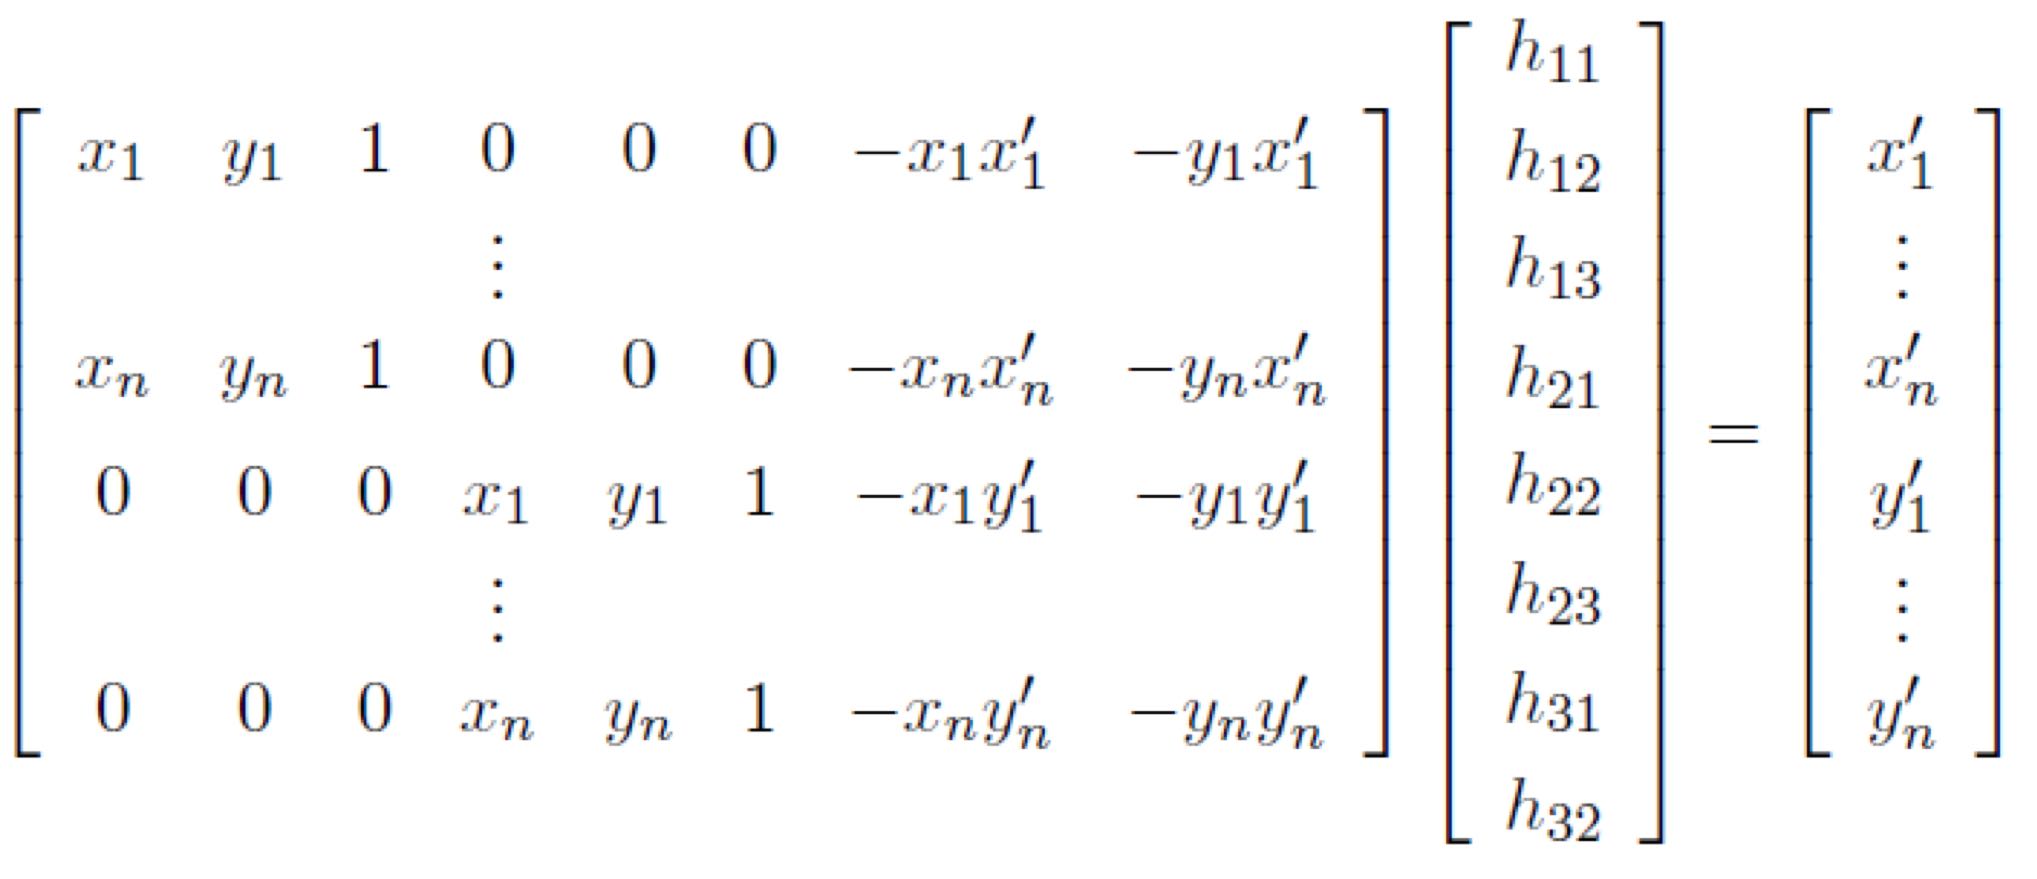
We could then recover the homography matrix by solving the linear equation
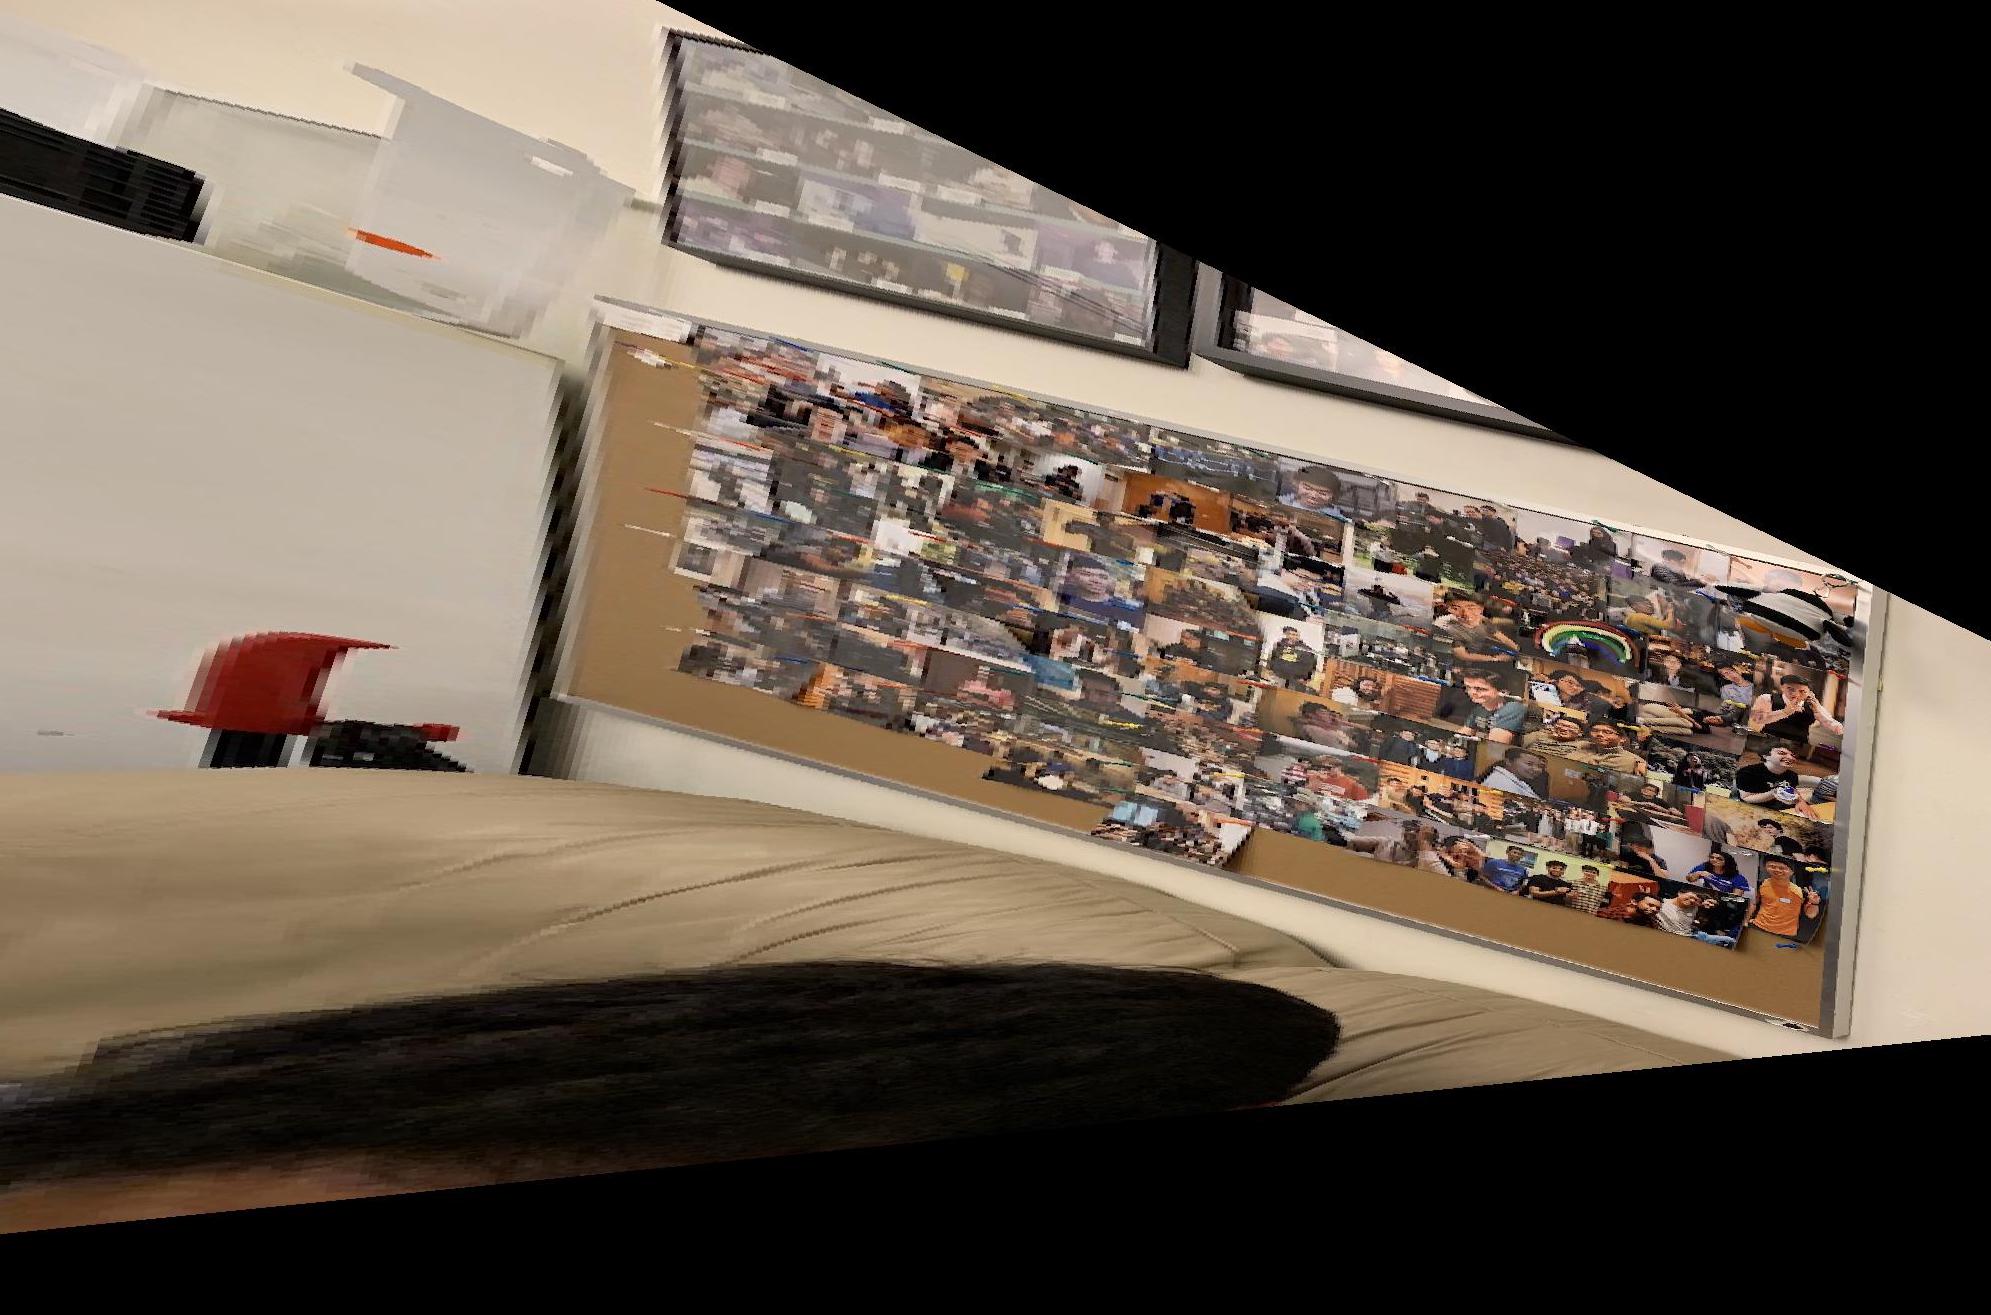
We could use inverse warping to create the final combined image. I also used linear blending so that it smooths out the edge artifact. I blended each image one by one, and then obtained this combined image:


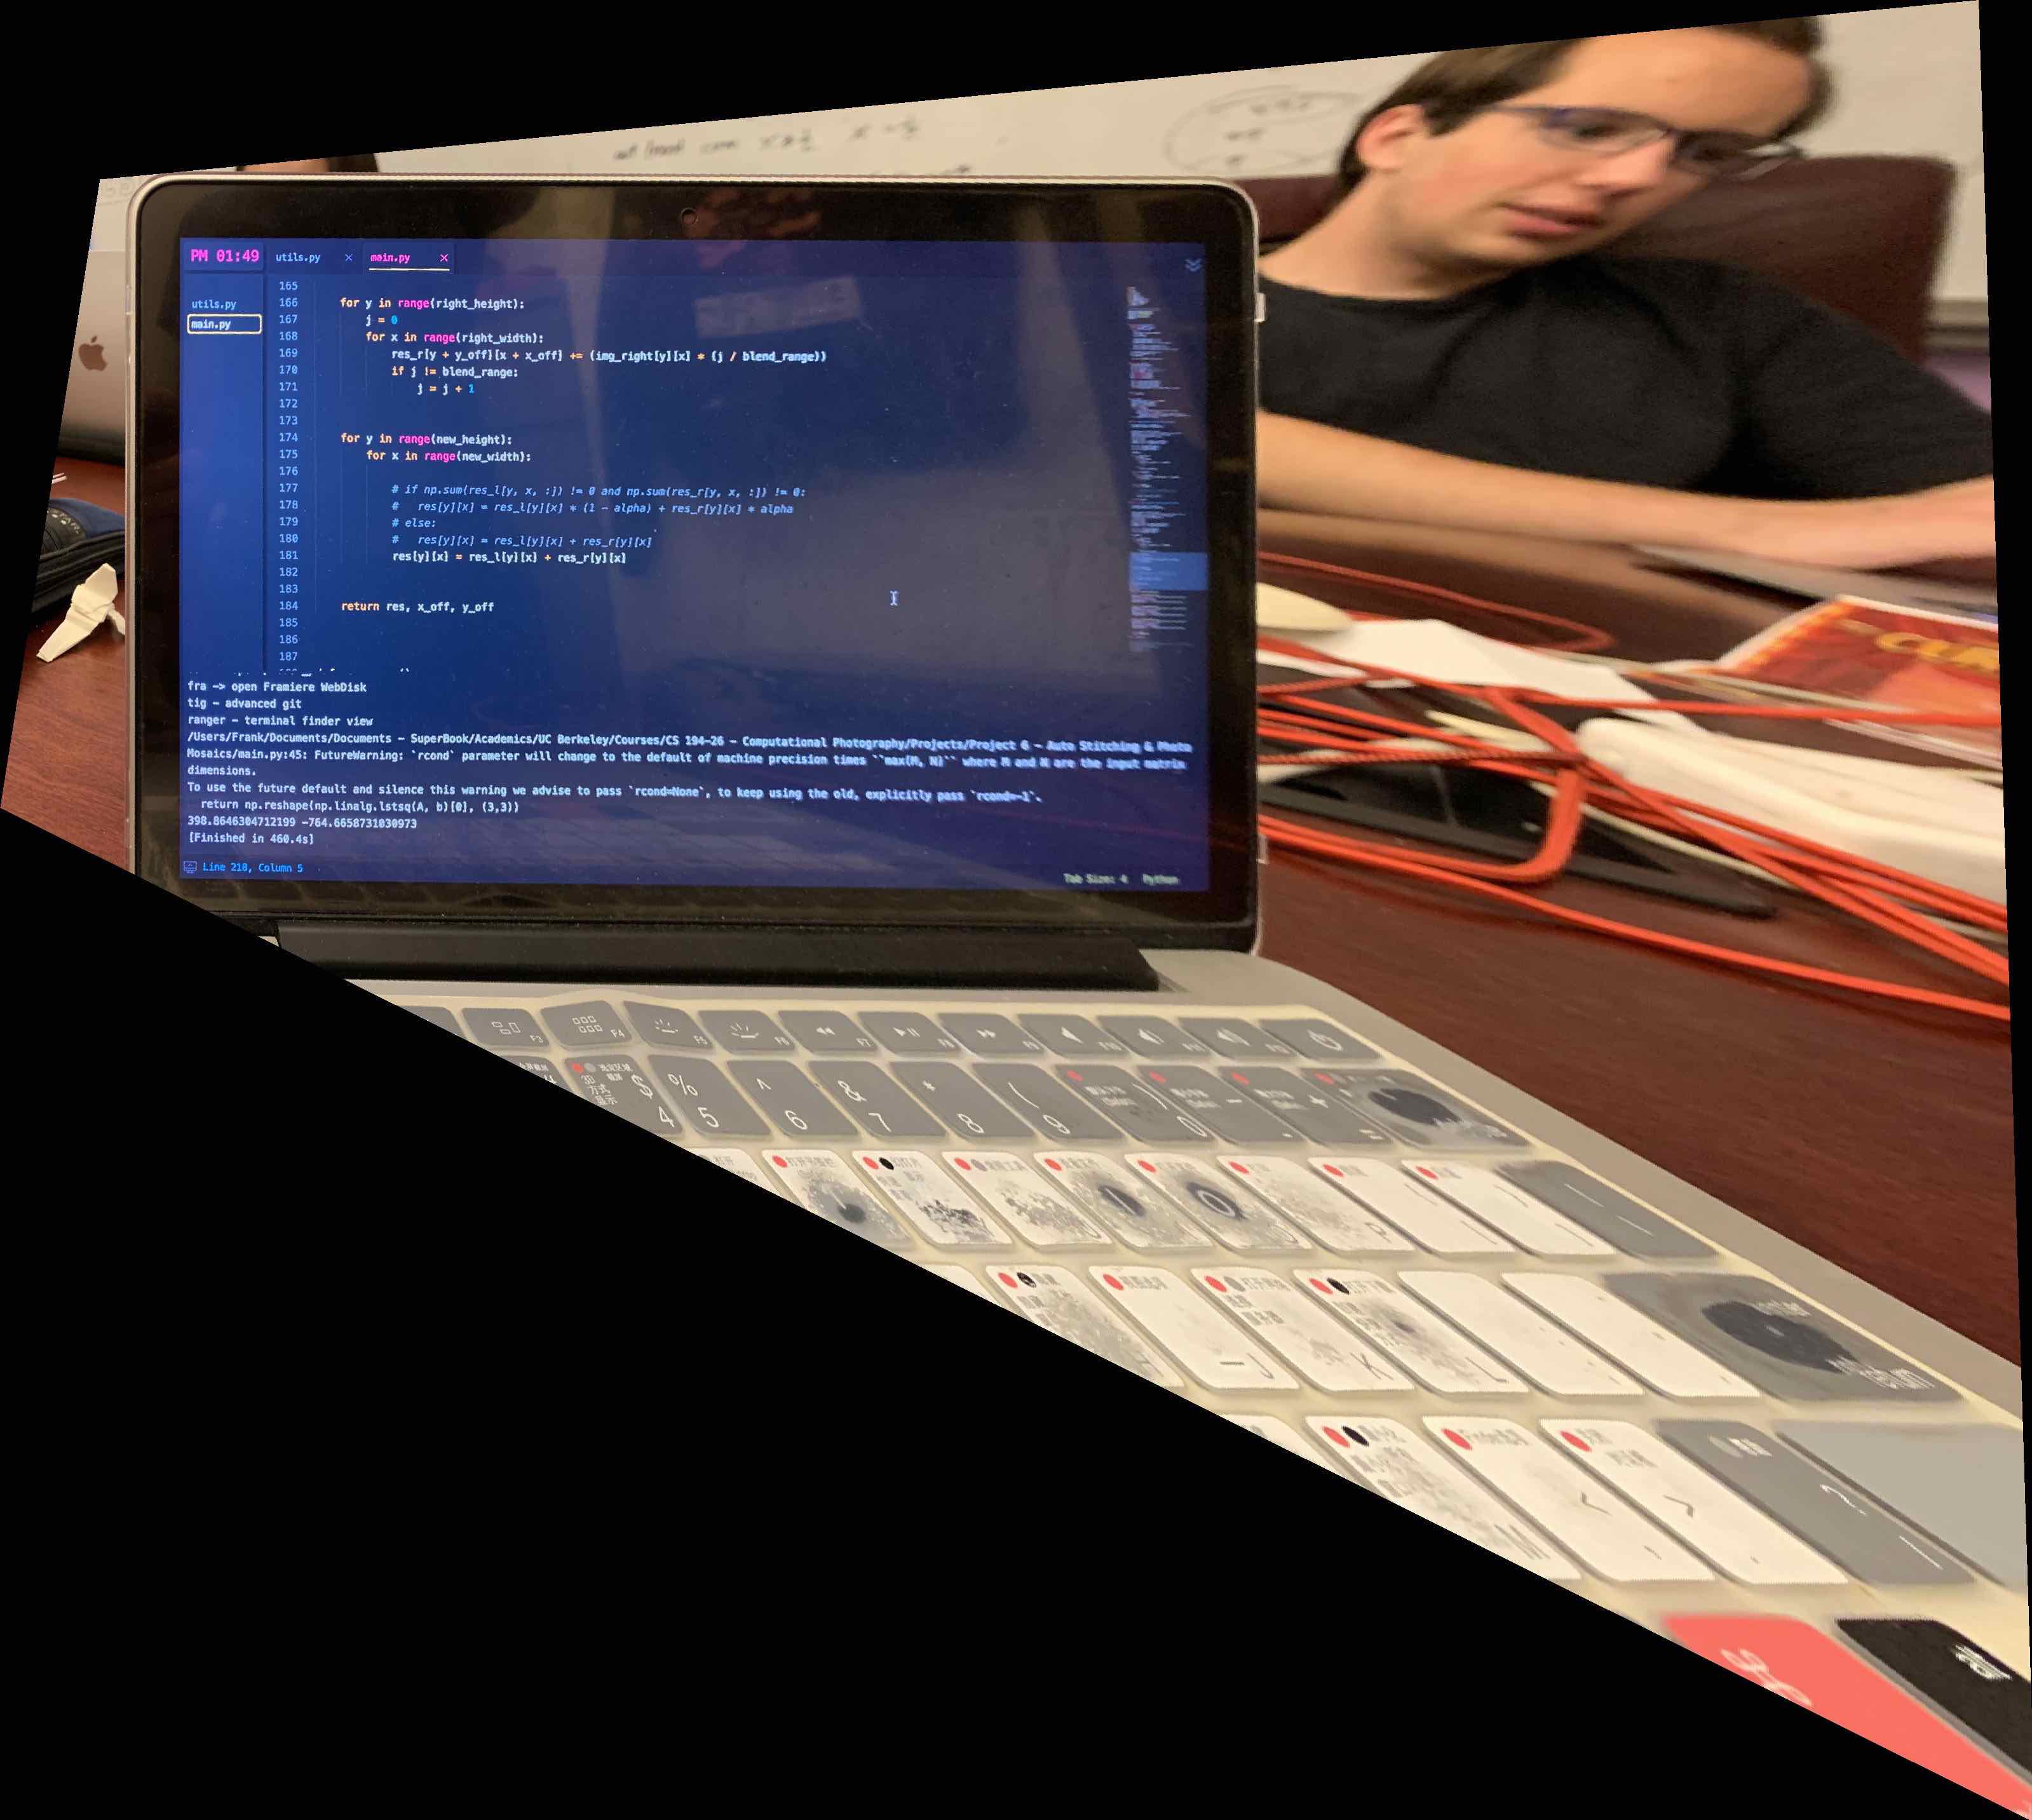
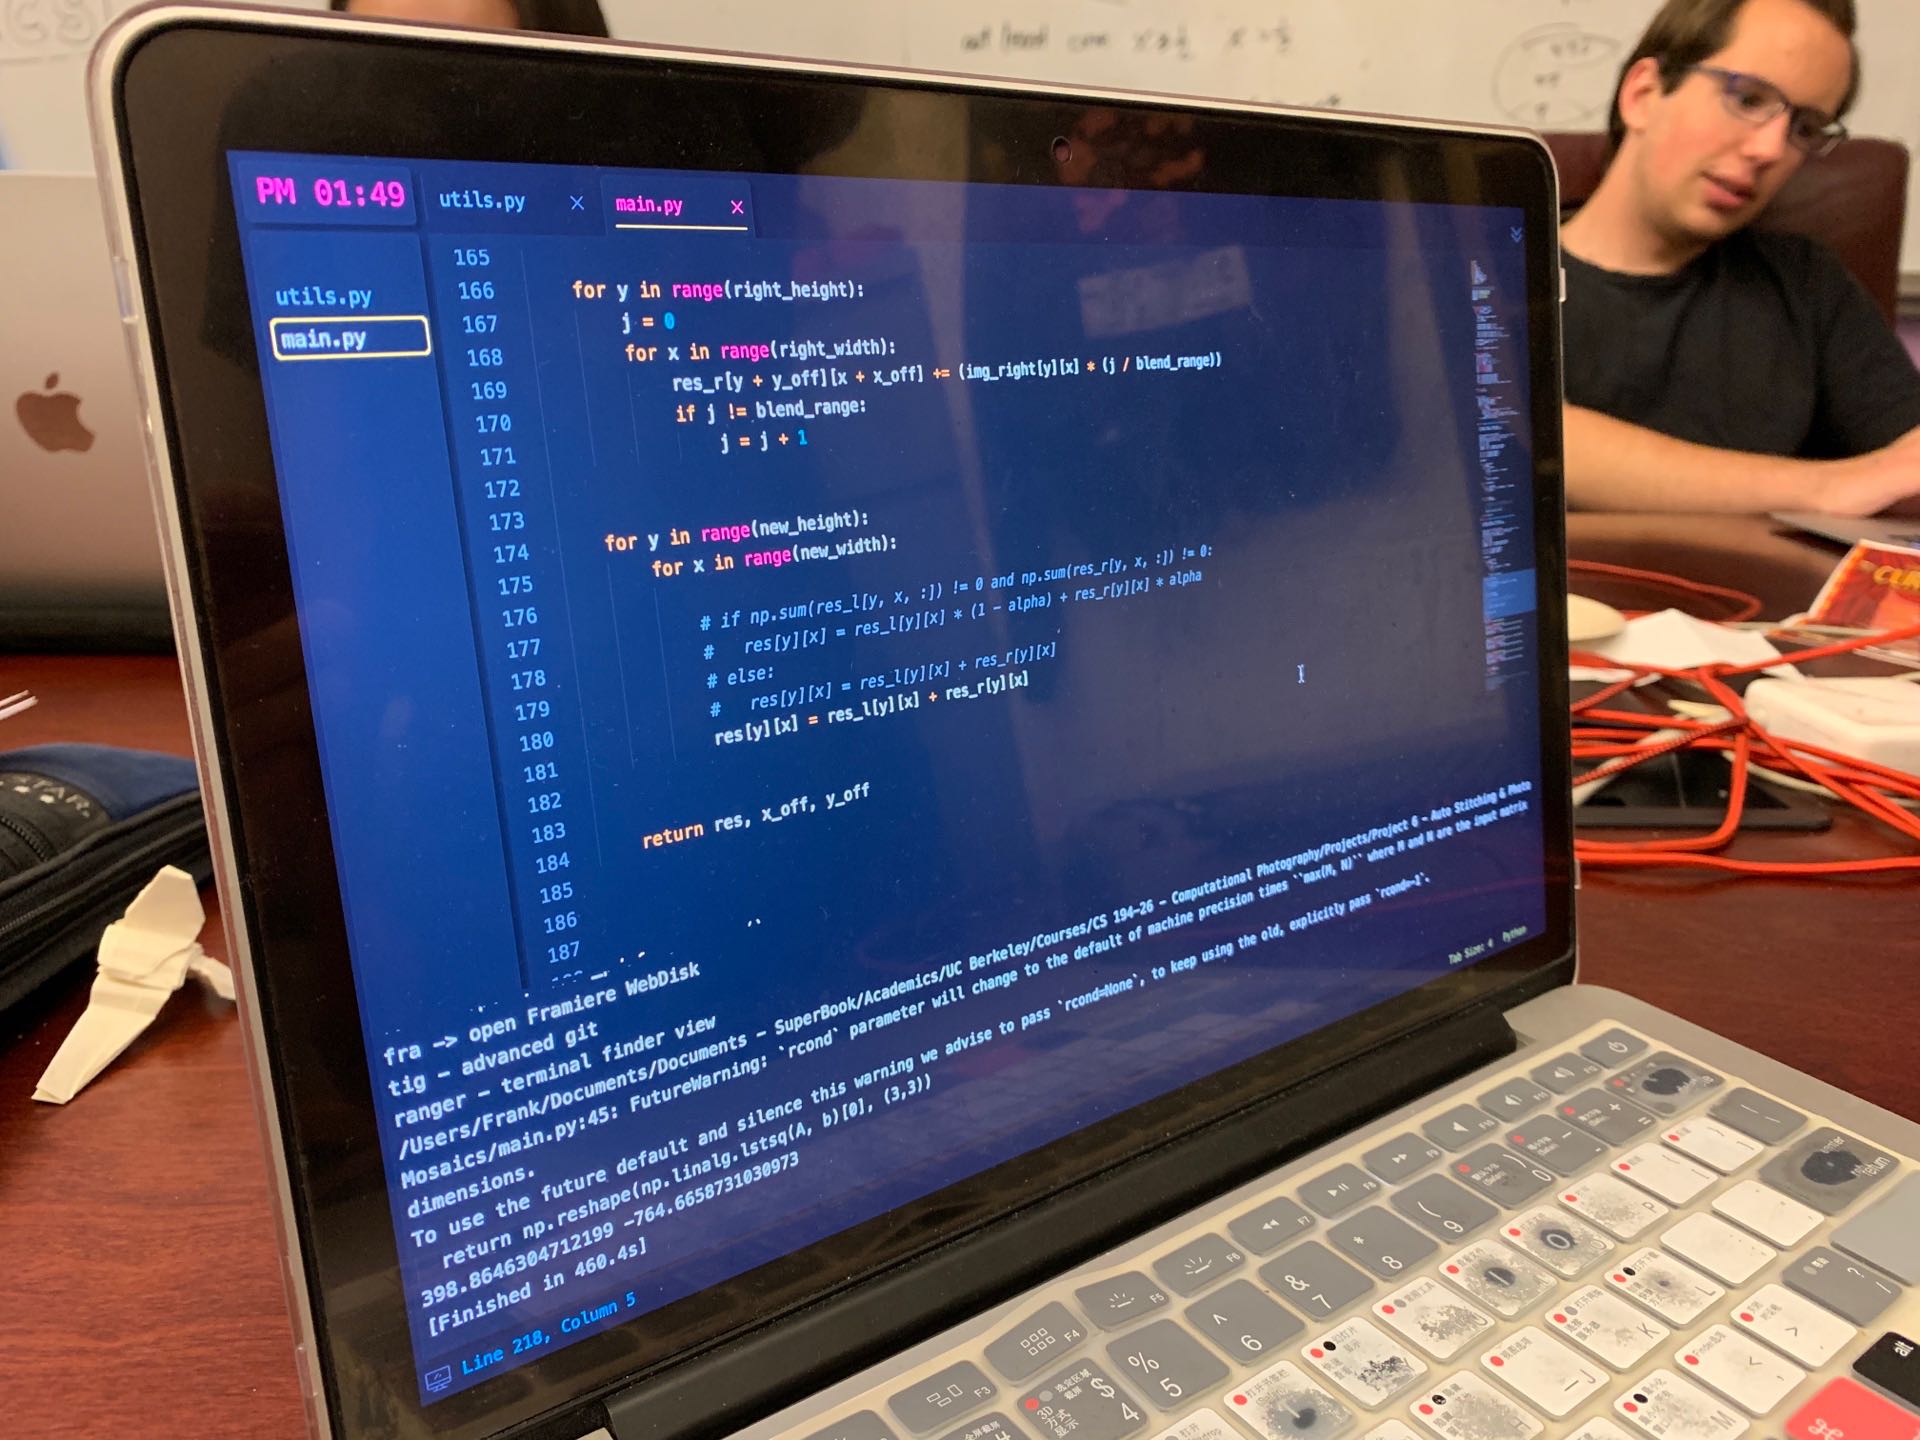
With the warping technique, we could also rectify some image. For example, the laptop screen shown below:
Summary:
From this project, I have learned the power of homography. We could use homography to recover a distorted image, as well as stitching panorama.