
To make image mosaics, we first need to find a homography H that maps one image to another. We do this by finding at least 8 pairs or correspondences between two images, p and p’, like below:

With these correspondences, we can set up a linear system of equations with the following form:

We can set i=1 because we only need a perspective transform, however, because we don't know w, we need to expand and rearrange some of the terms of our system. For each pair of points i in p and p', we have:

We can set up our A matrix and b vector as such to include all pairs of points, and use a least squares solver to recover the homography.
After writing functions that compute a homography between two images using a list of at least 4 correspondences, we can rectify an image by selecting 4 corners of a feature we know is a rectangle, and compute a homography between these points and some scaling of the unit square (or rectangle.) Then we find the inverse of this homography and use it implement an inverse warp between the original image and the rectified square:
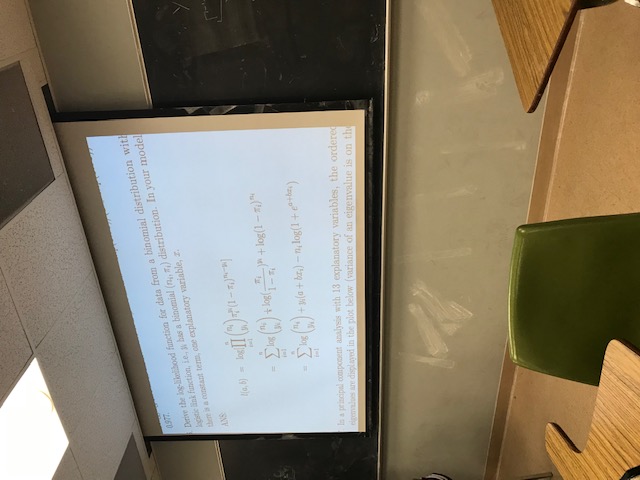
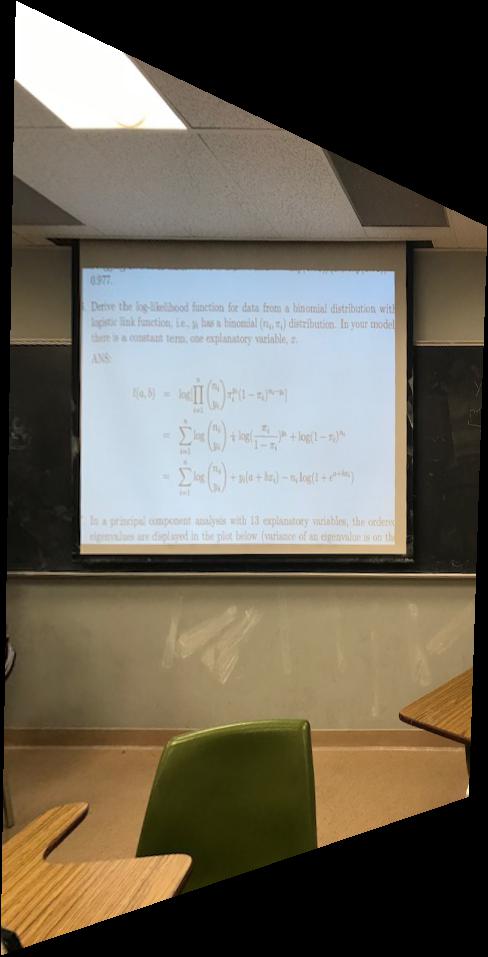
First I rectify a picture I randomly found on my phone taken during a discussion section:
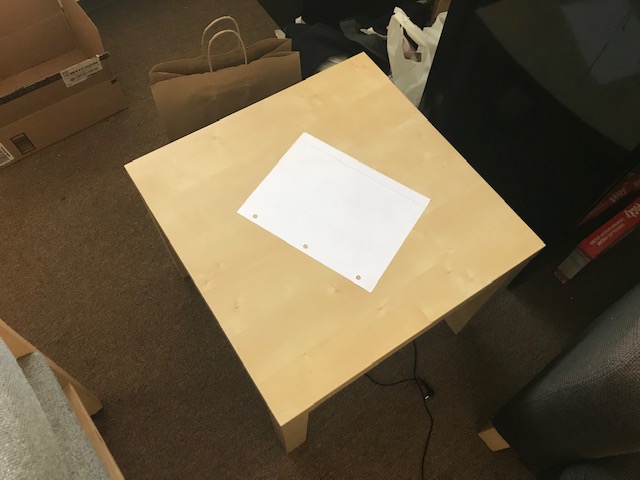
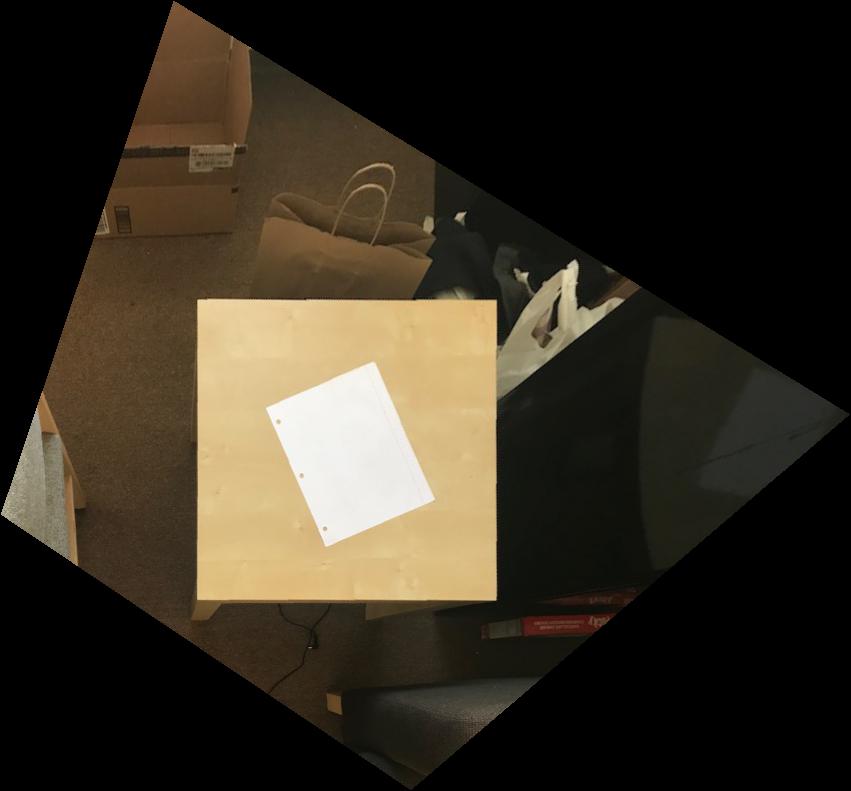
And then I rectify a square table with a piece of paper on it:
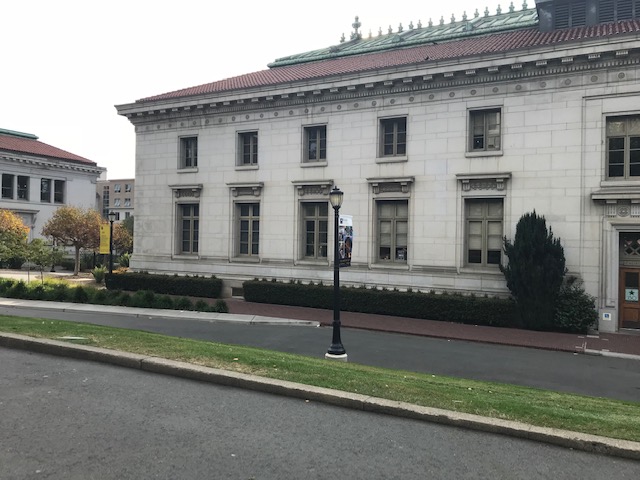
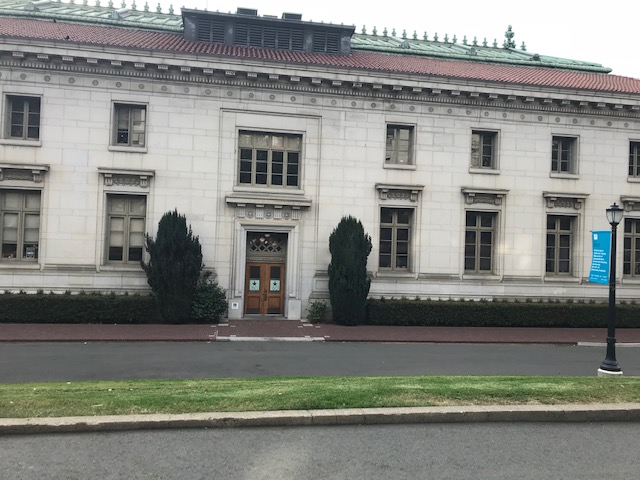
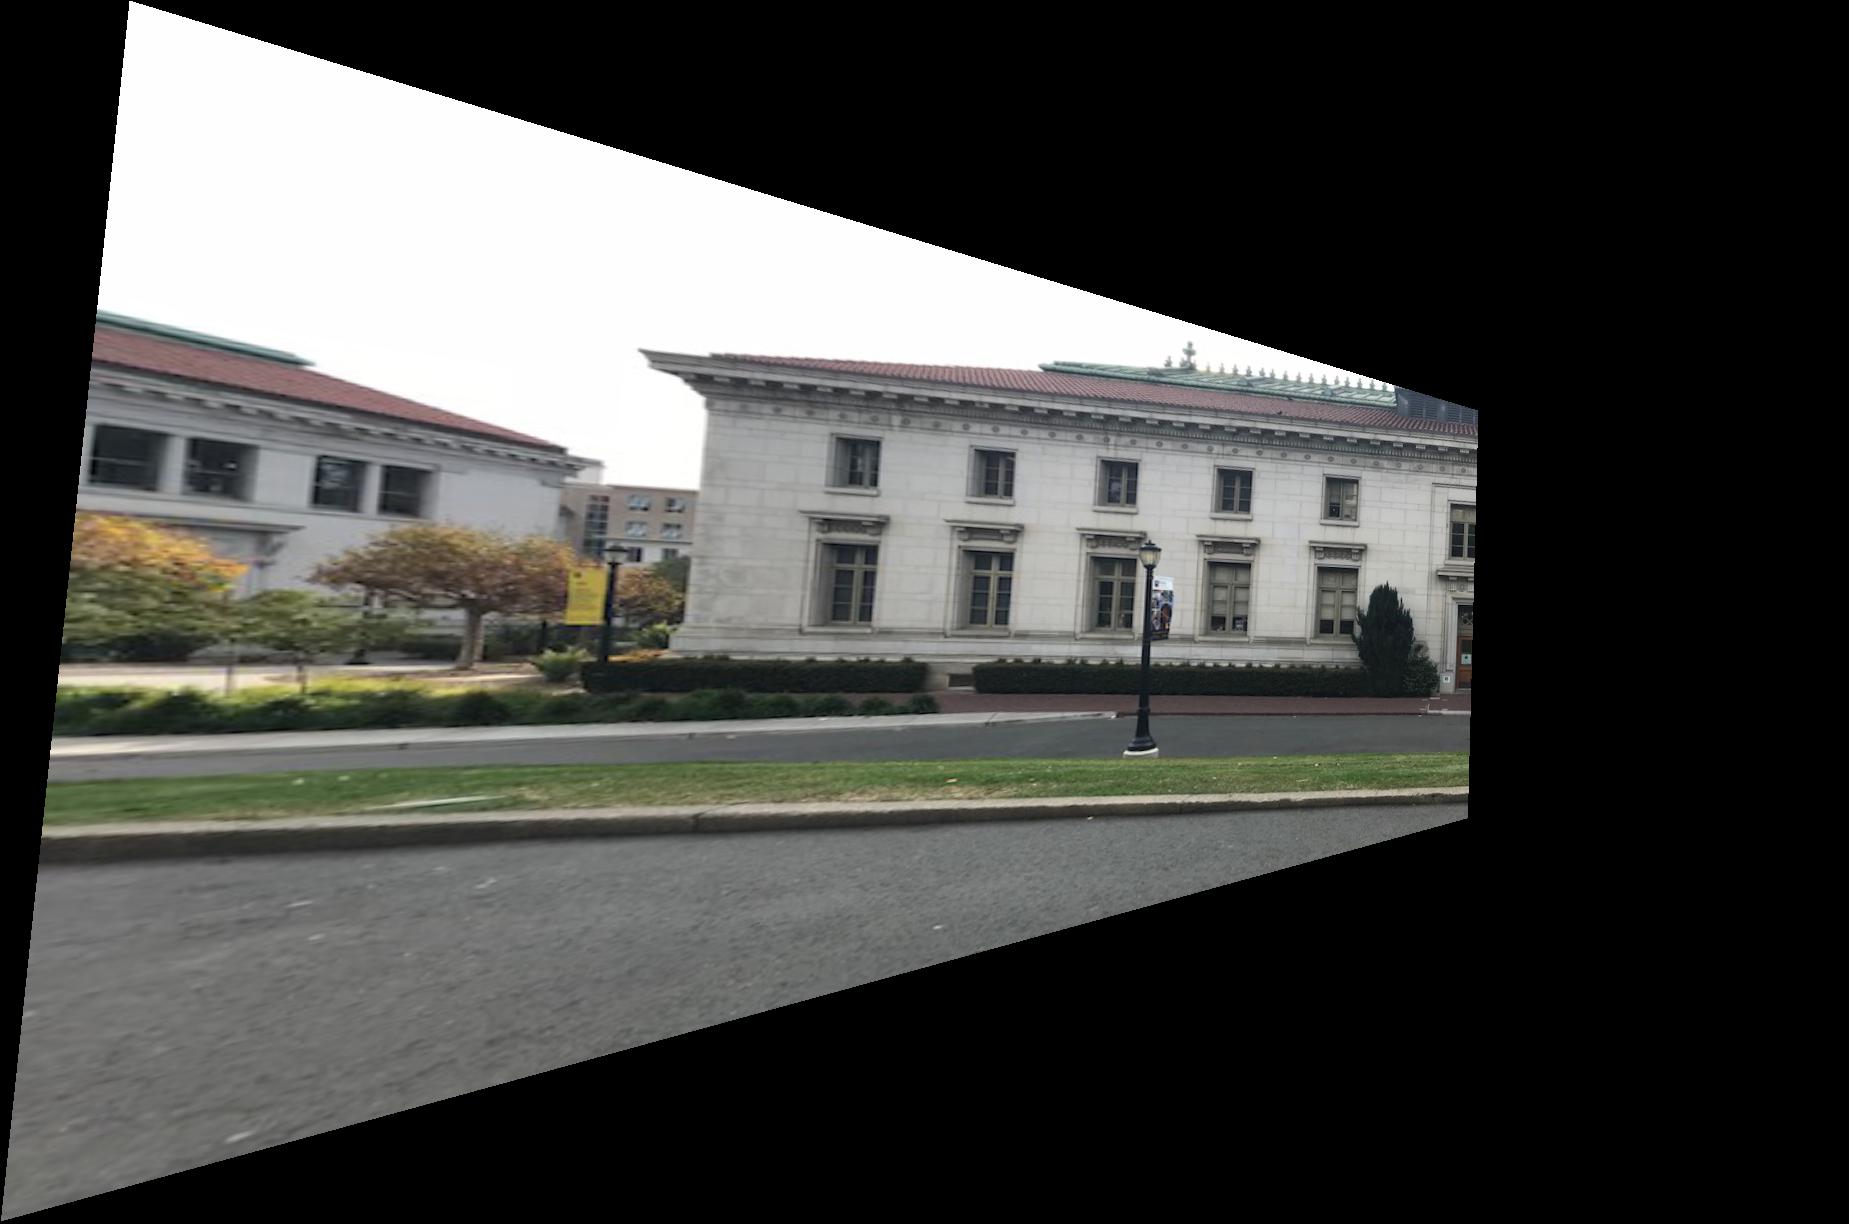
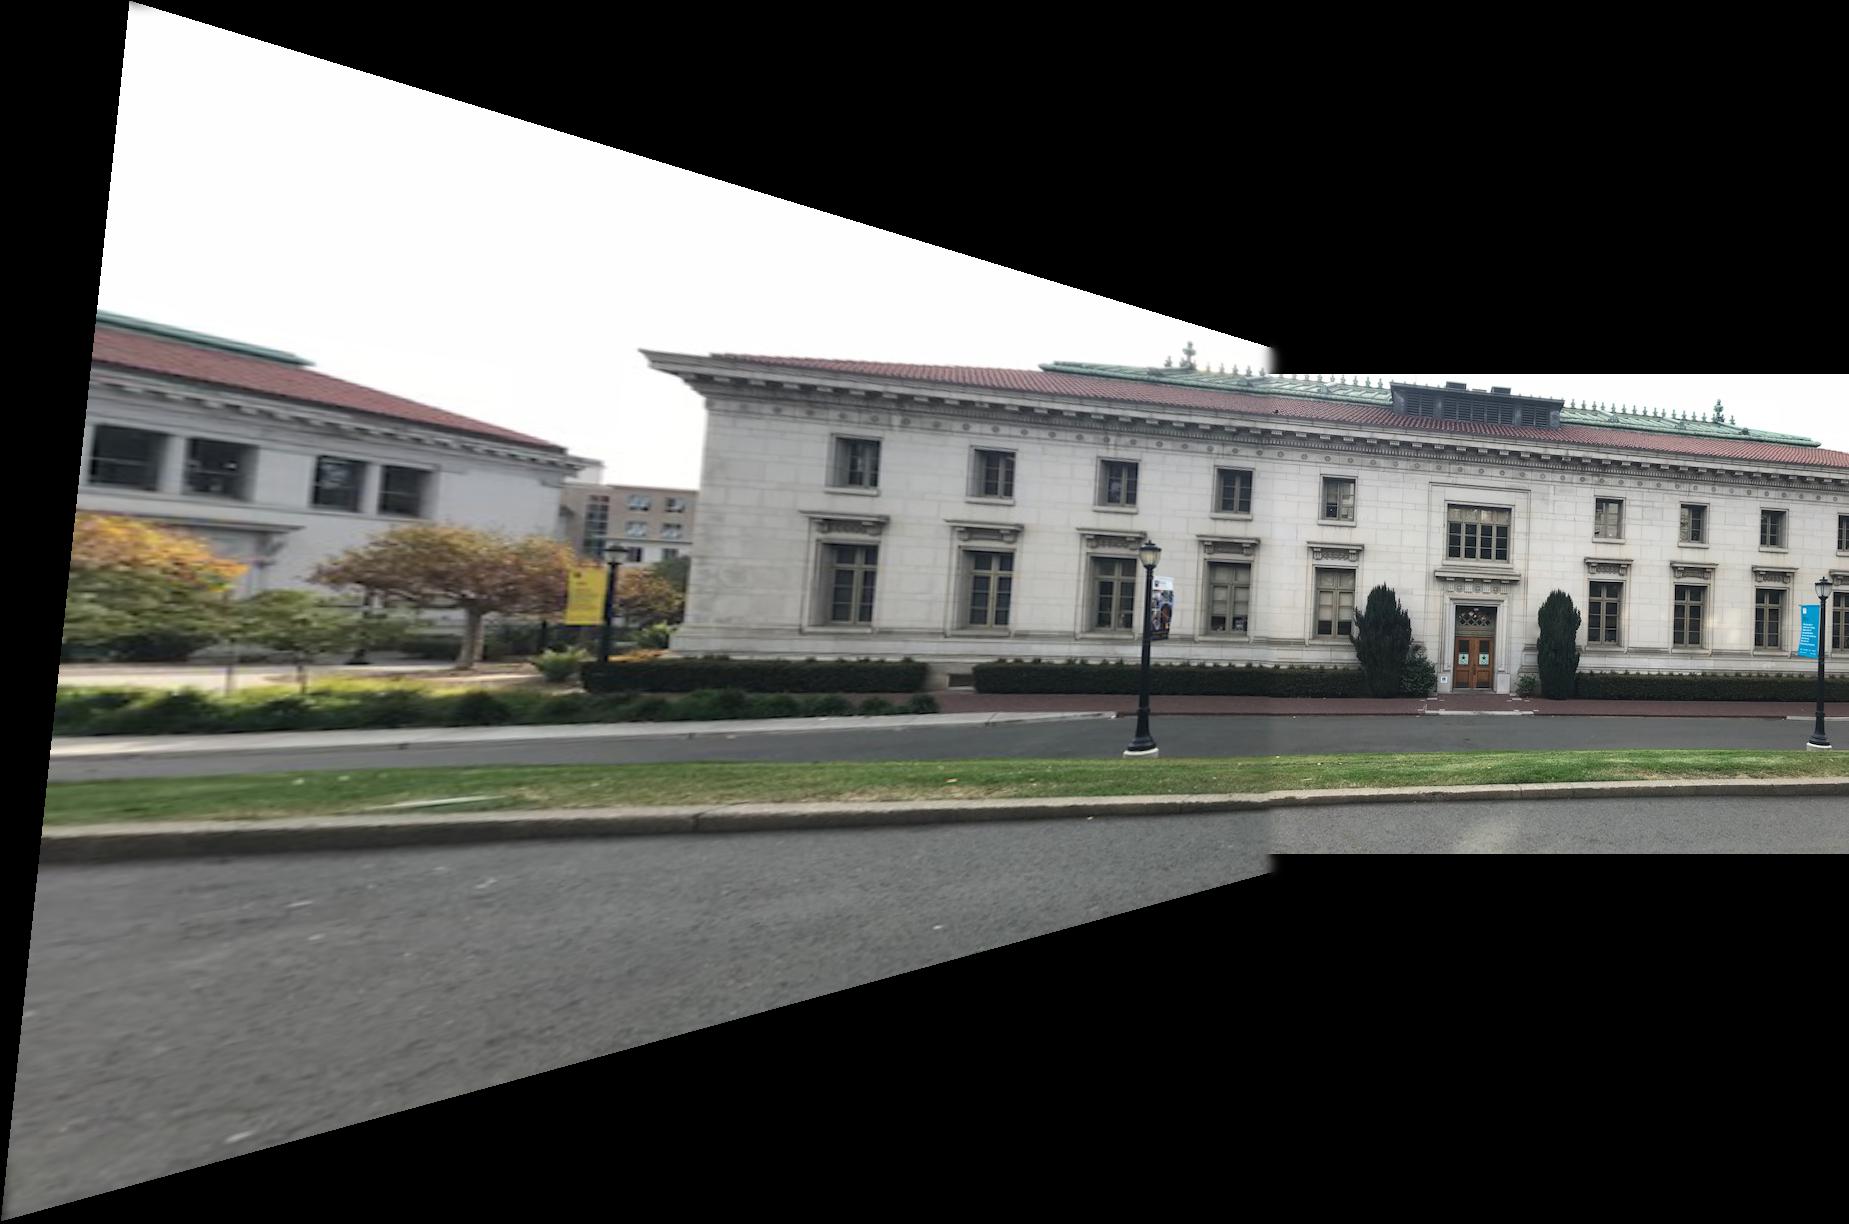
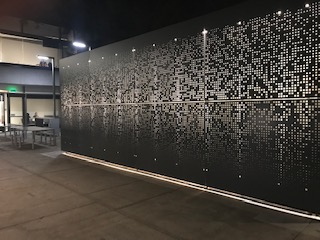
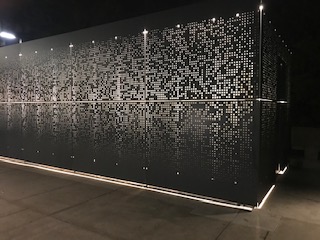
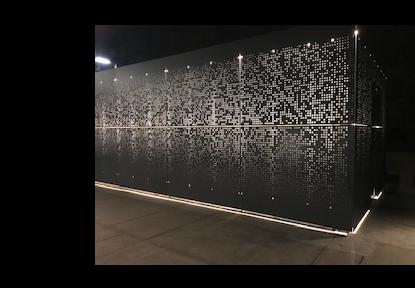
The process of creating an image mosaic is pretty similiar to the process of rectifying an image. However, instead of defining finding a homography between an image and a square, we find a homoraphy between two images. We then use this homography to warp the first image into the space of the second. After some tedious padding, shifting, and blending, my mosaics turn out as follows:
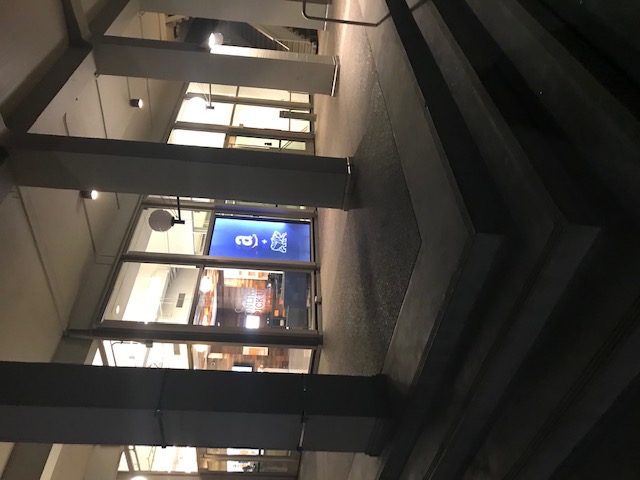
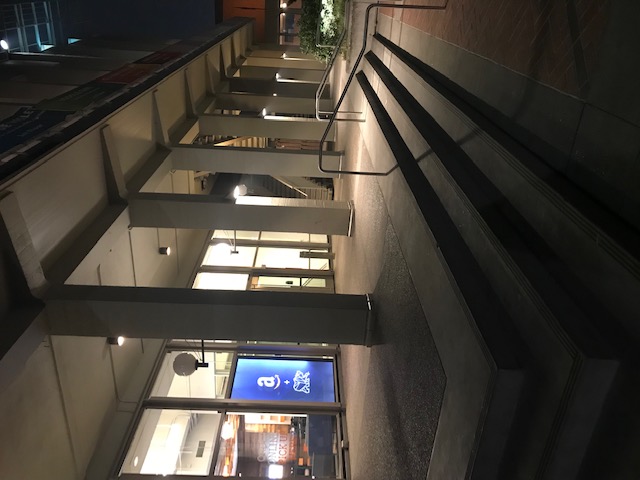
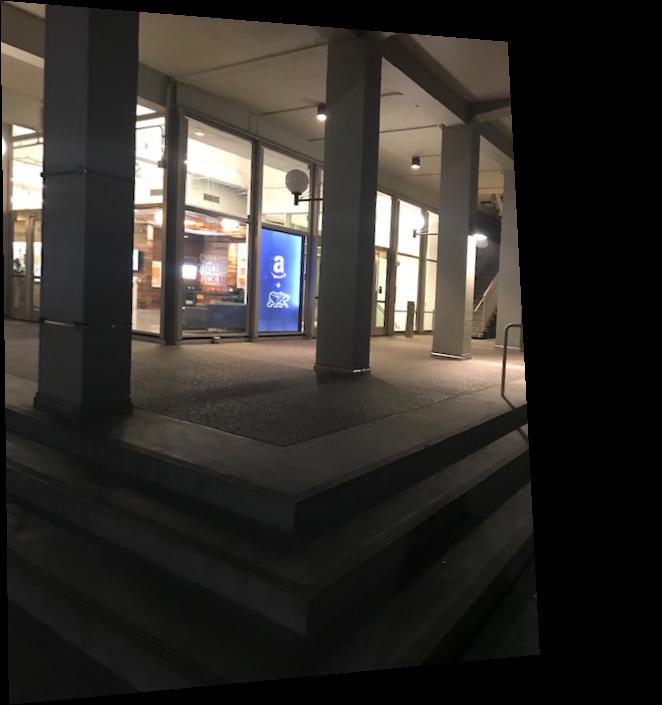

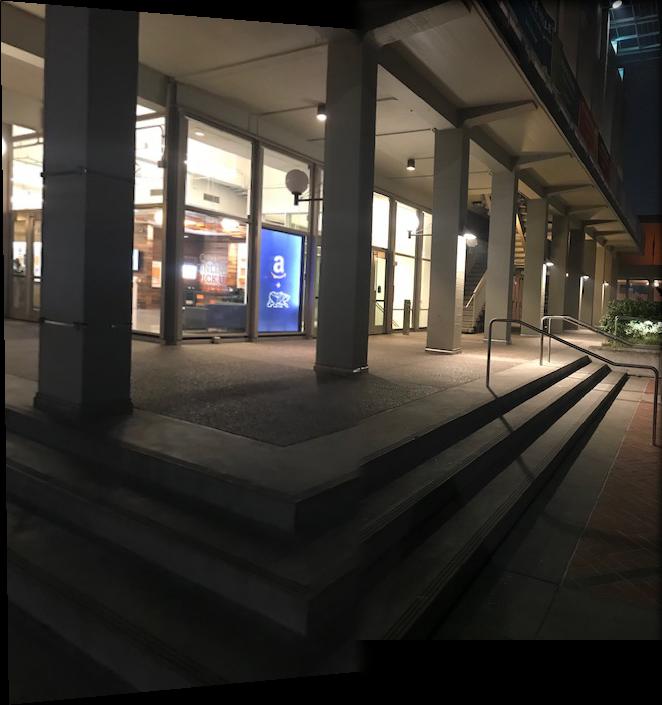
While there are still some visual artificats after blending (near the stairs), the darkness covers hides them up really well.
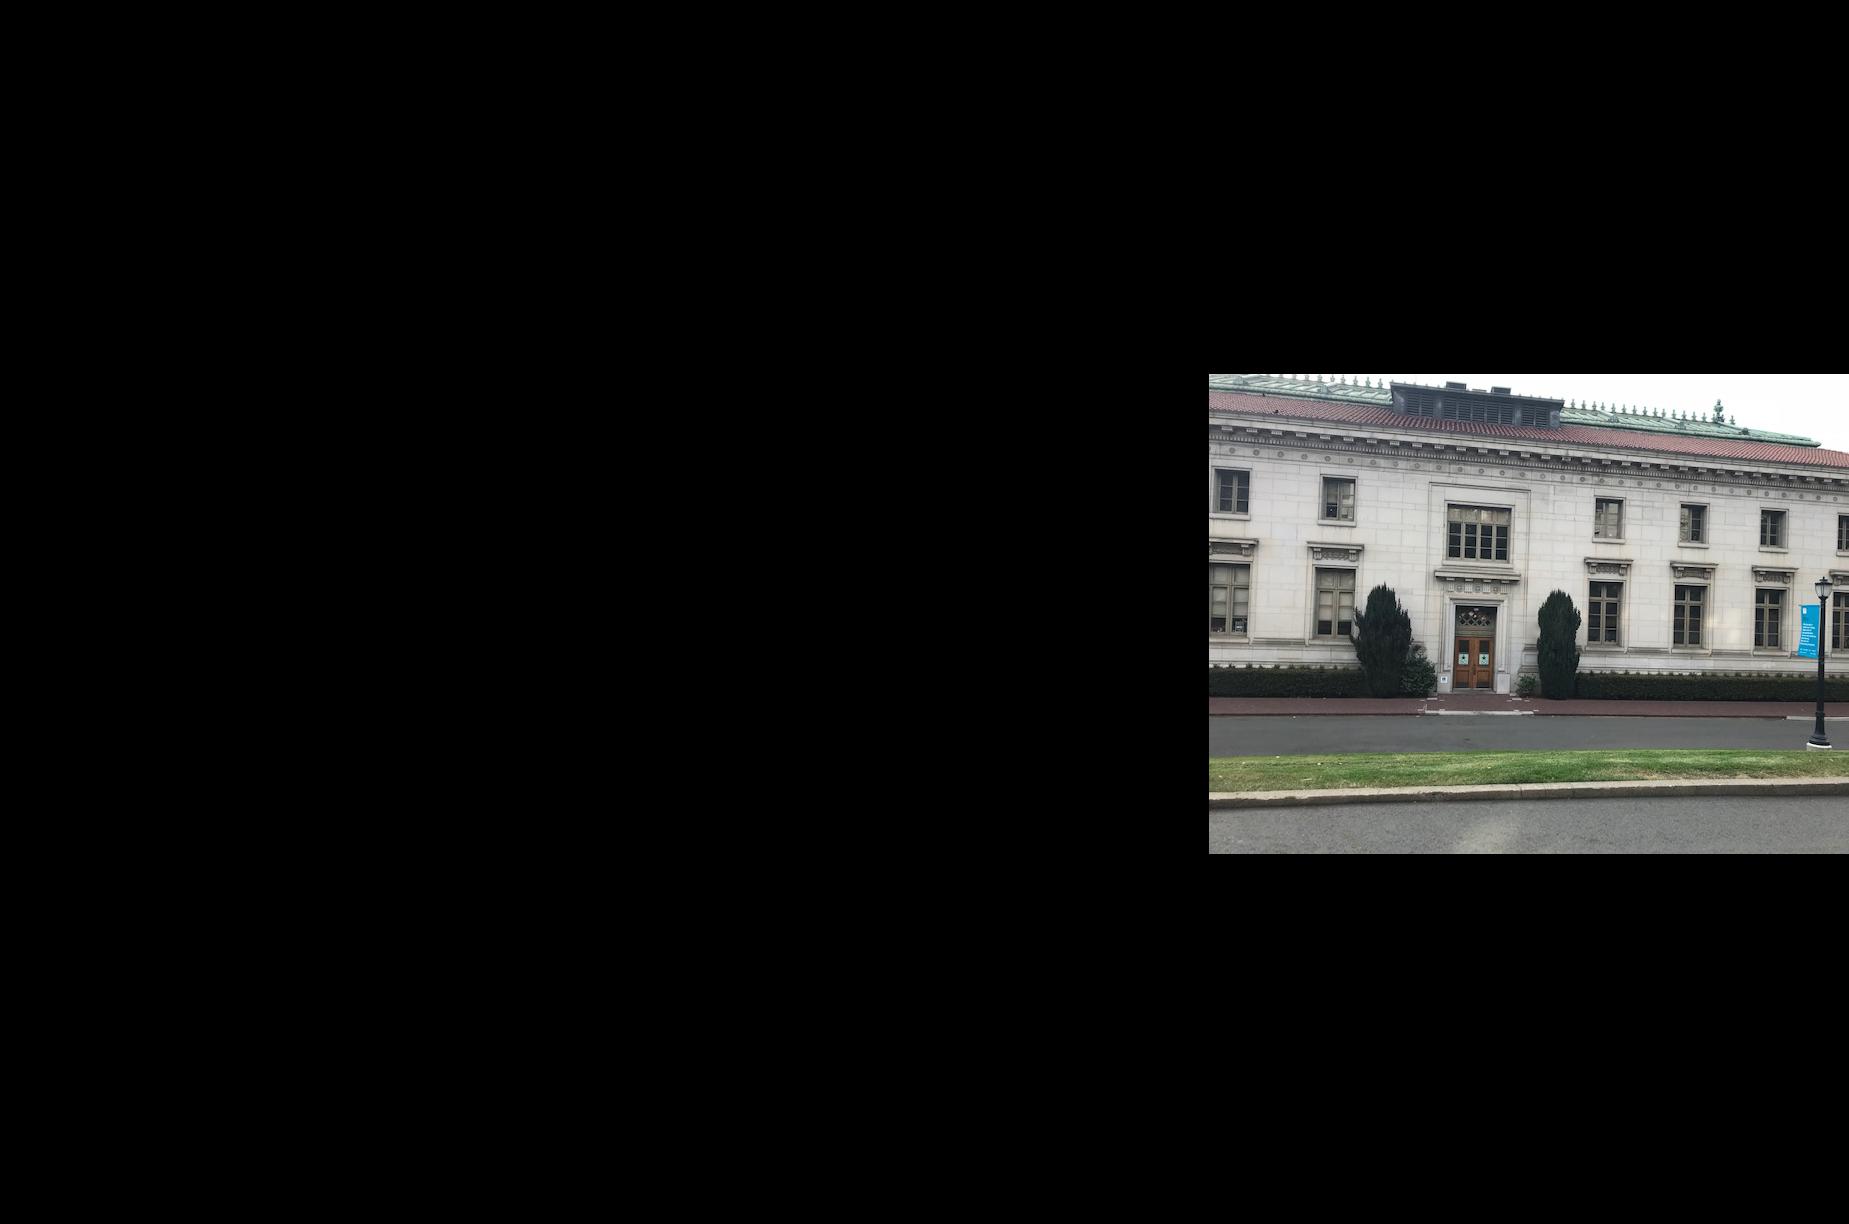
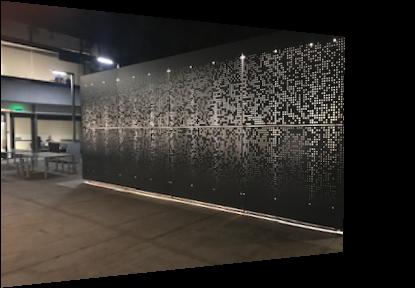
For this mosaic, the seam is visable due to the difference in lighting between both images. However, this color difference could be allievated by using Possion Blending instead of Laplacian Blending. Besides this, there is less visual artifacts than the previous mosaic.

For this final mosaic, there really isn't much to say: the results turned out fine.