CS194 - Image Warping and Mosaicing

Nathan Yuchi(CS194-26-acl)

Shoot and Digitize Pictures

These are the photos I took and created for this project

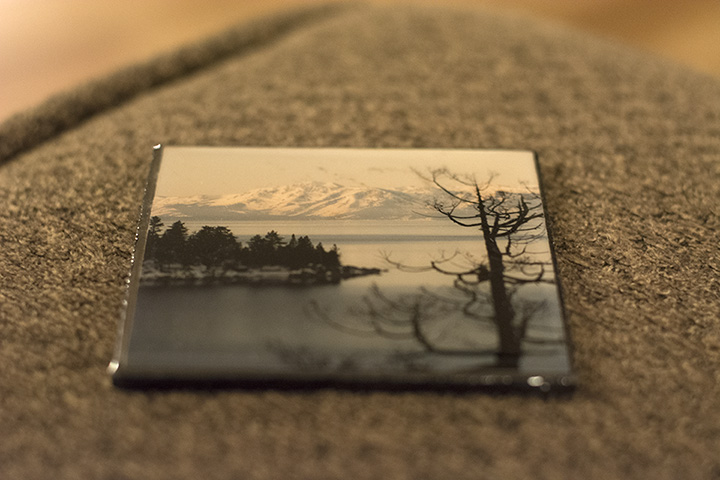
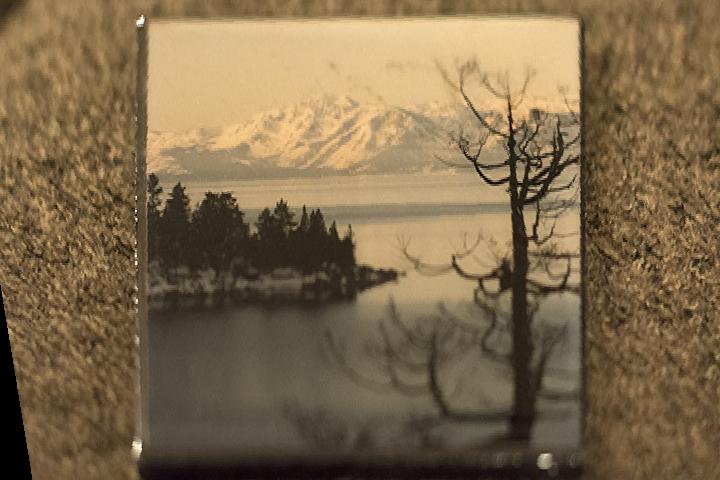
6000x4000 Coaster Downscaled to 720x480

Coaster Target Shape

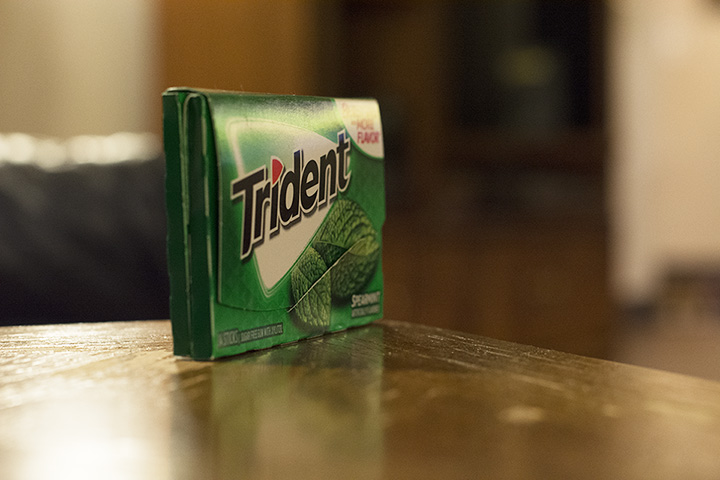
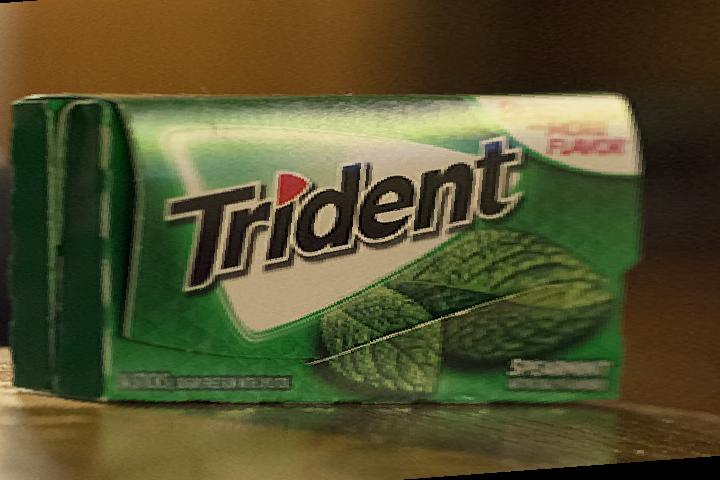
6000x4000 Gum Downscaled to 720x480

Gum Target Shape

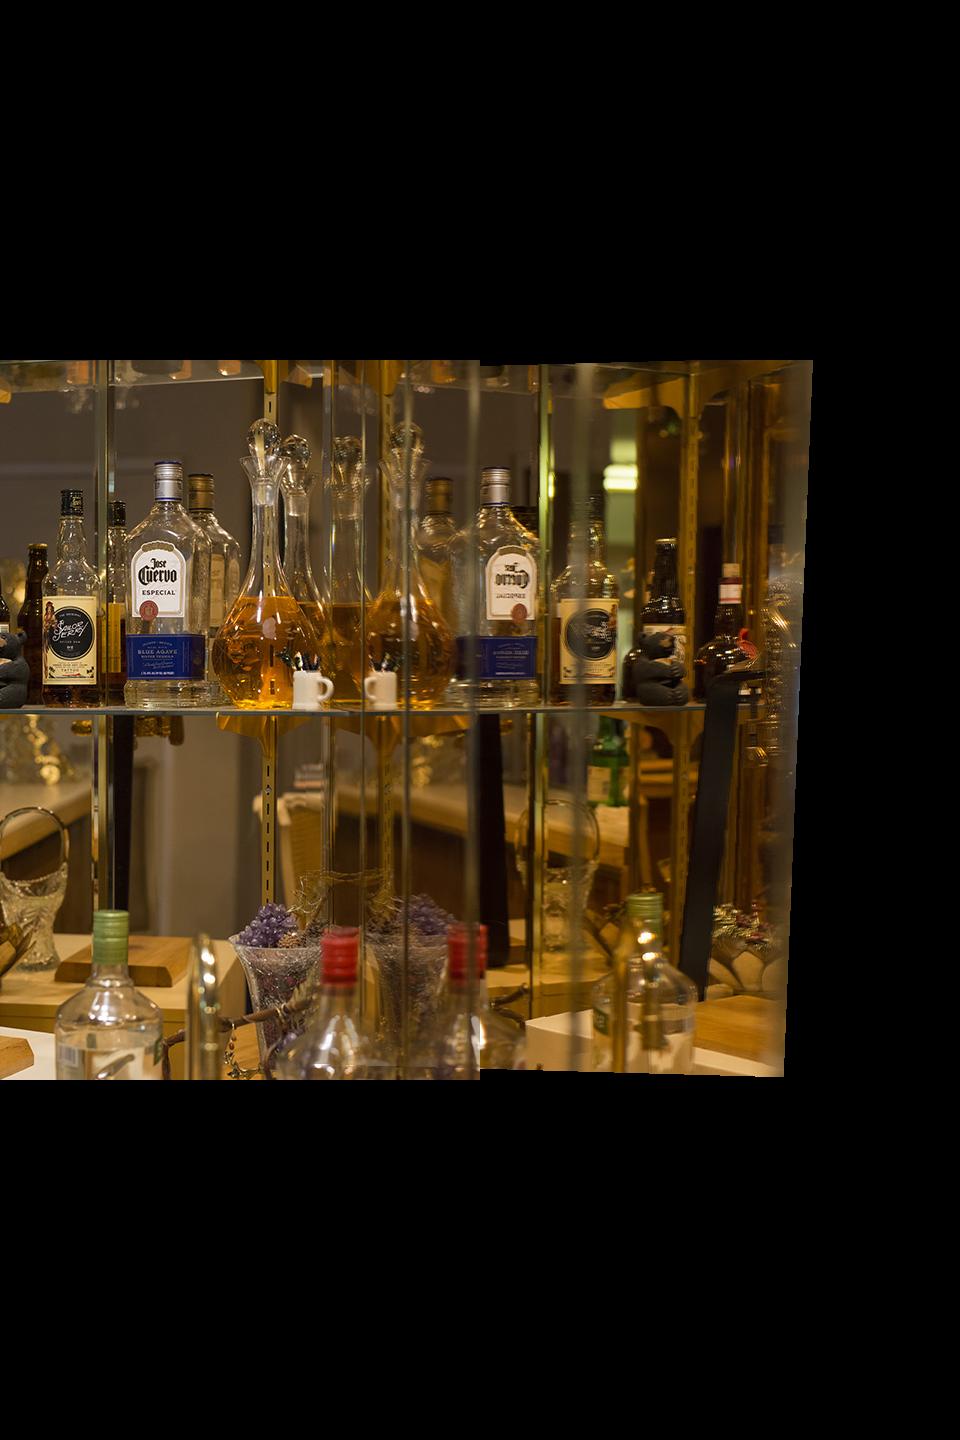
Left Picture for Bar

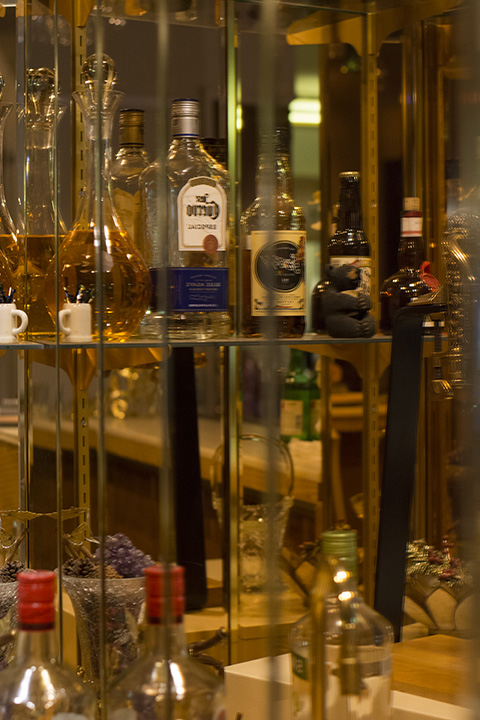
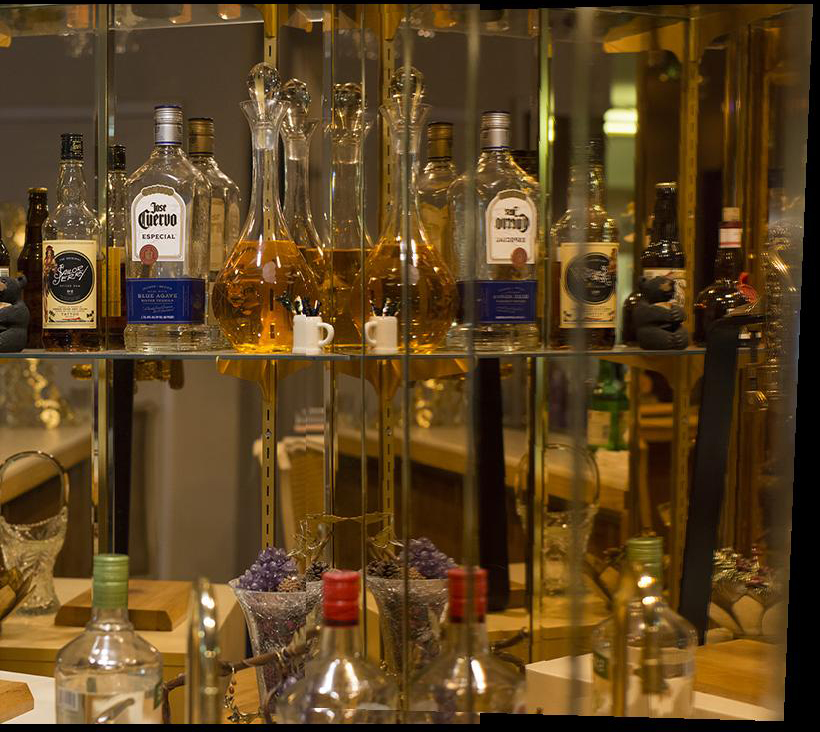
Right Picture for Bar

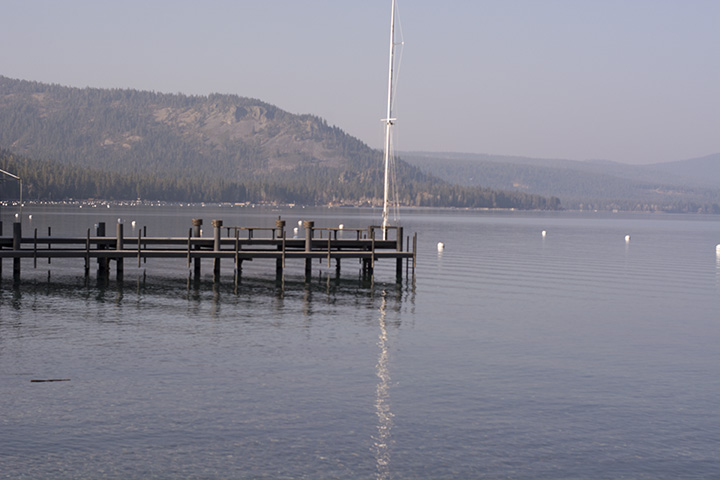
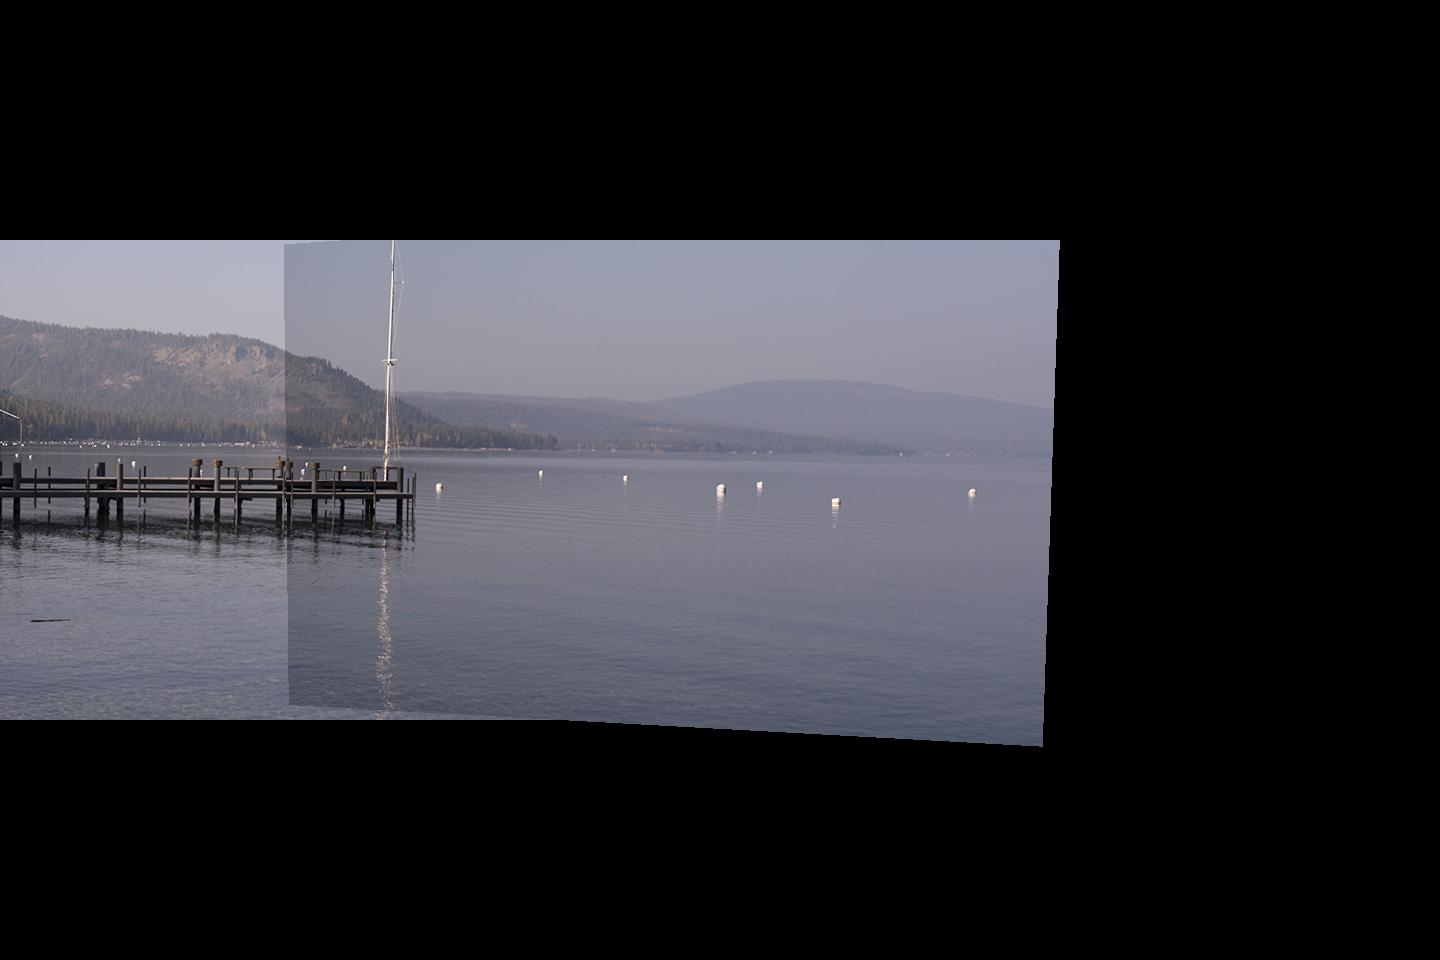
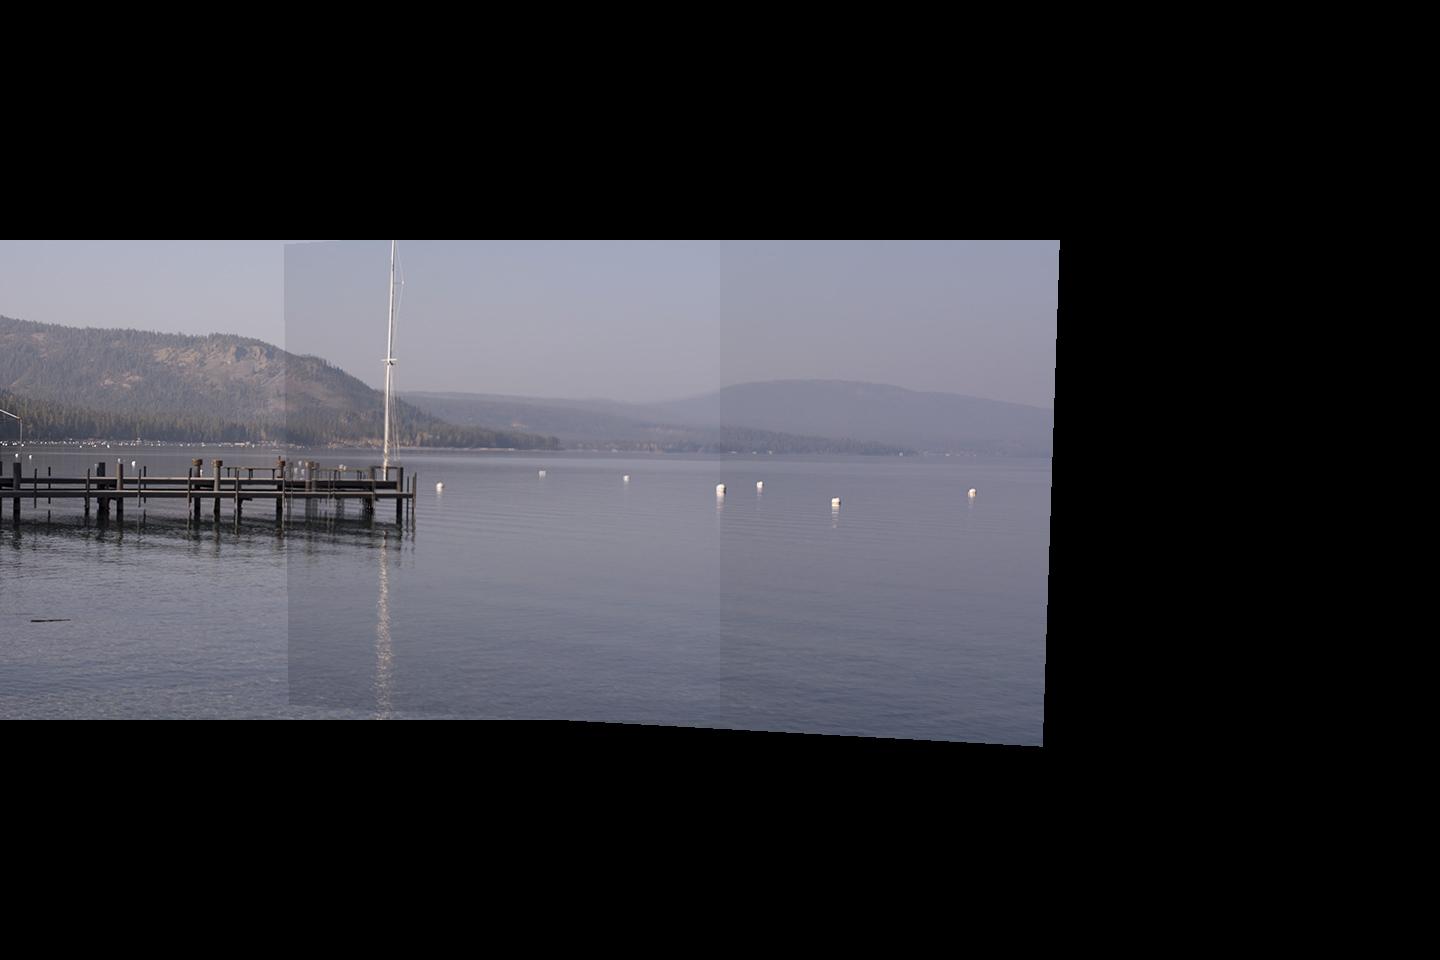
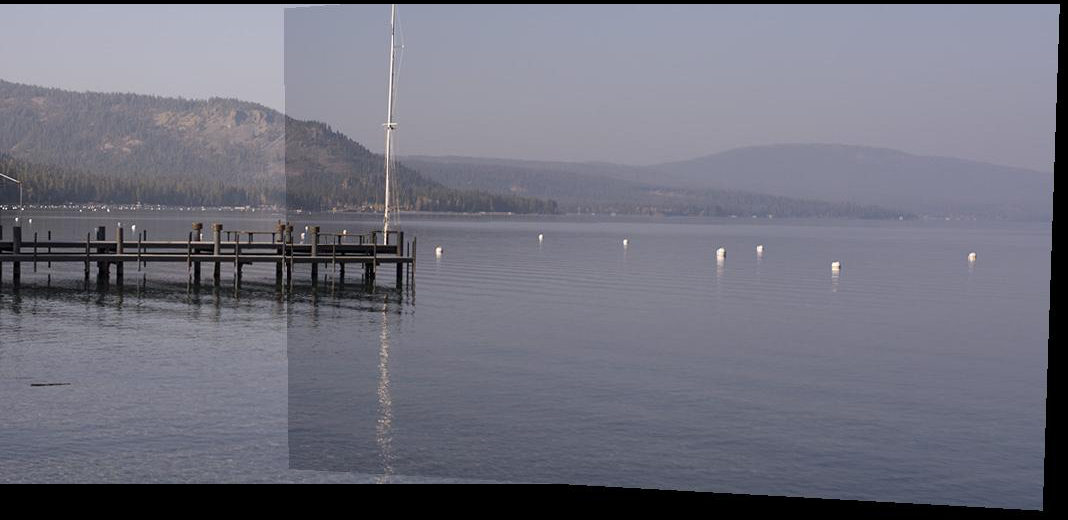
Left Picture for Pier

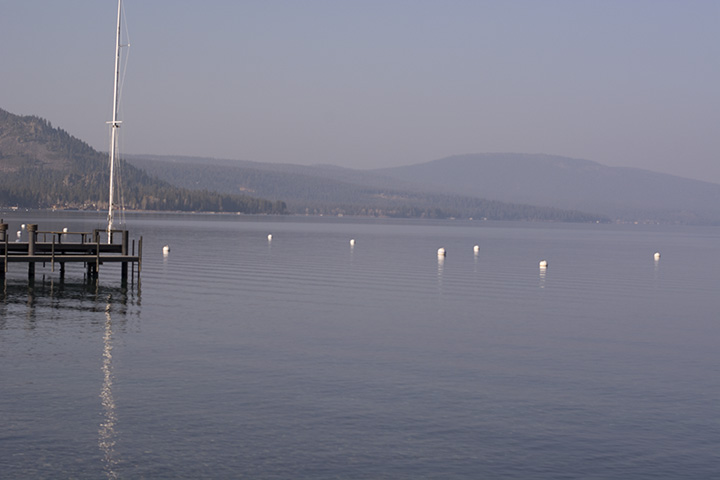
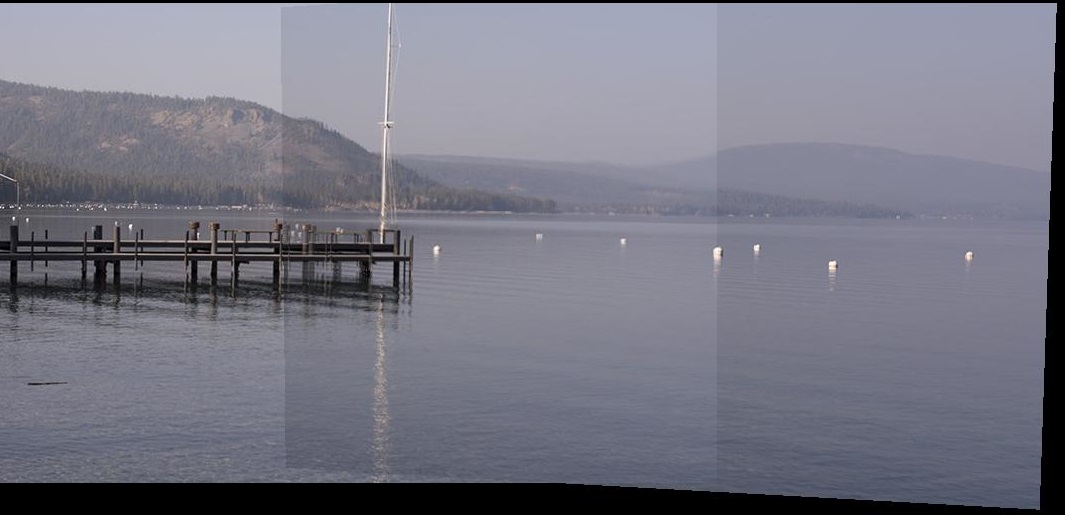
Right Picture for Pier

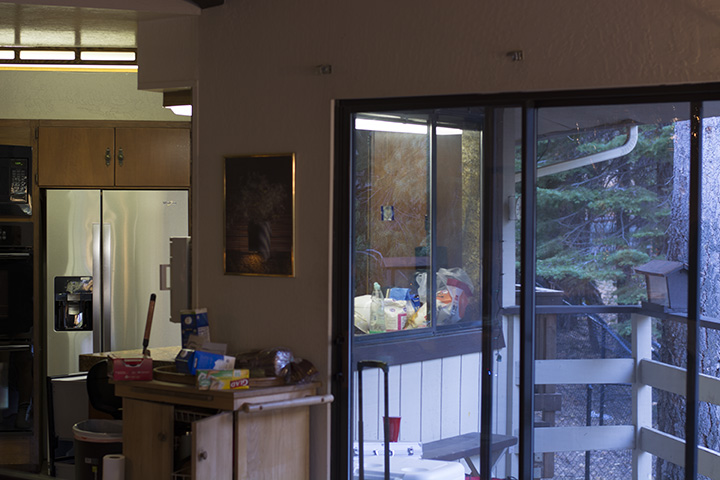
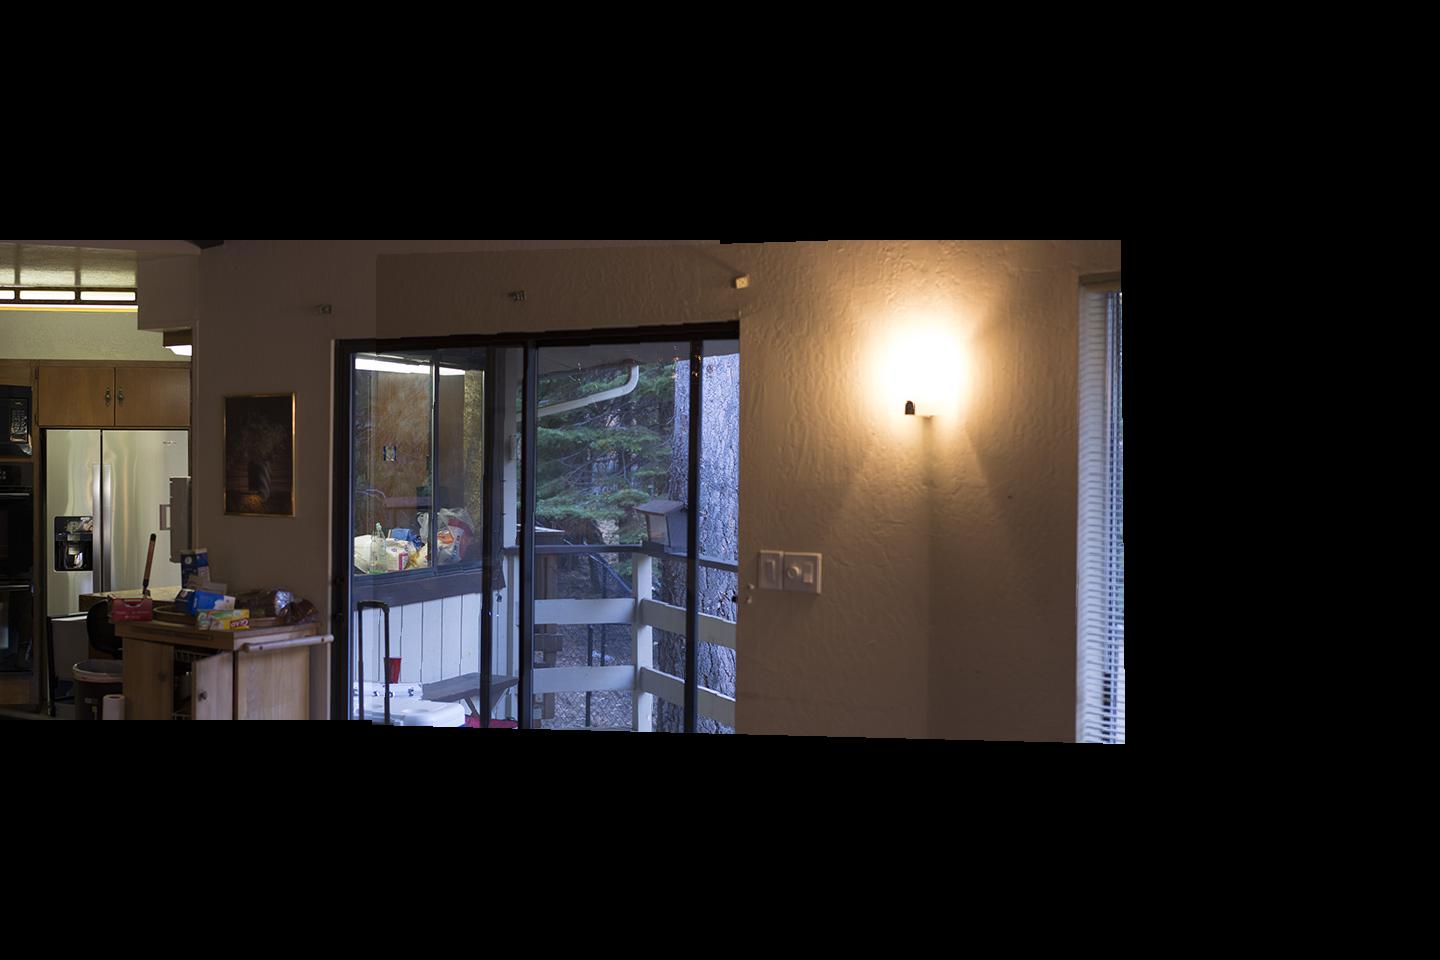
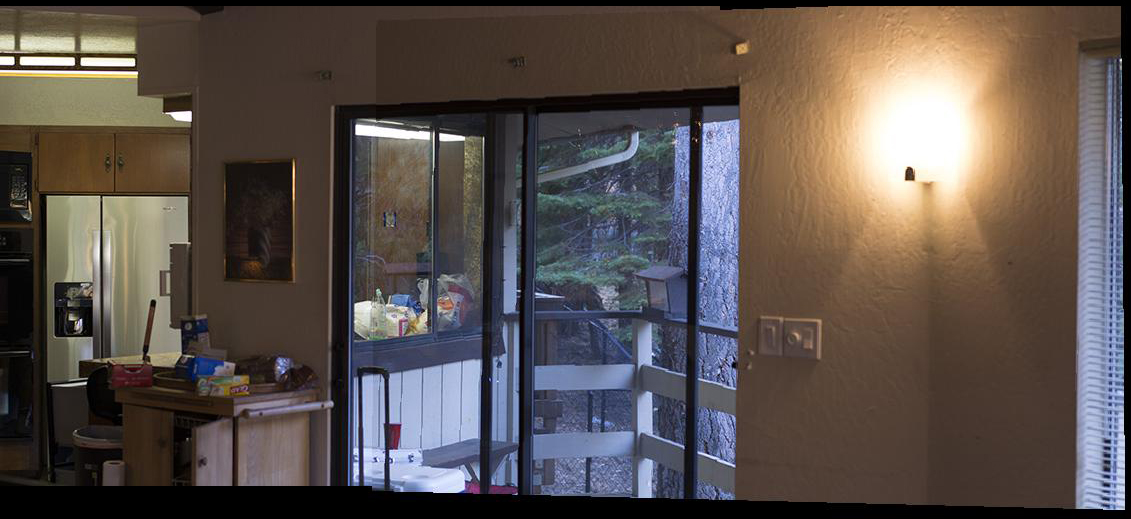
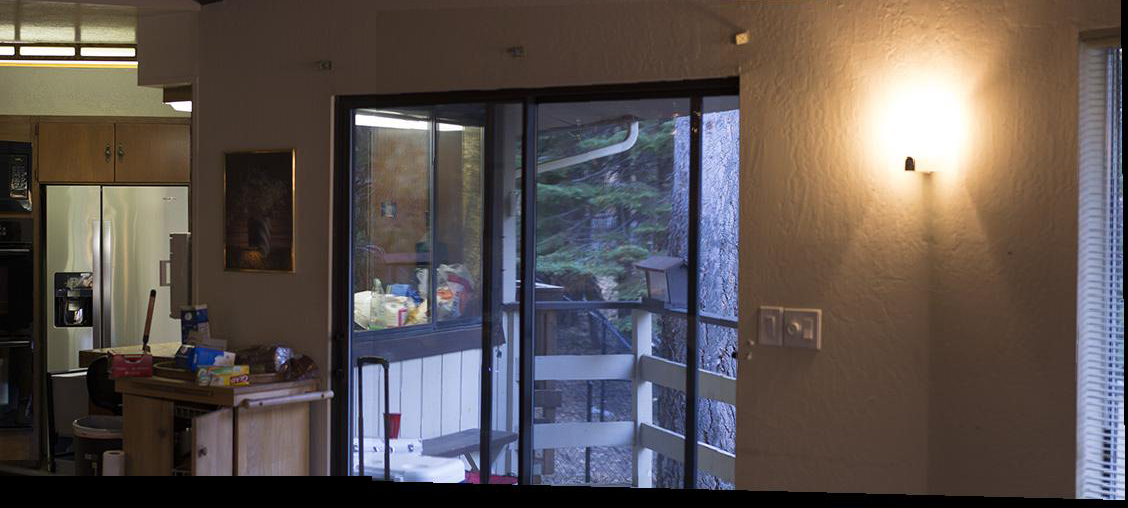
Left Picture for Room

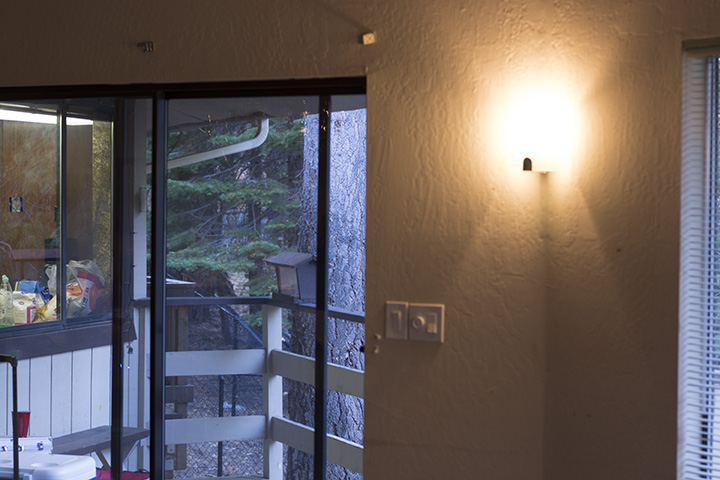
Right Picture for Room

Warp Images (Rectification)

After solving for the inverse homeography matrix, we can apply the matrix to points in our original image, warping the images to the target points we select.

Original Image

Target Image

Rectified Coaster

Original Image

Target Image

Rectified Gum

Blend Images Into a Mosaic

To blend images into a mosaic, I took two photos with overlapping points. I kept one image still while I warped the second image to points selected from the first. I padded the image with zeros or black pixels to allow extension of the image vertically and horizontally. I have results for no blending and for fixed-alpha blending.

First Pier Image

Second Pier Image

Pier Mosaic - No Blending

Pier Mosaic - Alpha Blending

Pier Mosaic - No Blending (Cropped)

Pier Mosaic - Alpha Blending (Cropped)

First Bar Image

Second Bar Image

Bar Mosaic - No Blending

Bar Mosaic - Alpha Blending

Bar Mosaic - No Blending (Cropped)

Bar Mosaic - Alpha Blending (Cropped)

First Room Image

Second Room Image

Room Mosaic - No Blending

Room Mosaic - Alpha Blending

Room Mosaic - No Blending (Cropped)

Room Mosaic - Alpha Blending (Cropped)

What I Learned

In this part of the project I learned how to use solve for a homeographic transformation matrix and how to use the matrix to change the perspective of an image. Using the matrix and blending techniques, I also learned how to create mosaics from images. I think the most interesting aspect of this project was having to use our own data, our own photos.