Project 6A Submission
Name: Rohan Murthy(cs194-26-adk)
Overview: Image Warping and Mosaicing
This project involved taking pictures and creating mosaics out of them
by calculating the homography matrix from one photo towards another, warping them,
and combining them.
Shoot and Digitalize Pictures
Here are the images I took!


Recover Homographies
Before warping an image to be used in a mosaic, you must first find the homography matrix
that will be used to do this warping. Since I use inverse warping and fix my second image
I take second image correspondance points as the p points (xi,yi) and the first image
correspondance points as the p' points(x'i,y'i). This is a least squares problem, Ax=b
where x is the homography matrix in vector form, b is vector([0 0 ... 0 1]) where the number
of zeros is 2*(number of correspondance points). The A matrix is
[[-x1 -y1 -1 0 0 0 x1*x'1 y1*x'1 x'1][0 0 0 -x1 -y1 -1 x1*y'1 y1*y'1 y'1] ...
[-xn -yn -1 0 0 0 xn*x'n yn*x'n x'n][0 0 0 -xn -yn -1 xn*y'n yn*y'n y'n]
[0 0 0 0 0 0 0 0 1]] where n is the number of correspondance points. I solved this least
squares problem to recover the homography matrix.
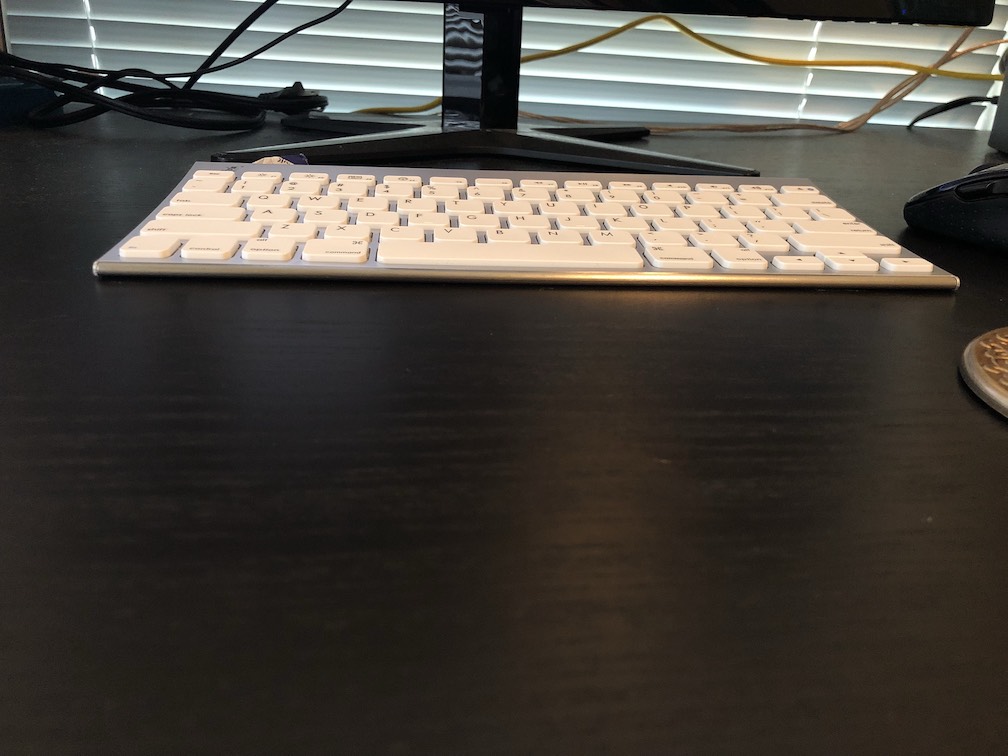
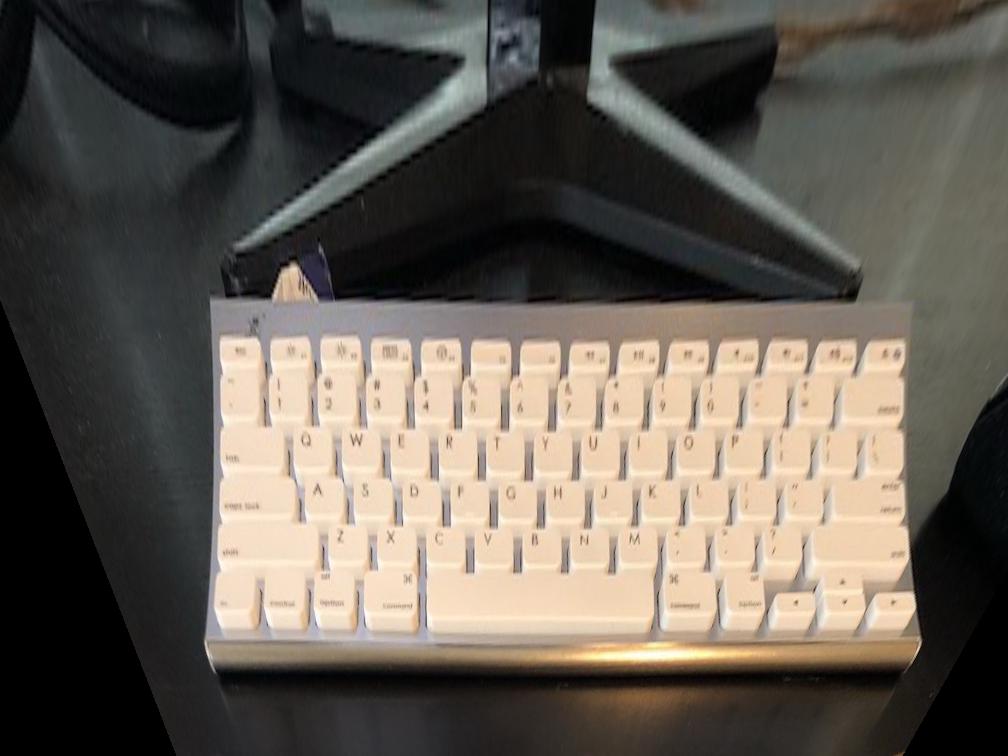
Image Rectification
This part of the project involved taking a photo and looking at it from a
different perspective. The way I did this was first finding the homography matrix.
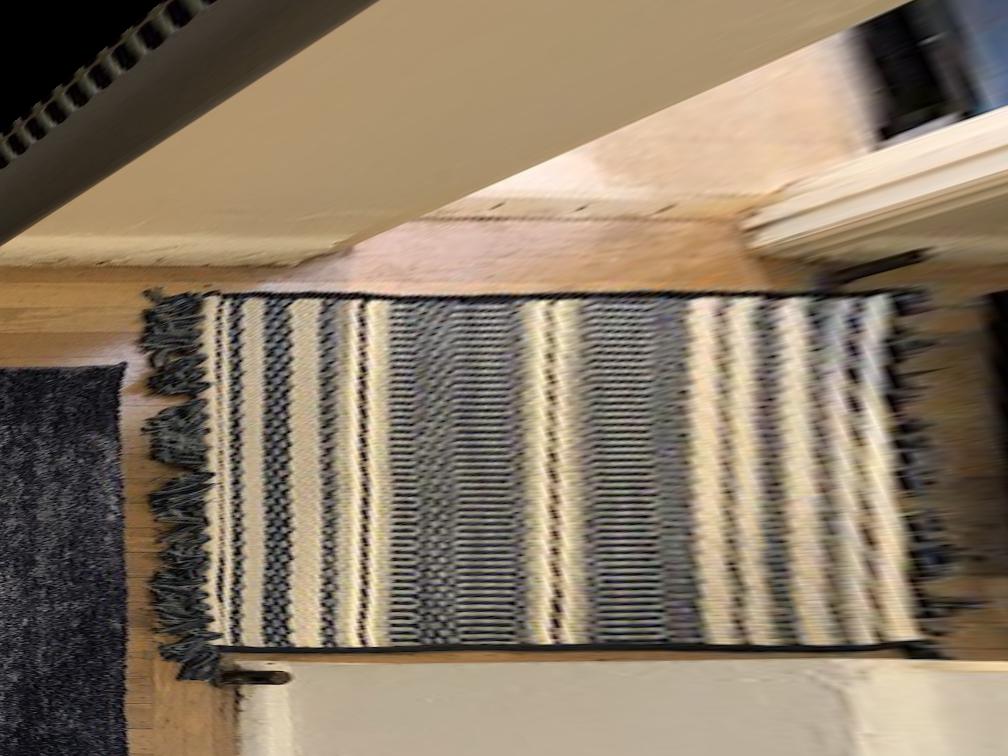
For both of my cases here, I found the points on each corner of the keyboard/rug
and found the homography matrix from these points to four points which formed a
rectangle. Once I got this matrix, I warped the original photo using this matrix.
My warping algorithm is very similar to the one I used in project 4, which involves
inverse warping and using interpolation.
Here is my keyboard, with a top perspective!
 Here is my rug, with a top perspective!
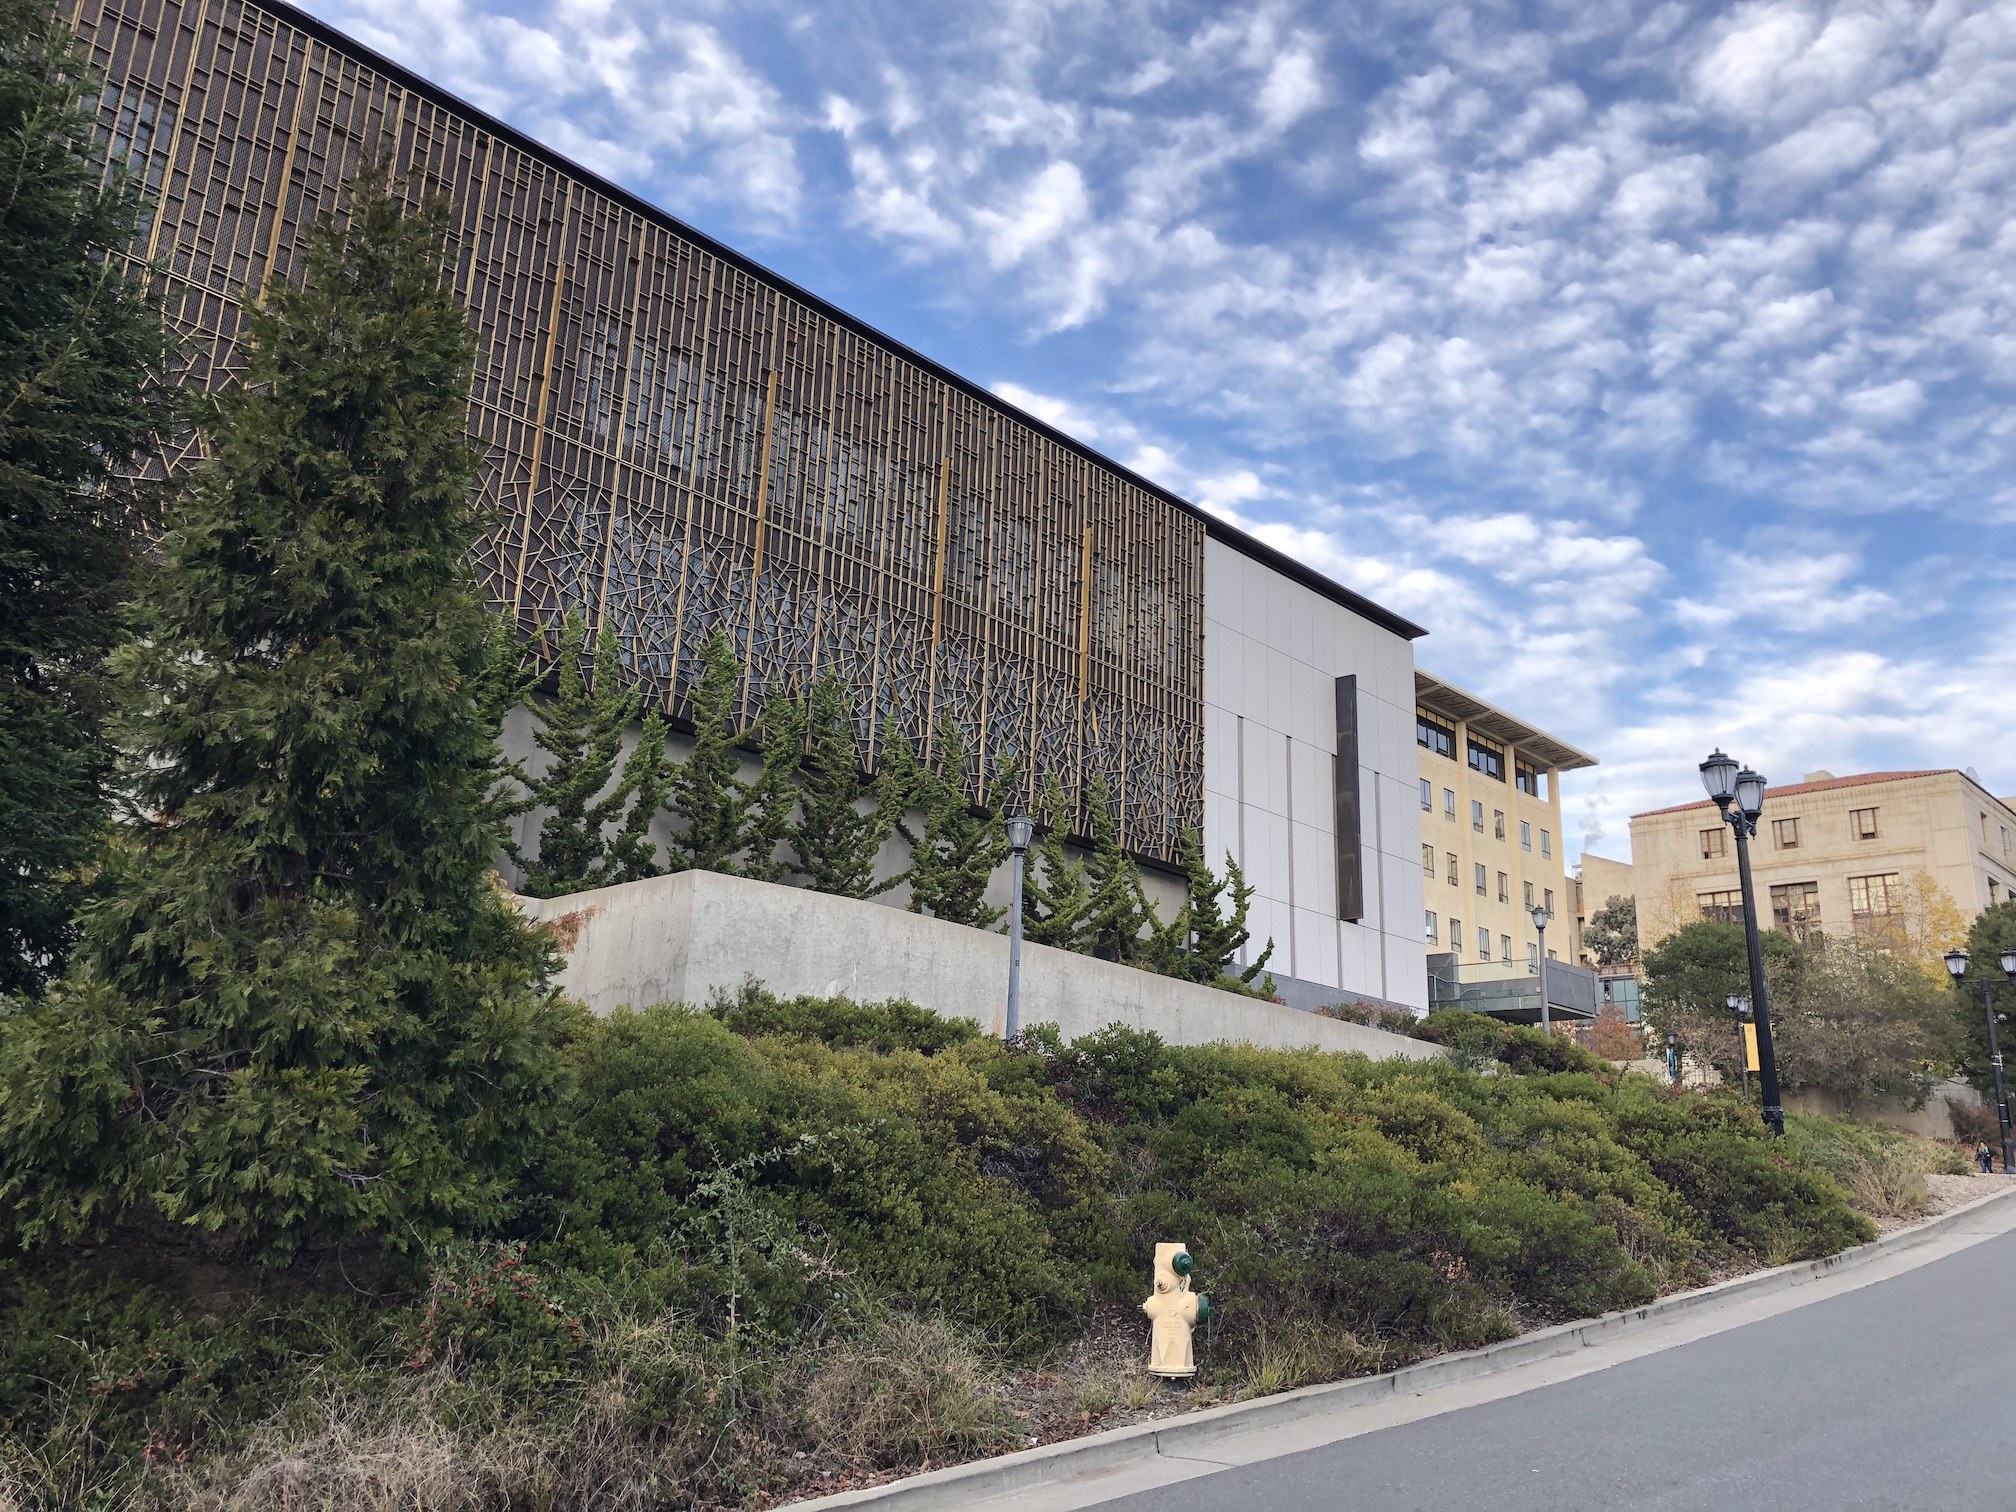
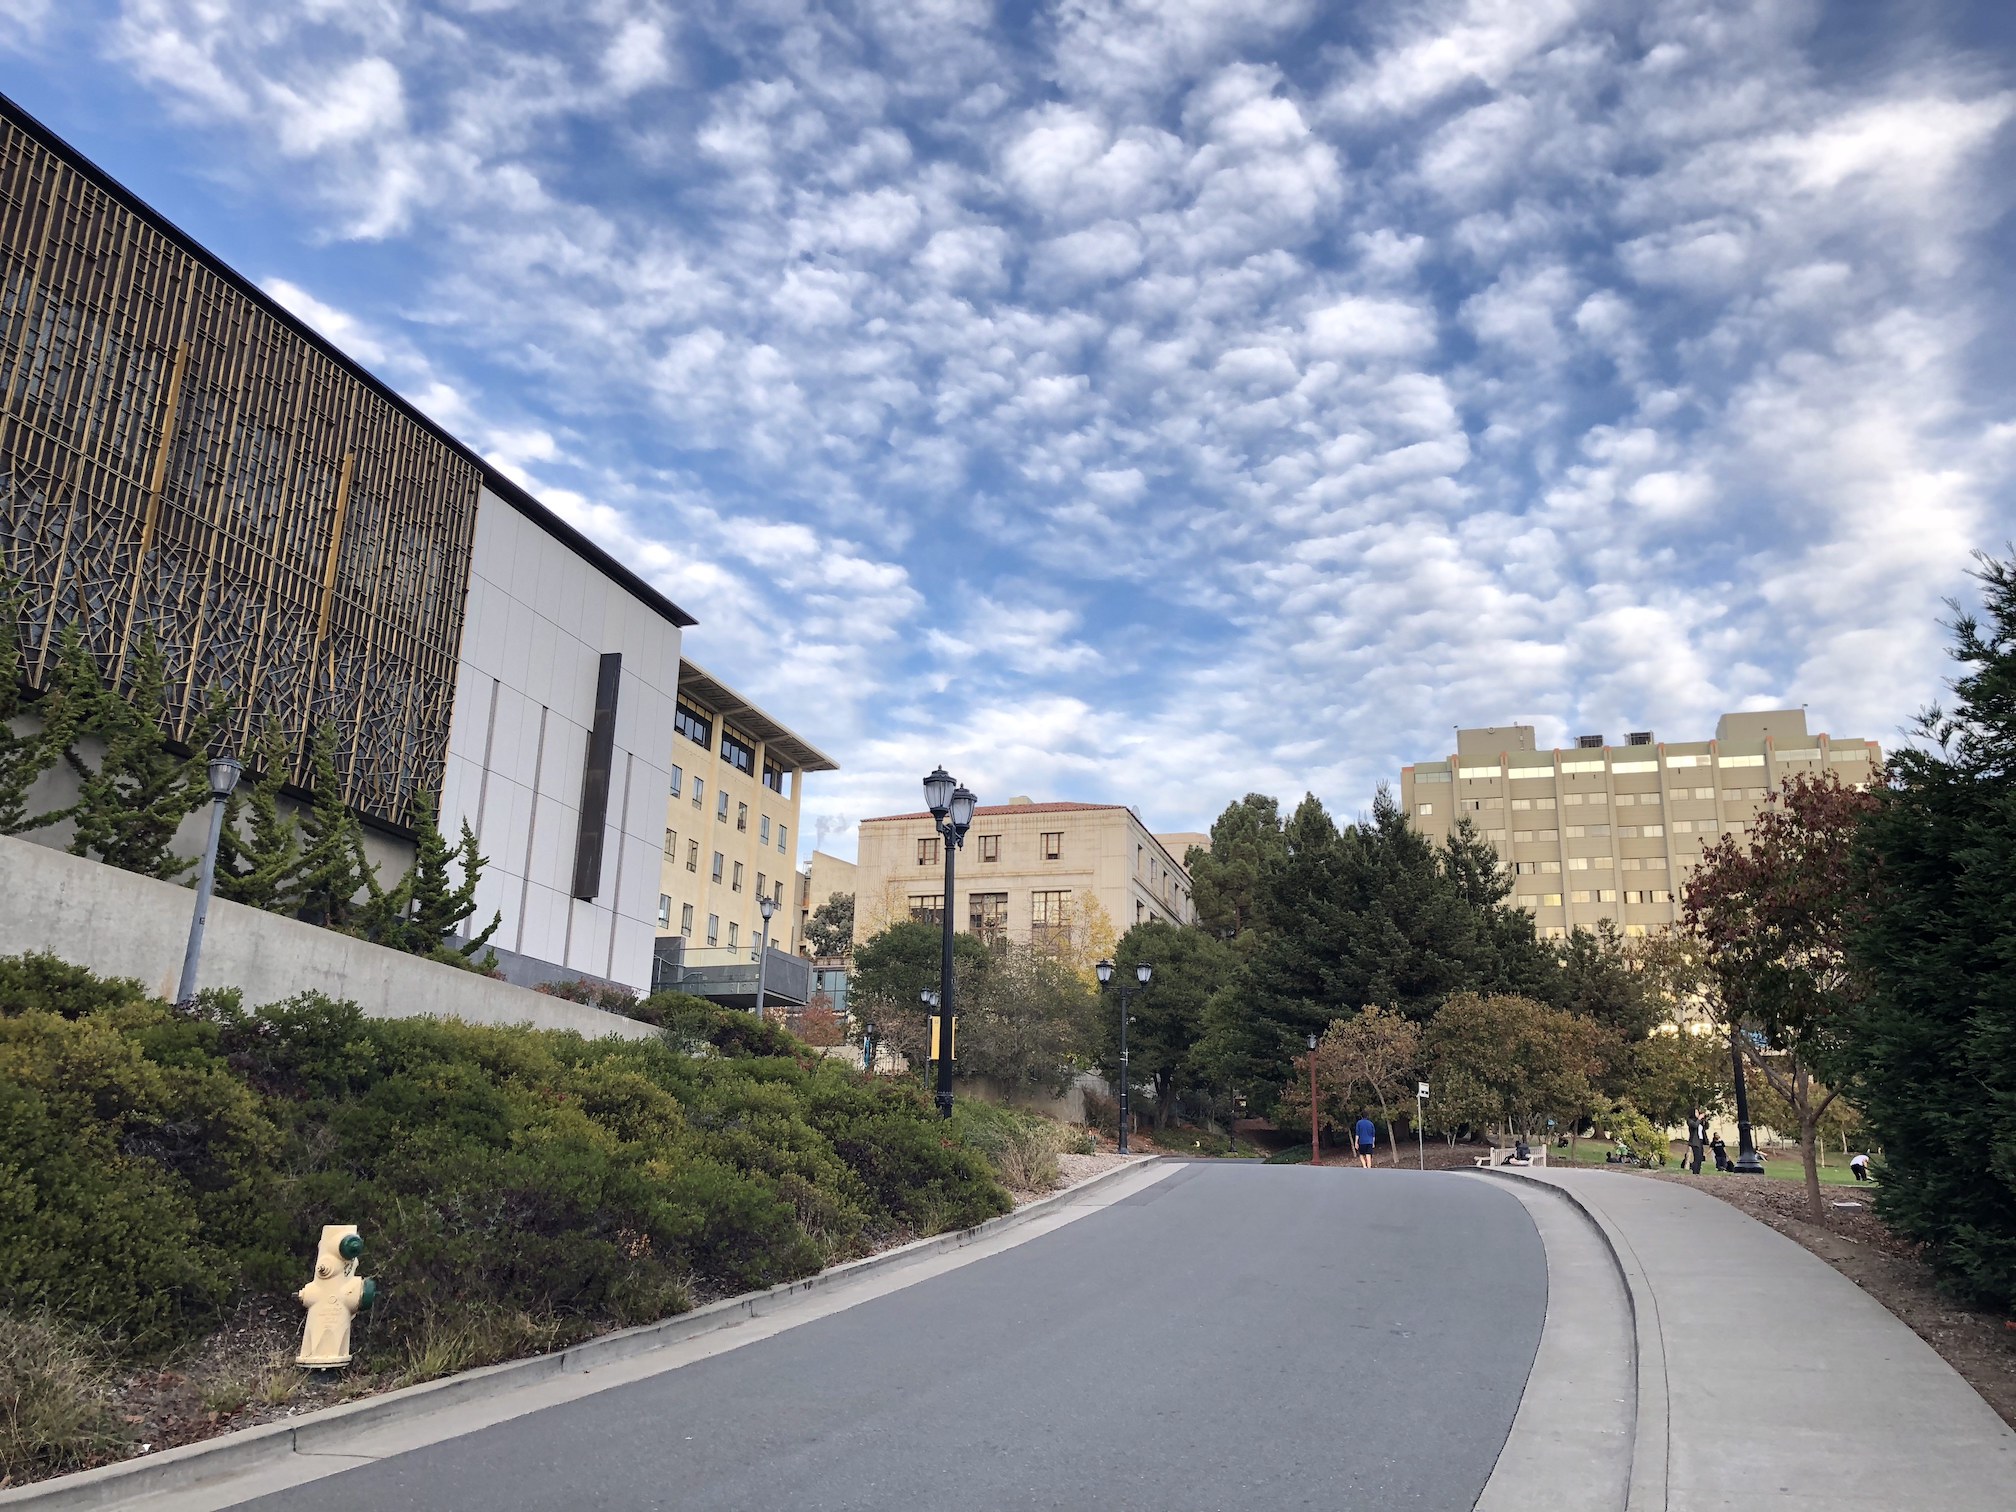
Mosaics
This part of the project involved taking multiple pictures from different perspectives and
combining them to make a mosaic. I made two picture mosaics in which I kept the second
image the same, but warped the first image towards it.
To do this, I first padded my images so that
when I warped the first image, the full warped image could show.
Then, using points of objects/things that were in both images, I created a homography matrix
. I then used this matrix to warp the first image using the technique described above in the
image rectification section. Once this first image was warped, I combined this with the second
image to create the mosaic.
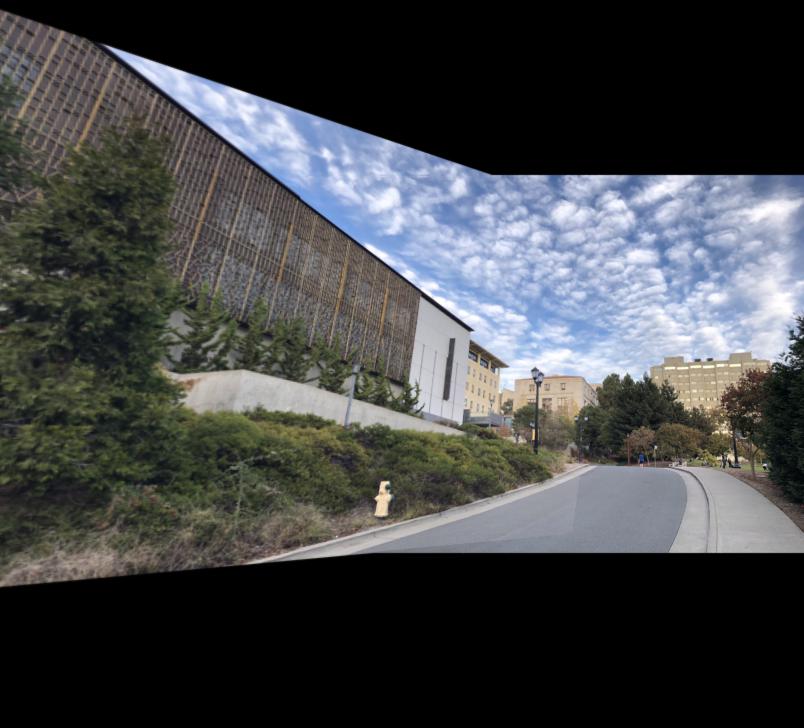
Please note that for my mosaics I scaled down the images so that the warping didn't take too long.
Here are the original images on campus and the mosaic!
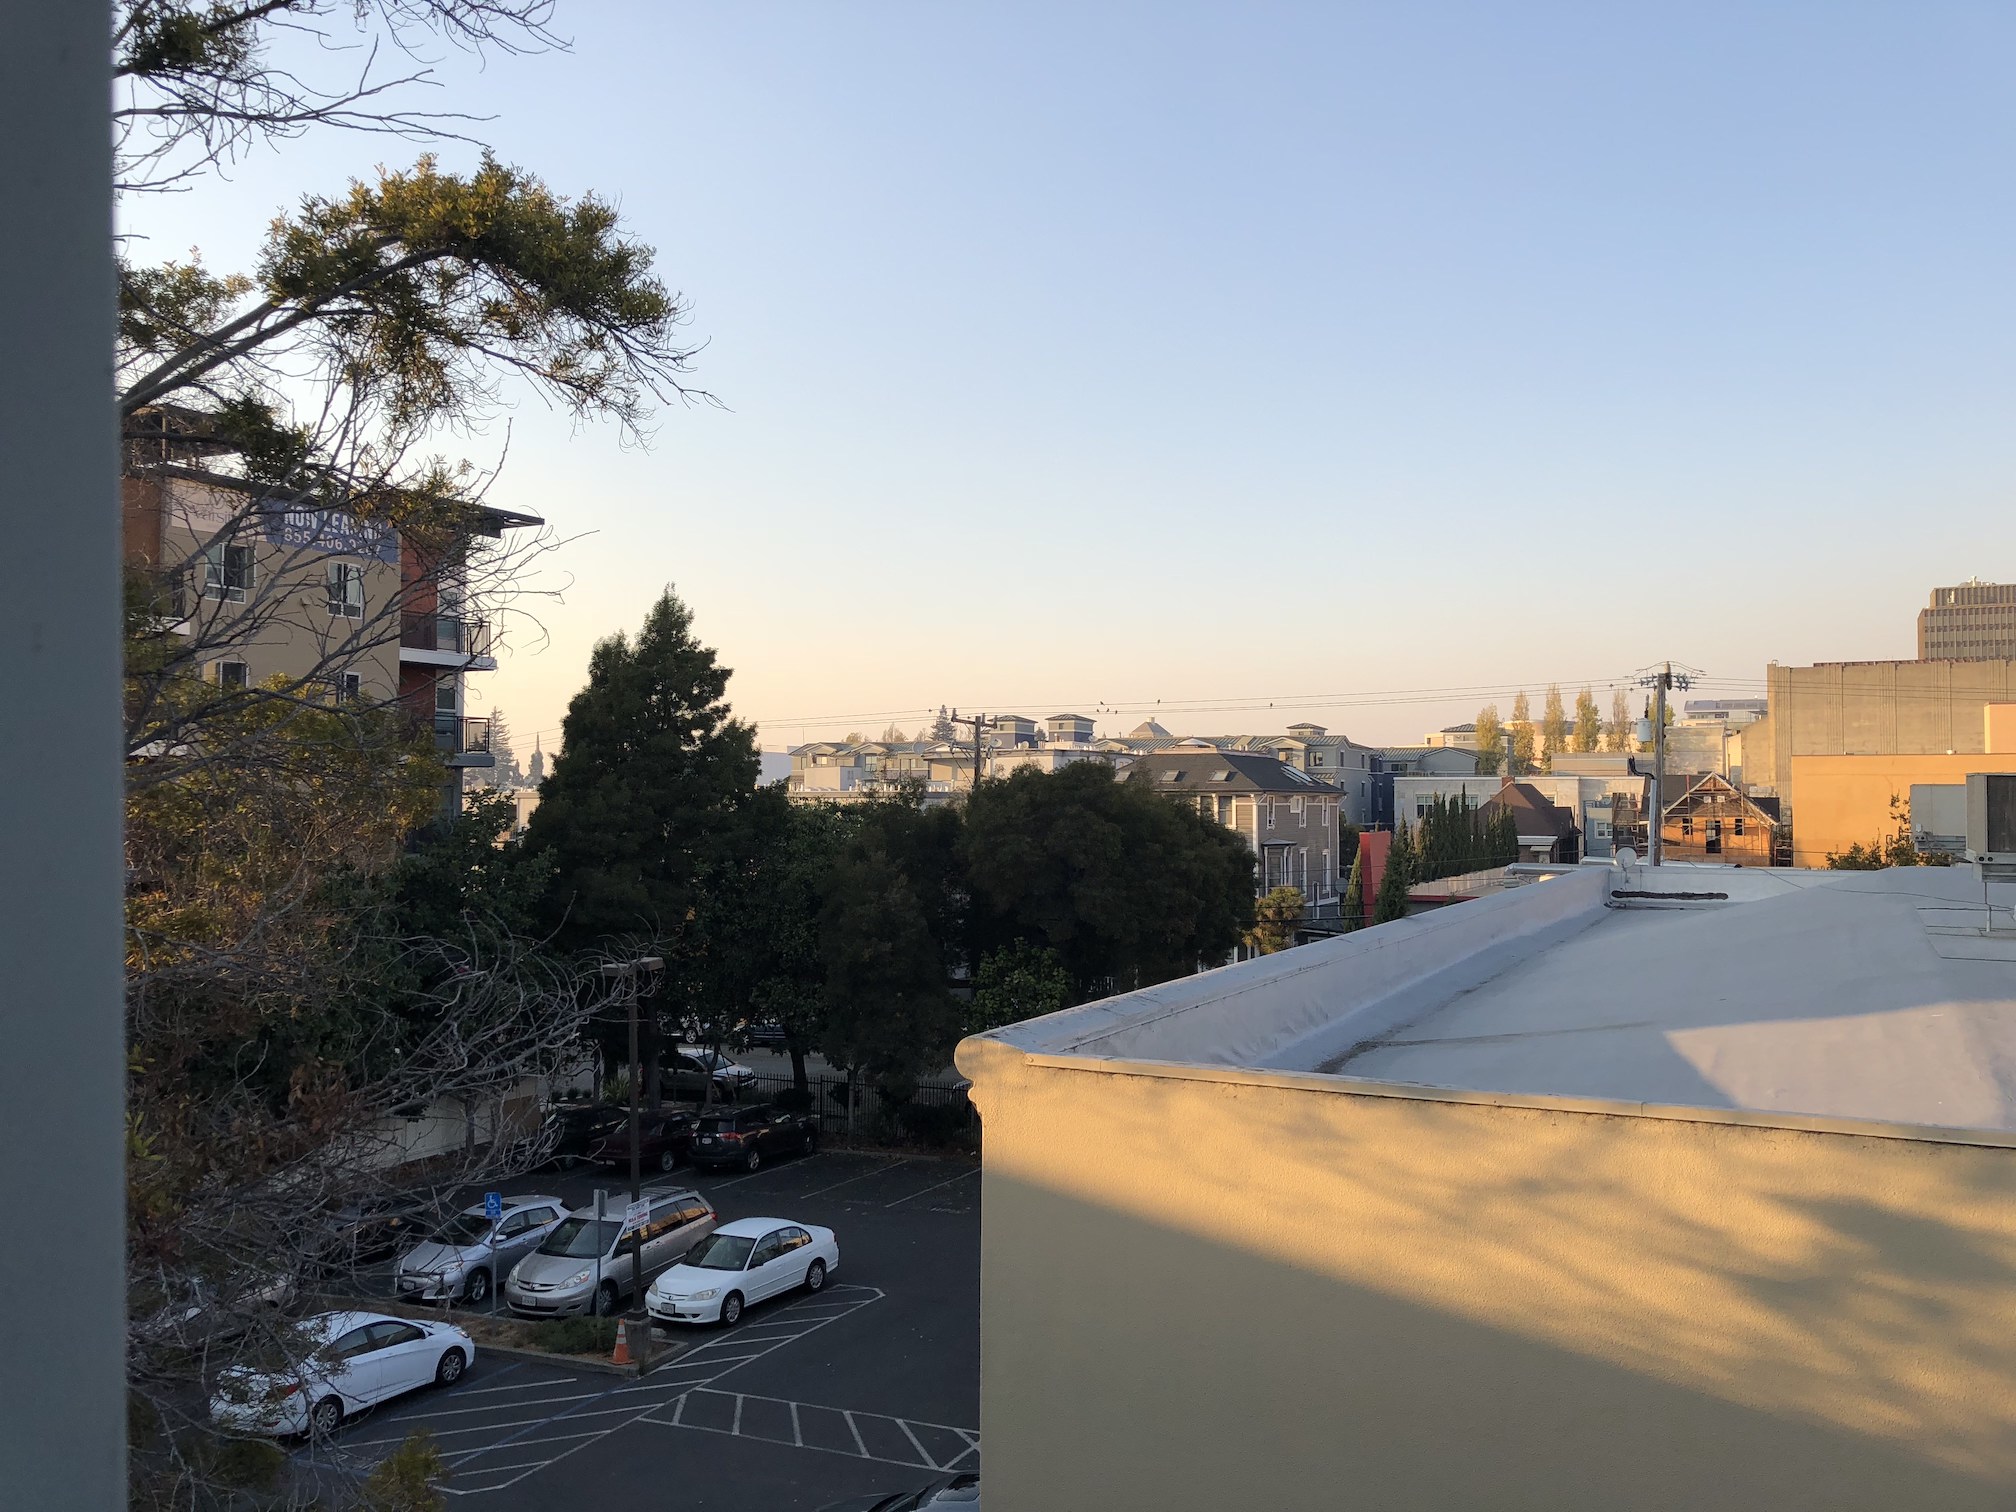
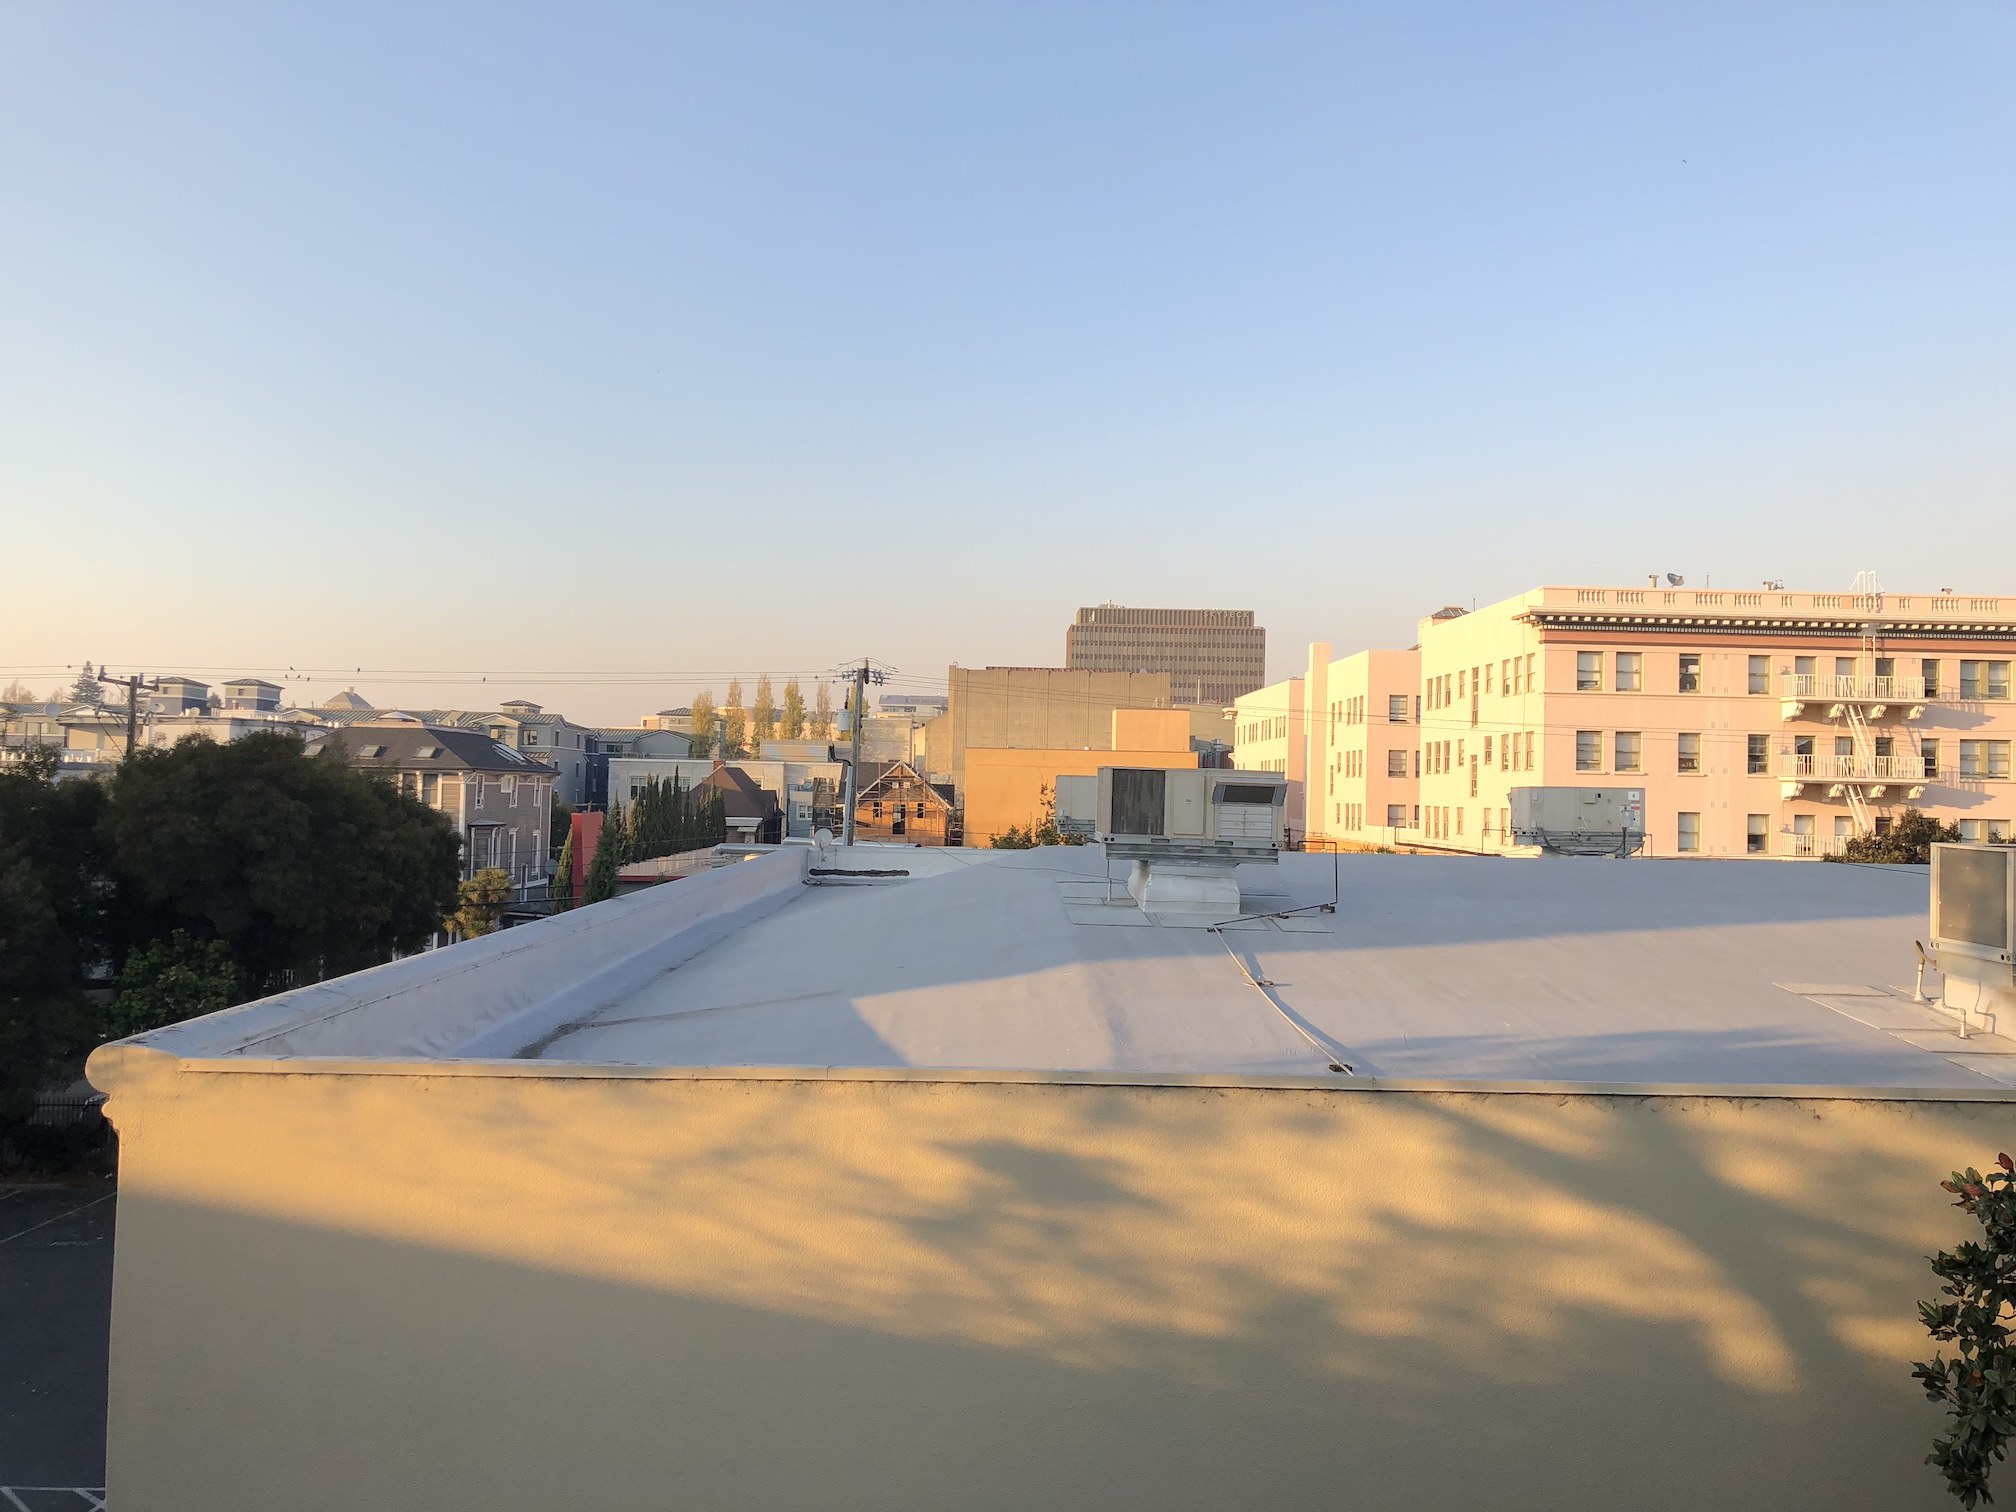
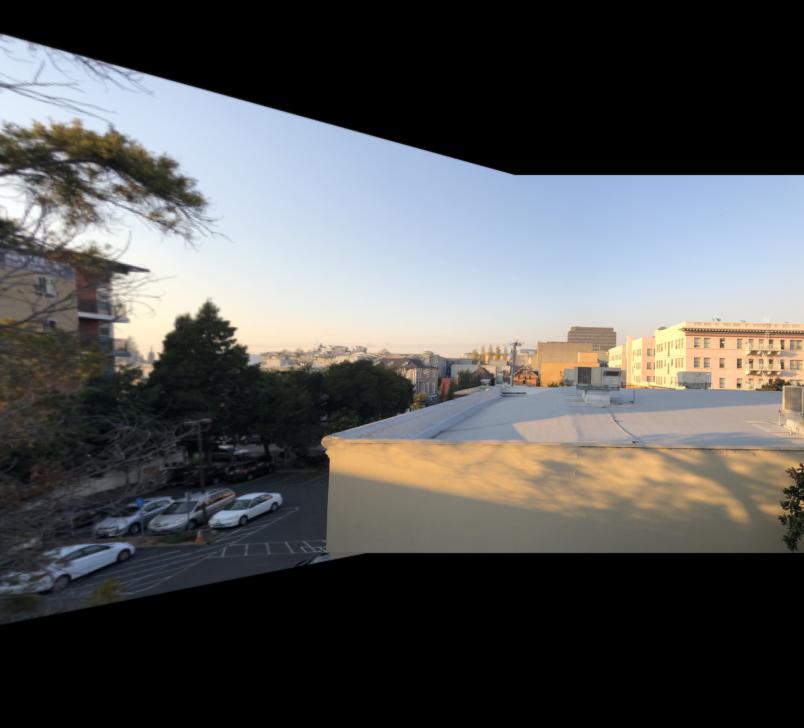
 Here are the original images of the sunset from my apartment and the mosaic!
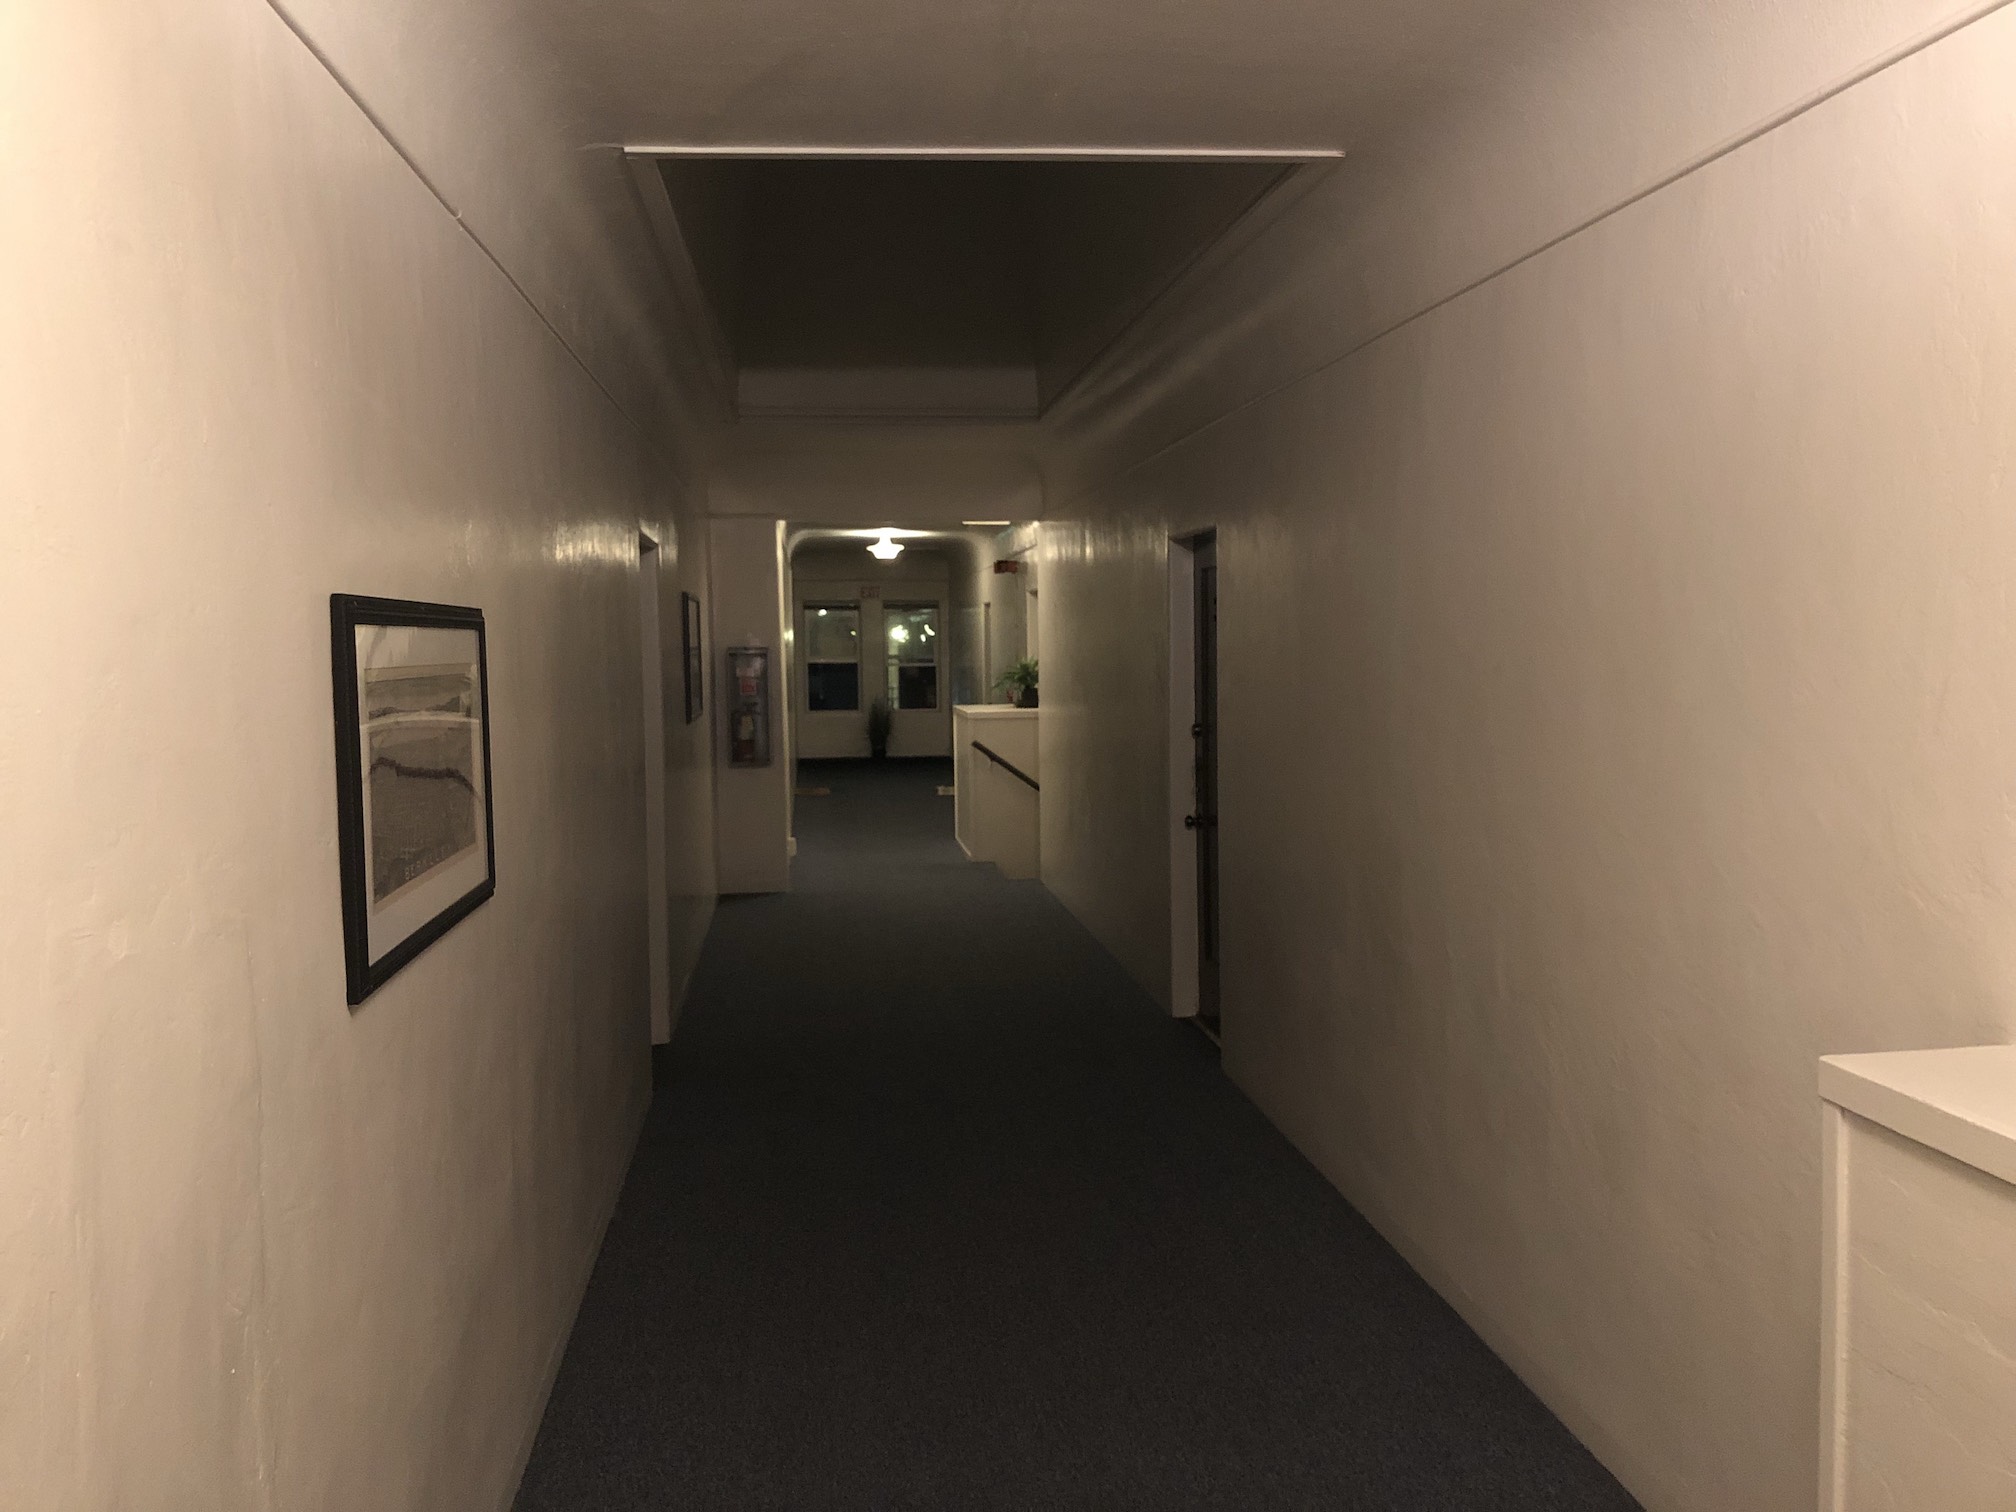
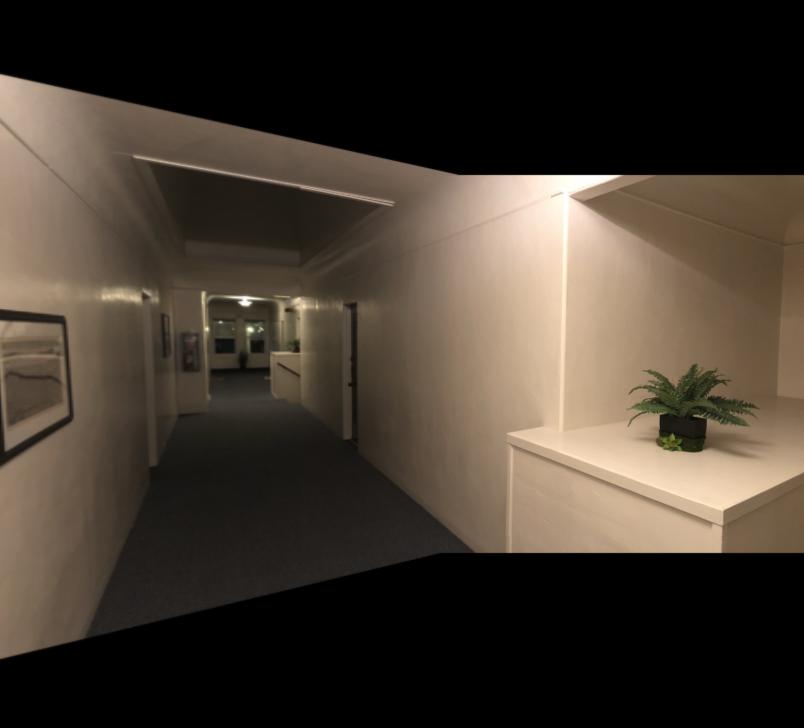
 Here are the original images of my apartments hallway and the mosaic!
Coolest Thing I Learned
The coolest thing I learned from this part is the power of homographies. It is amazing how you
can look at things with a different perspective that you might not have been able to see before.
For example, using my rug picture above, it is amazing how you can use this, with interpolation,
to see it in a completely new way; like you are standing above it without having to
actually do that.