The fundamental basis of this part of the project is to get familiar with image warping how how it can be used
to stitch together a familiar concept: panoramas. In order to do so we will be using homographies to warp our images into
the correct perspective and then stich them together.
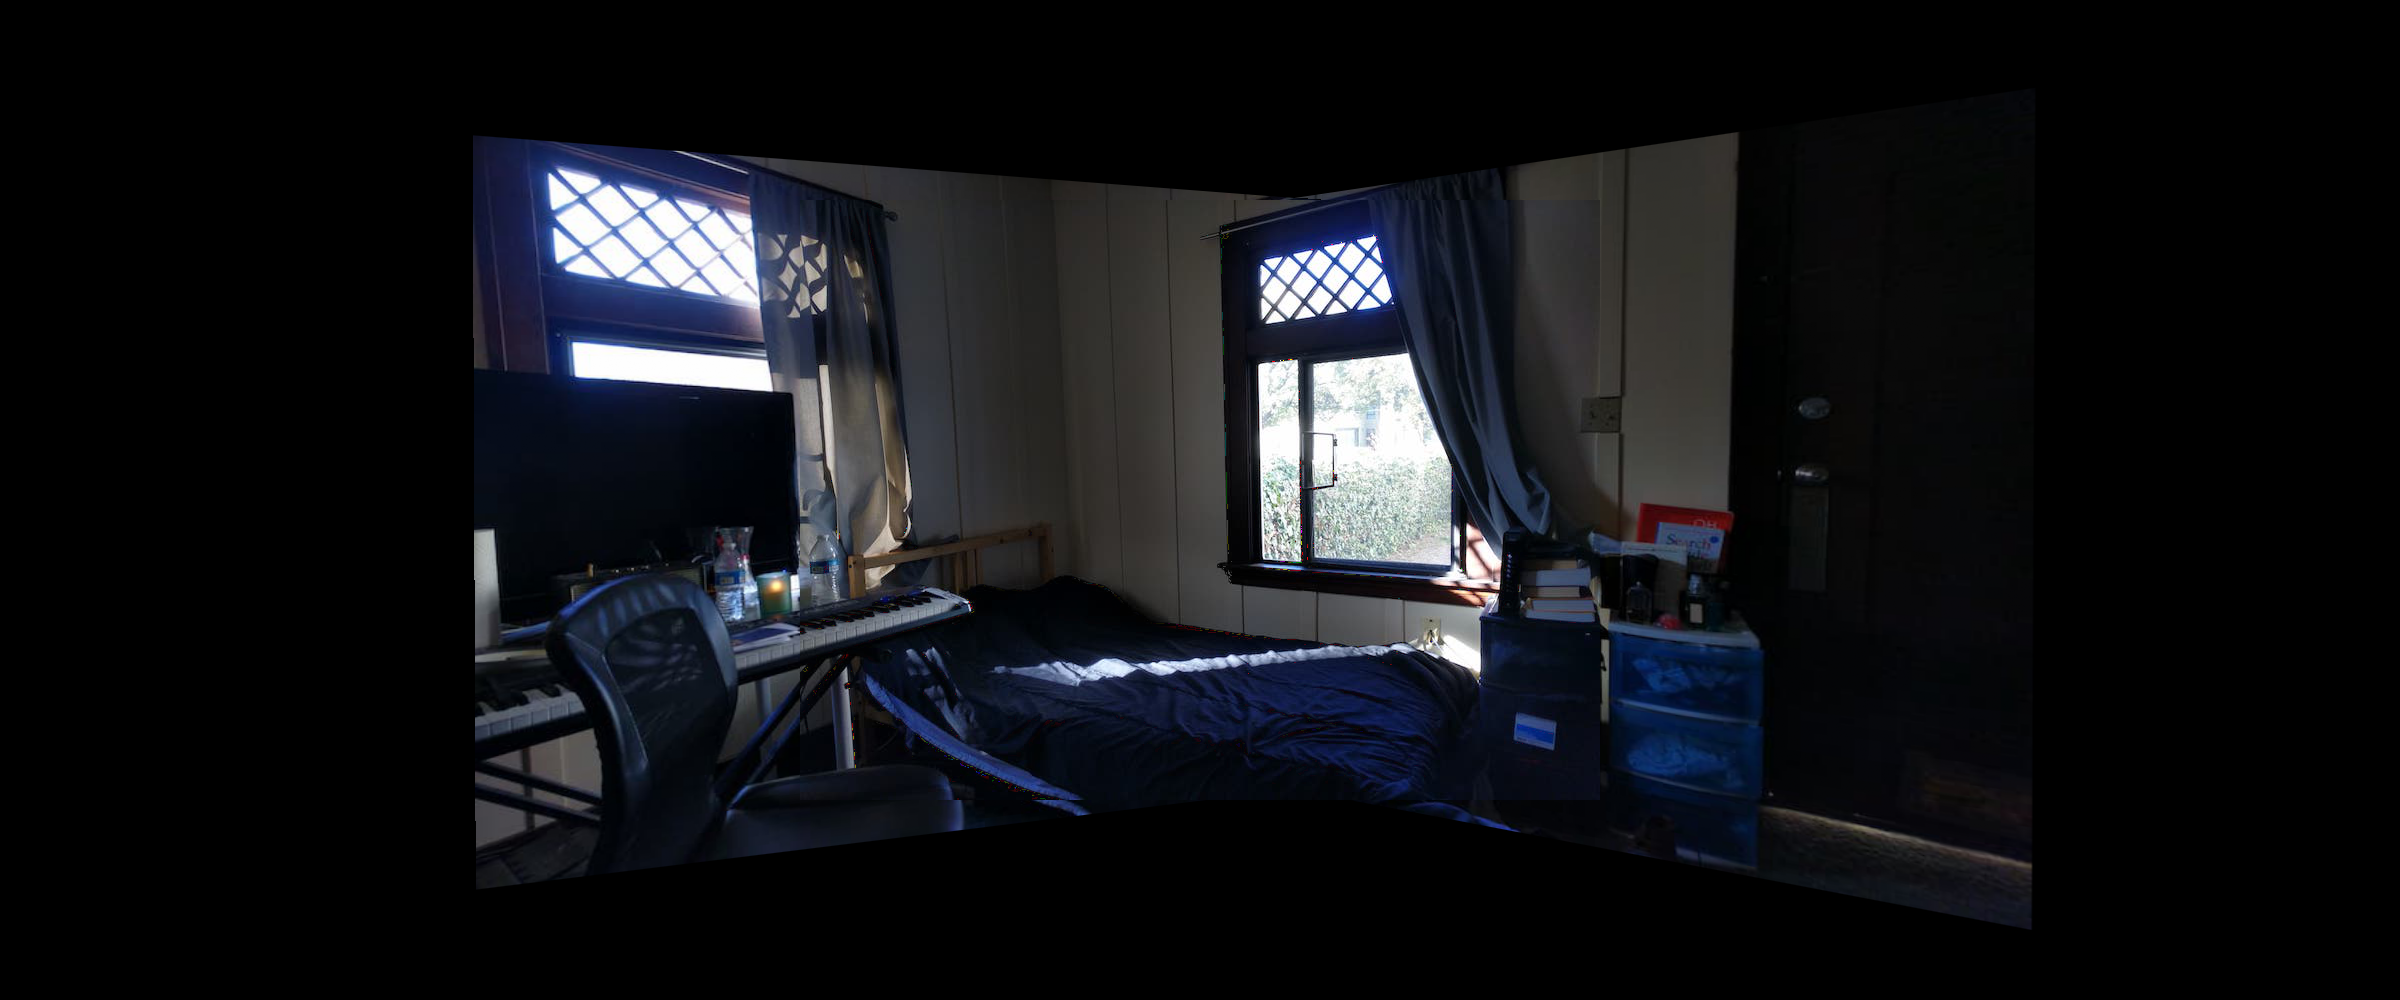
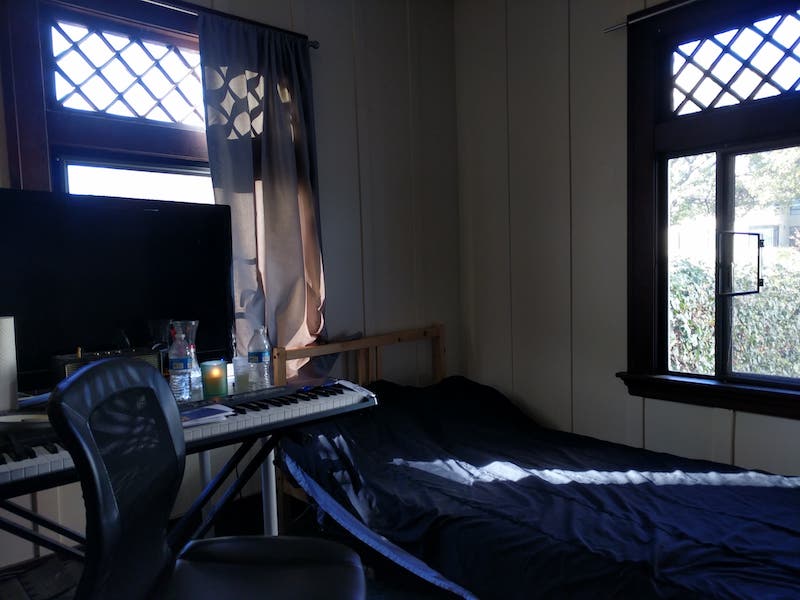
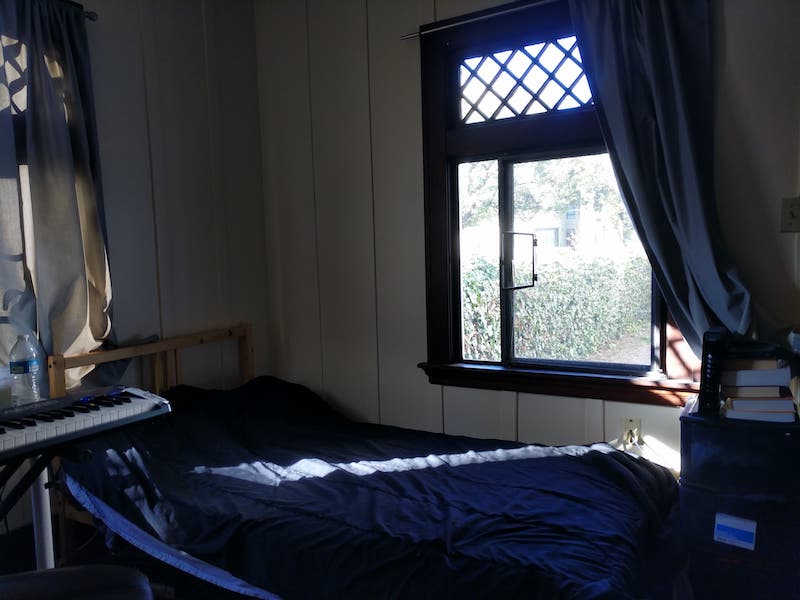
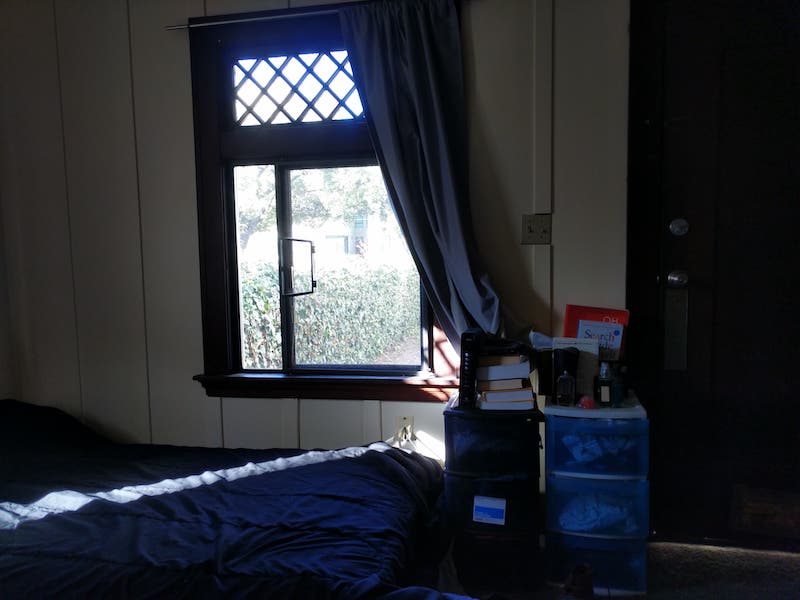
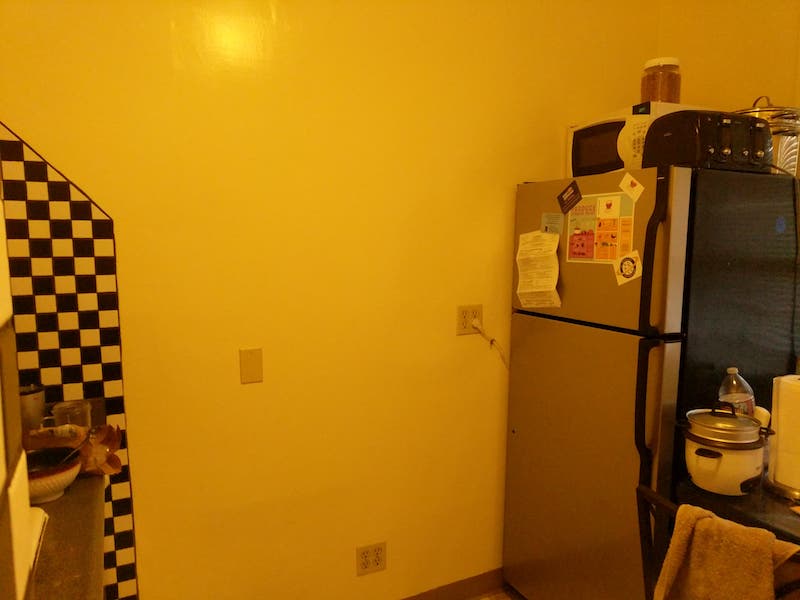
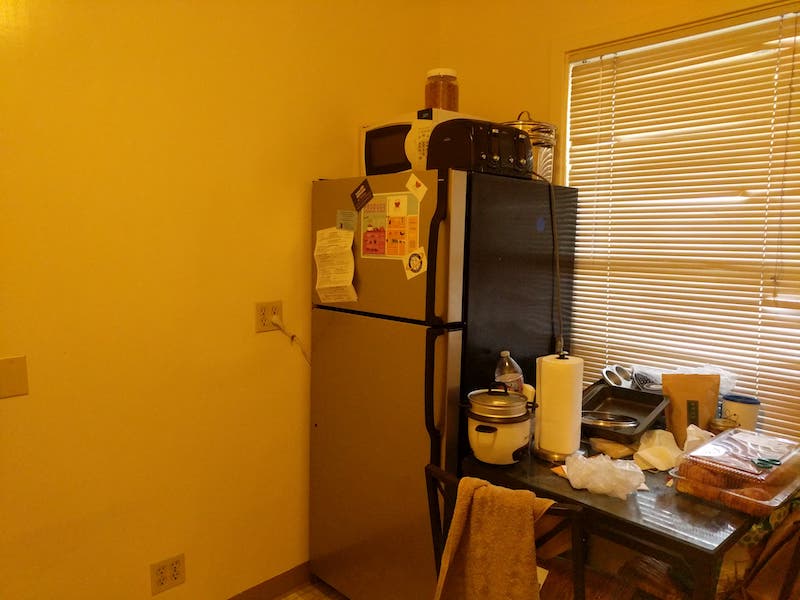
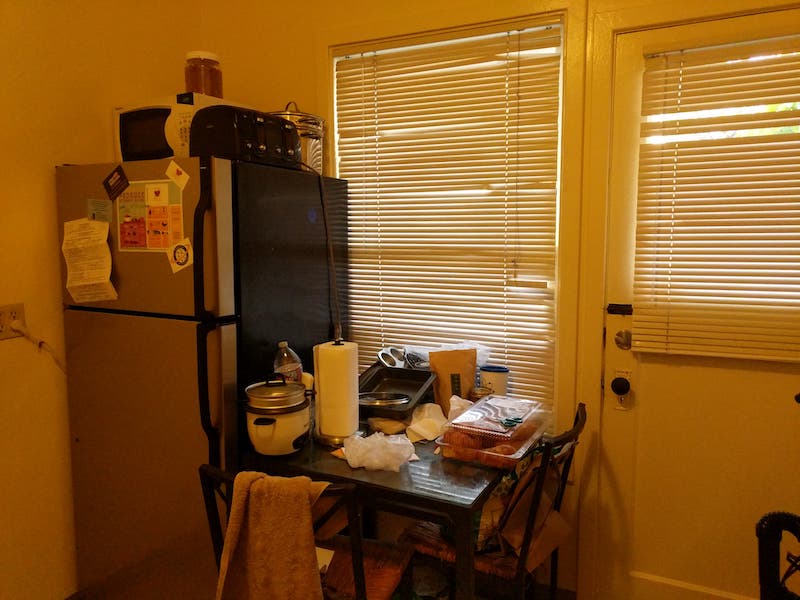
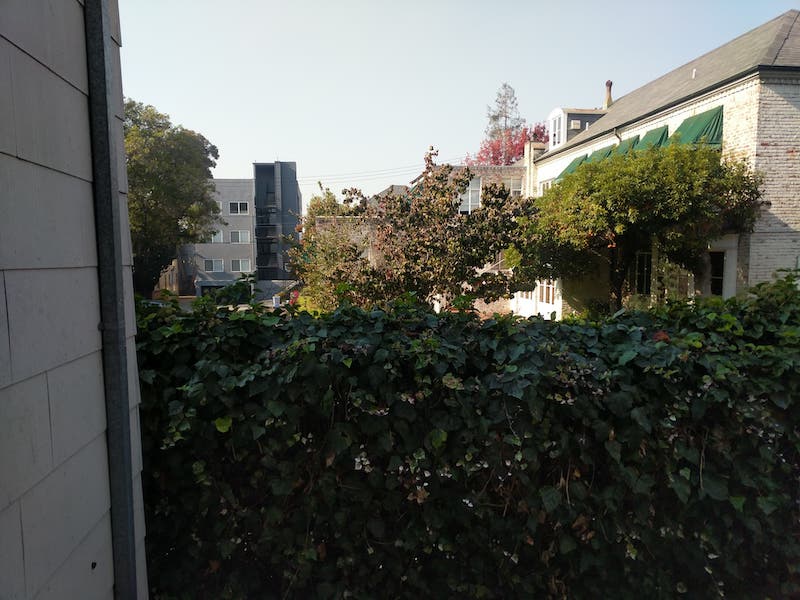
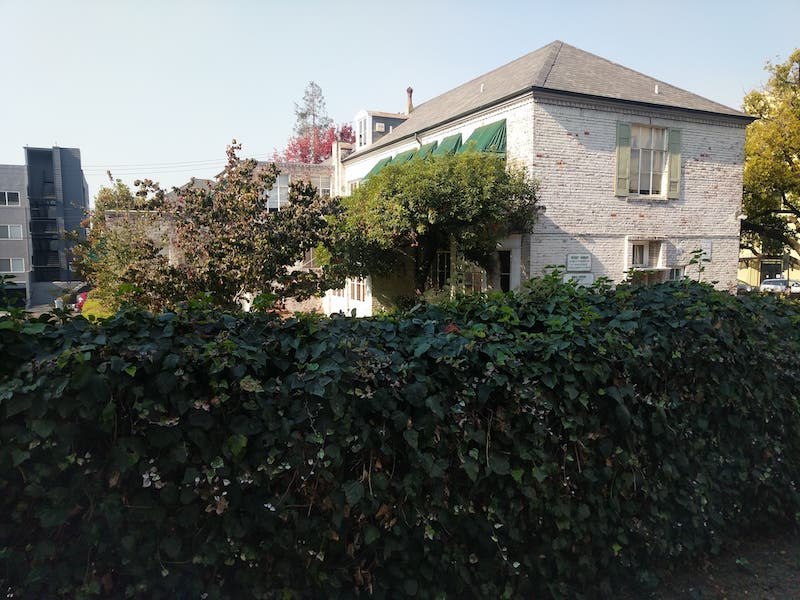
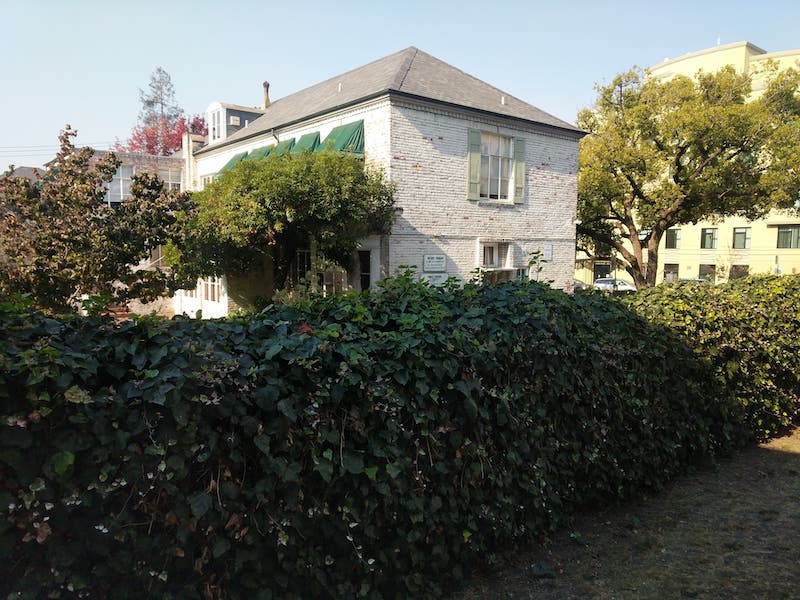
Here are the input images used:
Similar to face warping we must find a matrix that transforms one set of points to another.
This way, we can define correspondence points manually on our photos to stich them together as well
as adjust the perspective of the photos to form a "seamless" panorama. This can be solved be setting up
a system of linear equations solving for a 3x3 matrix with the right most bottom value set to 1.
With our homography 3x3 matrix, we can now transform each pixel in the image. In this case, we follow the same
method of inverse warping that we used in face warping. This way we can use interp2d to fill in any of the stretched out pixels
since the perspective of the image is changing.
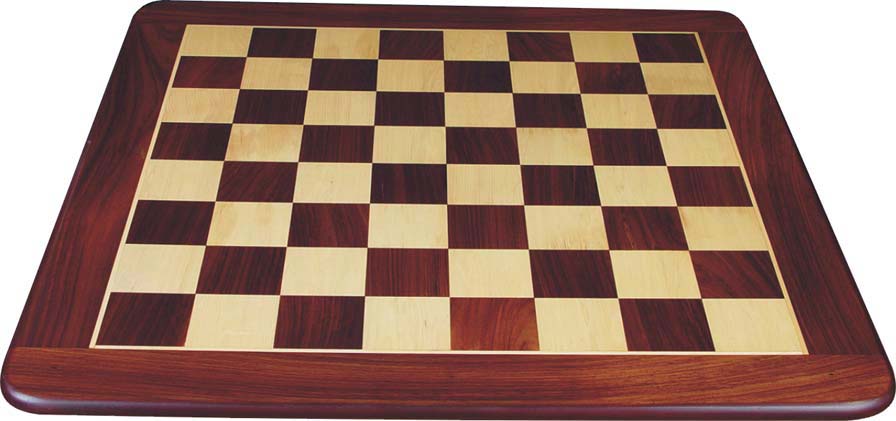
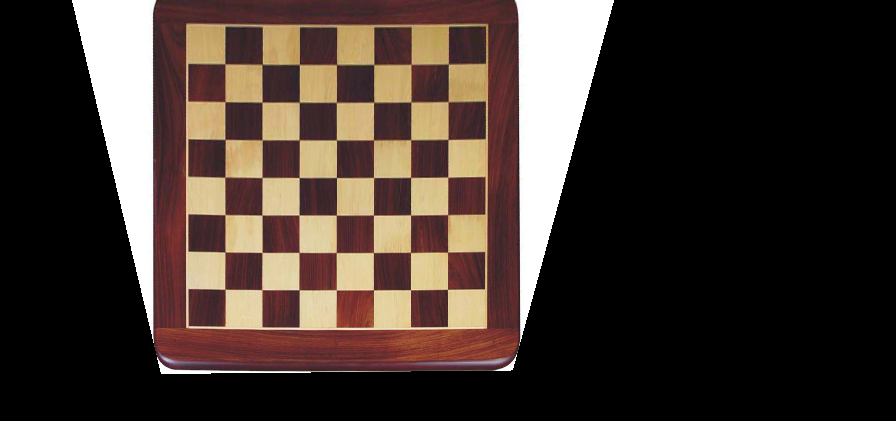
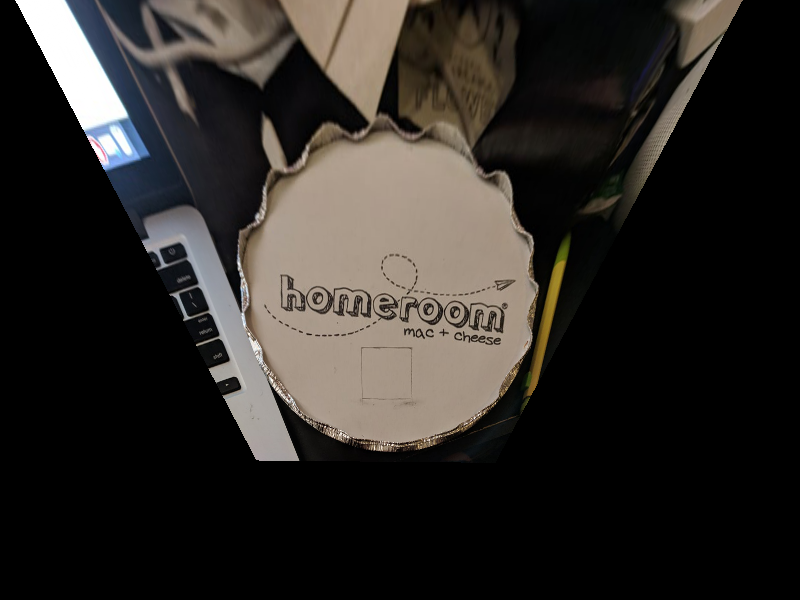
As a first step to show our warping abilities we can rectify images at an angle. In this case we start with an easy example,
as chessboard which clearly should be a square. We also just assume a square when setting the points for the image and the user specifies
the pixel height of the intended square.
This part of the project was definitely incredibly interesting and super relevant to stuff
we do on a somewhat daily basis. Although what we did was very basic compared to modern panoramic systems
it was still neat to come out with results that didn't look too bad. After the face morphing and this project,
I'm really starting to see how powerful transformation matrices can be and the many applications of them. On top,
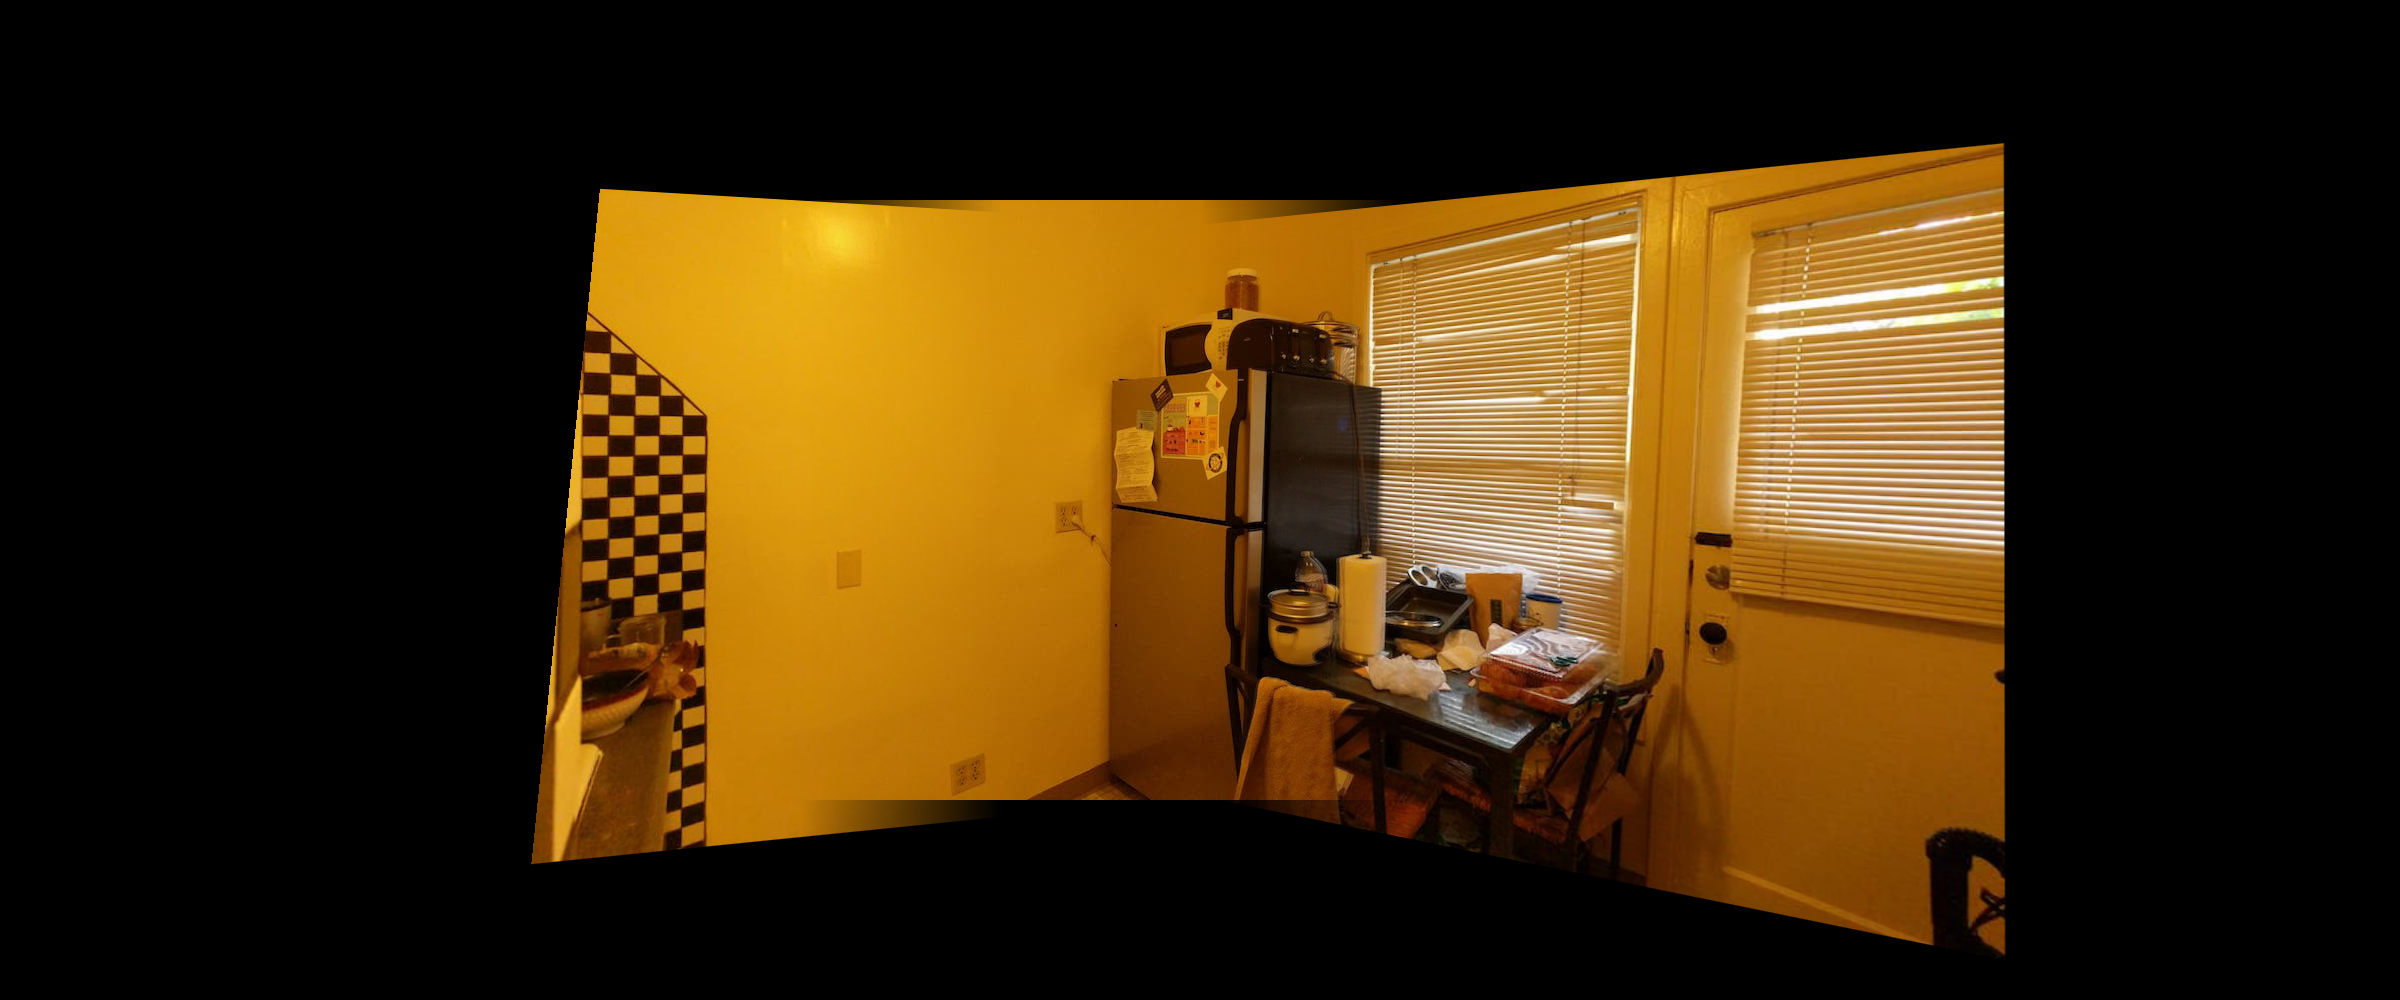
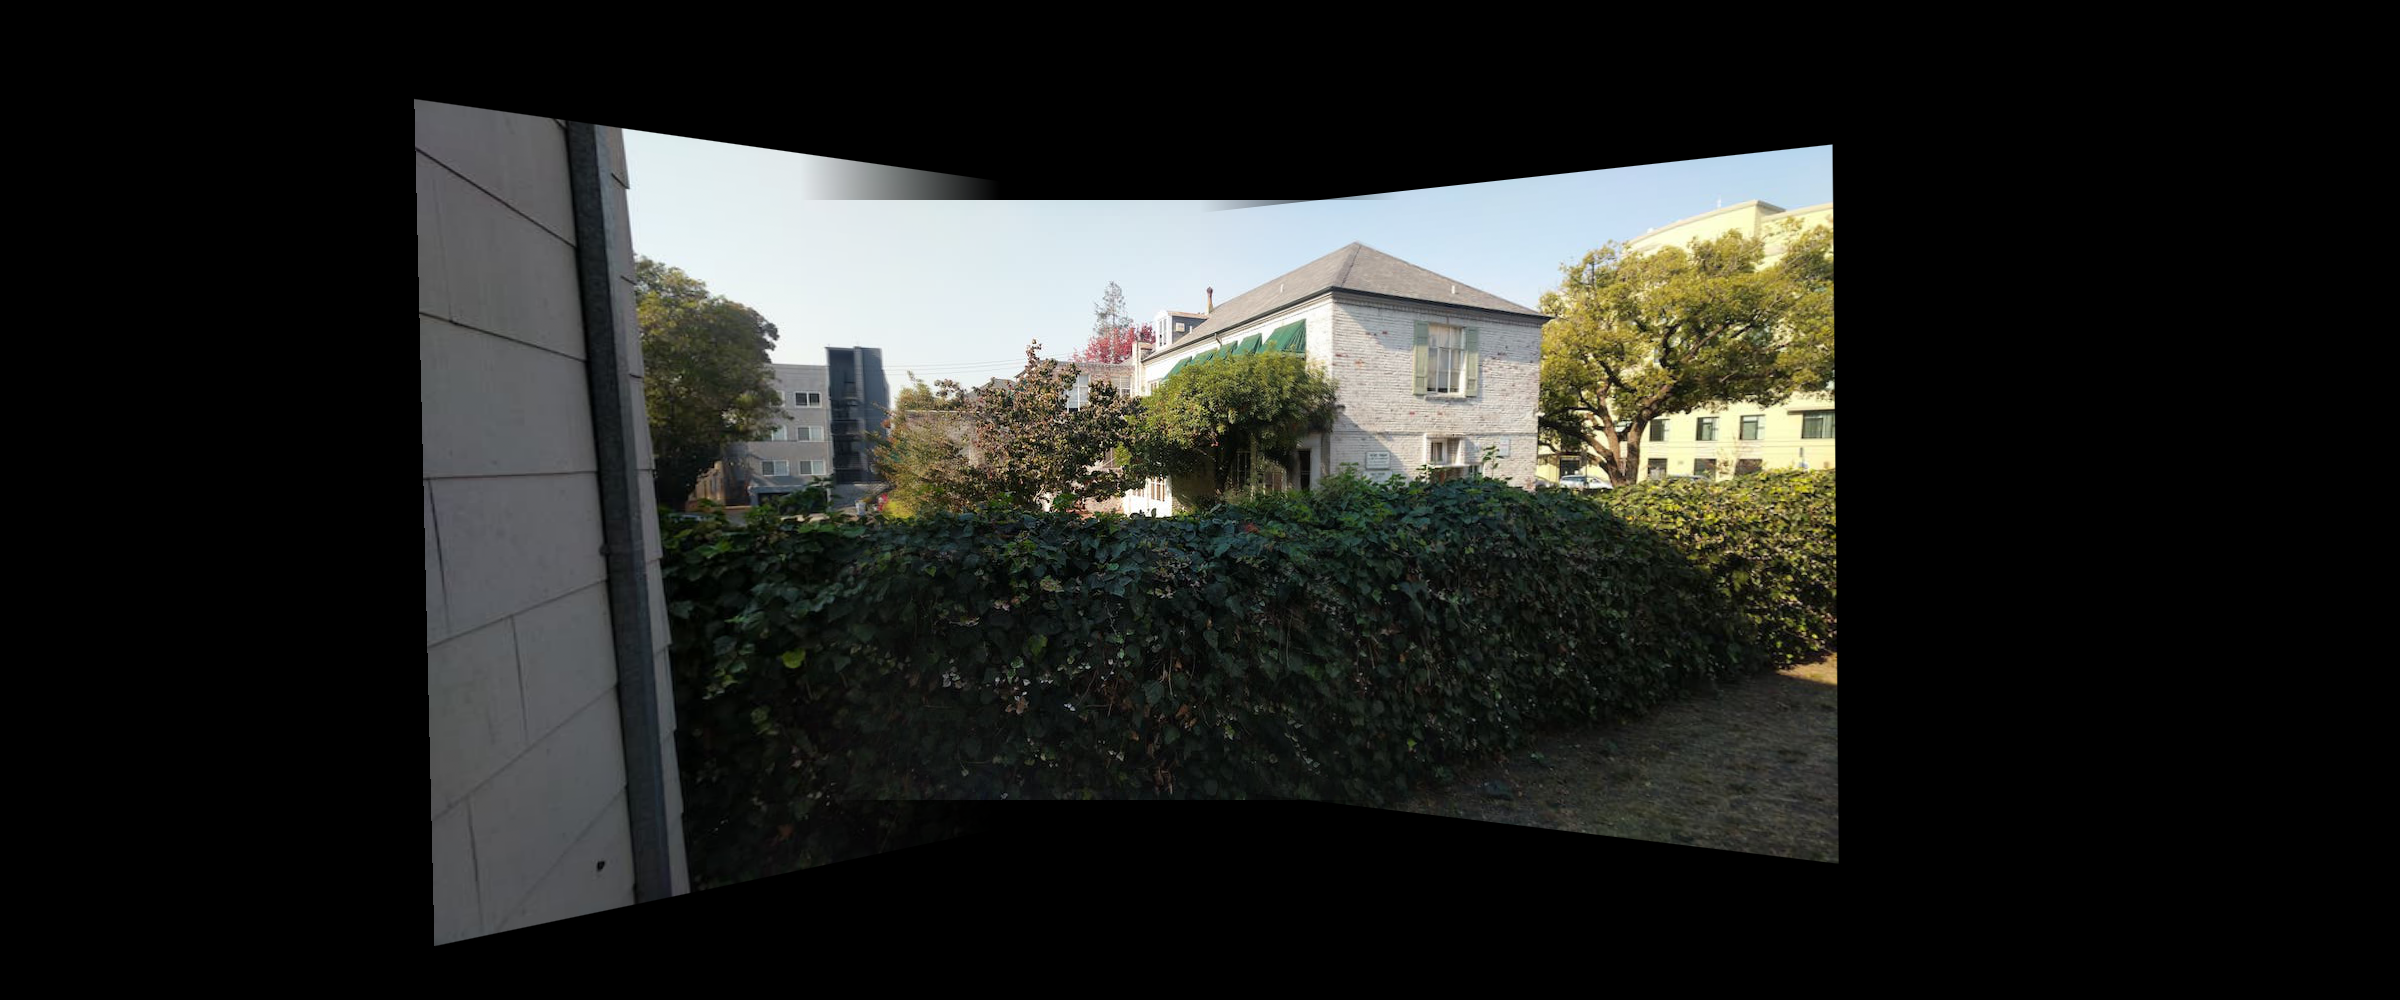
it's great to go back and use the blending techniques from early on in the semester. Here are a couple examples of no blending
and then blending. Notice the color changes at the cabinets and cut at the keyboard.