Project 6-1: Image Warping and Mosaics
Jose Chavez
cs194-26-adu
This is first part towards autostitching mosaics. In this portion, we will recover homographies from two different images and make sure that our image warping, rectification, and blending work well.
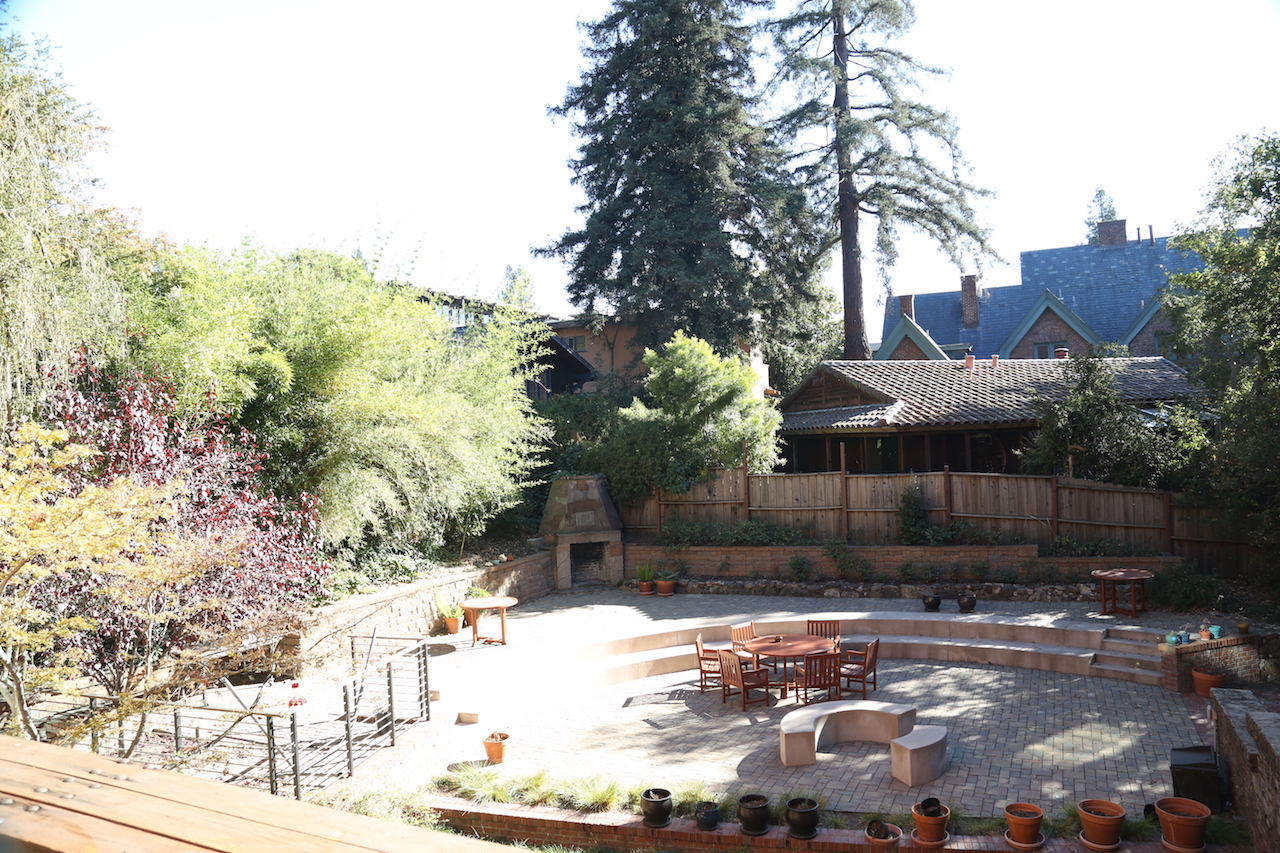
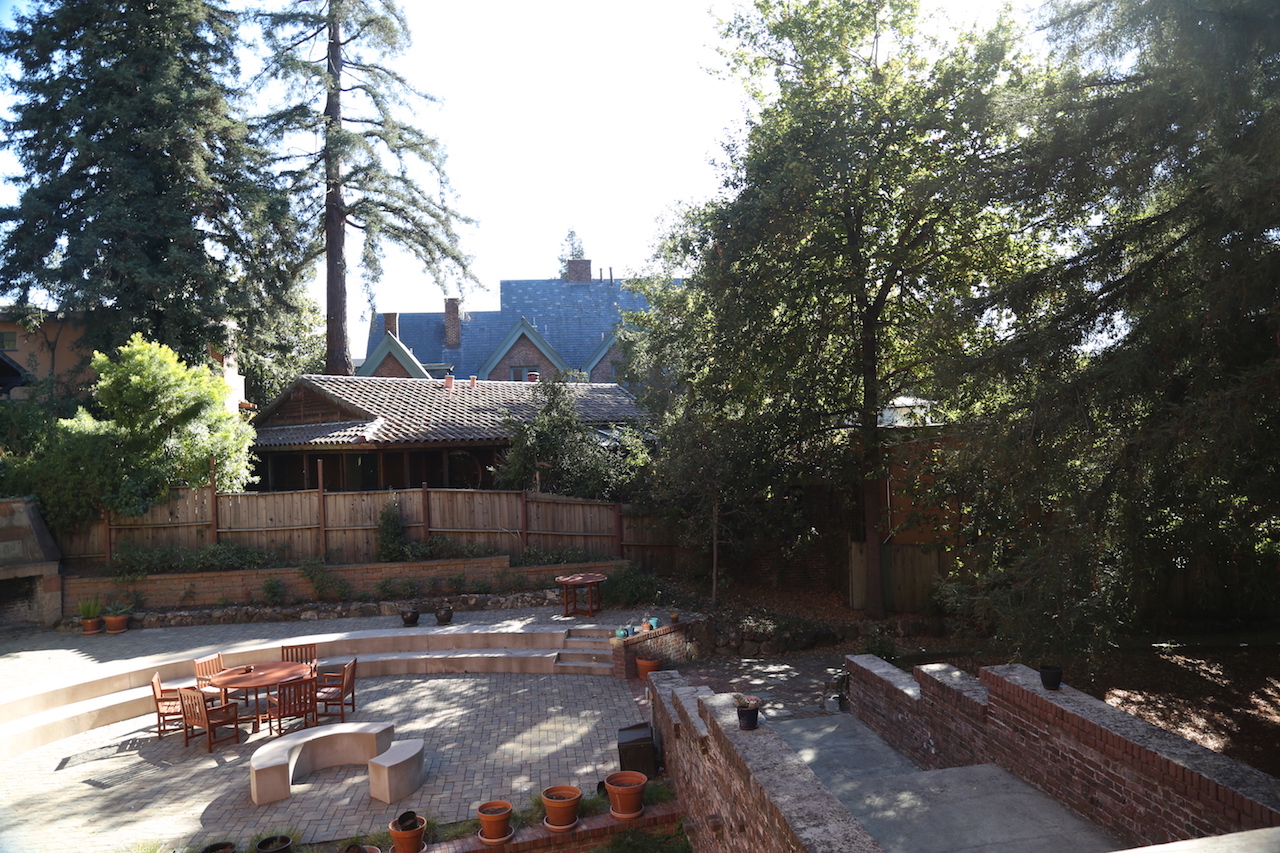
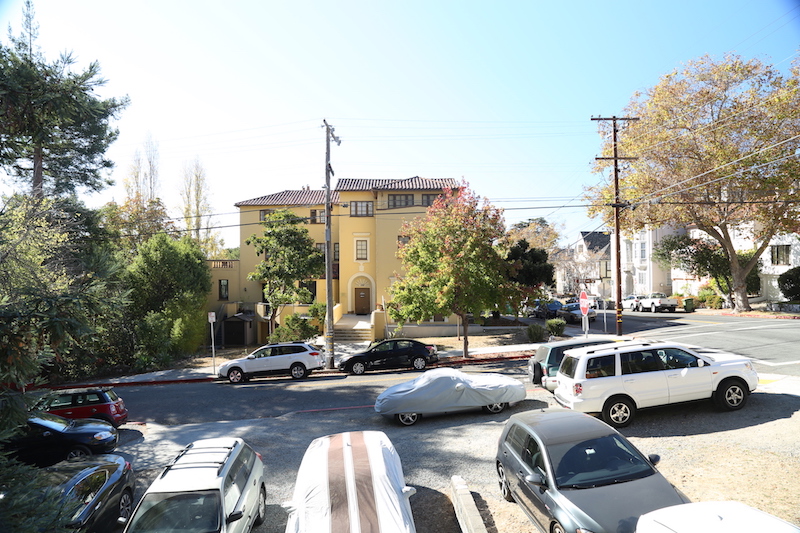
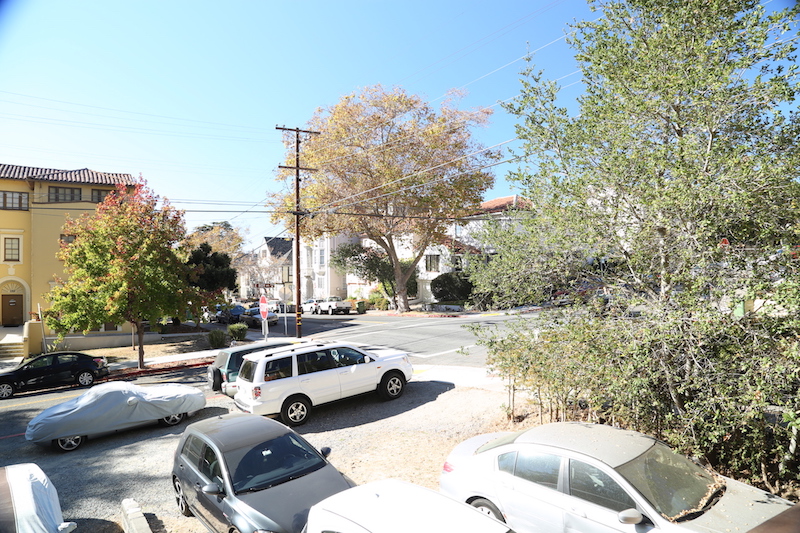
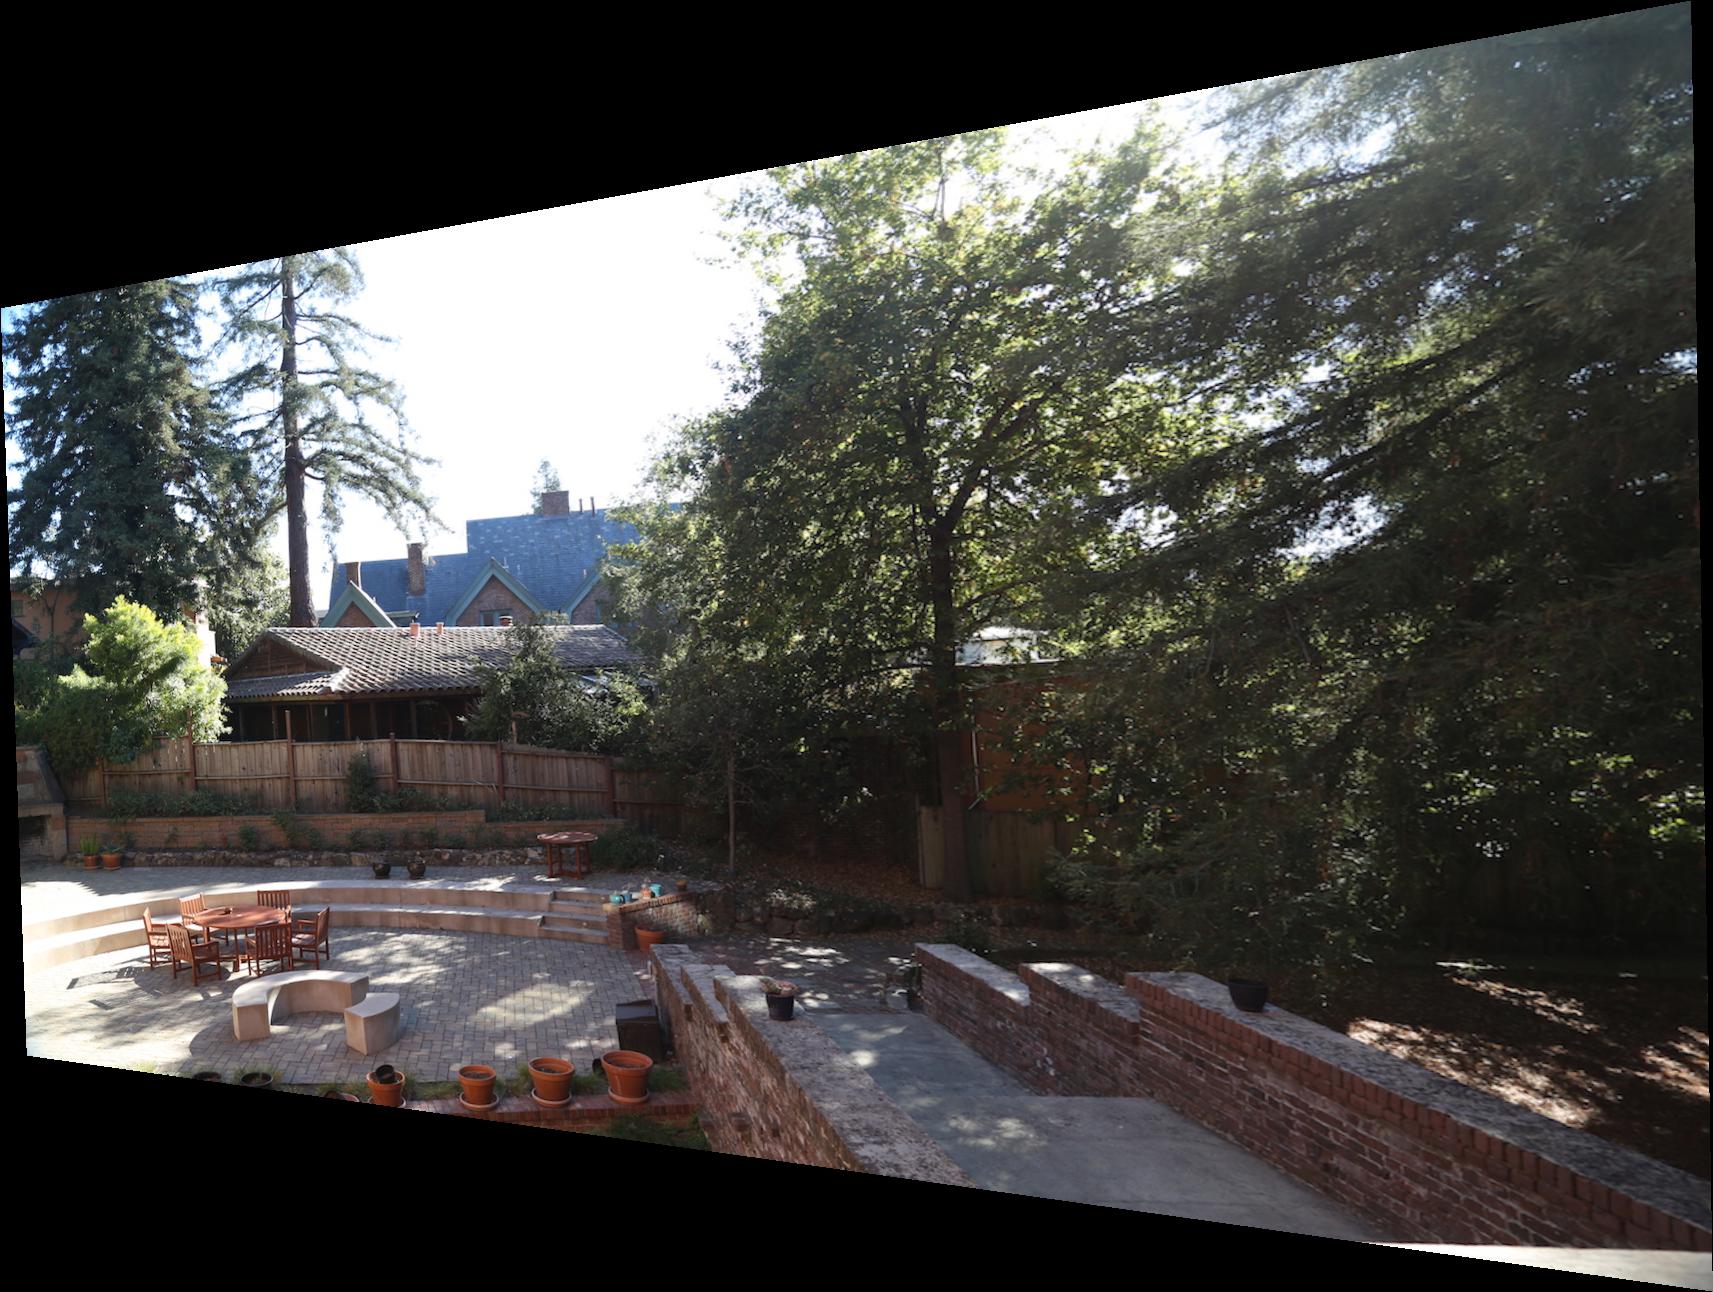
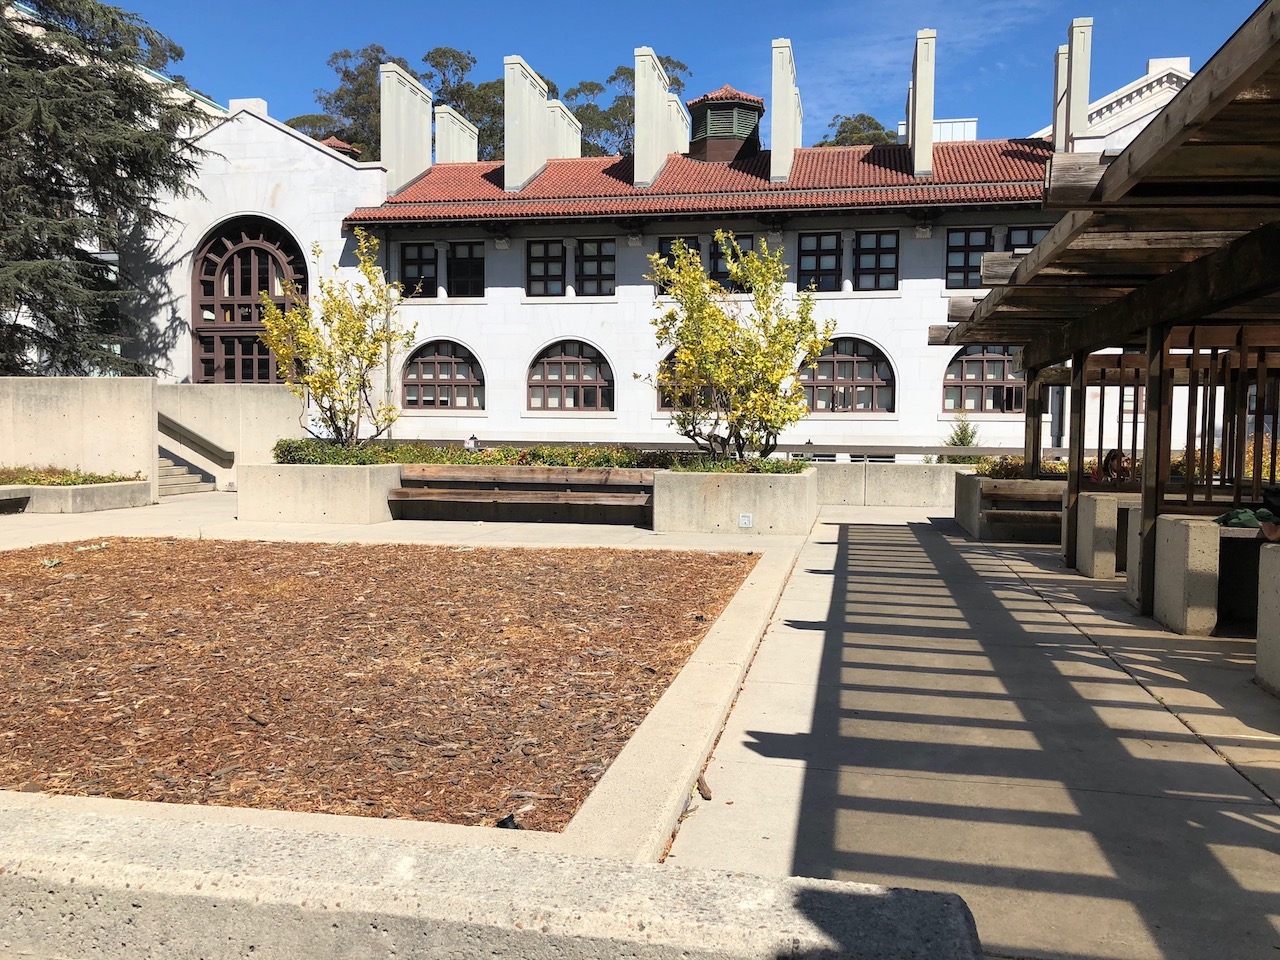
Shooting the Pictures
Recover Homographies
In order to able to warp the images and blend them, we must recover the homography between the two images. The homography is the transform between two projections, represented by 3x3 matrix, H. To find this matrix, we need 4 correspondance points, giving us 8 degrees of freedom. Our 4 correspondance points, represented by an (x, y) are being mapped to the correspondance points in the second image, (x', y'). Finding the transformation between a set of points p and another set of points p' comes down to setting up systems of equations and solving via least squares.
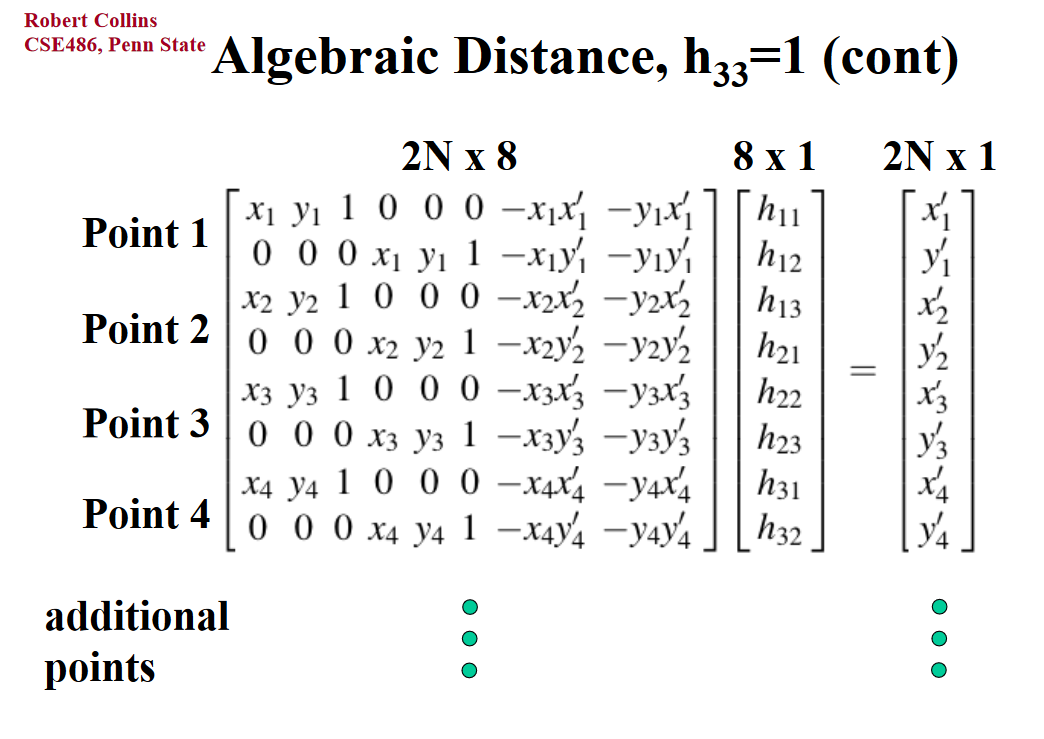 System of equation, least squares
|
Image Rectification and Warping
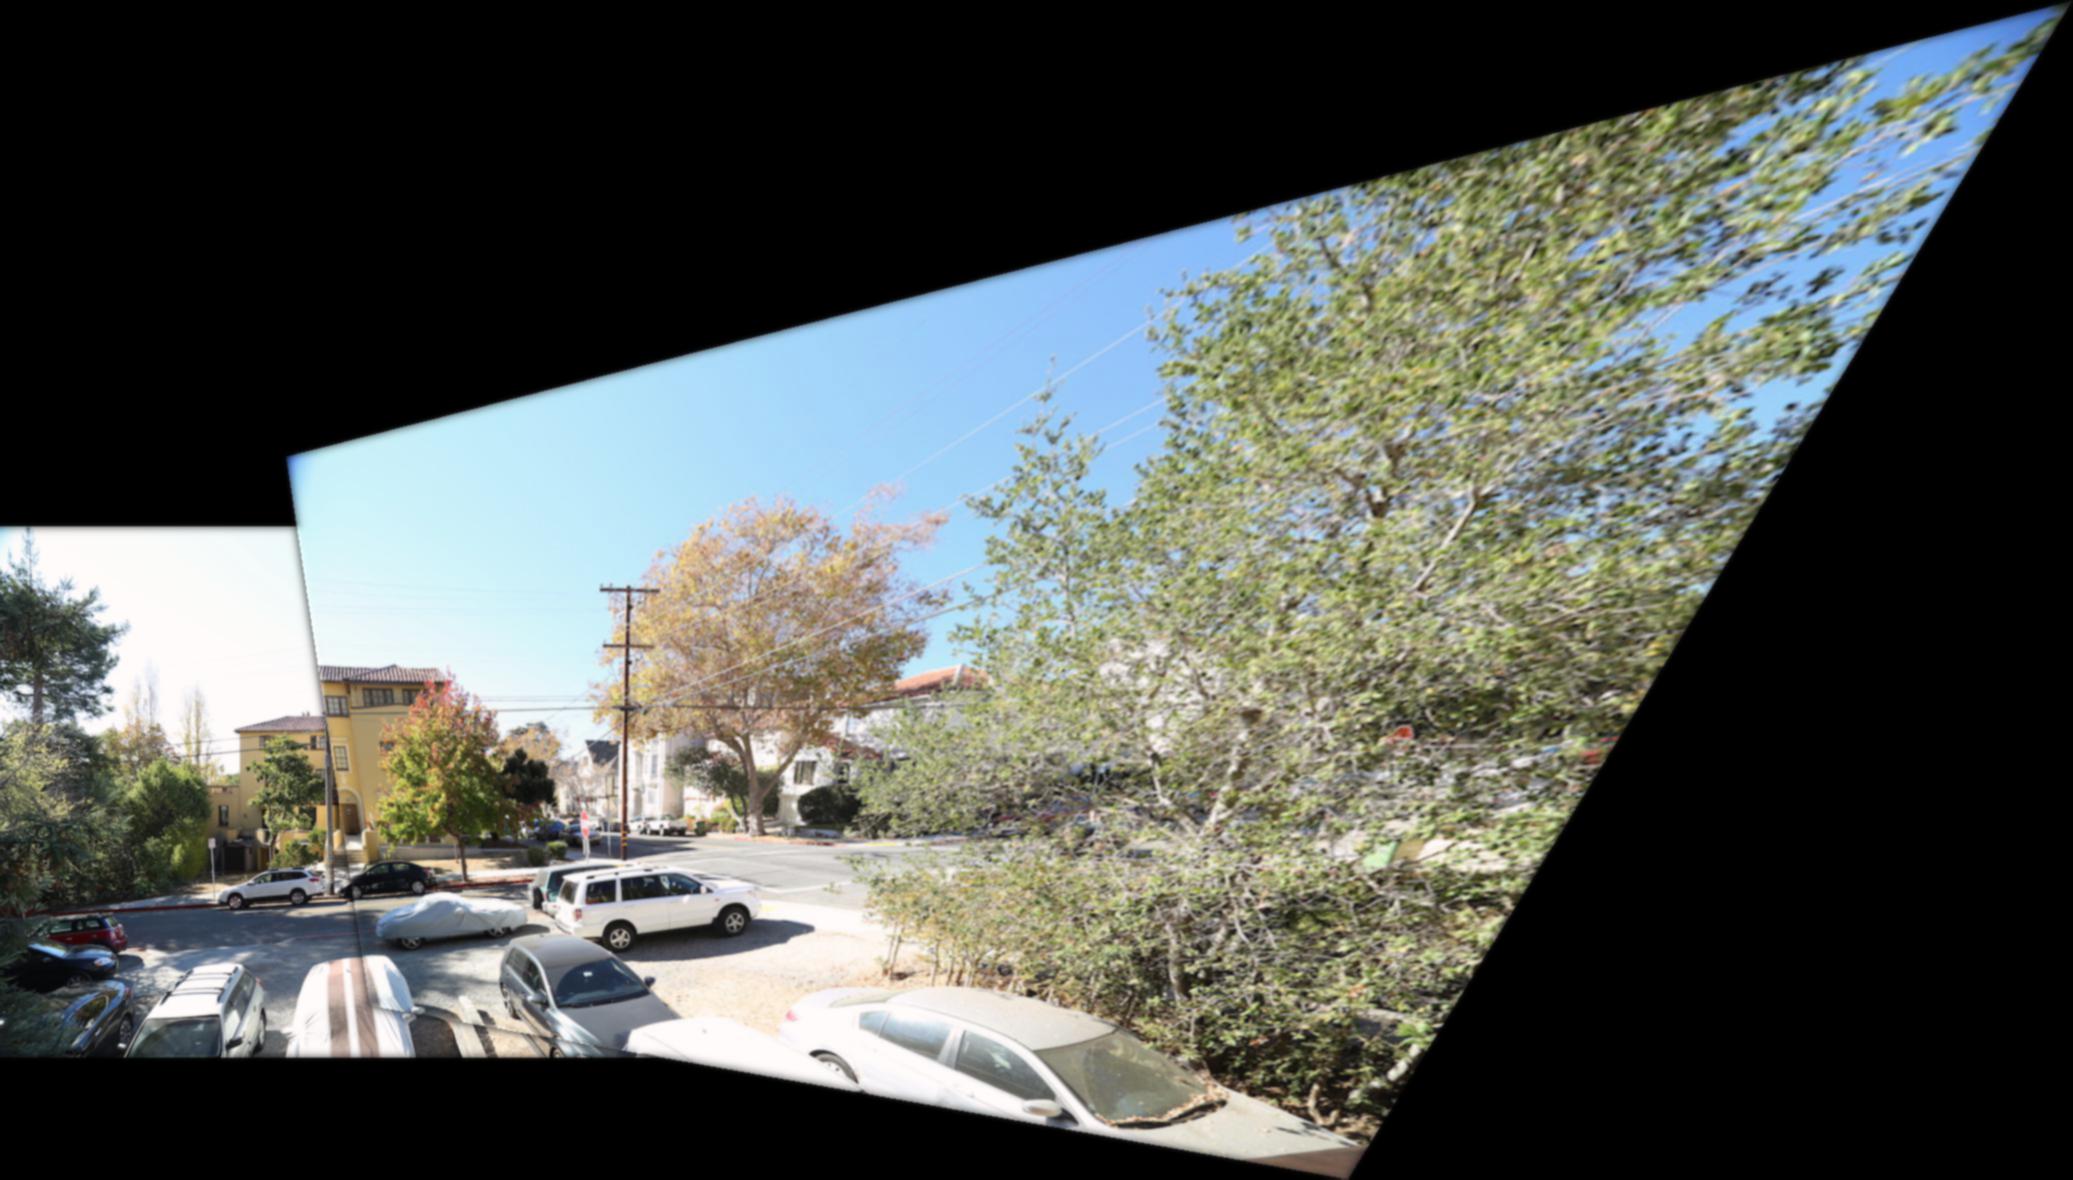
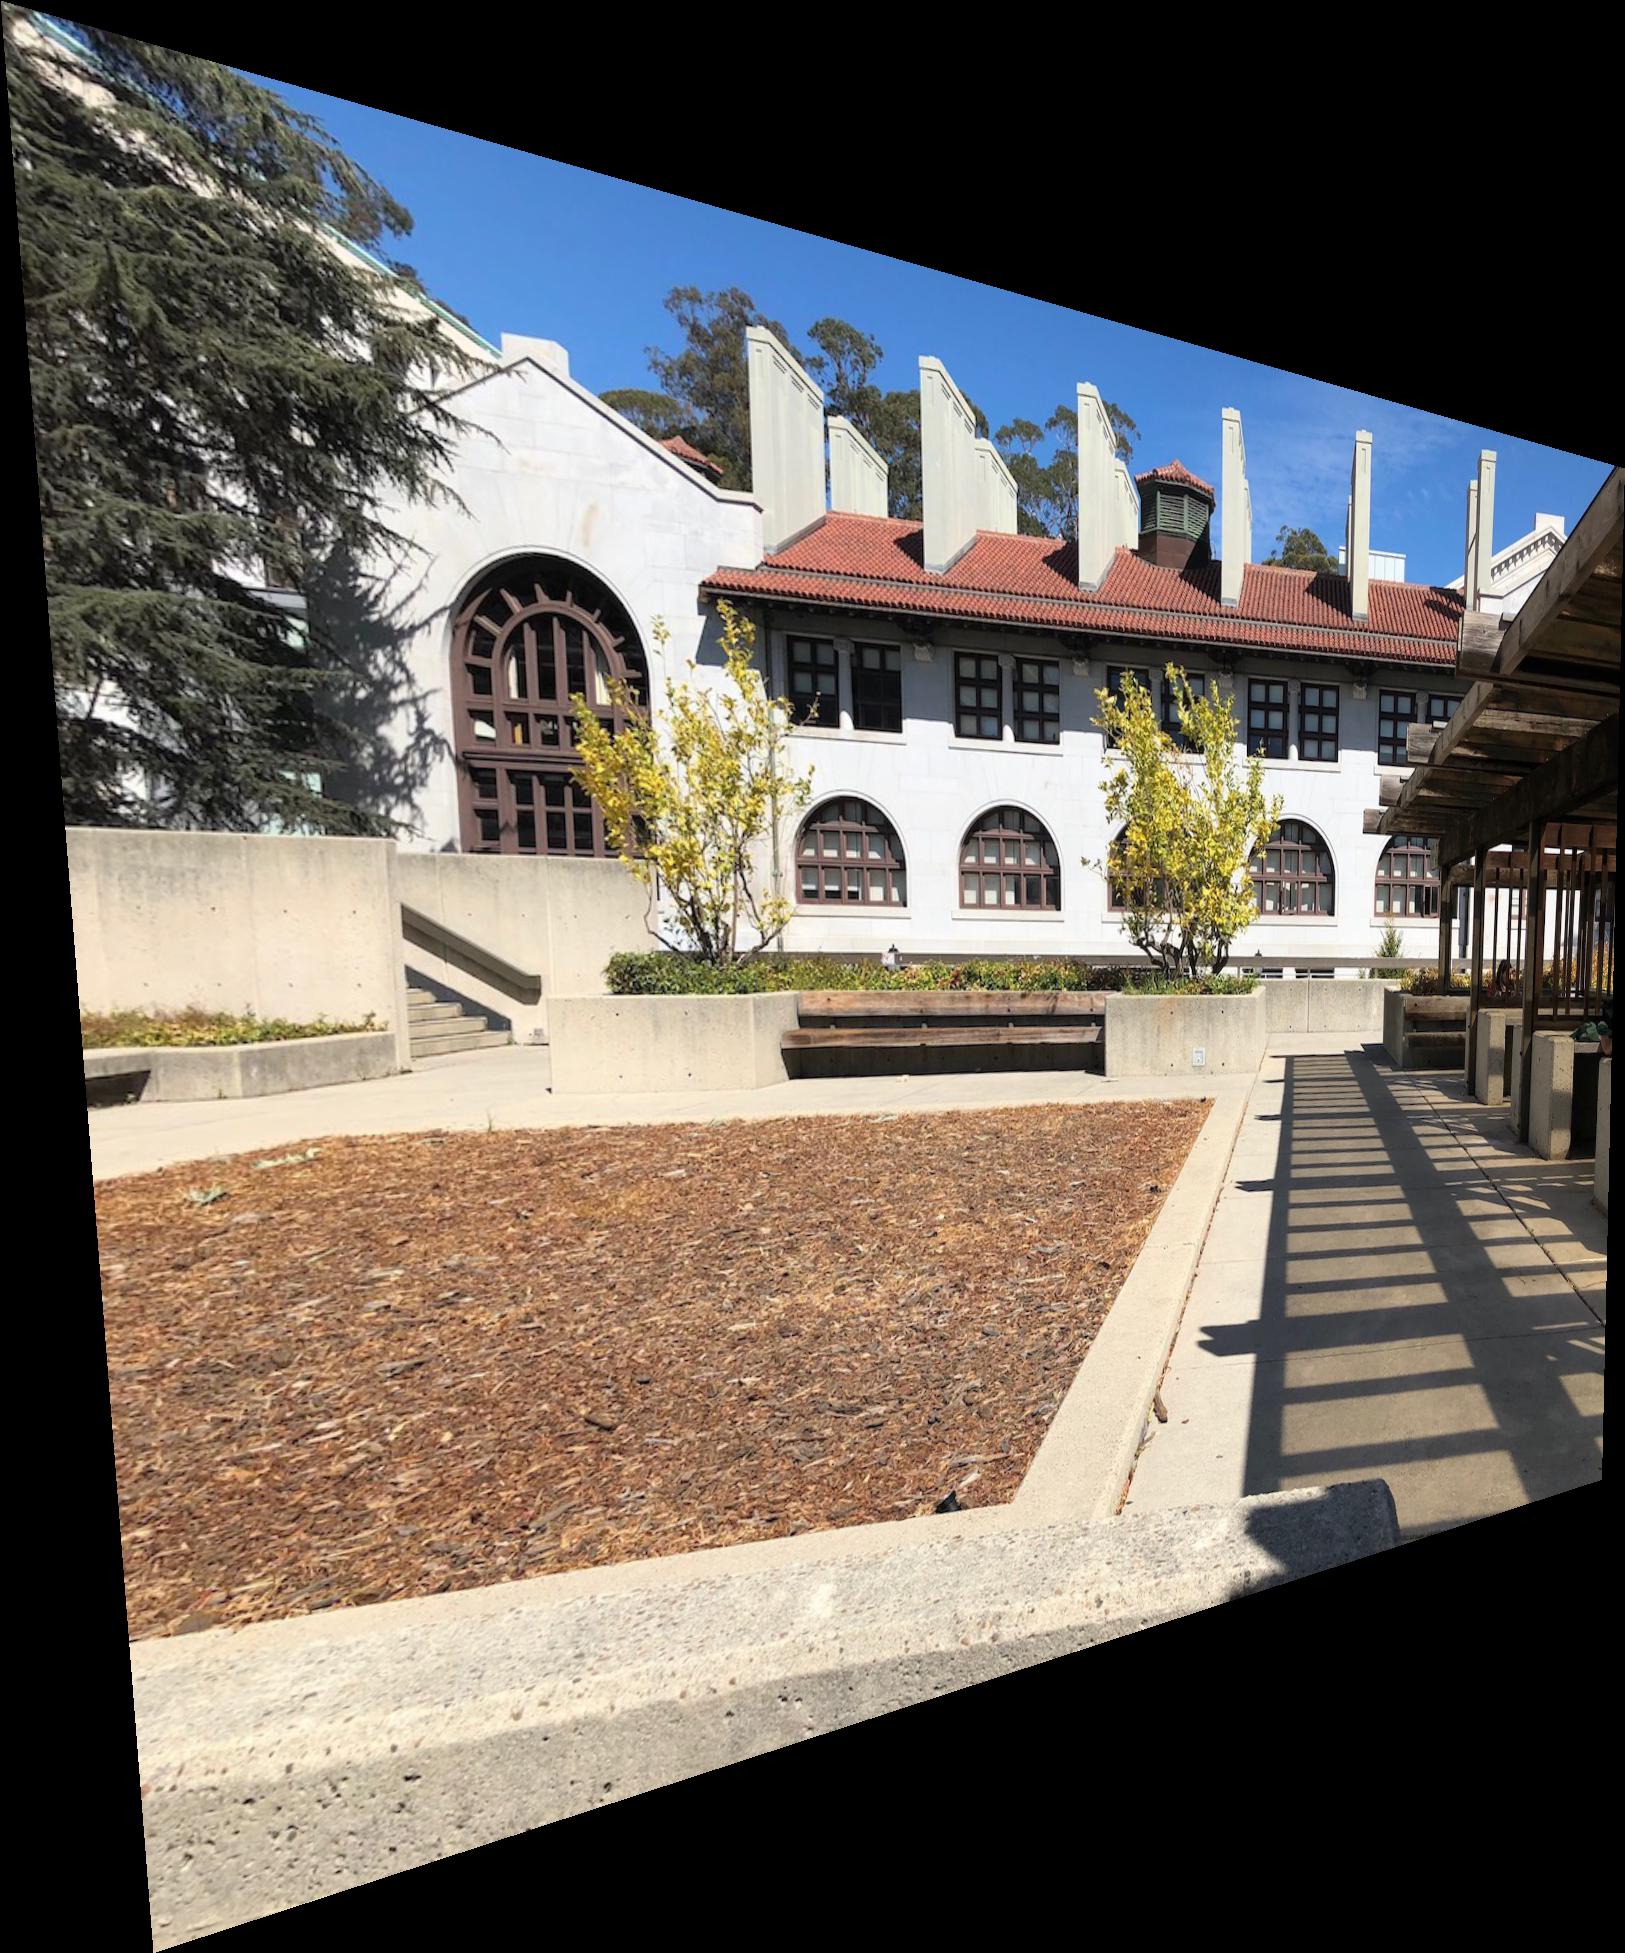
Now that we are able to recover homographies, we can start picking points and warping images. For my two images above, I picked 6 correspondance points each that outlines the corners of the wooden and brick buildings towards the center. The warping process is similar to one in proj4, where we apply the inverse homography, interpolate the colors, and then assign the colors. Below is the result of warping the second image to the plane of the first image.
 View 2 warped to projection of View 1
|
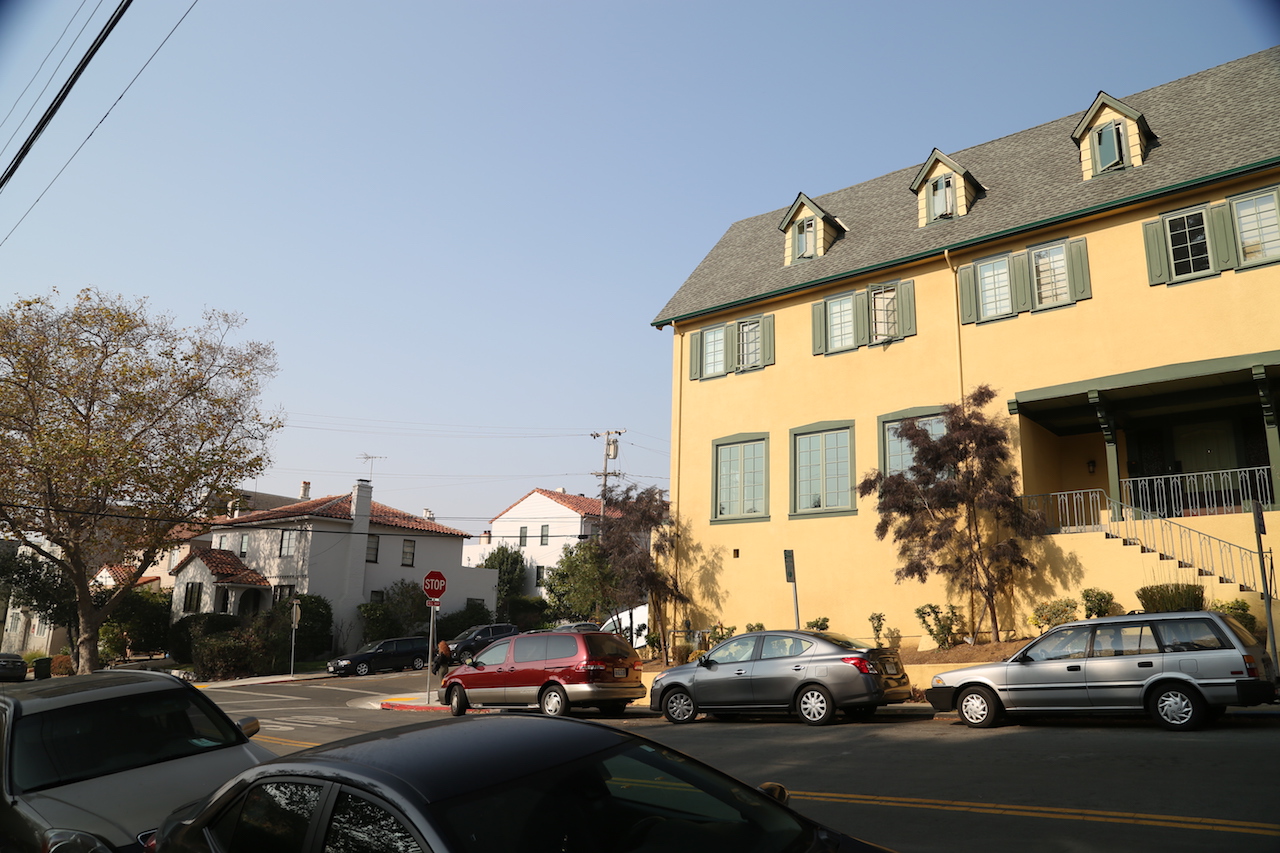
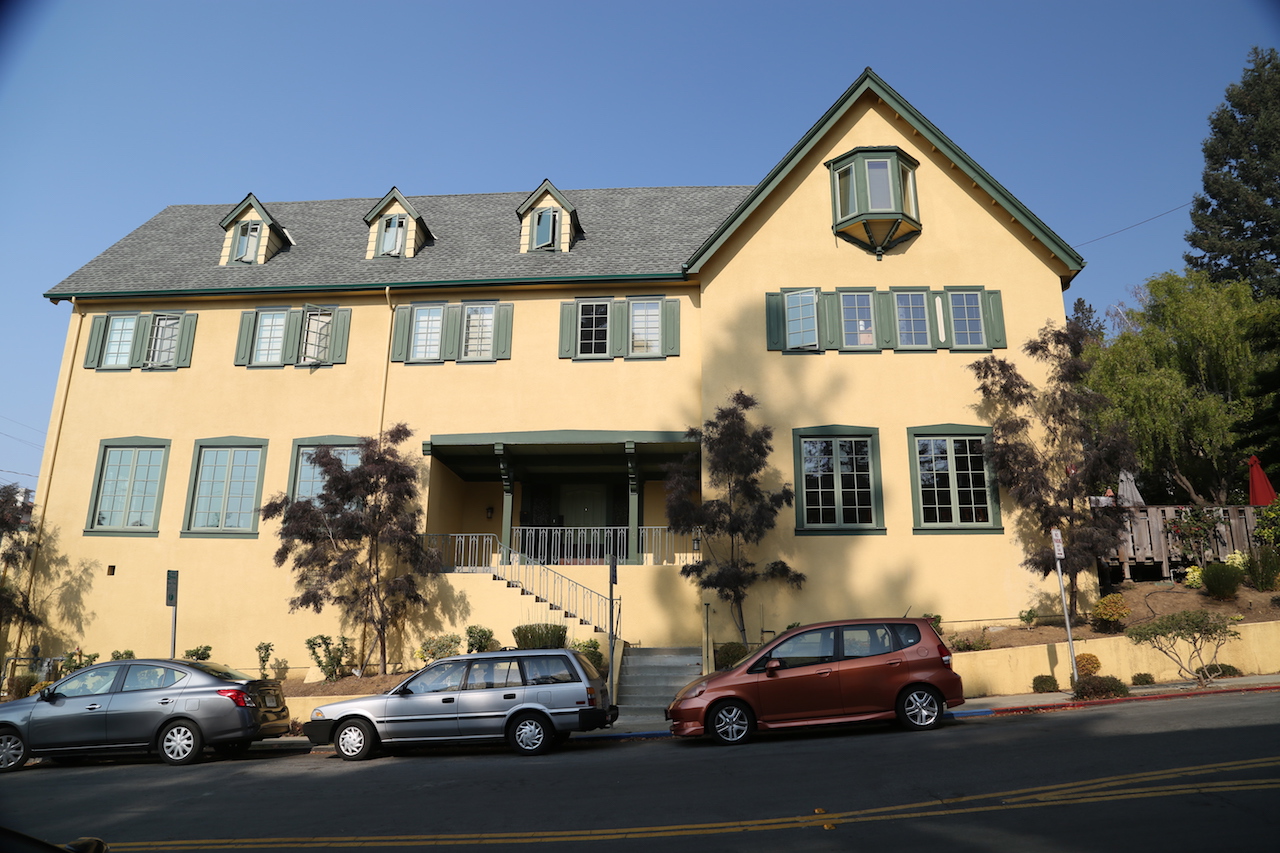
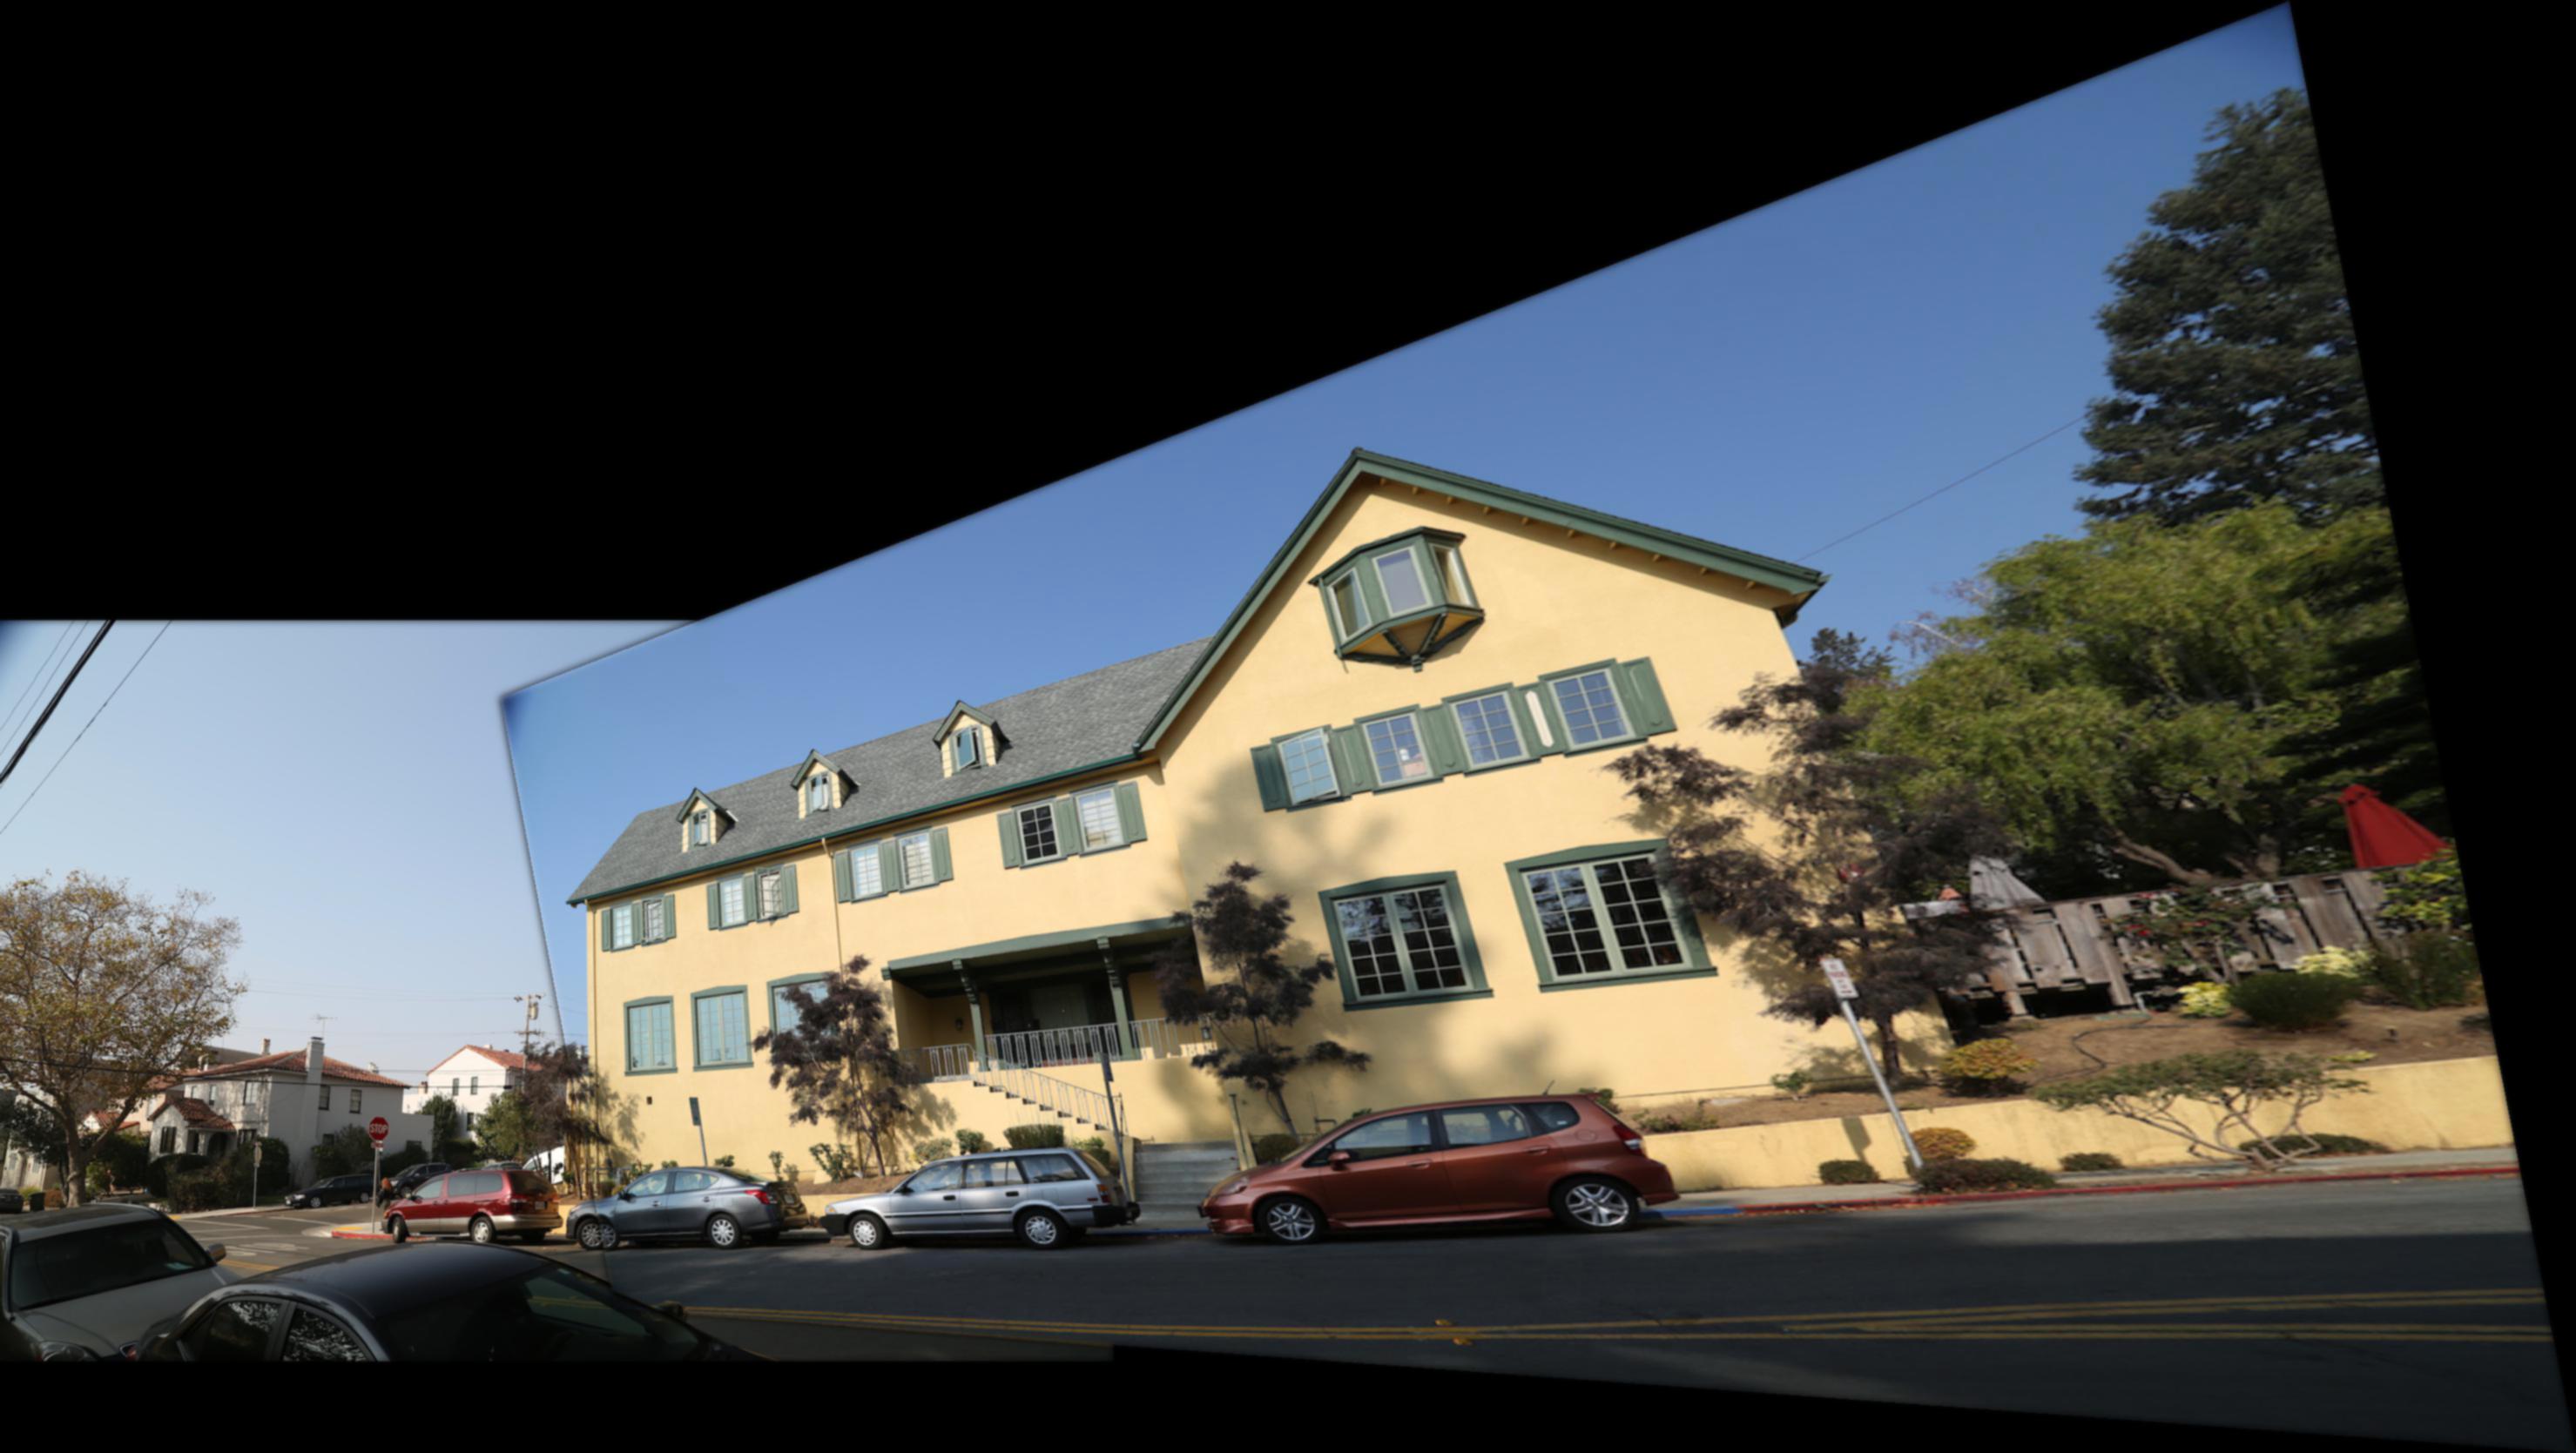
Likewise, we can rectify images. This is where we take outline a square in one image, and project it such that it as forward-facing as possible with 90 degree angles. To do this, you take one image and select 4 correspondance points that outline a square in the scene. I then select 4 correspondance points on the same image, this time eye-balling a forward-facing square. In the image below, I outlined the bases of the right tree in the photograph. Below is the result of rectifying that image.
 Unwarped
|
 Rectified
|
Below is a similar result of outlining the black square in the center.
 Unwarped
|
 Rectified
|
Blending into Mosaic
In order to make a mosaic, we need to warp our second patio image to match the projection of the first, and then blend the result. I first calculated the size of the entire image. Afterwards, using the warped image I found earlier, I make a mask for both images and apply Laplacian blending. For these results, I only used a stack depth of 2, and there is still an edge that appears.
Notice, that across the center horzinal, the image seems continuous.
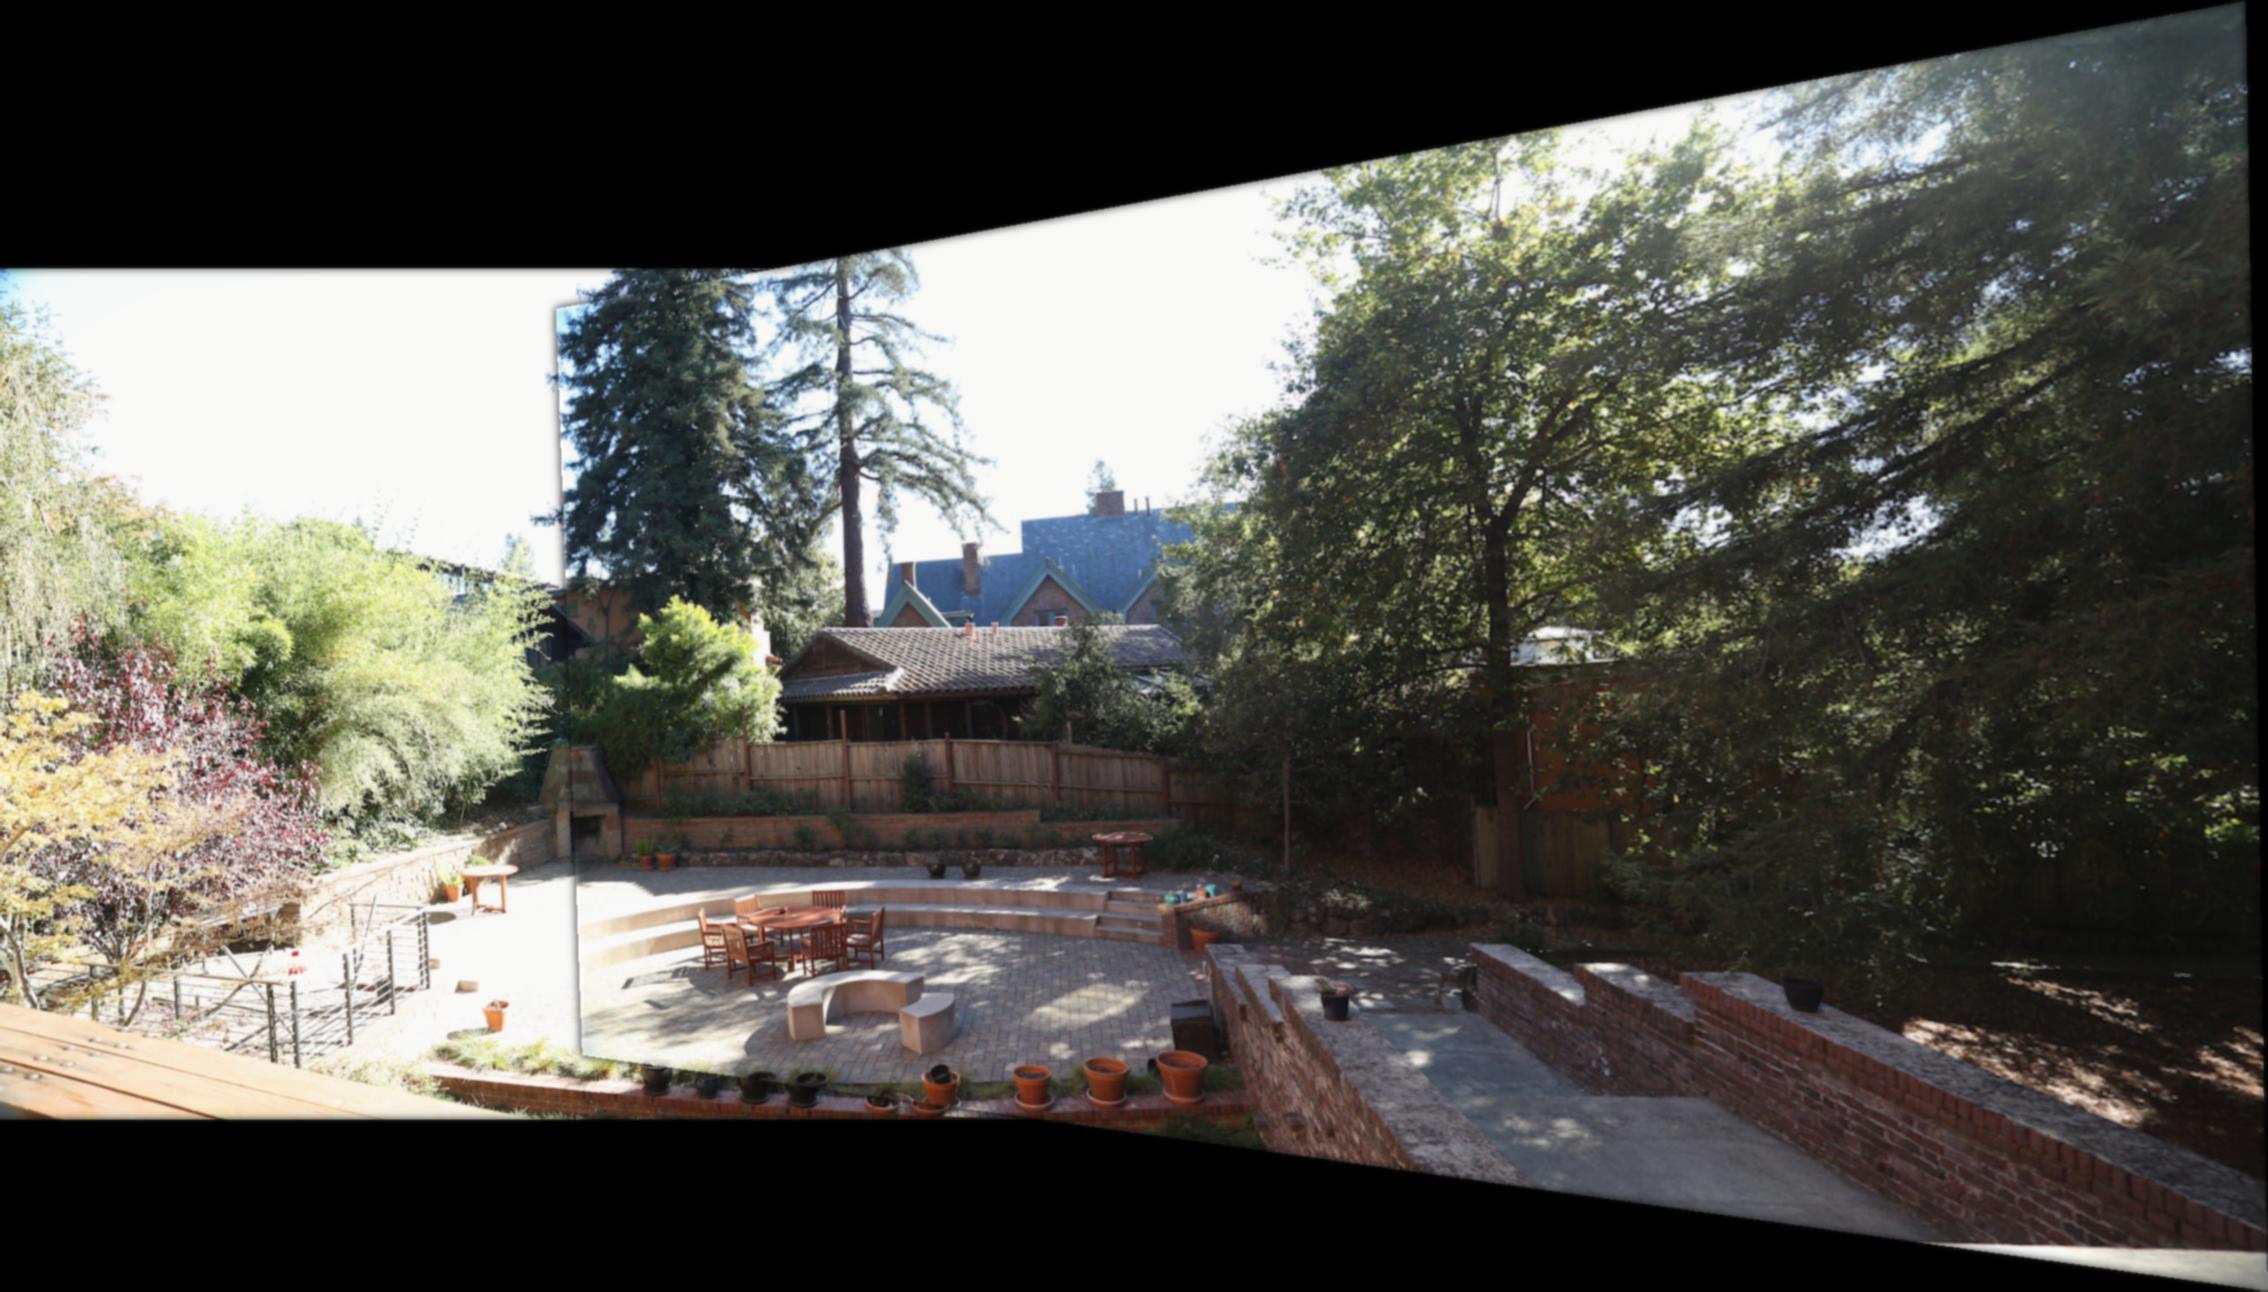 View 1 and View 2 blended together
|