Overview
In this project we explored image warping and applyig to create image mosaics.
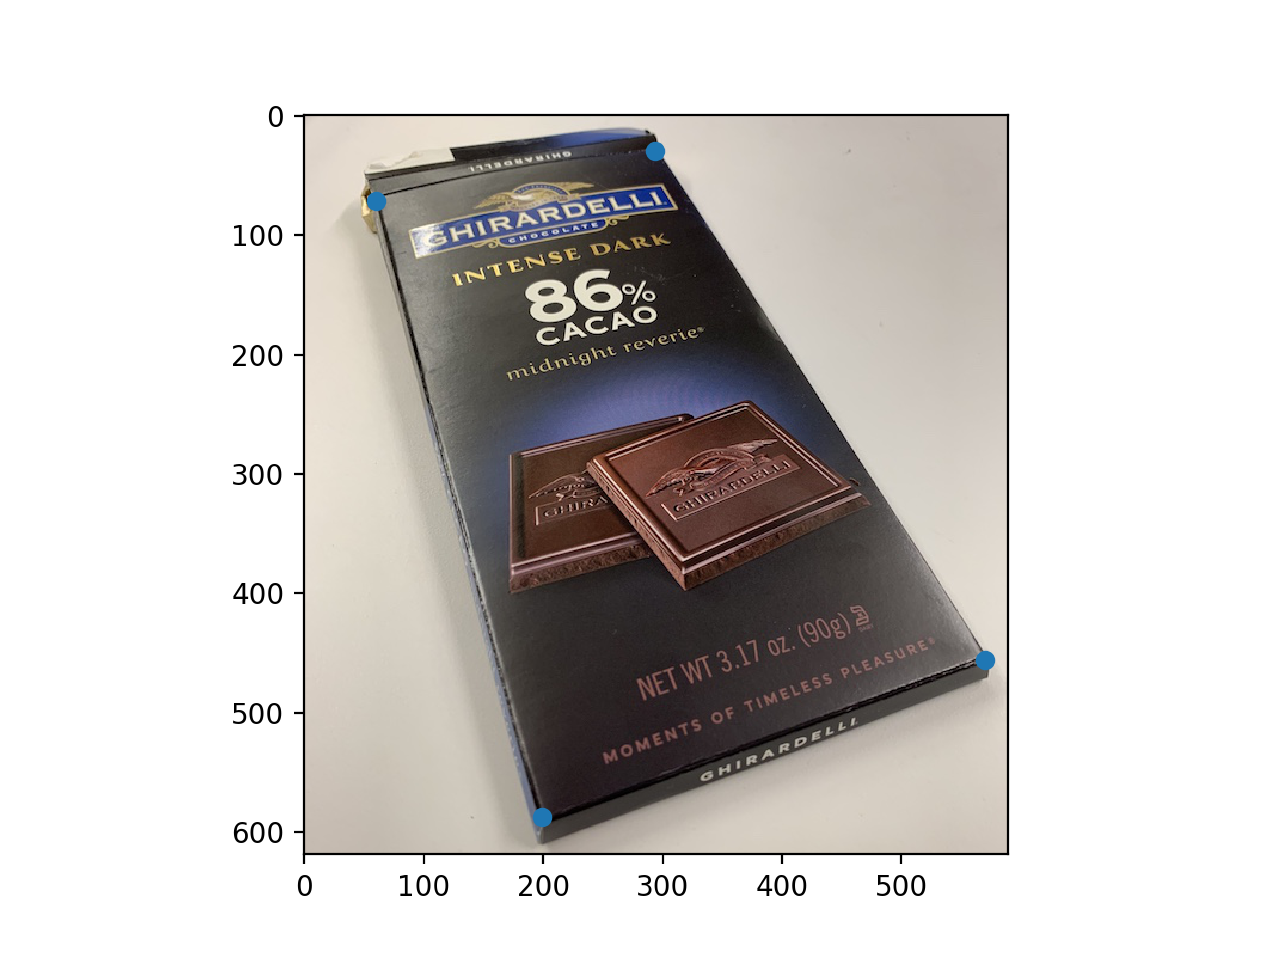
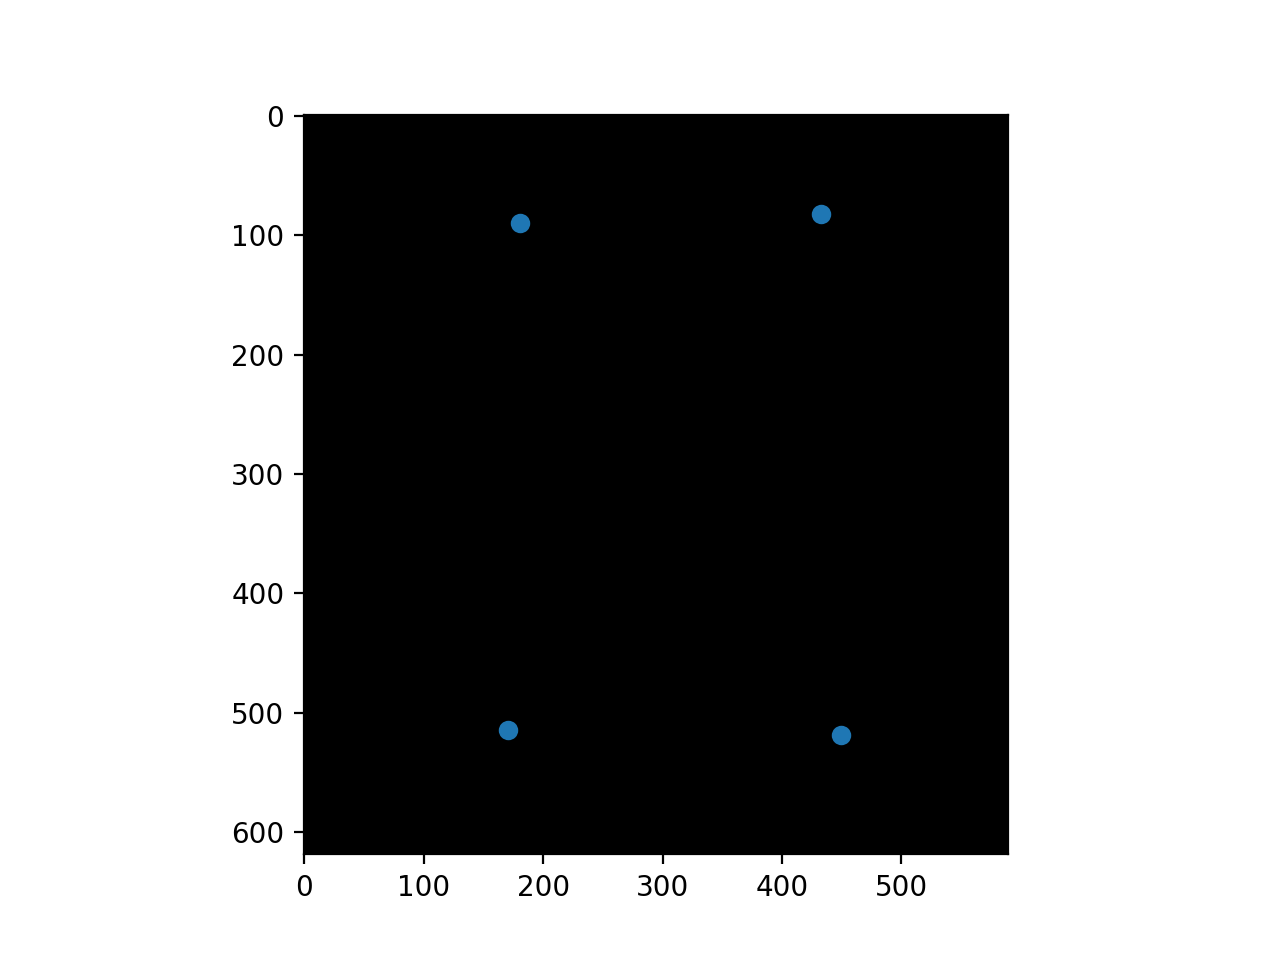
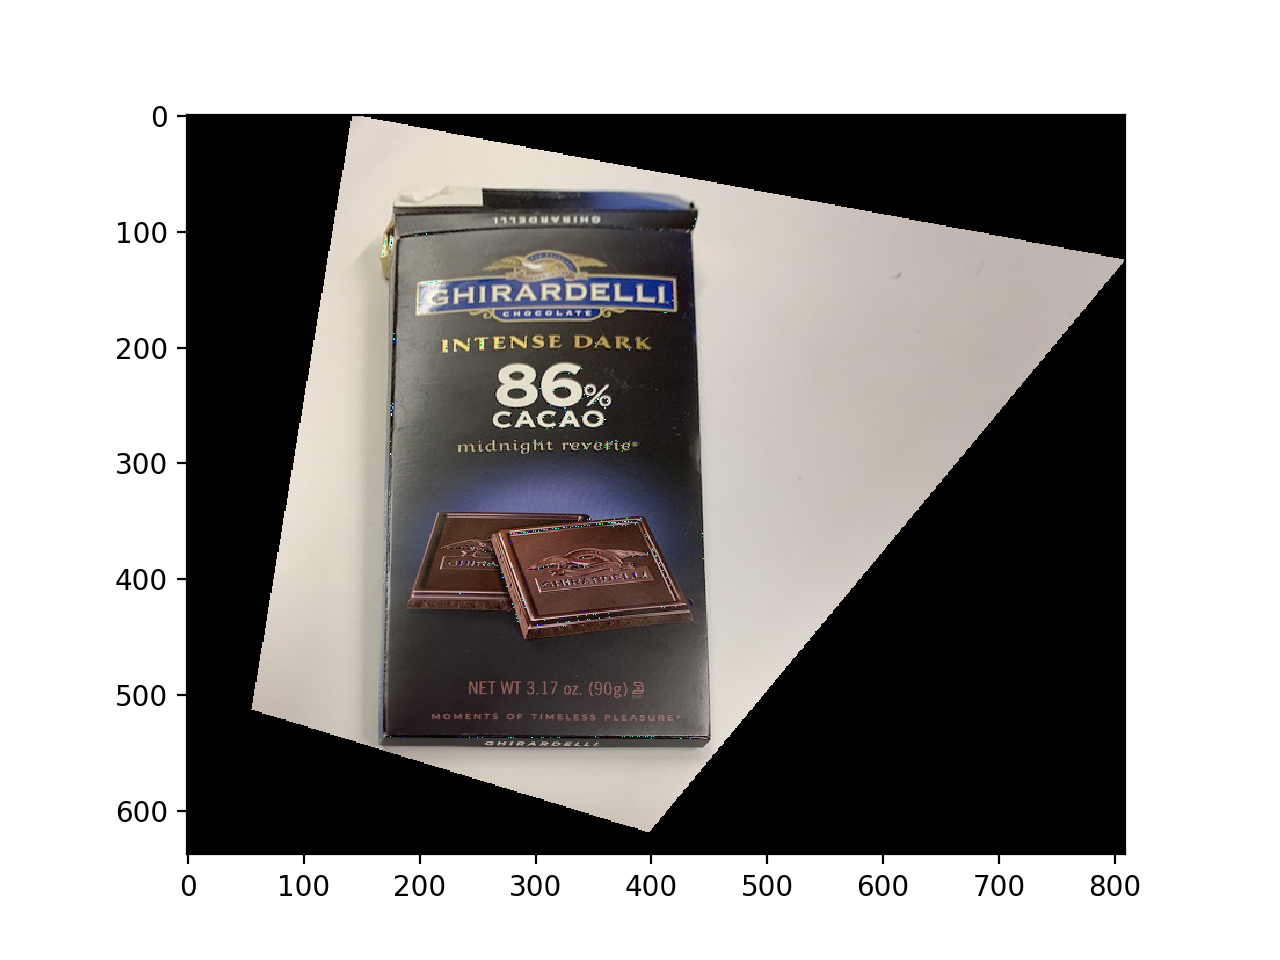
Rectify Image
We use a 3x3 transformation matrix with 8 degrees of freedom (entry of last row and last column is a scaling factor) to apply a projective transformation (lines are preserved but 0 does not map to 0 and parallel lines do not remain parallel). We pick corresponding points from 2 images and then use least squares to determine the best approximation for the mentioned transformation matrix and recover the homography. We then warp the image into the desired shape using the transformation matrix.
|
|
|
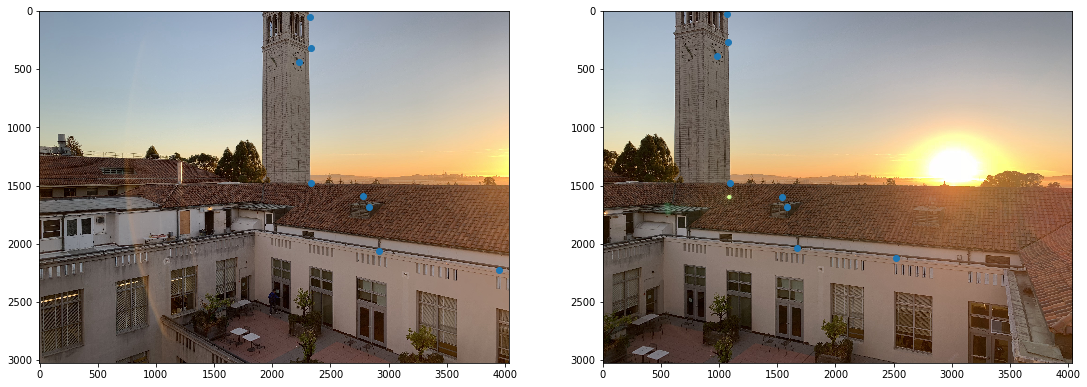
Mosaic
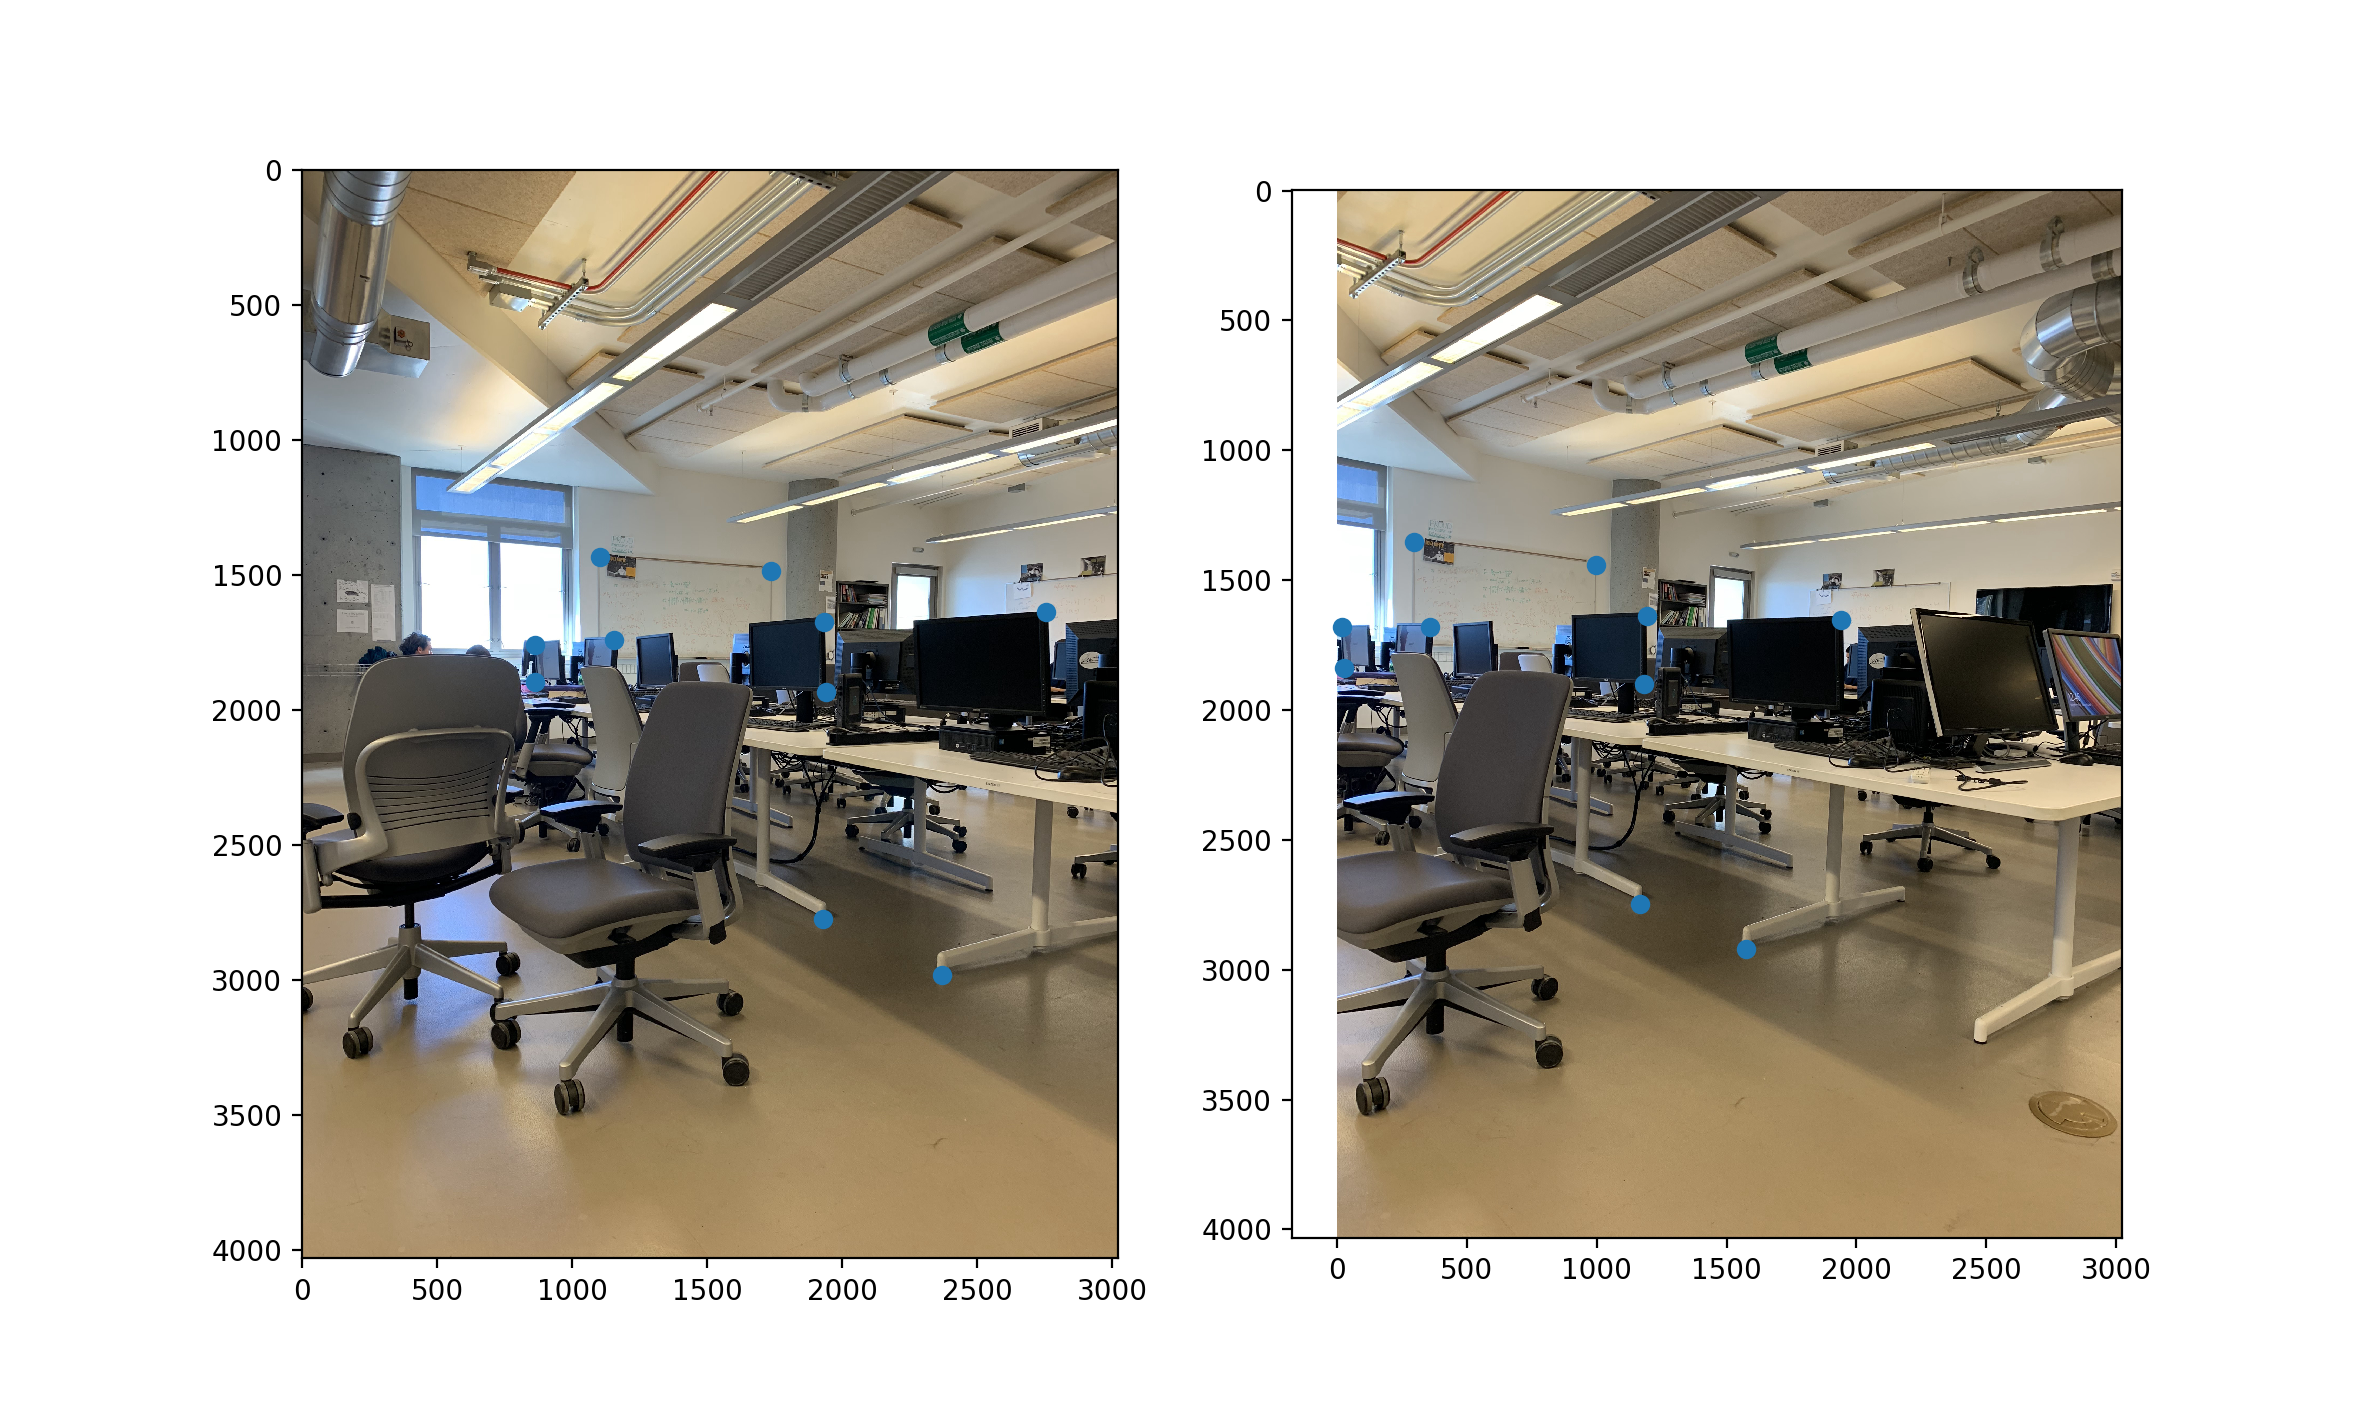
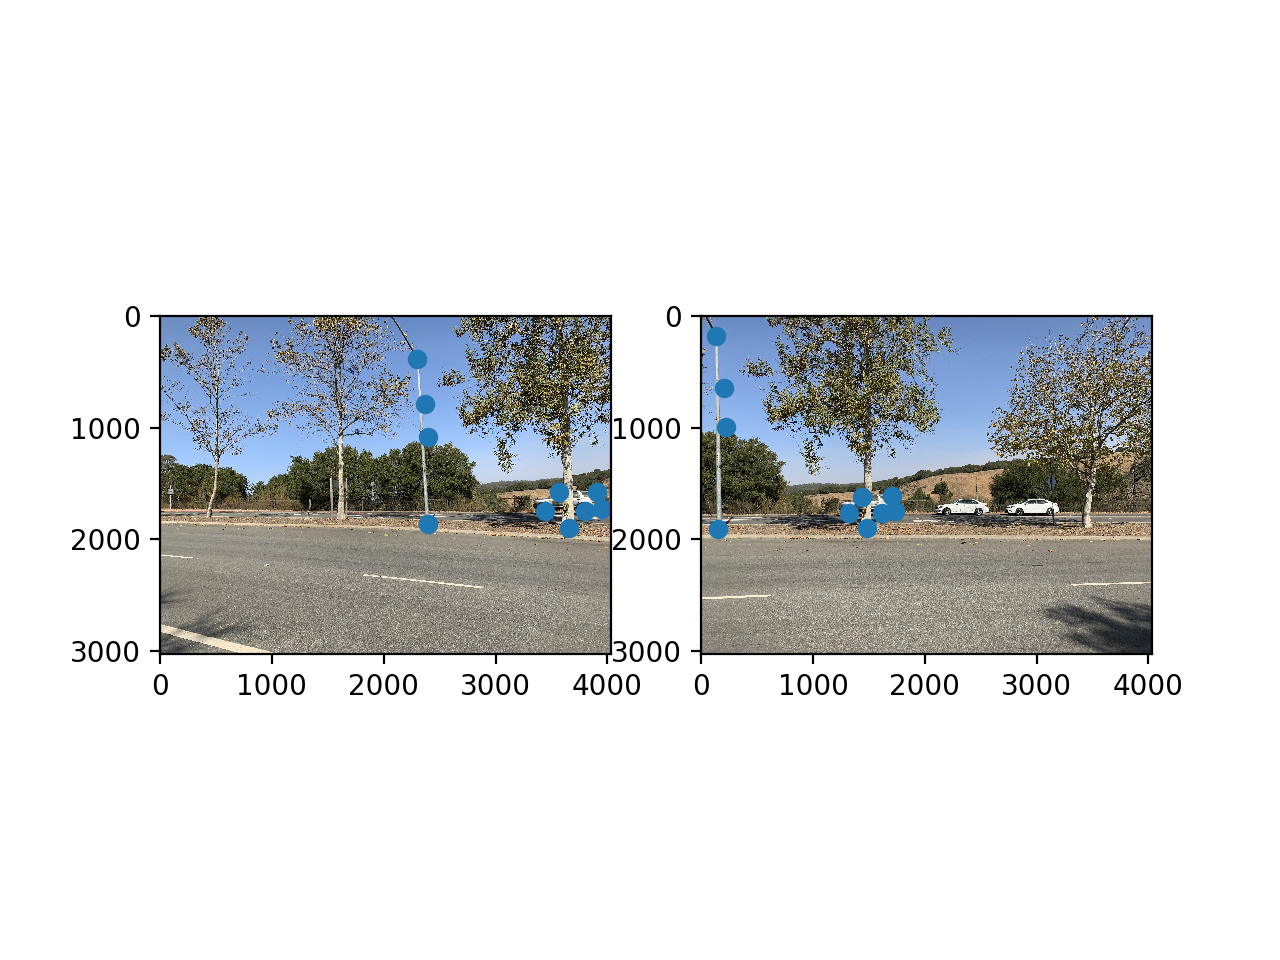
We can use this to create mosaics, i.e. panorama pictures. We take 2 pictures of a scene as we rotate the camera. We then pick corresponding points from the images and recover the homography necessary to transform the points from the left image into the points from the right image.
|
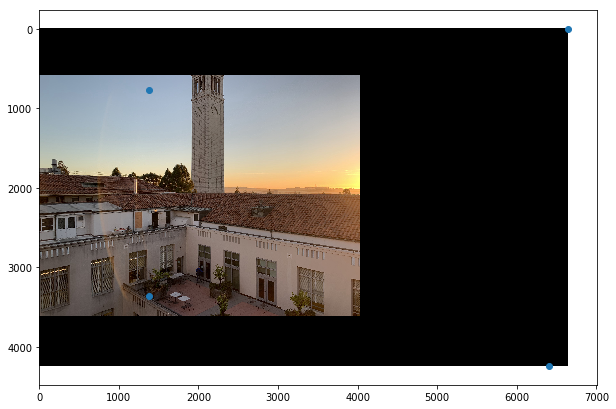
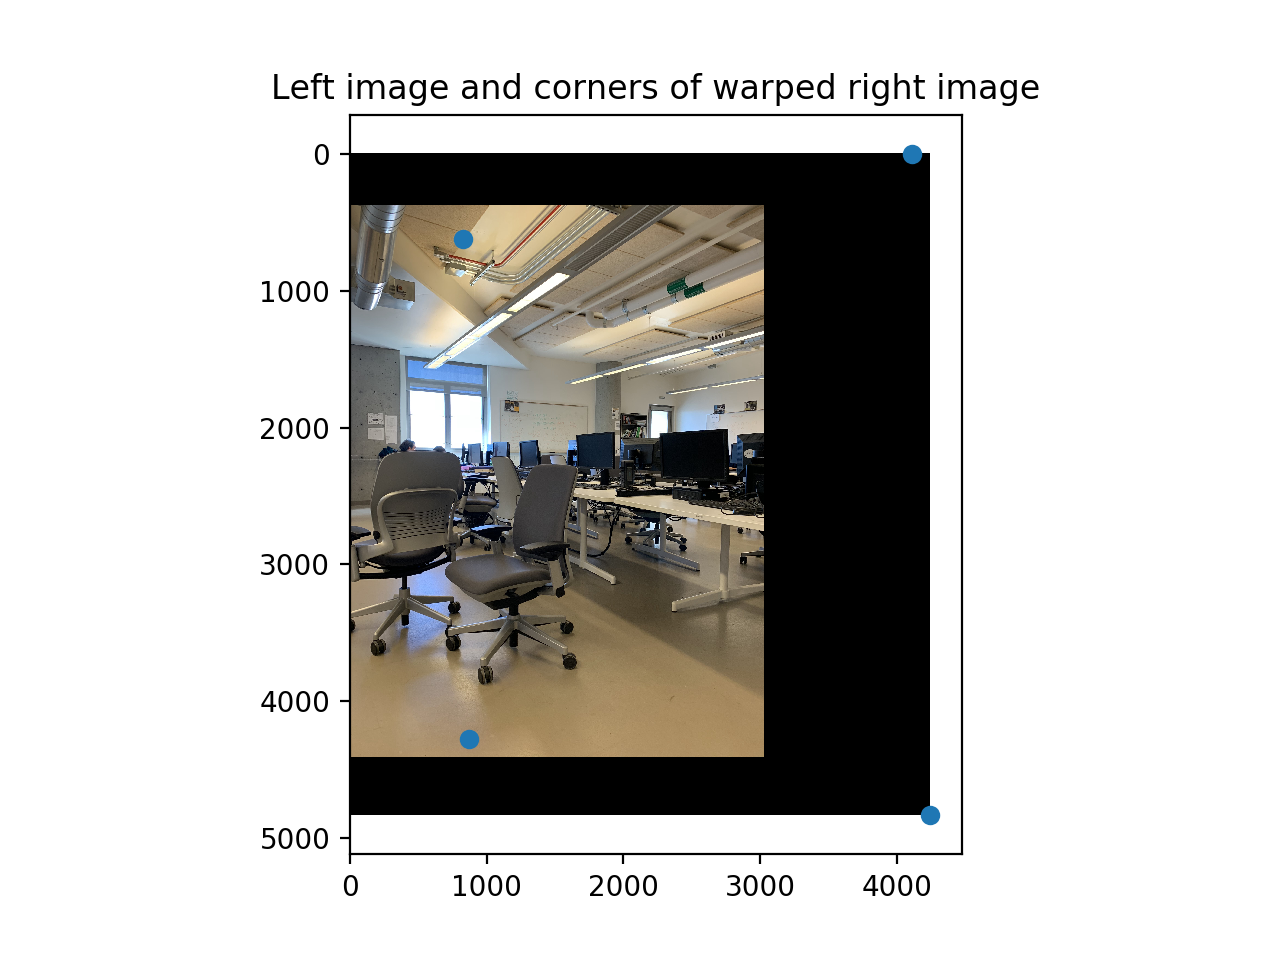
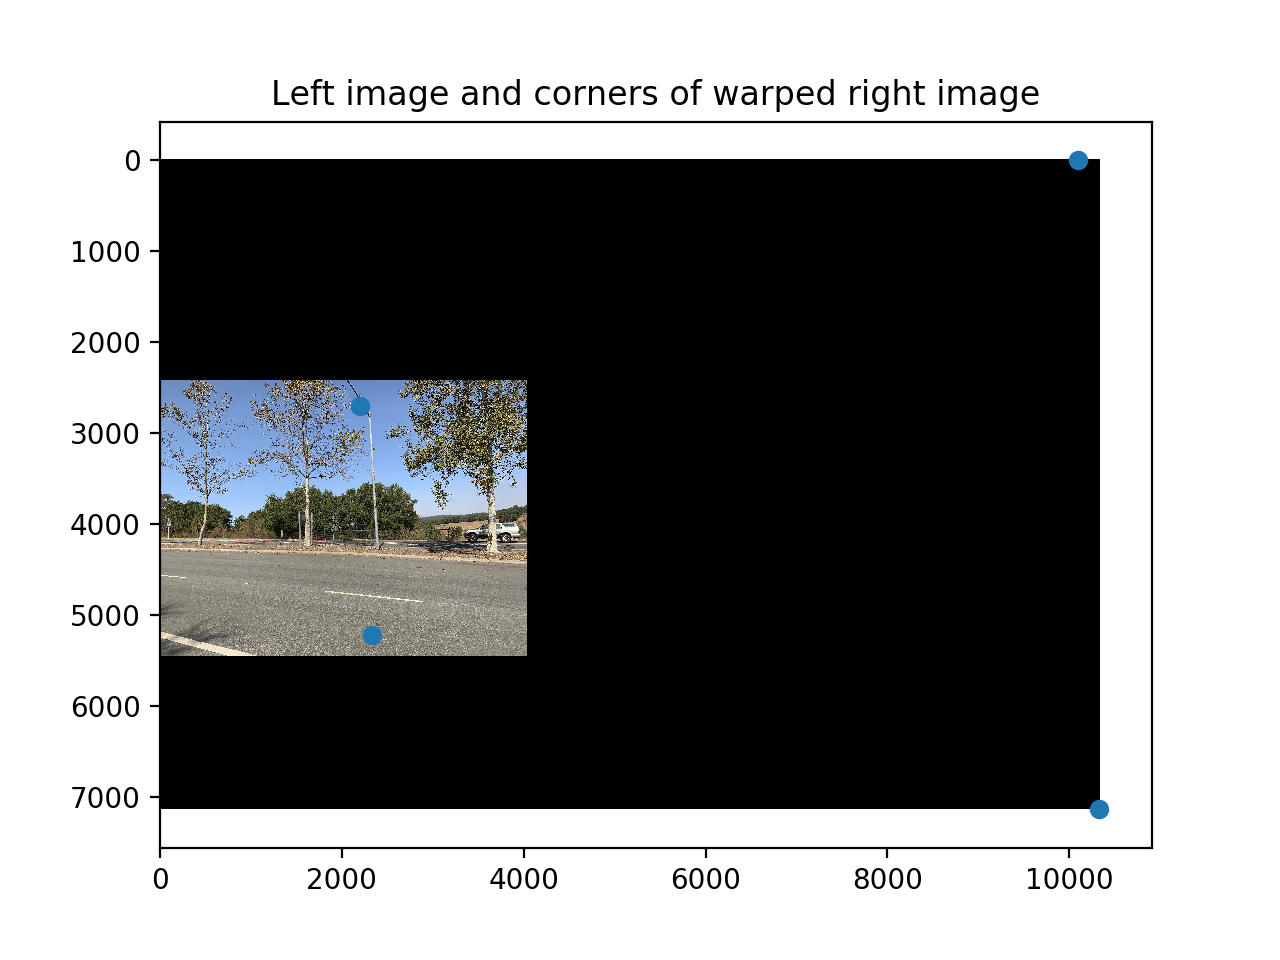
We then apply the inverse homography to the corners of the right image to find out the dimensions of the resulting image and the coordinates of the points inside the warp that we need to get from the right image.
|
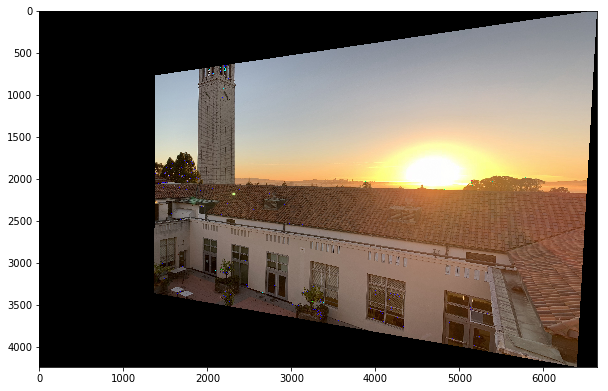
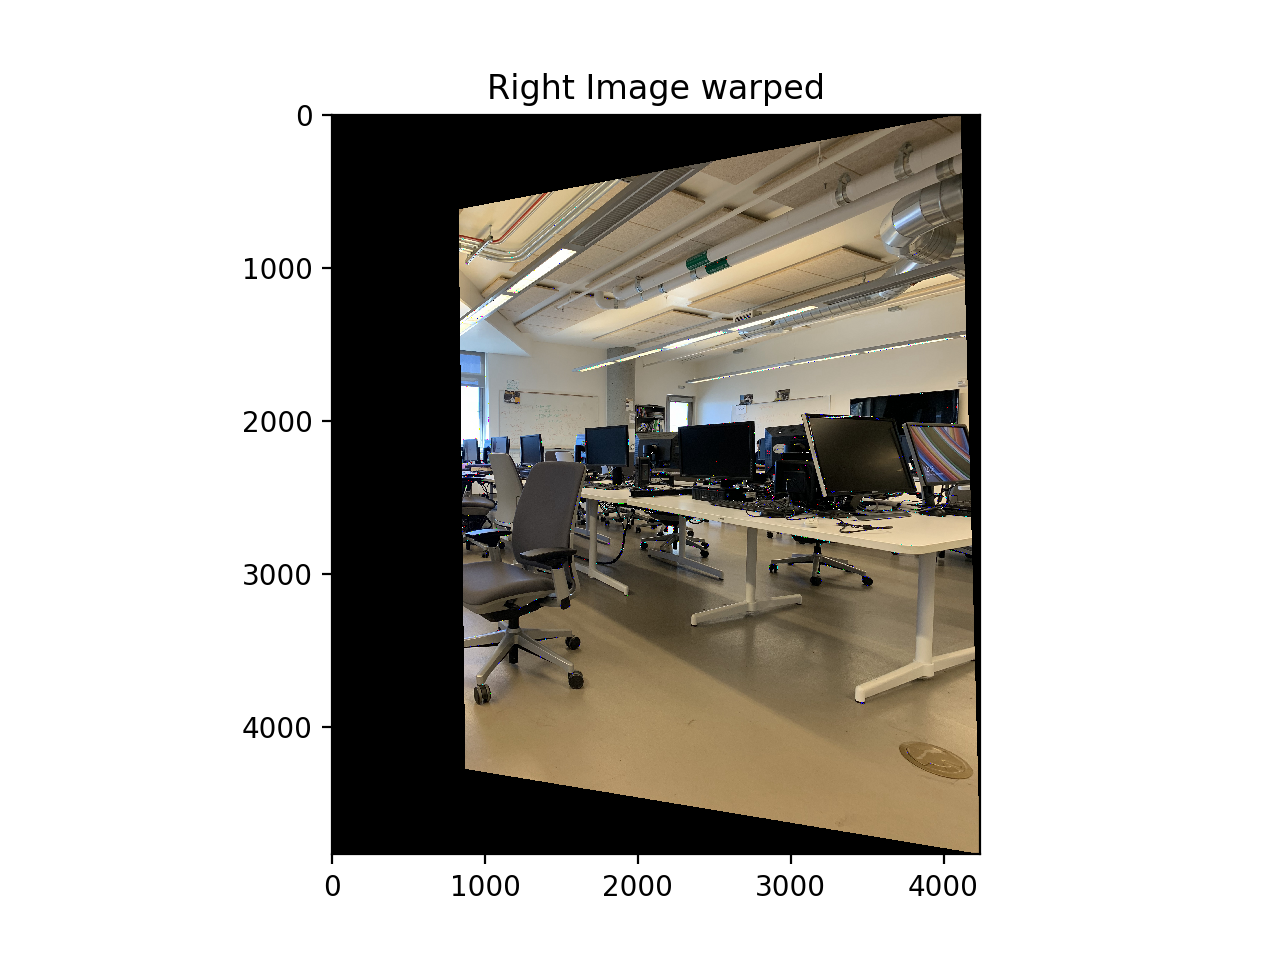
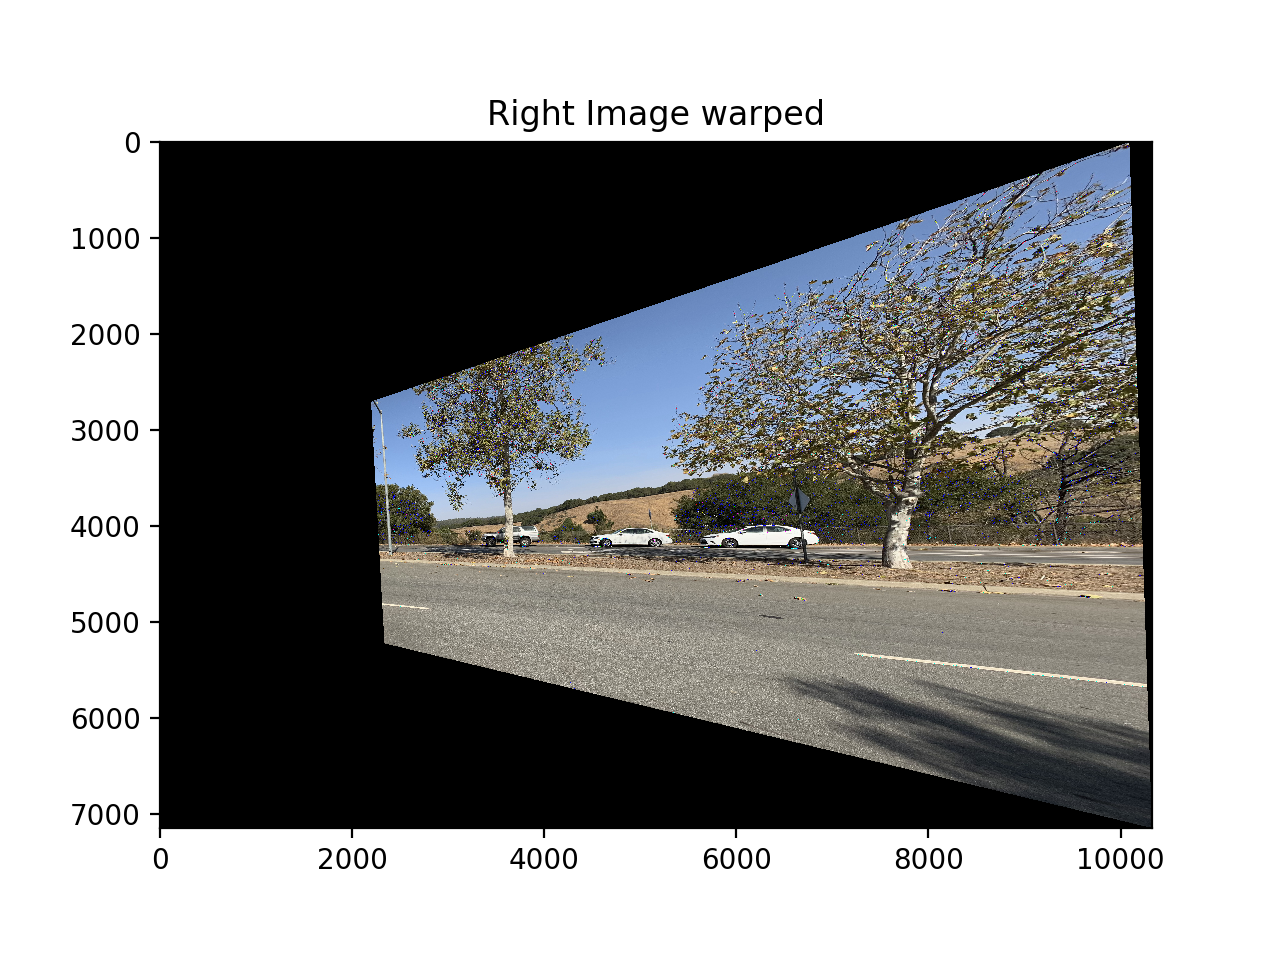
Now for every point inside the polygon we just saw we pick the corresponding point from the right image (get the corresponding points by applying homography to the coordinate) and we interpolate neighboring pixels if necessary since we land within non-integer pixelvalues when doing the homography.
|
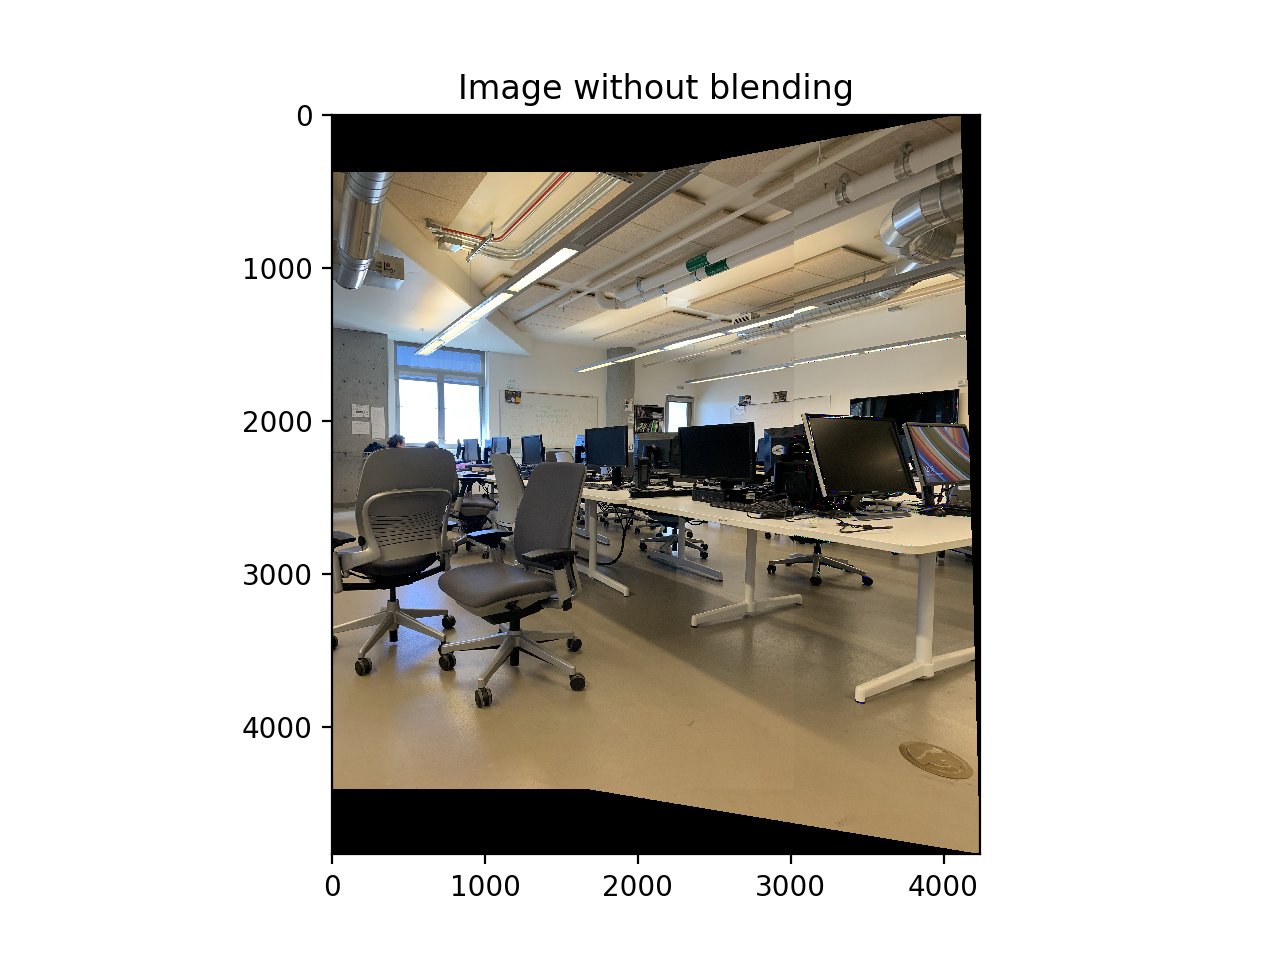
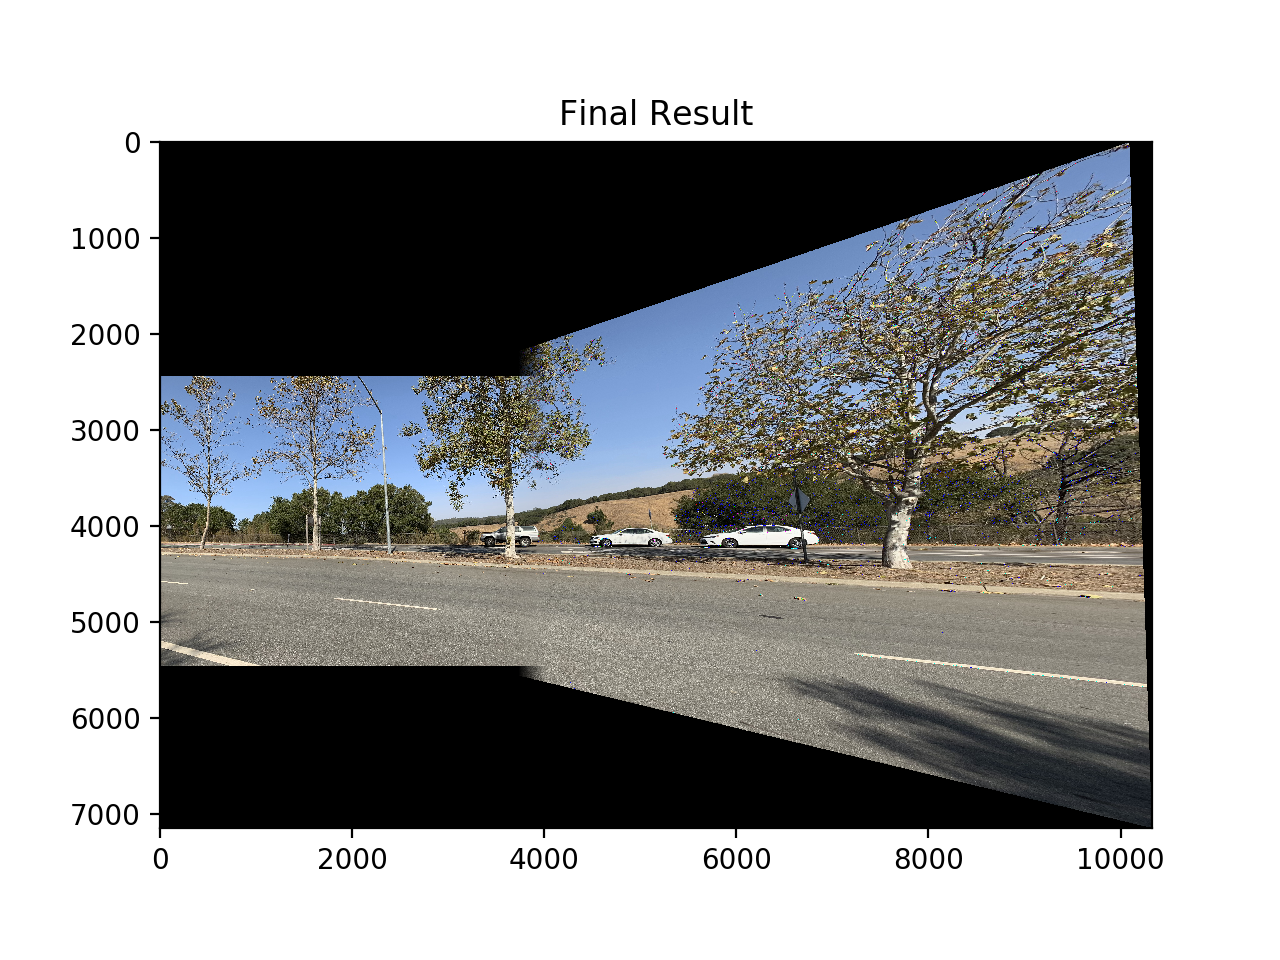
Now we overlay the two images.

|
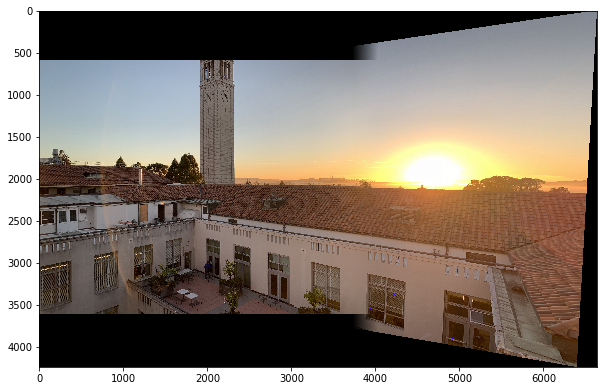
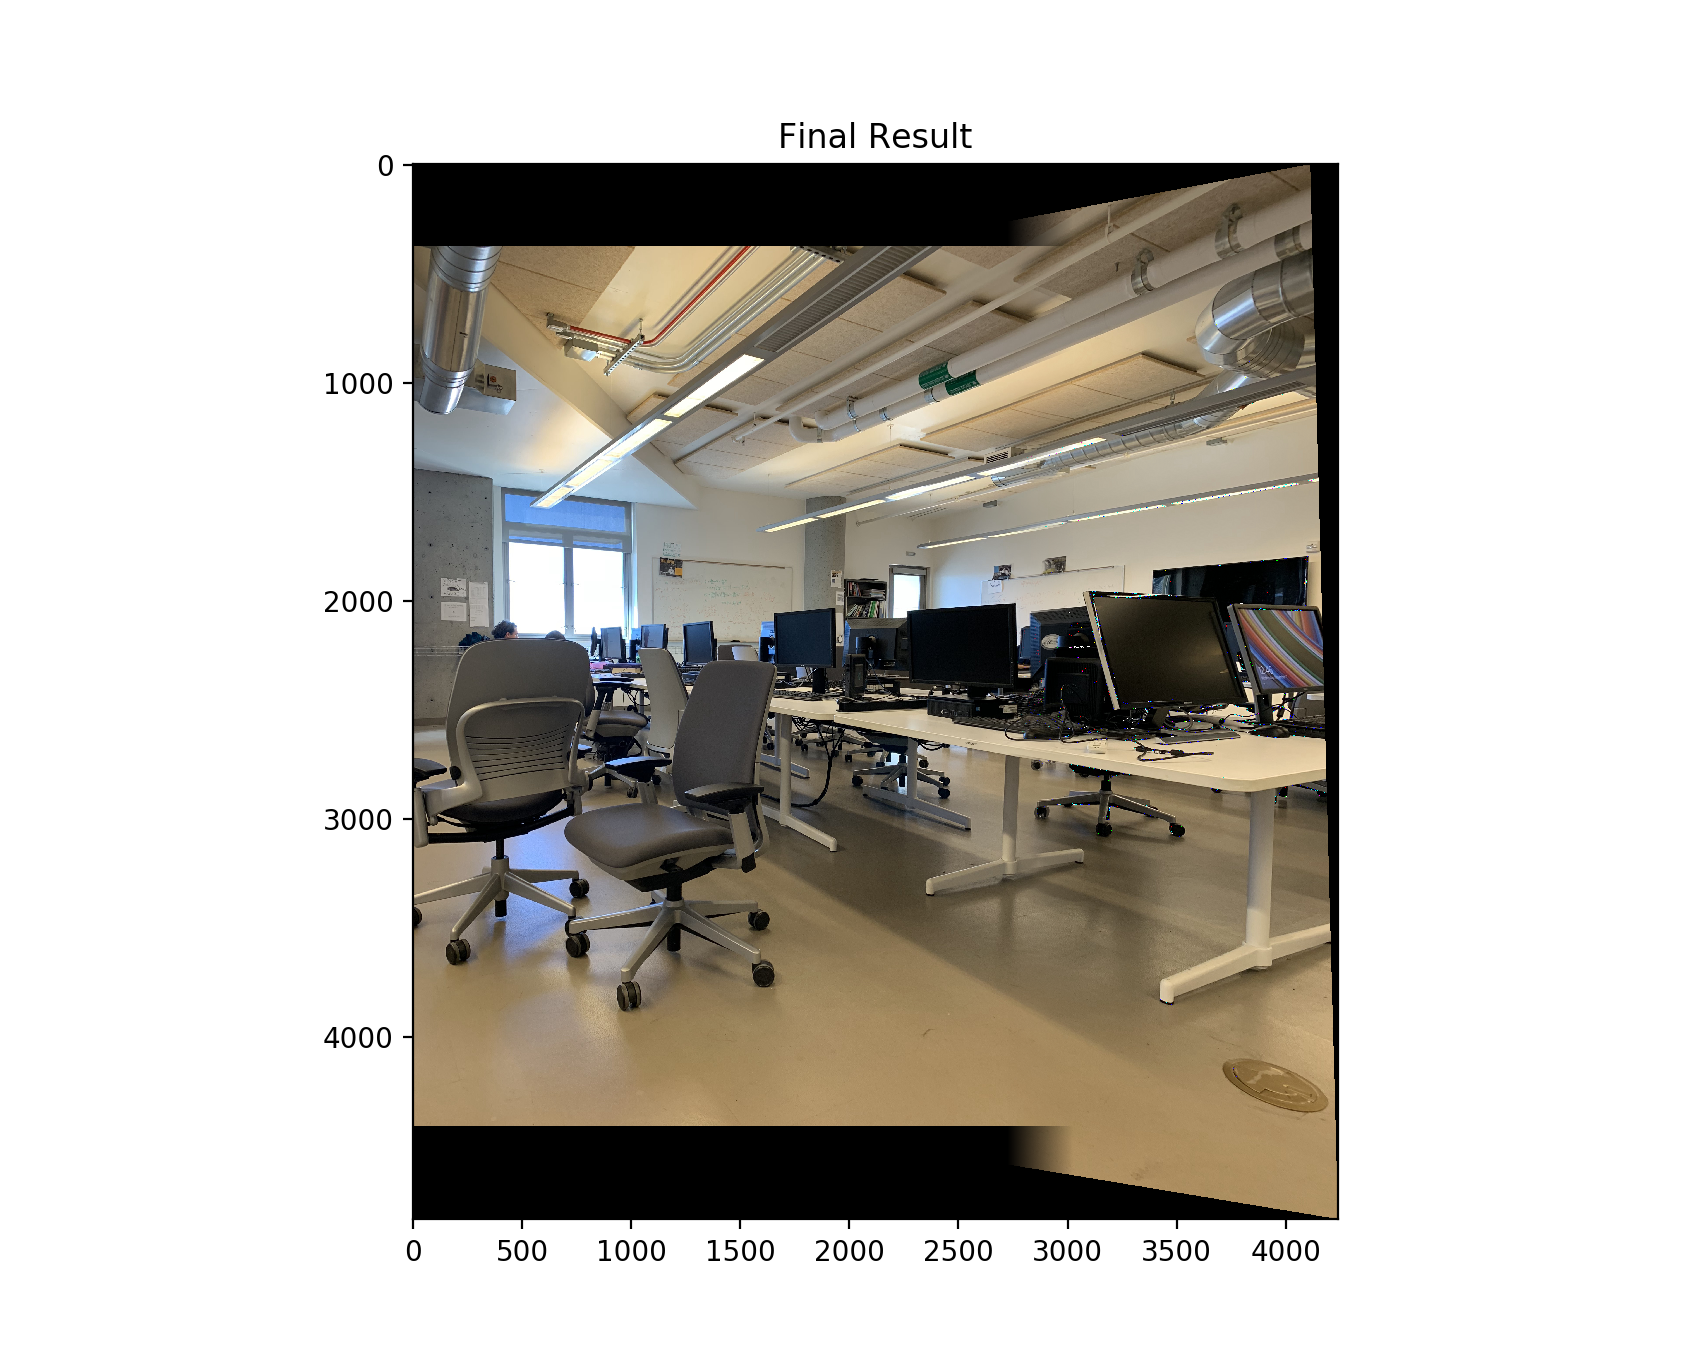
To get rid of the seam we use alpha blending. Around the seam we will use a linear combination of the left image and right image which more heavily uses the left image as we move to the left of the seam and uses more and more of the right image as we get to the seam.
|
More Mosaics
|
|
|
|
|
|
|
|

|
|
I greatly enjoyed this project and my favorite part was the math behind warping and homogeneous coordinates, it really seemed like magic once it worked!