CS 194-26 Project 6A: Image Warping and Mosaicing
Name: Andrew Oeung
Instructional Account: cs194-26-adz
Objective:
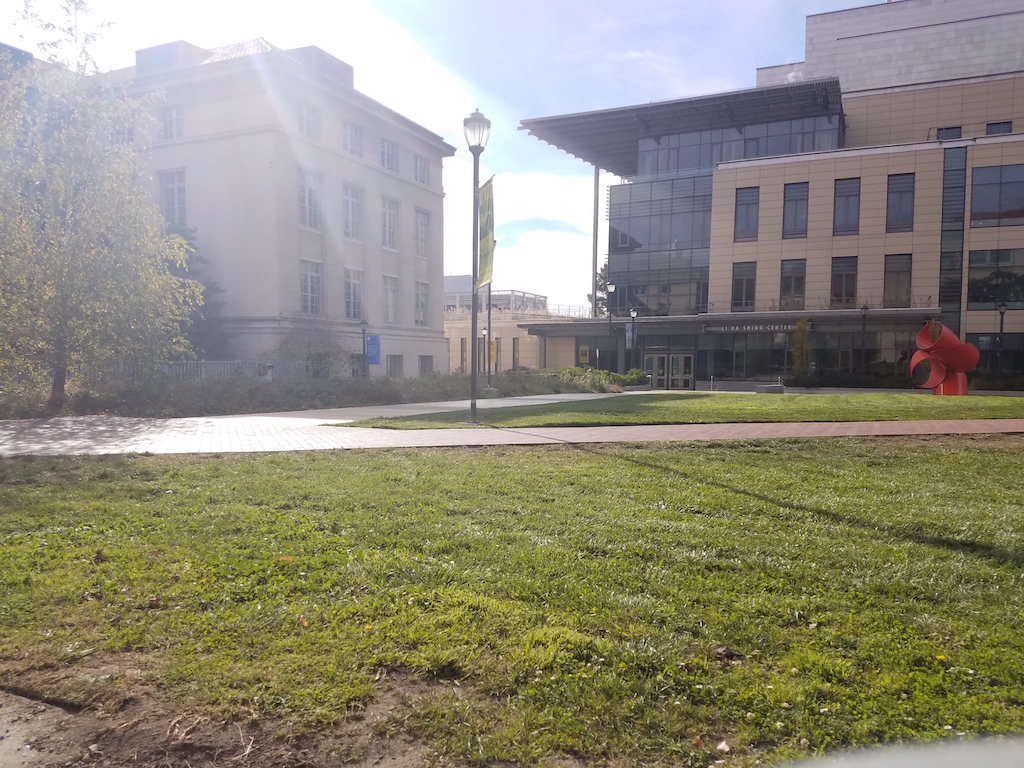
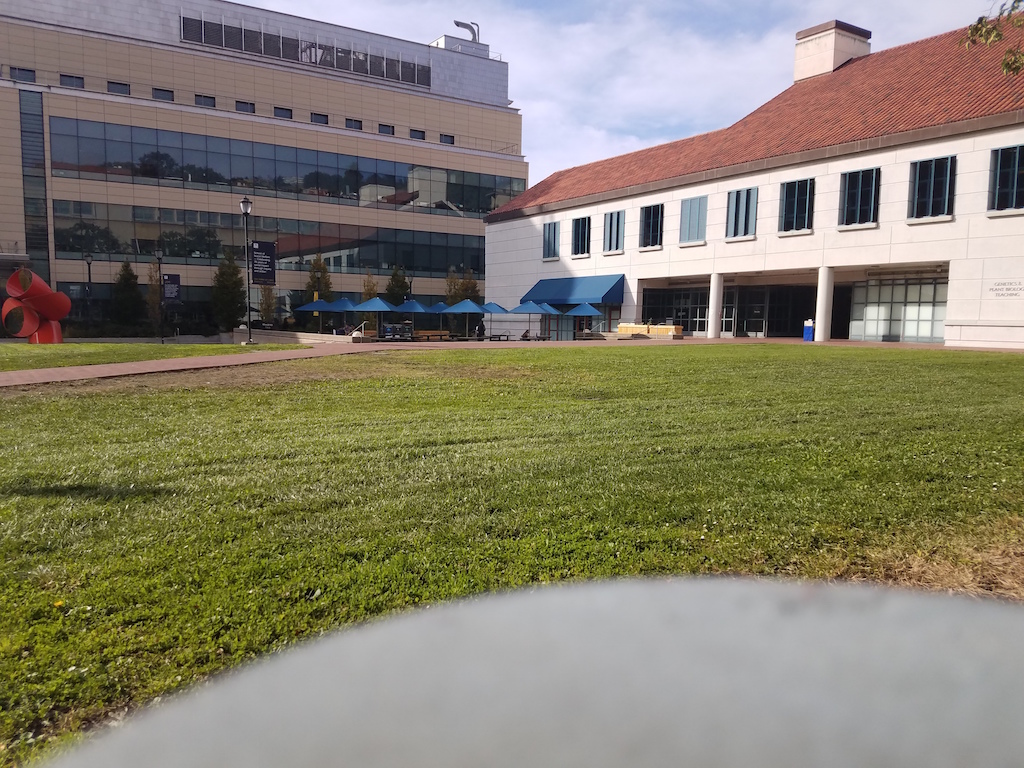
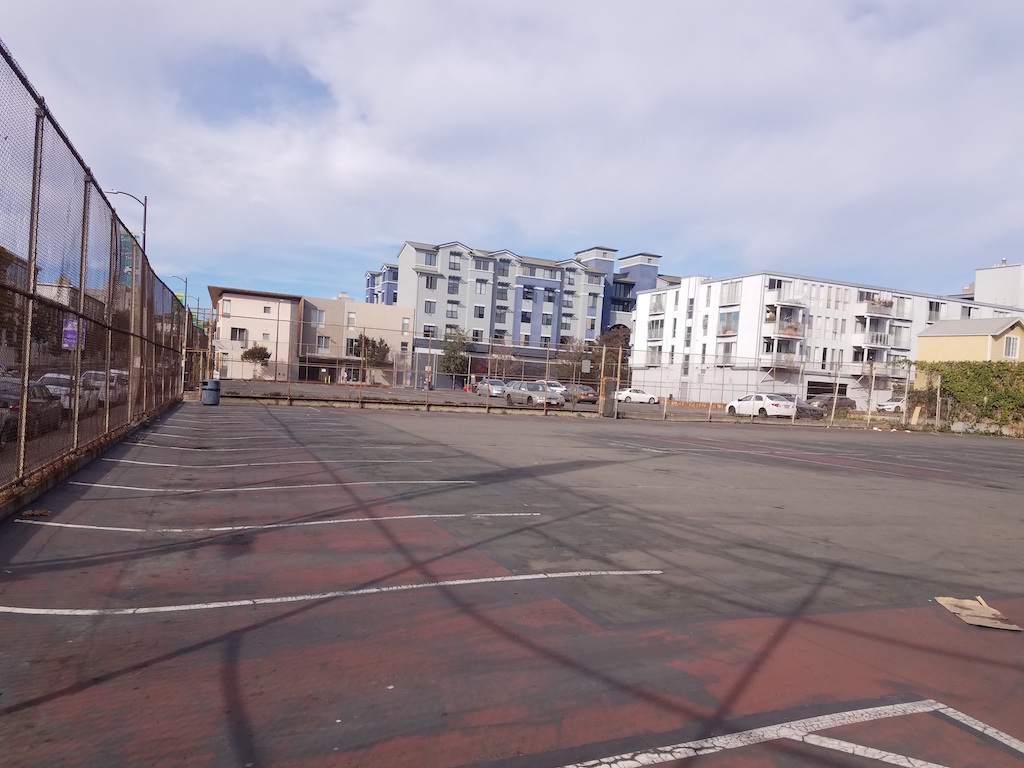
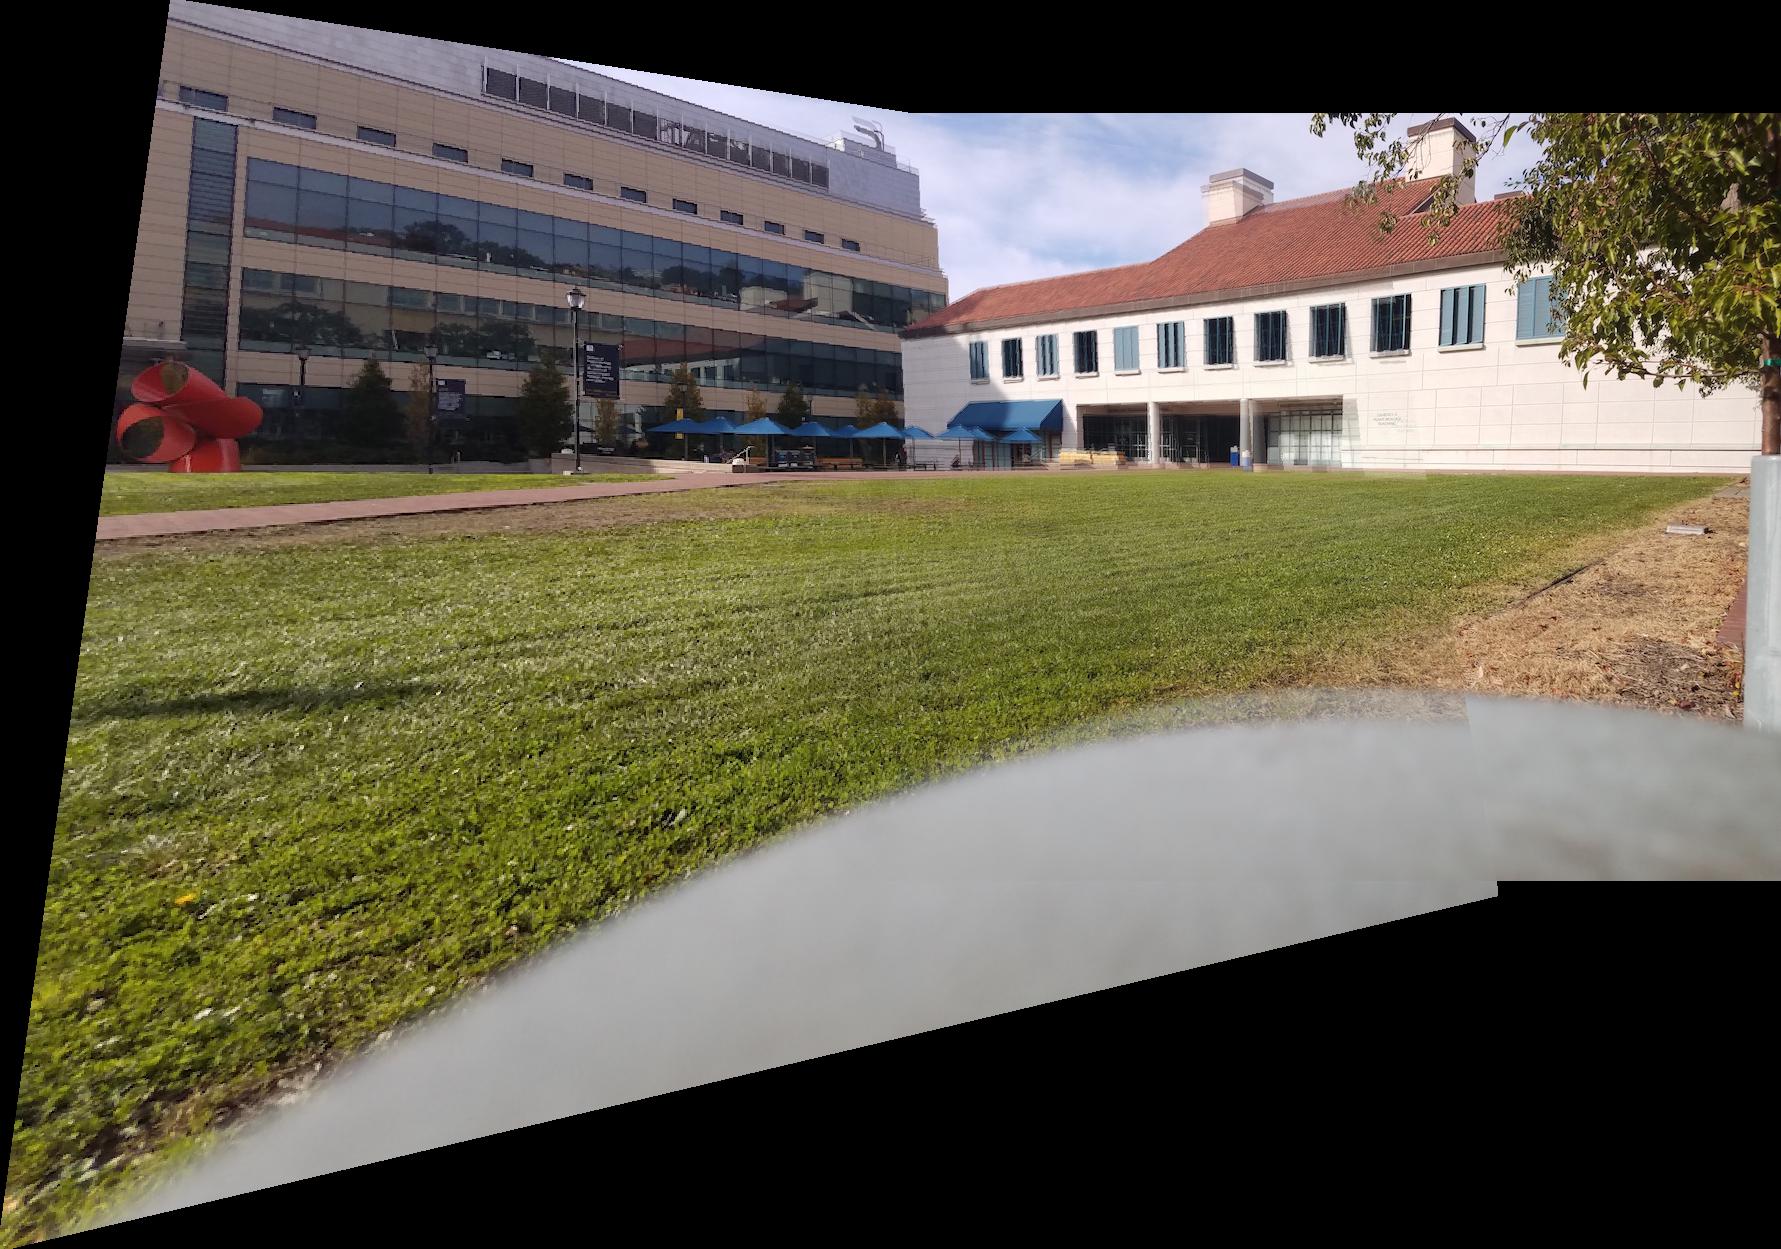
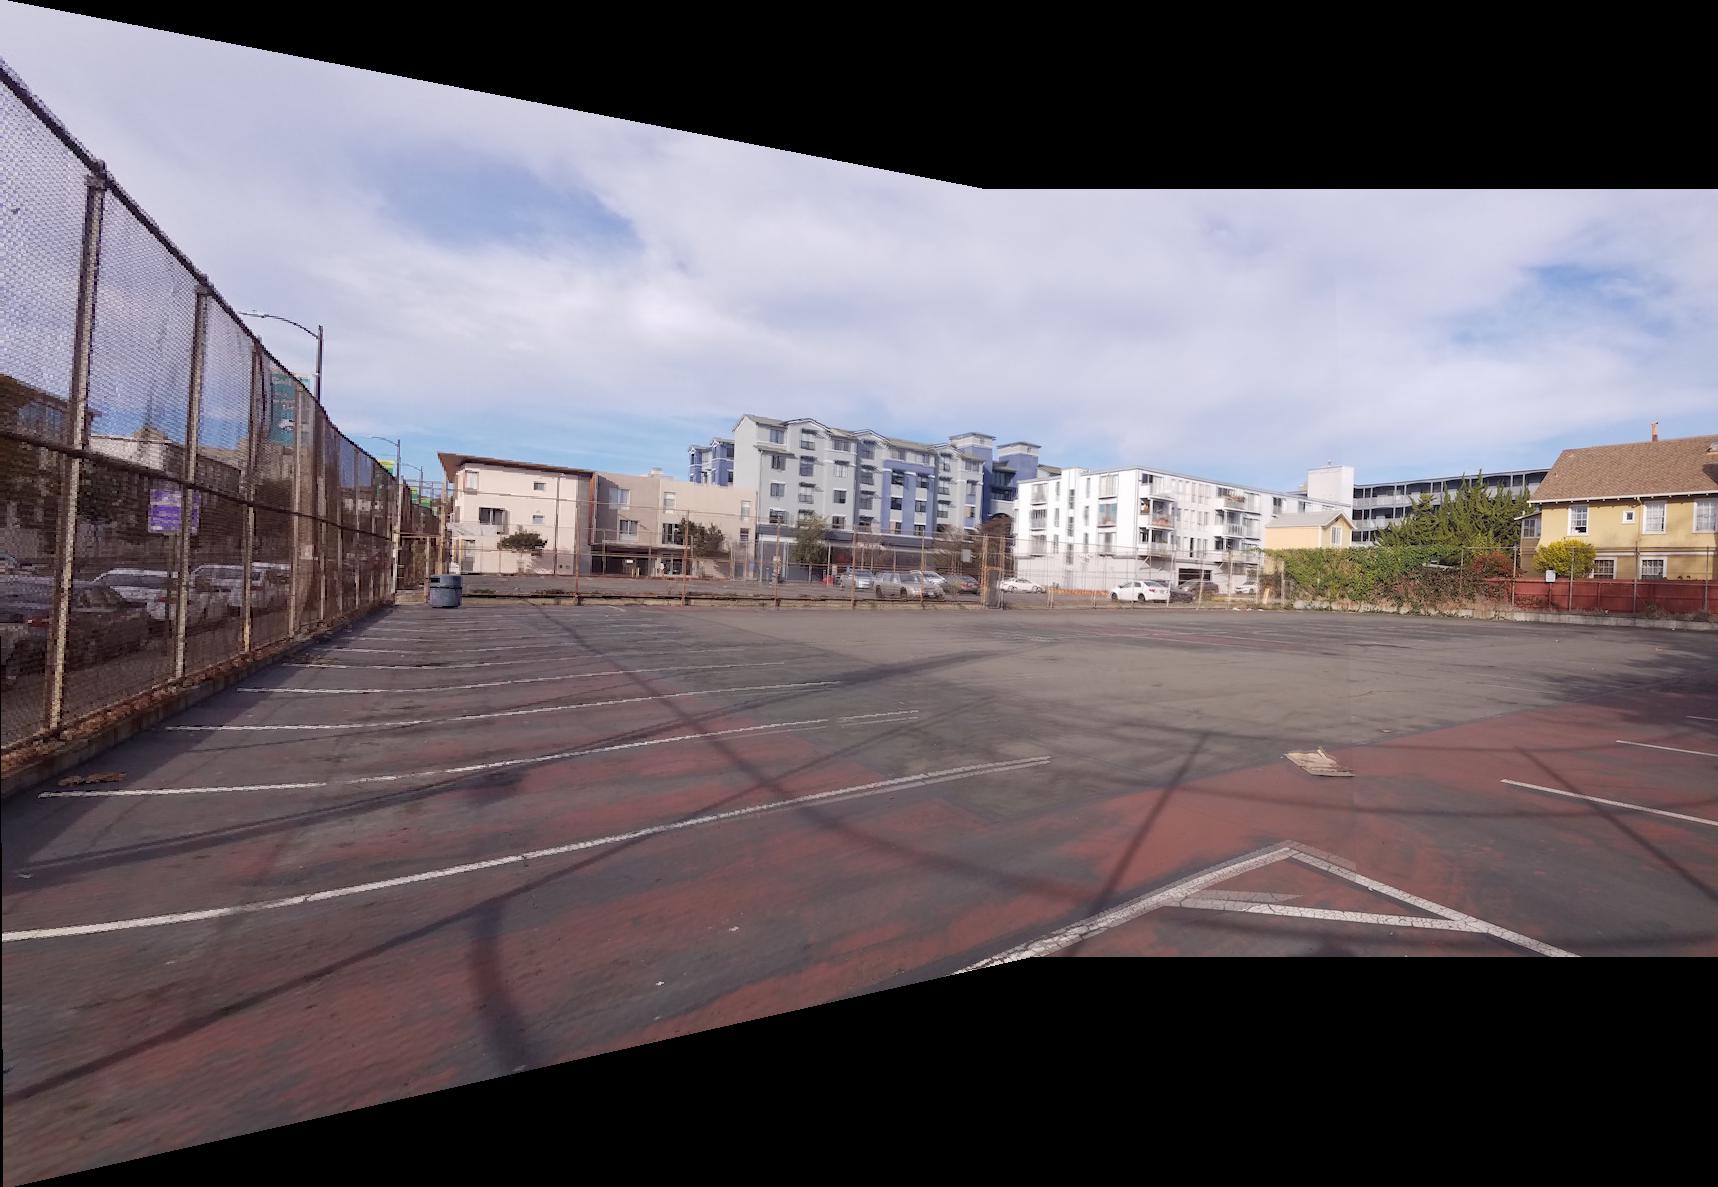
This project focuses on shooting overlapping photos and creating an image mosaic from them by projective warping them and blending them together. Cameras generally suffer from a small field of view, and the idea of an image mosaic is to force these image sets onto the same plane to create a mosaic that can capture a larger field of view. I will mainly use images that I took at the Berkeley campus for image rectification and mosaic blending. Here are some examples.
|
|
|
Recovering Homography:
We can use least squares to find the 3x3 matrix with 8 degrees of freedom that has the transformation parameters between two images. This will be critical to discover relationships between image pairs. I will create 25 correspondence pairs between a pair of images so that we will have an overdetermined system of equations. The reason we need this transformation matrix is so that we can take an image and warp it to a different plane. Using point correspondences, I find H from p' = H*p, where p' and p are my corresponding coordinates from the two images. I can solve this by setting up a least squares equation:
A =
[x1 y1 1 0 0 0 -x1x2 -y1x2]
[0 0 0 x1 y1 1 -x1y2 -y1y2]
x =
[a b c d e f g h]
b =
[x2 y2]
Where x1, y1 are my points from correspondence #1 in image 1 and x2, y2 are my points from correspondence #1 in image 2. Then I solve for a, b, c, d, e, f, g, h. If I have more than one correspondence, then I just append rows to A and elements to b as appropriate.
Image Rectification:
Once we find the 3x3 matrix from the previous part, we can use the matrix with inverse warping to get each warped pixel from its corresponding pixel in the first image, or forward warping to send each pixel to its warped pixel location. Here, I'll rectify my mousepad and laptop so that the point of view of the image will be straight down at the two objects.
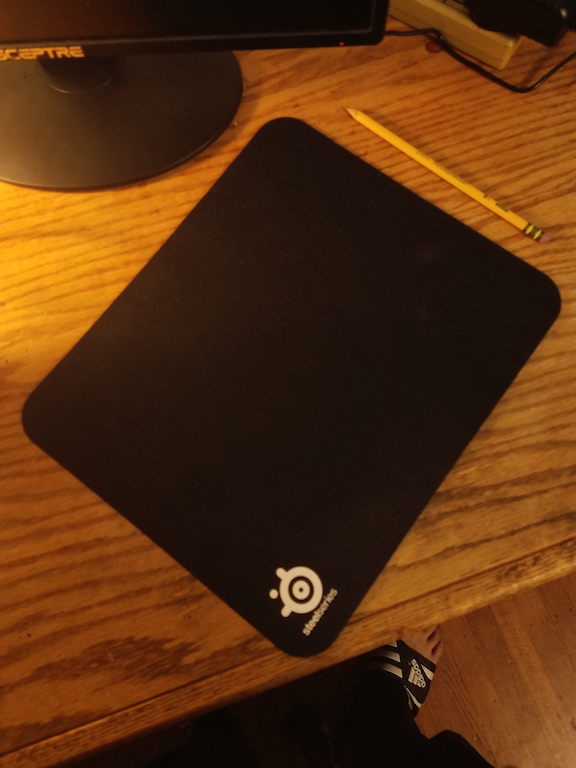
Image 1 |
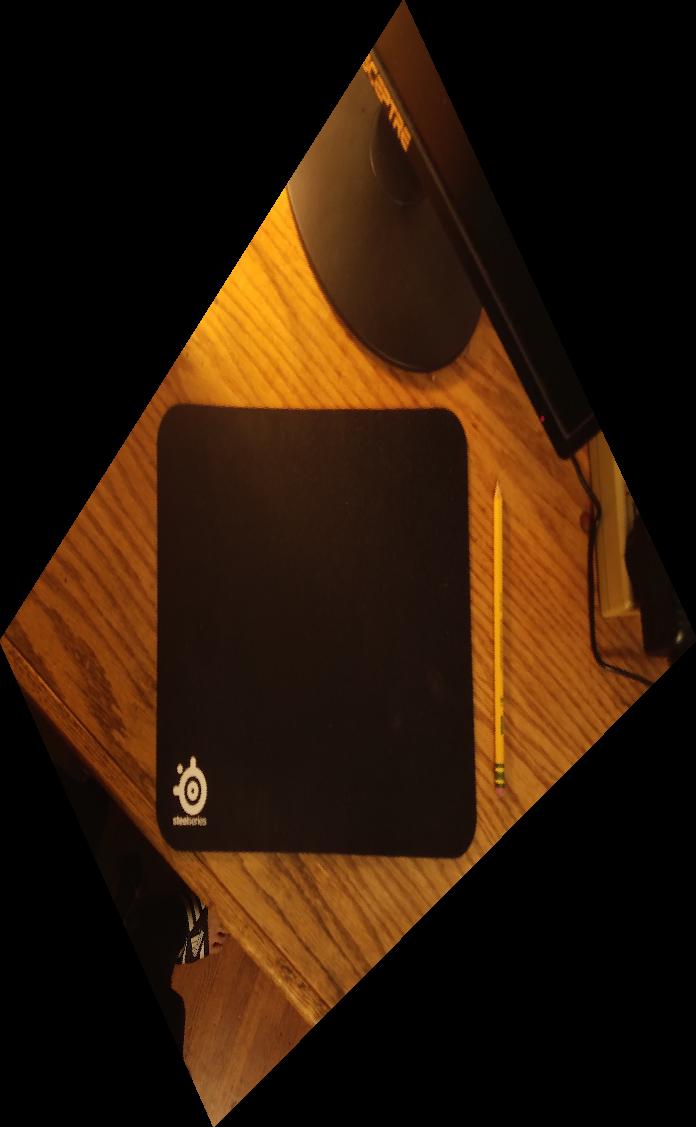
Image 1, rectified |

Image 2 |

Image 2, rectified |
Mosaic Blending:
Now, we can perform a blended mosaic by using the previous techniques. We simply have to warp images with a projective transformation onto the same plane and stitch the overlapping portions together to form a combined image. We rectify the first image to the plane of the second image via correspondence points, then we do inverse warping to create the new image. We can use blending via weighted averaging or Laplacian pyramids to making the transition between images more seamless. Here, I chose to use weighted averaging. I created a distance matrix, where 1 is the "true center" and it decays as the matrix decays outward. Then I would append this to my images as their alpha values. The only issue was that a matrix of shape r, c only had a true center when r and c were both odd. When r or c was even, or when r and c were both even, I had to designate multiple centers. Here are some examples of the distance matrix:
r = 3, c = 3
| 0 | 0.29289322 | 0 |
| 0.29289322 | 1 | 0.29289322 |
| 0 | 0.29289322 | 0 |
r = 3, c = 4
| 0 | 0.29289322 | 0.29289322 | 0 |
| 0.29289322 | 1 | 1 | 0.29289322 |
| 0 | 0.29289322 | 0.29289322 | 0 |
| 0 | 0.29289322 | 0 |
| 0.29289322 | 1 | 0.29289322 |
| 0.29289322 | 1 | 0.29289322 |
| 0 | 0.29289322 | 0 |
r = 4, c = 4
| 0 | 0.29289322 | 0.29289322 | 0 |
| 0.29289322 | 1 | 1 | 0.29289322 |
| 0.29289322 | 1 | 1 | 0.29289322 |
| 0 | 0.29289322 | 0.29289322 | 0 |
Mosaic examples are below. Even this weighted averaging approach has some artifacts, particularly in the 2nd blending example. However, I think it worked out pretty well for my 1st and 3rd examples. If I just overwrote one picture with another, it would lead to a serious vertical seam. But with weighted averaging, the seam is much more subtle.
|
Image 1 |
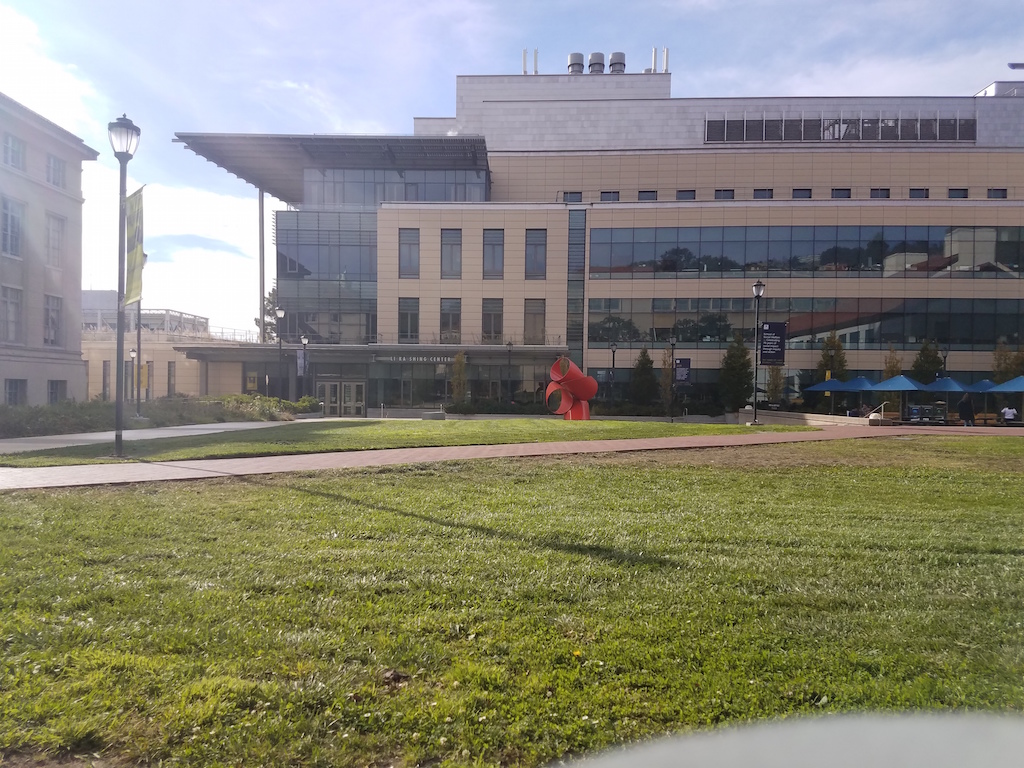
Image 2 |
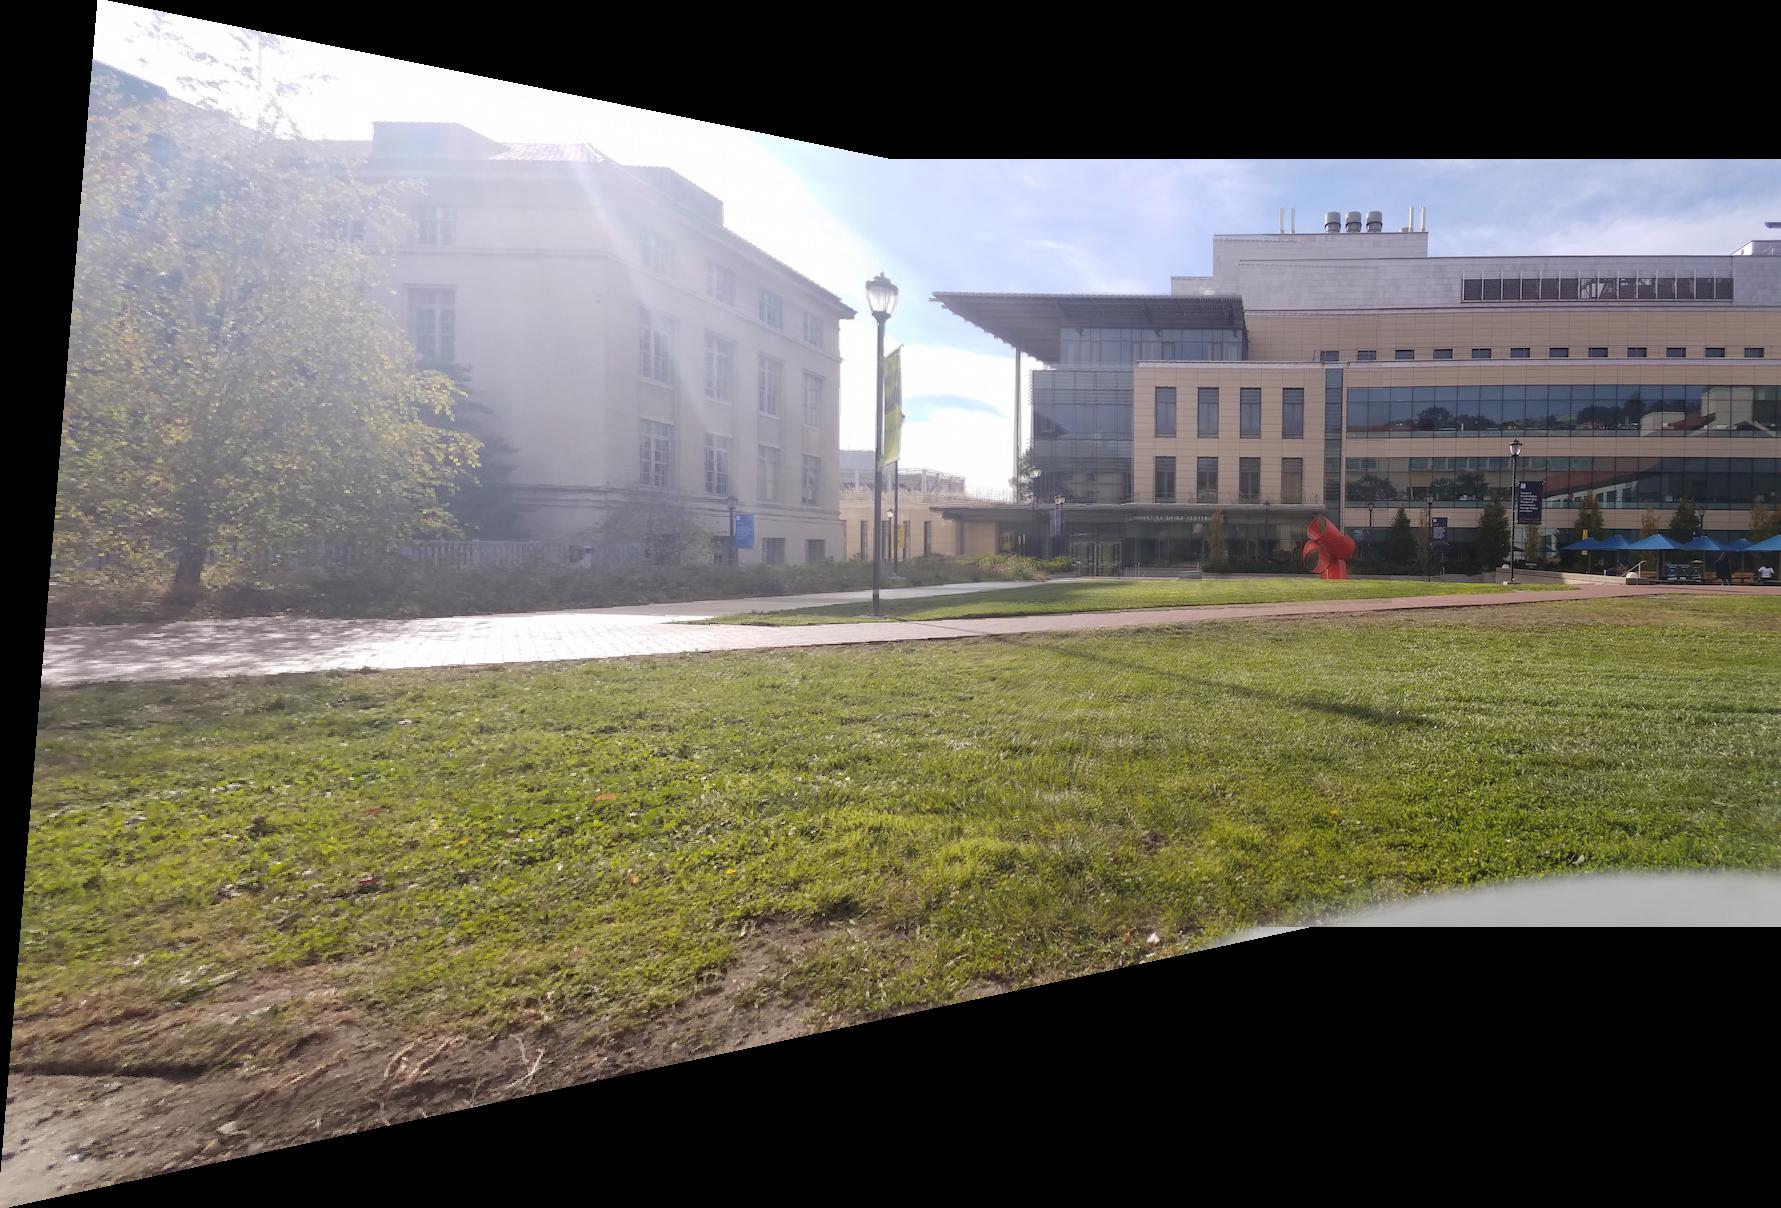
1 & 2 blended |
|
Image 3 |
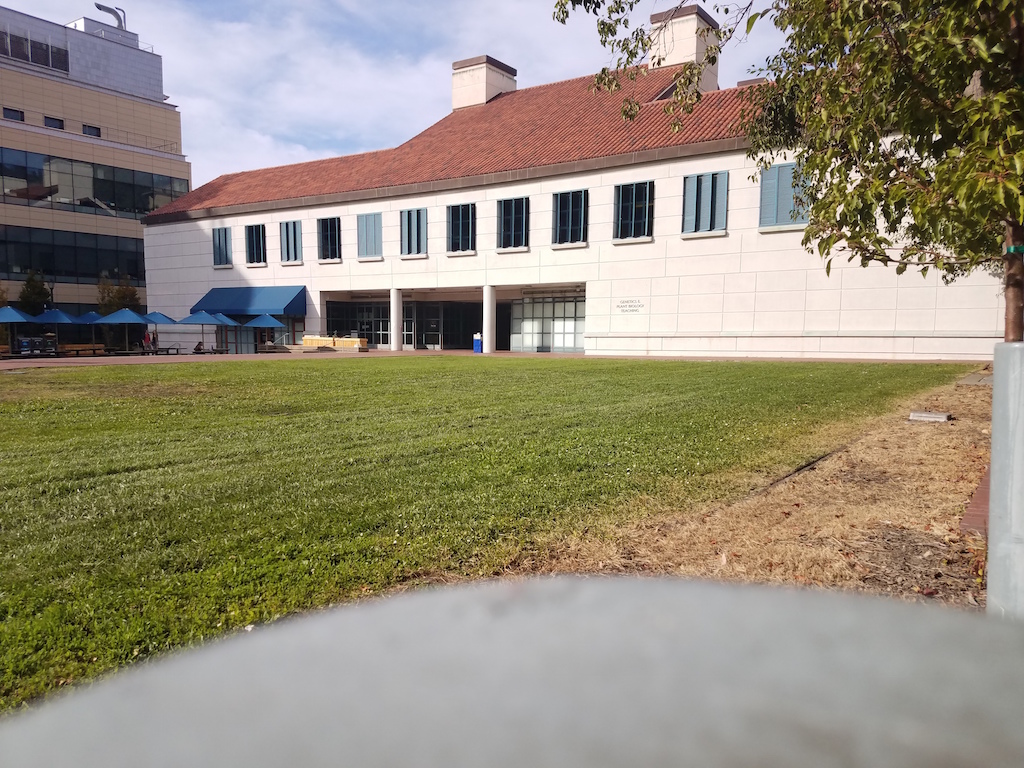
Image 4 |
3 & 4 blended |
|
Image 5 |
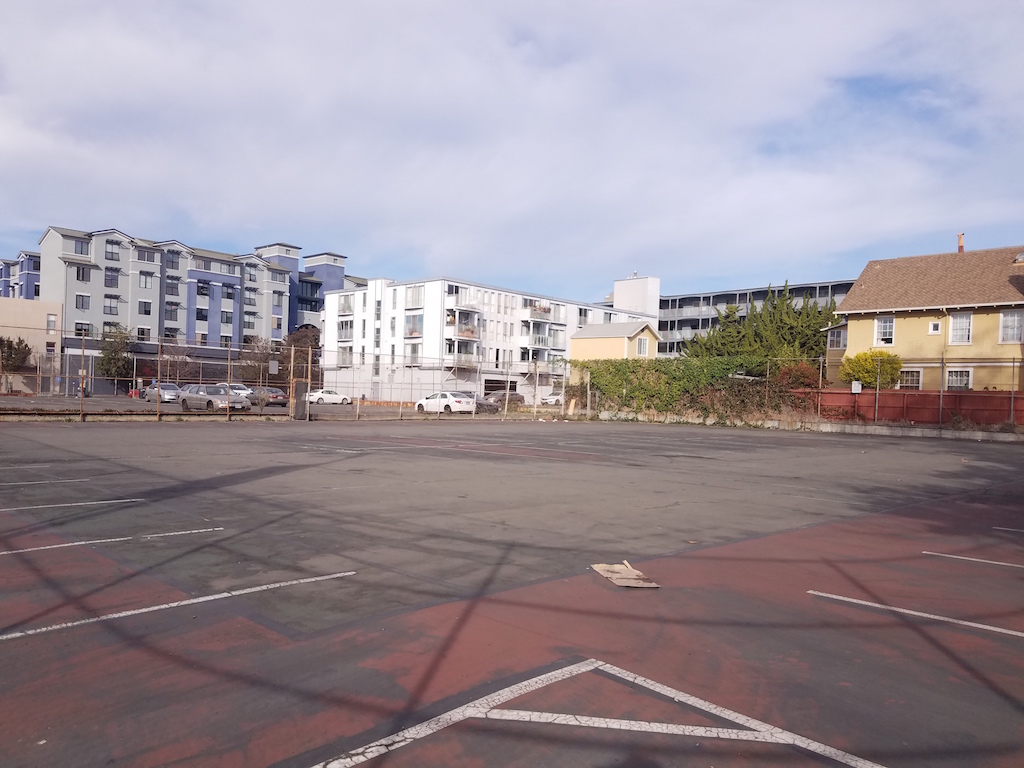
Image 6 |
5 & 6 blended |
Summary/Reflection:
This project was fairly unique, and shows me that I have a long way to go when it comes to understanding photography. I've never even played around with the panoramic capabilities of my camera, so seeing this in action was a new experience for me. The coolest thing I learned from this project was that spherical panoramas were possible. I've never seen one before in my life until I saw it in lecture firsthand. Also, I realized it was important to take photos without people, otherwise they would ruin my photos. Good thing I took a lot of photos for this project!