Overview
In this project, we calculated the homographies, or image transitions, between sets of points, and used the homography to rectify images taken at different angles. We also used the homography between two sets of corresponding points to stitch two photos of different parts of a scene together into a larger photo mosaic.
Section I: Post-processing
Part 1: Shoot Pictures
For this assignment, it was important to take the images so that they were all rotated around the camera and not translated at all. This helps ensure that the homography is able to capture the transformation of the image between locations. Since I was using my phone's camera, I didn't have much control over my camera's settings, but I made sure not to deliberately change any of them.
Part 2: Recover Homographies
In order to compute Homographies, I took two sets of points, and used the quadratic relation between them to create the matrix below.
 Homography formula
|
Part 3: Warp the Images
Once the homographies are calculated, I warped the image by finding all the locations in the original image that correspond to the pixels in the new image, and then pulling those pixels from the original image. I found the locations of these pixels using the inverse homography matrix. This essentially produces an image which is a free deformed version of the original.
Part 4: Image Rectification
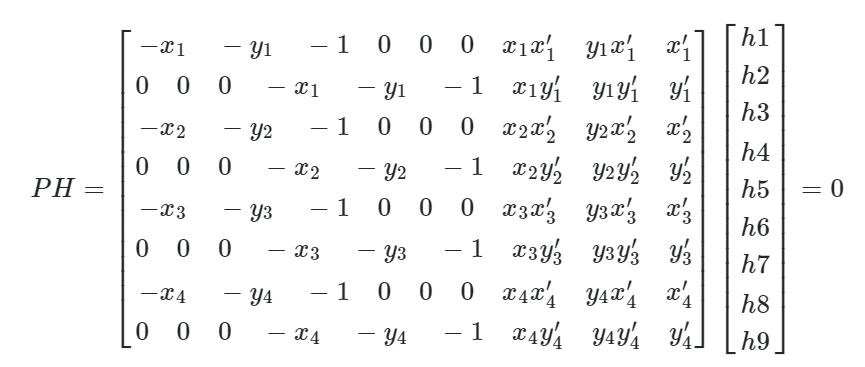
Warping an image of a rectangular object to a set of points that describes a rectangle will cause the object to appear rectangular as it should. Some results are shown below.
 Original paper image
|
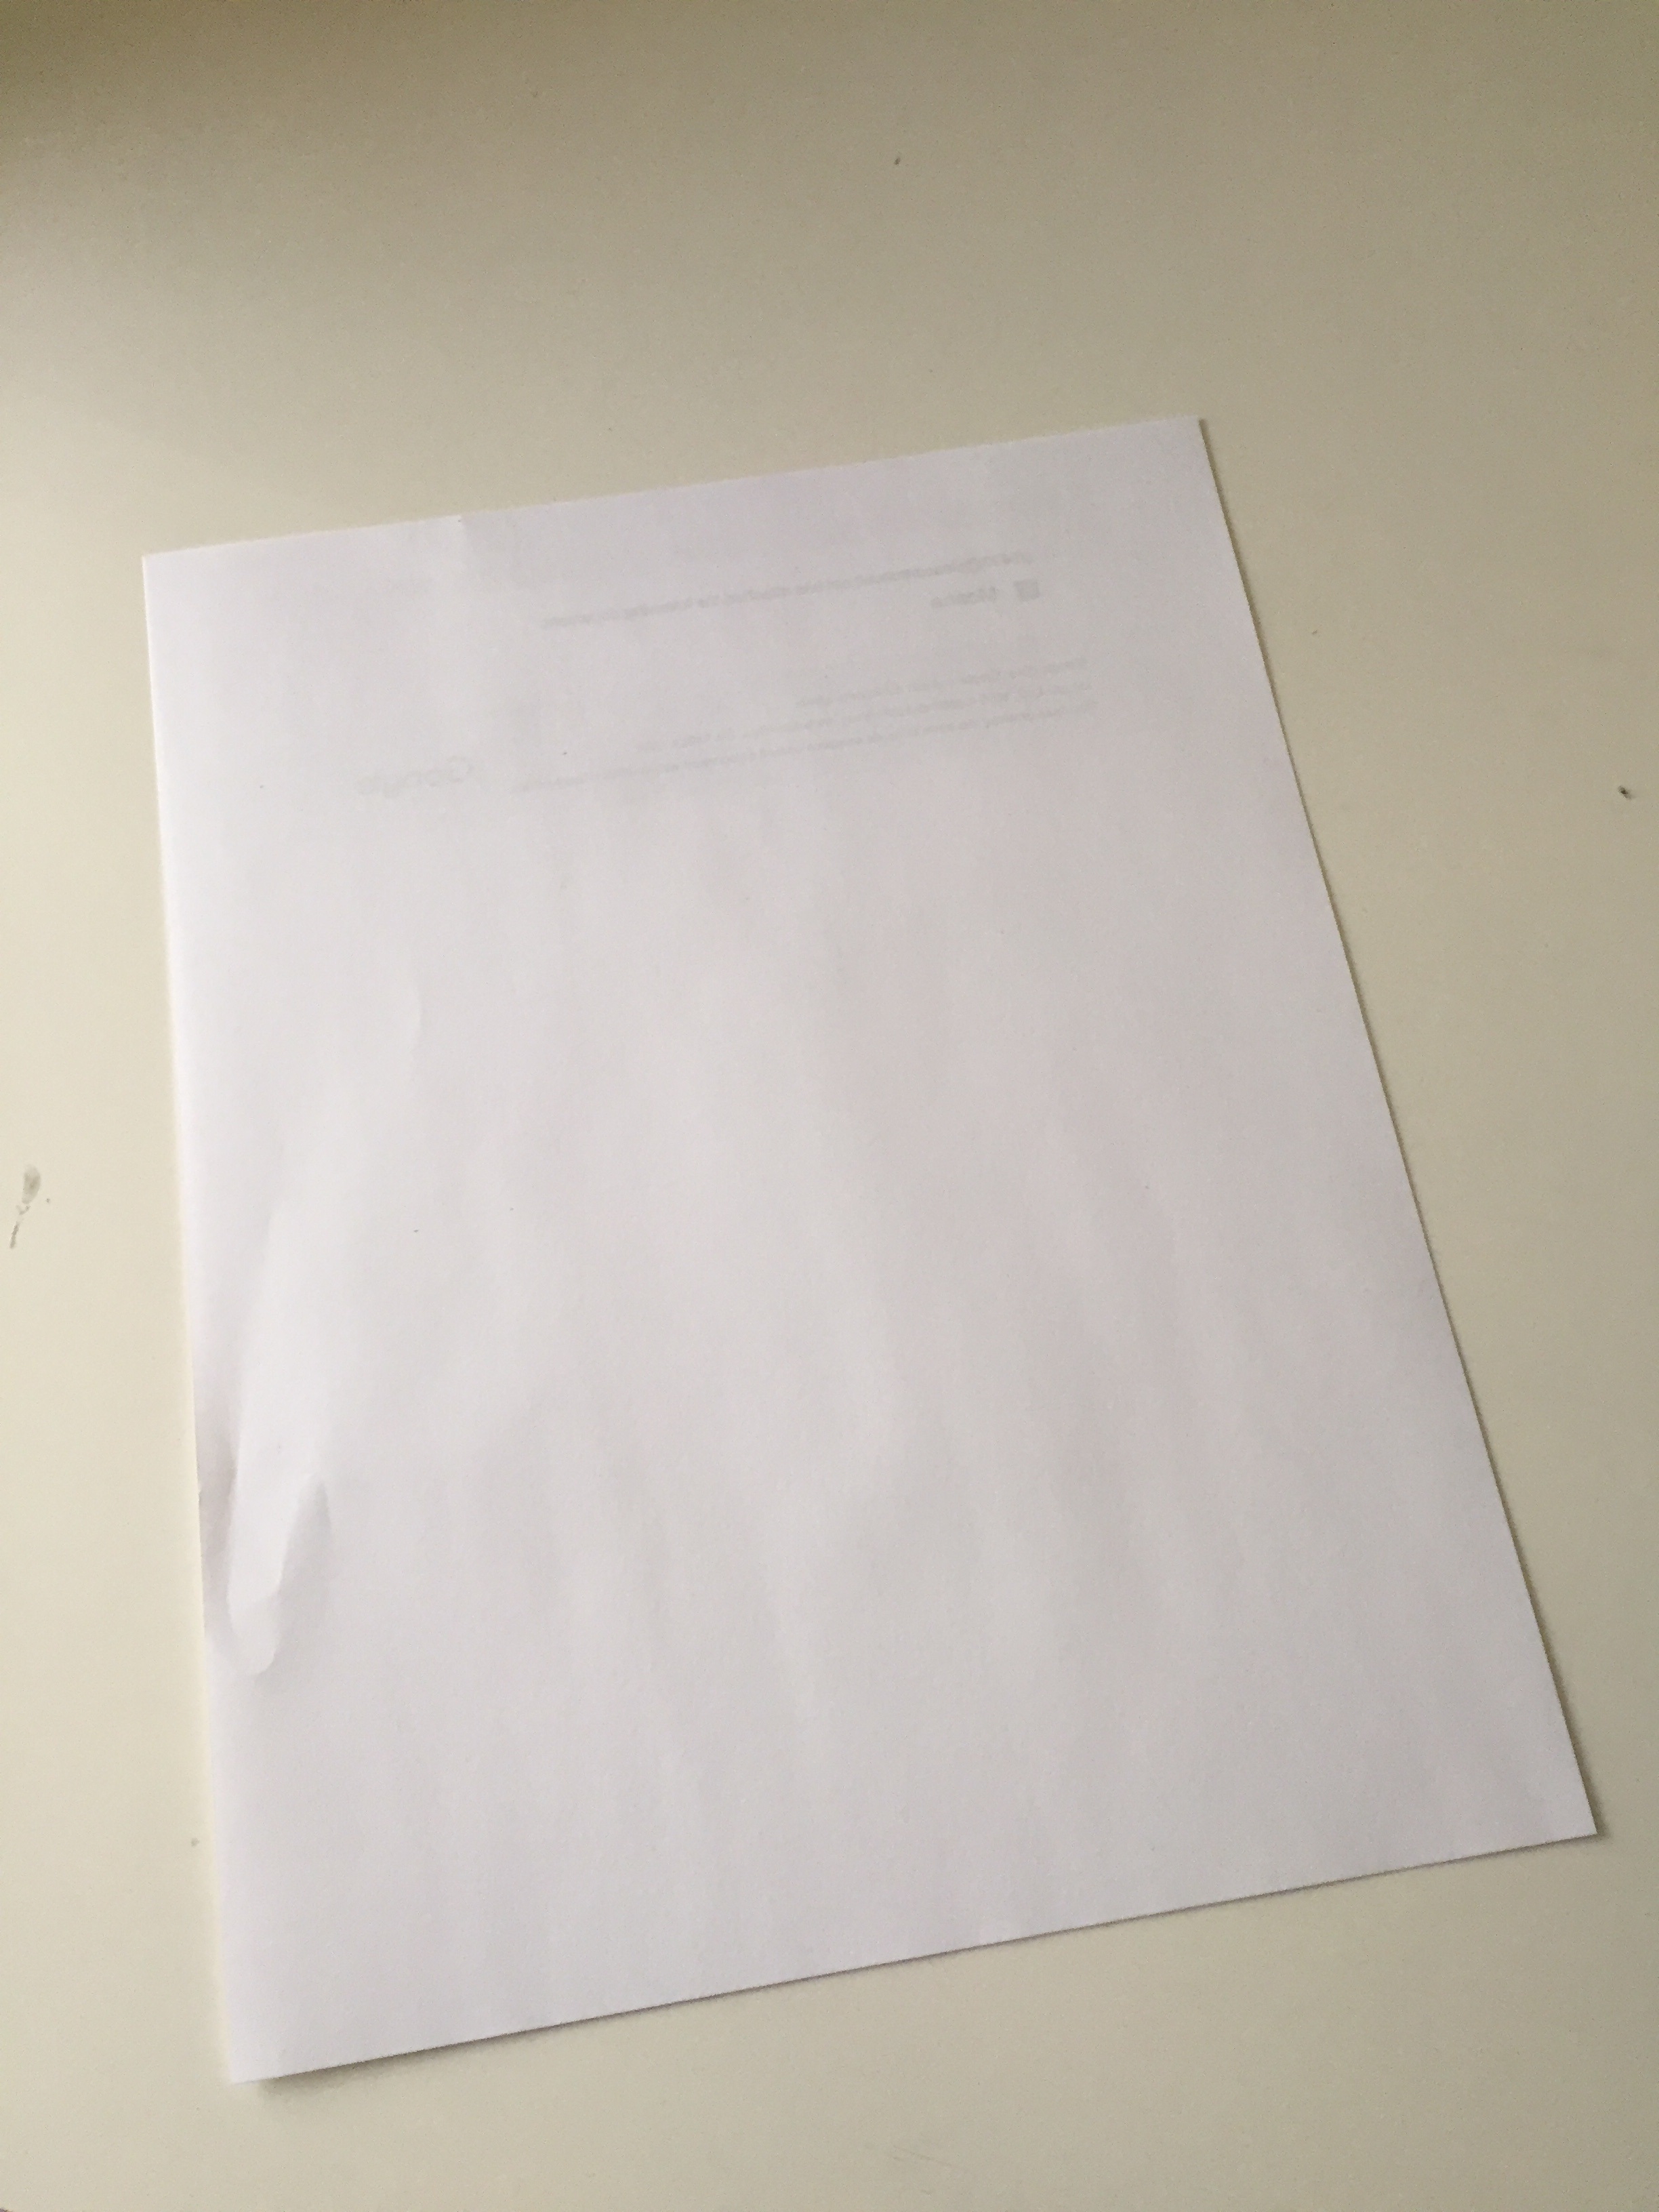
 Rectified
|
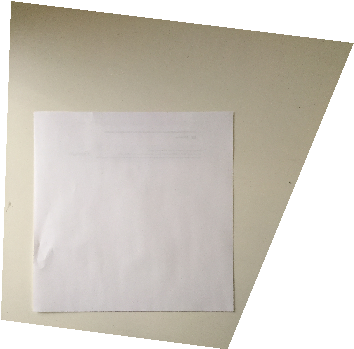
 Original frame image
|
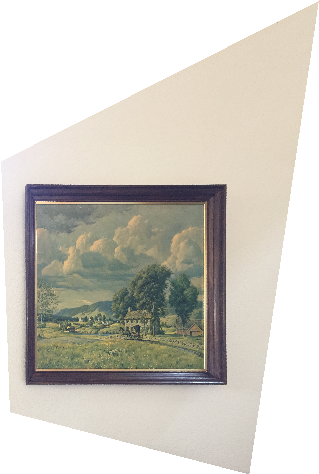 Rectified
|
Part 5: Blend Mosaic
For this part, I warped one image into another and then blended the two images together. Here are some results.
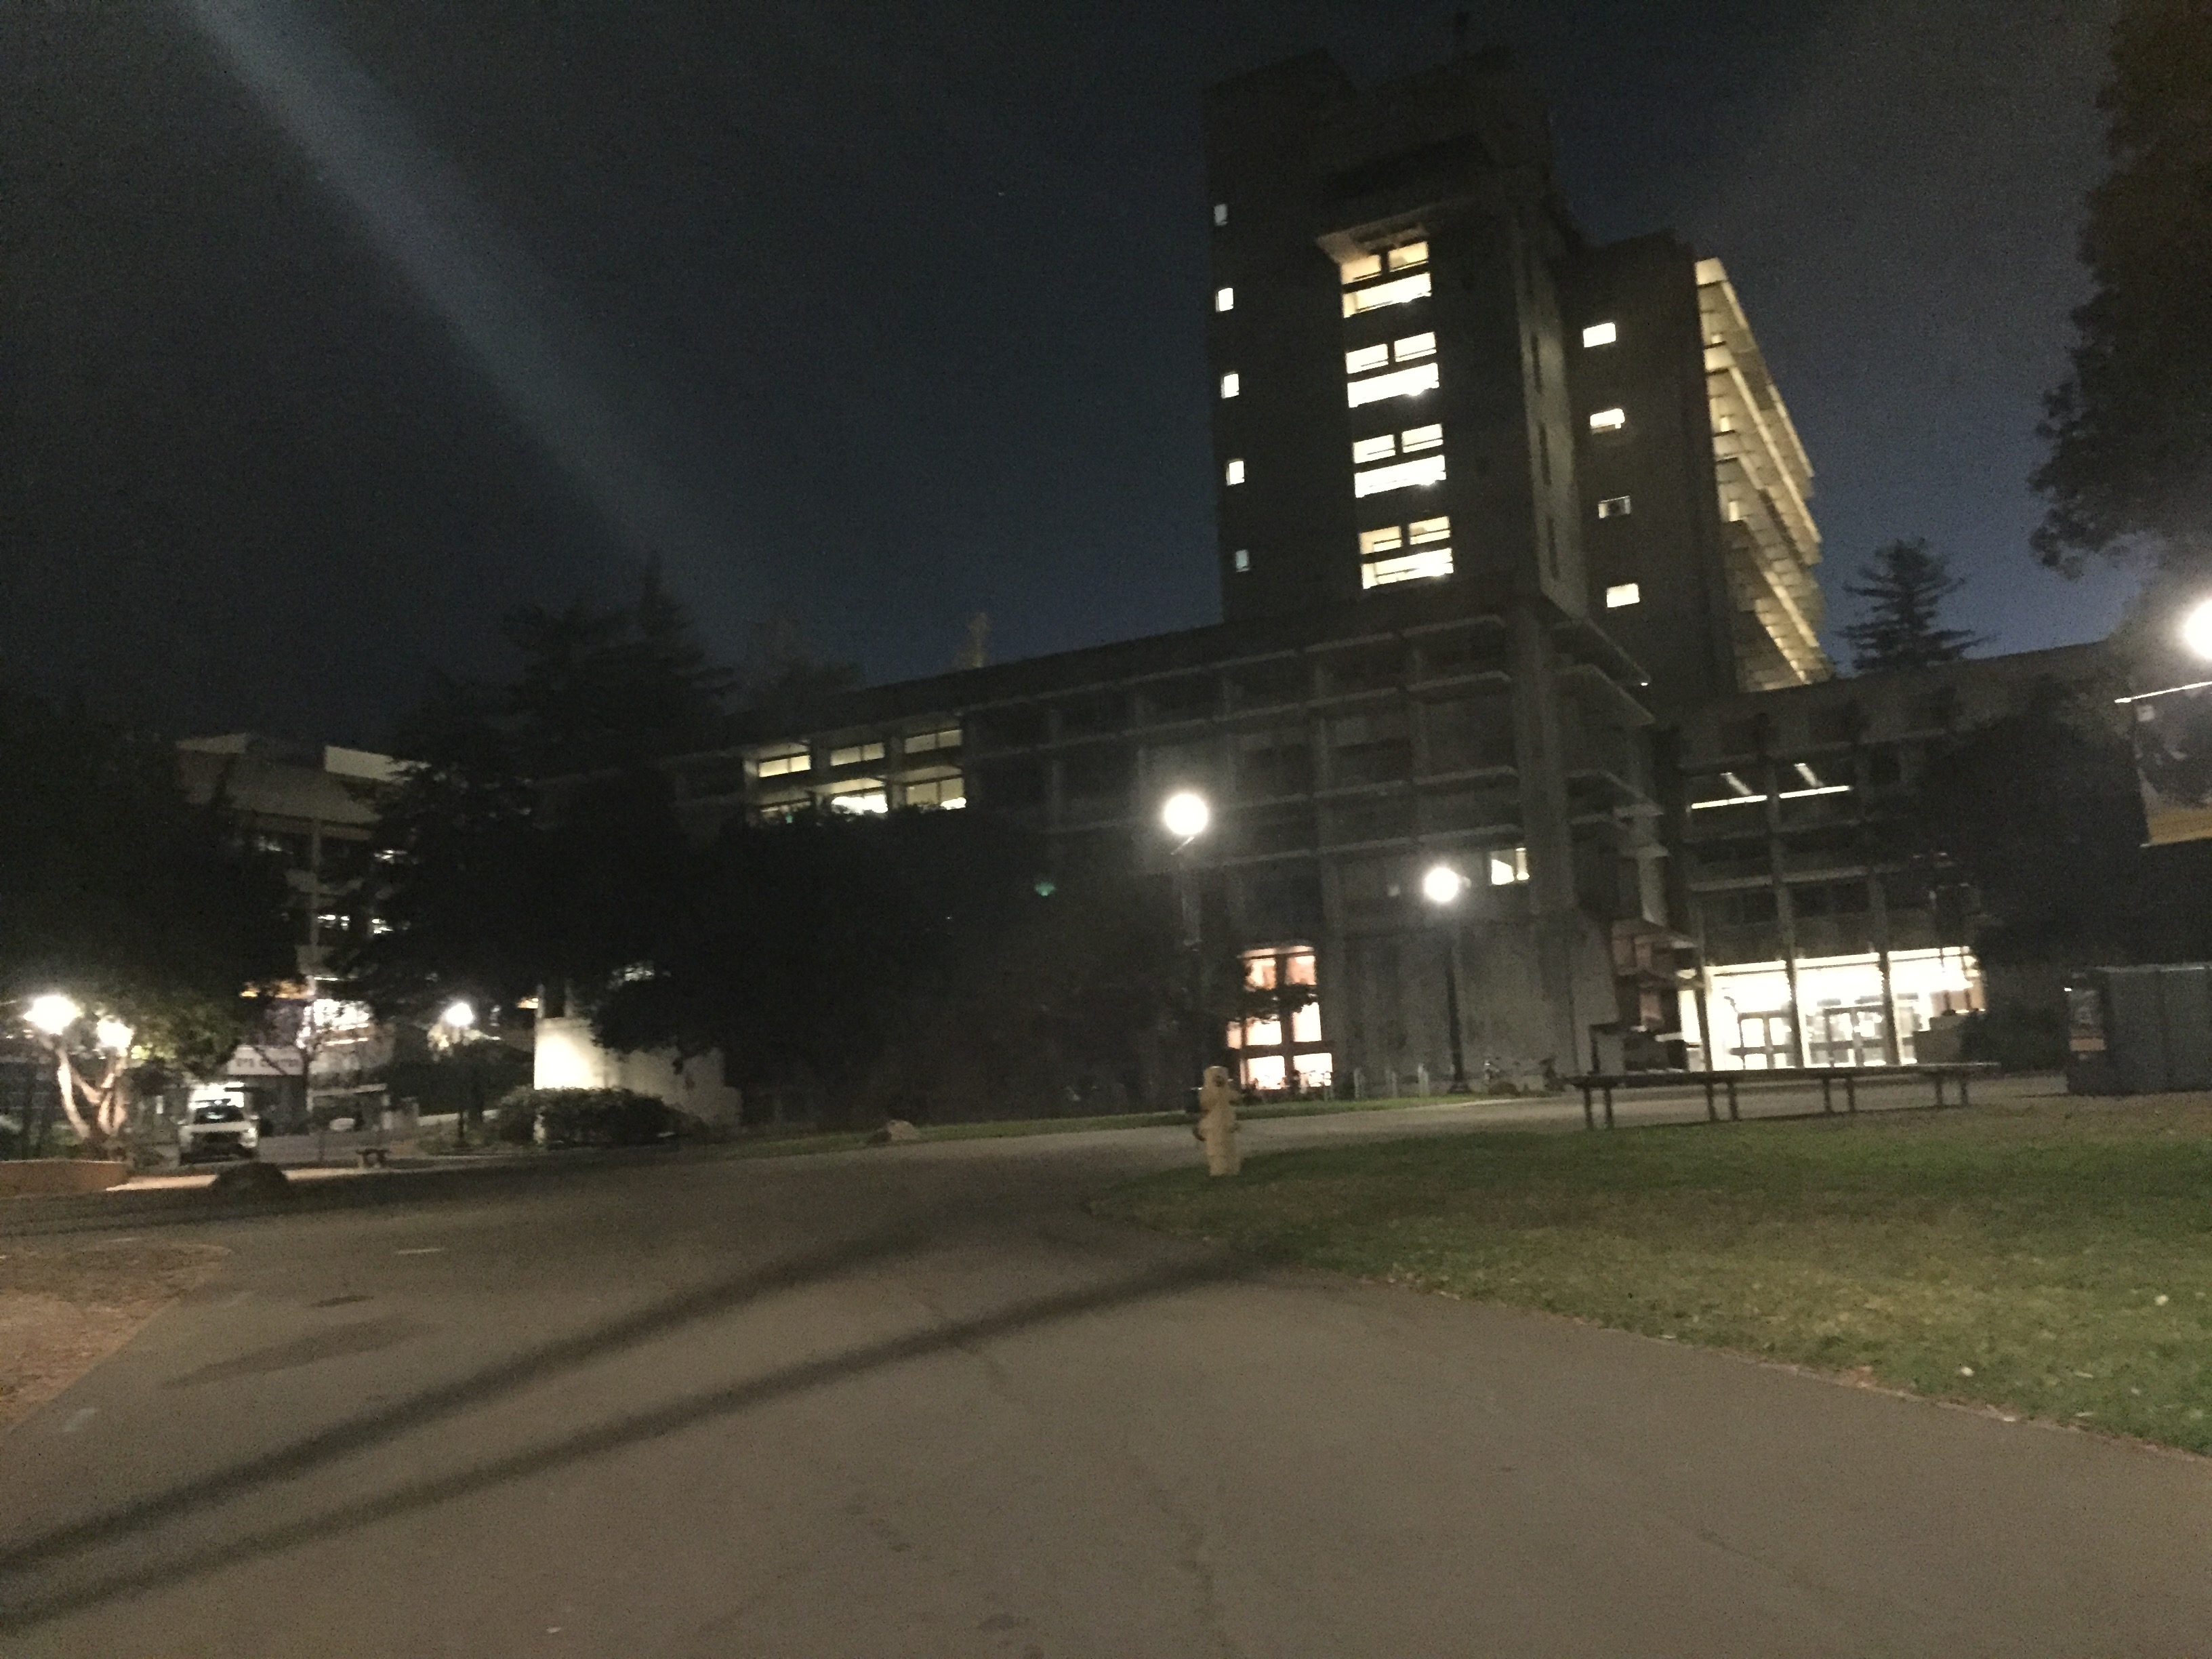 Night1.
|
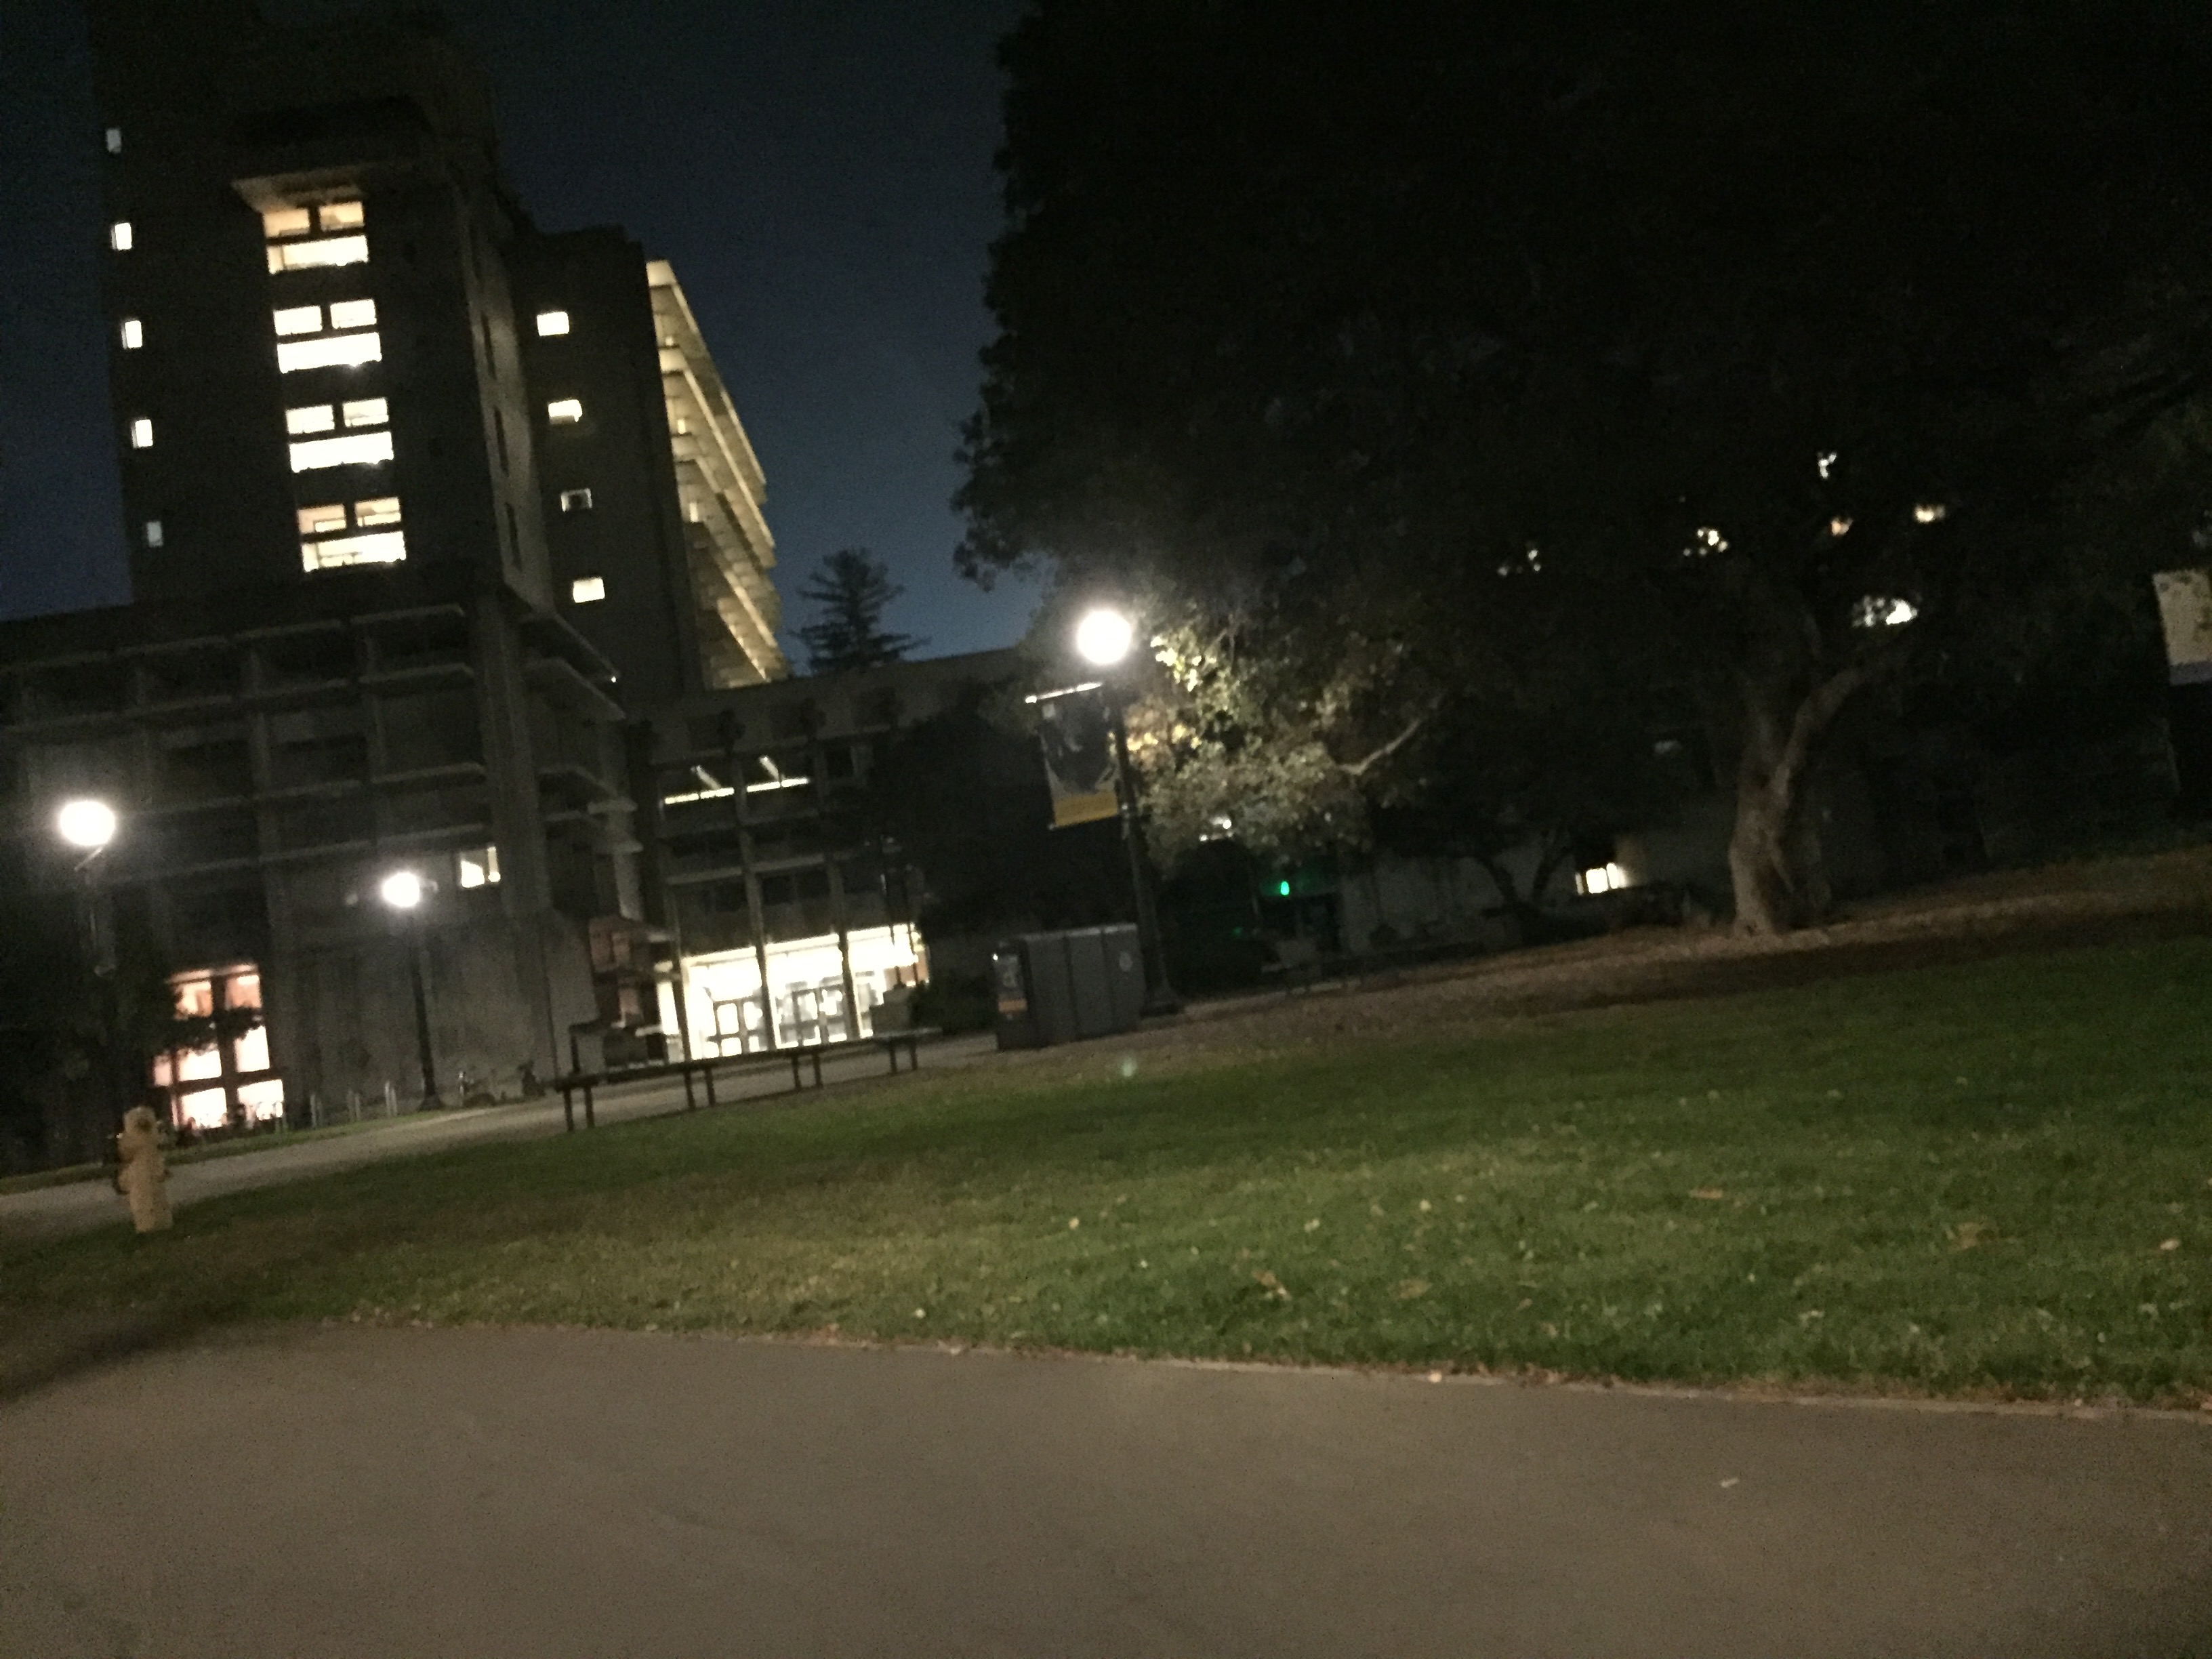 Night2
|
 Blended
|
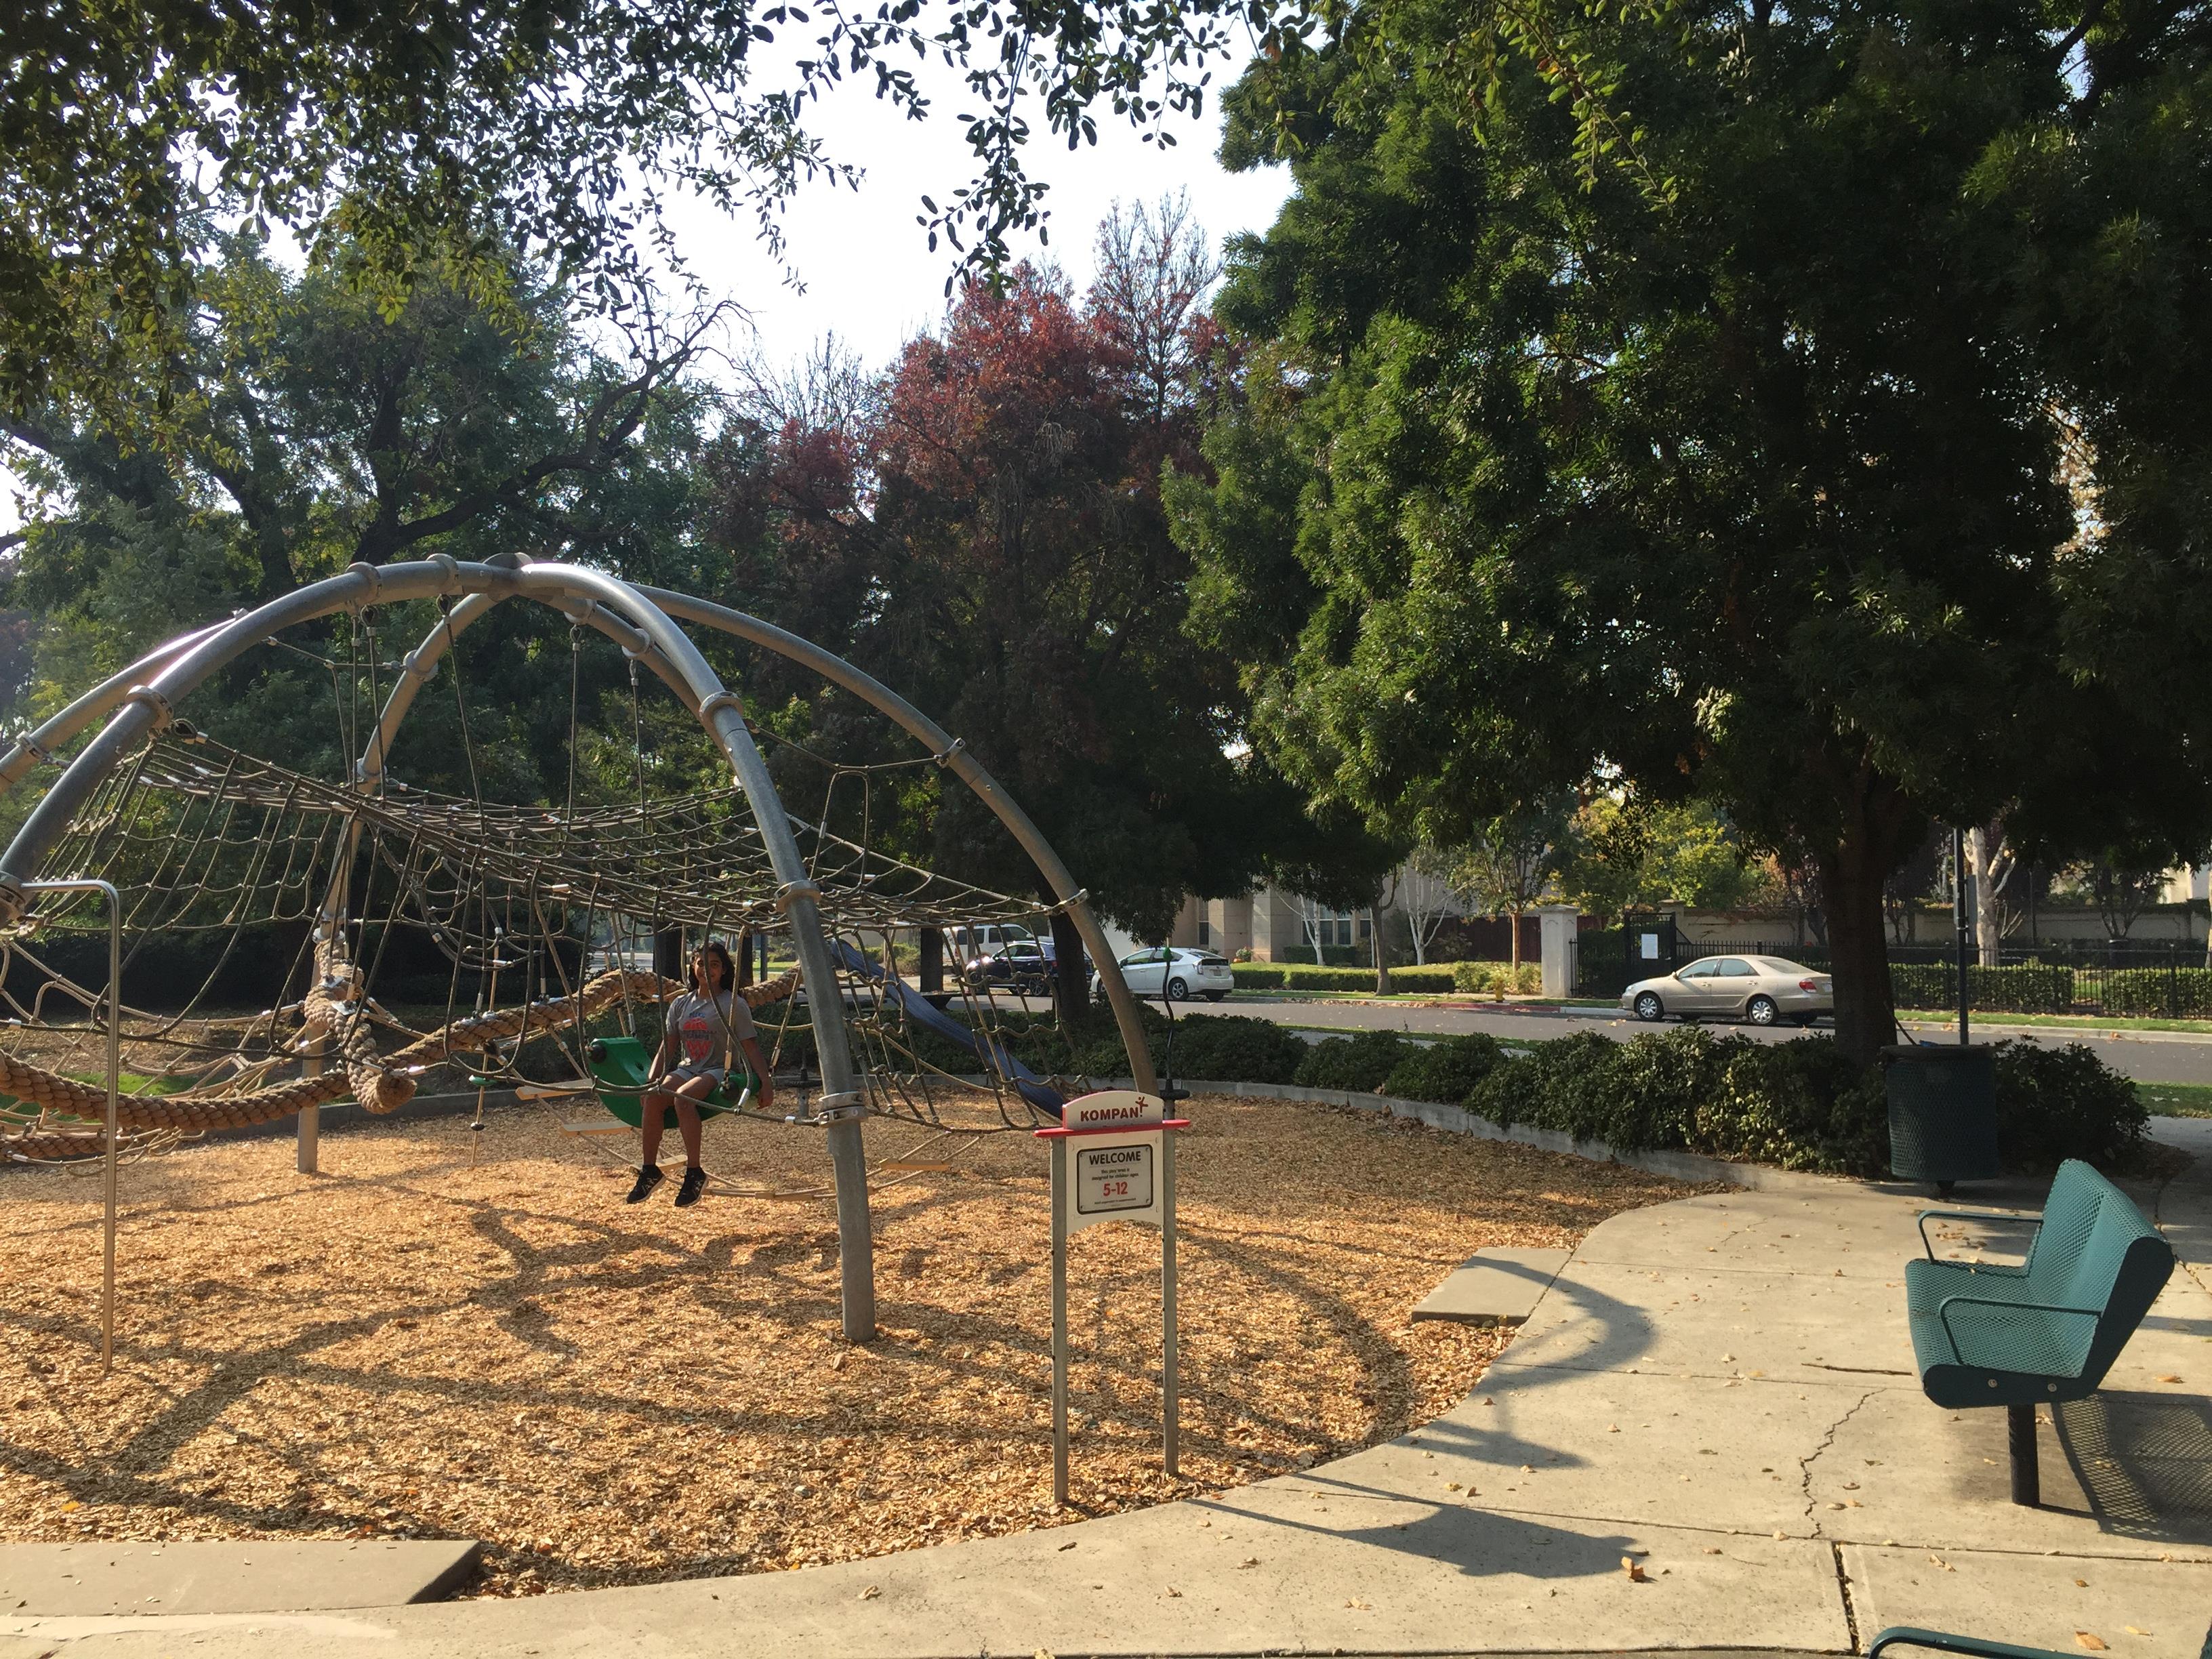
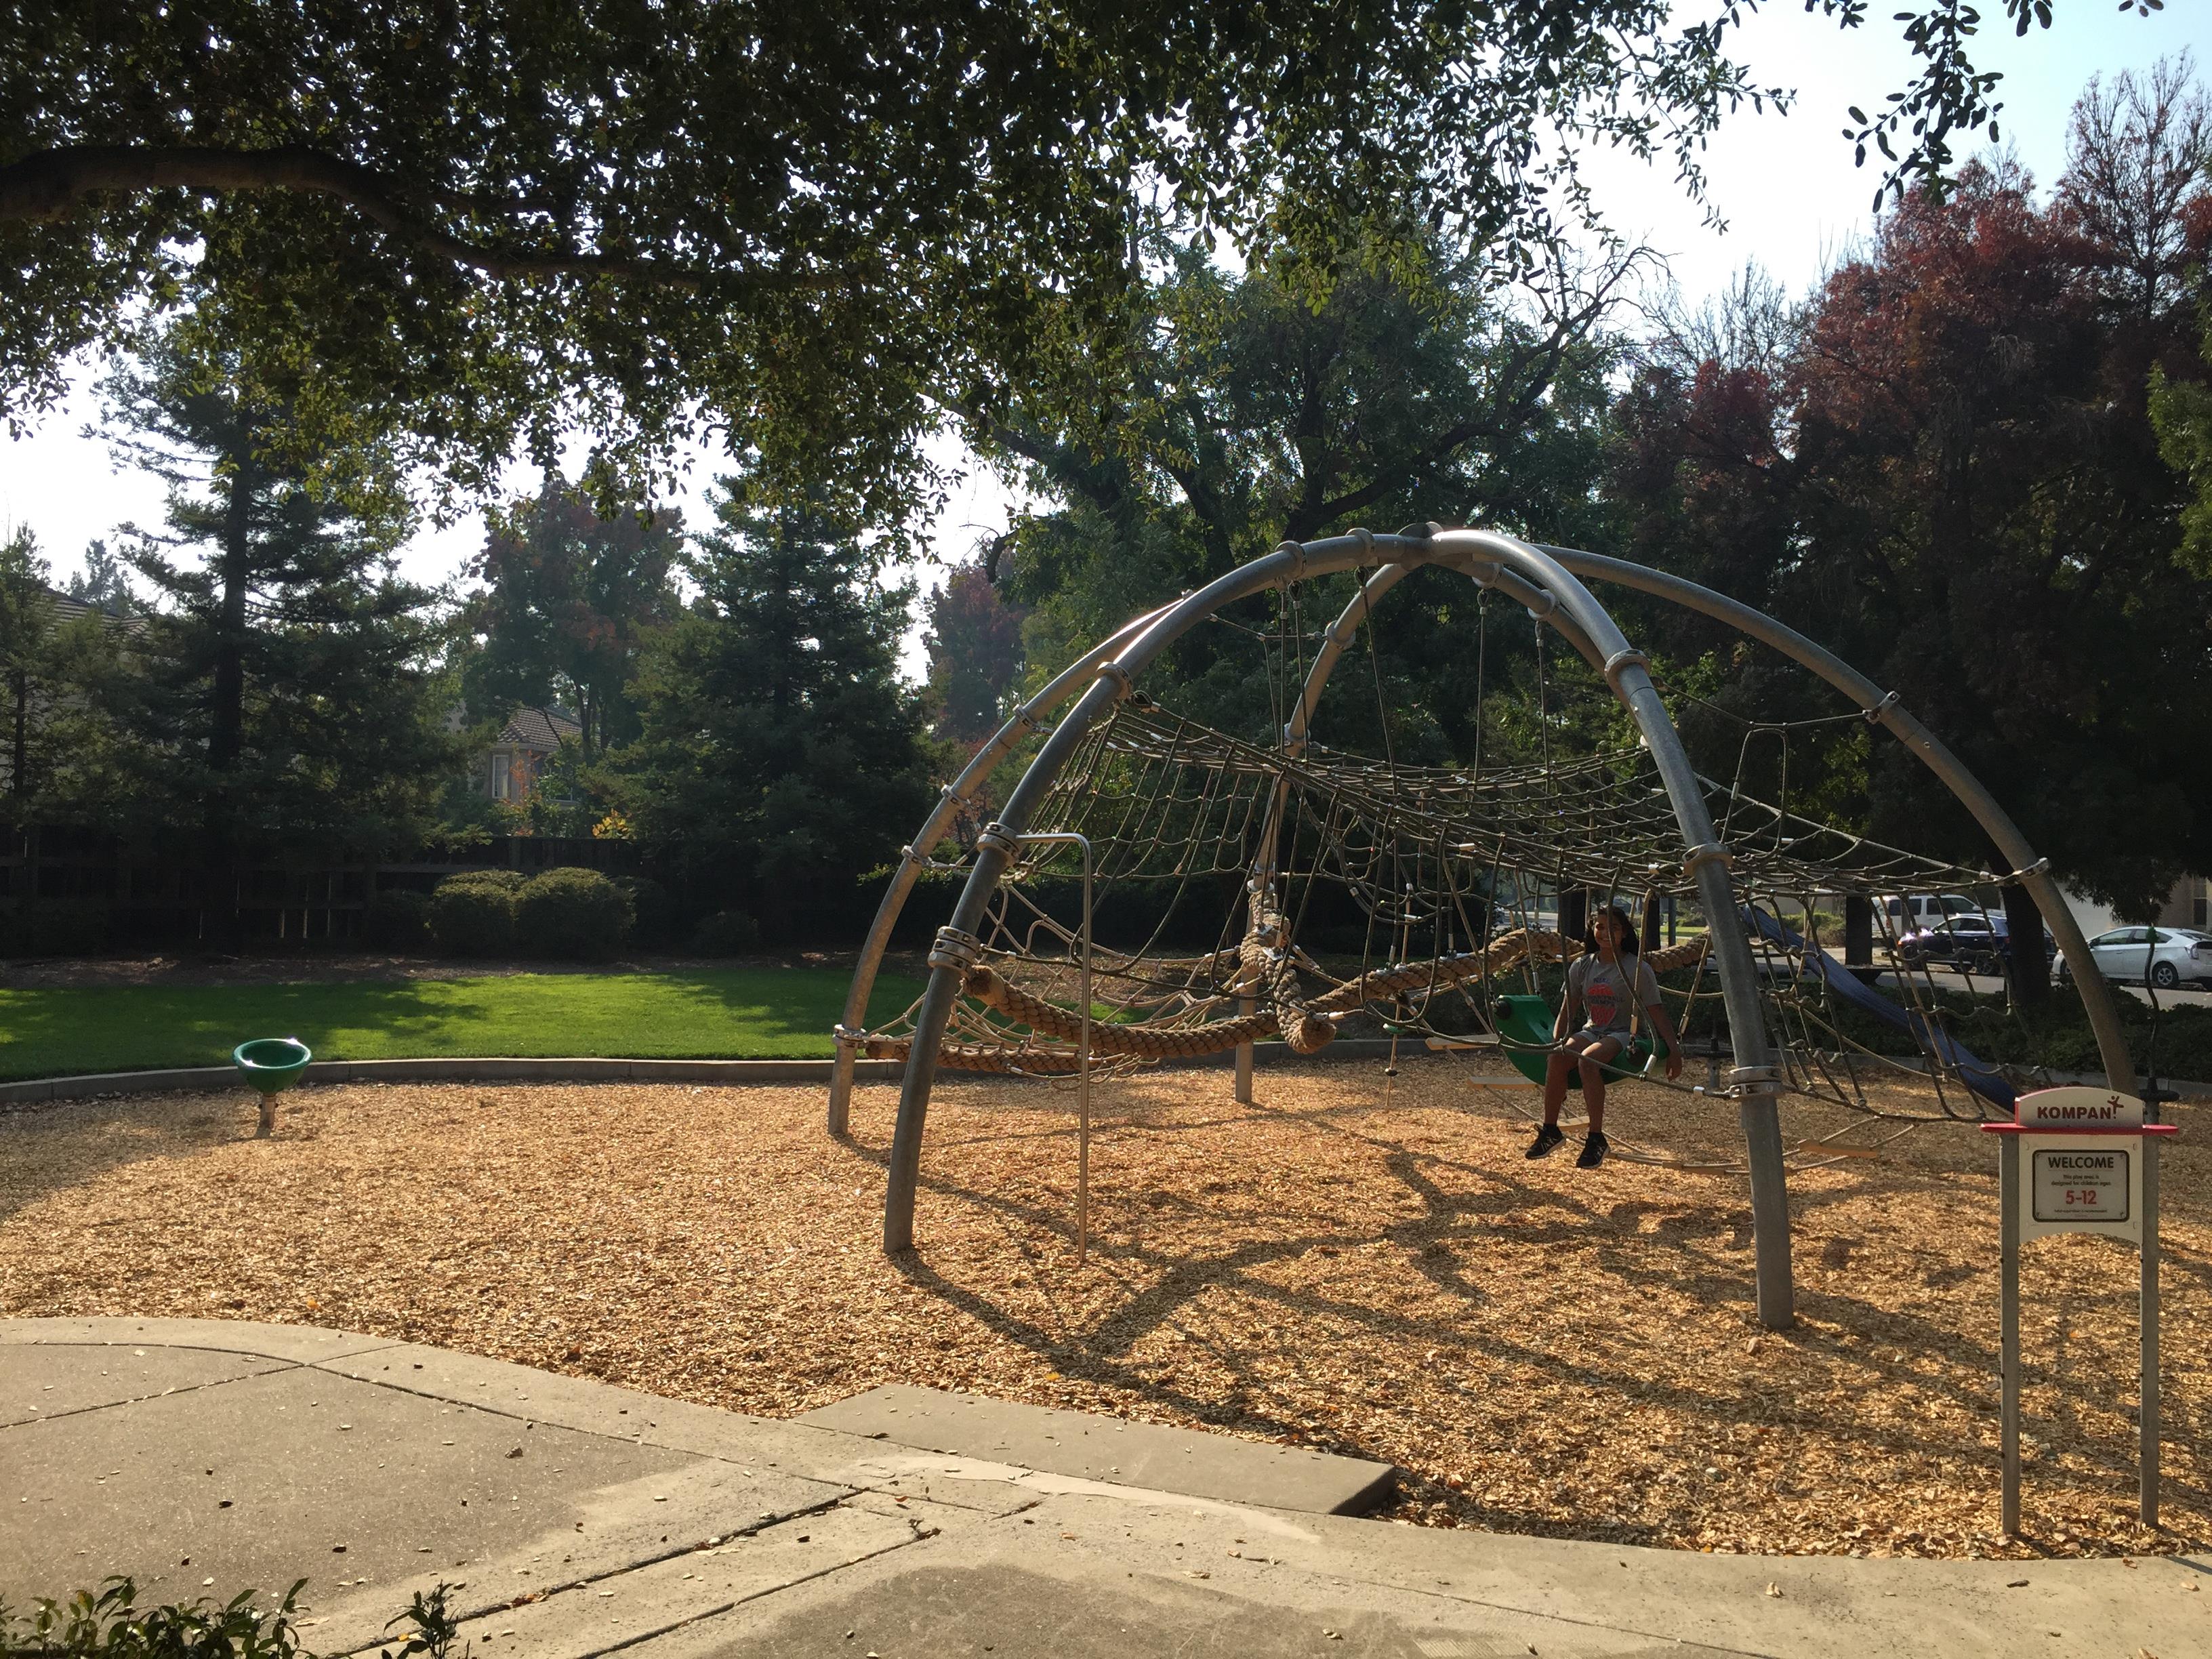 Park1.
|
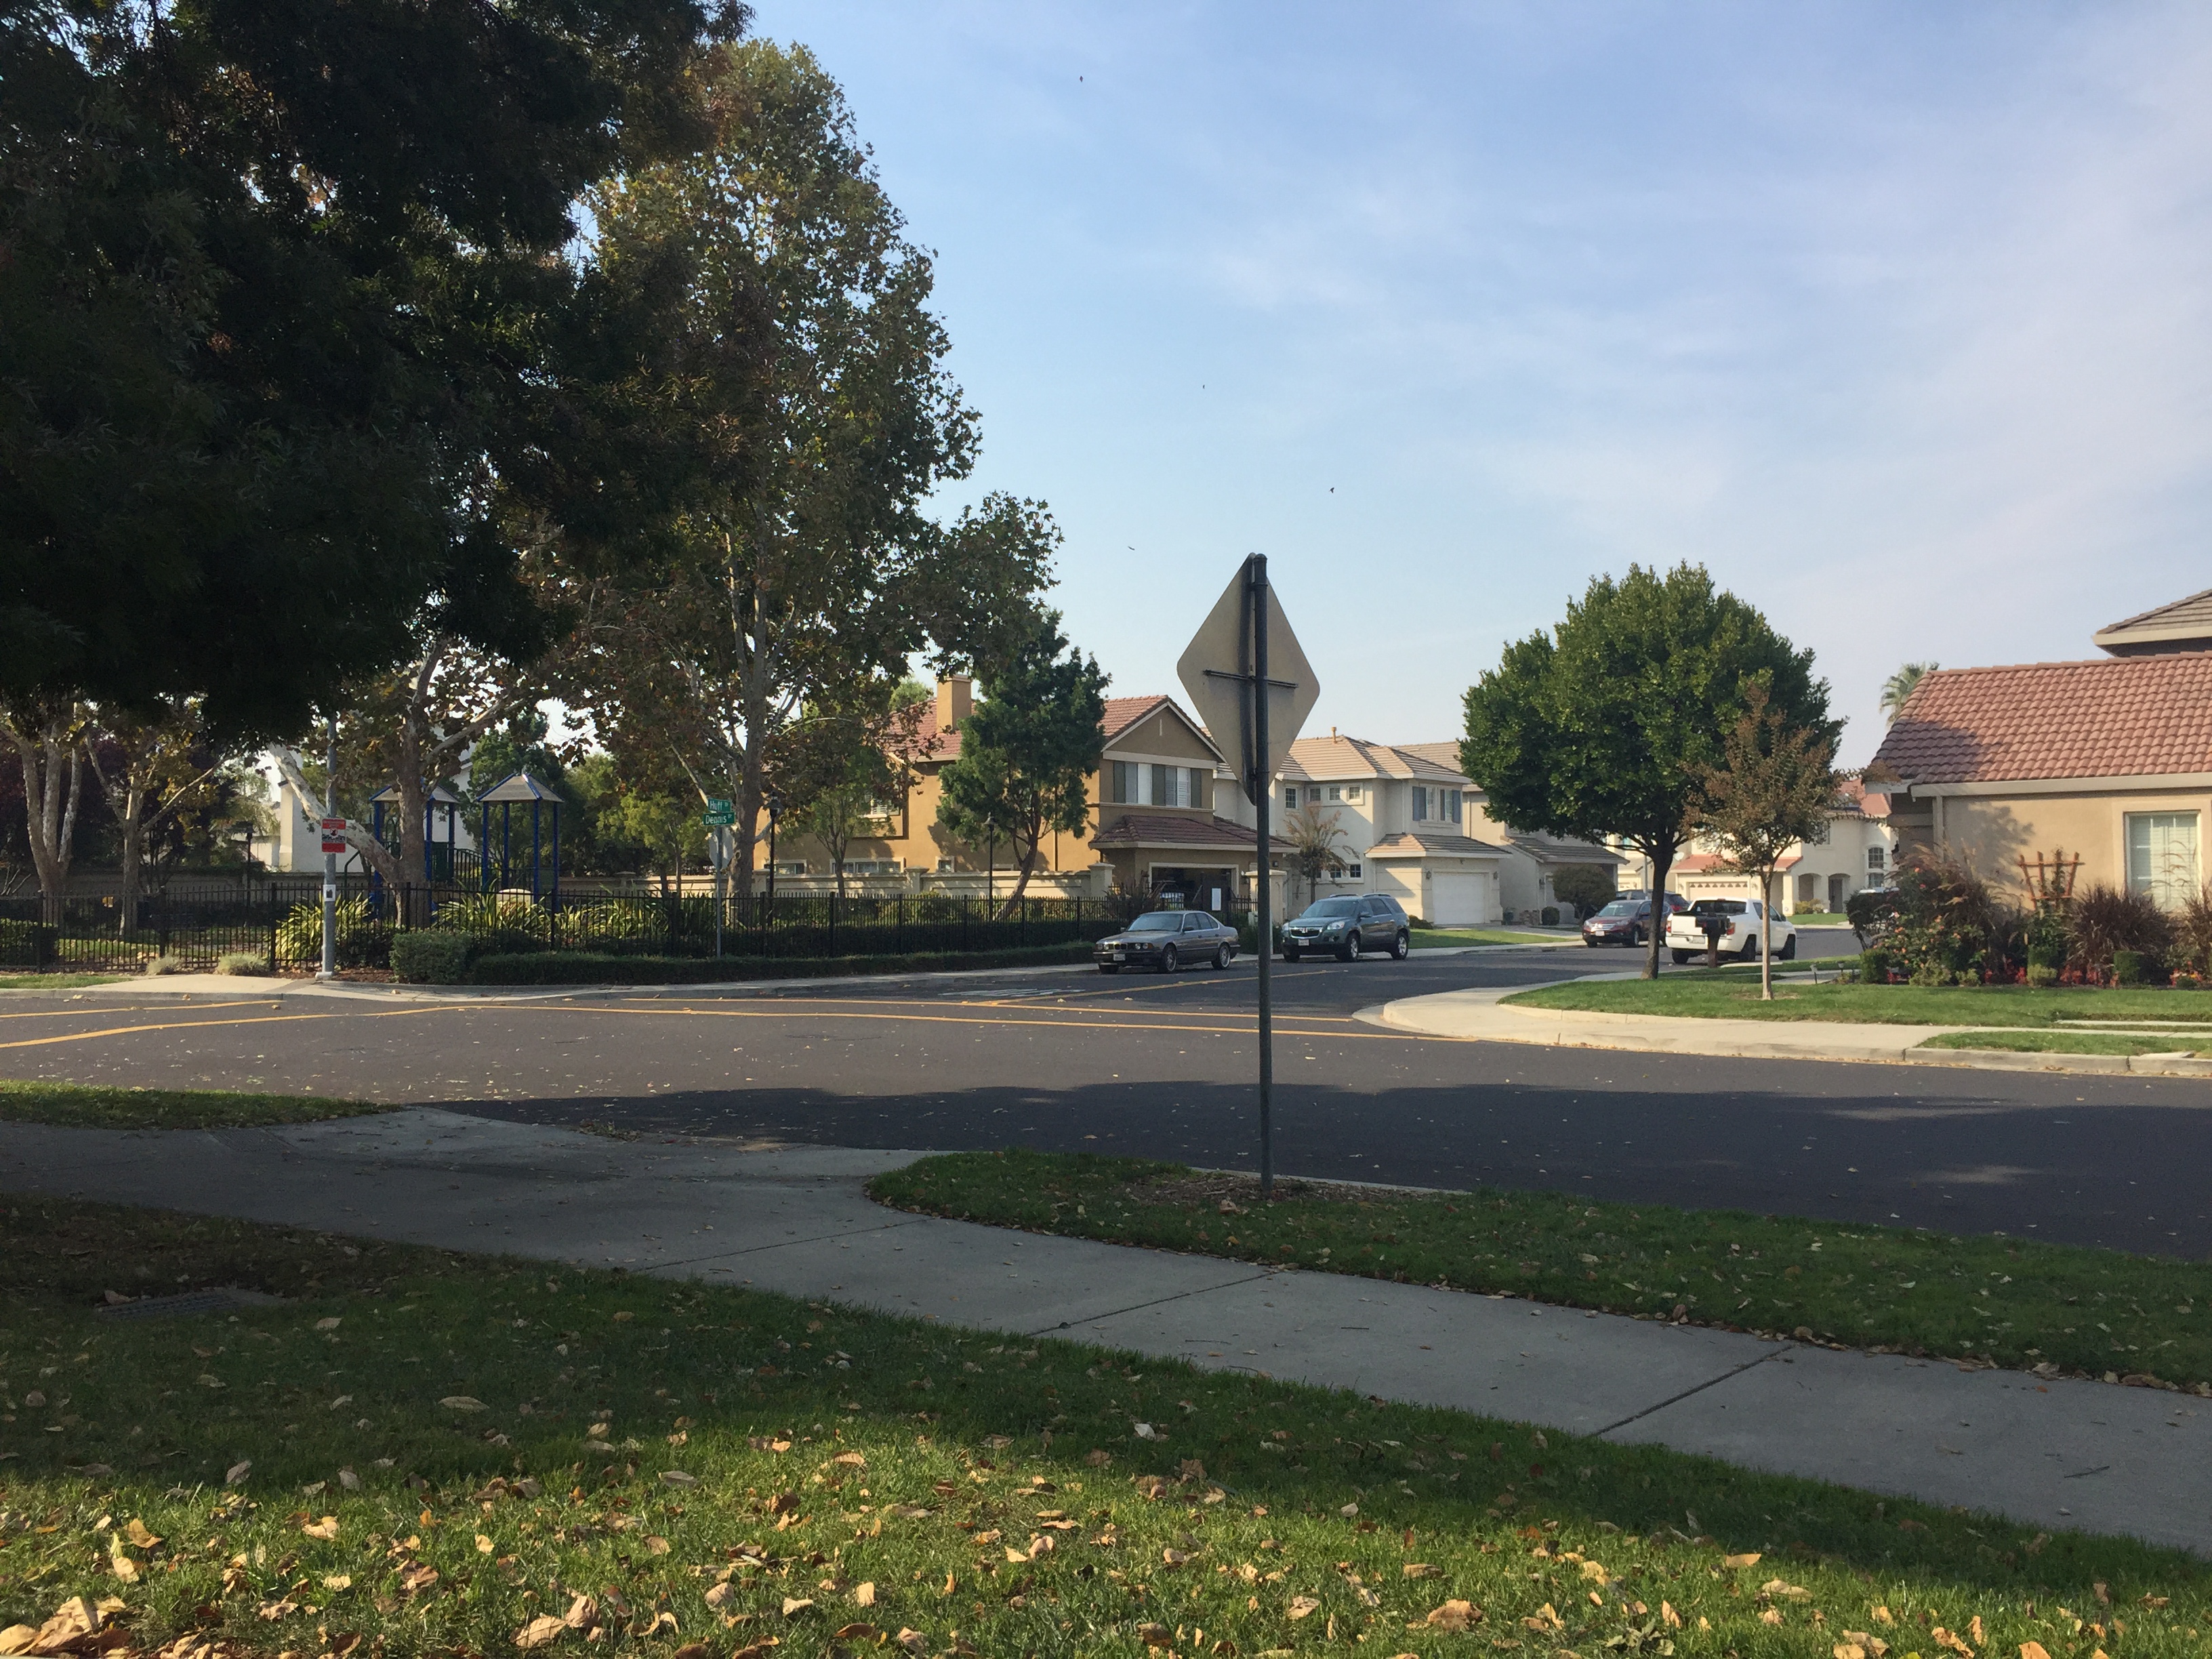
 Park2
Park2
|
 Blended
|
 Park1.
|
 Park2
Park2
|
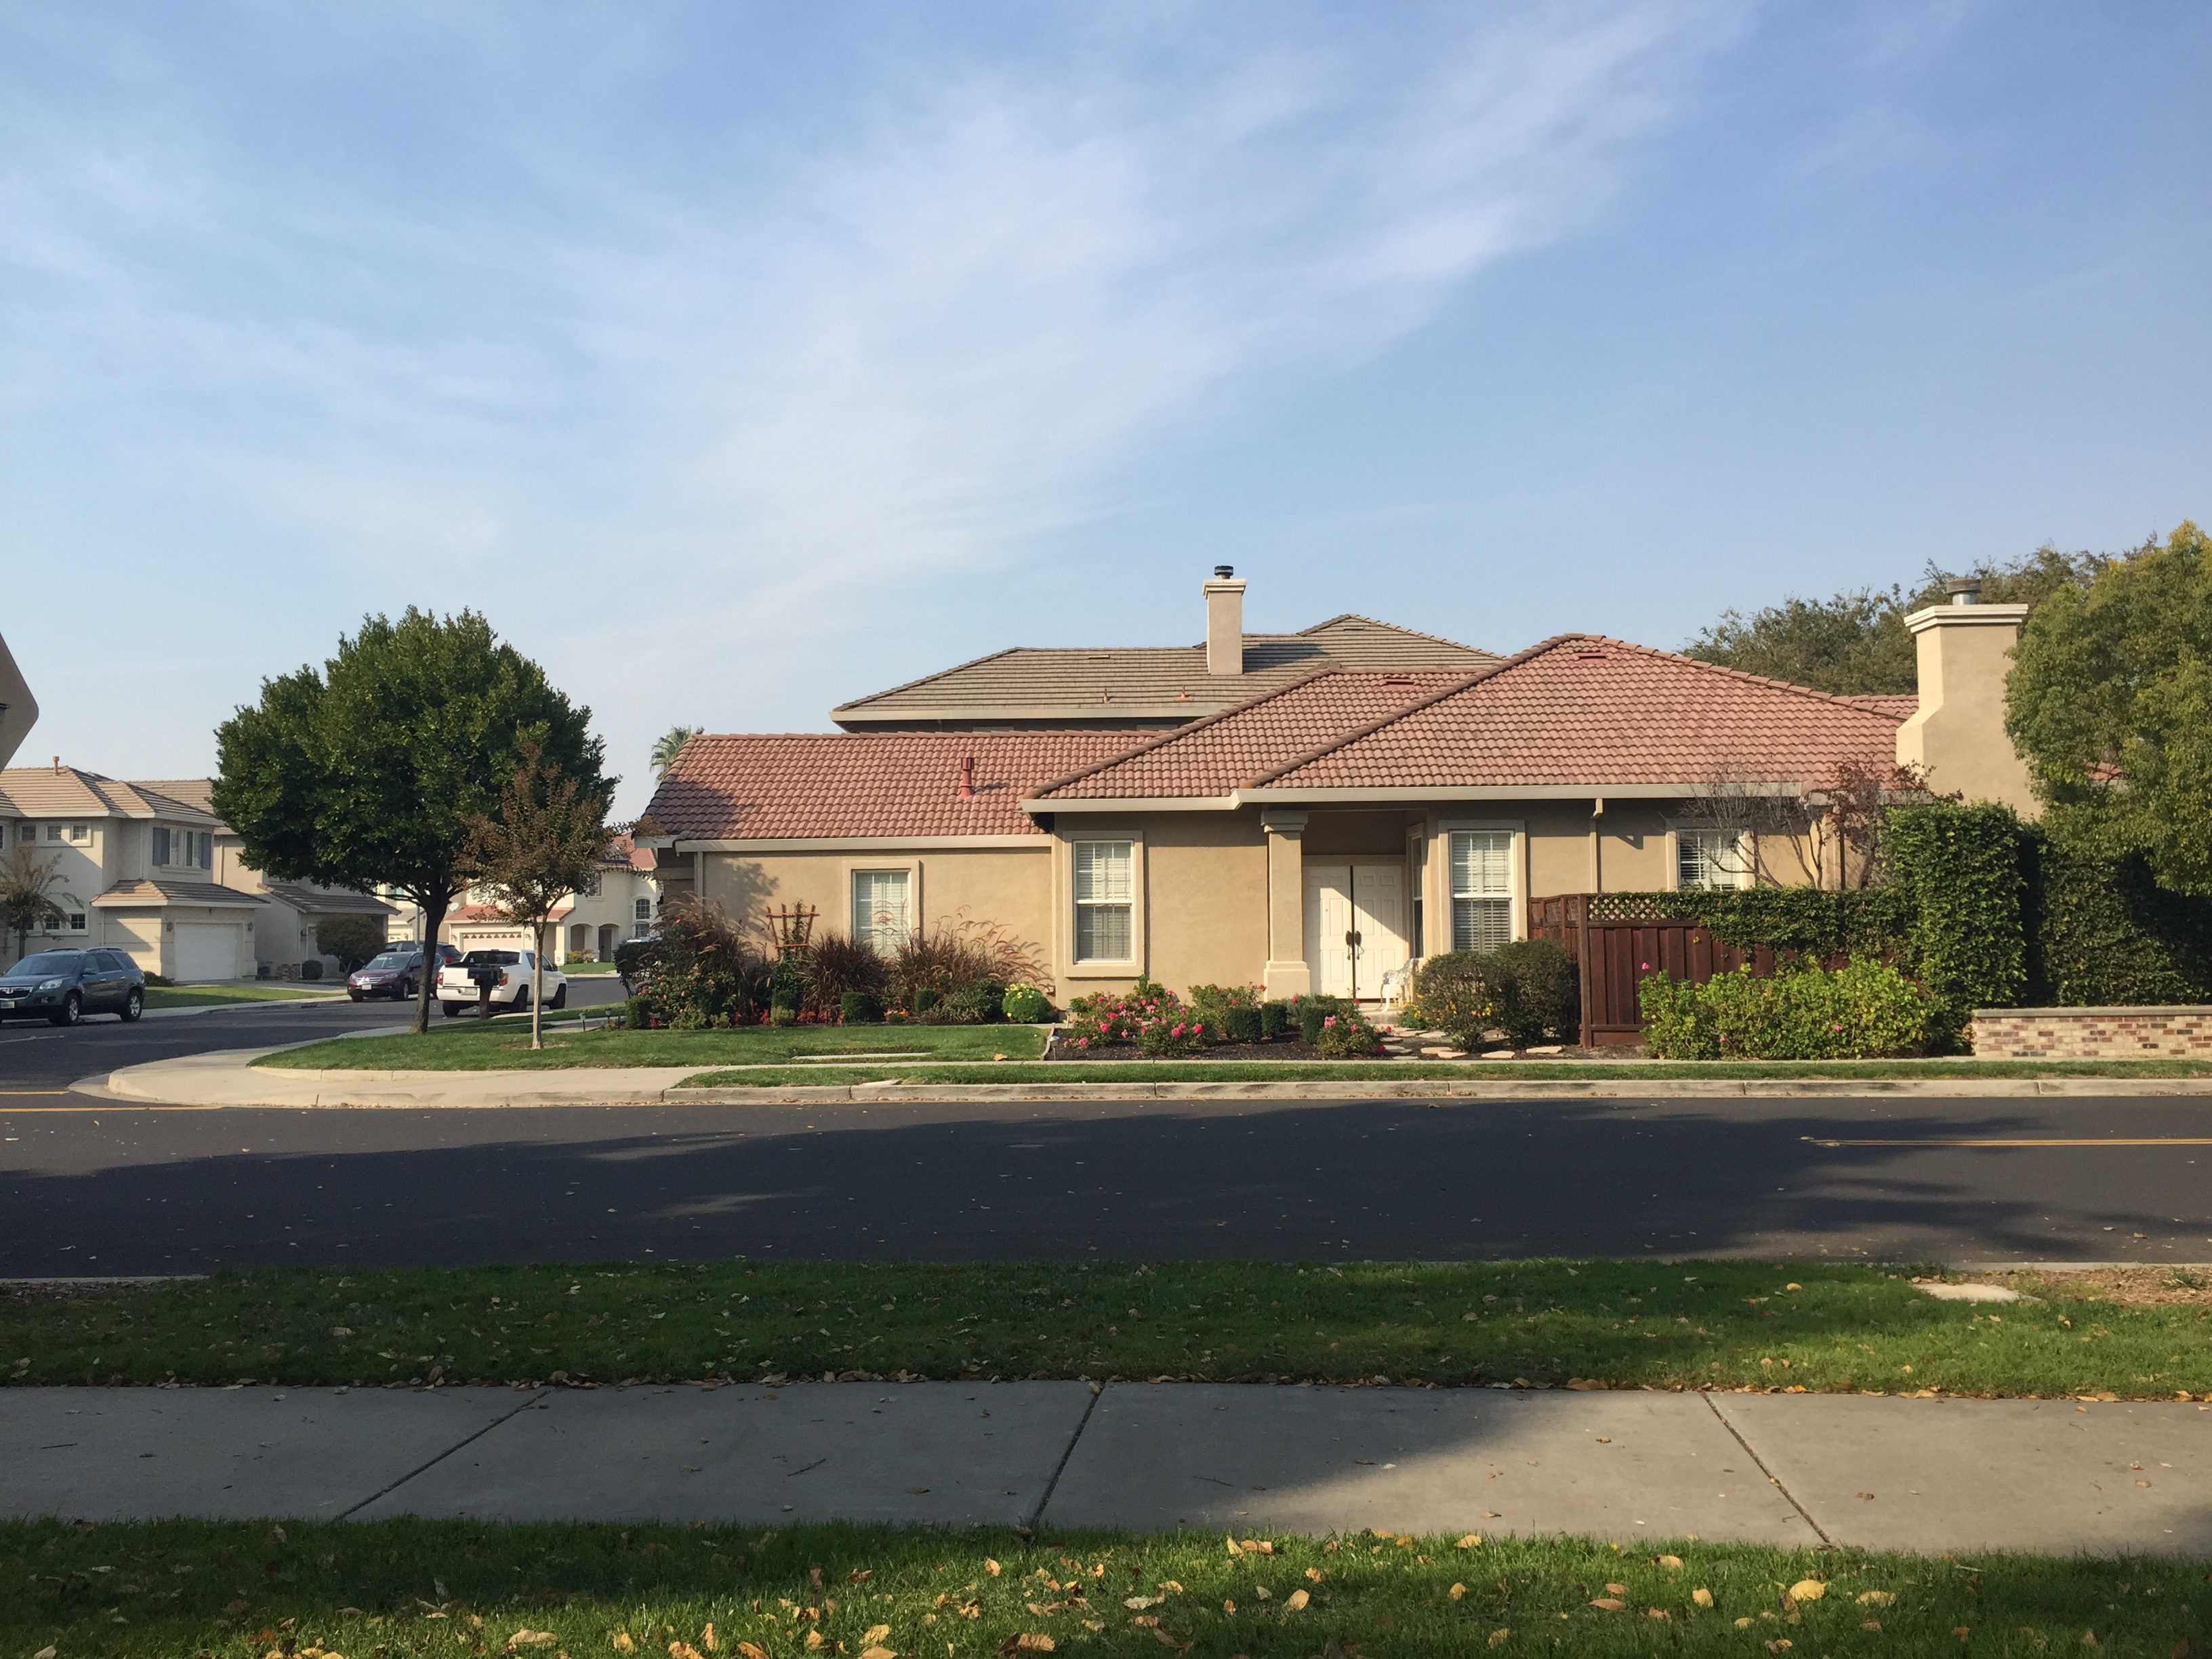
 Blended
|