CS194-26 Project6-1
IMAGE WARPING and MOSAICING
Yao Fu, cs194-26-aen
Fall 2018

Overview
In this project, we want to apply image warping to do image mosaicing, and here is a brief introduction of the algorithm that we will use.
1. Take several photos (>= 2) from the same point of view but with different view directions
2. Manually find and record the corresponding points between two photos
3. Compute the homography matrix
4. Apply image warping using the matrix we get from step3 to warp one of the image
5. Blend the warped image with the other image, which is not warped.
6. Continue doing the above steps for the rest of the photos.
Recover Homographies
In this step, we want to compute the matrix of homography, which is of the form of the left most matrix below.
It has 8 degrees of freedom and we can get it as long as we provide 4 corresponding points. However, adding more points and solving the linear system of the form below using least squares give us more accurate results. For every pair of corresponding points, add two more rows to A and two more entries for b.
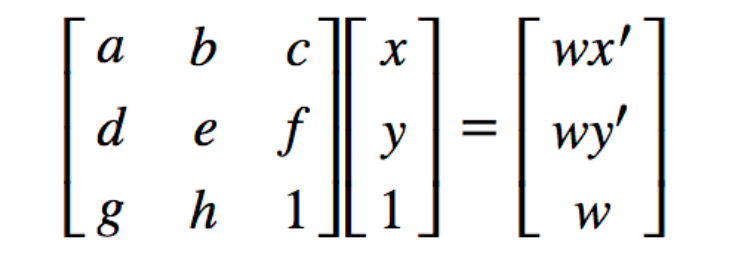
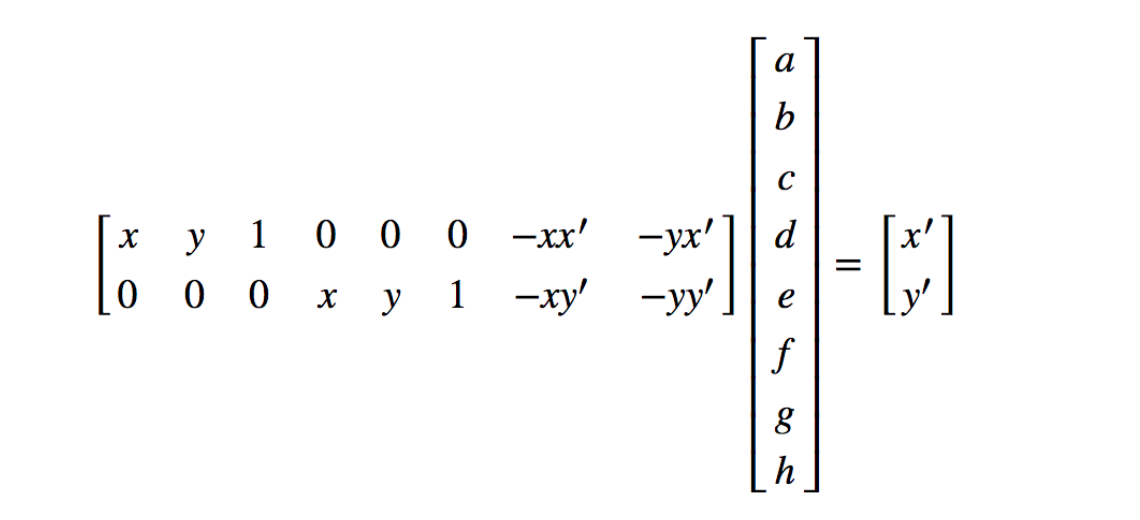
Image Rectification
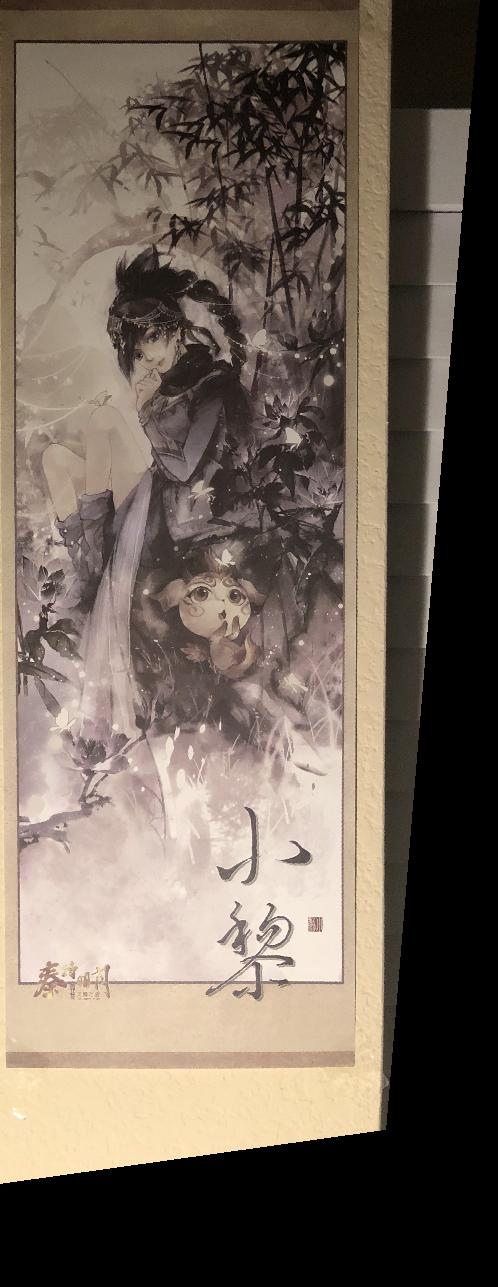
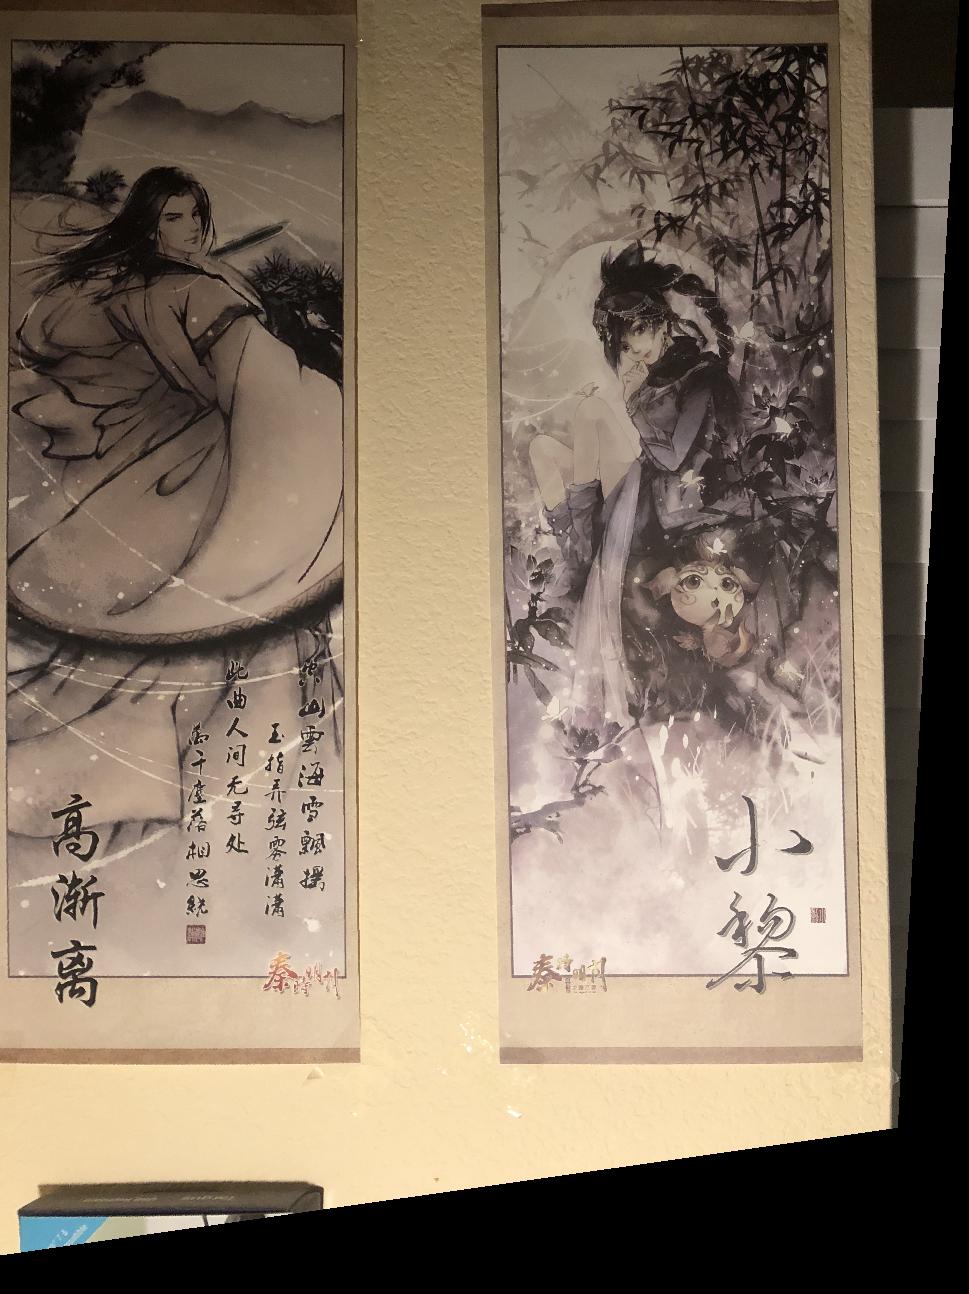
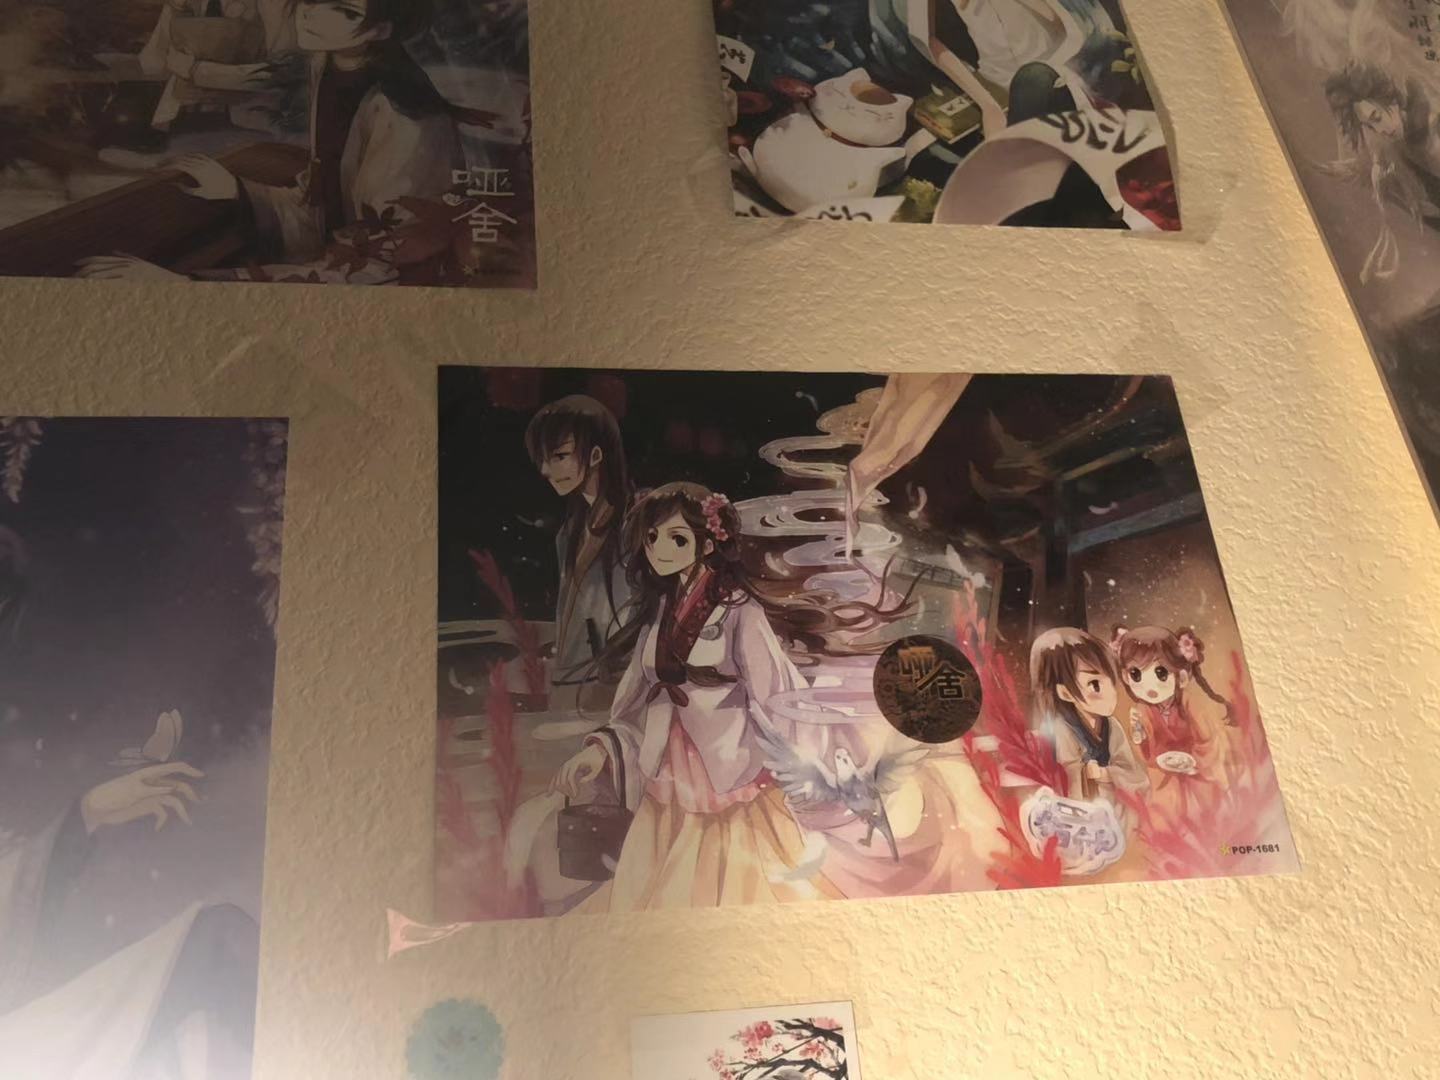
After we get the homography matrix, we can check whether we did right in this step. Now, we want to use the matrix to rectify an image. I took two images of the posters in my room, and want to warp them so that they are frontal-parallel. In order to define the correspondence, I download some images that have the same size with the posters to use. Here are some results:

Original posters
Rectified poster(right)
Rectified poster(left)
Original poster
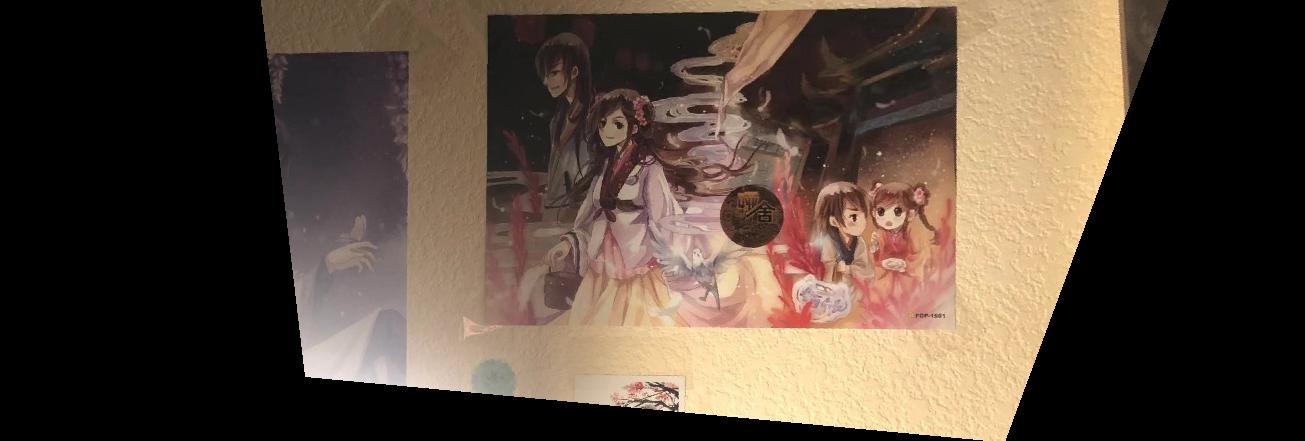
Rectified poster
Blend the images into a mosaic
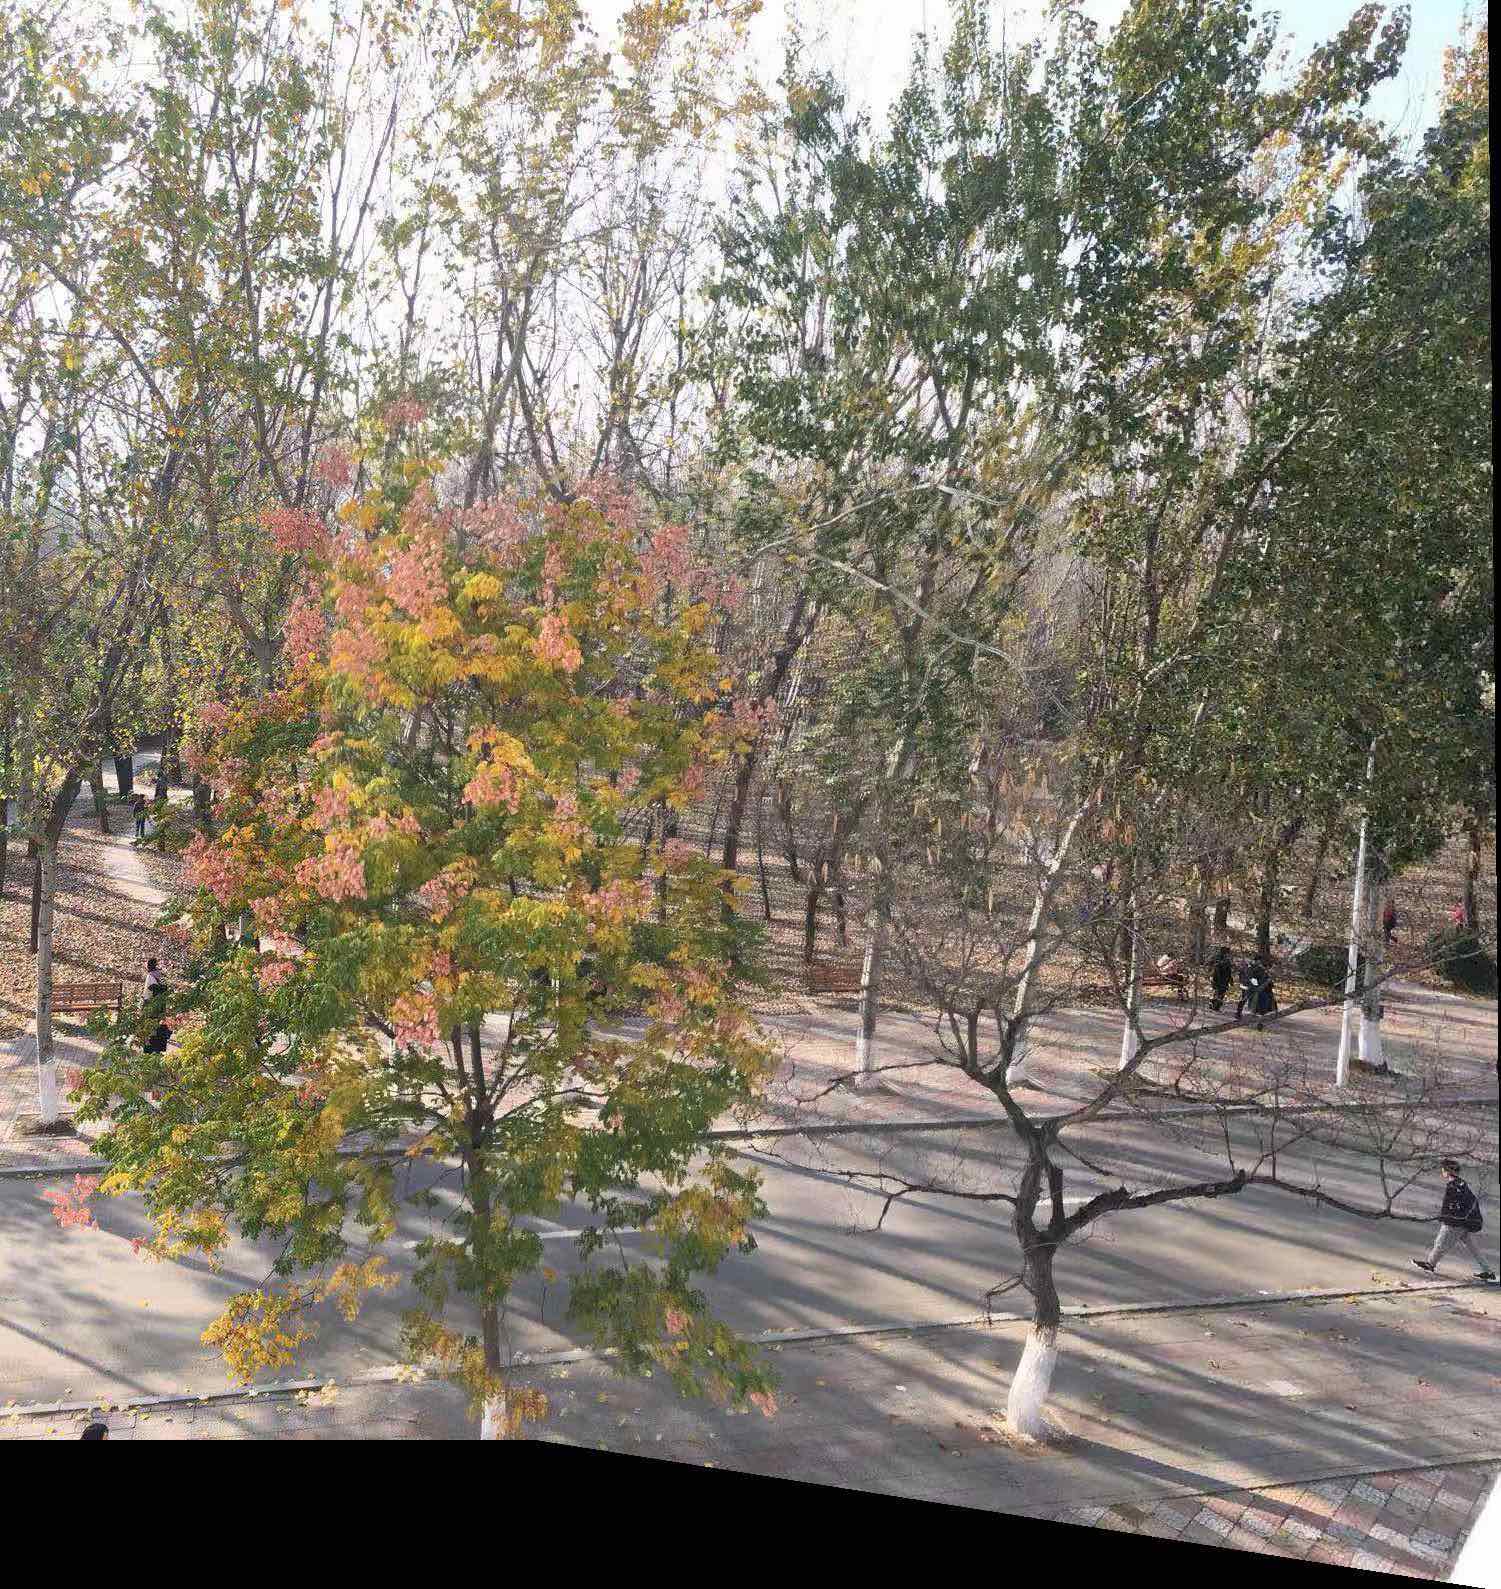
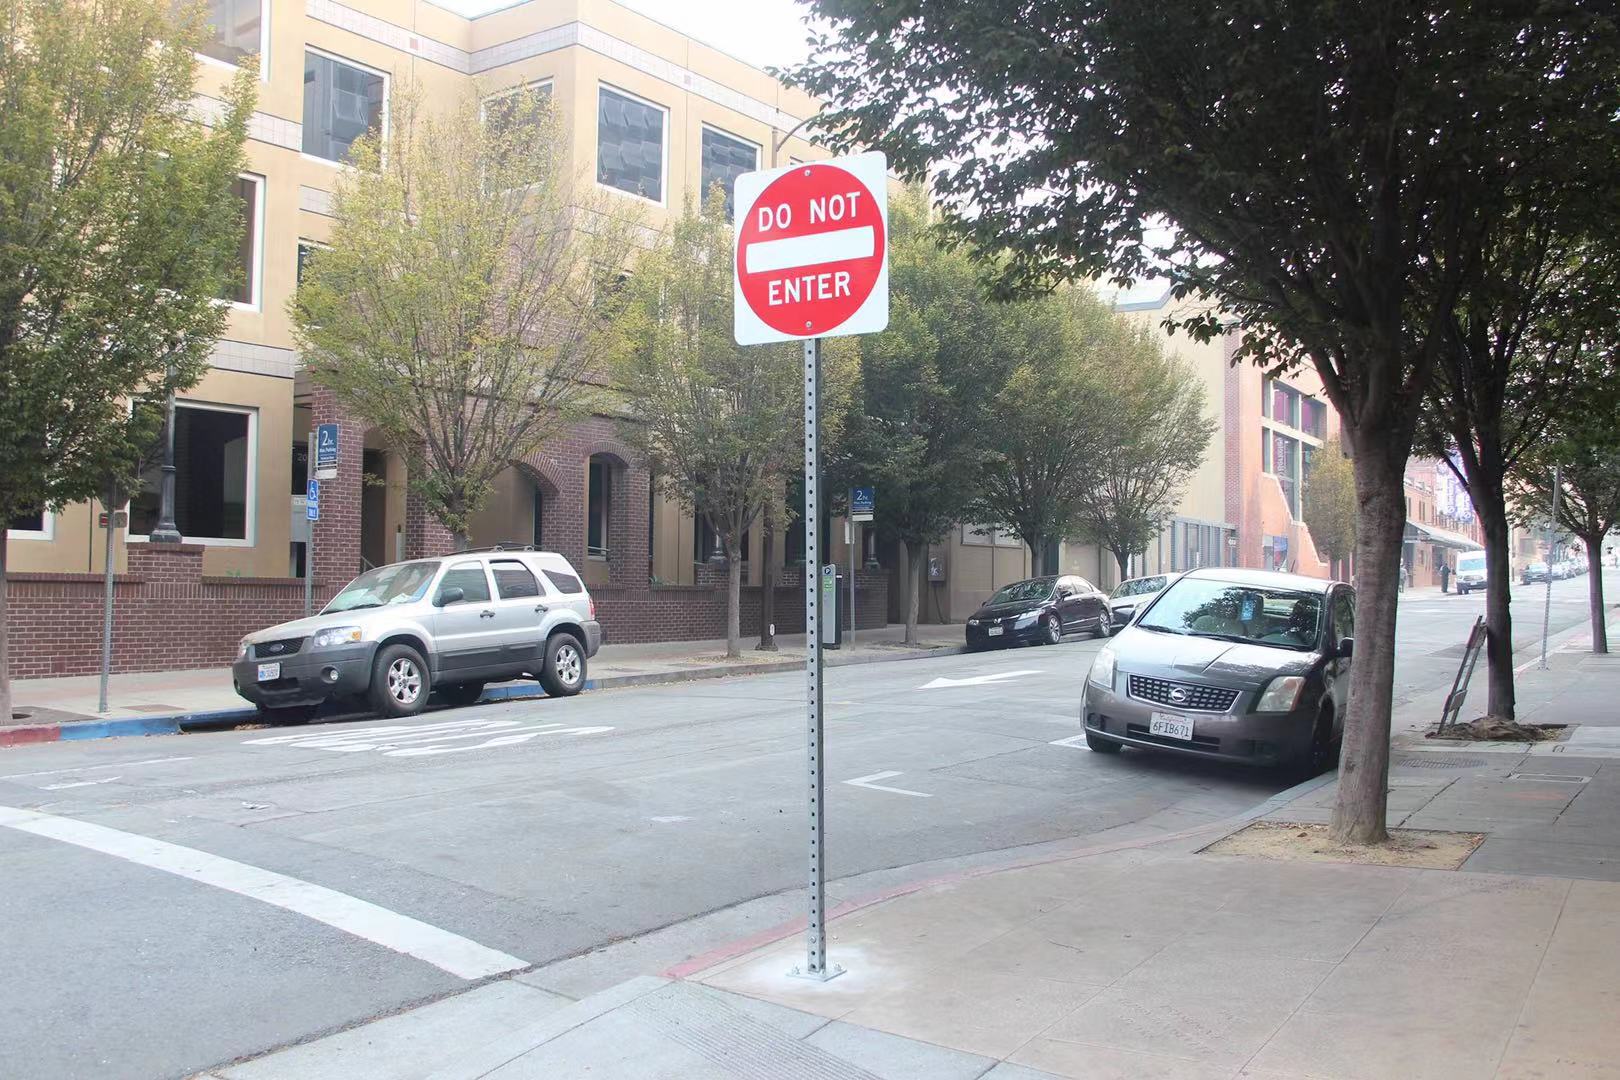
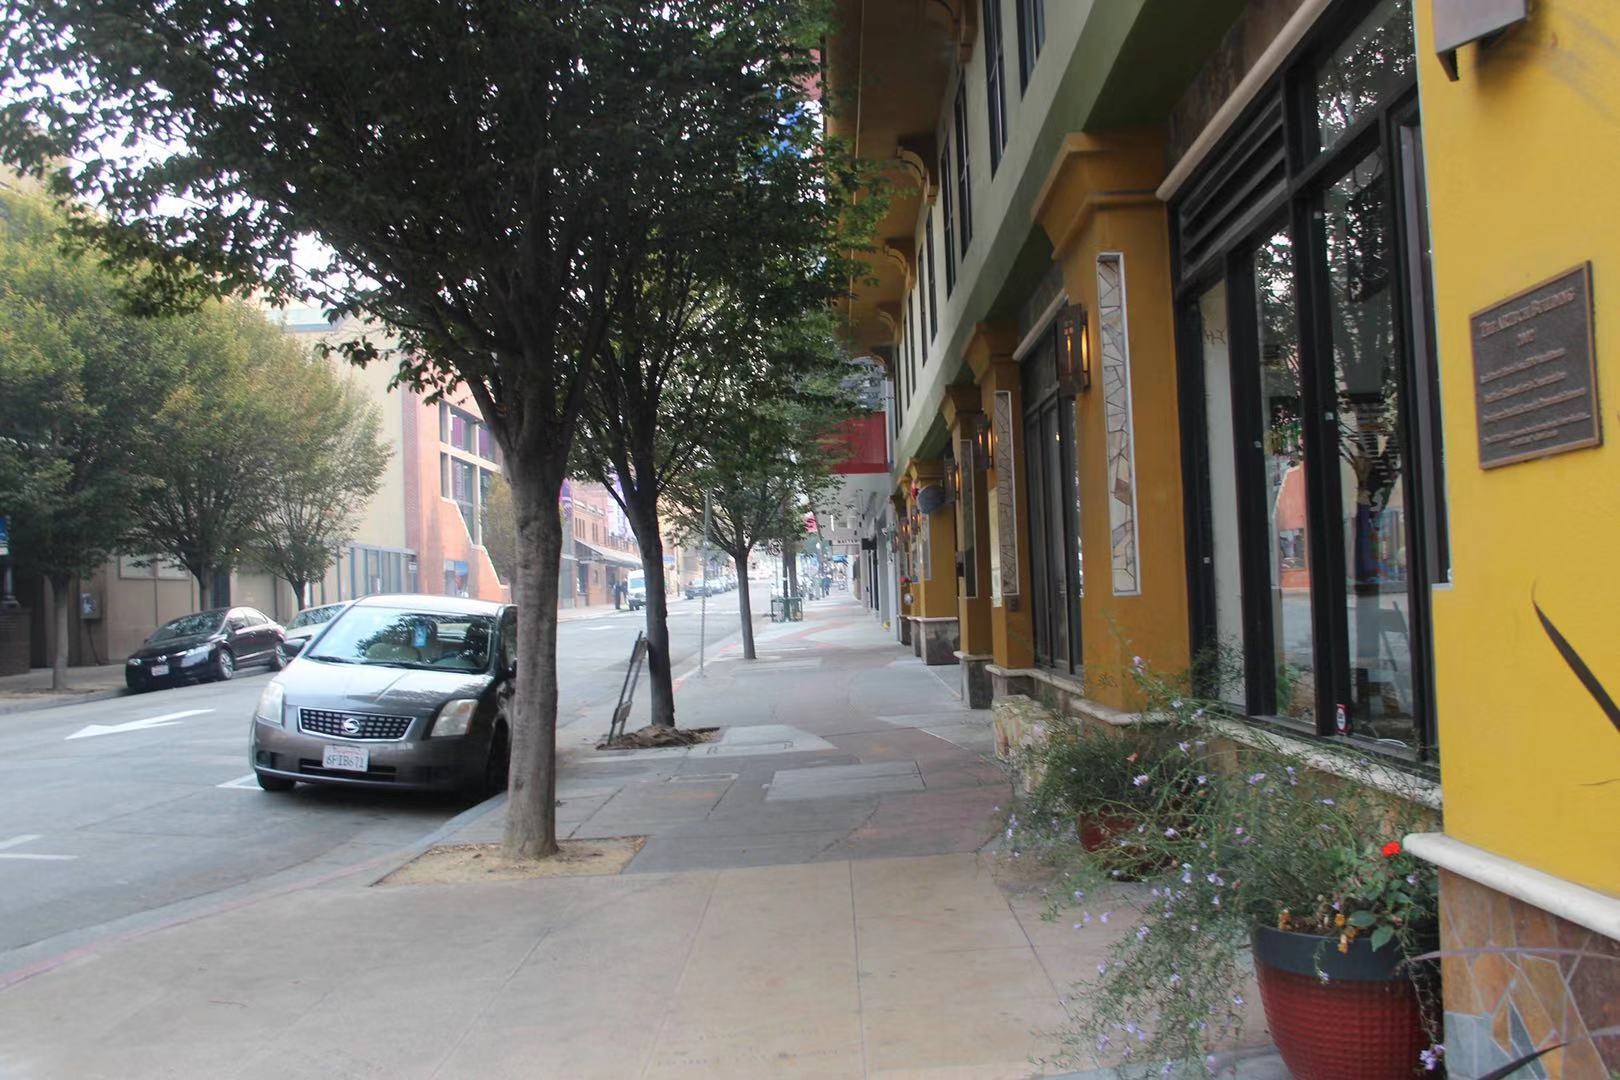
After we check that our warpImage(im,H) function is right, we can move on to the final step. Here are photos I took:
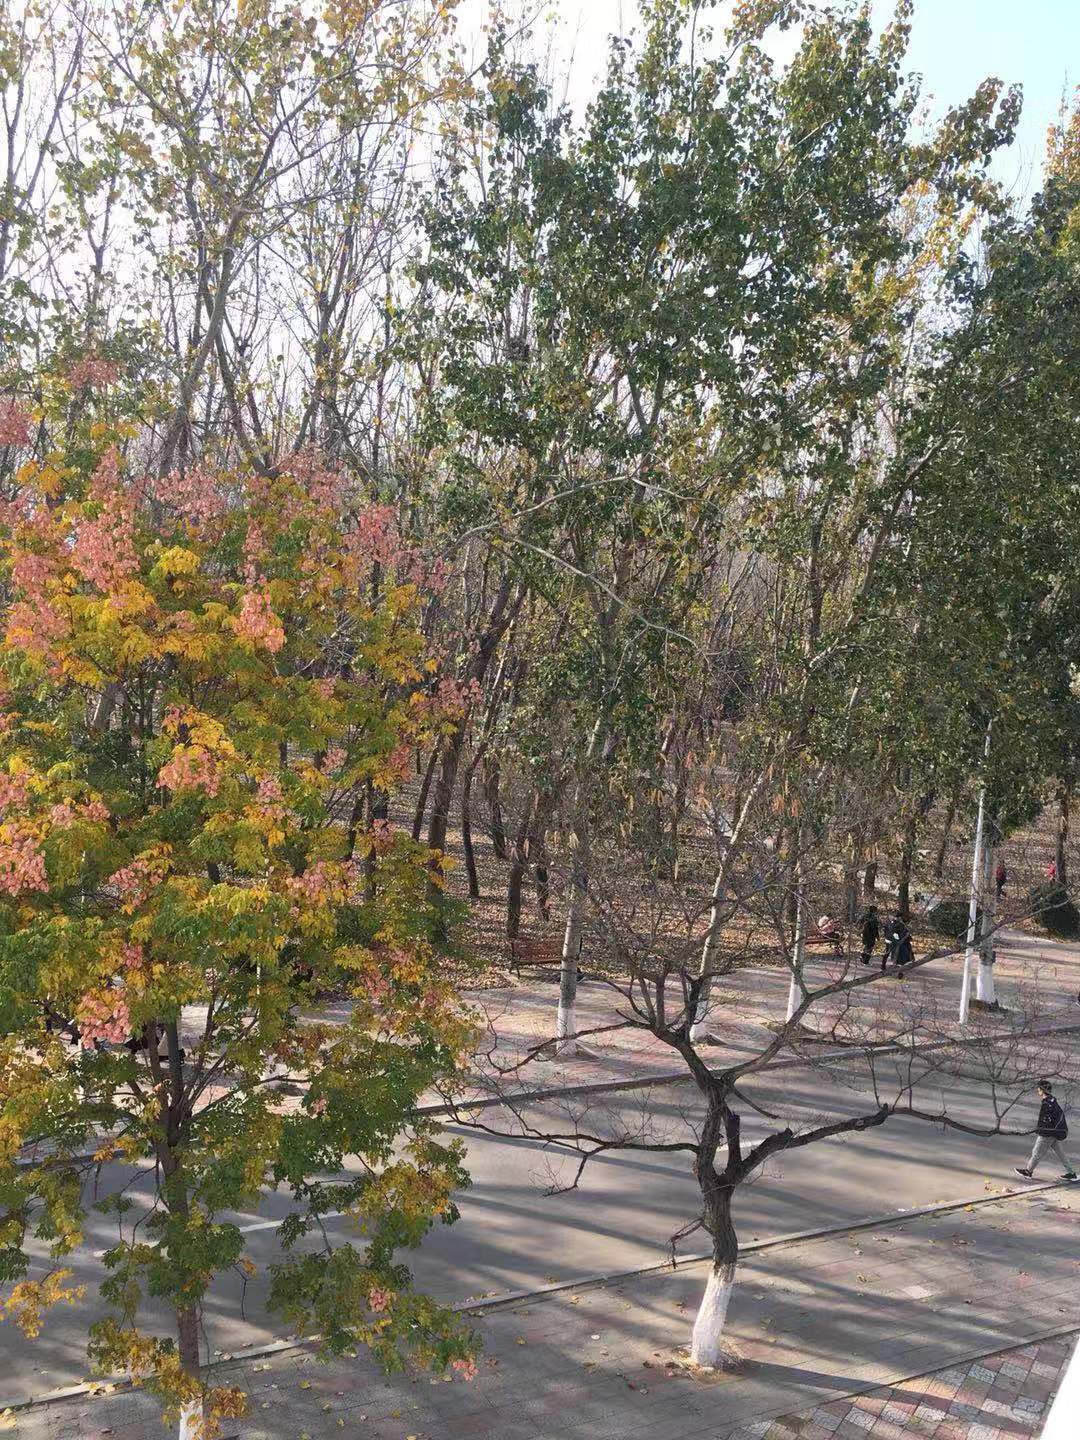
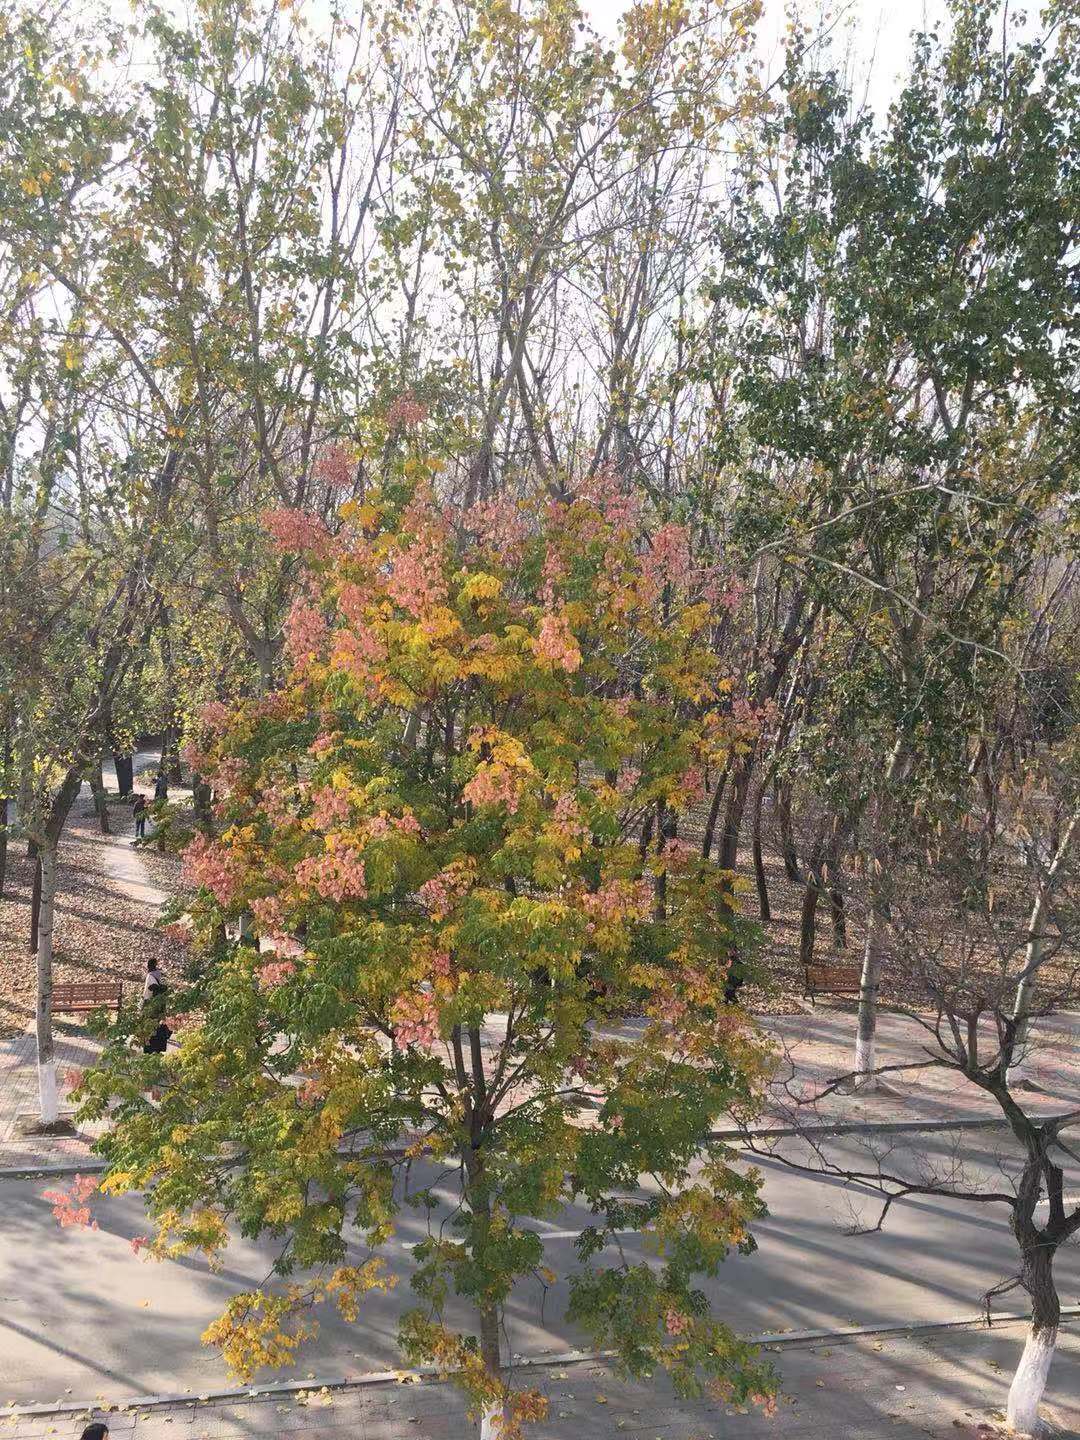
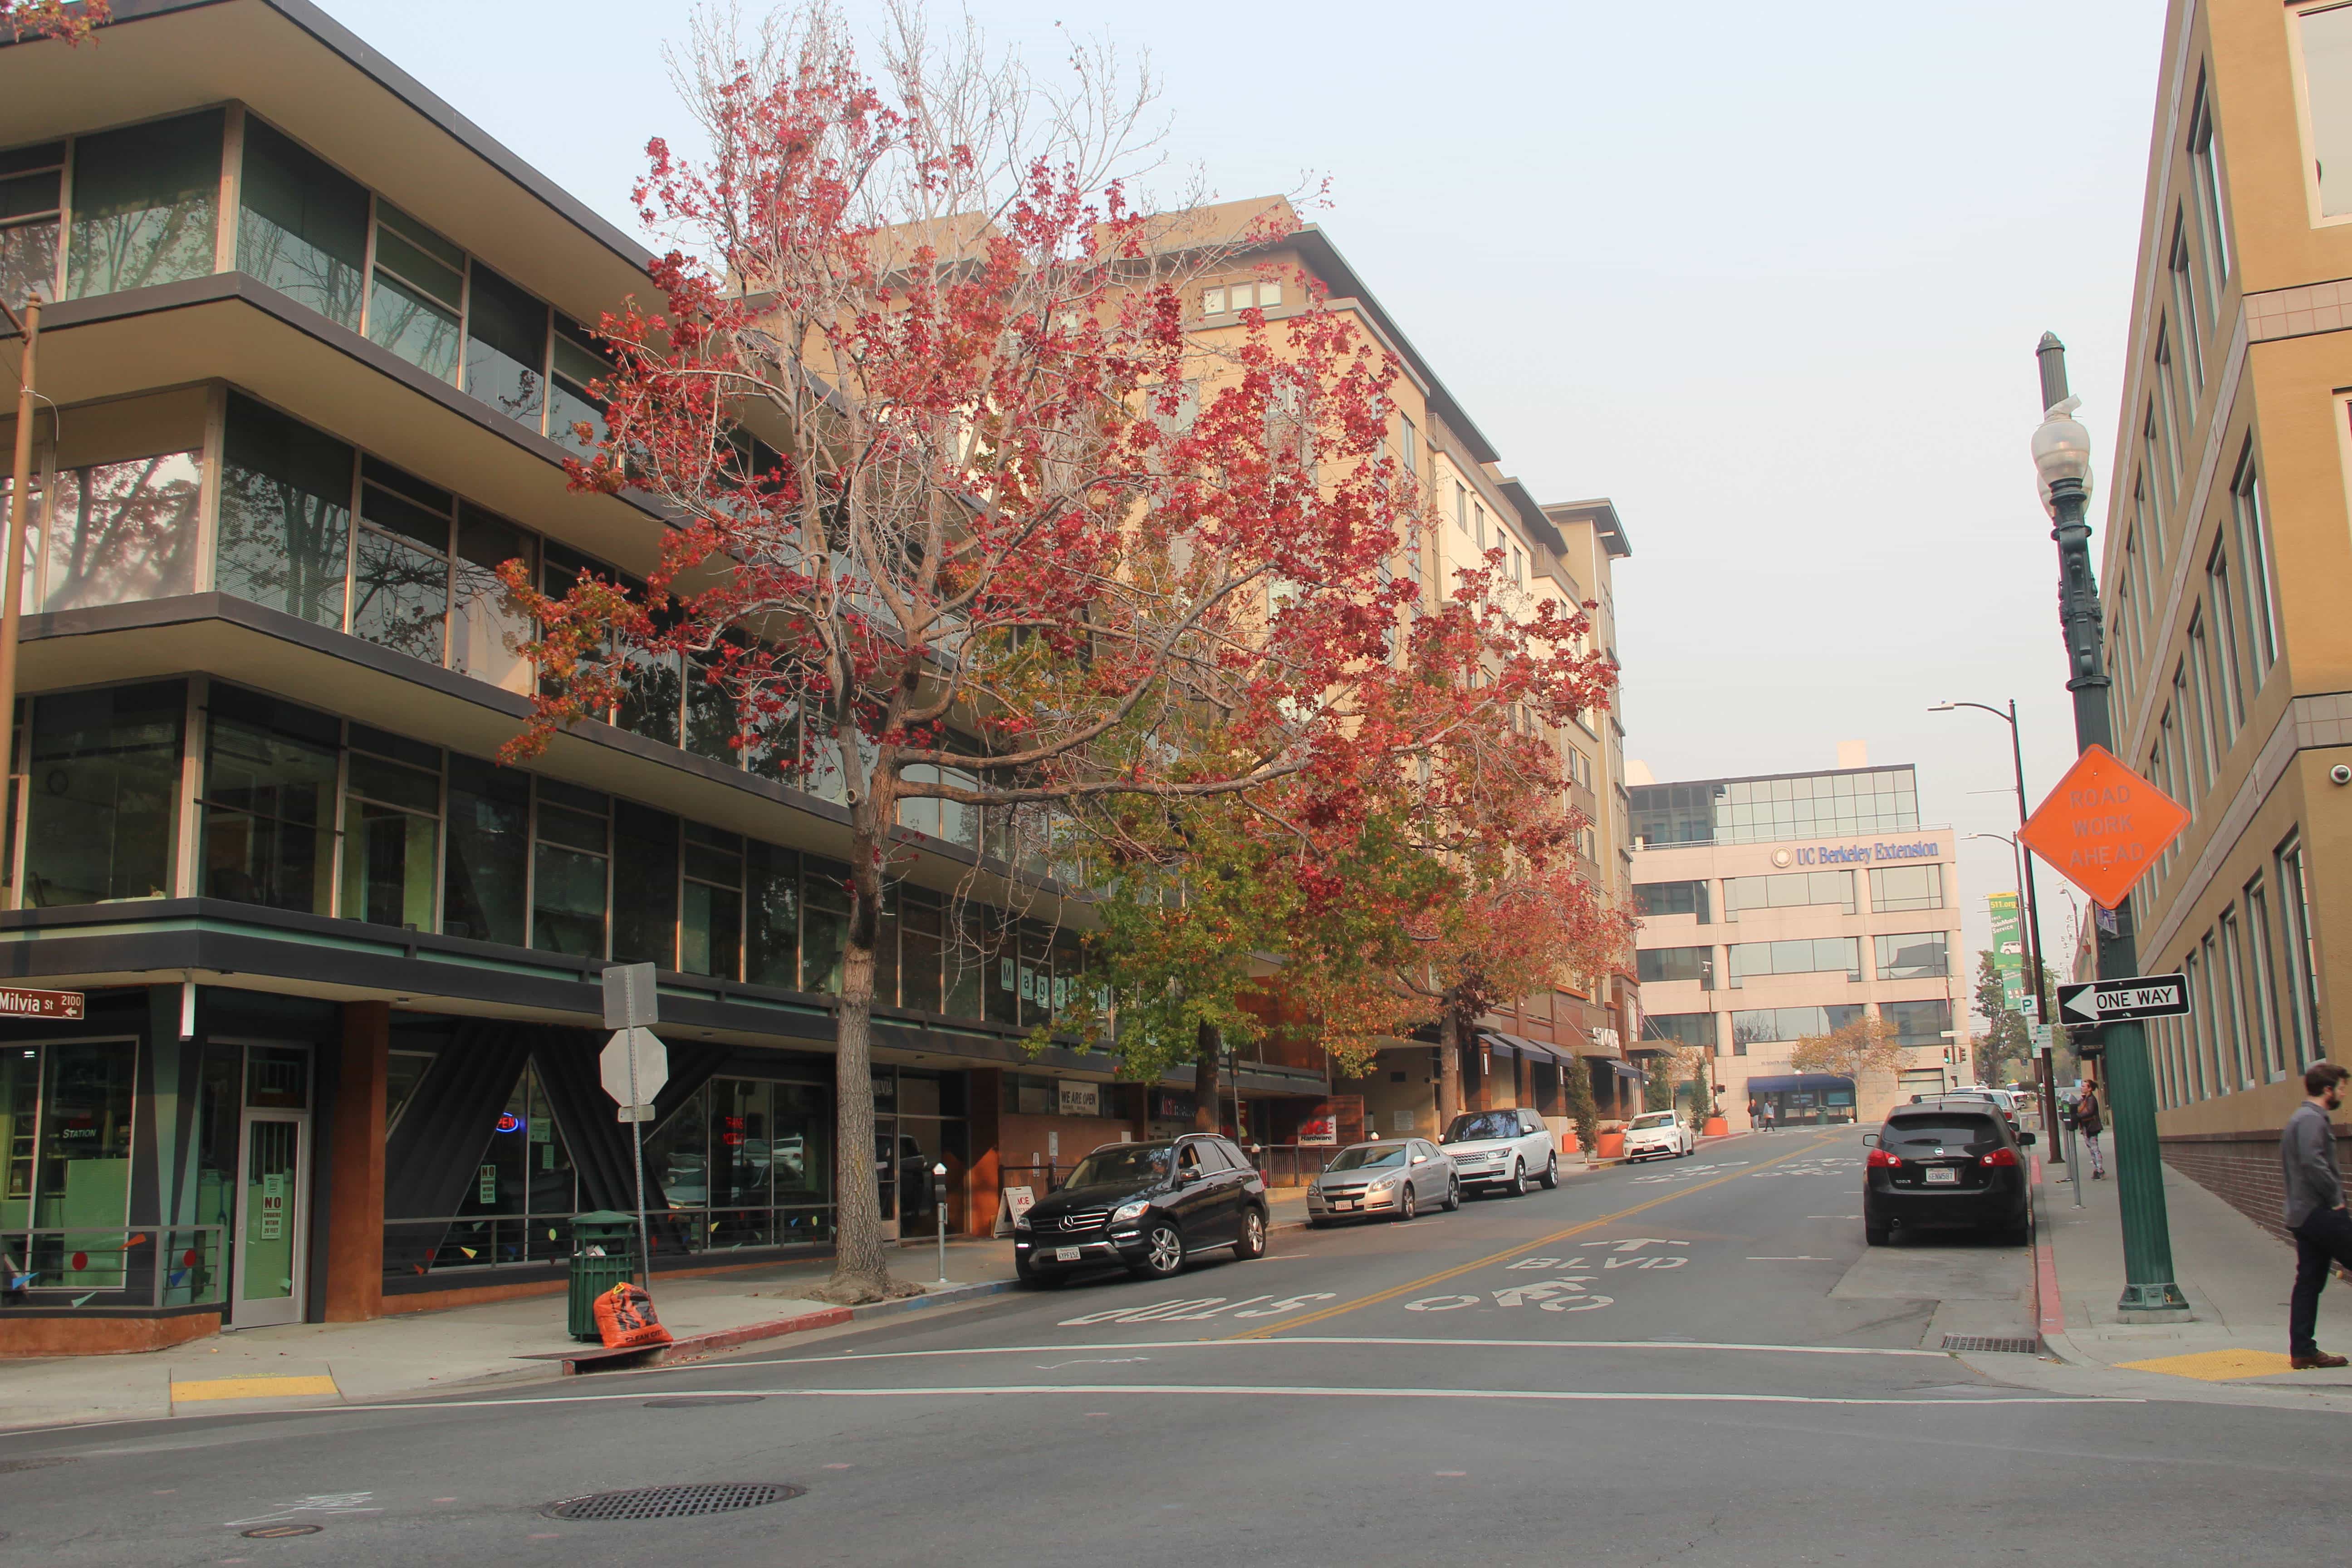
A
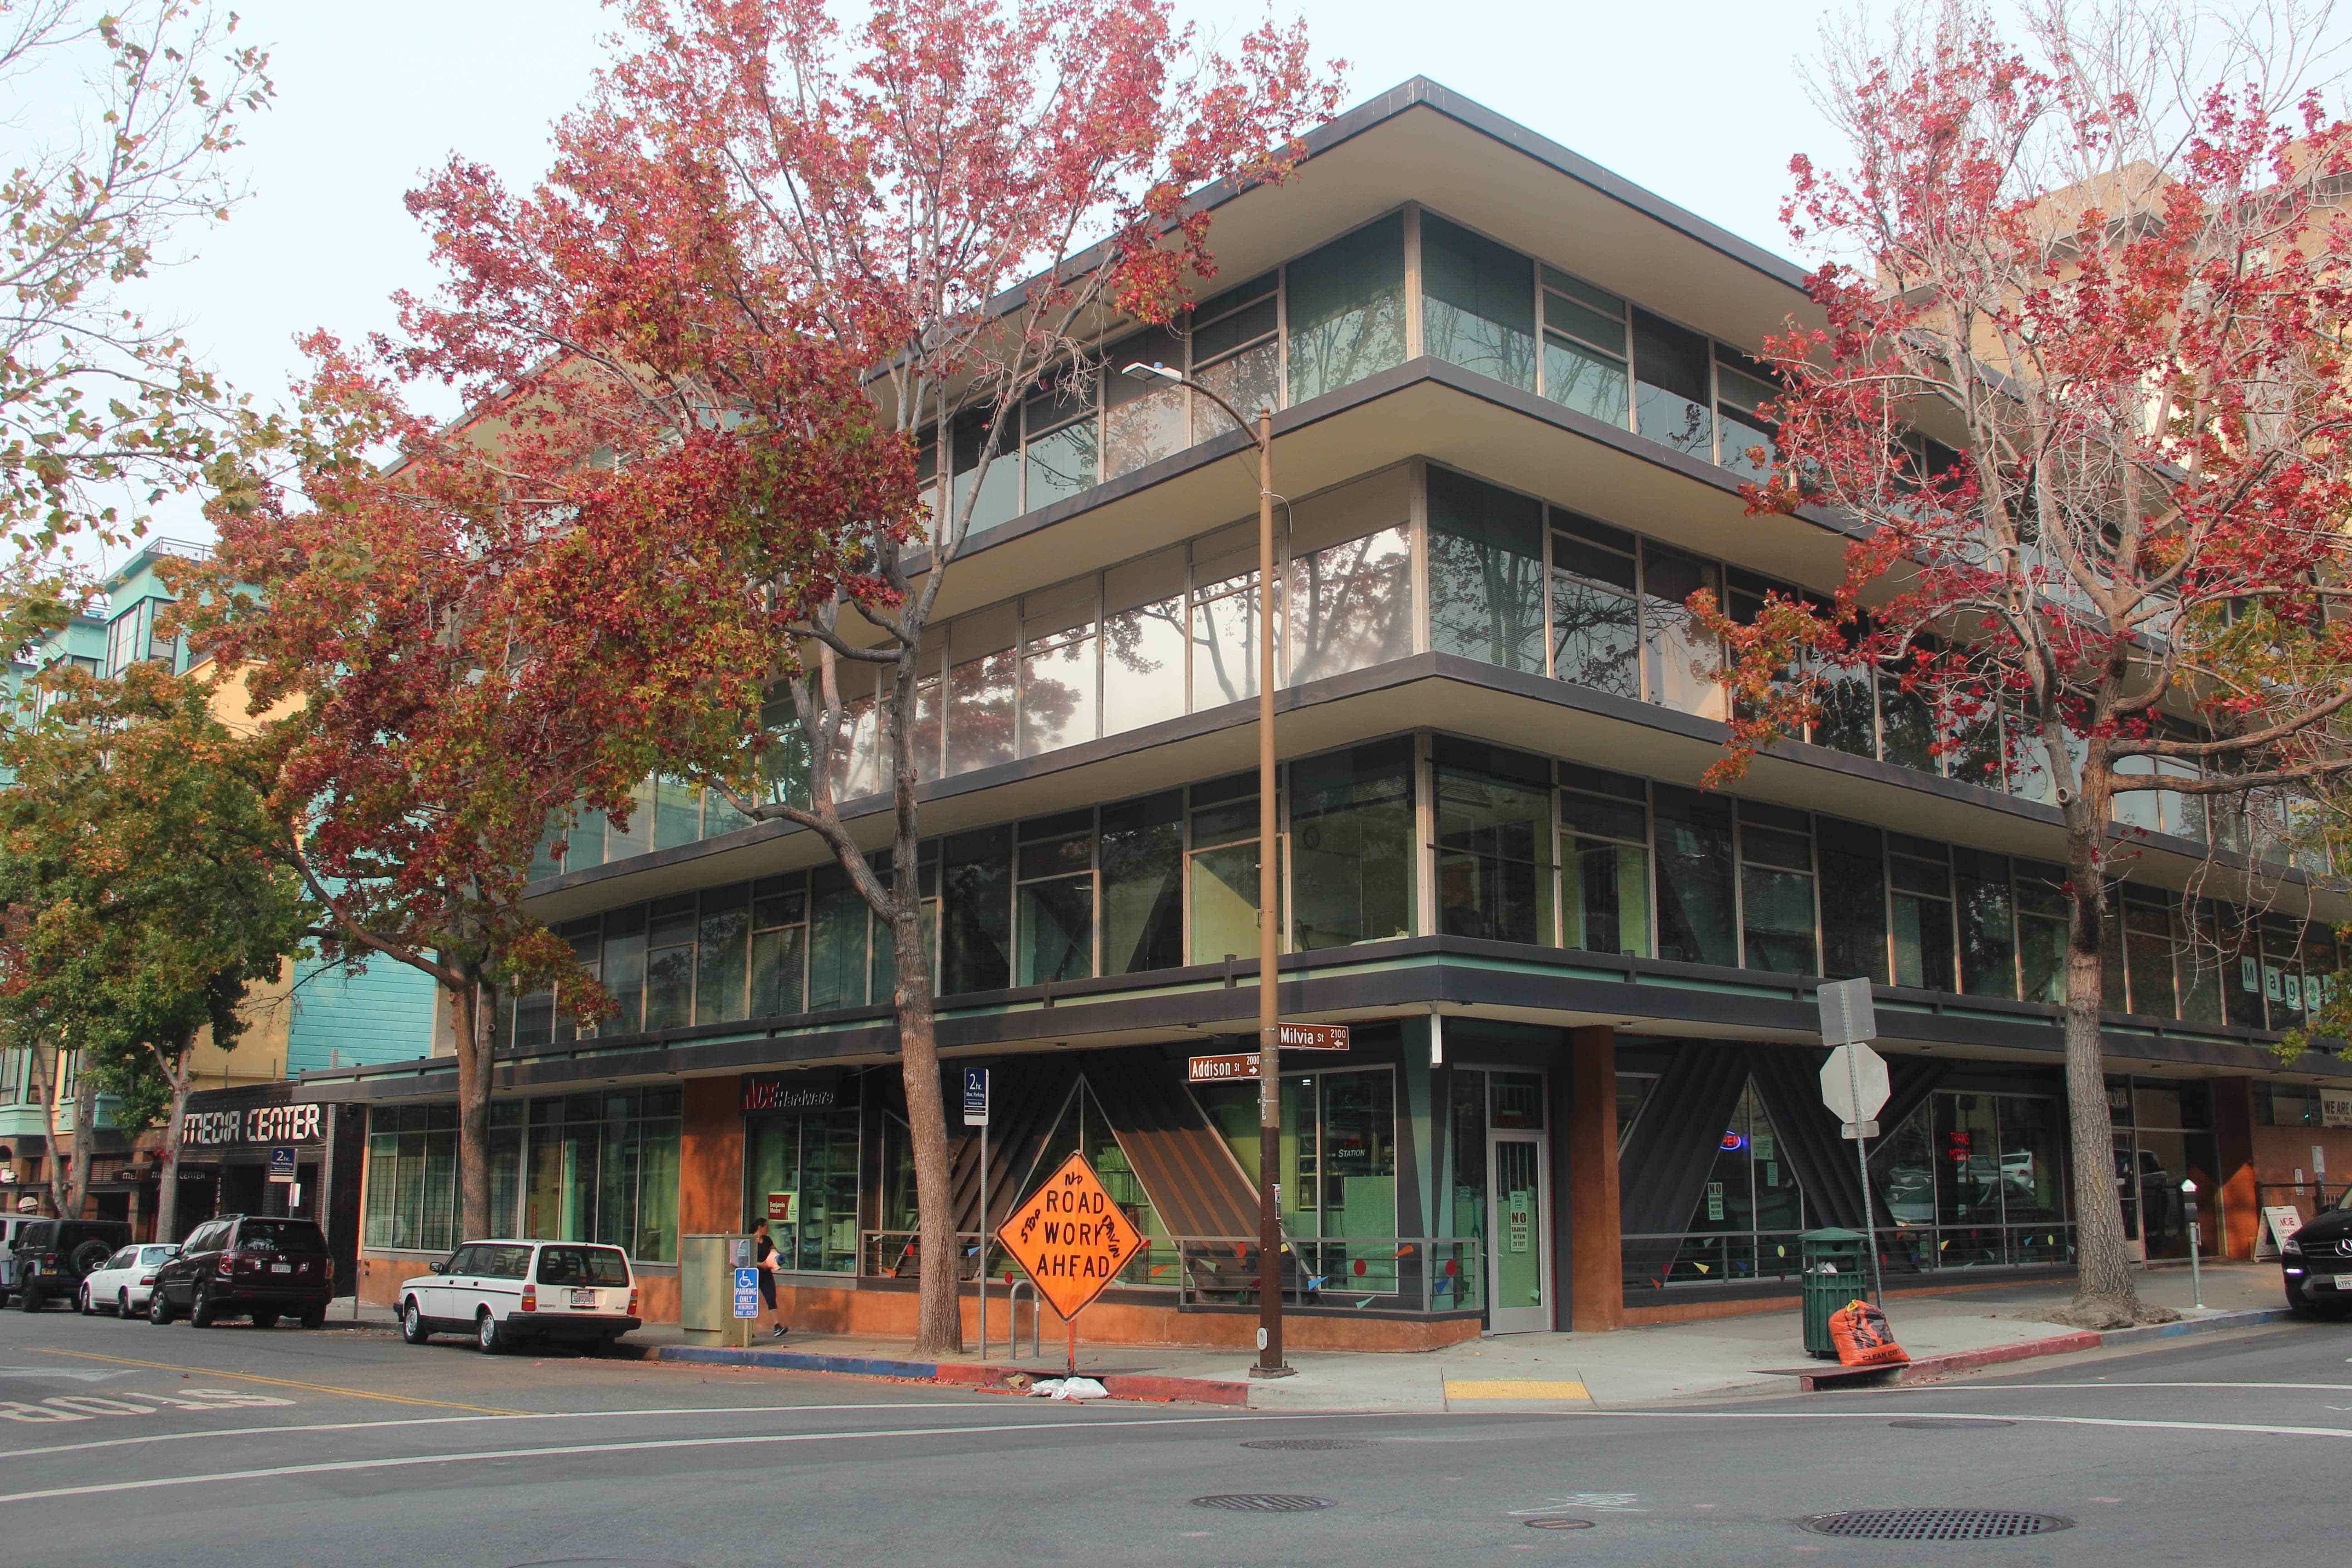
B
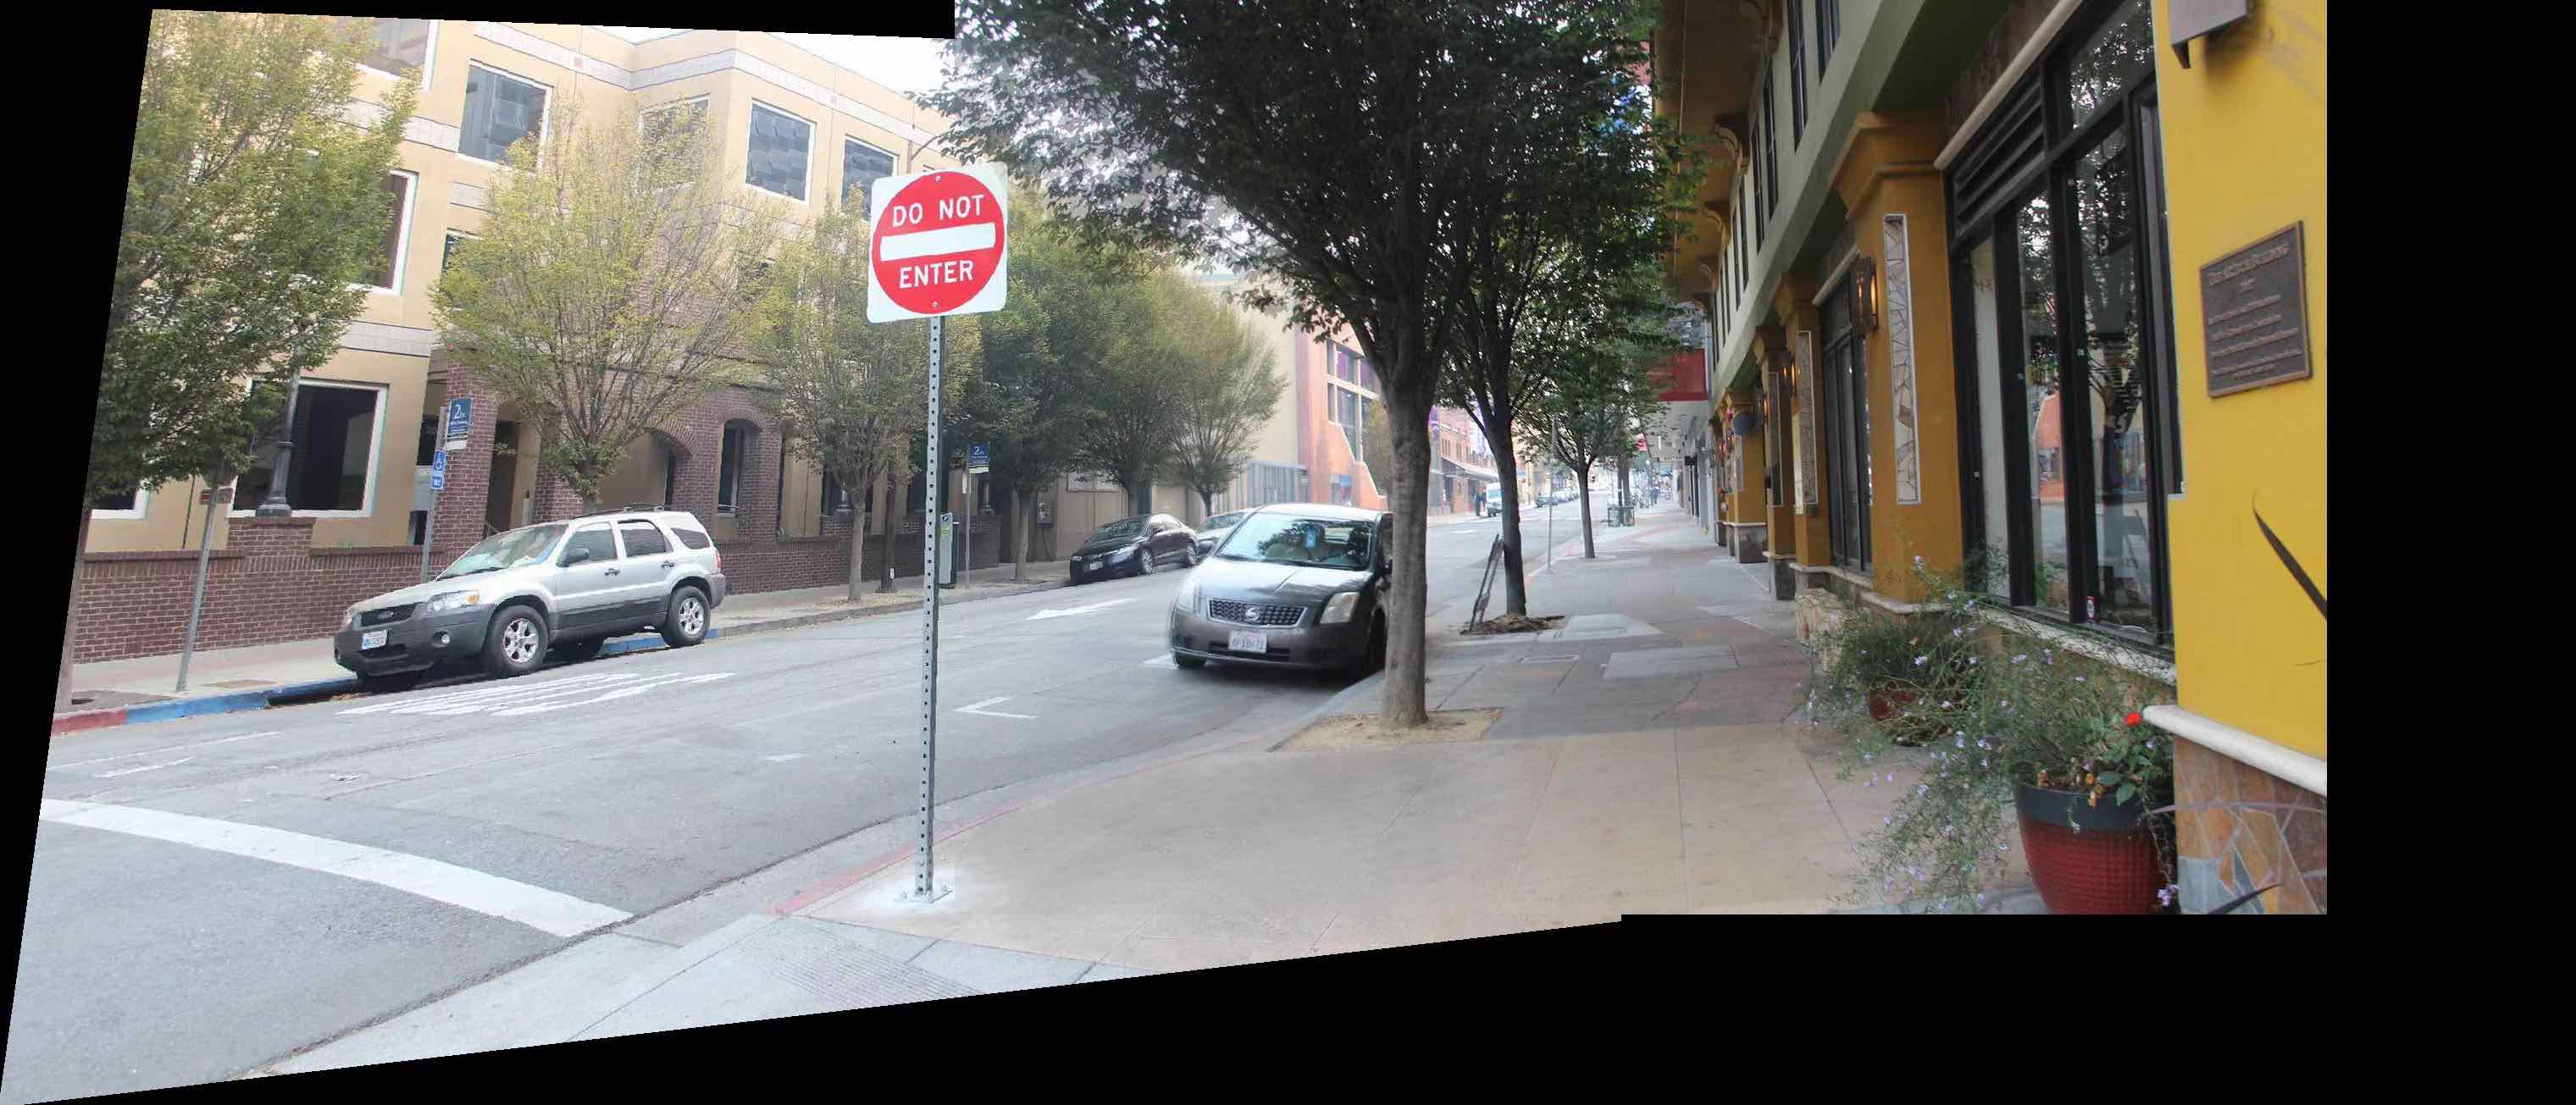
First, we define the correspondence between A and B by alternatively clicking on the corresponding points and record them. We leave B unwarped and blend the warped A to B. First, I tried naive bending, using np.maximum to blend them. We can see that that the output for this step is OK, the line is not very noticeable.
However, in this case, the output is not satisfying at all, the border of image B is very clear.
A
B
Thus, I tried some new blending method. Firstly, I average all the pixels in the common part, the result is a lot better than the last one, but the left border is still a little bit clear.
Then I tried using Laplacian pyramid. (It's so slow...) and the result is not good at all, there must be something I did wrong.

Then I decided to move on to weighted average. Basically, if a point in the common area is closer to image A, then image A has larger weight than B and vice versa. The result is good except that at the border, there are some dark spots, which is strange.
Then I figured out that the it was because I first saved two images before blending them together, which caused precision loss. I also adjust the weights of each image, and the result is shown below.
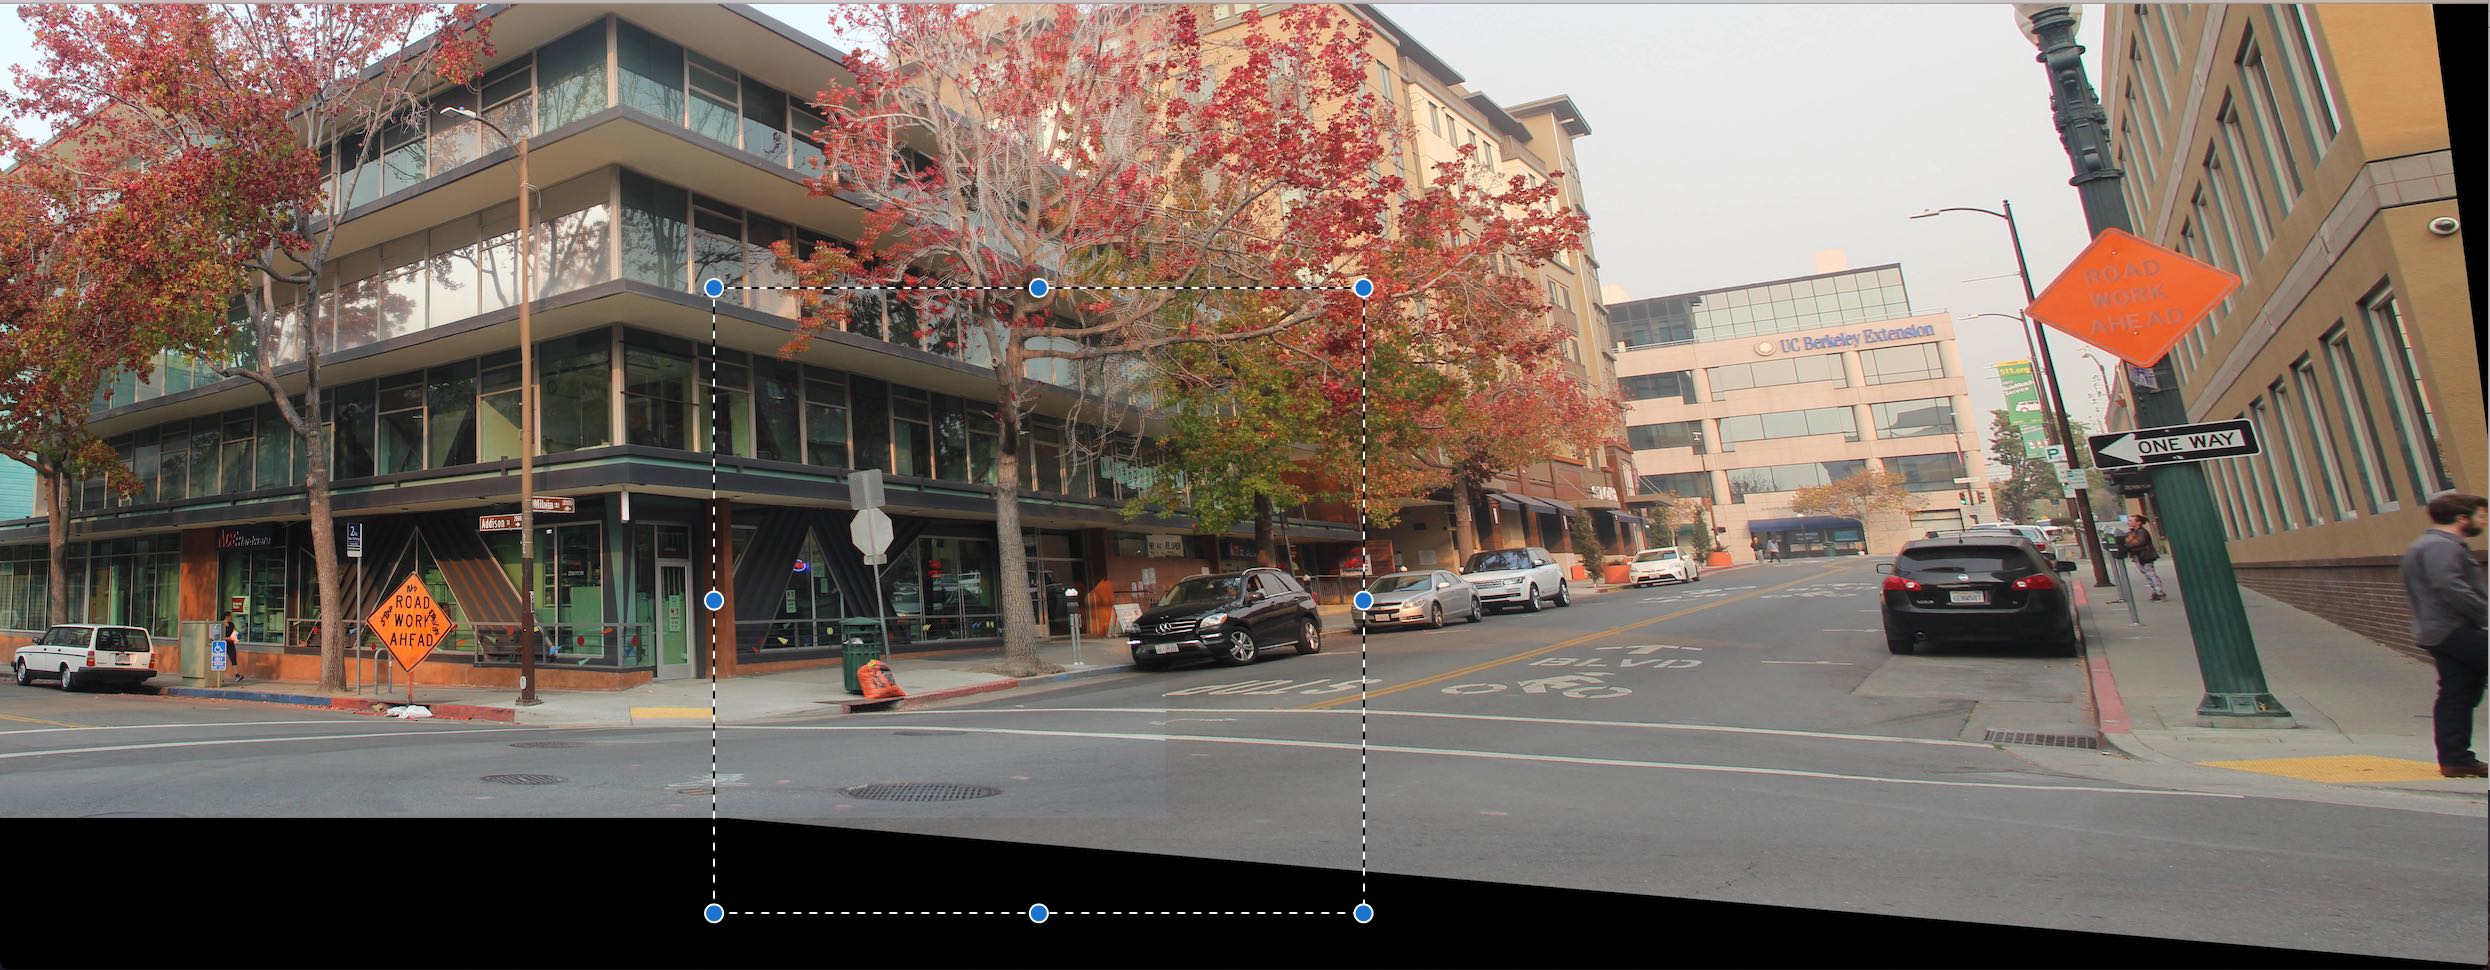
Final result
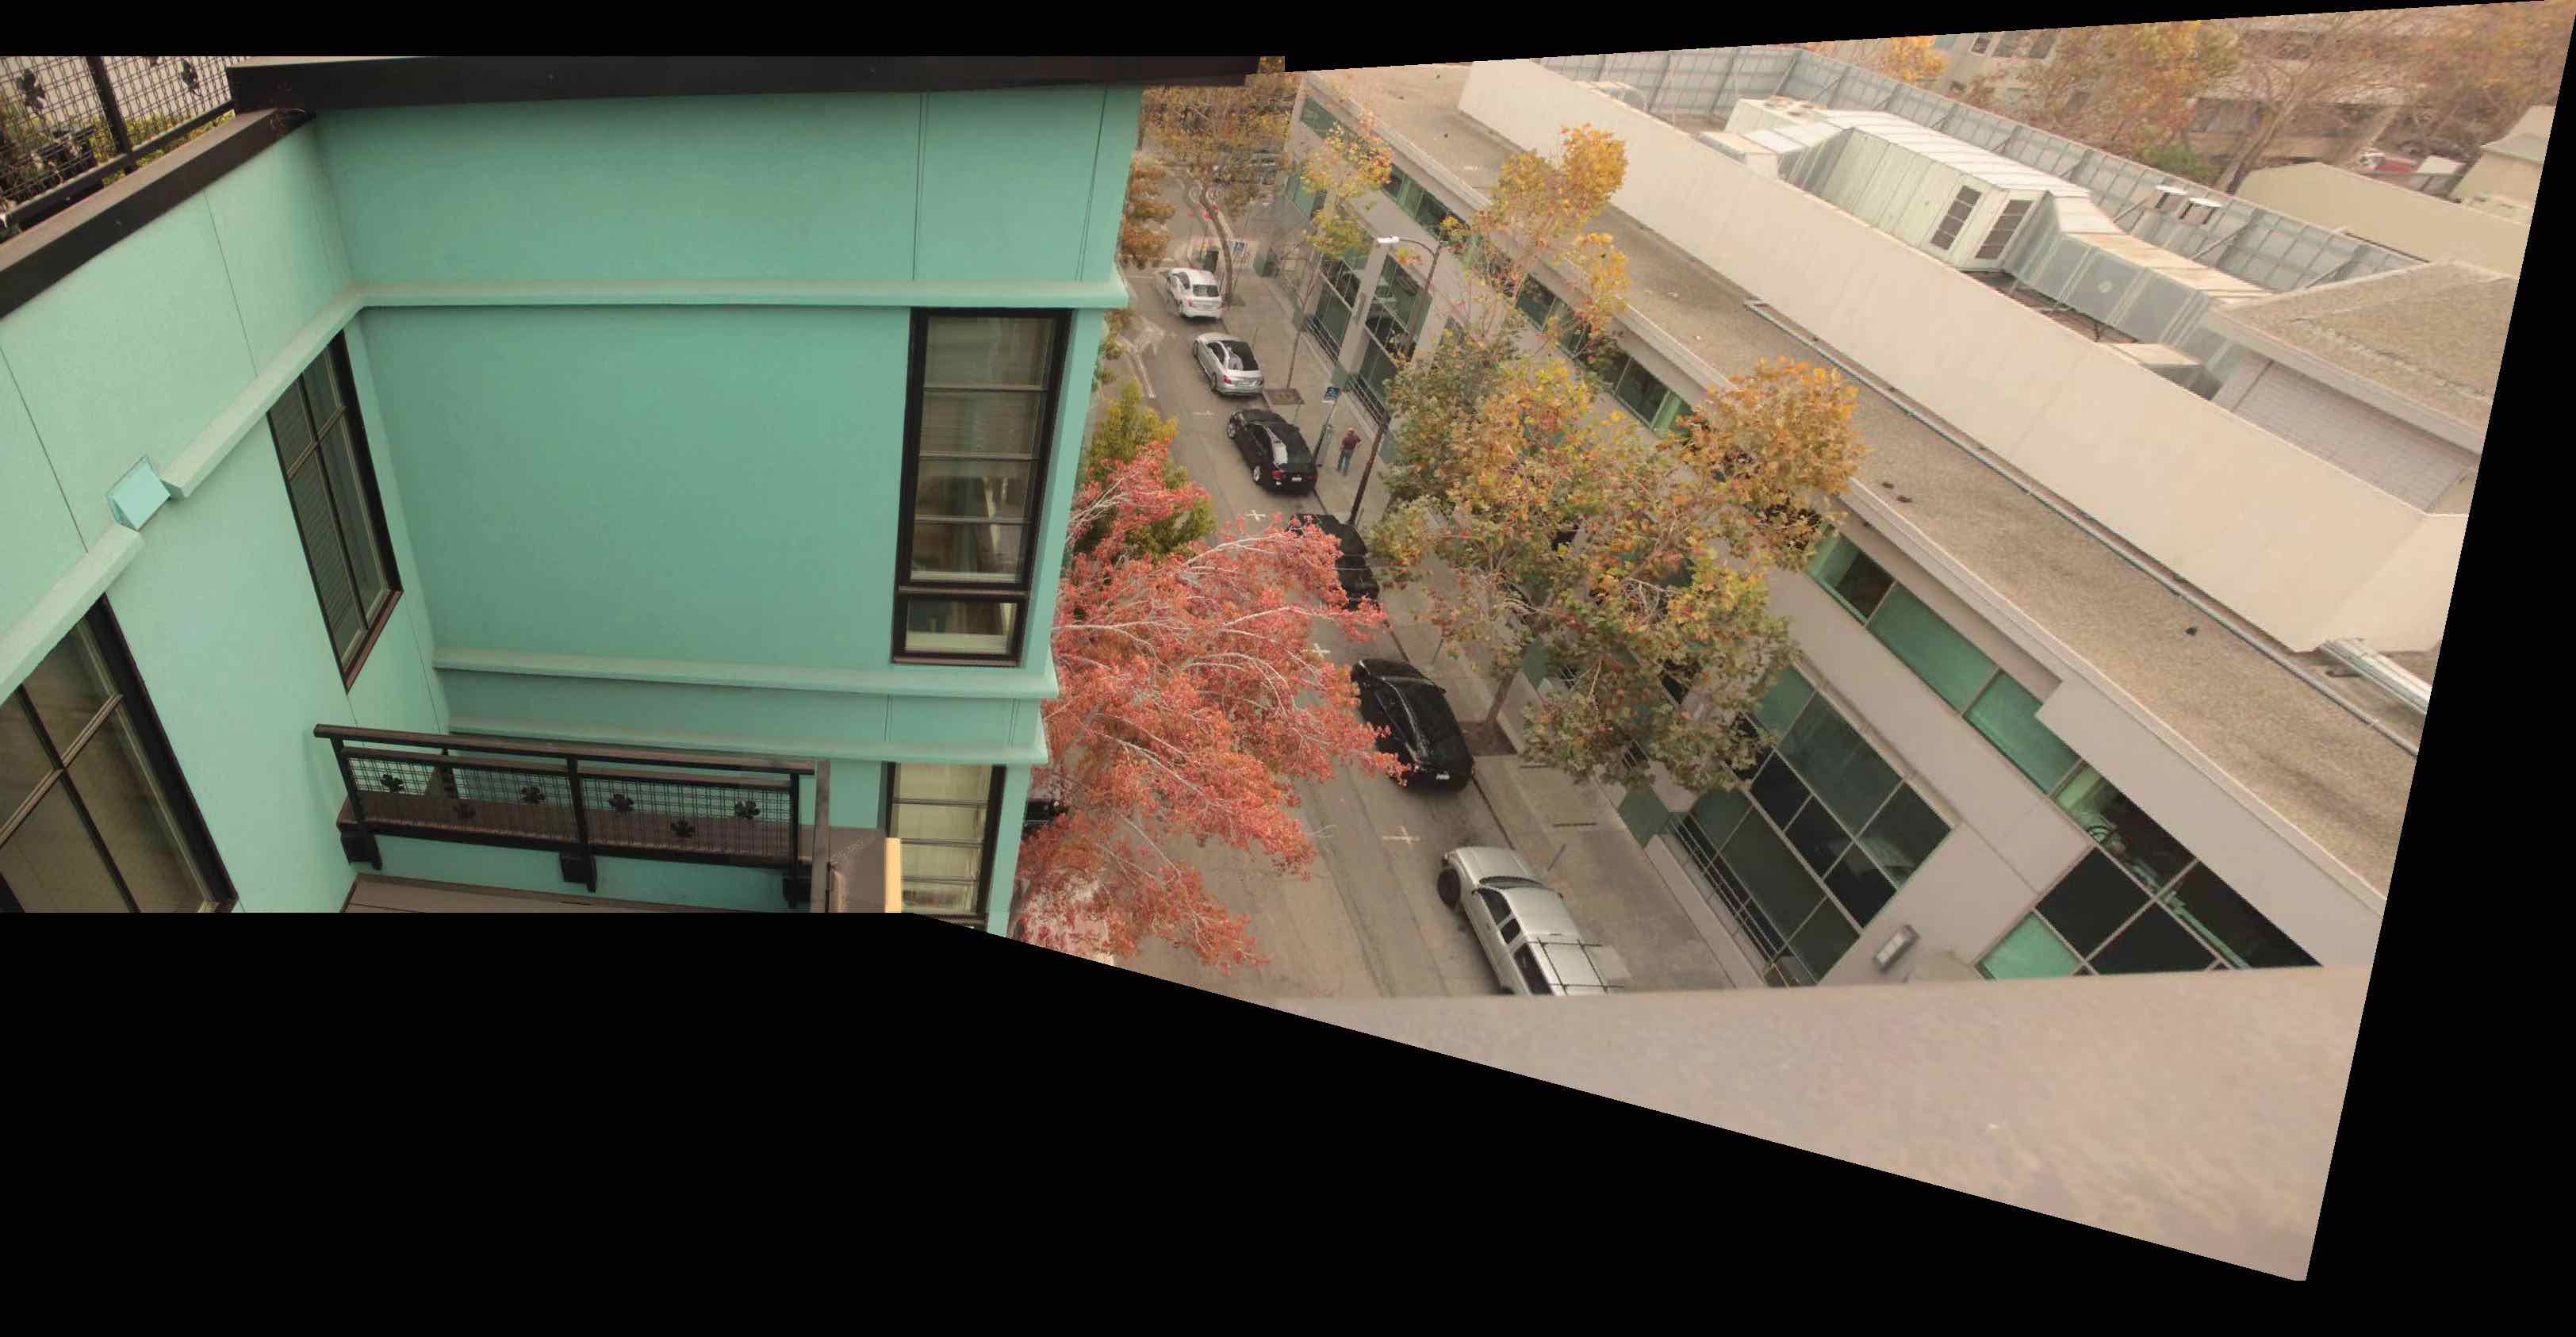
More examples
A
B
A
B
Result
Result
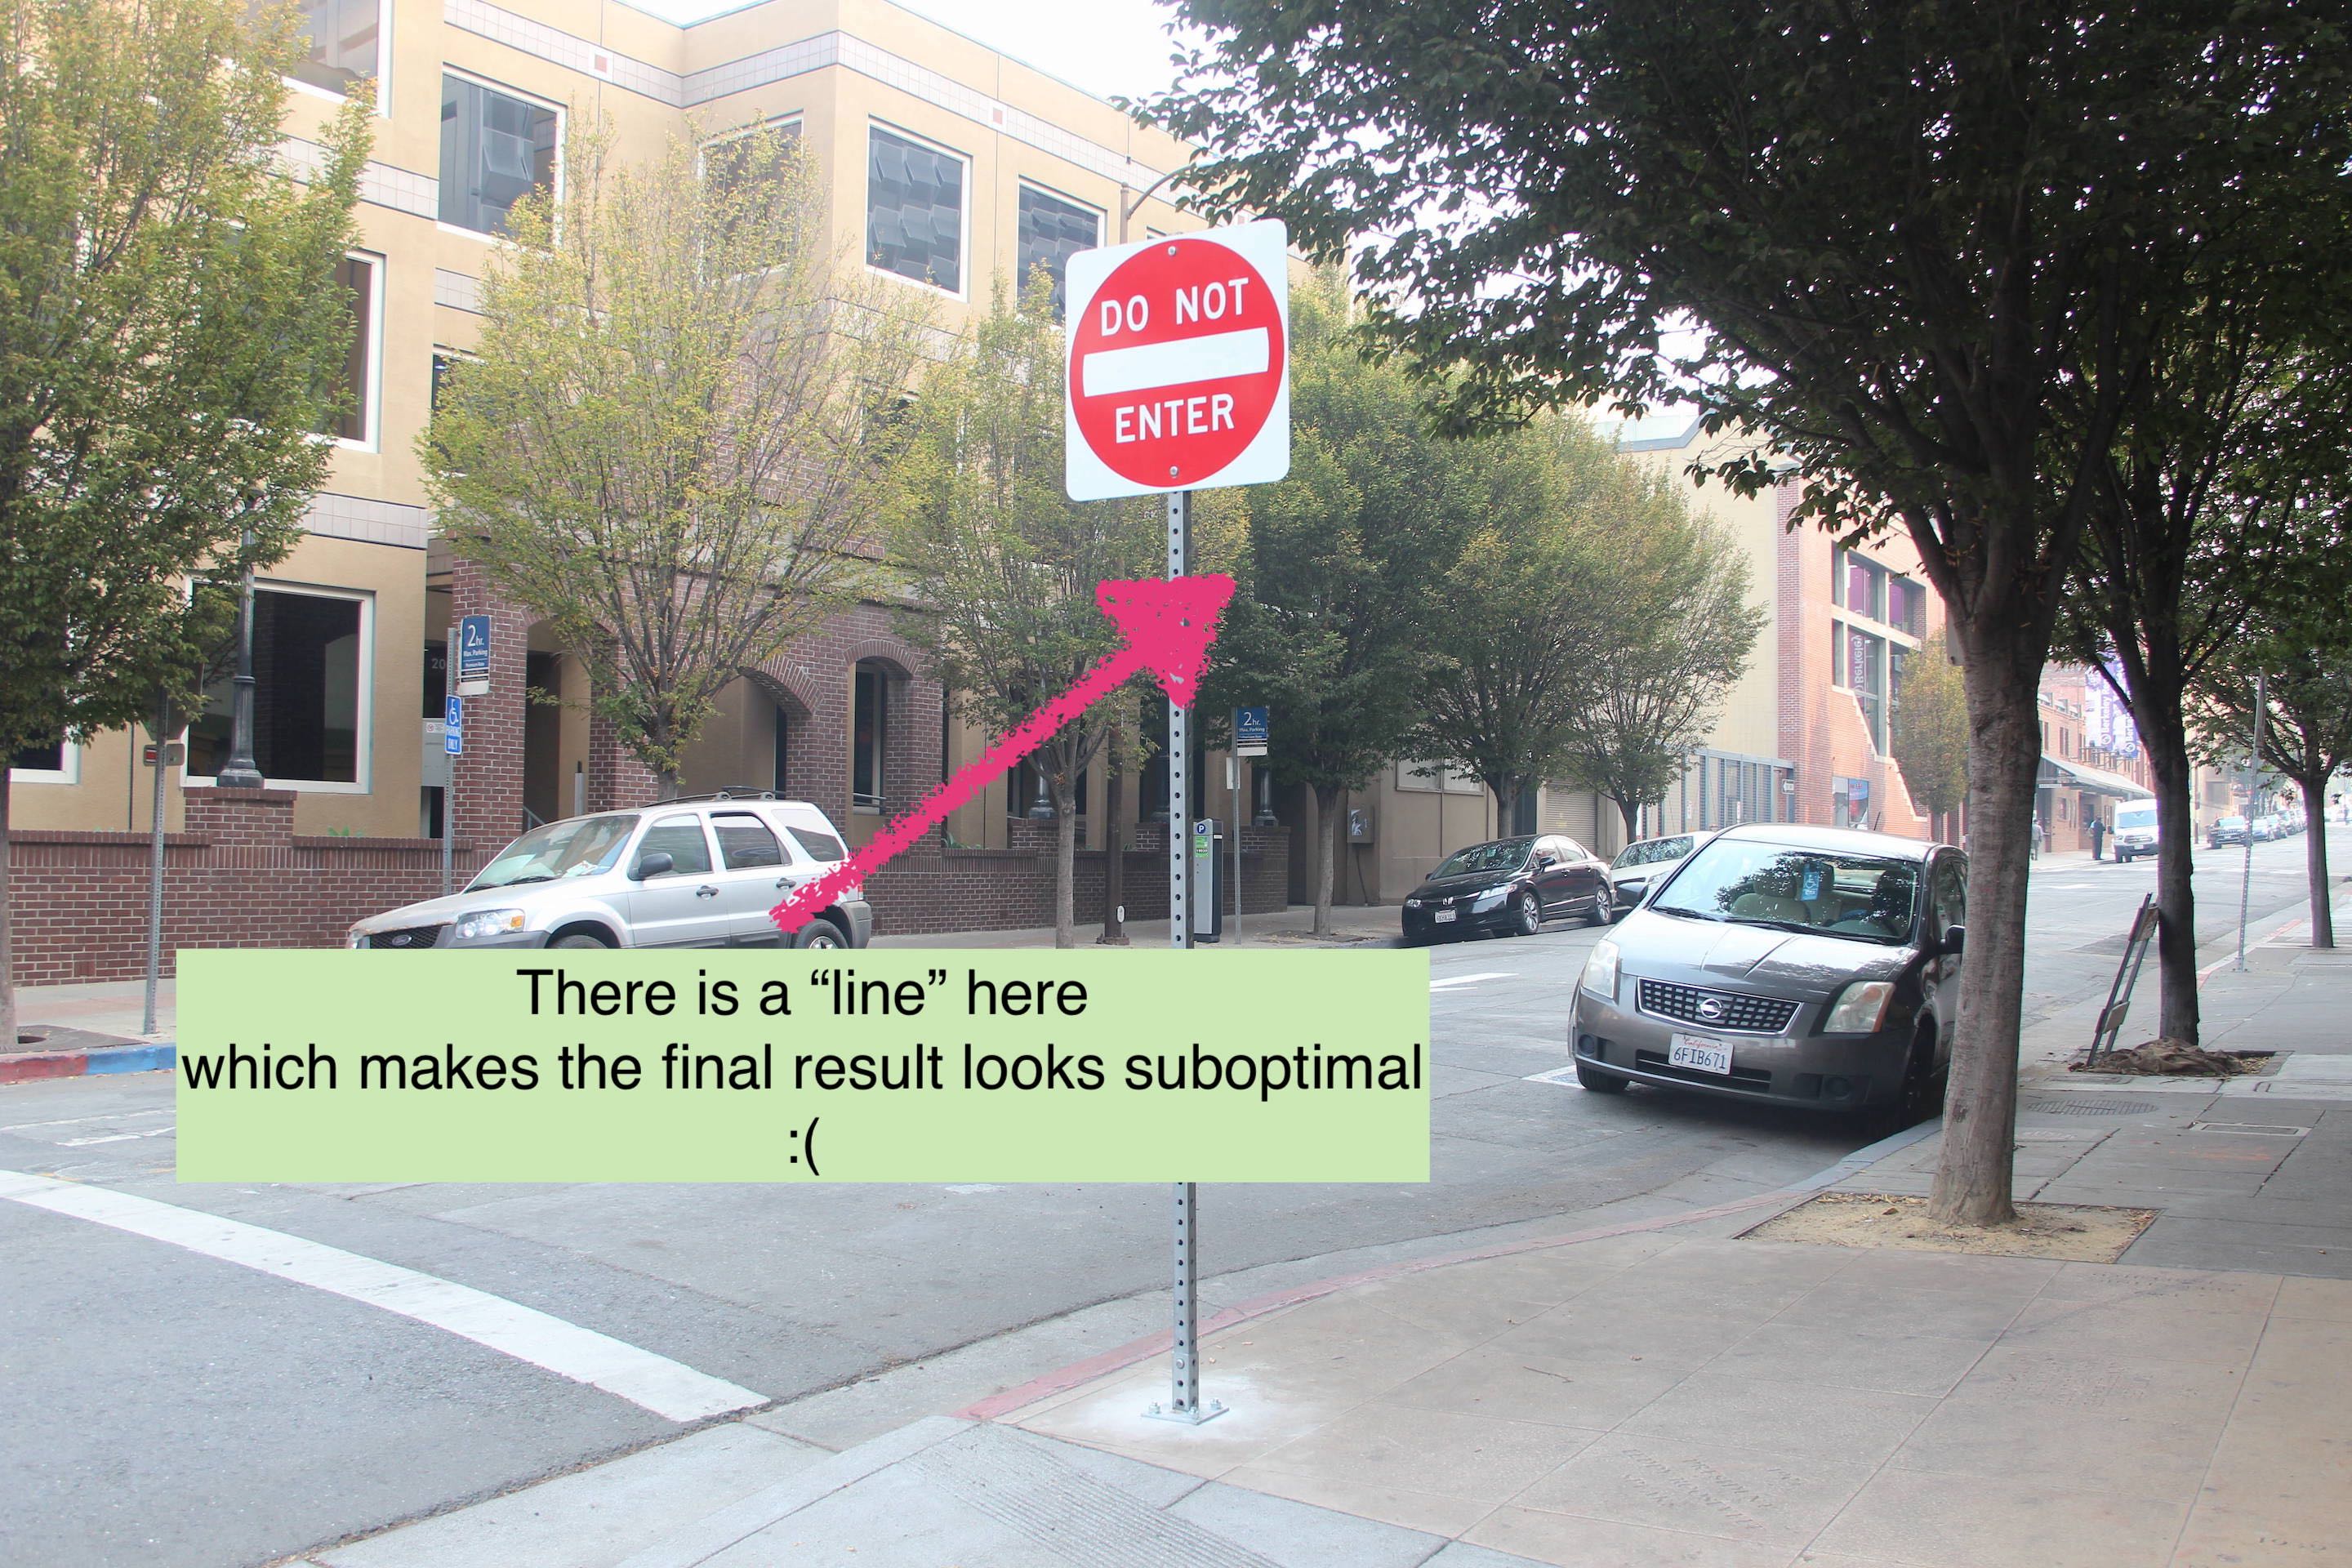
A Failure Case : A car fails to align
What I've learned
Now, I have a better understanding about homography and I felt great that I can “rectify” an image to its original shape. Also, finding numerous corresponding points is extremely tiring, especially when I tried to align all the trees, thus I've realized how autostitching is a great method and I’m really looking forward to part2 of this project.
!Thank you!