Image Warping and Mosaicing
CS 194-26: Project 4
Caroline Moore (cs194-26-aew)
For this project, we warped images so they could be aligned
and blended to create mosaics. There are several steps to this process. First, I
labeled corresponding points in the two images. The points in the image that is
going to be warped are ![]() and the points that they will be warped to are
and the points that they will be warped to are
![]() .
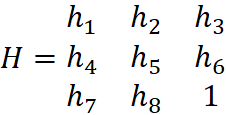
I can then use these points to find a homography
between the two images. To convert between them. To do this, I first define the
following matrices.
.
I can then use these points to find a homography
between the two images. To convert between them. To do this, I first define the
following matrices.

I then used least squares to solve for ![]() using
using ![]() and
and ![]() .
Rewriting
.
Rewriting ![]() gave me the homography
gave me the homography
This lets me warp the first image onto
the second set of points using the following equation.
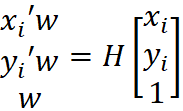
This lets me find where the edges of the
image should be so I can determine the size of the warped image. Then I use the
inverse of the previous equation to find the value of every pixel in the warped
equation.
To test my code, I first warped an image
of a trapezoid into a rectangle.

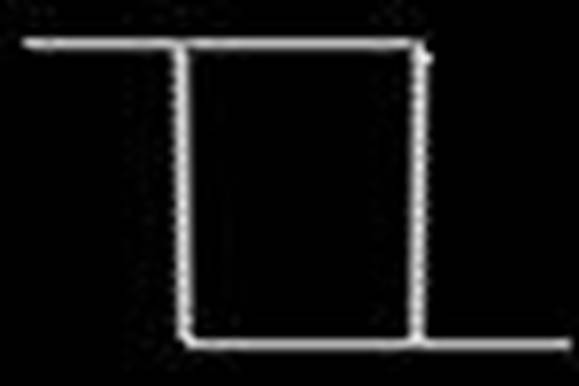
Left: trapezoid. Right:
warped rectangle.
Then, I warped a picture of a cube of
magnets so different sides faced forward.
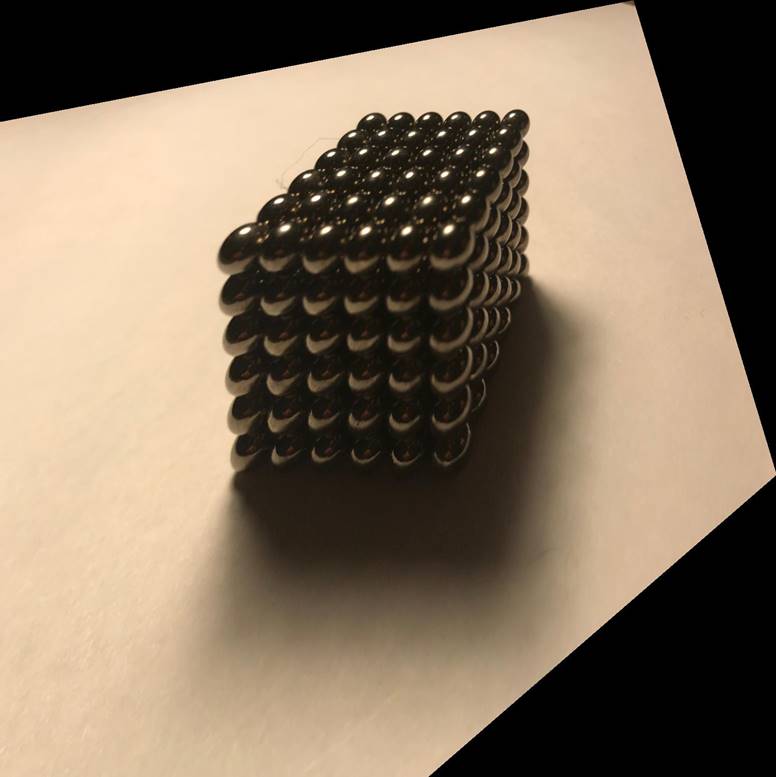

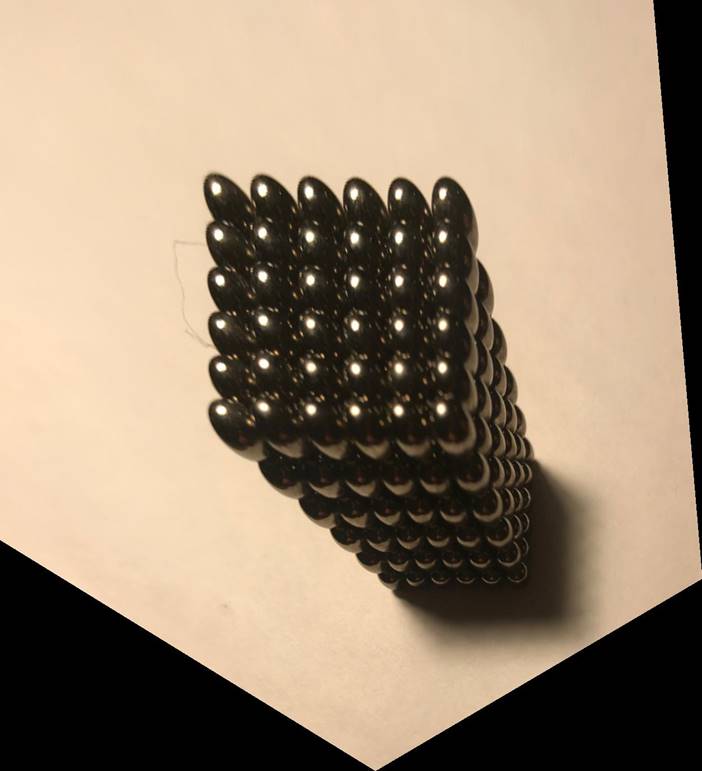
Left: Cube warped so
it’s left side faces forward. Middle: Original picture of the cube. Right: Cue
warped so it’s top faces forwards.
Next, I created mosaics by merging images.
I warped one image to align with the other image and then used feathering to
blend the images.
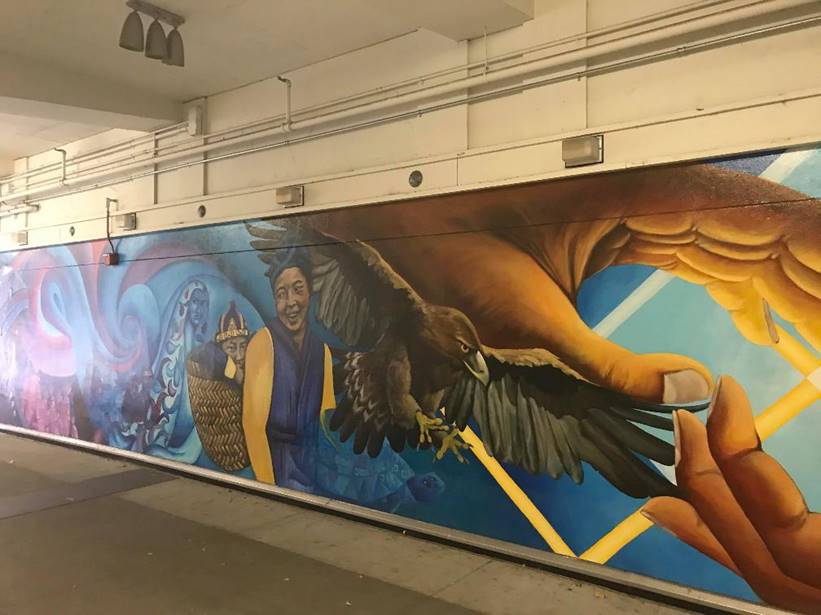
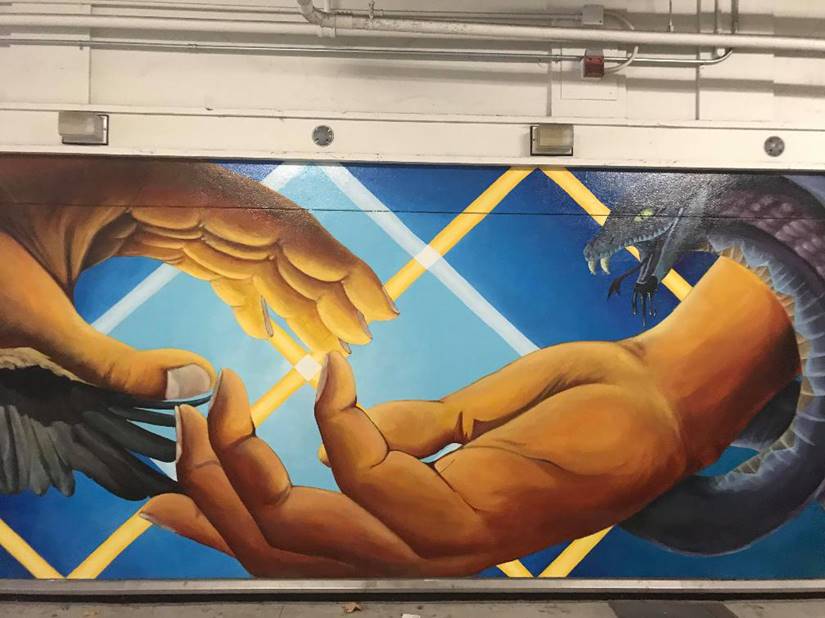
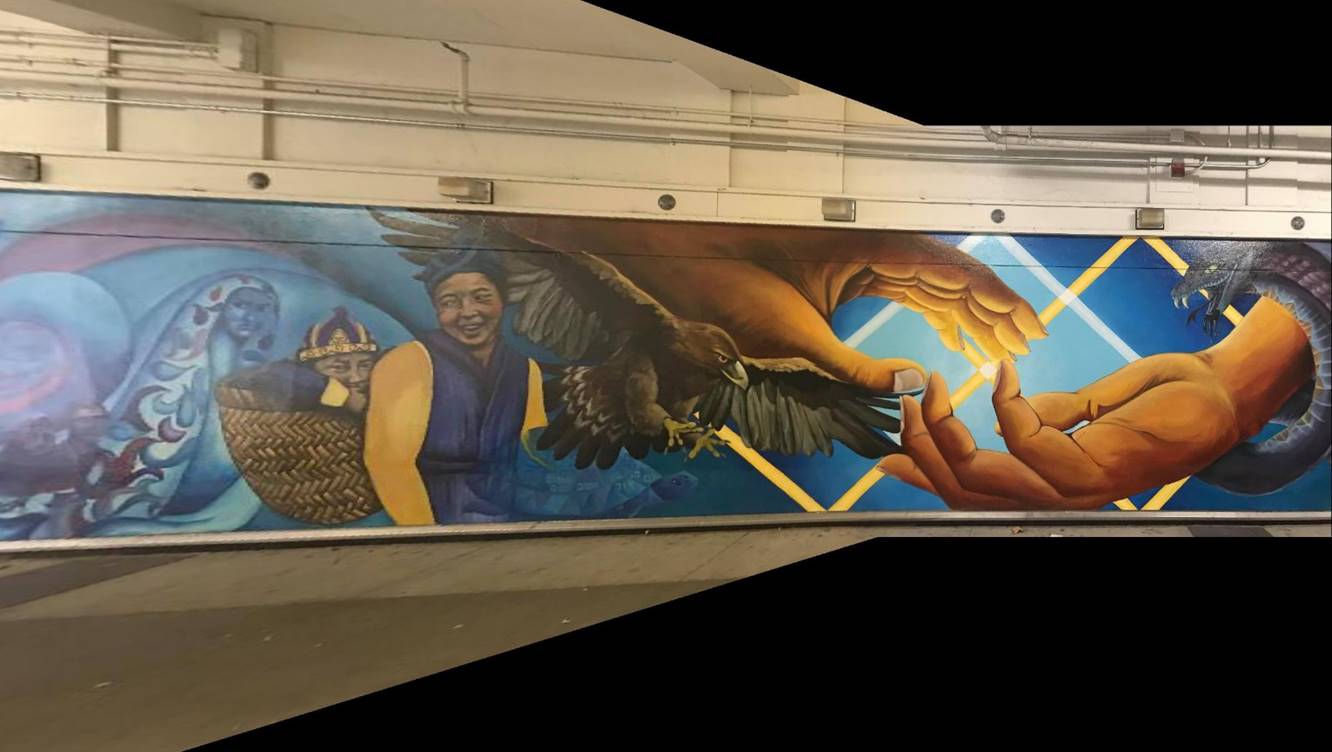
Top left: Left side
of the mural. Top right: Right side of the mural. Bottom: Blended mosaic.
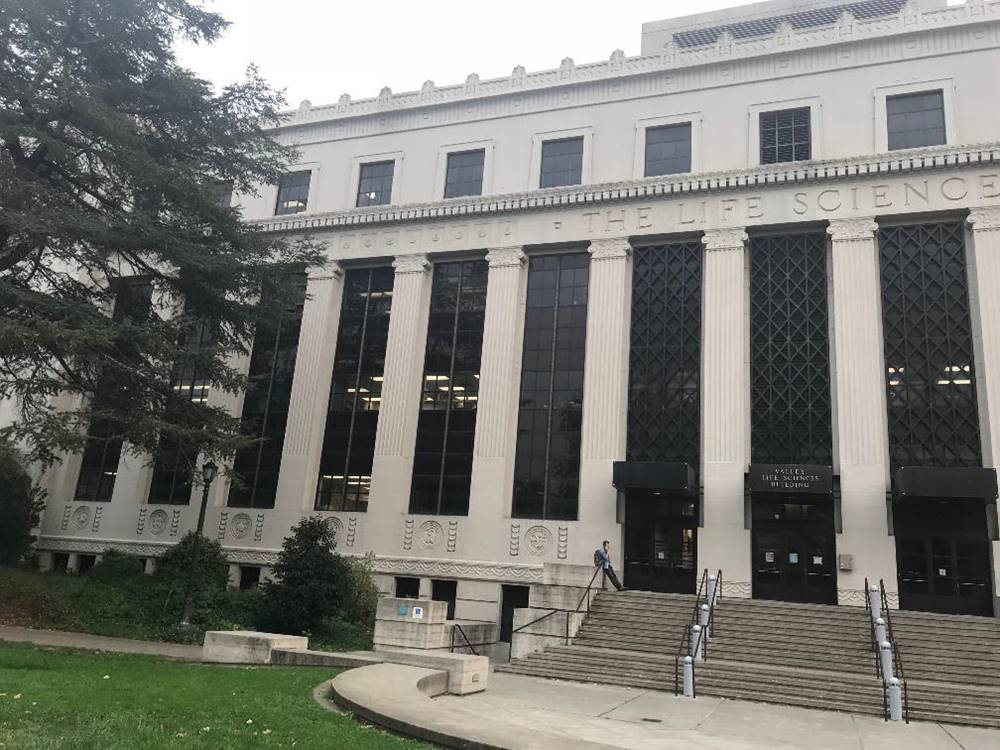
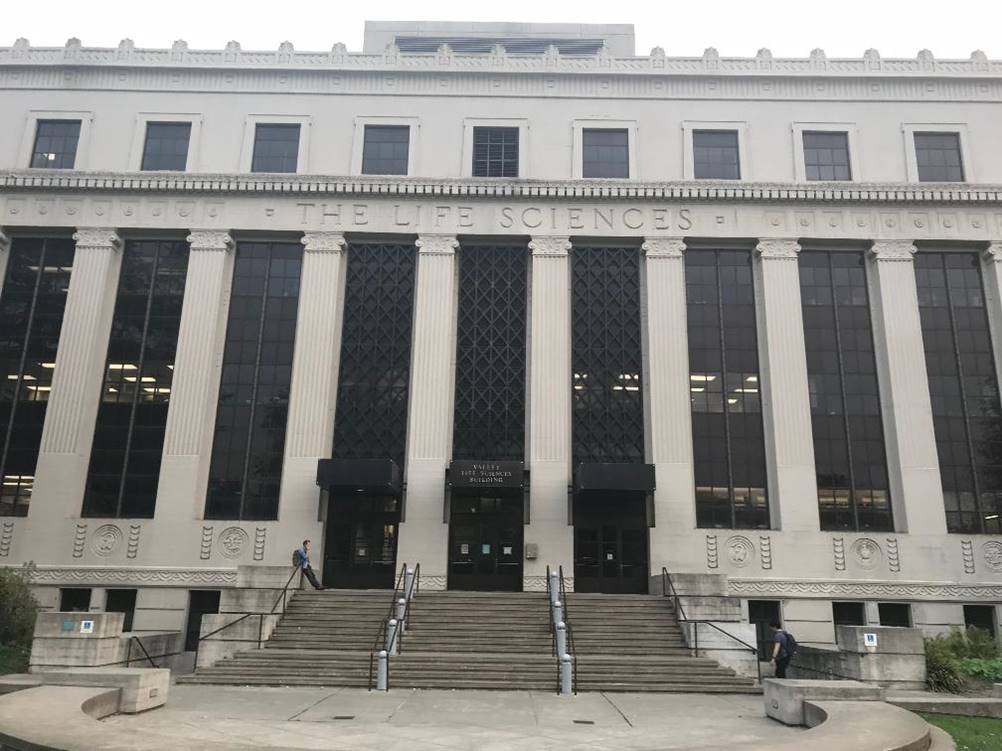
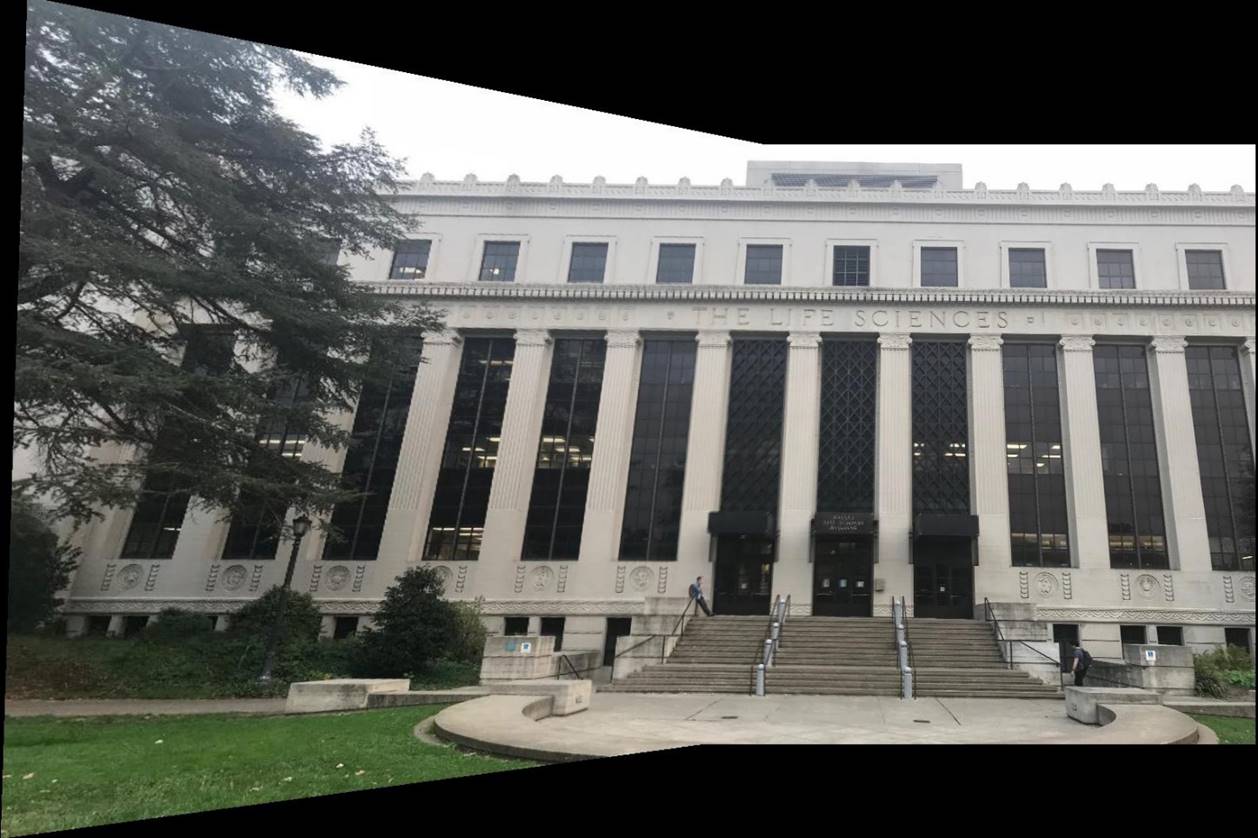
Top left: Left side
of VLSB. Top right: Right side of VLSB. Bottom: Blended mosaic.
If the camera is translated too much
between images, they won’t align correctly.

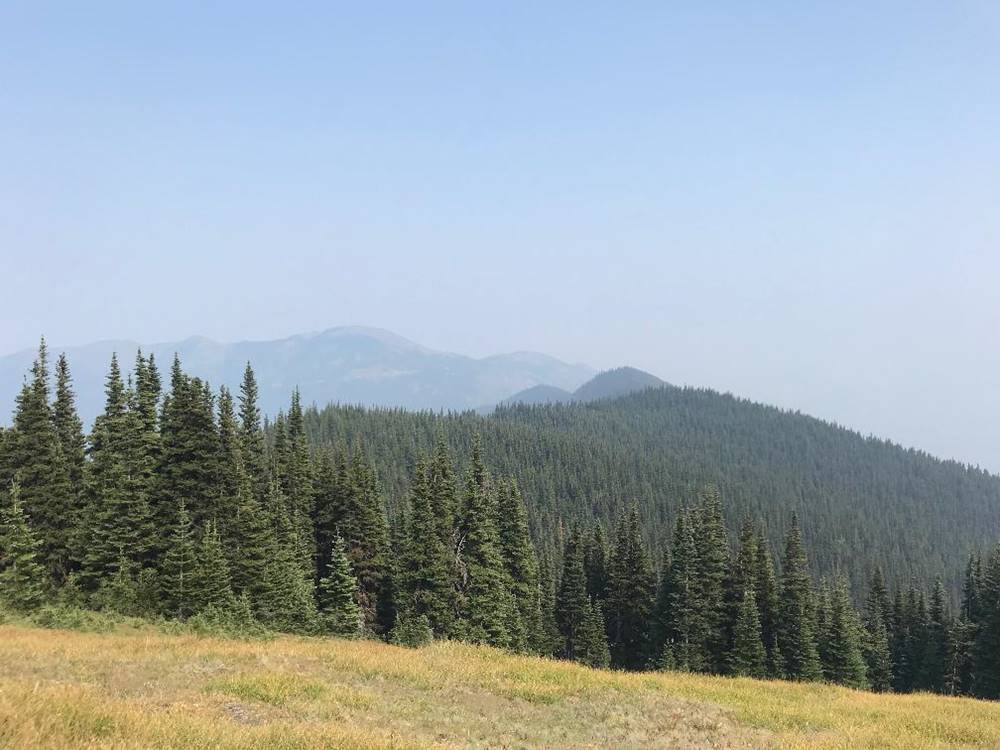

Top left: Left side
of the hills. Top right: Right side of the hills. Bottom: Blended mosaic.
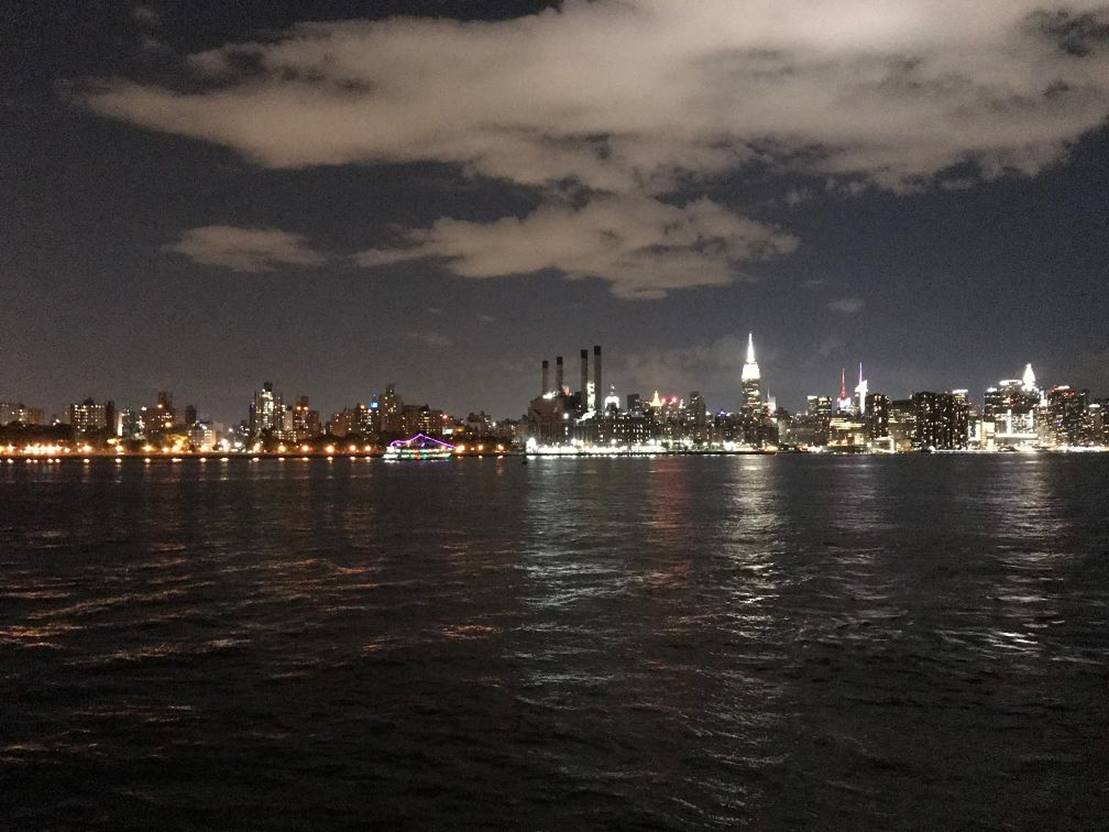
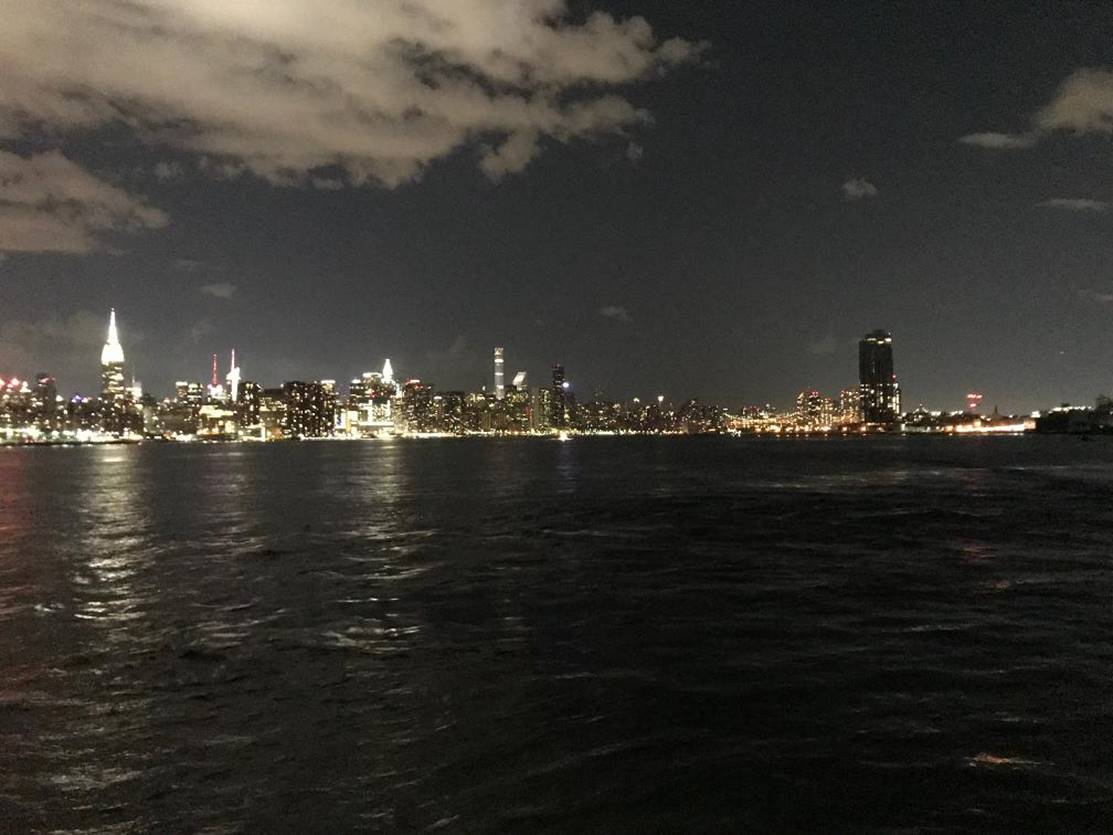
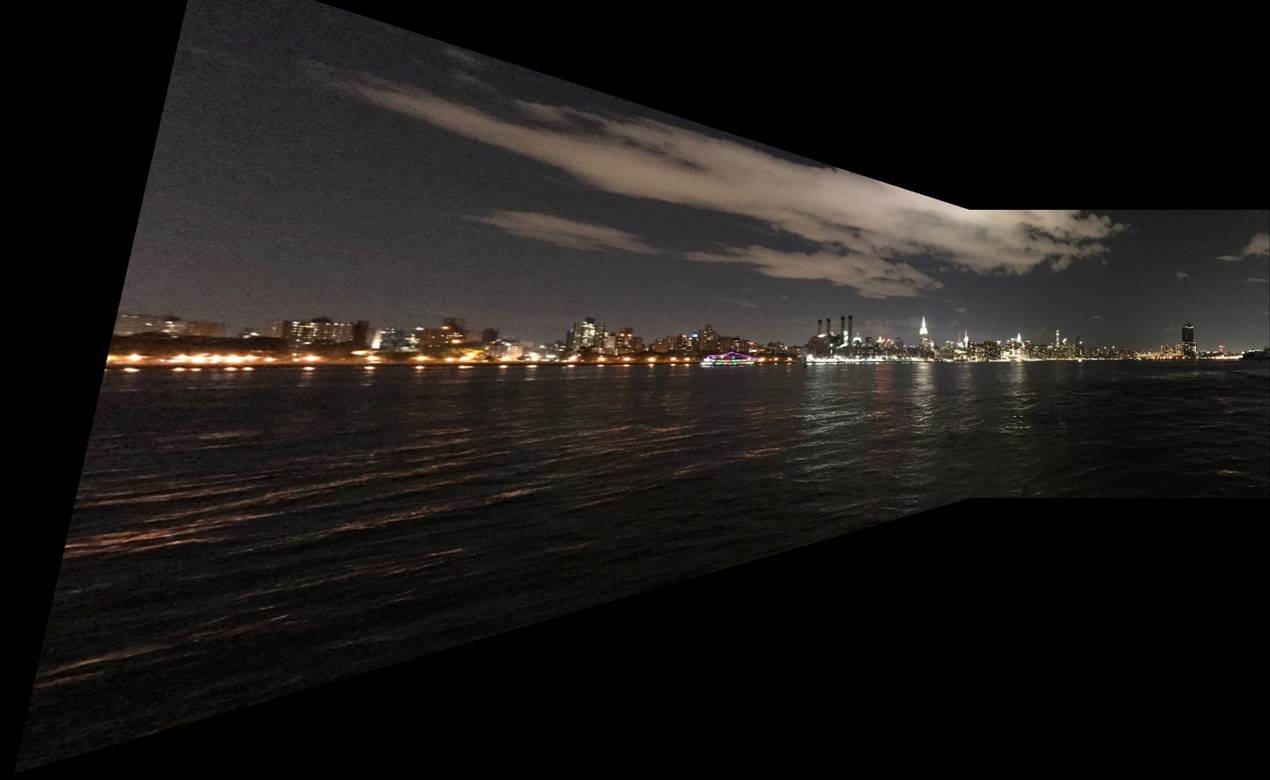
Top left: Left side
of the skyline. Top right: Right side of the skyline. Bottom: Blended mosaic.