Image Warping and Mosaicing
CS194-26 Fall 2018
Bernie Wang
Overview
In this project, we explore the concepts of projective warping and applying those by composing panoramas. The goal is to compute homographies for two or more images, warping them onto the same projective plane, and blending the images together. We can also use the same technique for computing homogaphies to rectify the projective plane of an image.
Shoot the Pictures
All the pictures displayed in this project were shot using an iPhone 6S by yours truly. For images used for composing the same mosaics I tried my best to rotate the camera about a vertical axis without translating the camera. This will result in better panoramas because the computed homographies will better model the projection from one plane to another.
Recover Homographies
In order to project an image onto a projective plane, we use the following homography matrix:
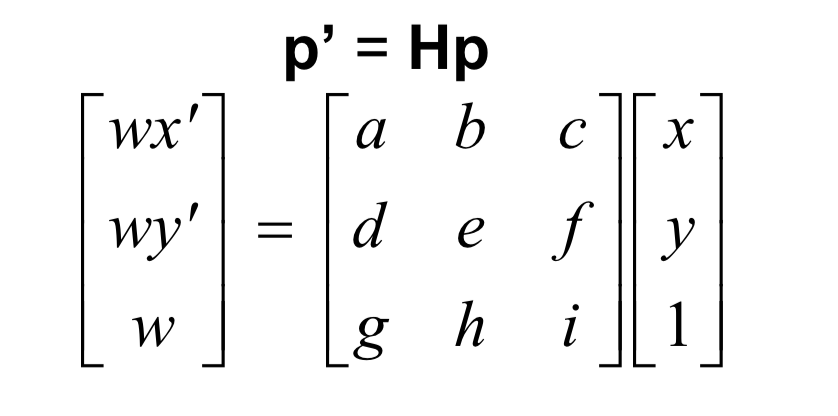
Homography matrix
To compute the homography matrix, we sample some correspondence points between two images and then use linear least squares regression to solve for the matrix that fits best.
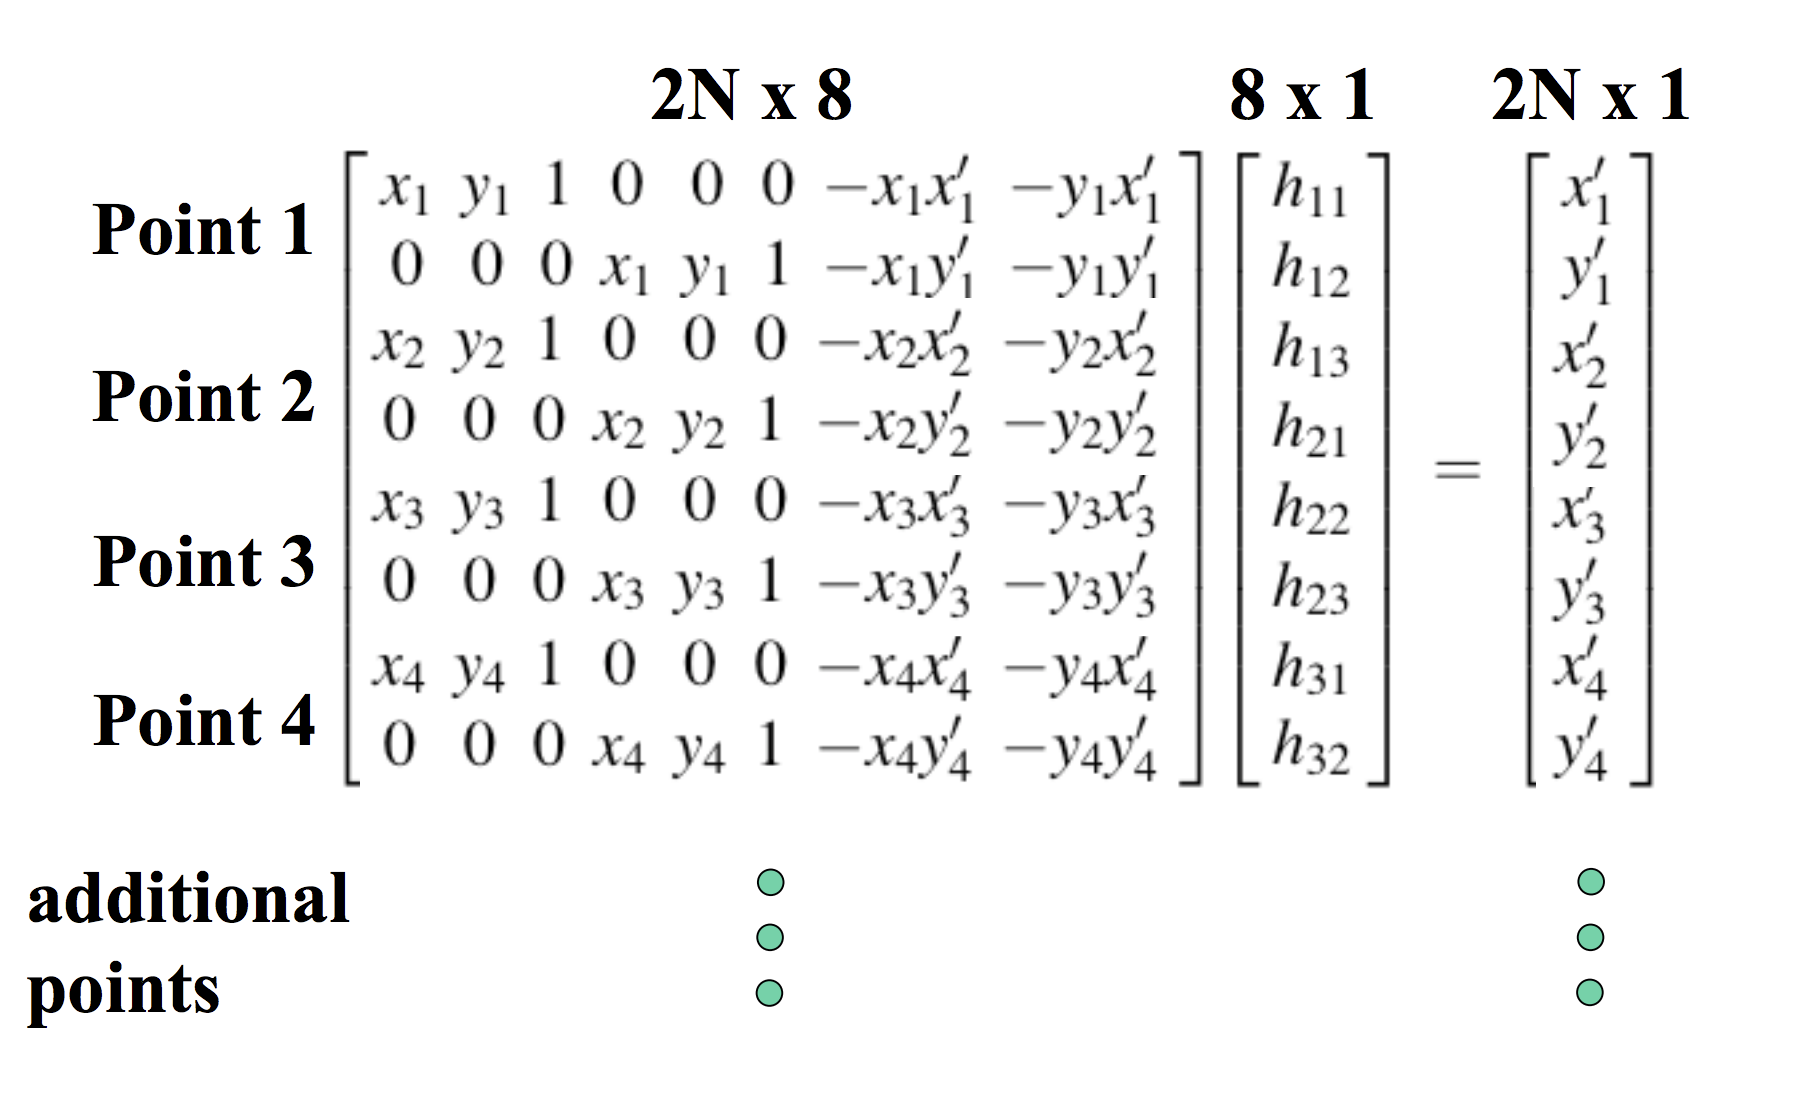
Image from Robert Collins
Warp Images
After we have computed our homography matrix, we can warp our image. We will use the reverse warping approach. We first compute the forward warping from the source image to the target image to get the bounds of the projected image. Then, we get all the points bounded in our projected image and use the reverse homography and interpolation to get the respective pixel values.
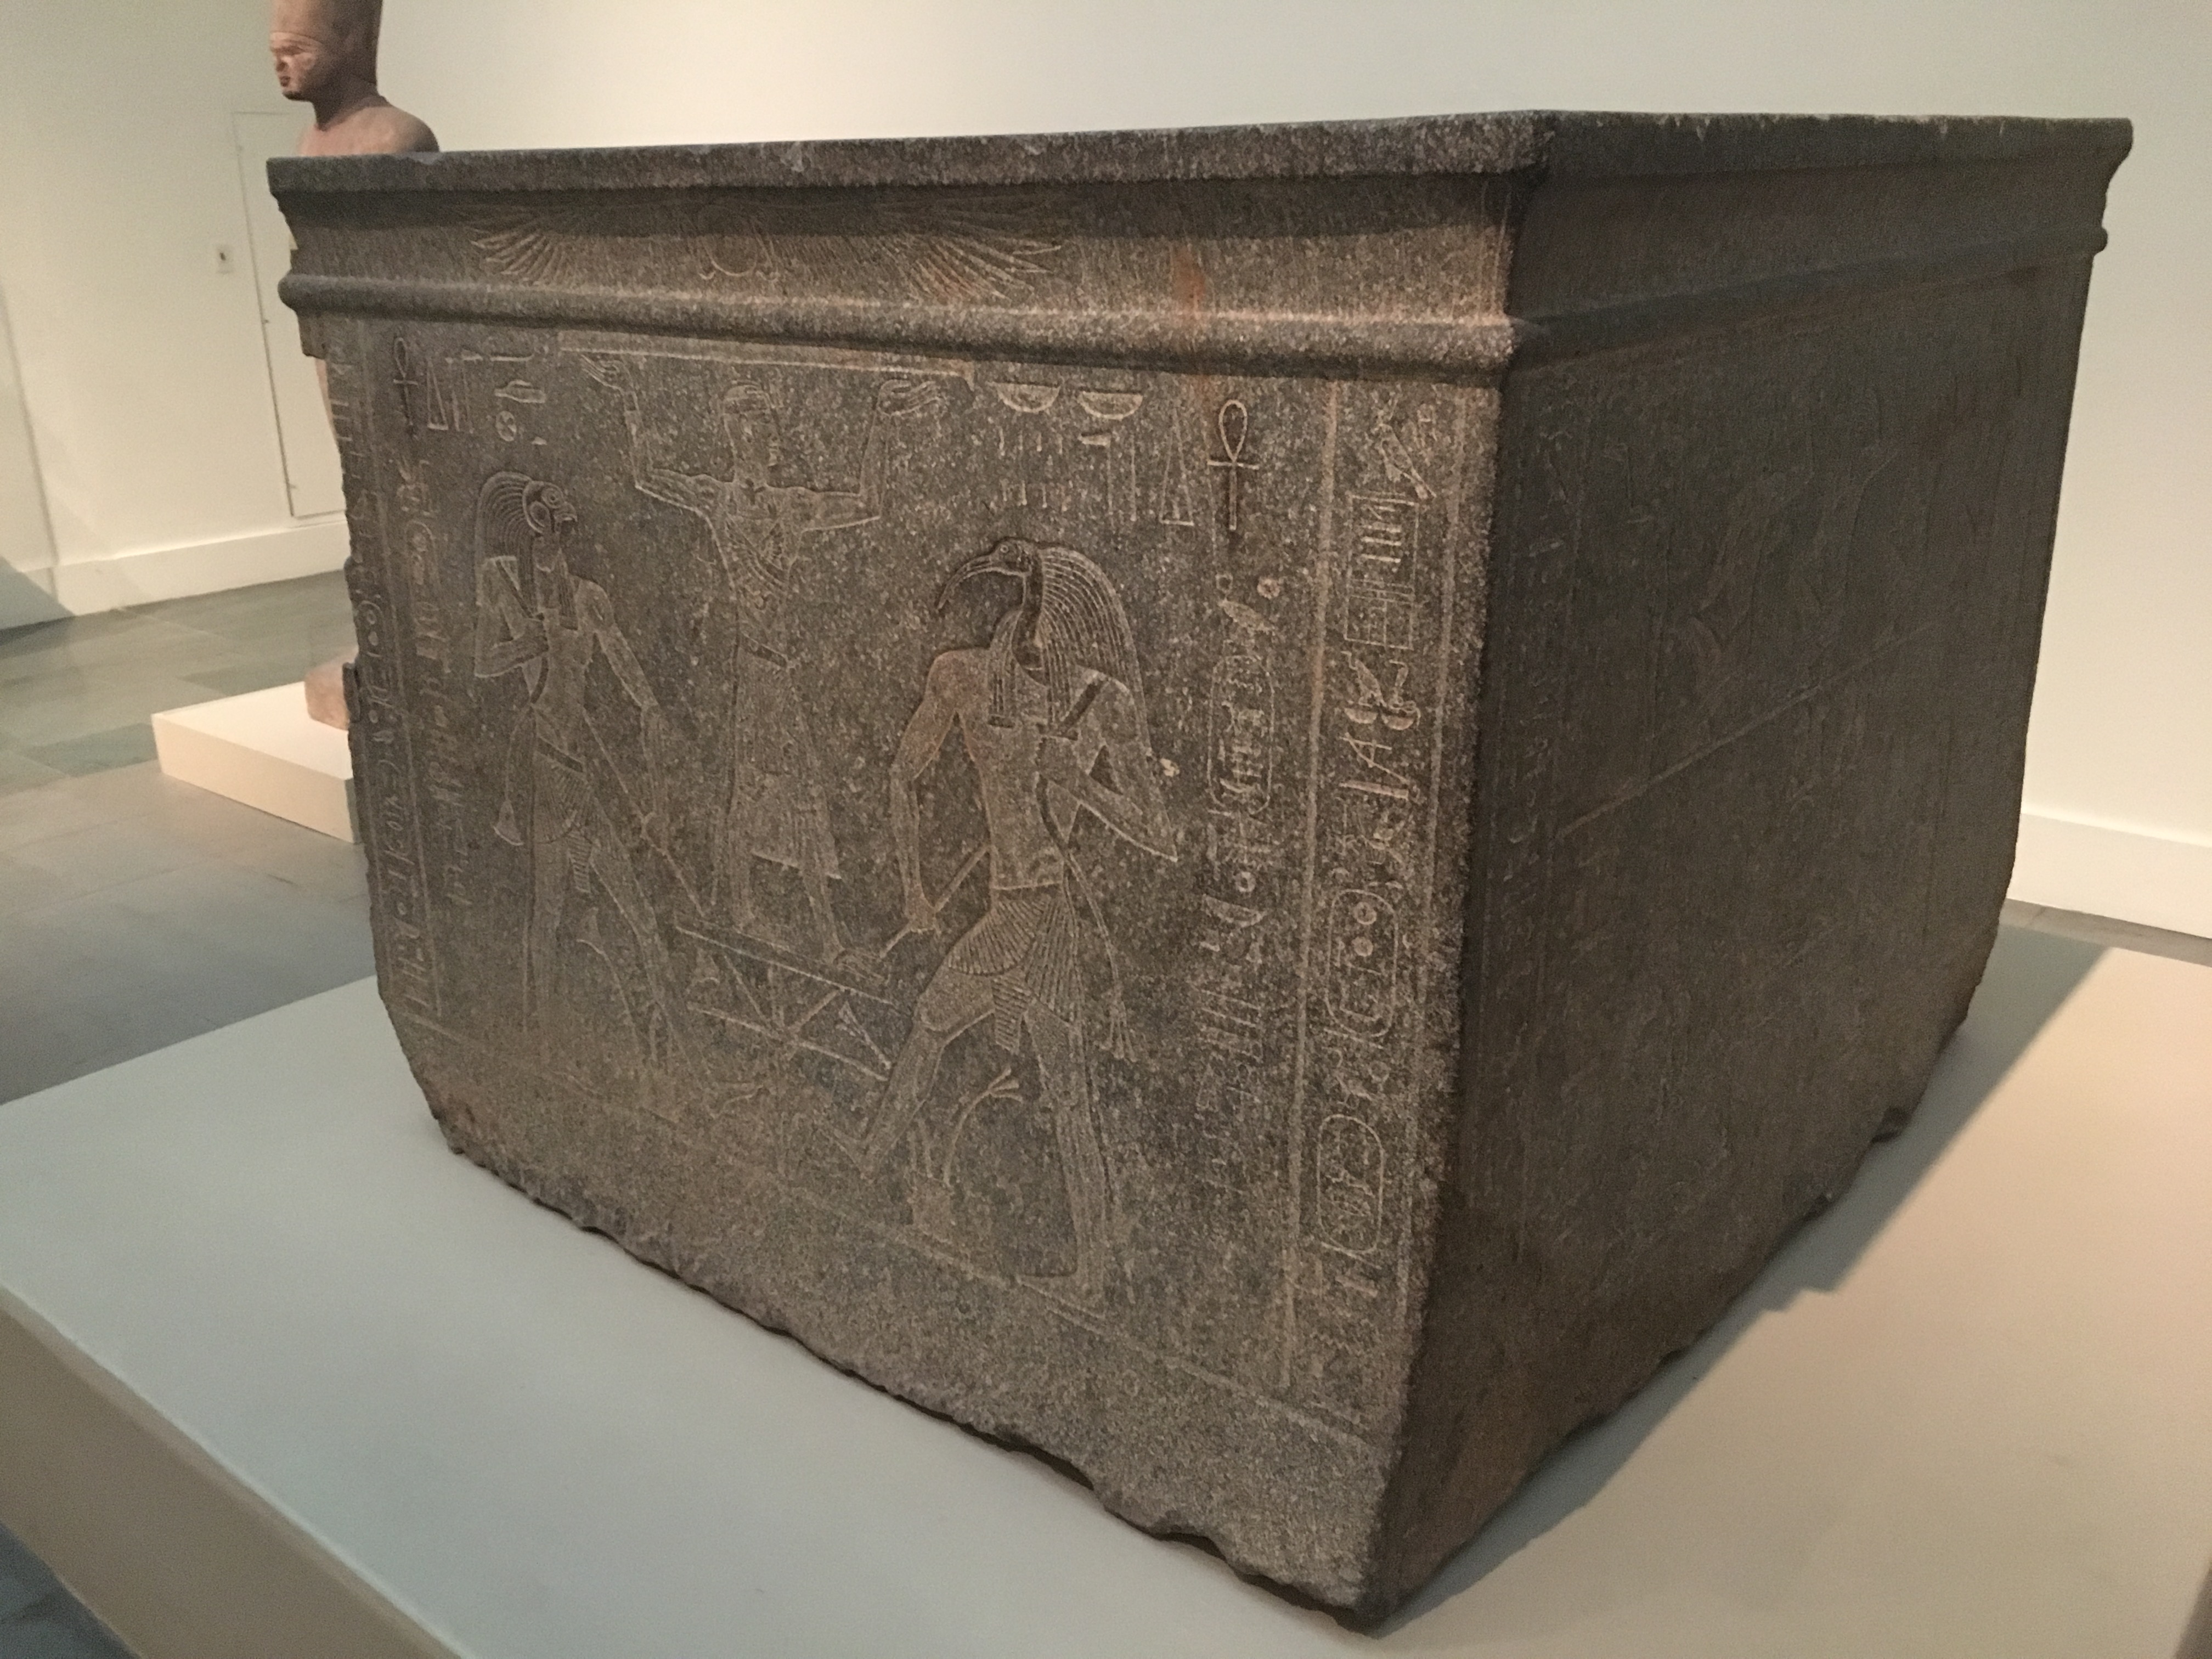
Image Rectification
We can demonstrate image warping by "rectifying" the projective plane to be frontal-parallel. We can do this by corresponding some boundary points in our source image to boundary points on a rectangle, compute the homography matrix, and warp our source image.
Original
Rectified, cropped
Original
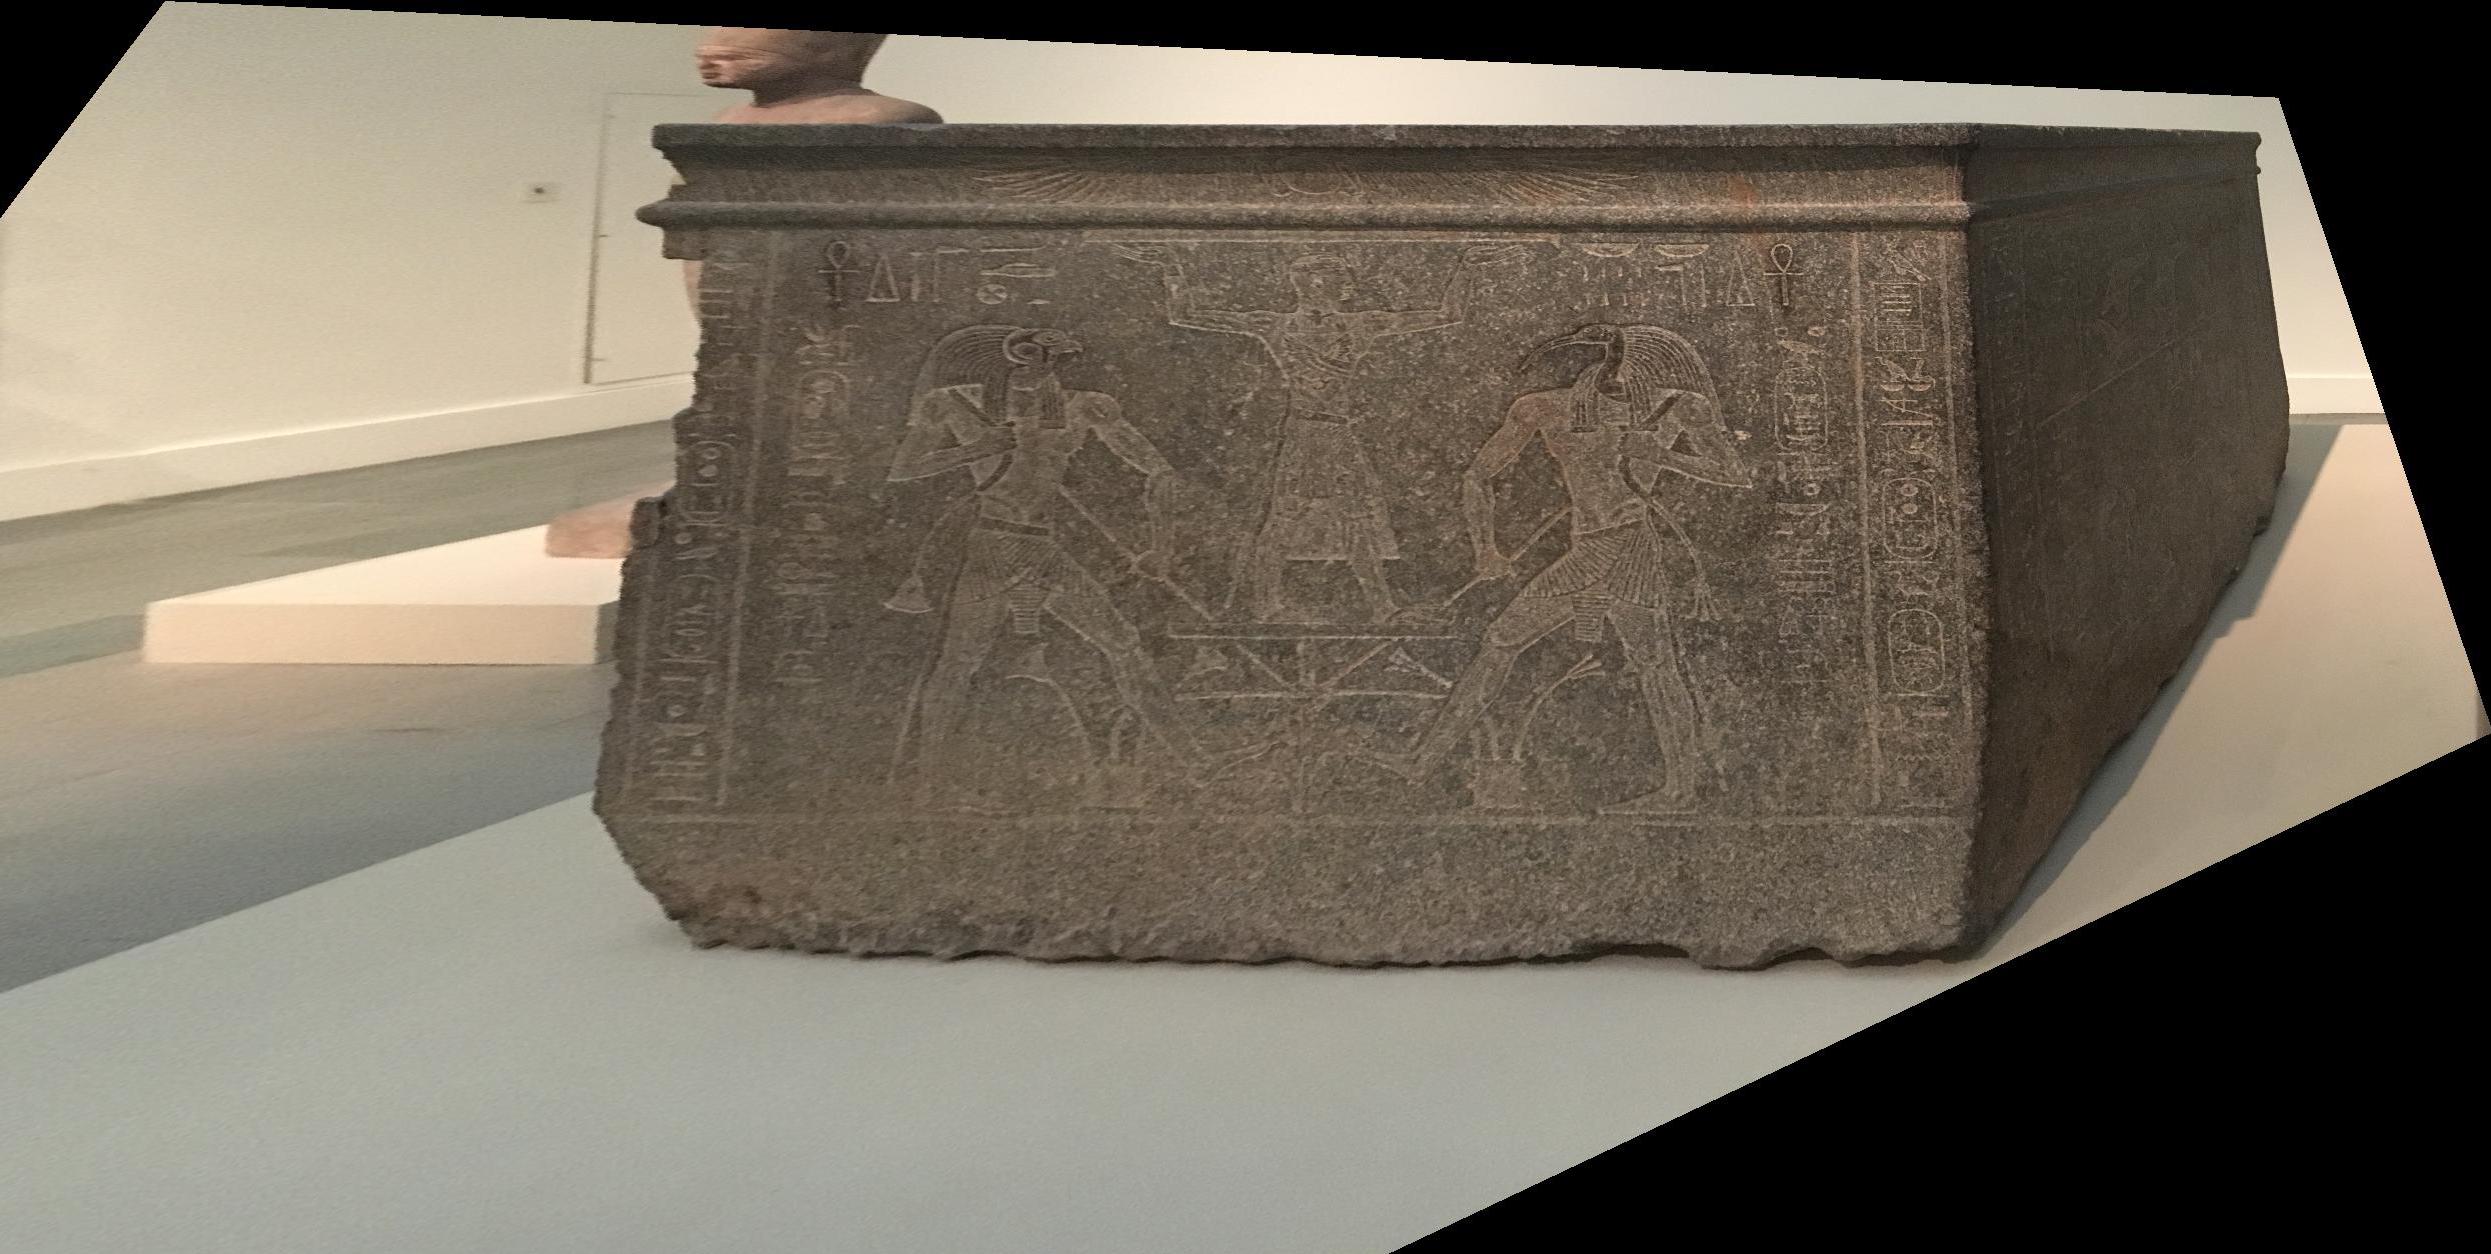
Rectified, cropped
Blend the images into a mosaic
Now we can use warping to create mosaics! First we get correspondence points between two images, and warp one of the images onto the projective plane of the other. Then, we realign the images so that the correspondence points overlap. Lastly, we use linear blending to stitch together the images. The challenge in using linear blending is to only scale pixels in the overlapping region, so we needed to find the pixels that lie in the overlap.
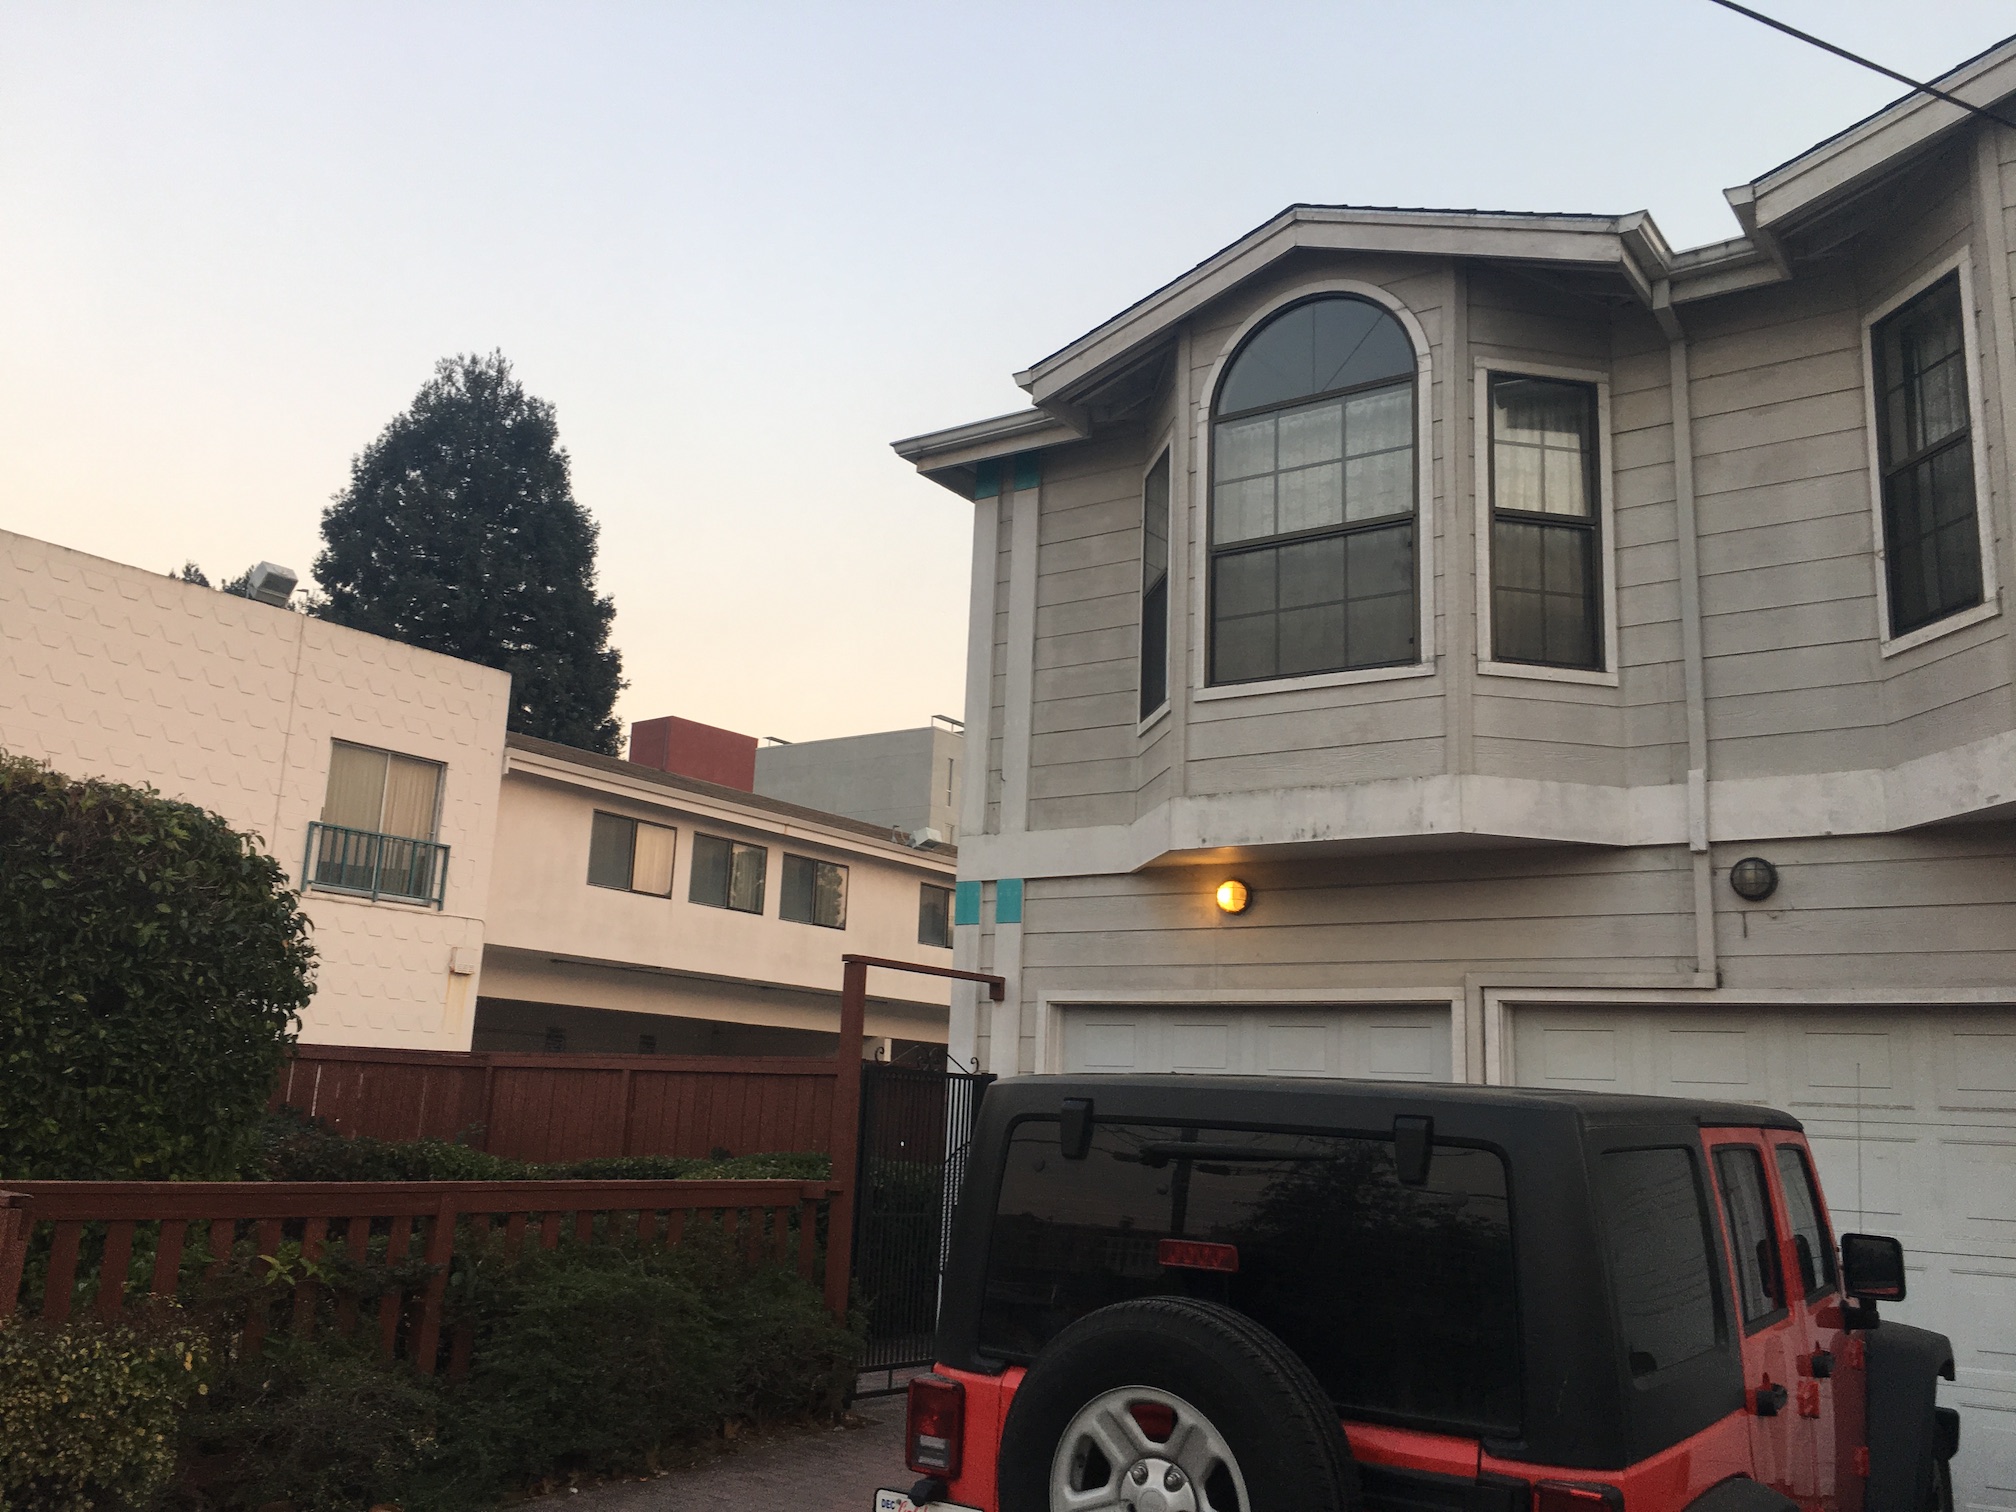
Original
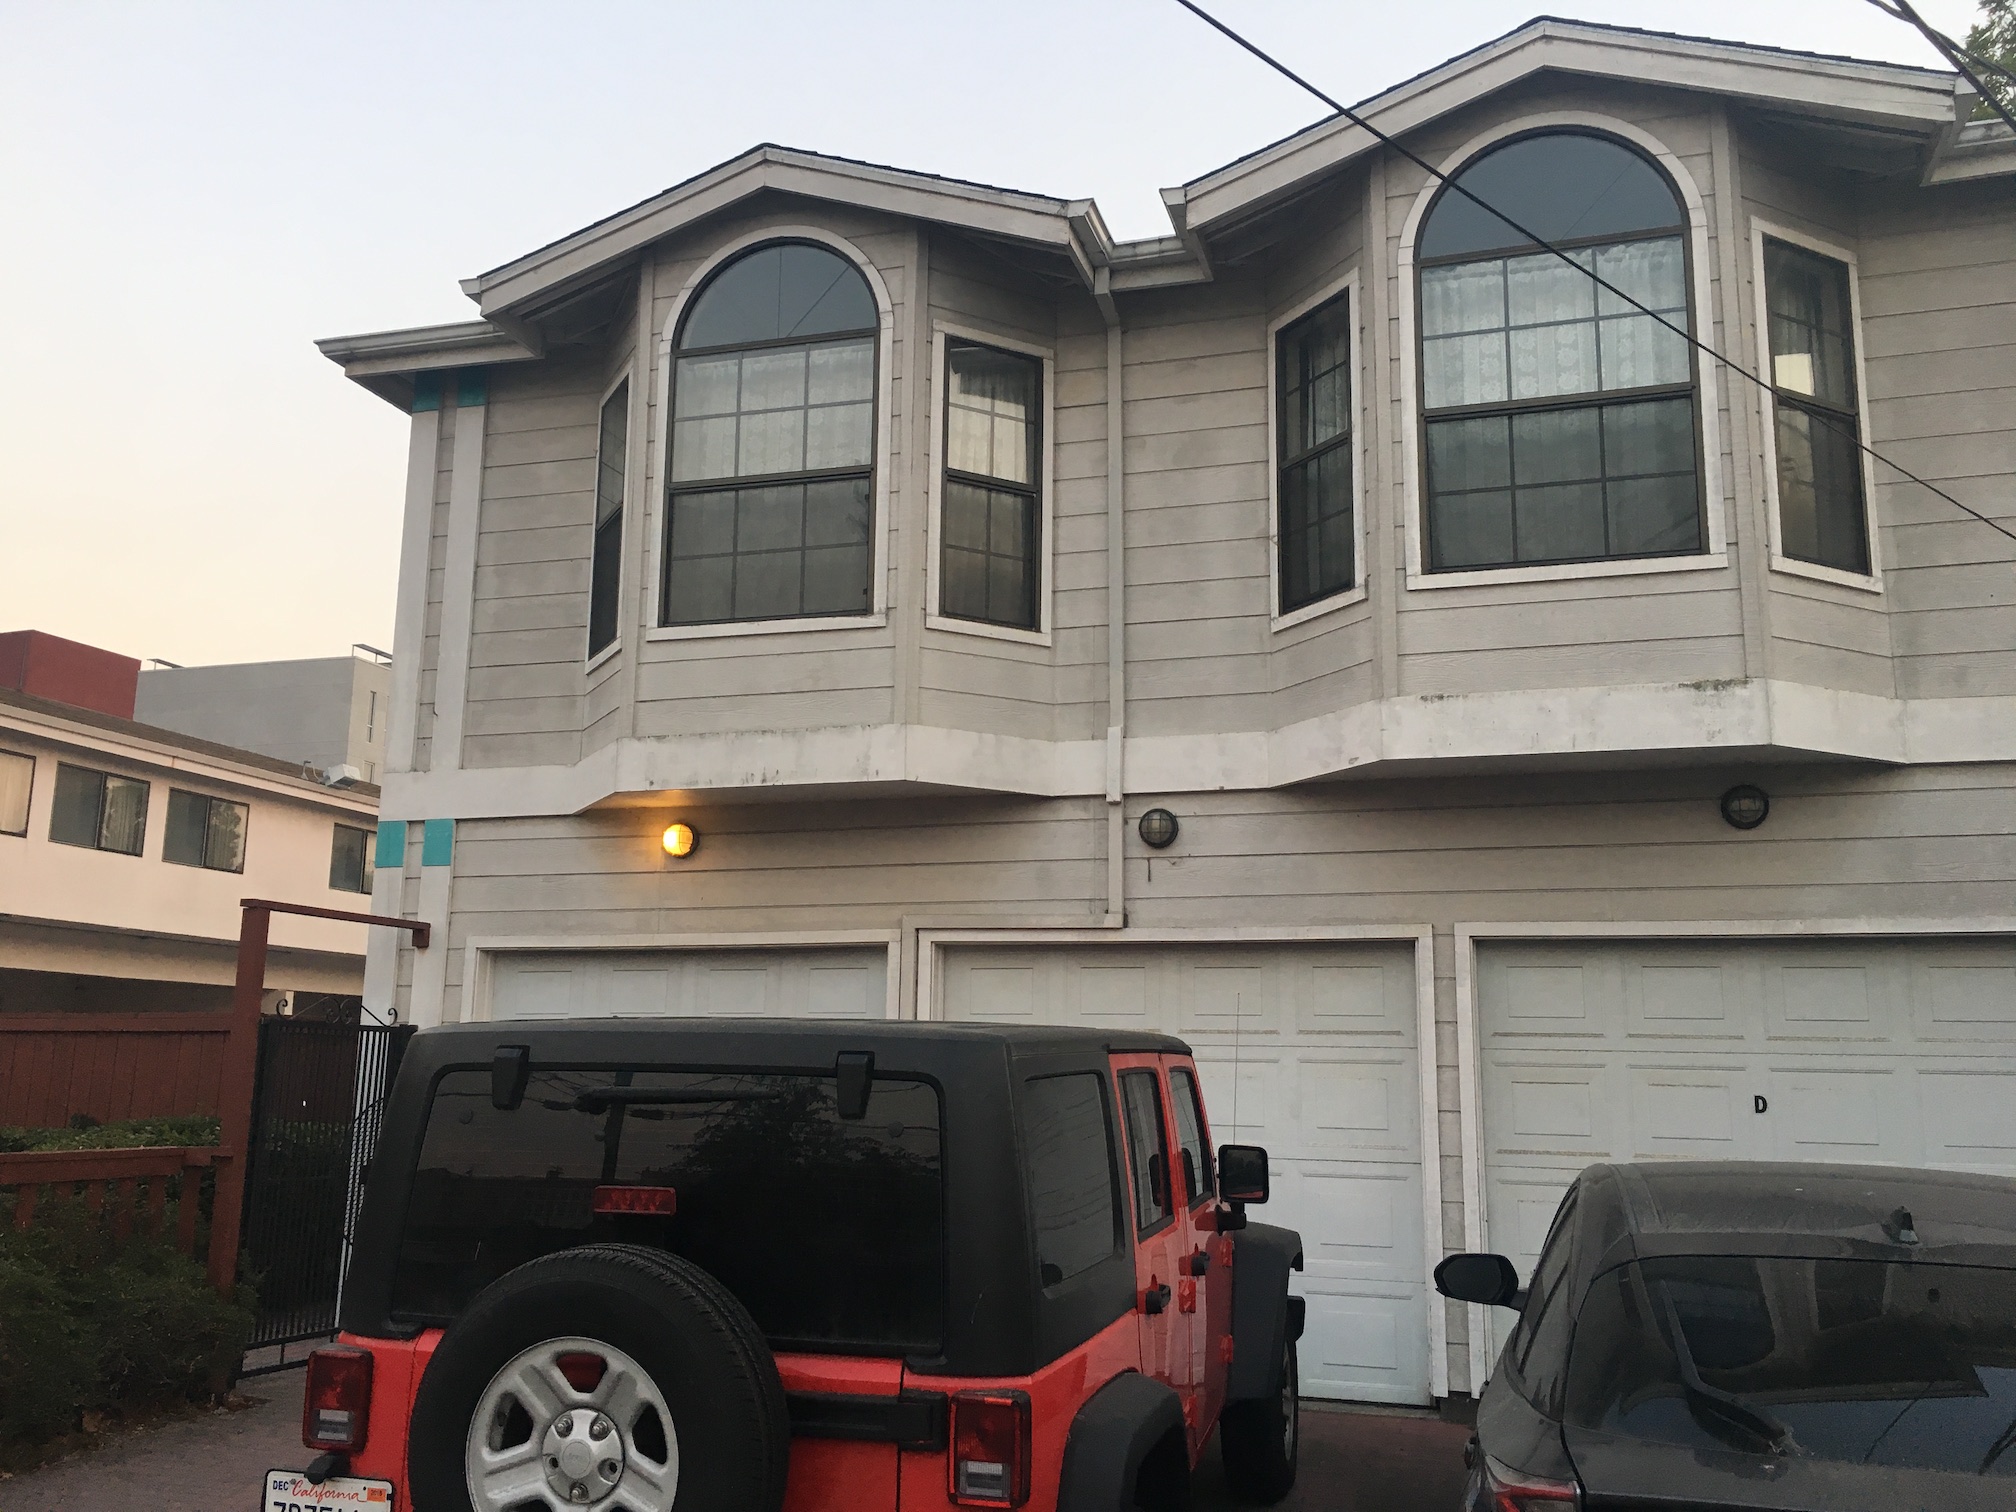
Original
Mosaic

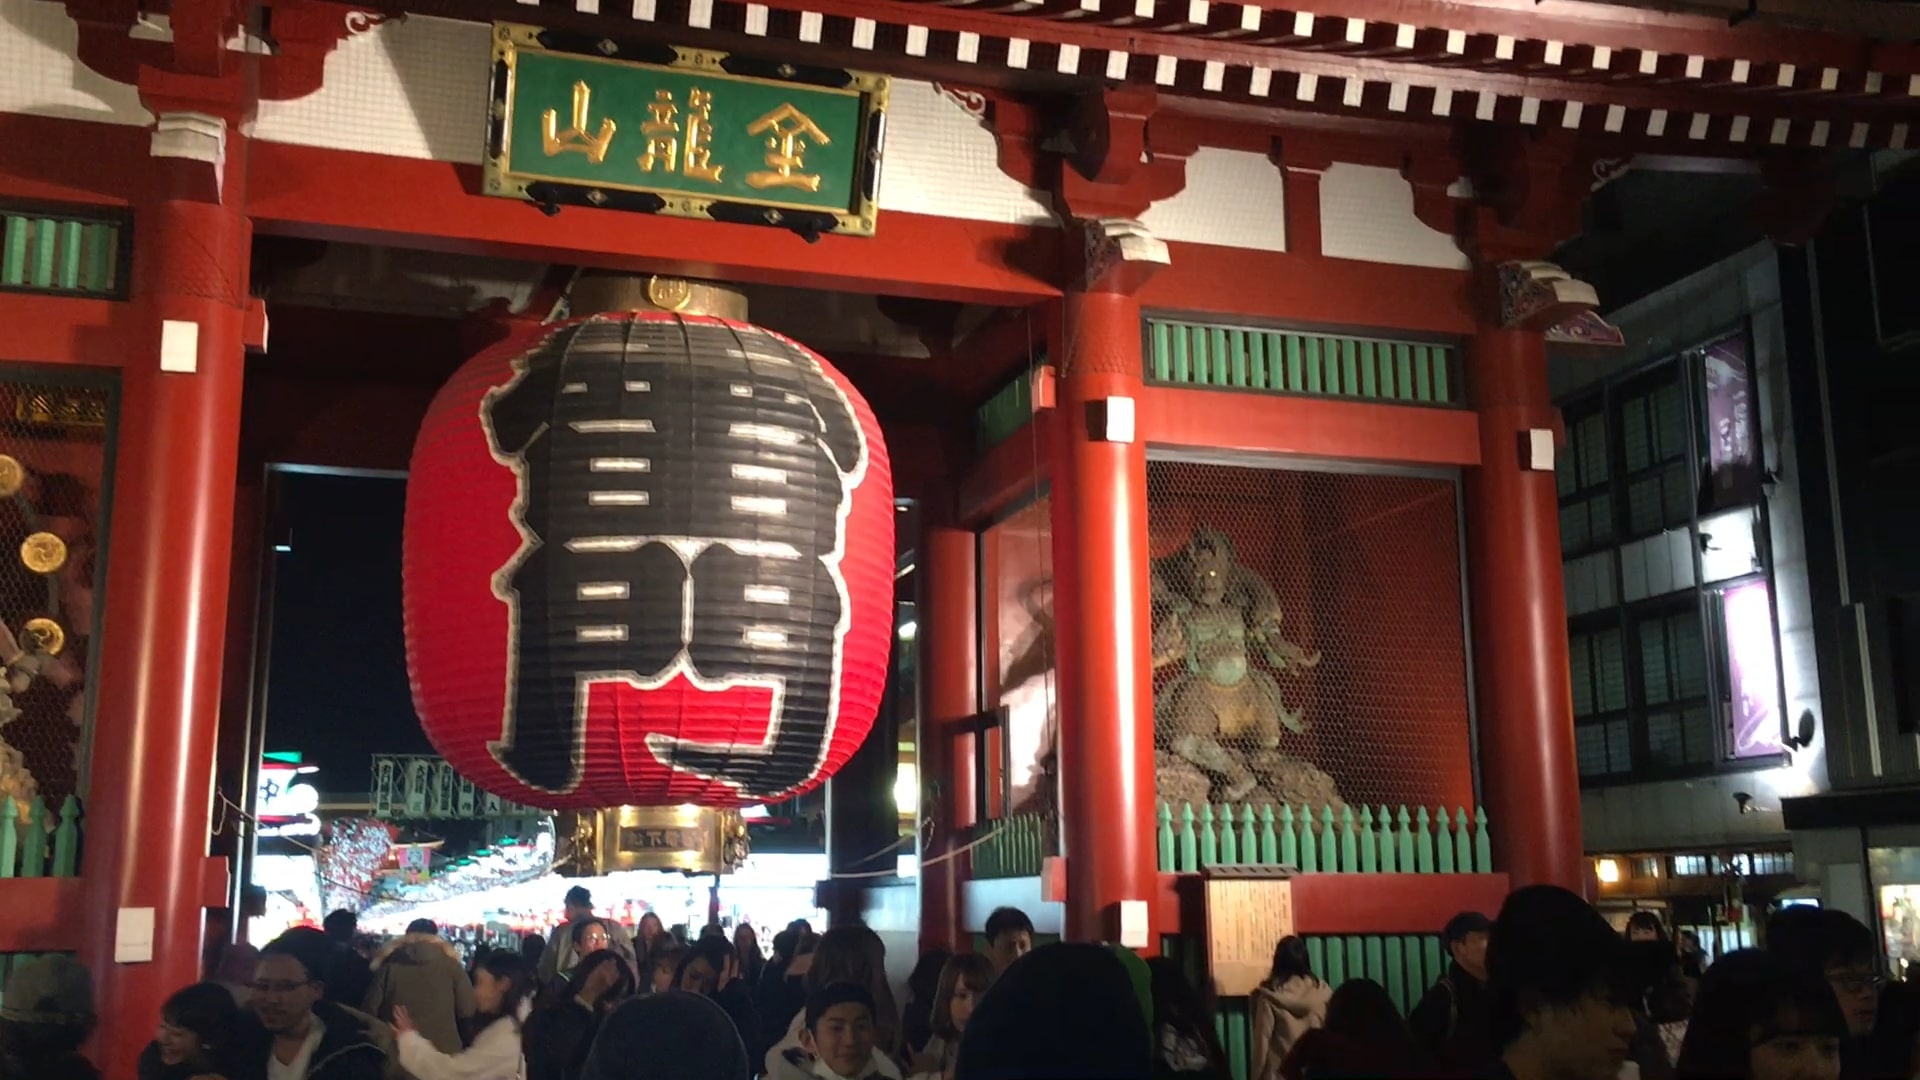
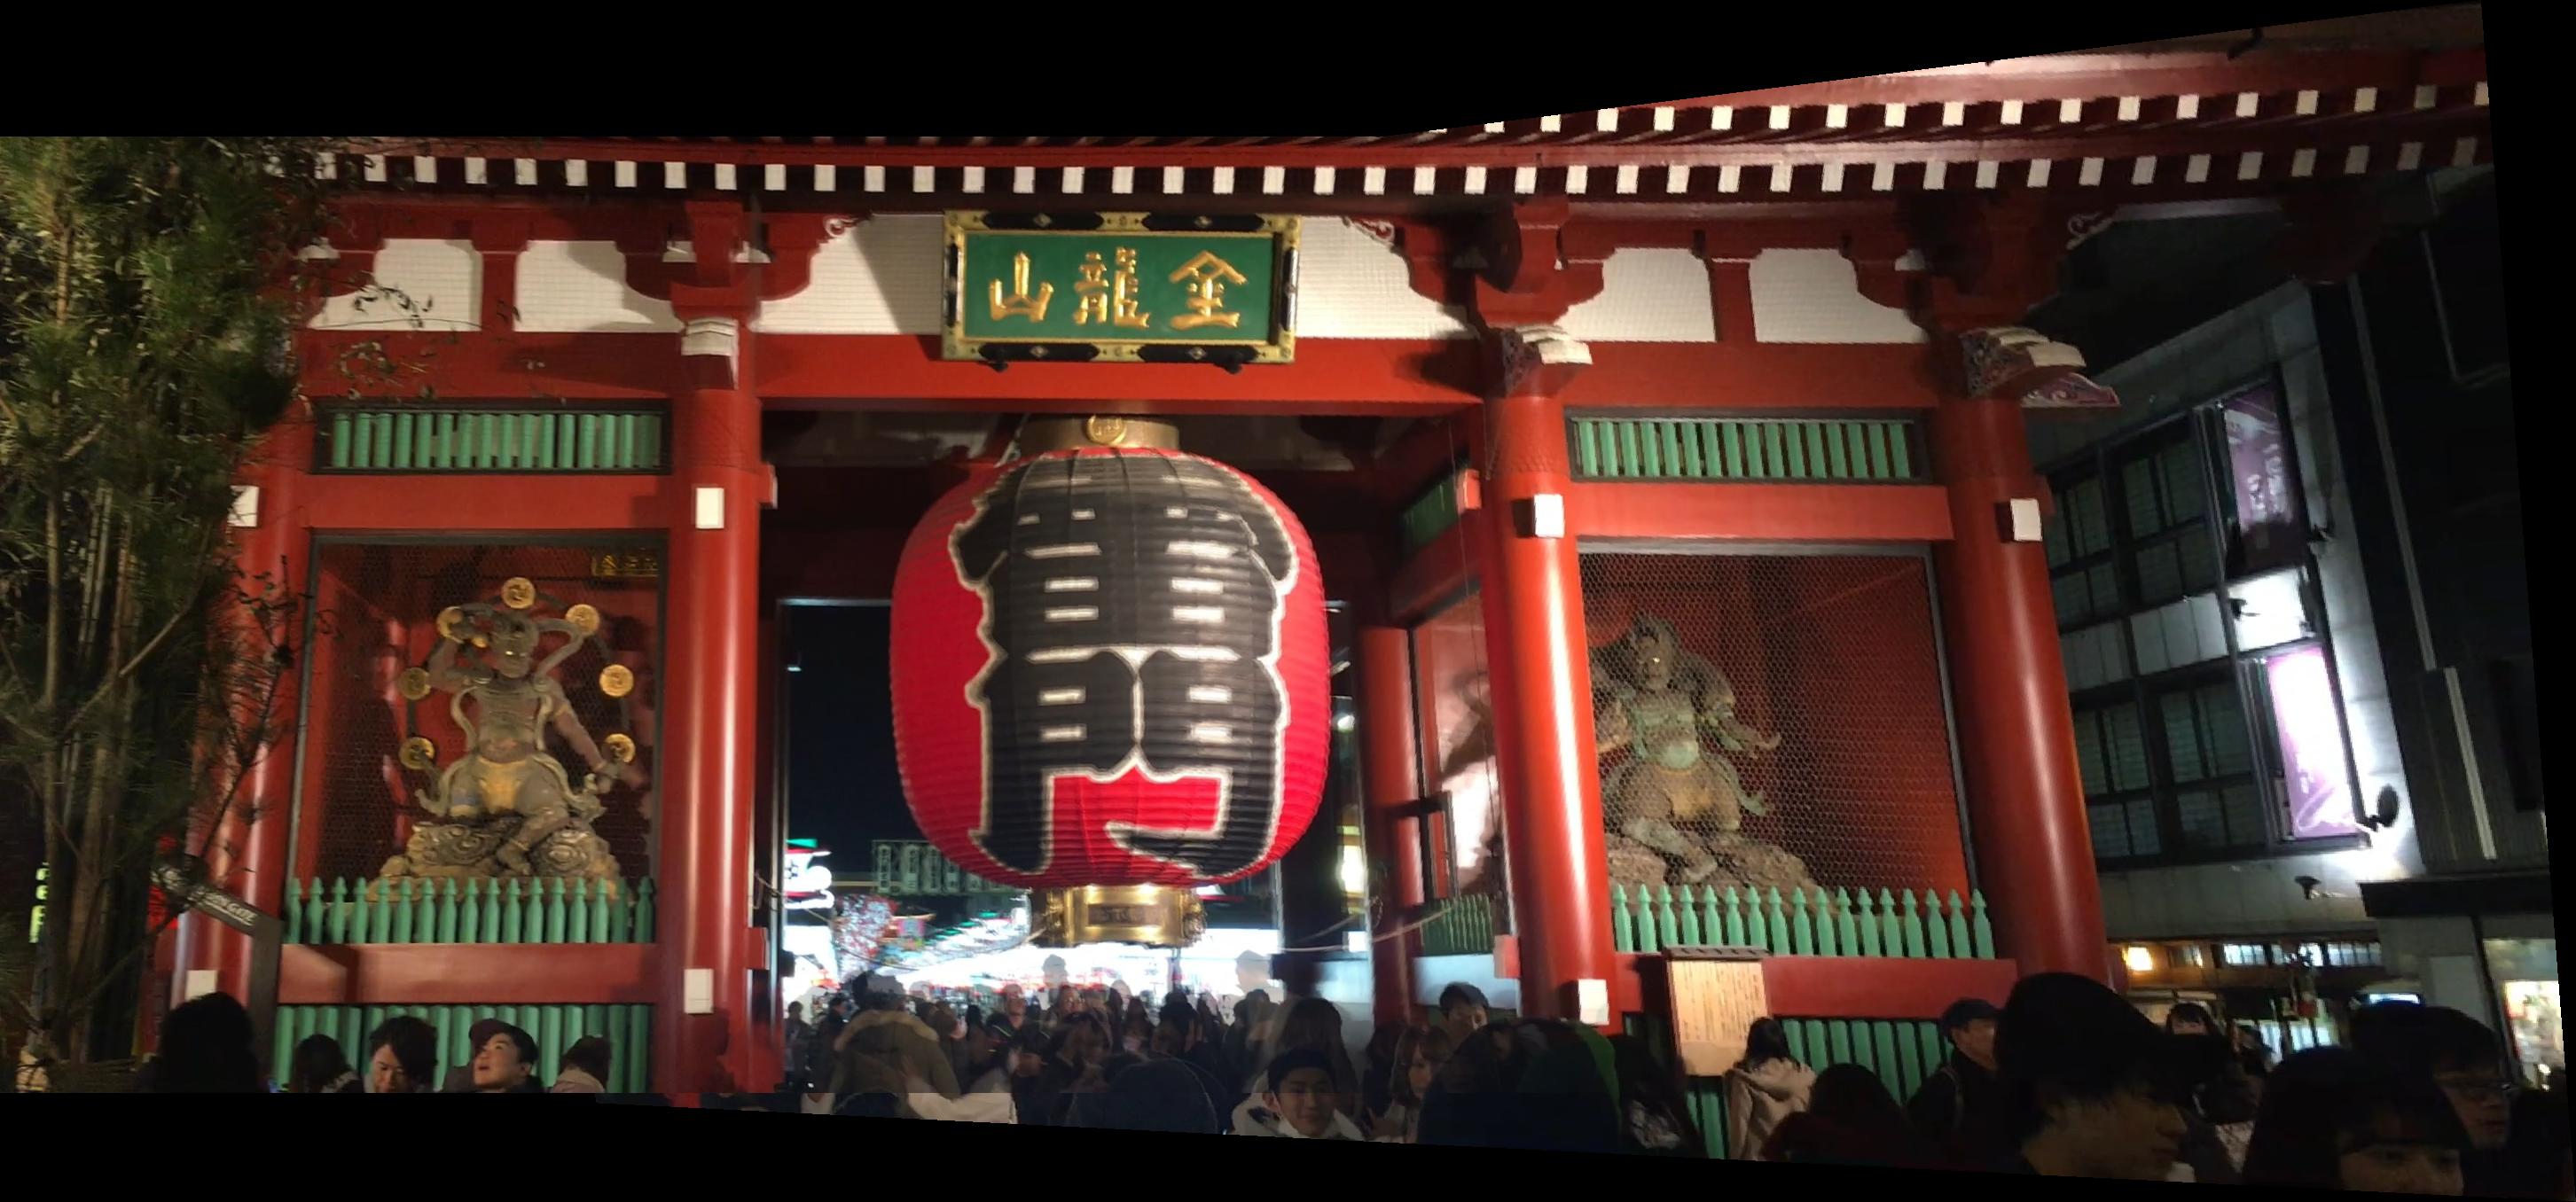
Original

Original
Mosaic

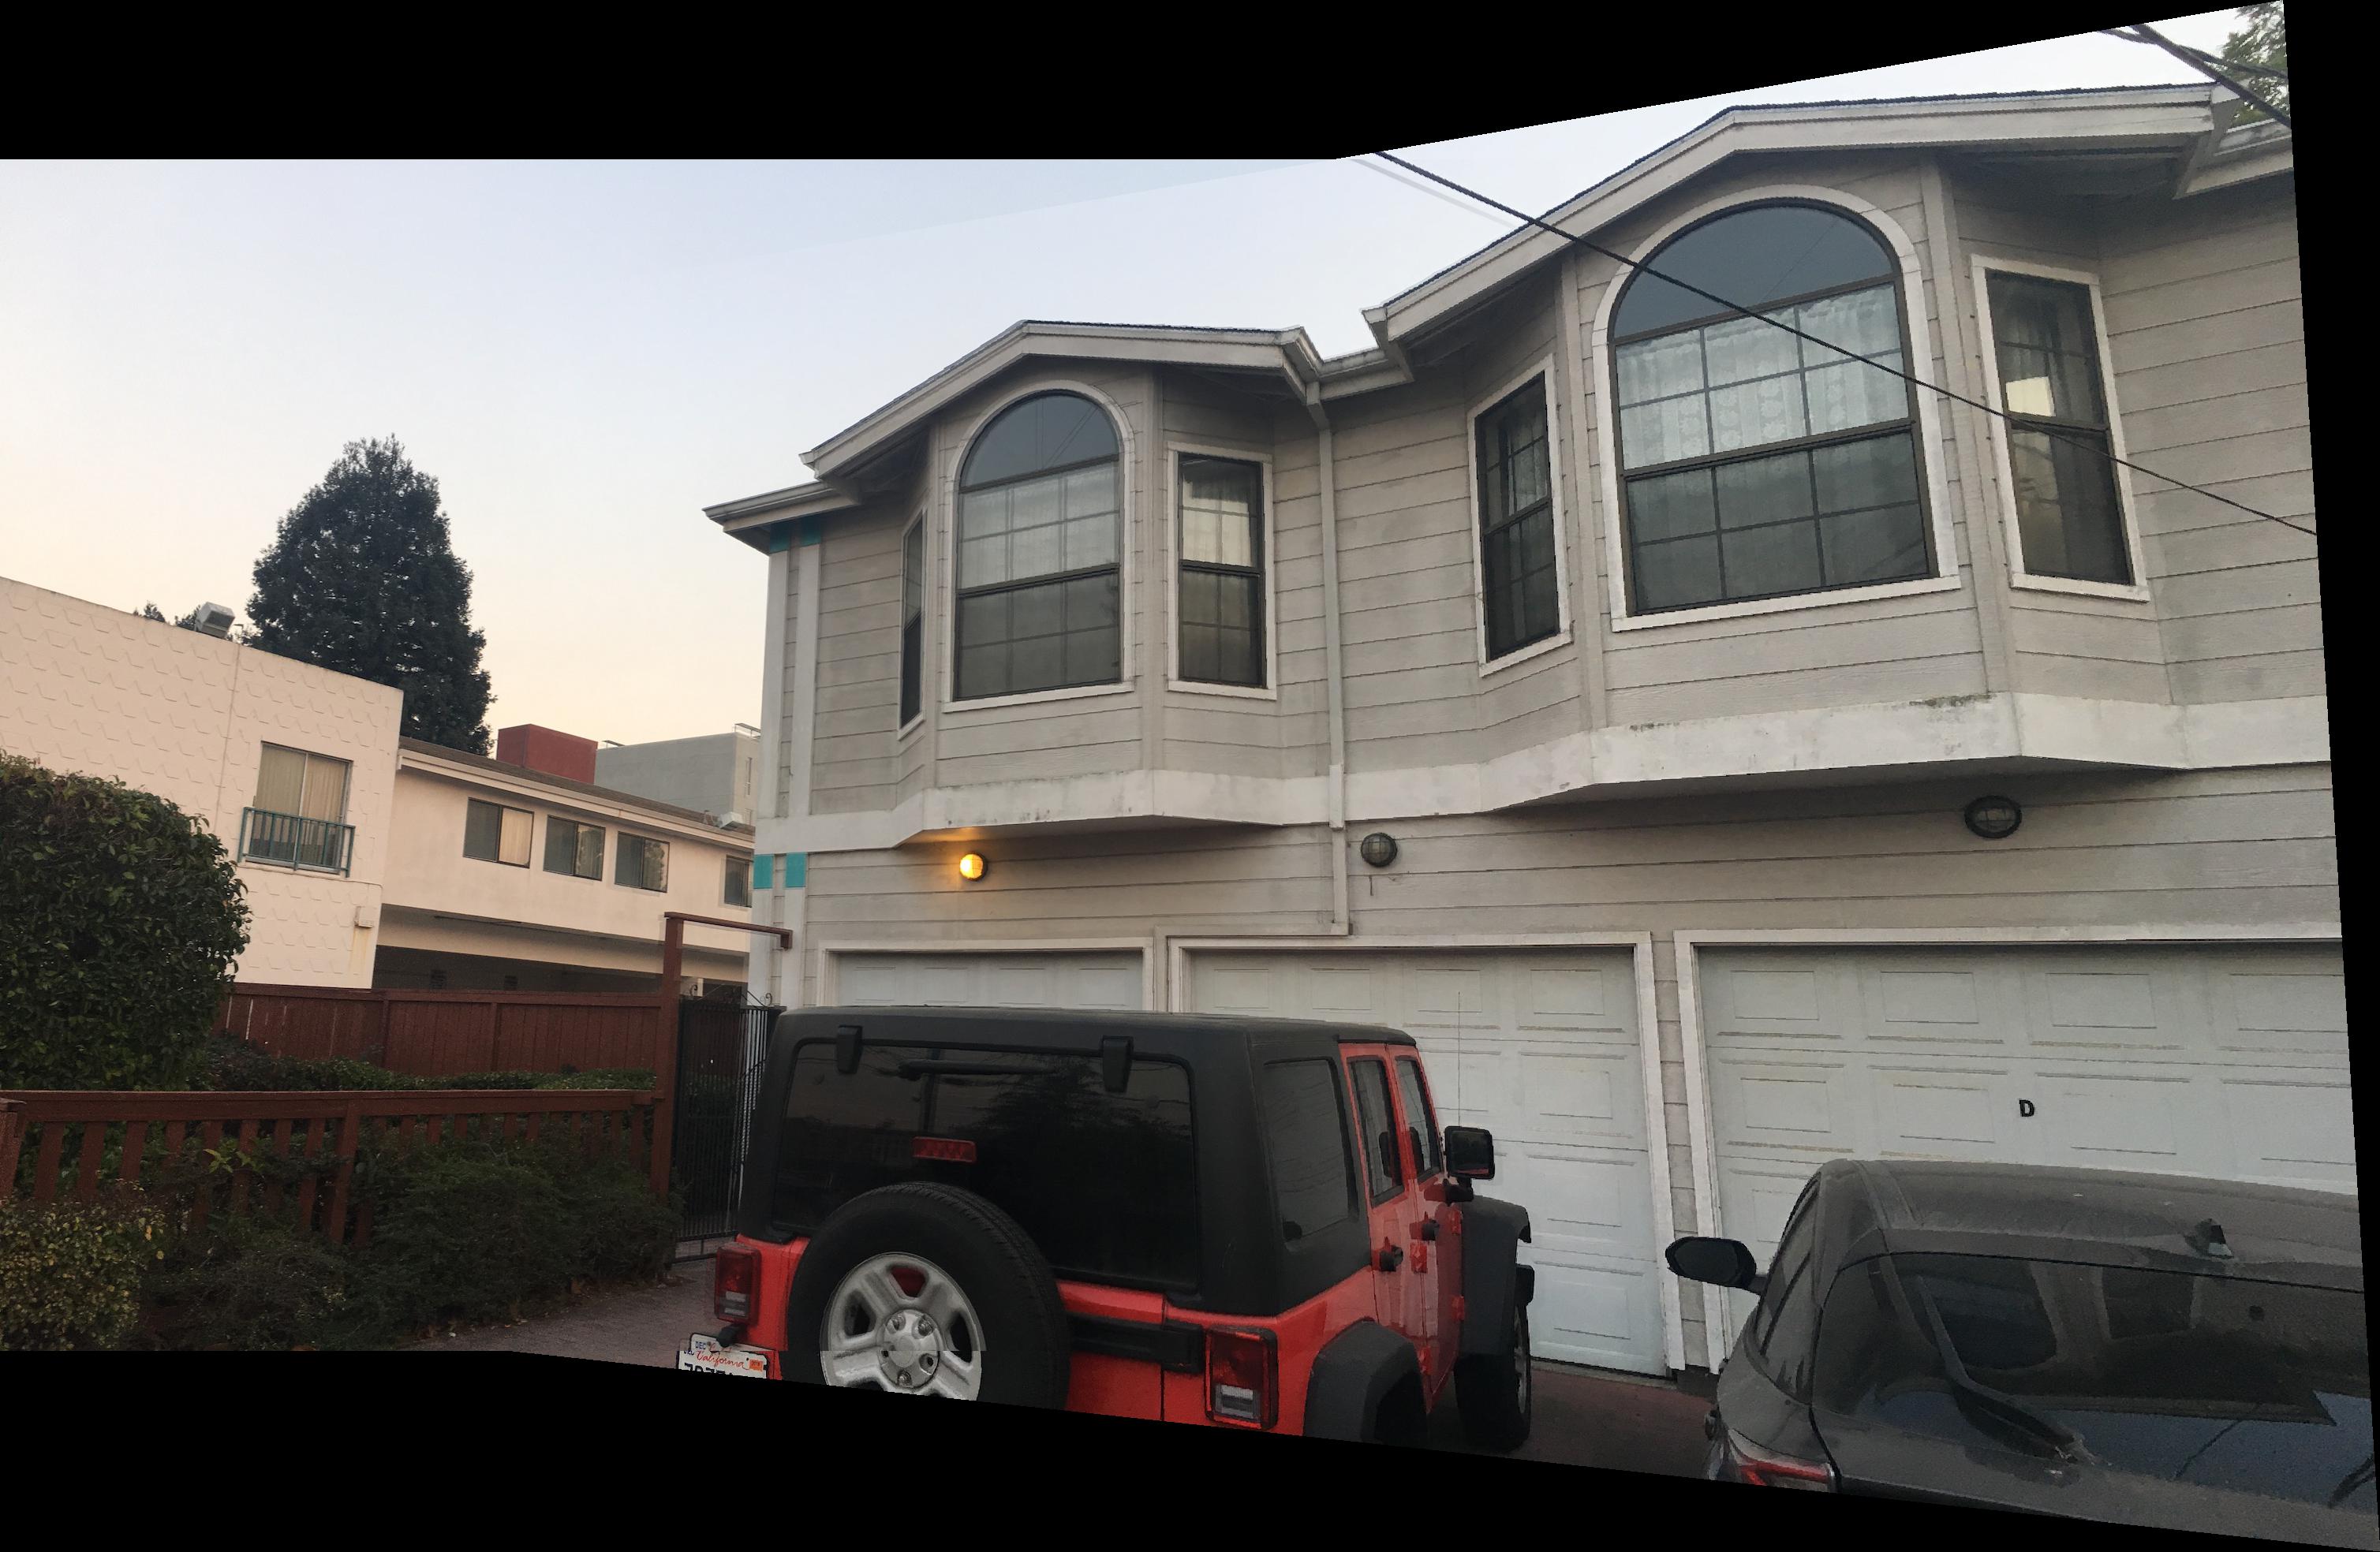
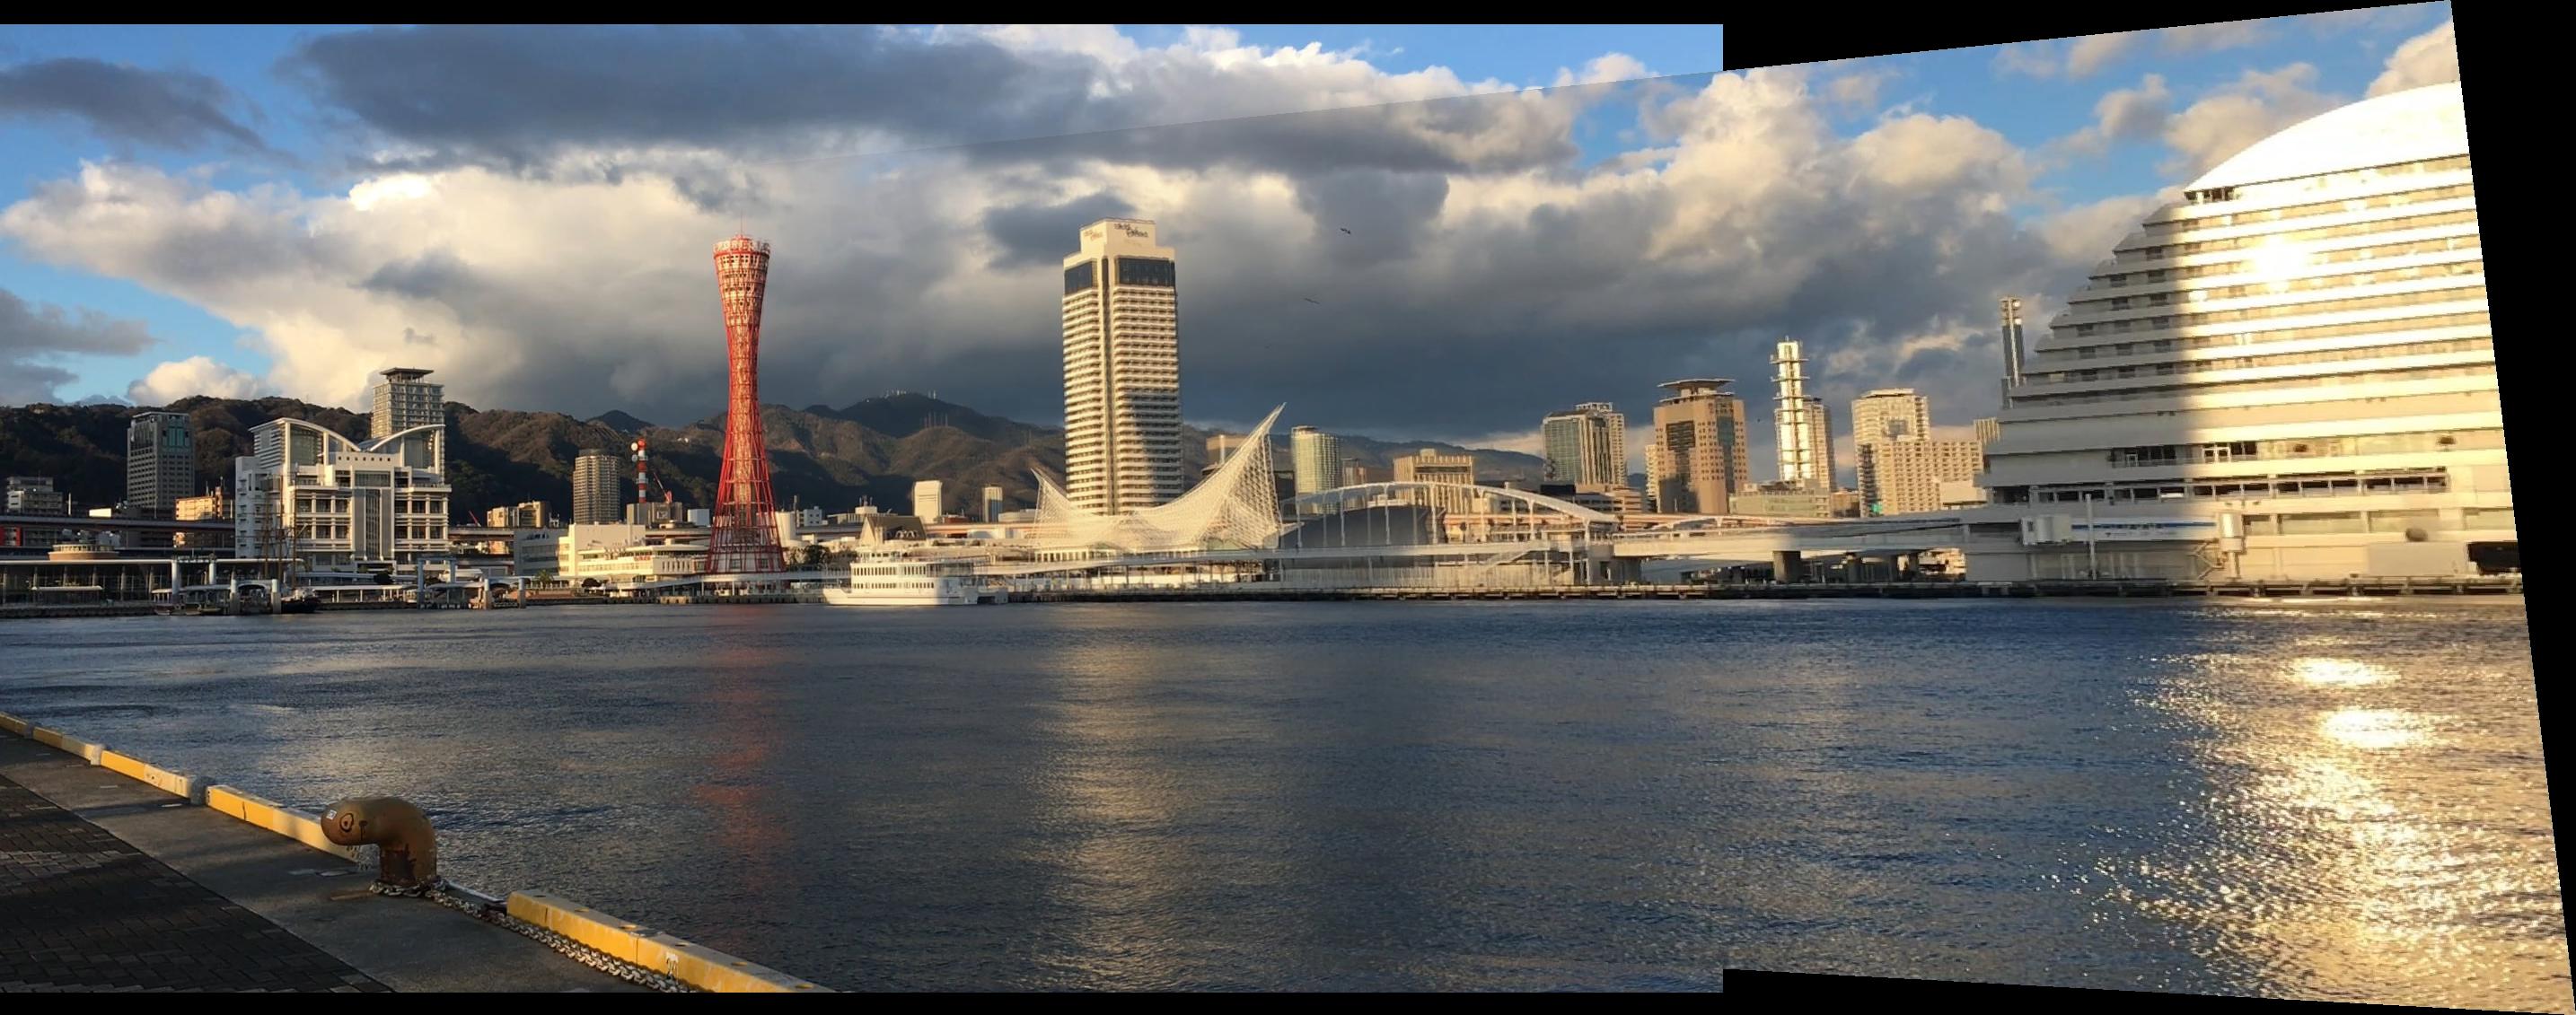
Original
Original
Mosaic
What I learned
I learned how getting the small details correct makes a big difference in the visual quality of panoramas. For example, having accurate correspondence points makes all the differences in aligning images. Once you can find out how to align and blend images correctly, you can make some beautiful panoramas!