IMAGE WARPING and MOSAICING
First Part of Stitching Photo Mosaics
CS194-26 Image Manipulation and Computational Photography
First Part of Stitching Photo Mosaics
CS194-26 Image Manipulation and Computational Photography
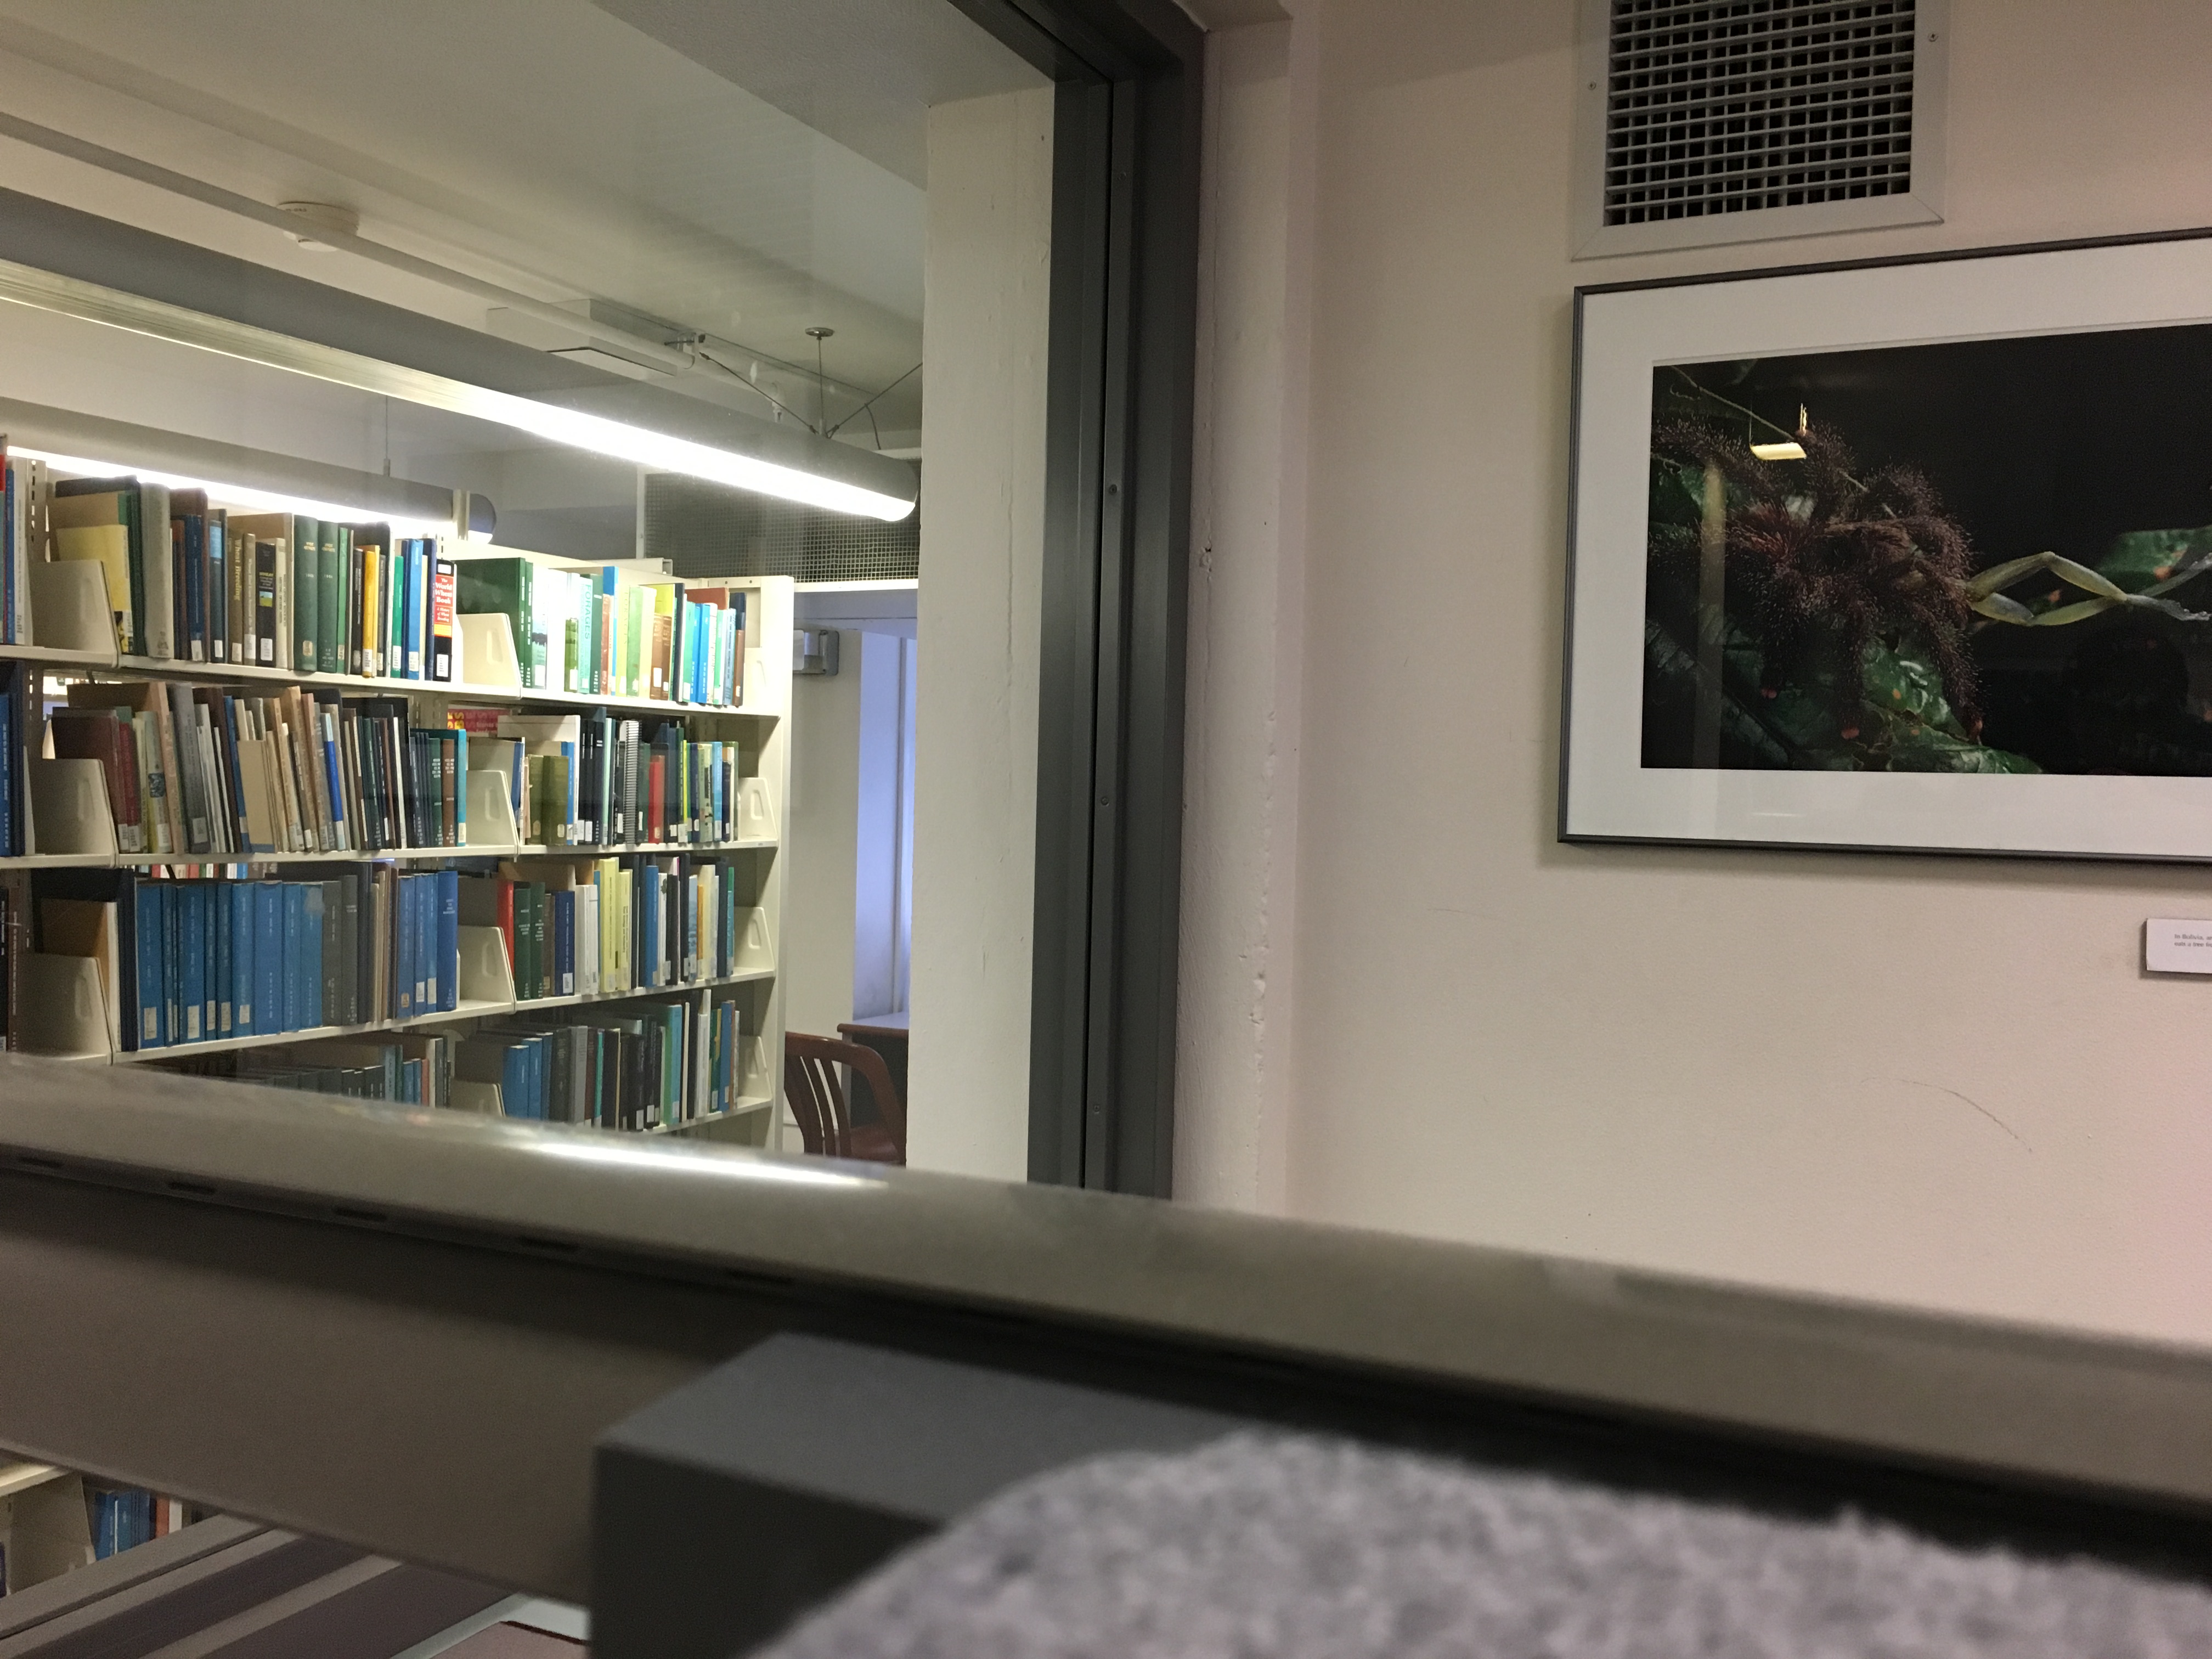
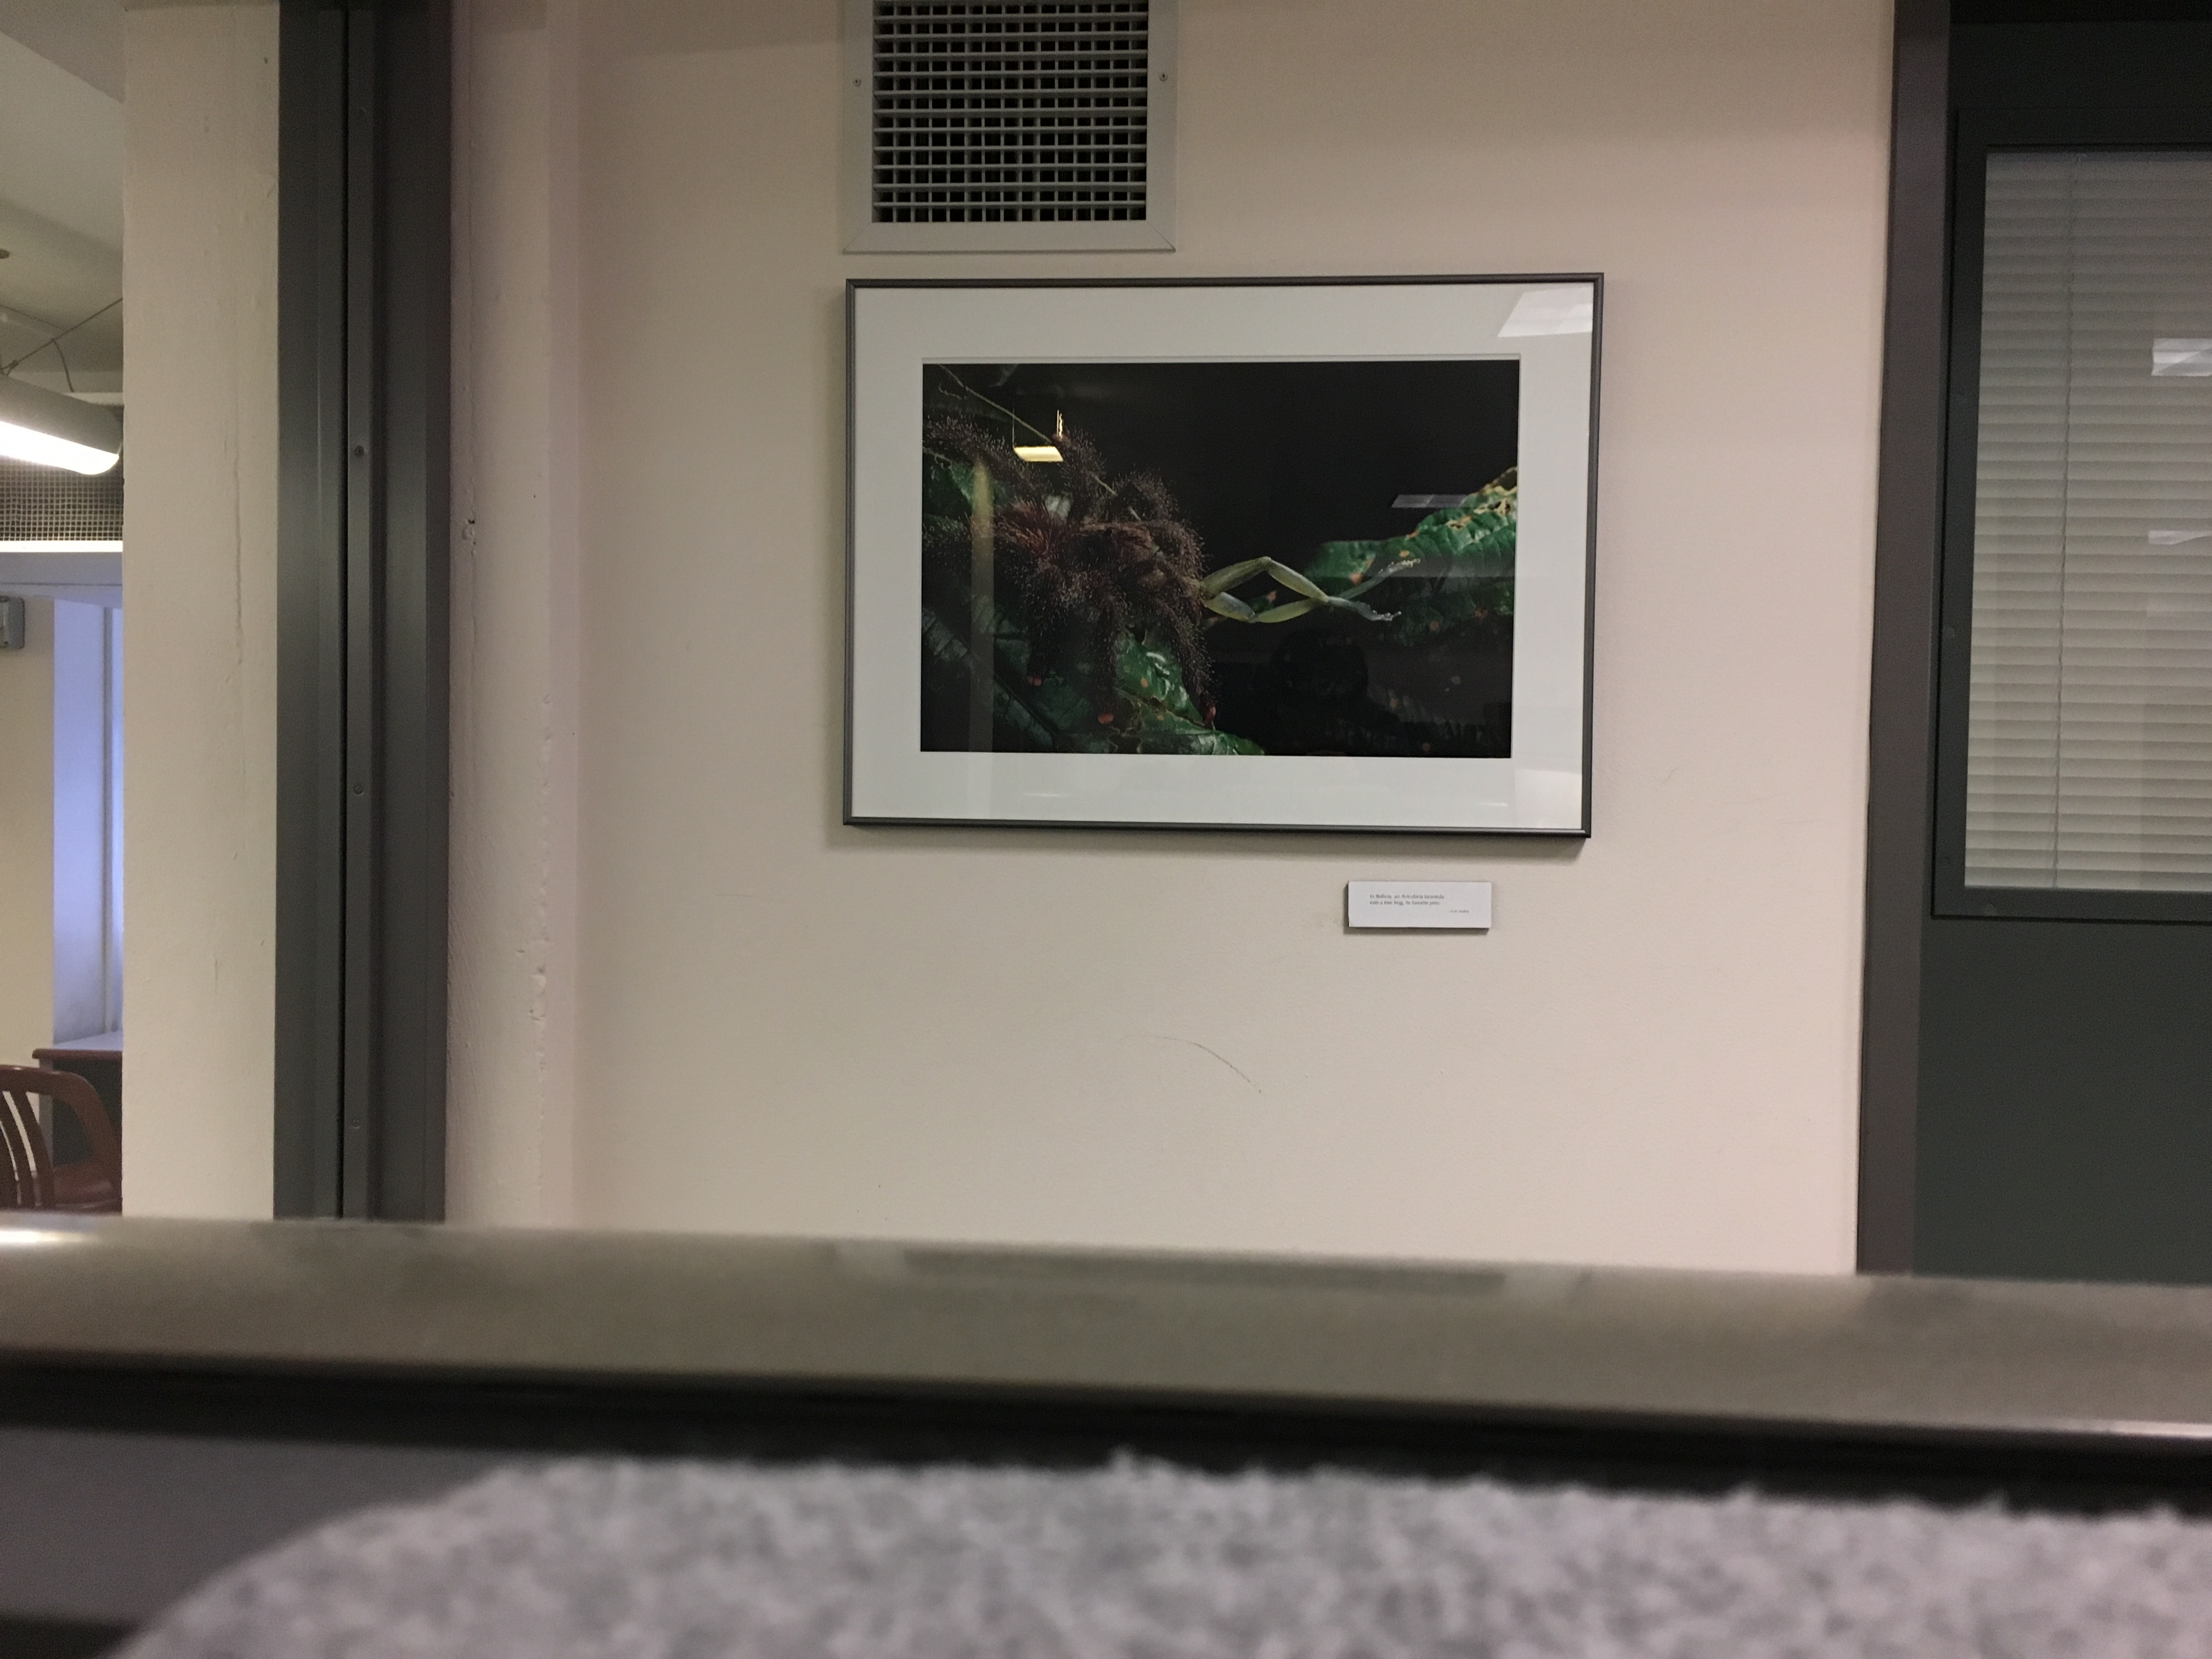
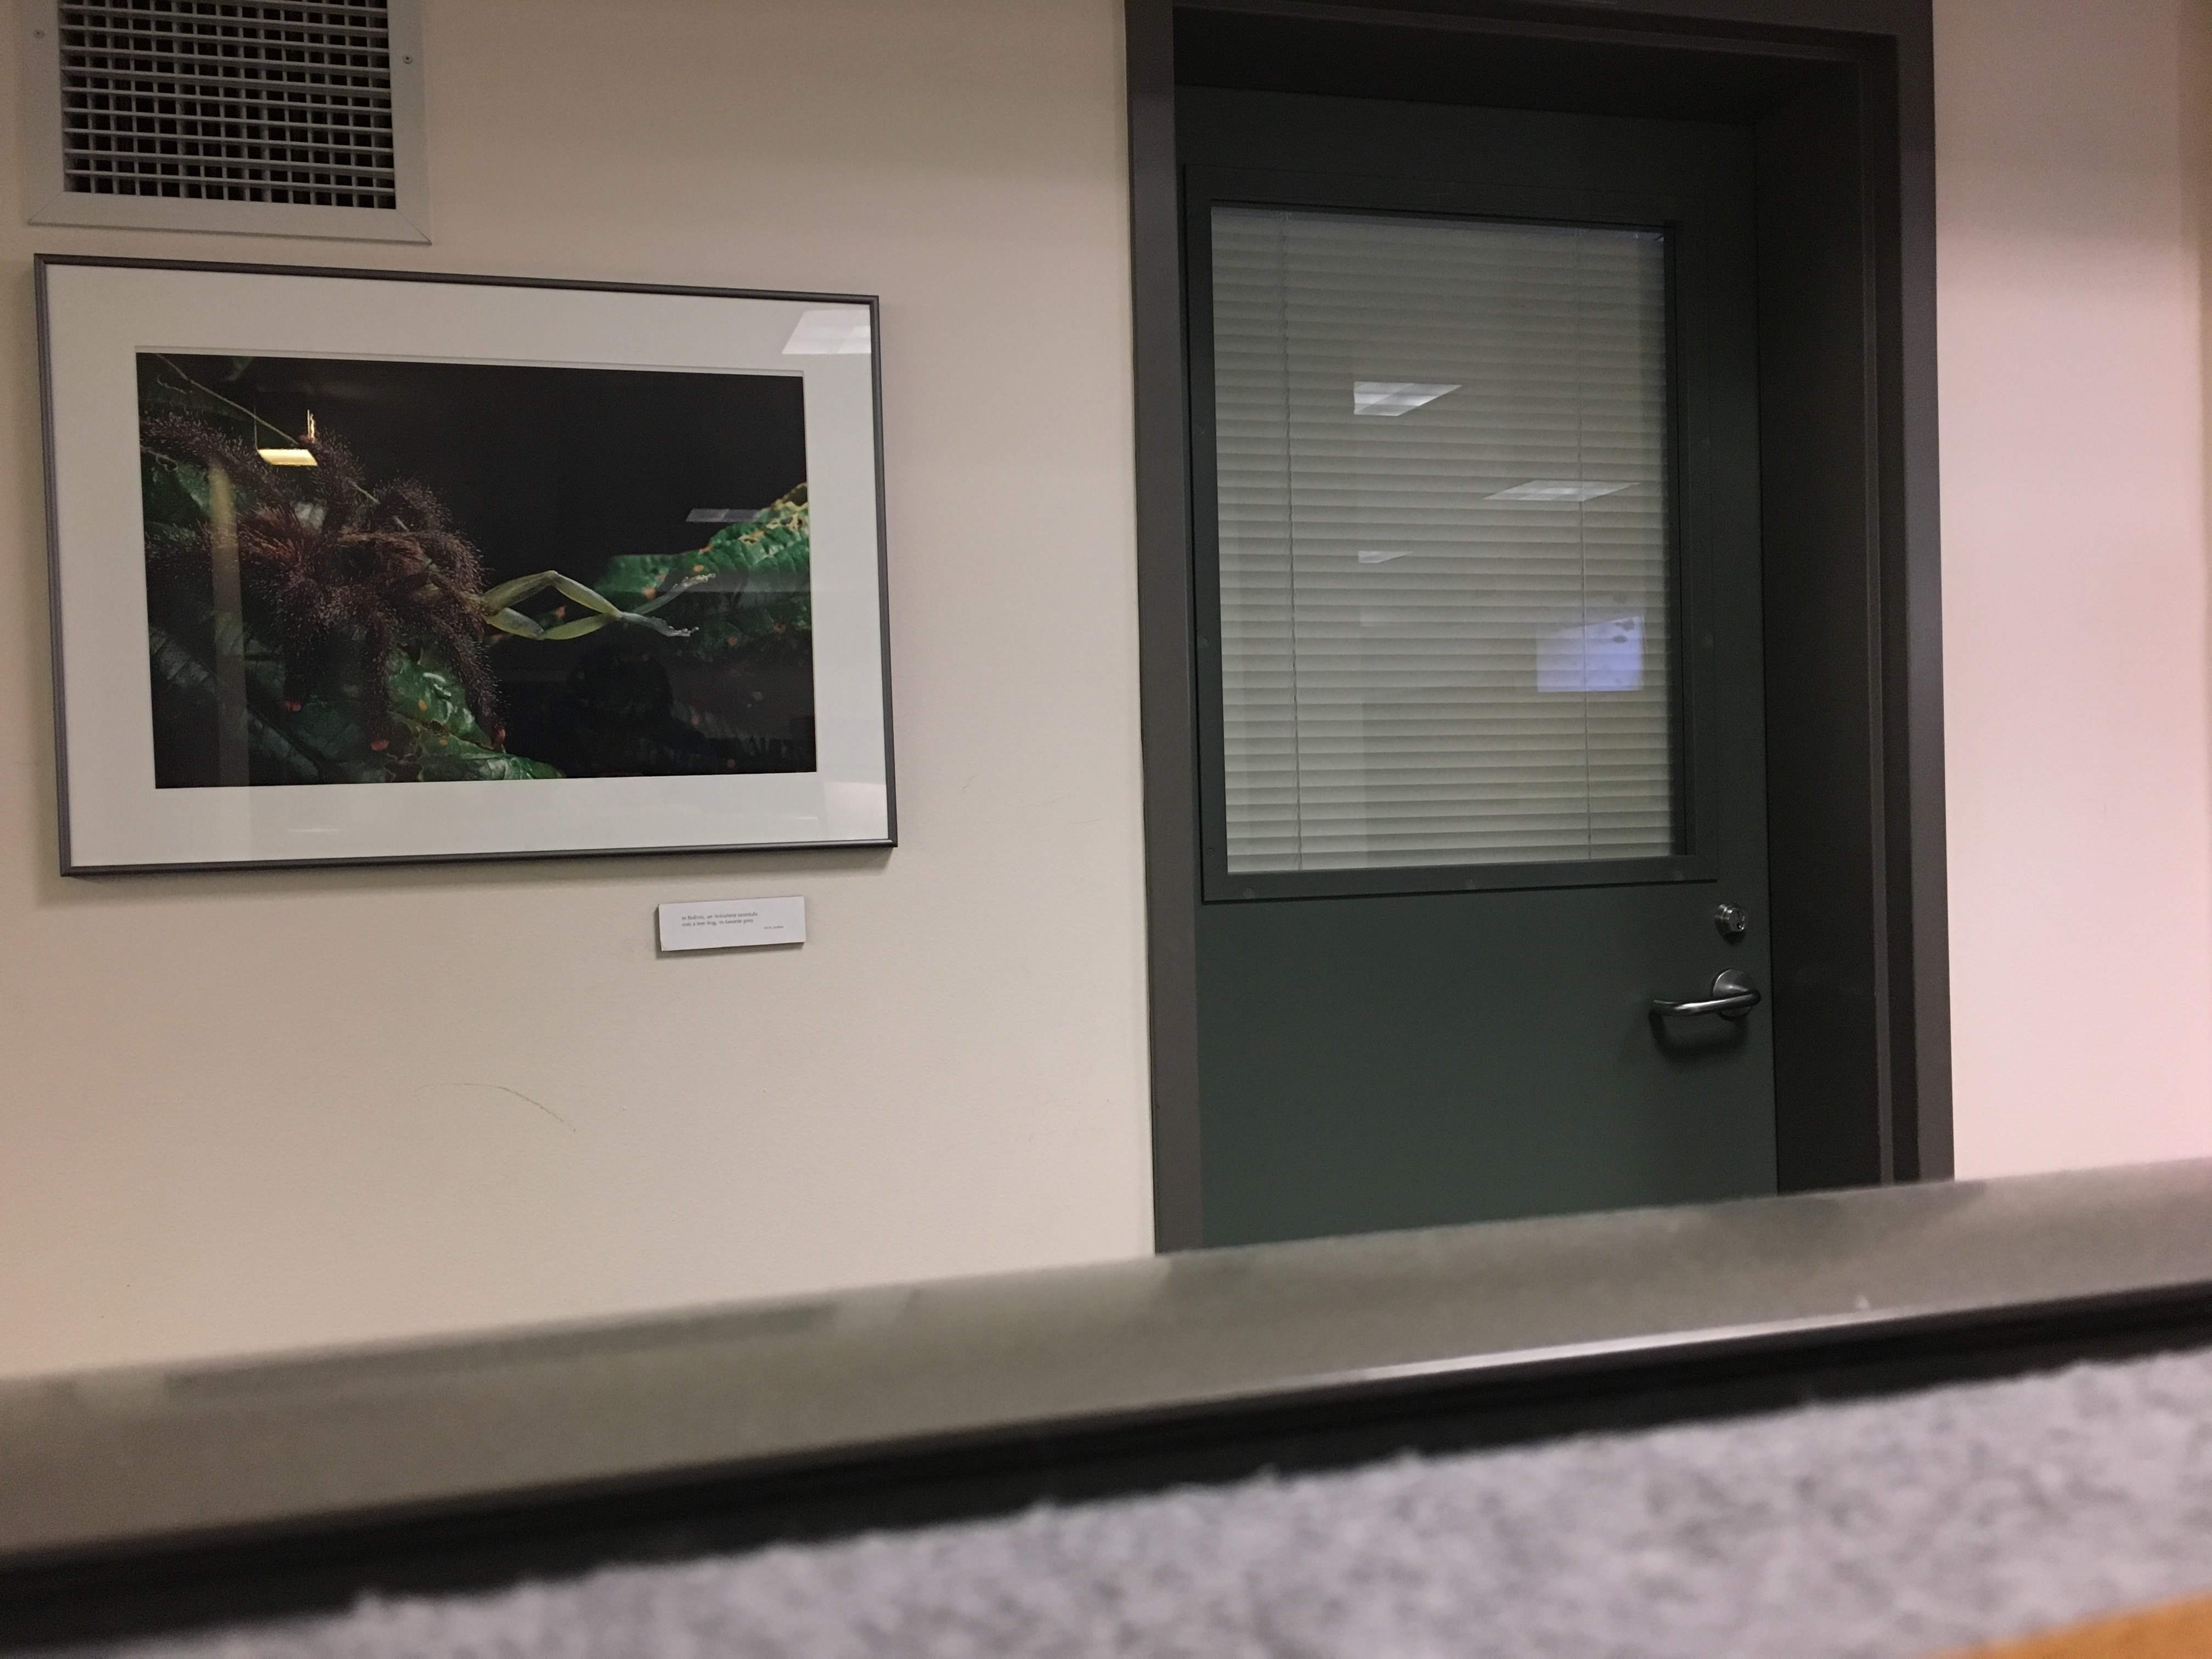
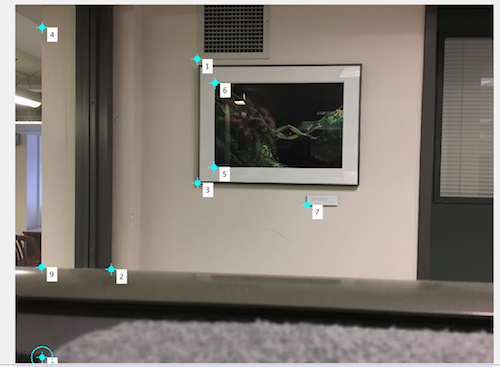
Part 1: Shoot the Pictures
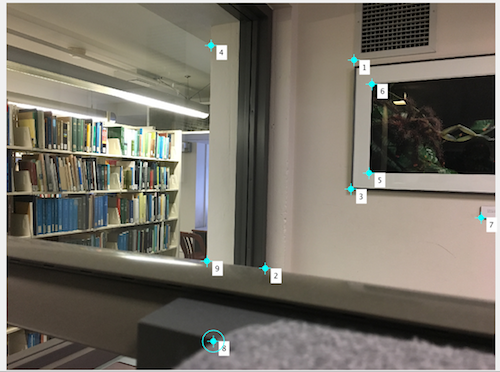
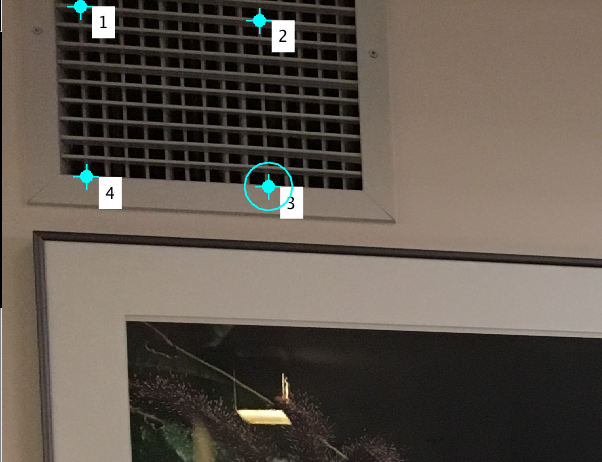
Part 2: Recover Homographies
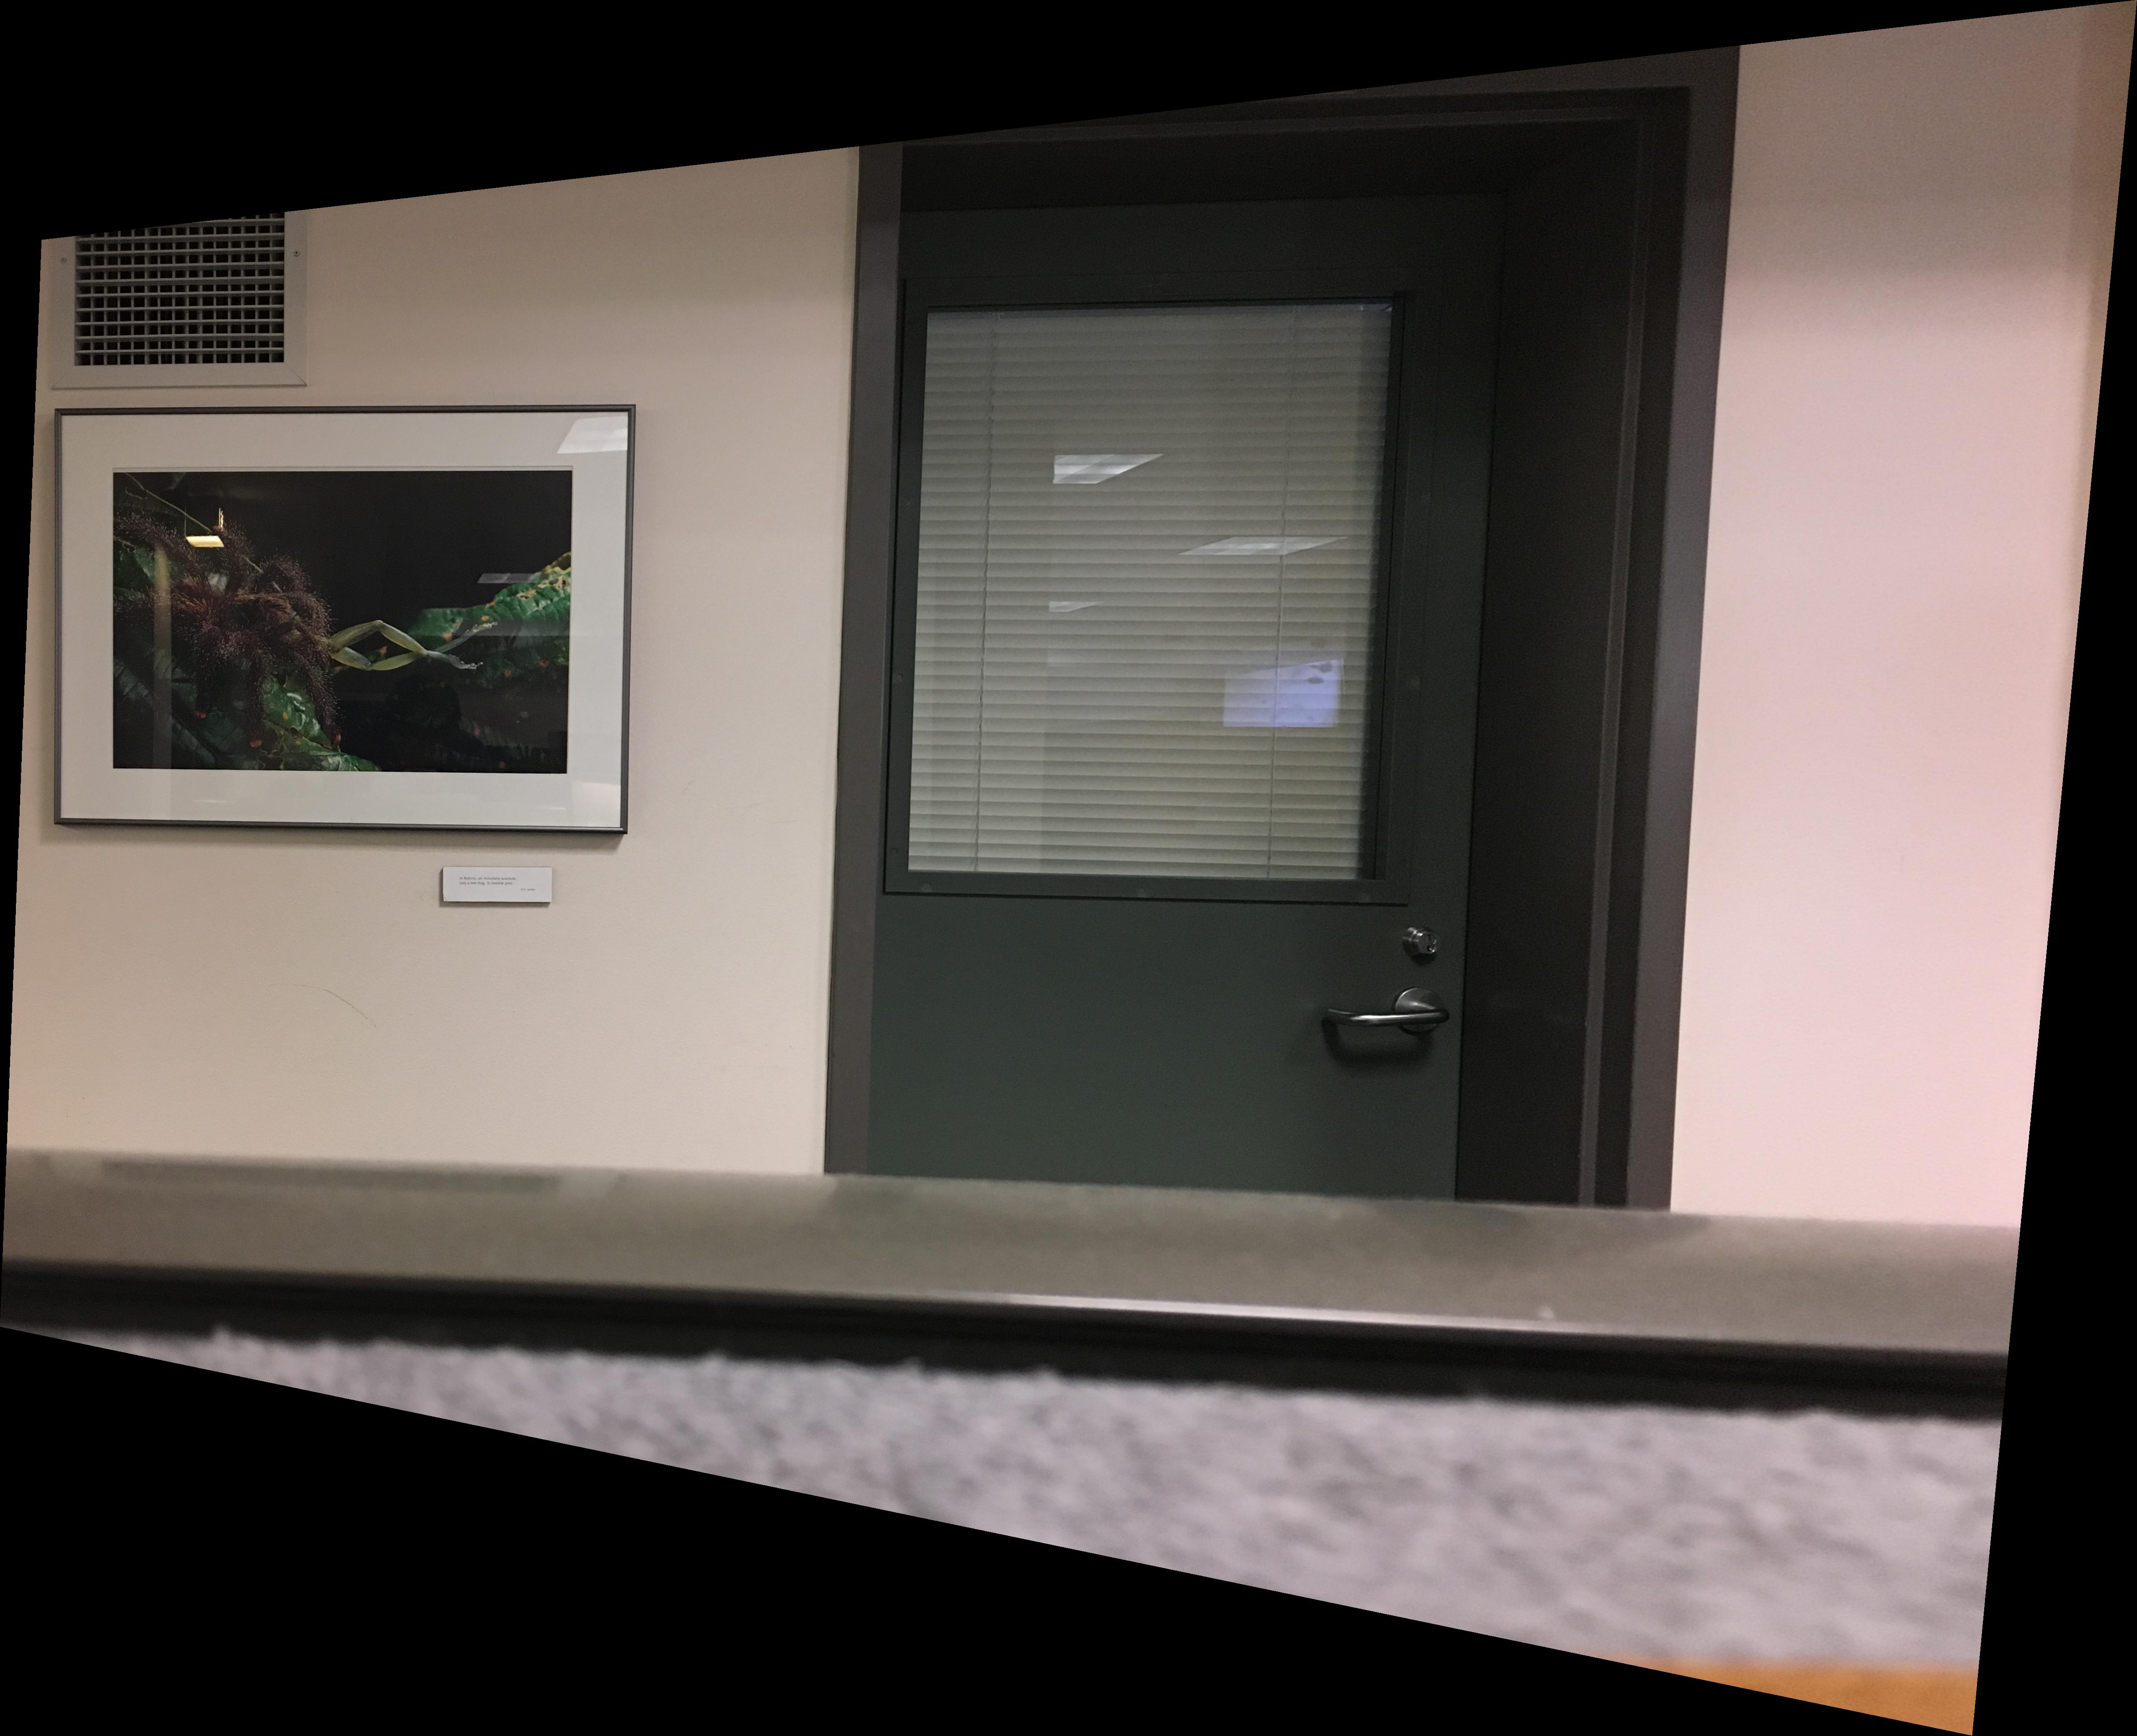
Part 3: Warp the Images
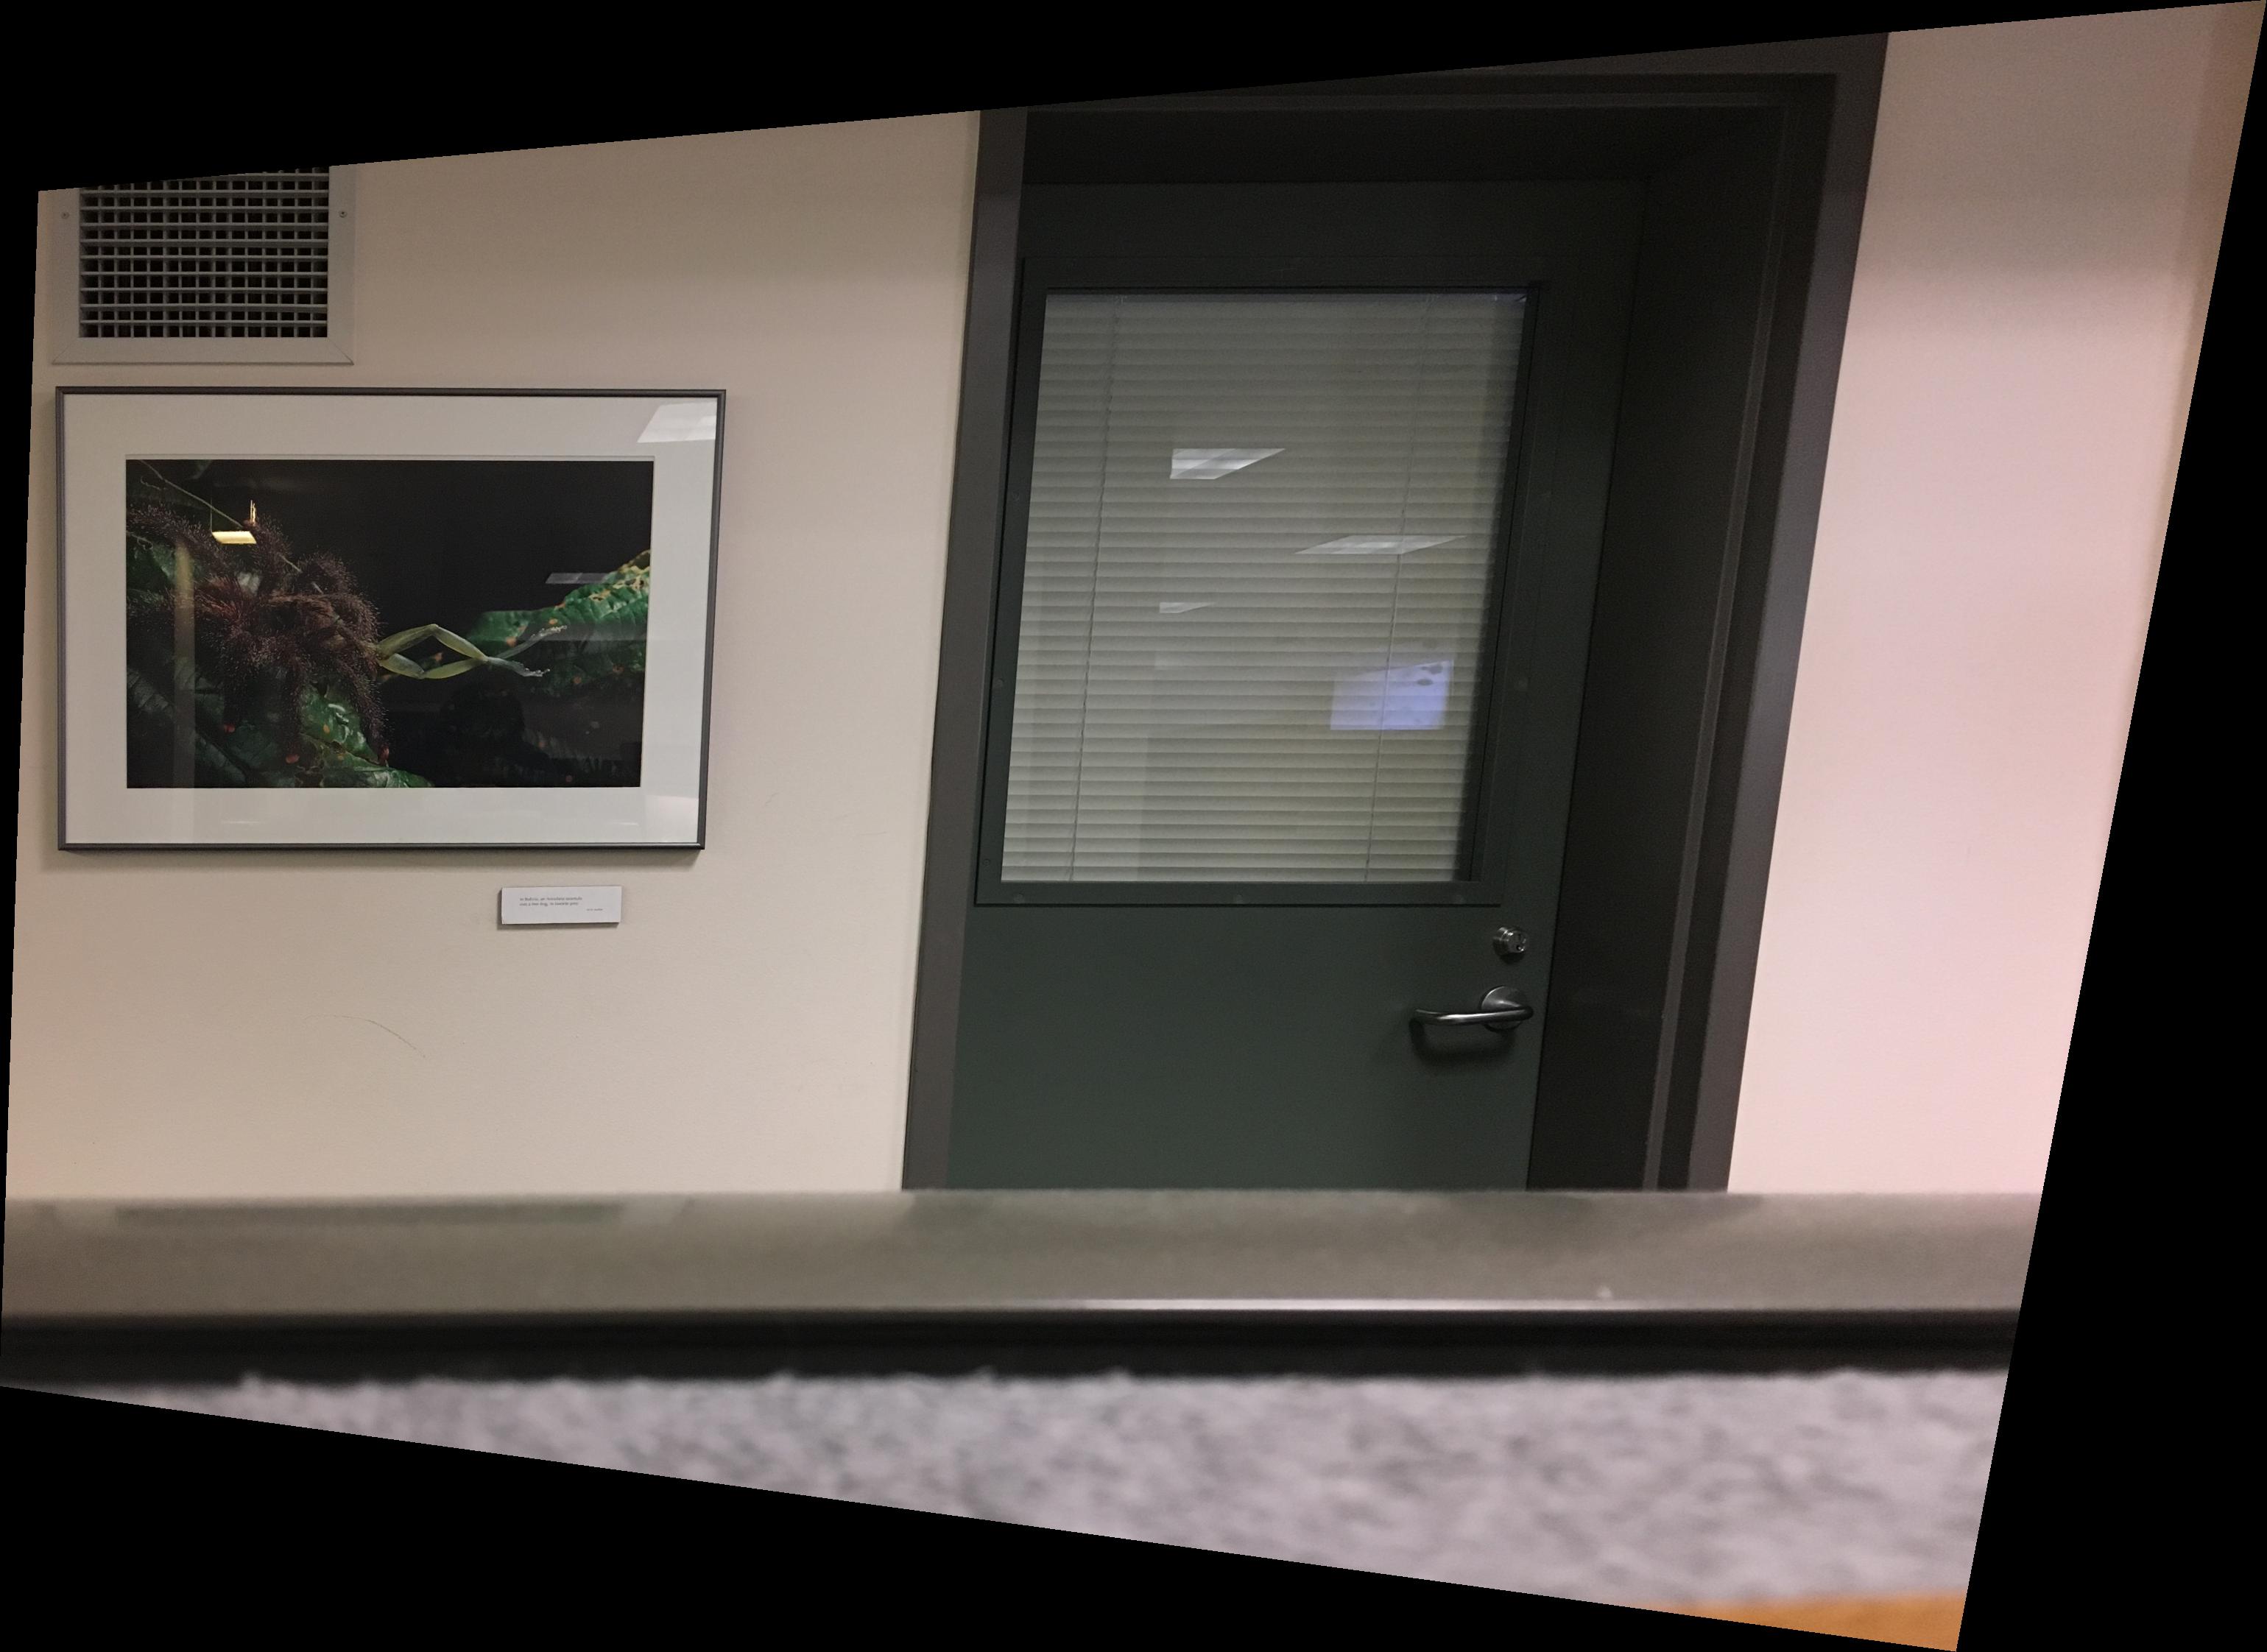
Part 4: Image Rectification
Part 5: Blend the images into a mosaic
Part 6: Tell us what you've learned
Bells and Whistles: TBA