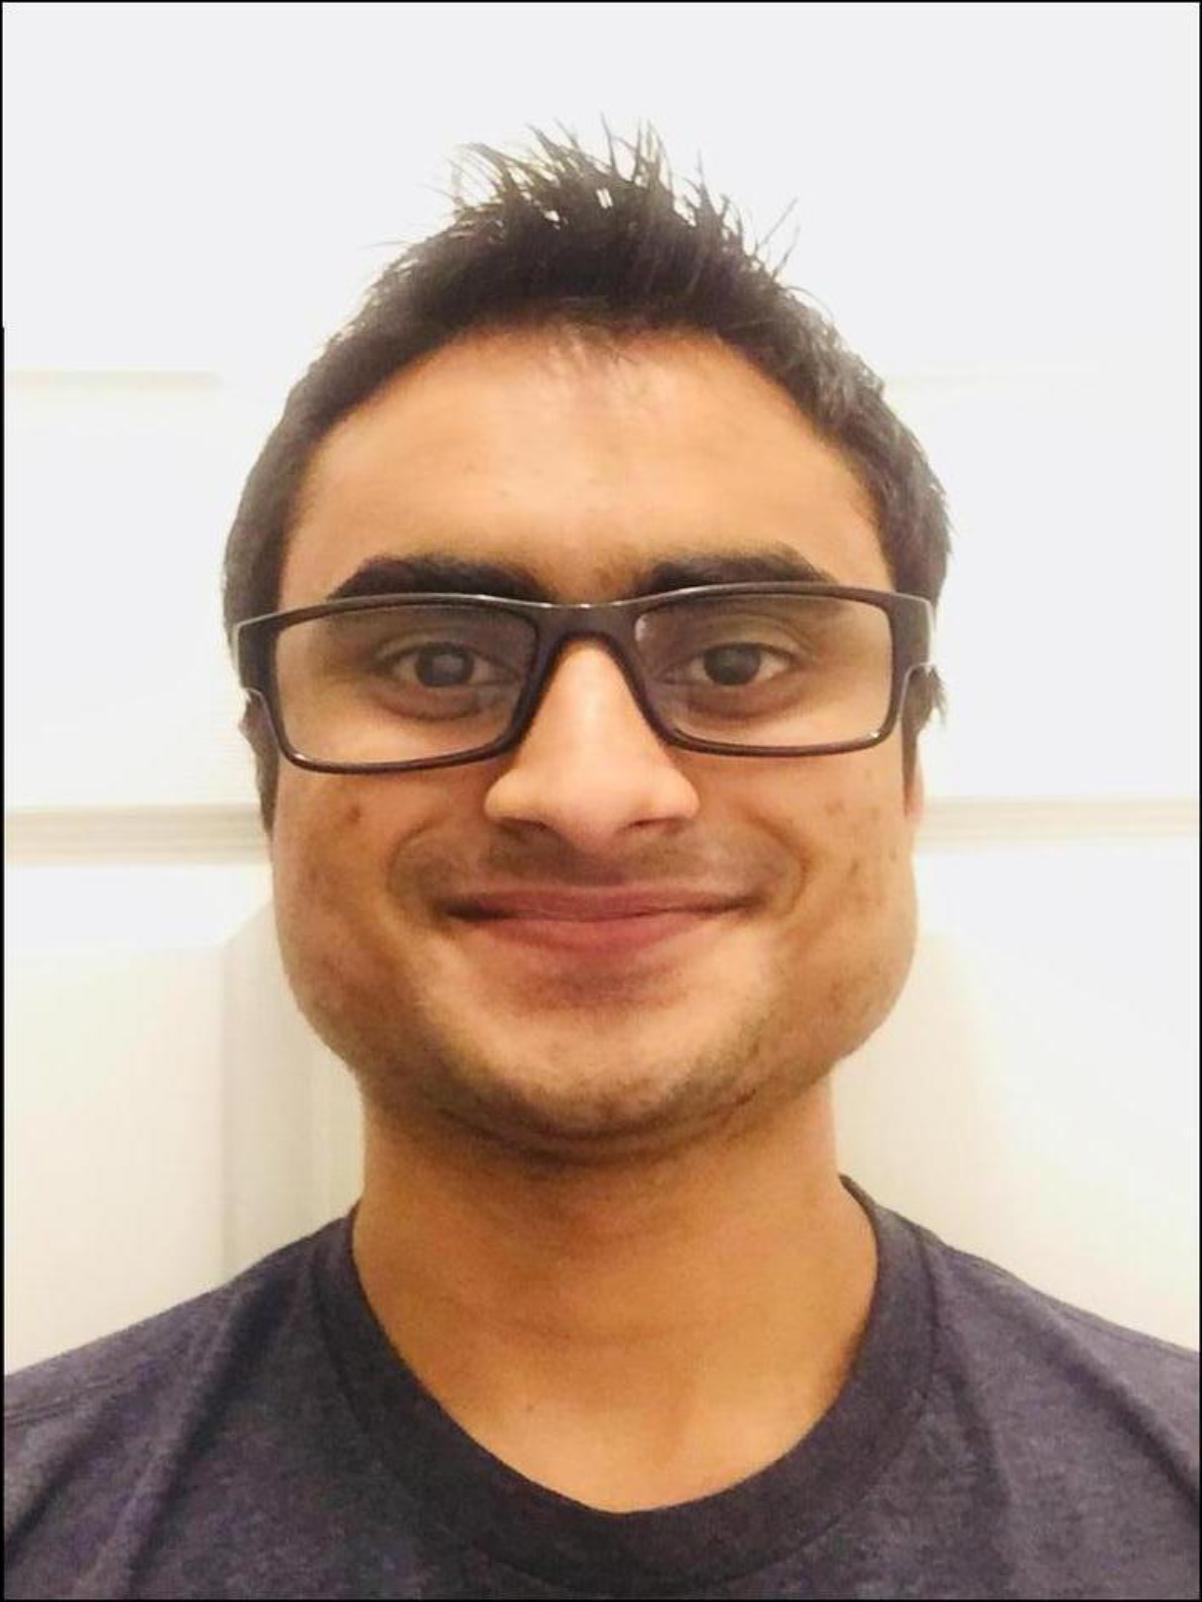
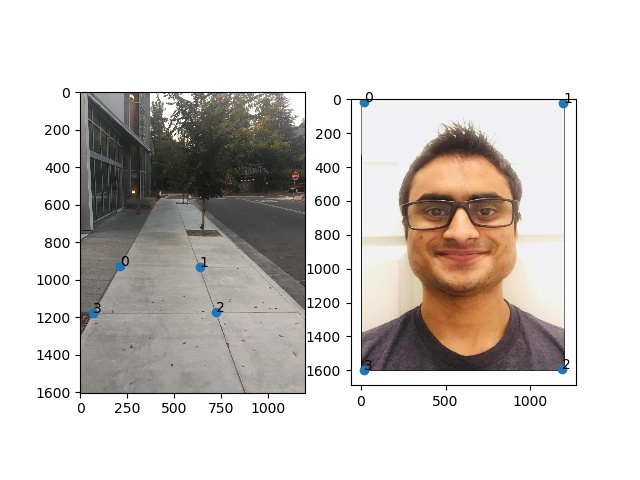
Face and sidewalk - 0
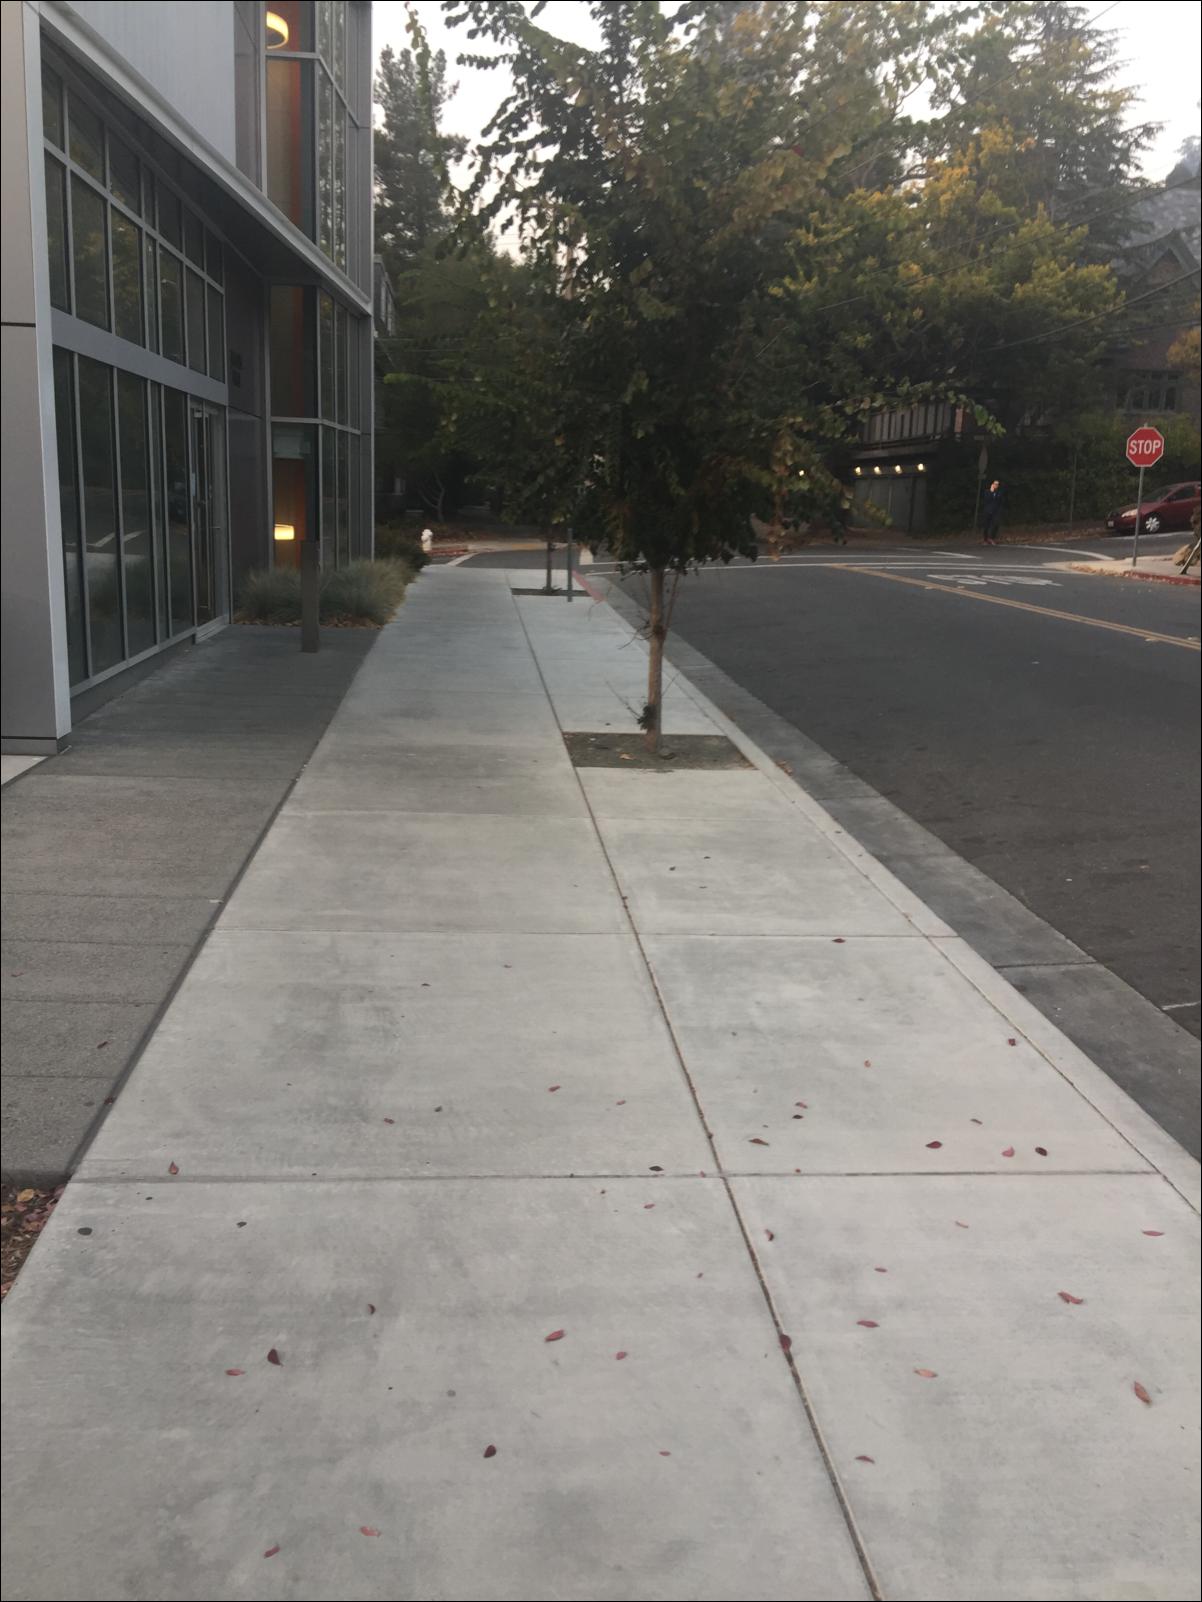
Face and sidewalk - 1
In this project we implemented image warping and mosaicing. We basically take two or more photographs and create and image mosaic by taking a specific affine transformation of each image so that they are perfectly lined up on top of each other.
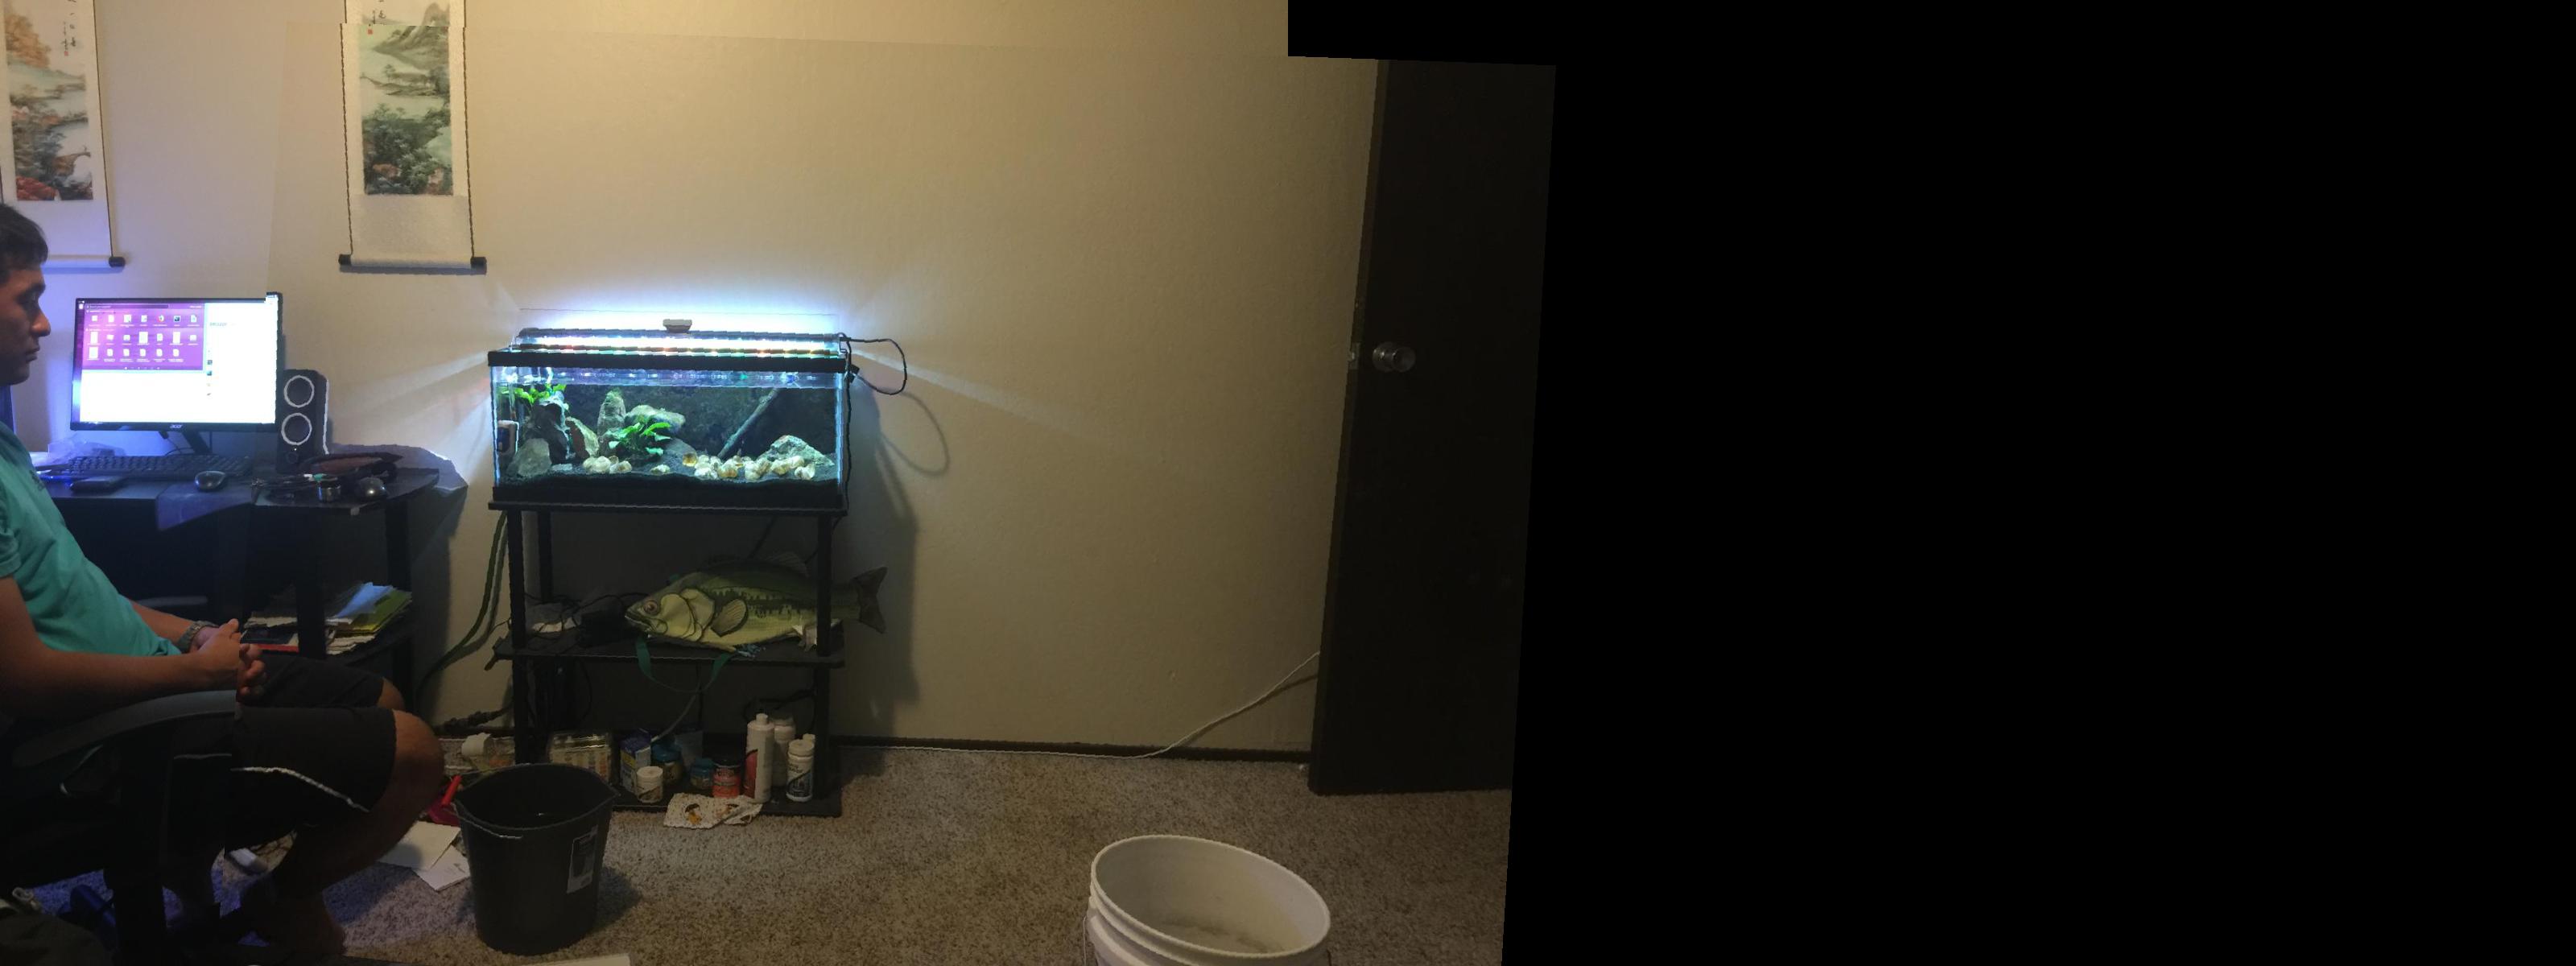
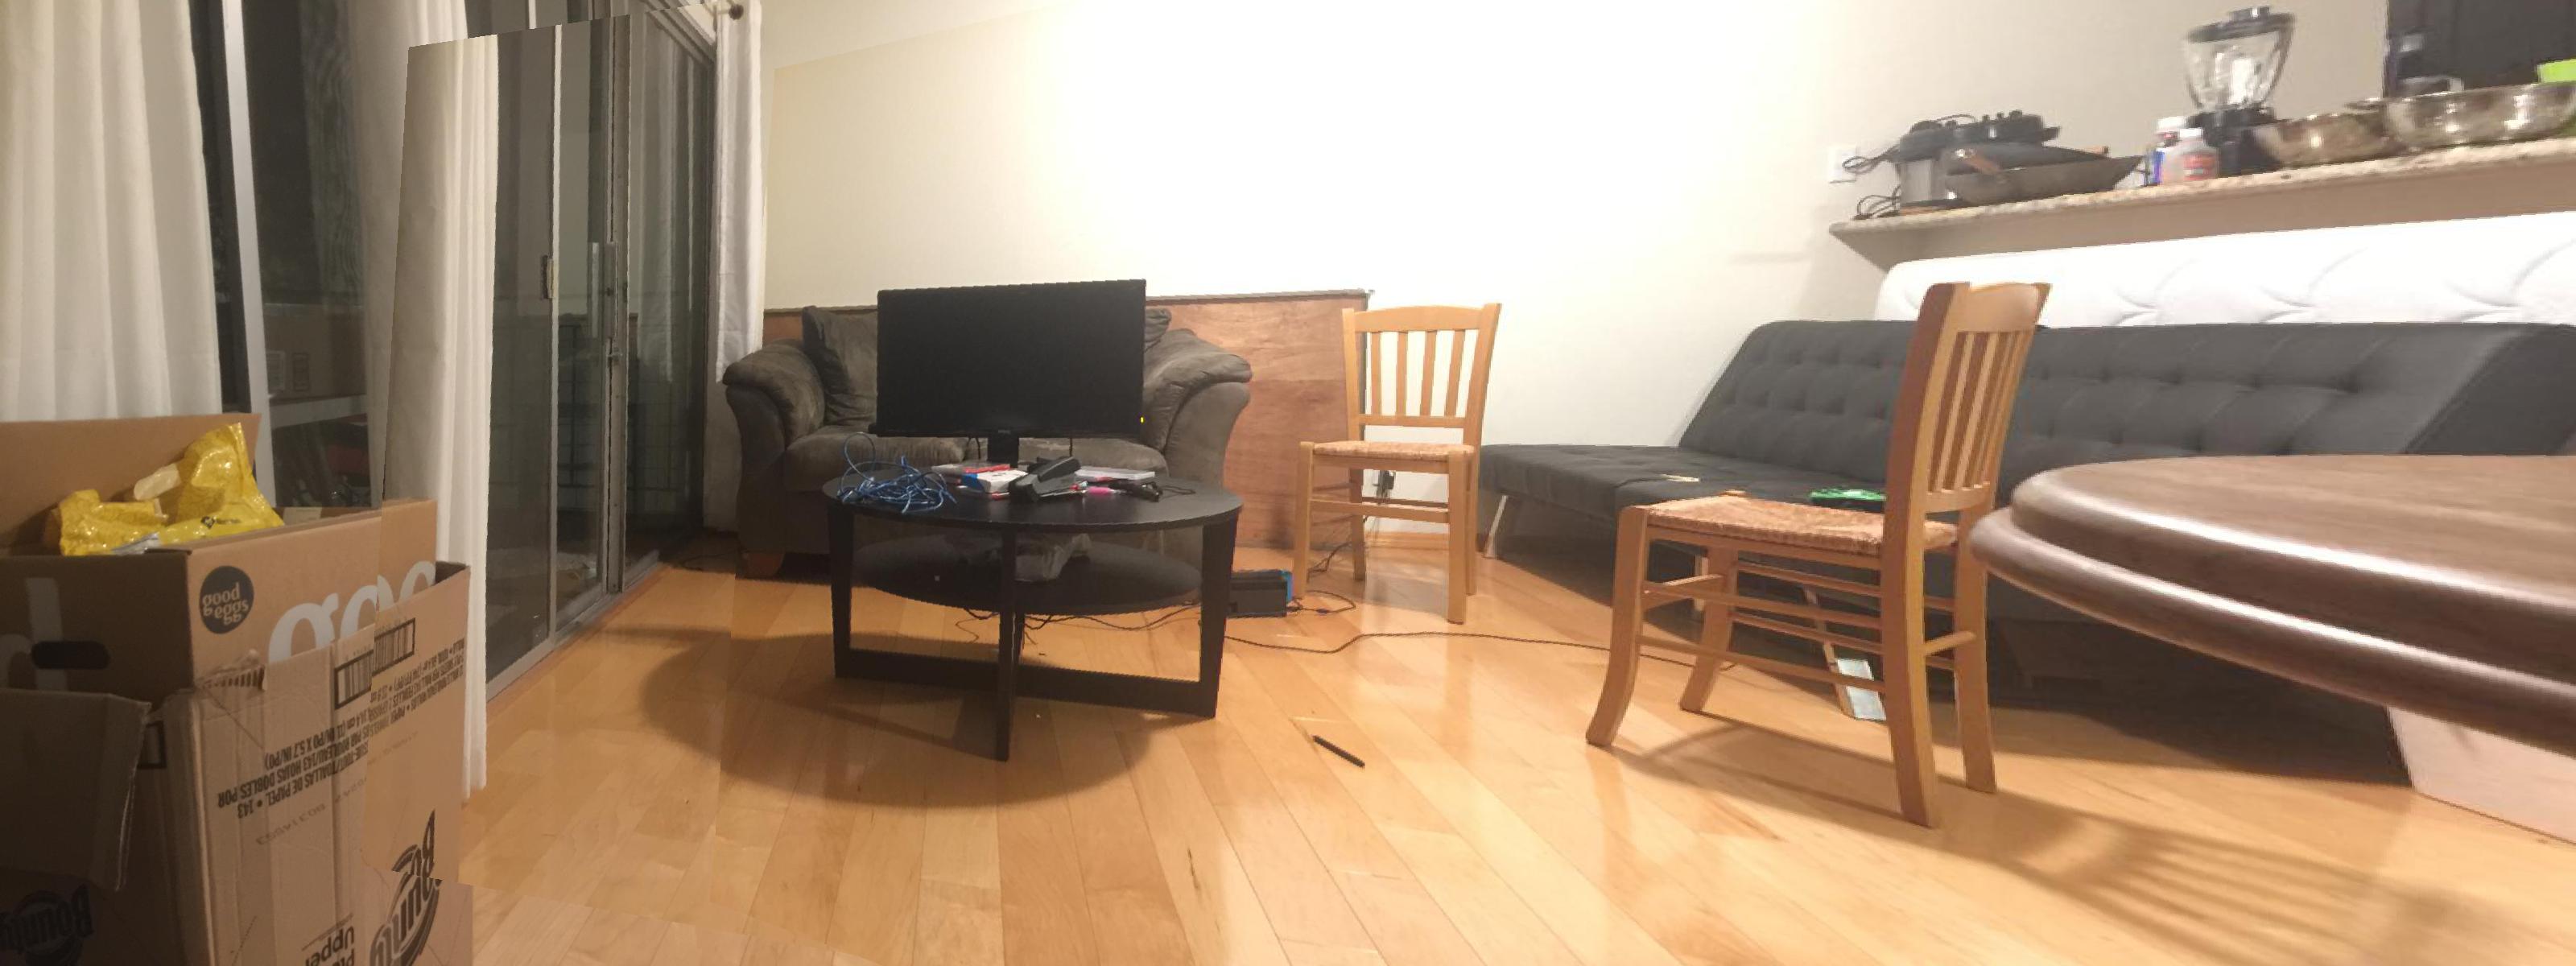
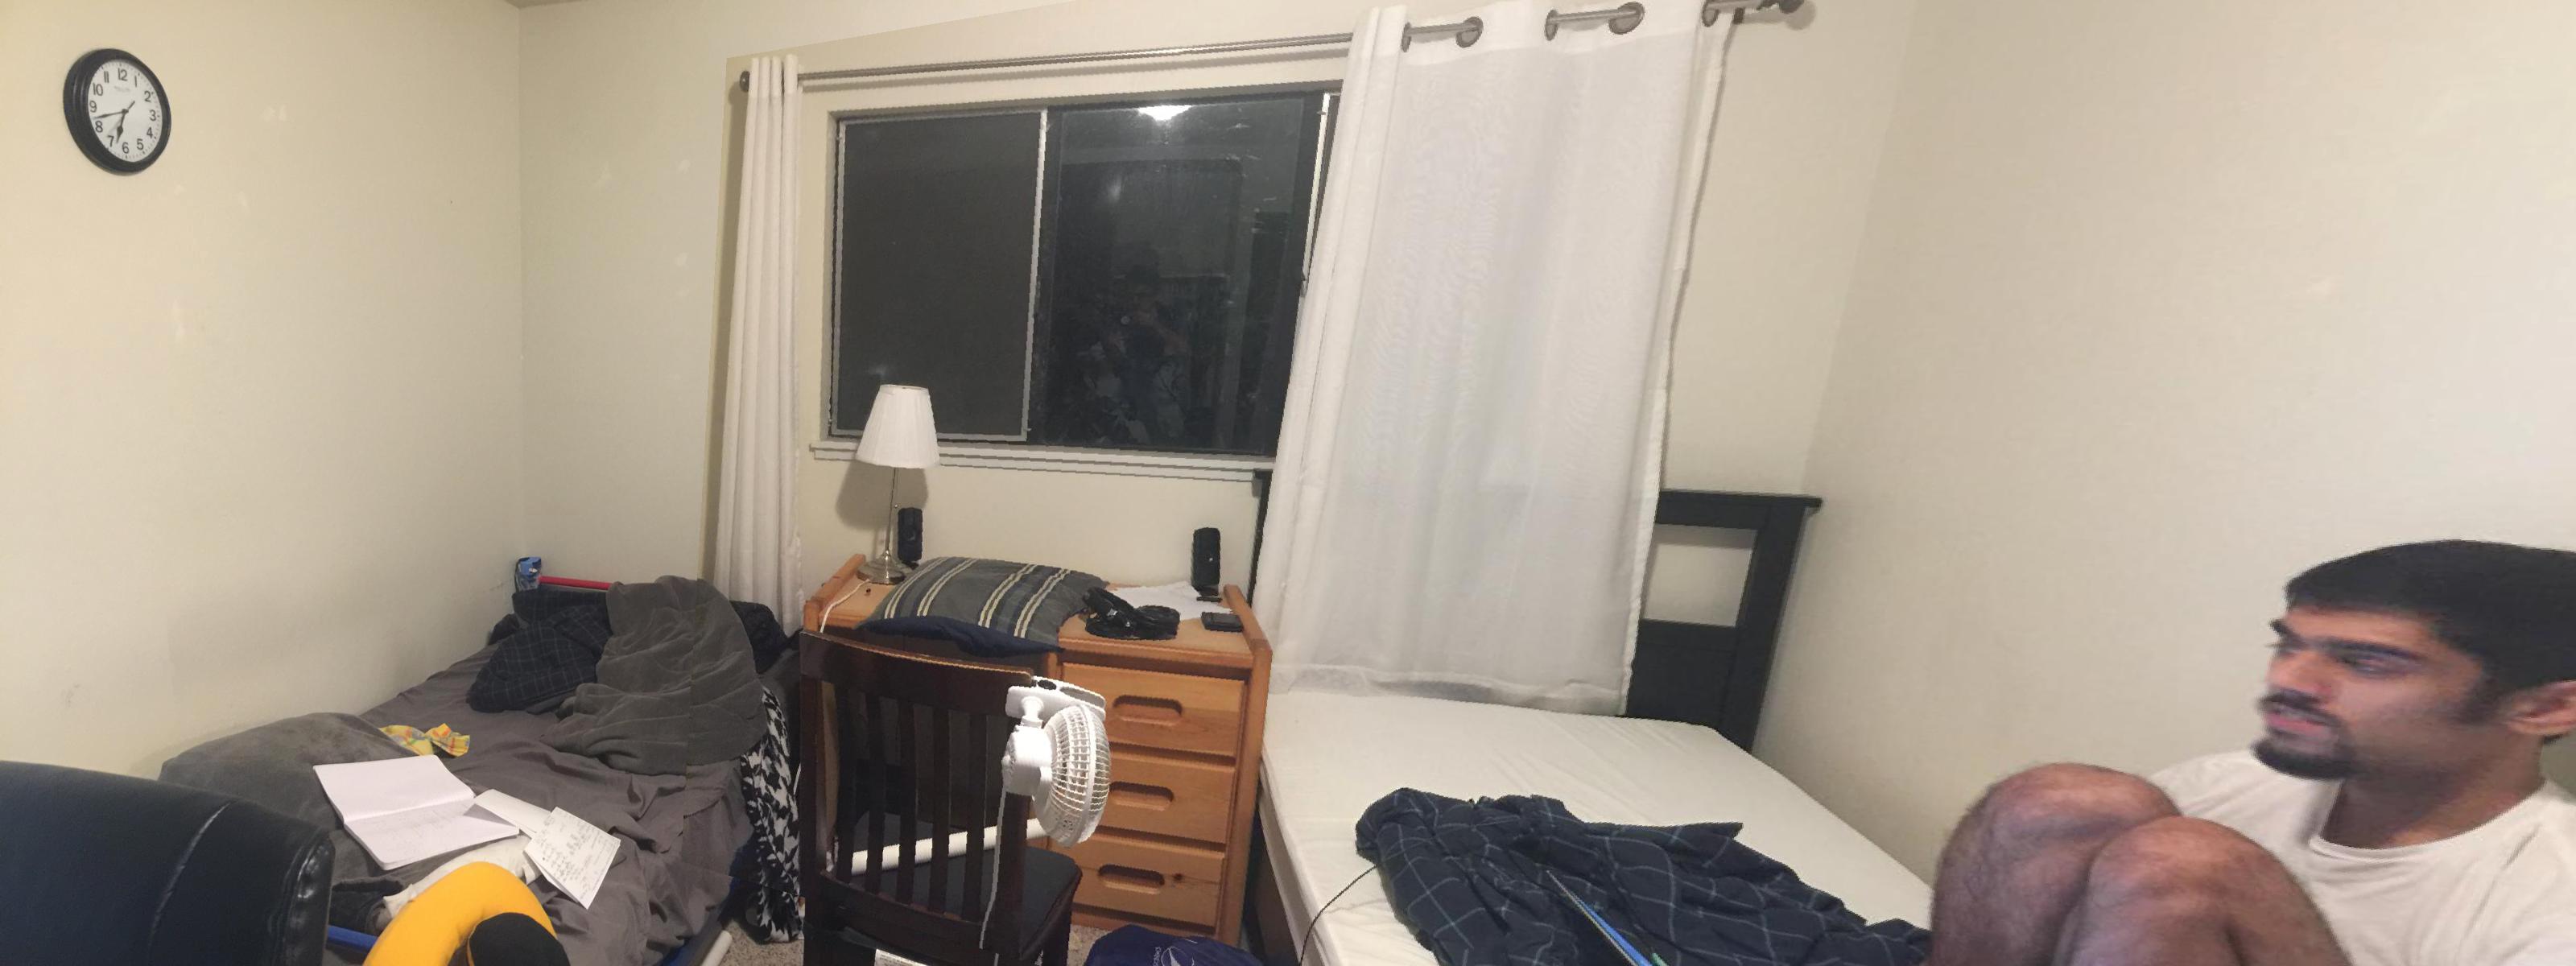
I took a bunch of pictures and digitized them. Check them out.

  usage: main.py [-h] [-d DATA_DIR] [-f1 FILE_NUM_1] [-f2 FILE_NUM_2] [-n NUM] [-l LANDSCAPE]
        [{clean_iphone_data,multi_annotate,multi_merge,multi_view_corr,rectify,get_correspondence,get_direct_correspondence,view_correspondence,get_homography,test}]

  positional arguments:
    {clean_iphone_data,multi_annotate,multi_merge,multi_view_corr,rectify,get_correspondence,get_direct_correspondence,view_correspondence,get_homography,test}

  optional arguments:
    -h, --help            show this help message and exit
    -d DATA_DIR, --data_dir DATA_DIR
    -f1 FILE_NUM_1, --file_num_1 FILE_NUM_1
    -f2 FILE_NUM_2, --file_num_2 FILE_NUM_2
    -n NUM, --num NUM
    -l LANDSCAPE, --landscape LANDSCAPE

      The output is 'output/{file_name}.png'

    Merging Images:
      1. Load images to merge in iphone_data/{data_dir}
      2. python main.py clean_iphone_data -d {data_dir} -l {landscape?}
      3. Annotate each image to the points you want to match
        python main.py multi_annotate -d {data_dir} -n {number of images}
      4. Check if the correspondences were set accurately
        python main.py multi_view_corr -d {data_dir} -n {number of images}
      5. python main.py multi_merge -d {data_dir} -n {number of images}

    Image Rectification:
      1. Load image to rectify in iphone_data/{data_dir}
      2. python main.py clean_iphone_data -d {data_dir} -l {landscape?}
      3. Annotate each image to the points you want to match
        python main.py multi_annotate -d {data_dir} -n 1
      4. Check if the correspondences were set accurately
        python main.py multi_view_corr -d {data_dir} -n 1
      5. python main.py rectify -d {data_dir} -n 1
The point of this section is to recover the use the annotated points on our base image we're using as a reference and the annotated points on the extra images that we're going to transform onto the base image. In my images, I used the first one 0.jpeg in each series as the base image.
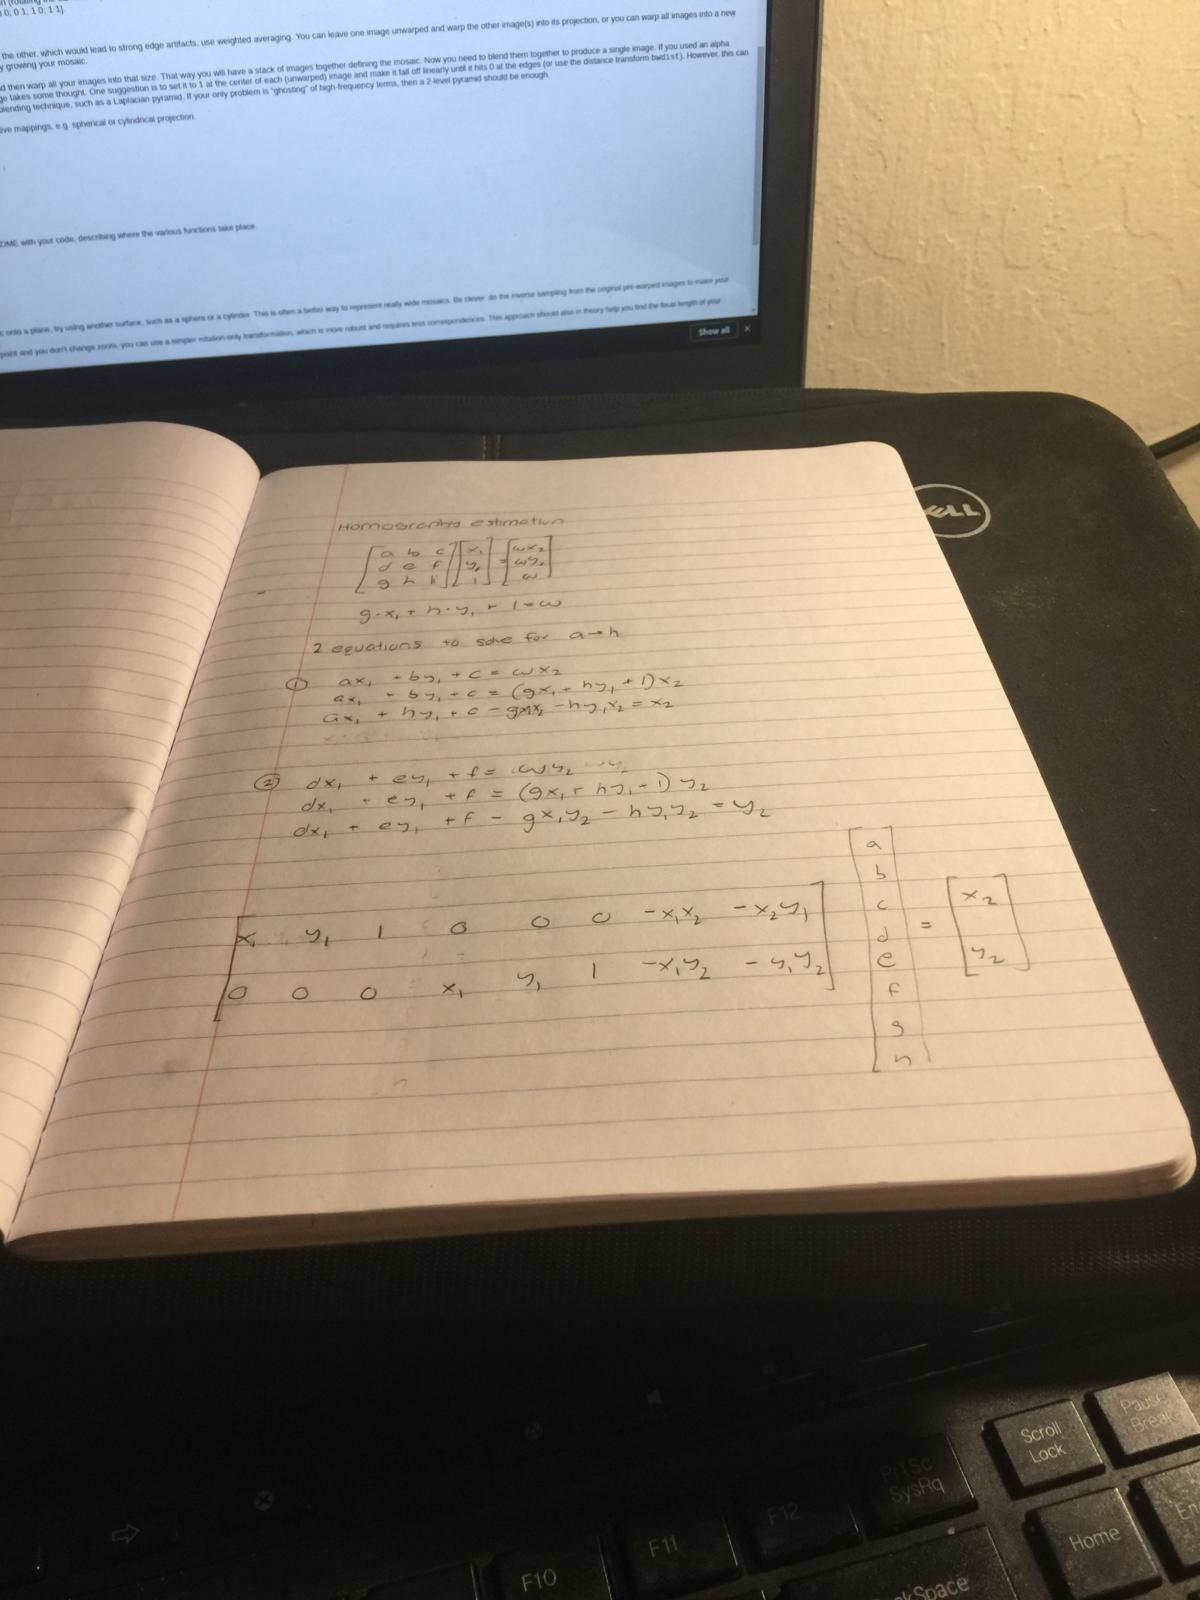
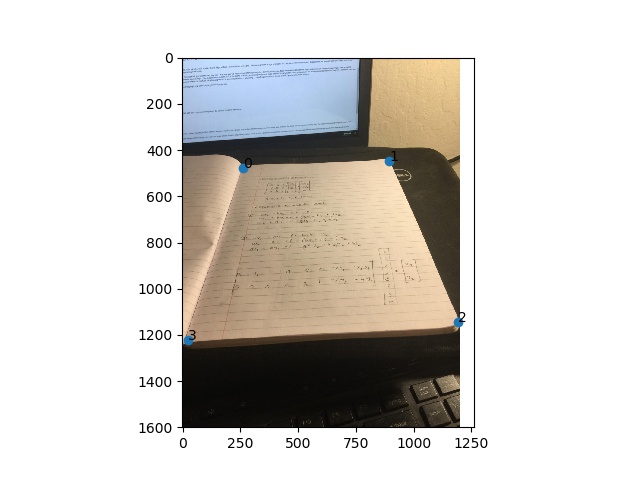
Here's the calculation for the homography. This paper below with the calcualations is actually a rectified image! Check it out before but look at the math below
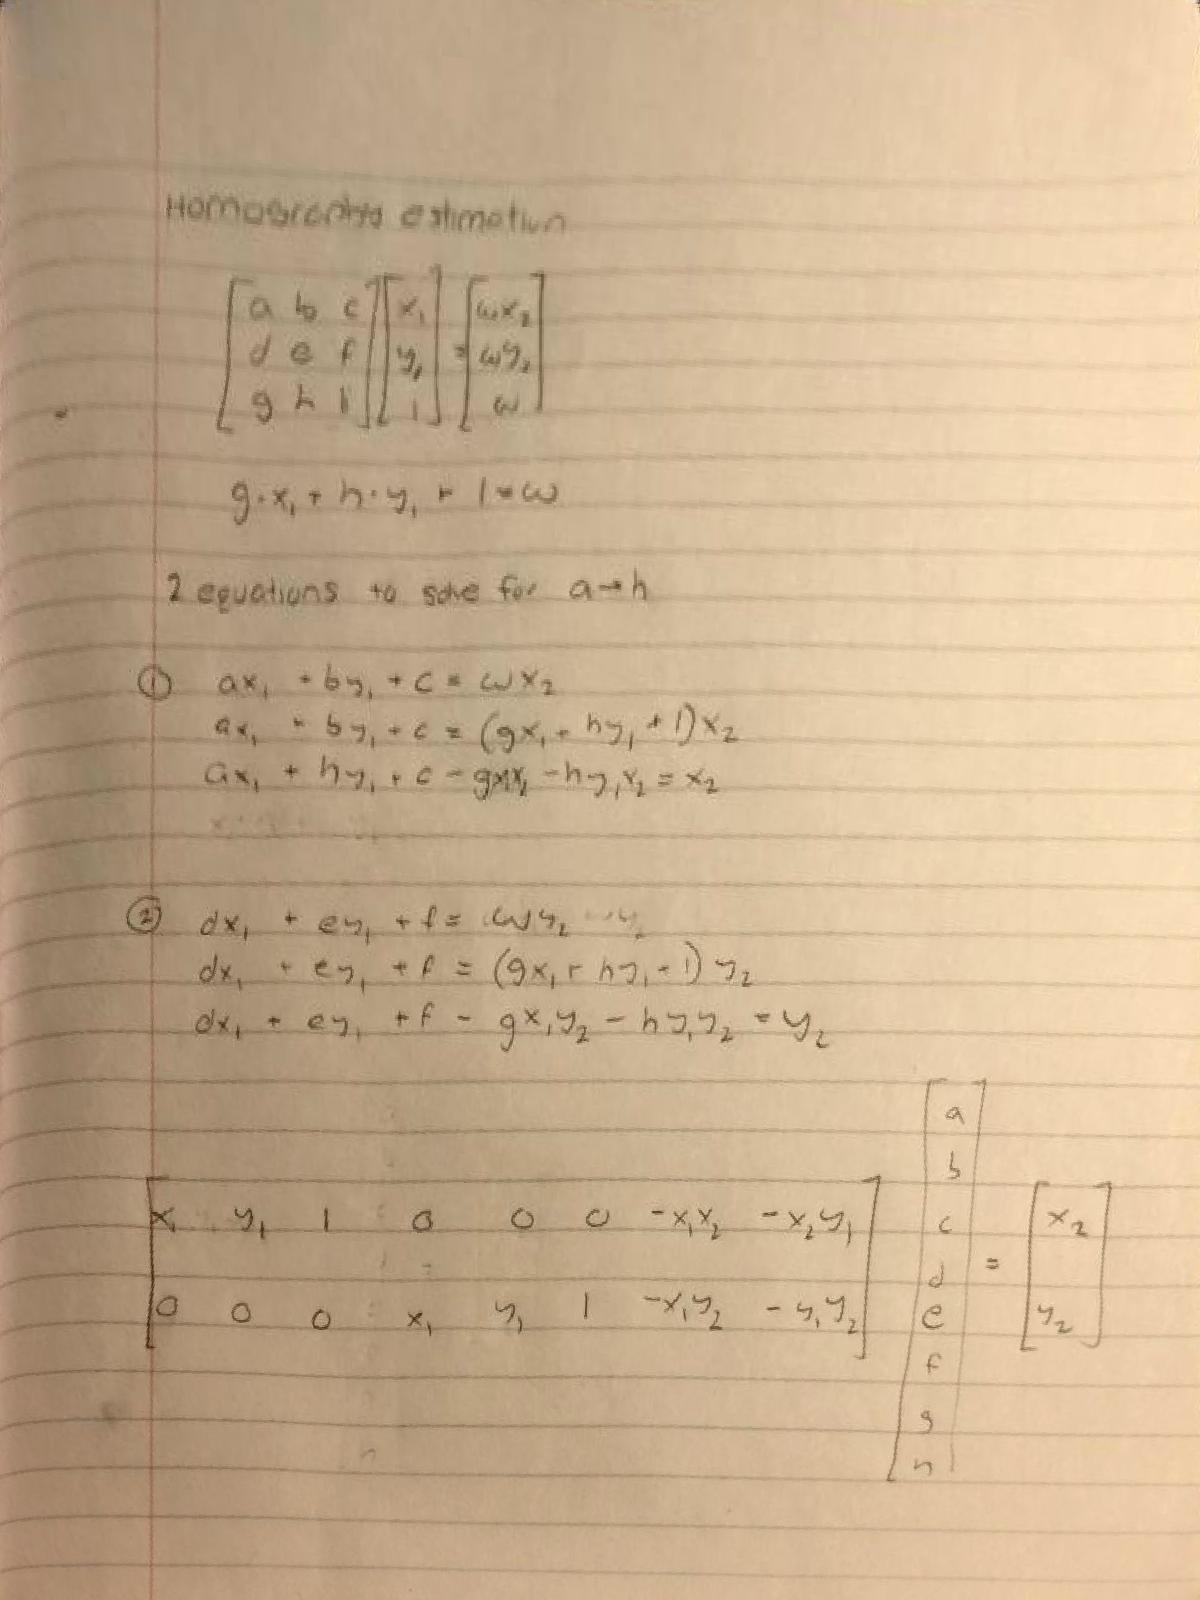
For each point mapping (x1, y1) and (x2, y2) we can get two equations to solve for the 8 variables in the homography transformation.
Once we get the mapping from the base image of annotated points to the corresponding points on image we're trying to transform onto the base image, we can complete the transformation and put the images to transform into the source image.
First thing I had to do is check that the homography works so I wrote a test function that can be run as follows: python -i main.py test -d {data_dir} -f1 0 -f2 1
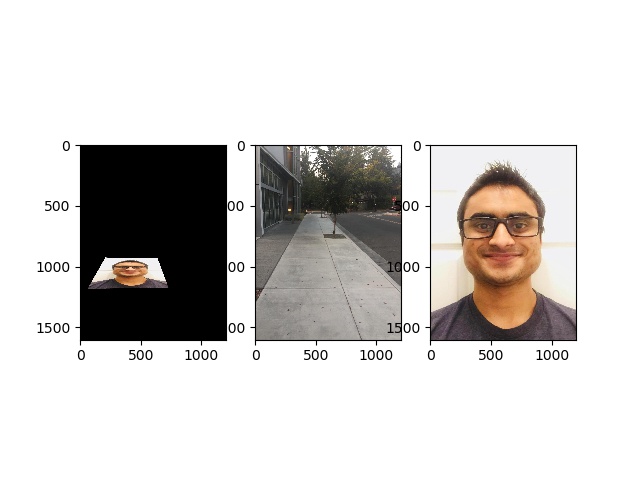
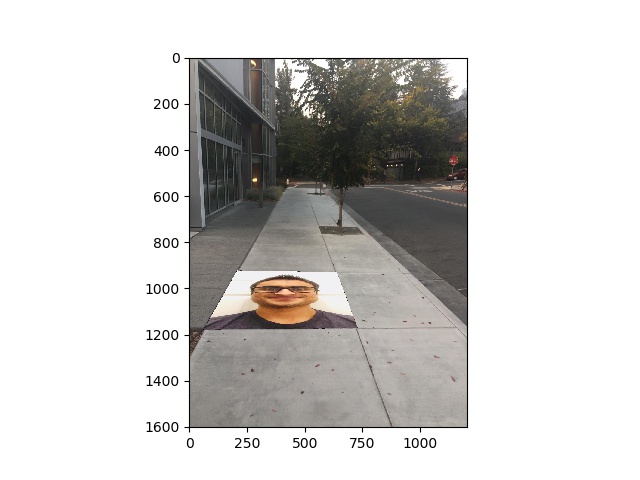
I used the homography to transform my face into the sidewalk. Check it out
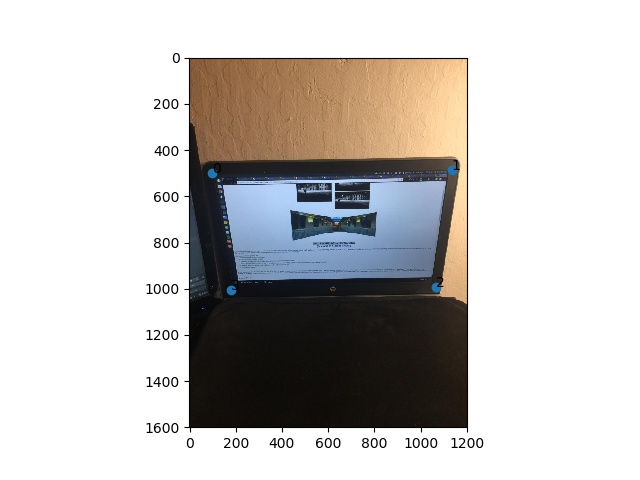
This is the same as the previous homography calculations except we're mapping the area we're trying to rectify to the four corners of the final image.
This is the same image I used to show the homography calculations!

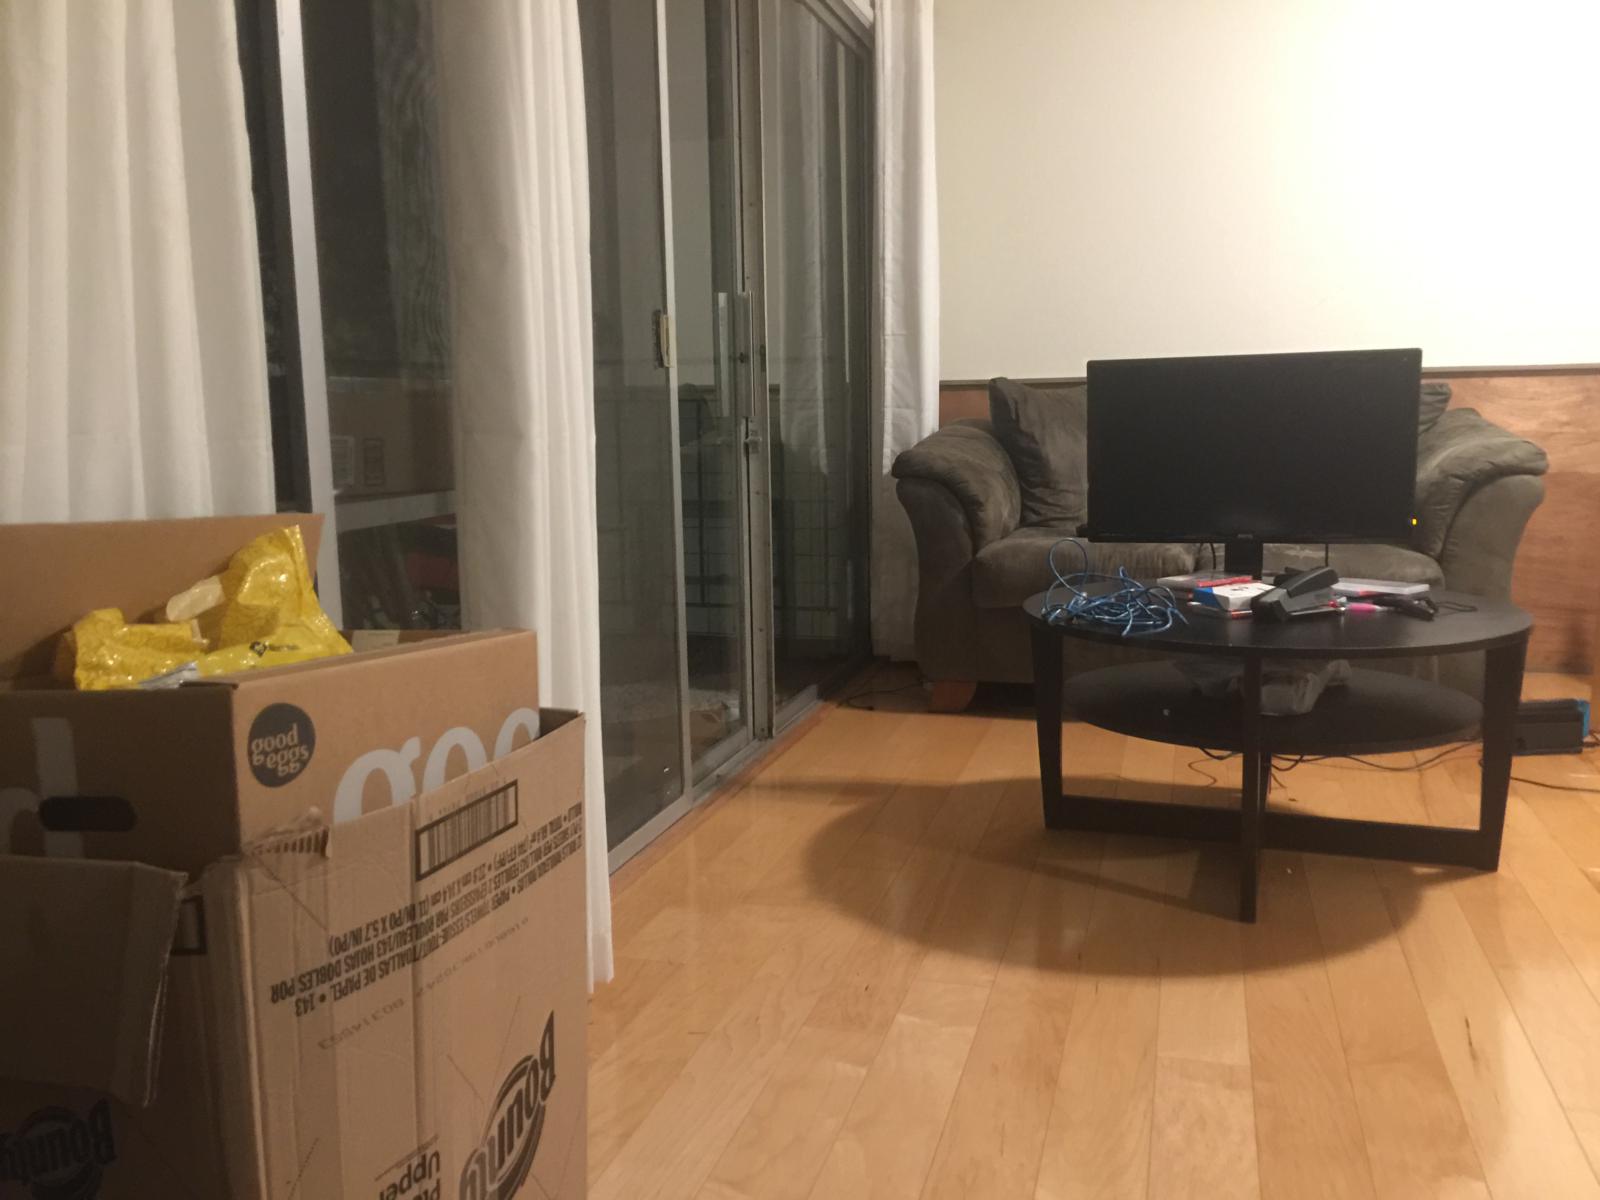
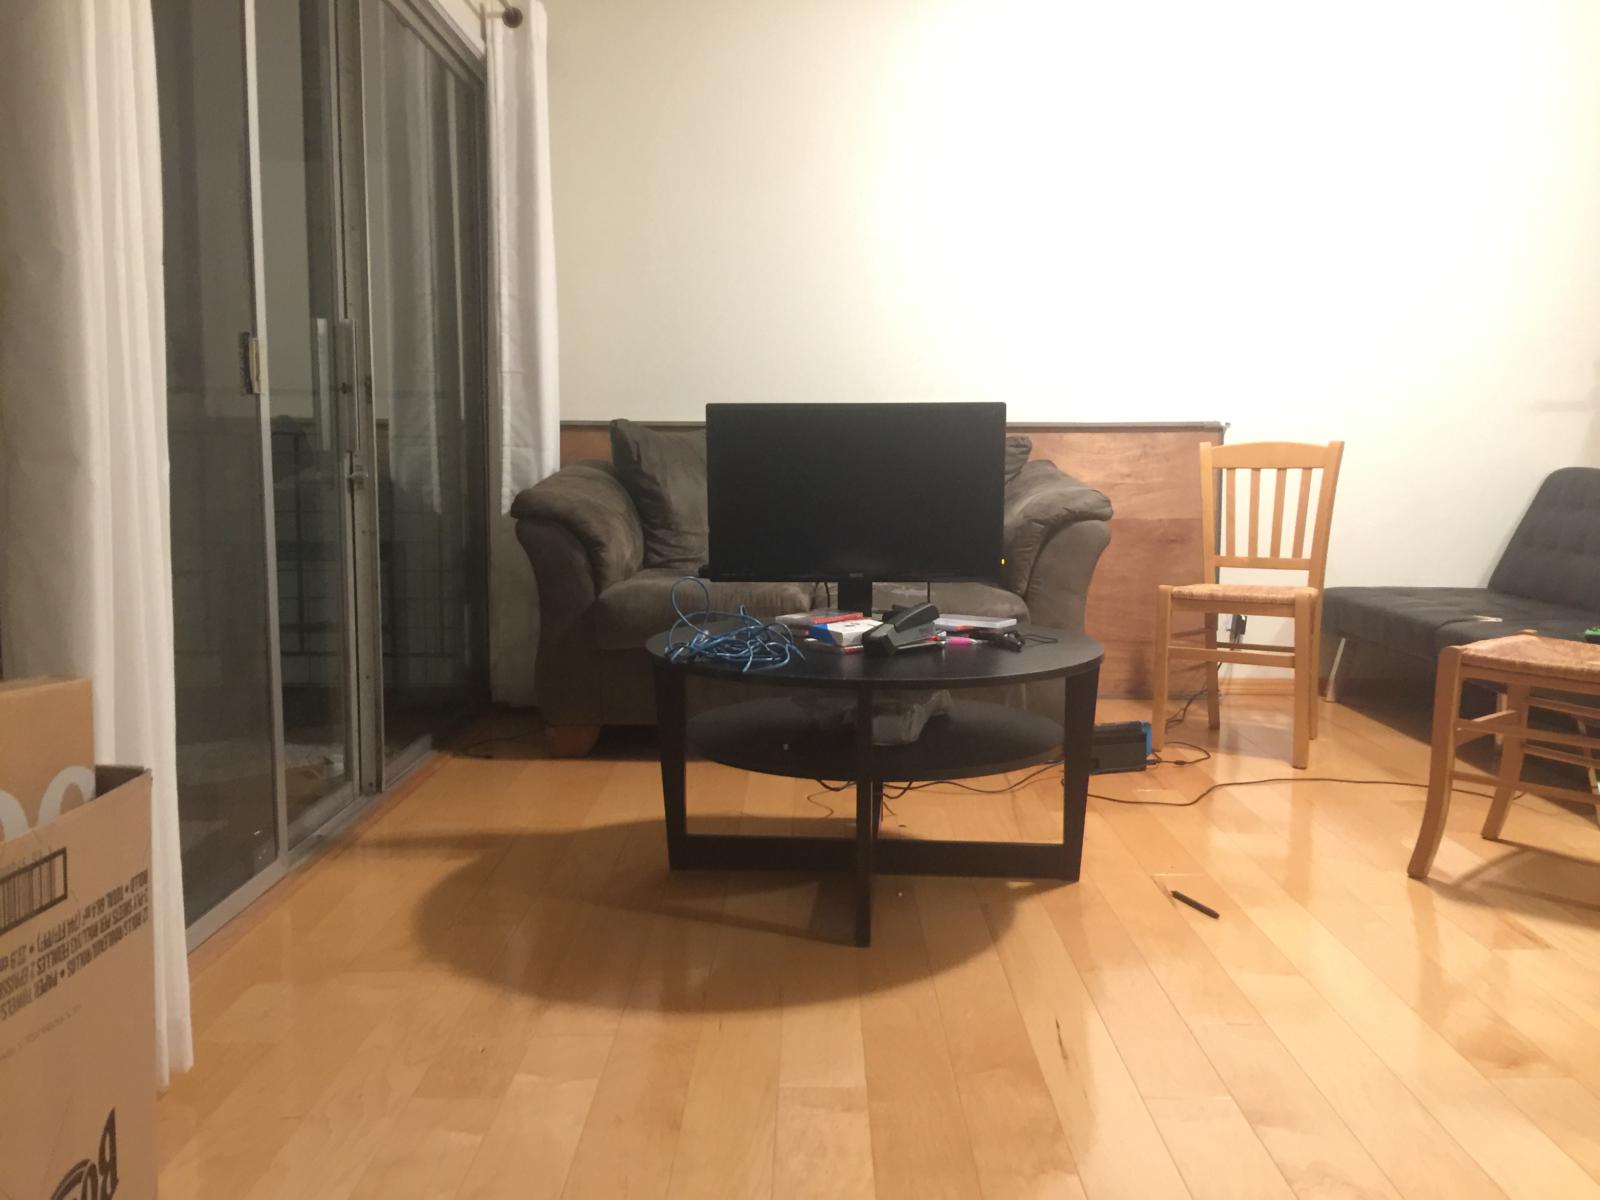
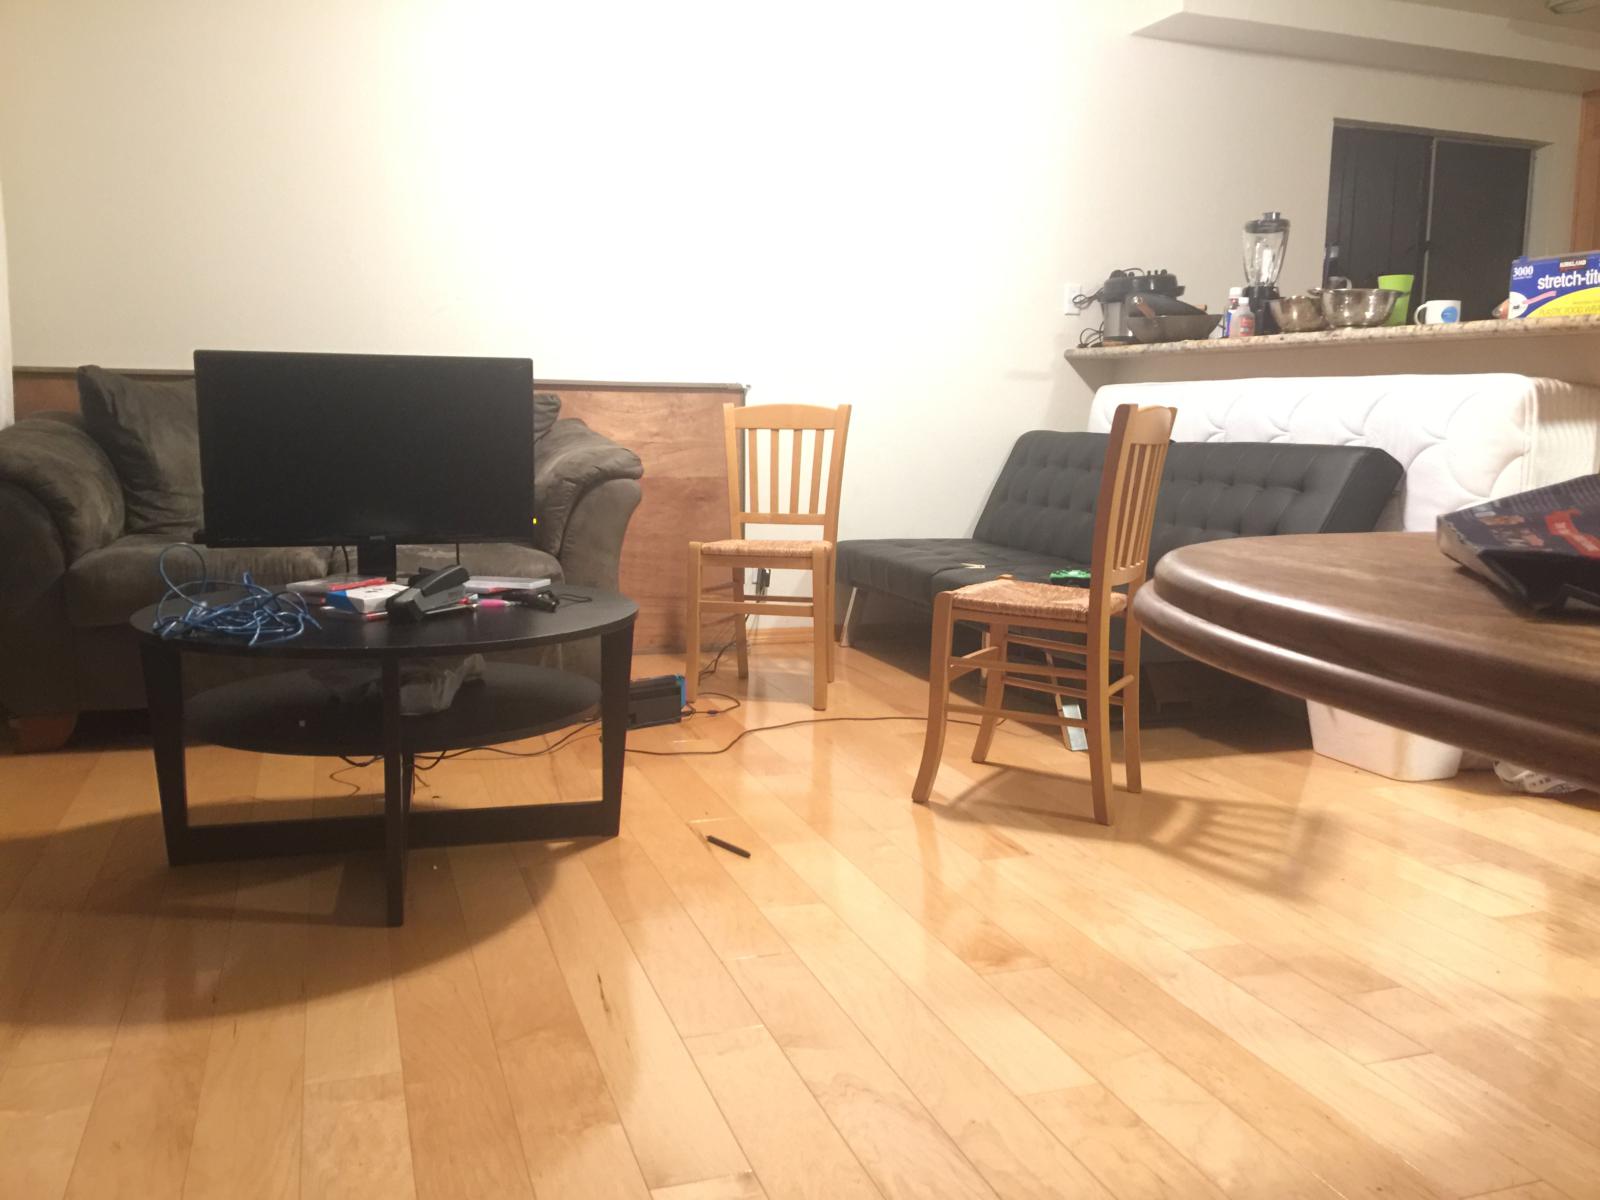
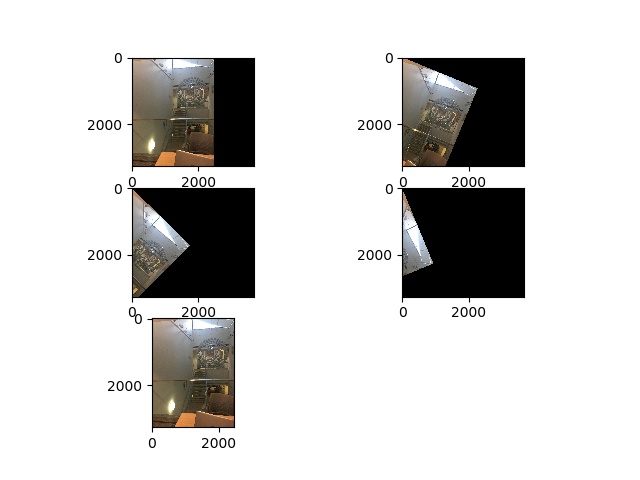
I detailed above the code to run so that we can create a mosaic. Here are a few examples.
My roommate Dennis's Room