Overview
This project introduces us to image mosaicing, which allows us to stitch together two or more photoes of the same scene taken from varying angles. This creates an effect similar to the panorama camera feature on today's smartphones.
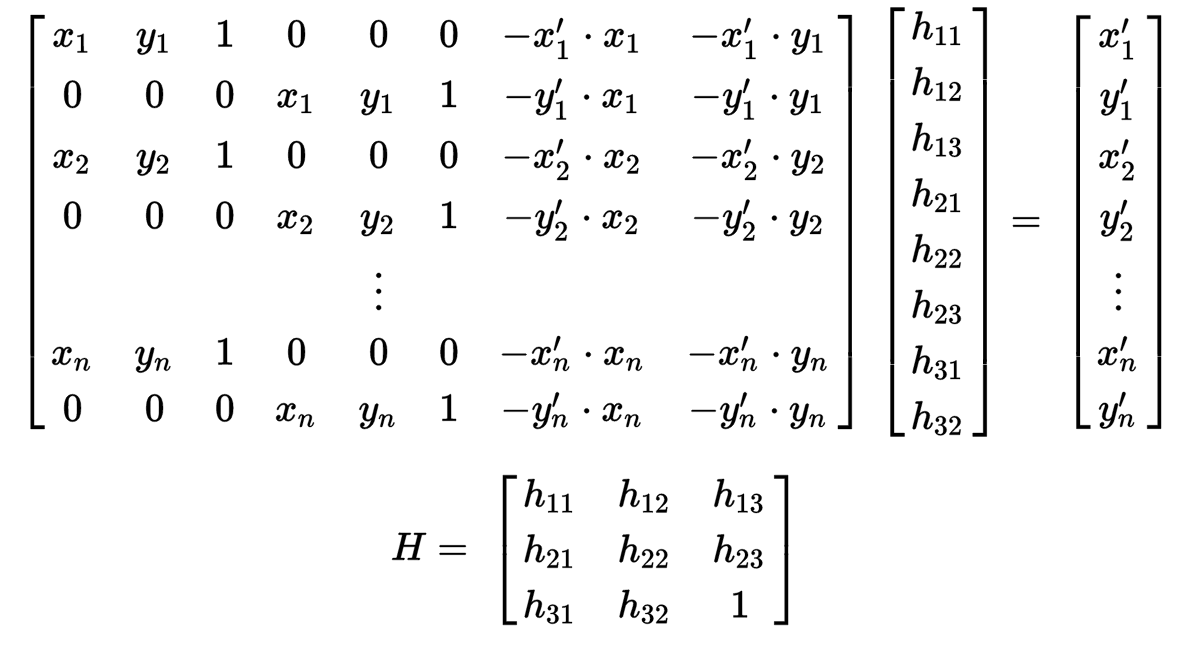
Calculating Homographies
Given an image and a set of reference points, we want to calculate the proper warping matrix to warp an image into a desired angle. To do so we create a 3x3 homography matrix, H to warp source points p to a set of destination points p'. We generate this matrix by setting up a system of 8 equations:
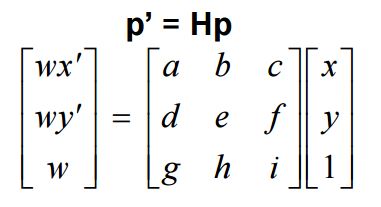
We can then apply this matrix to any set of points p in the image to warp it to its new position p':
There is no easy way to visualize the results of this step. alone (aside from possibly showing some example H matrices I generated). However, this step is very crucial in being able to complete the rest of the project
Image Rectification
Image rectification is a type of image transformation that takes a photo of a scene and warps the image so it looks like the photo was taken from a different angle.
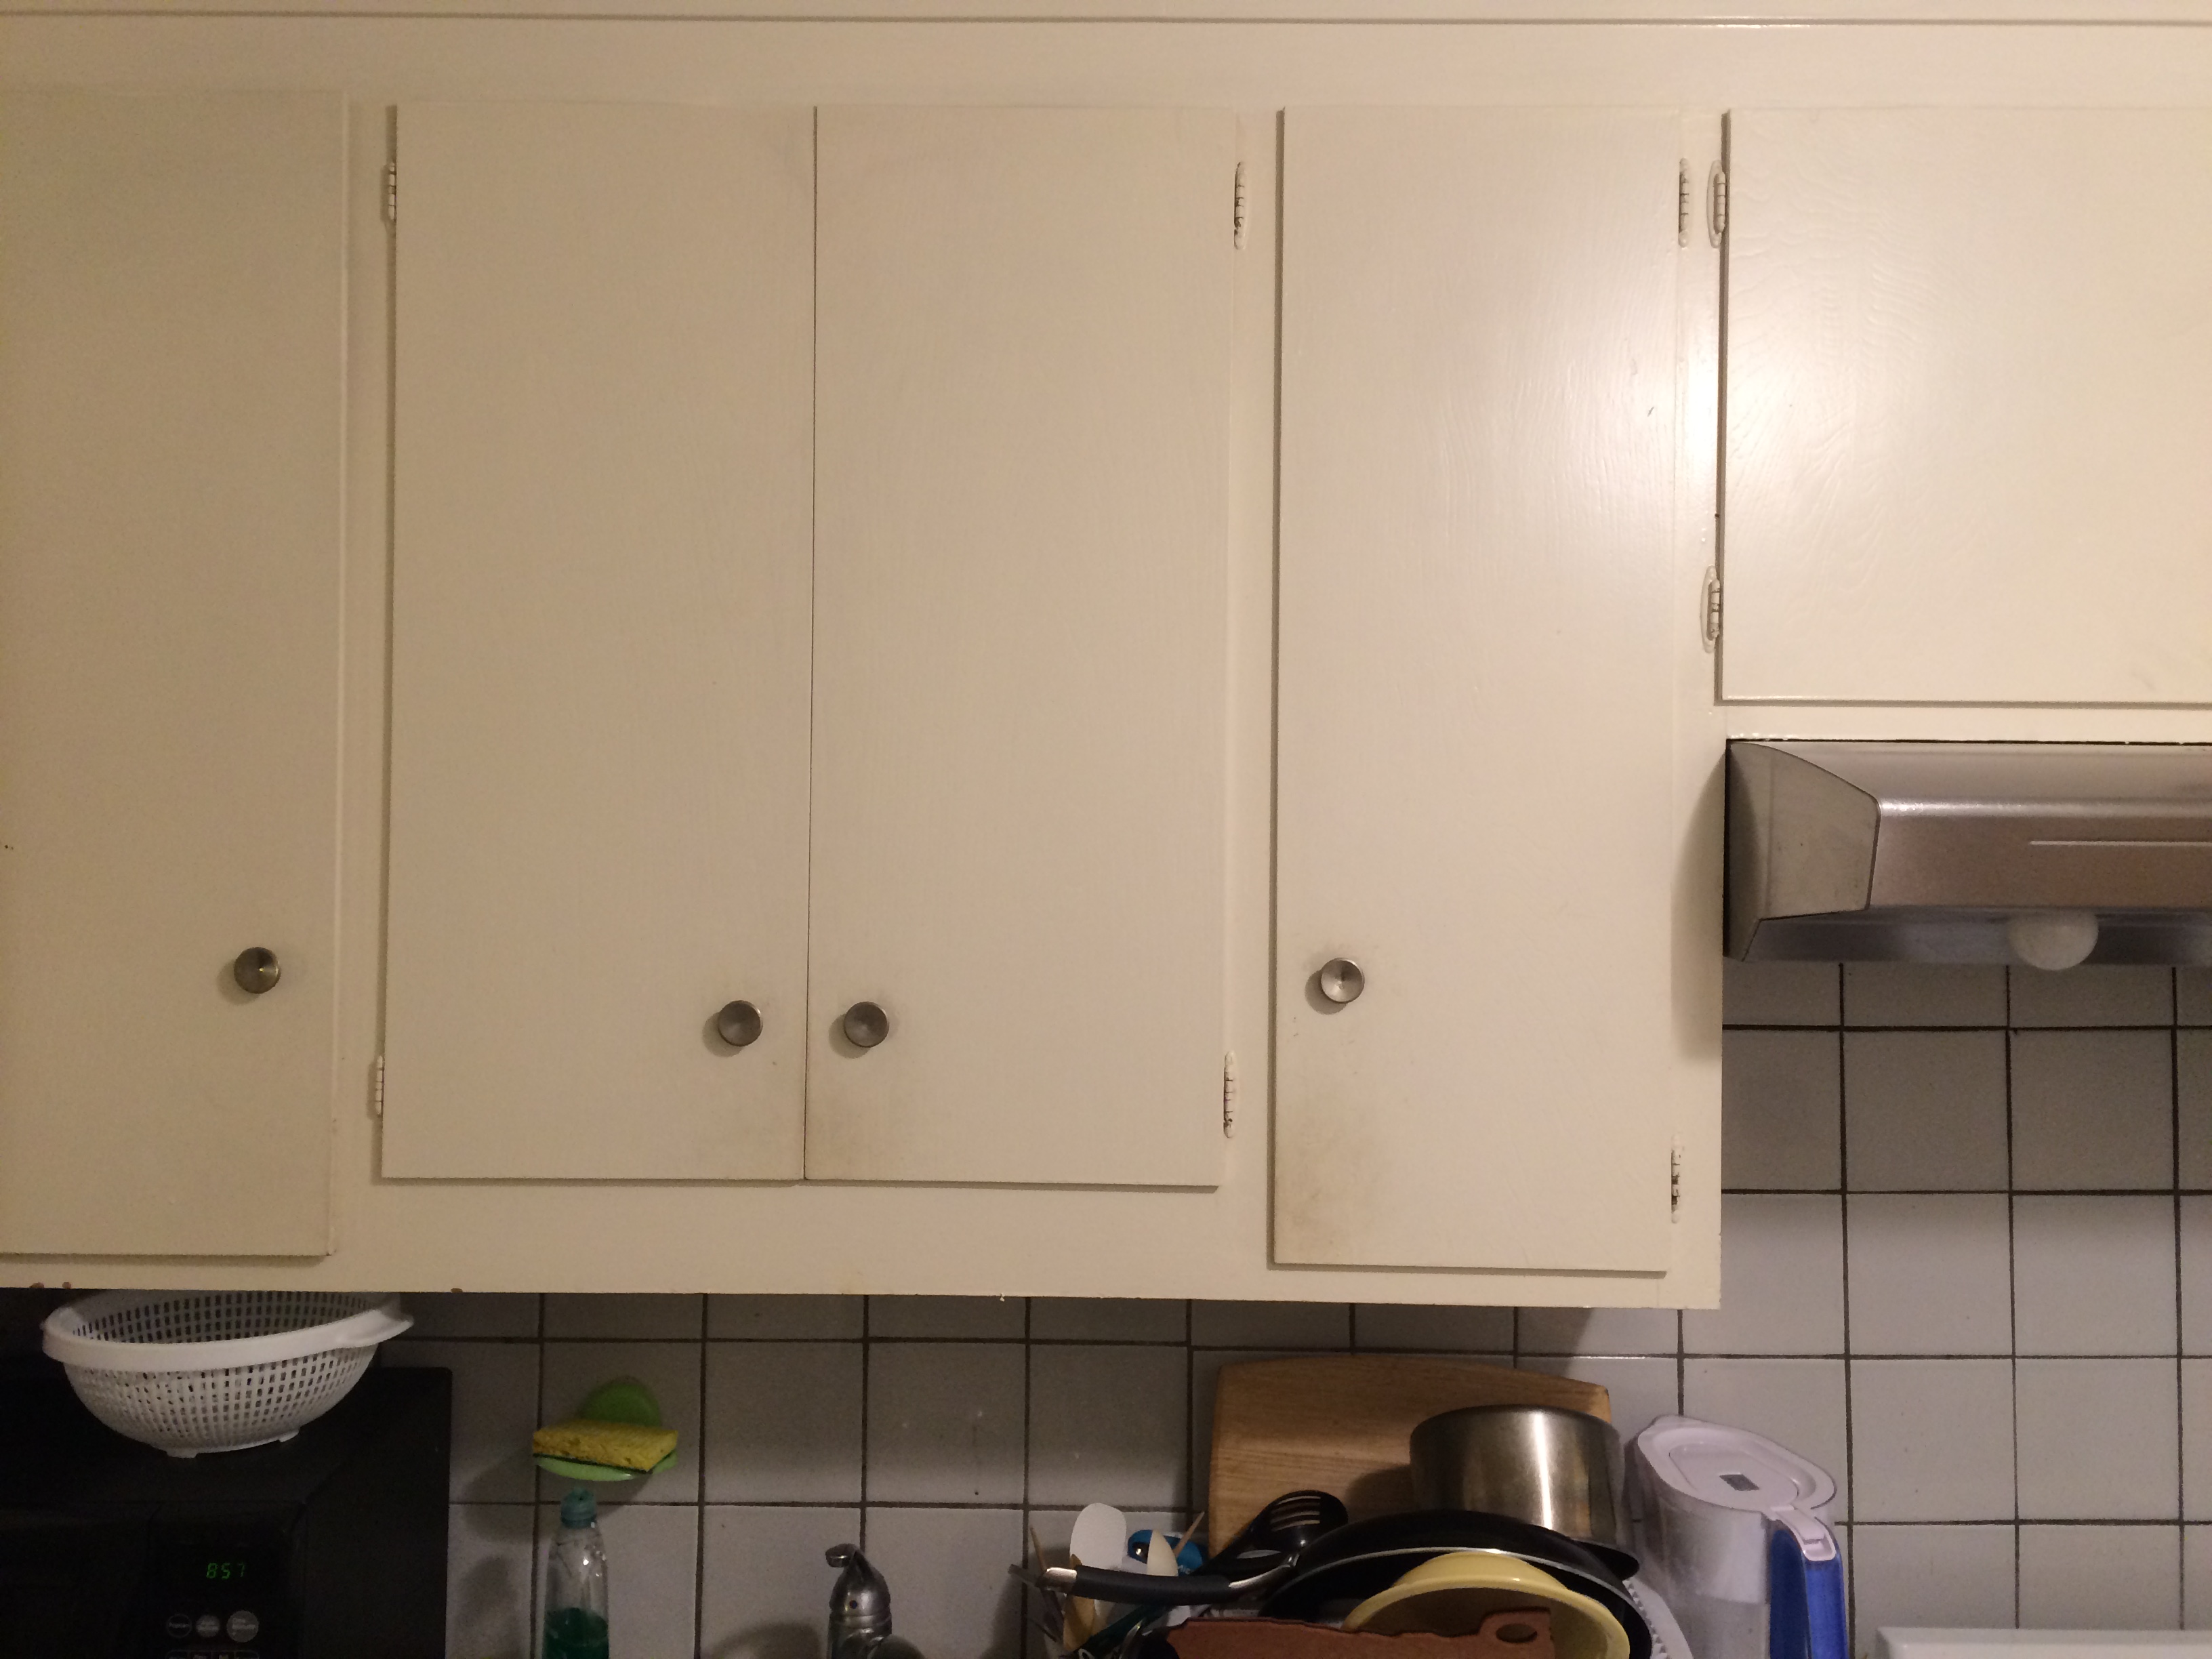
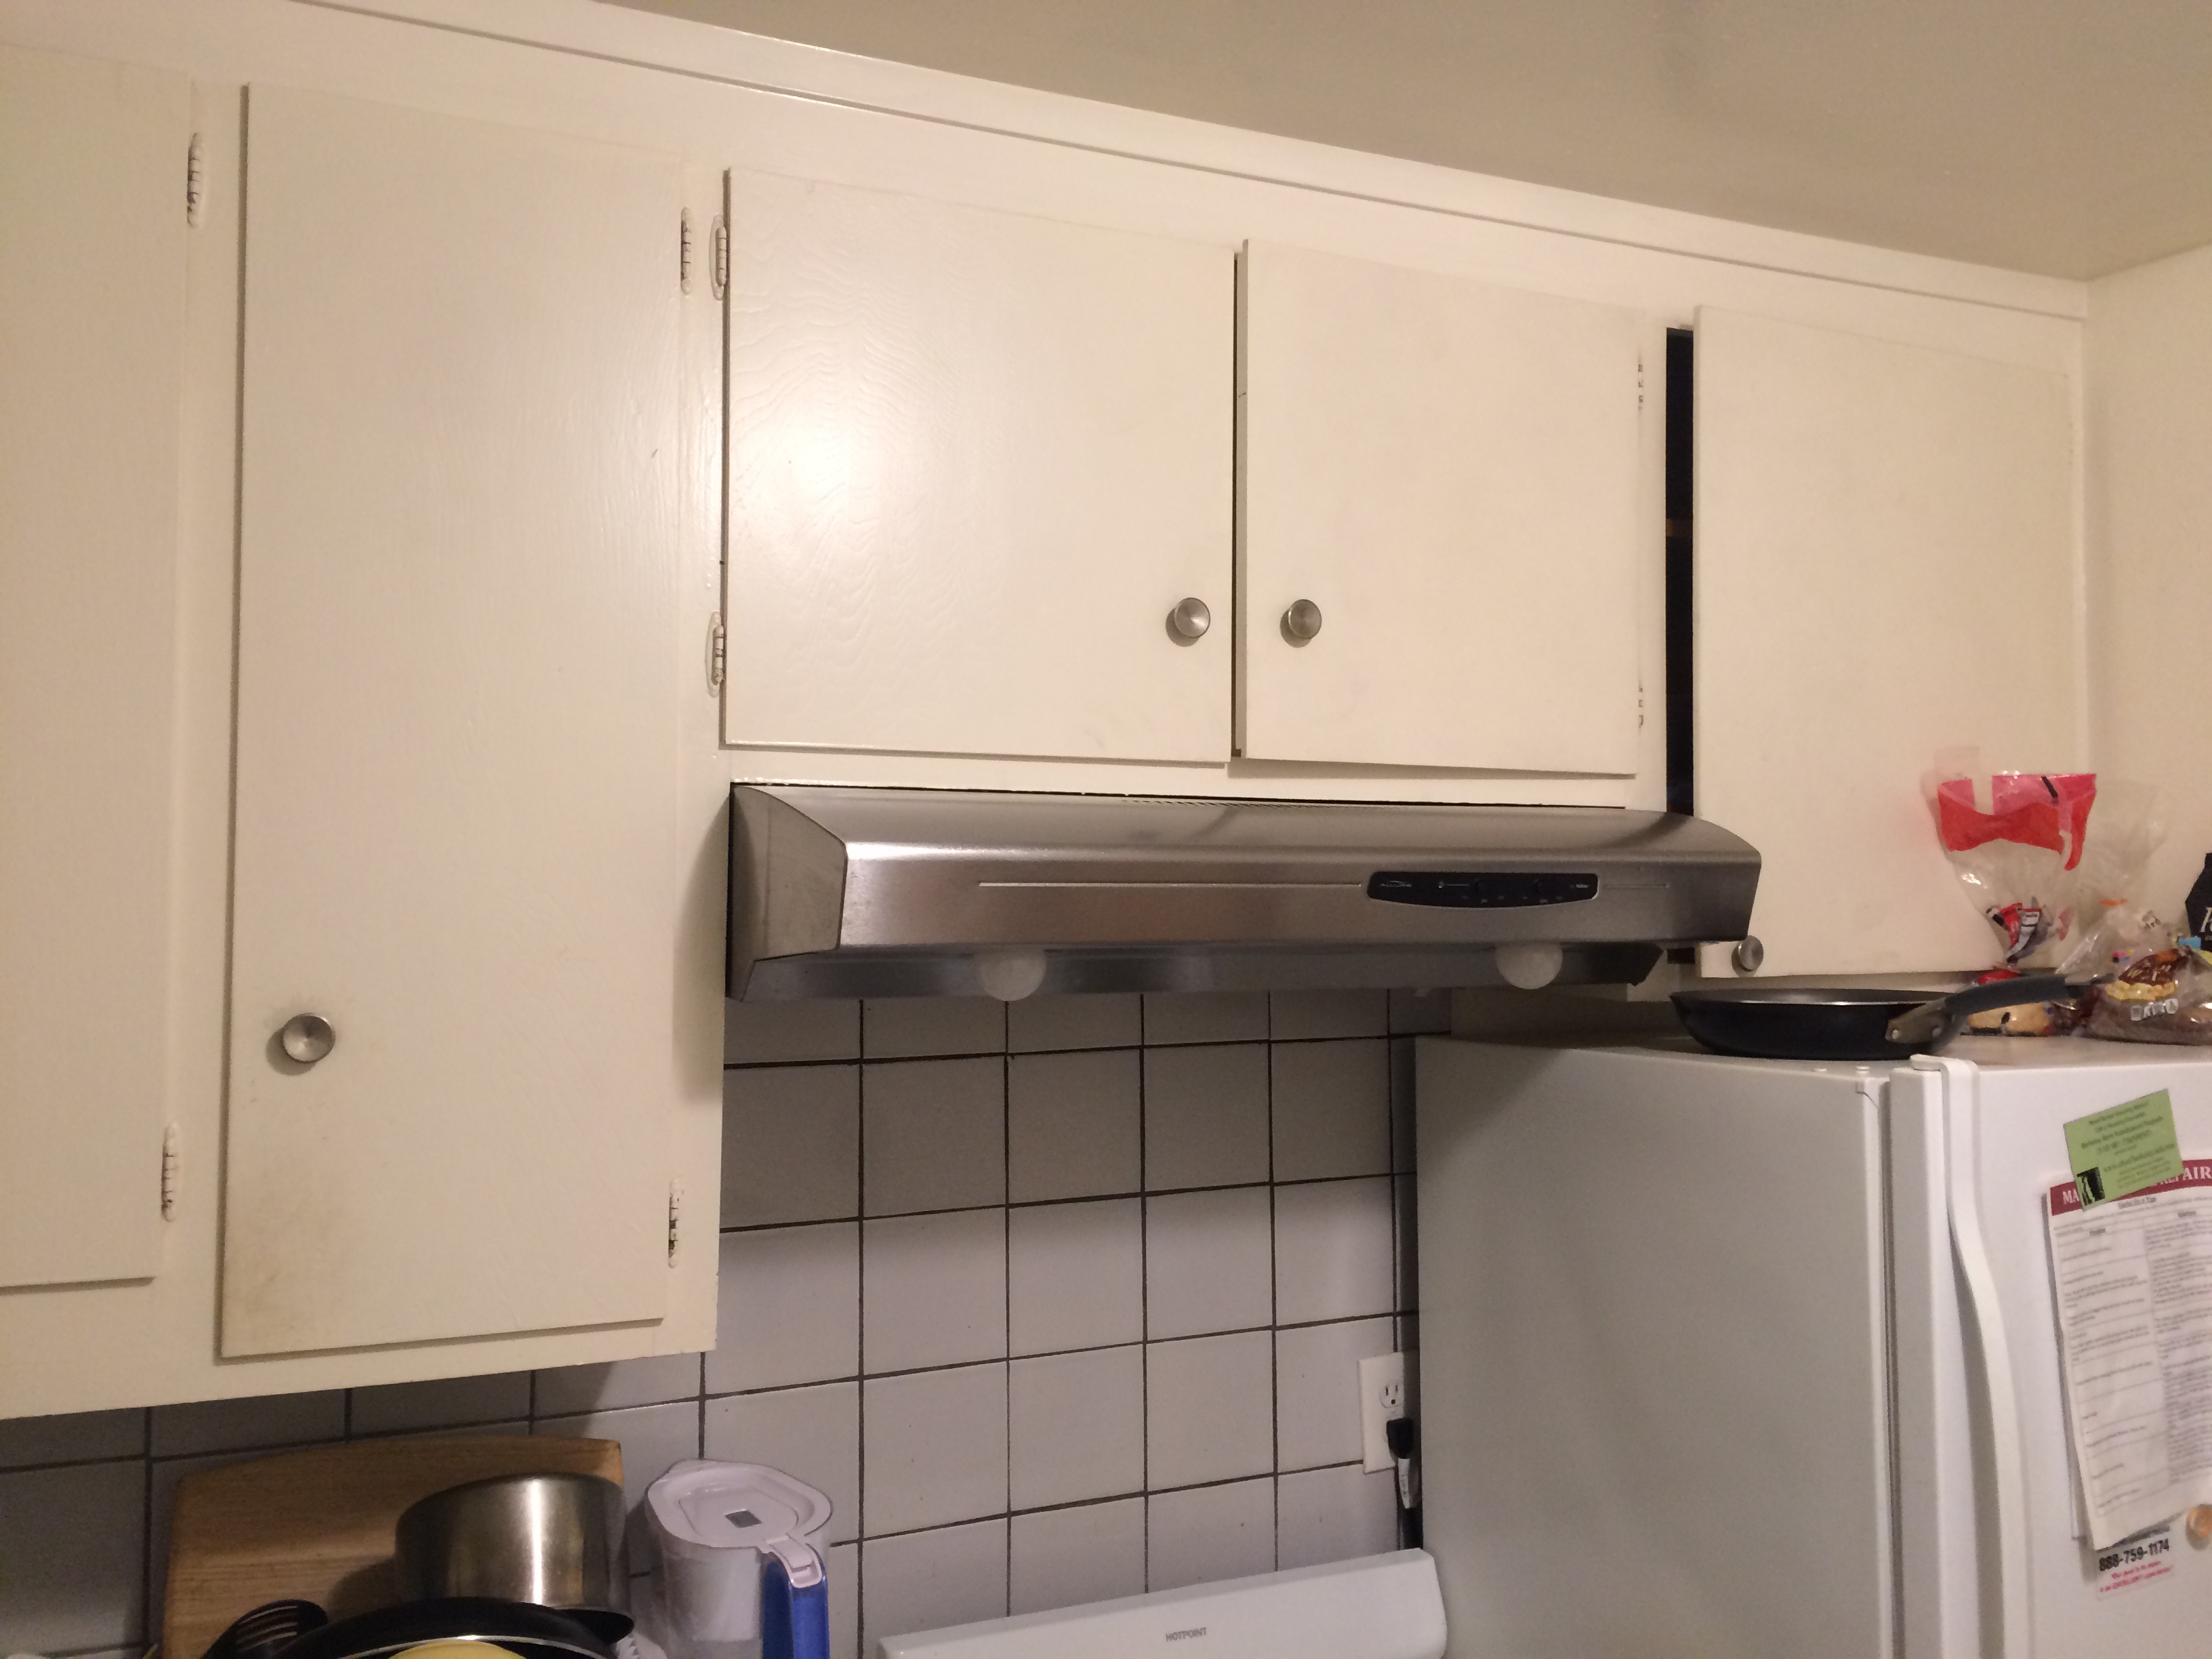
In order rectify an image, we take two sets of 4 reference points: 1 set to outline a specific object in the image we want to use as a reference when warping, and another set to define the perspective of the warped image. The reference object works best when it is rectangular, so we can define the object's 4 corners. We then use those points to generate a homography matrix which we will use to warp each pixel in the image to the target perspective. The results of some morphs are below
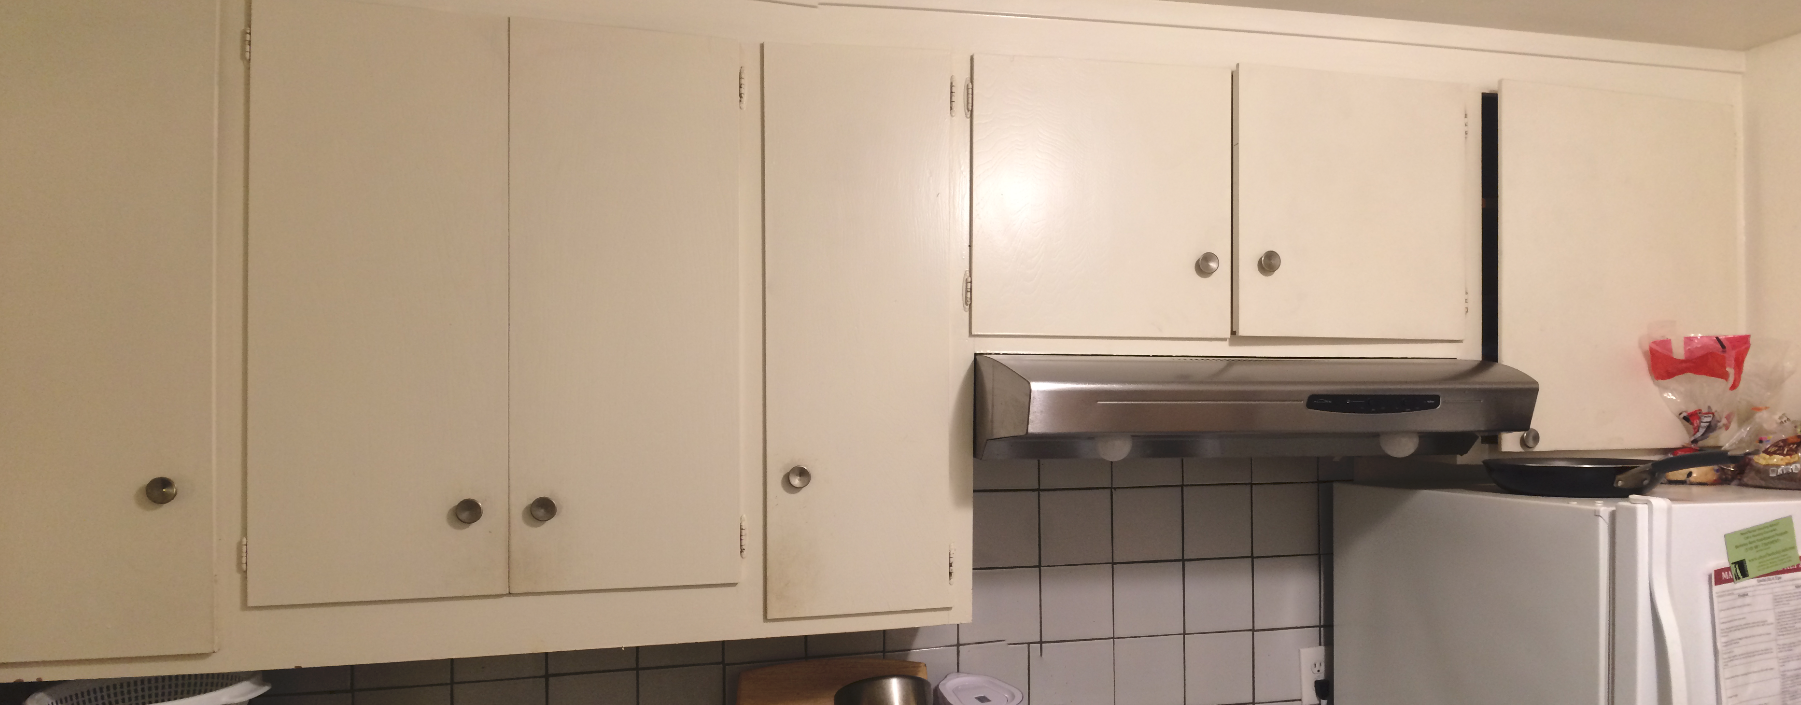
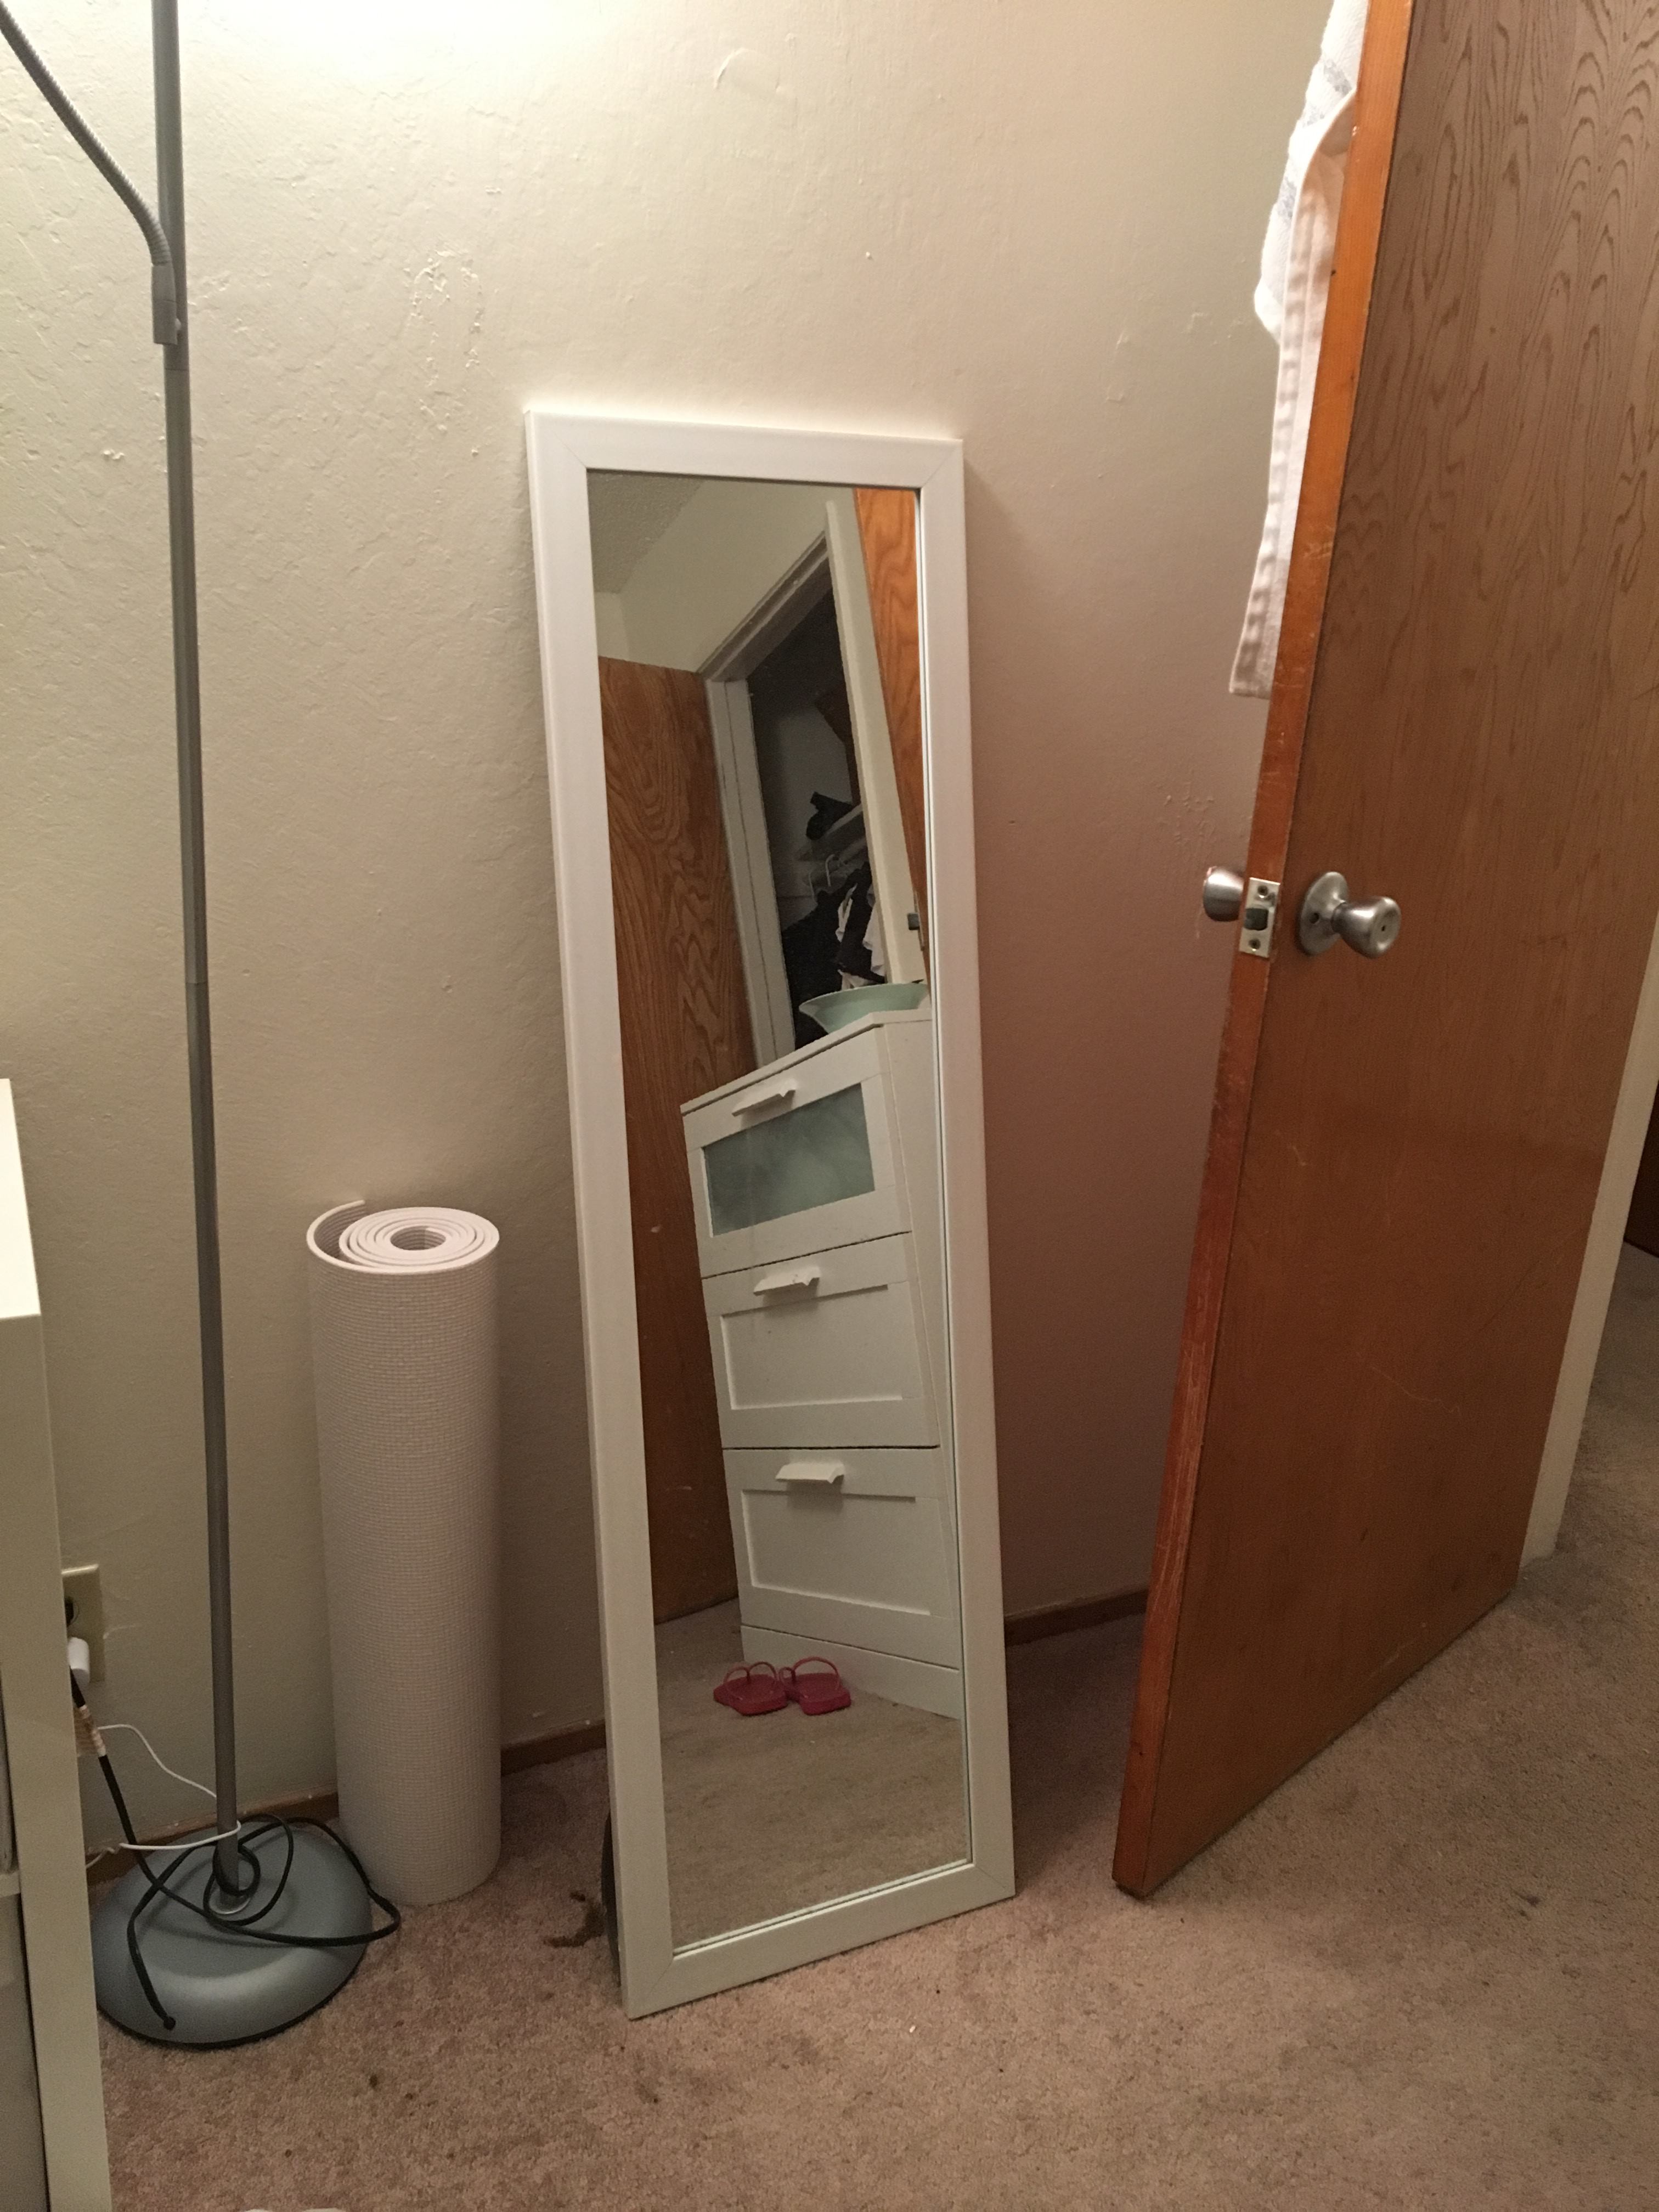 My friend's room
|
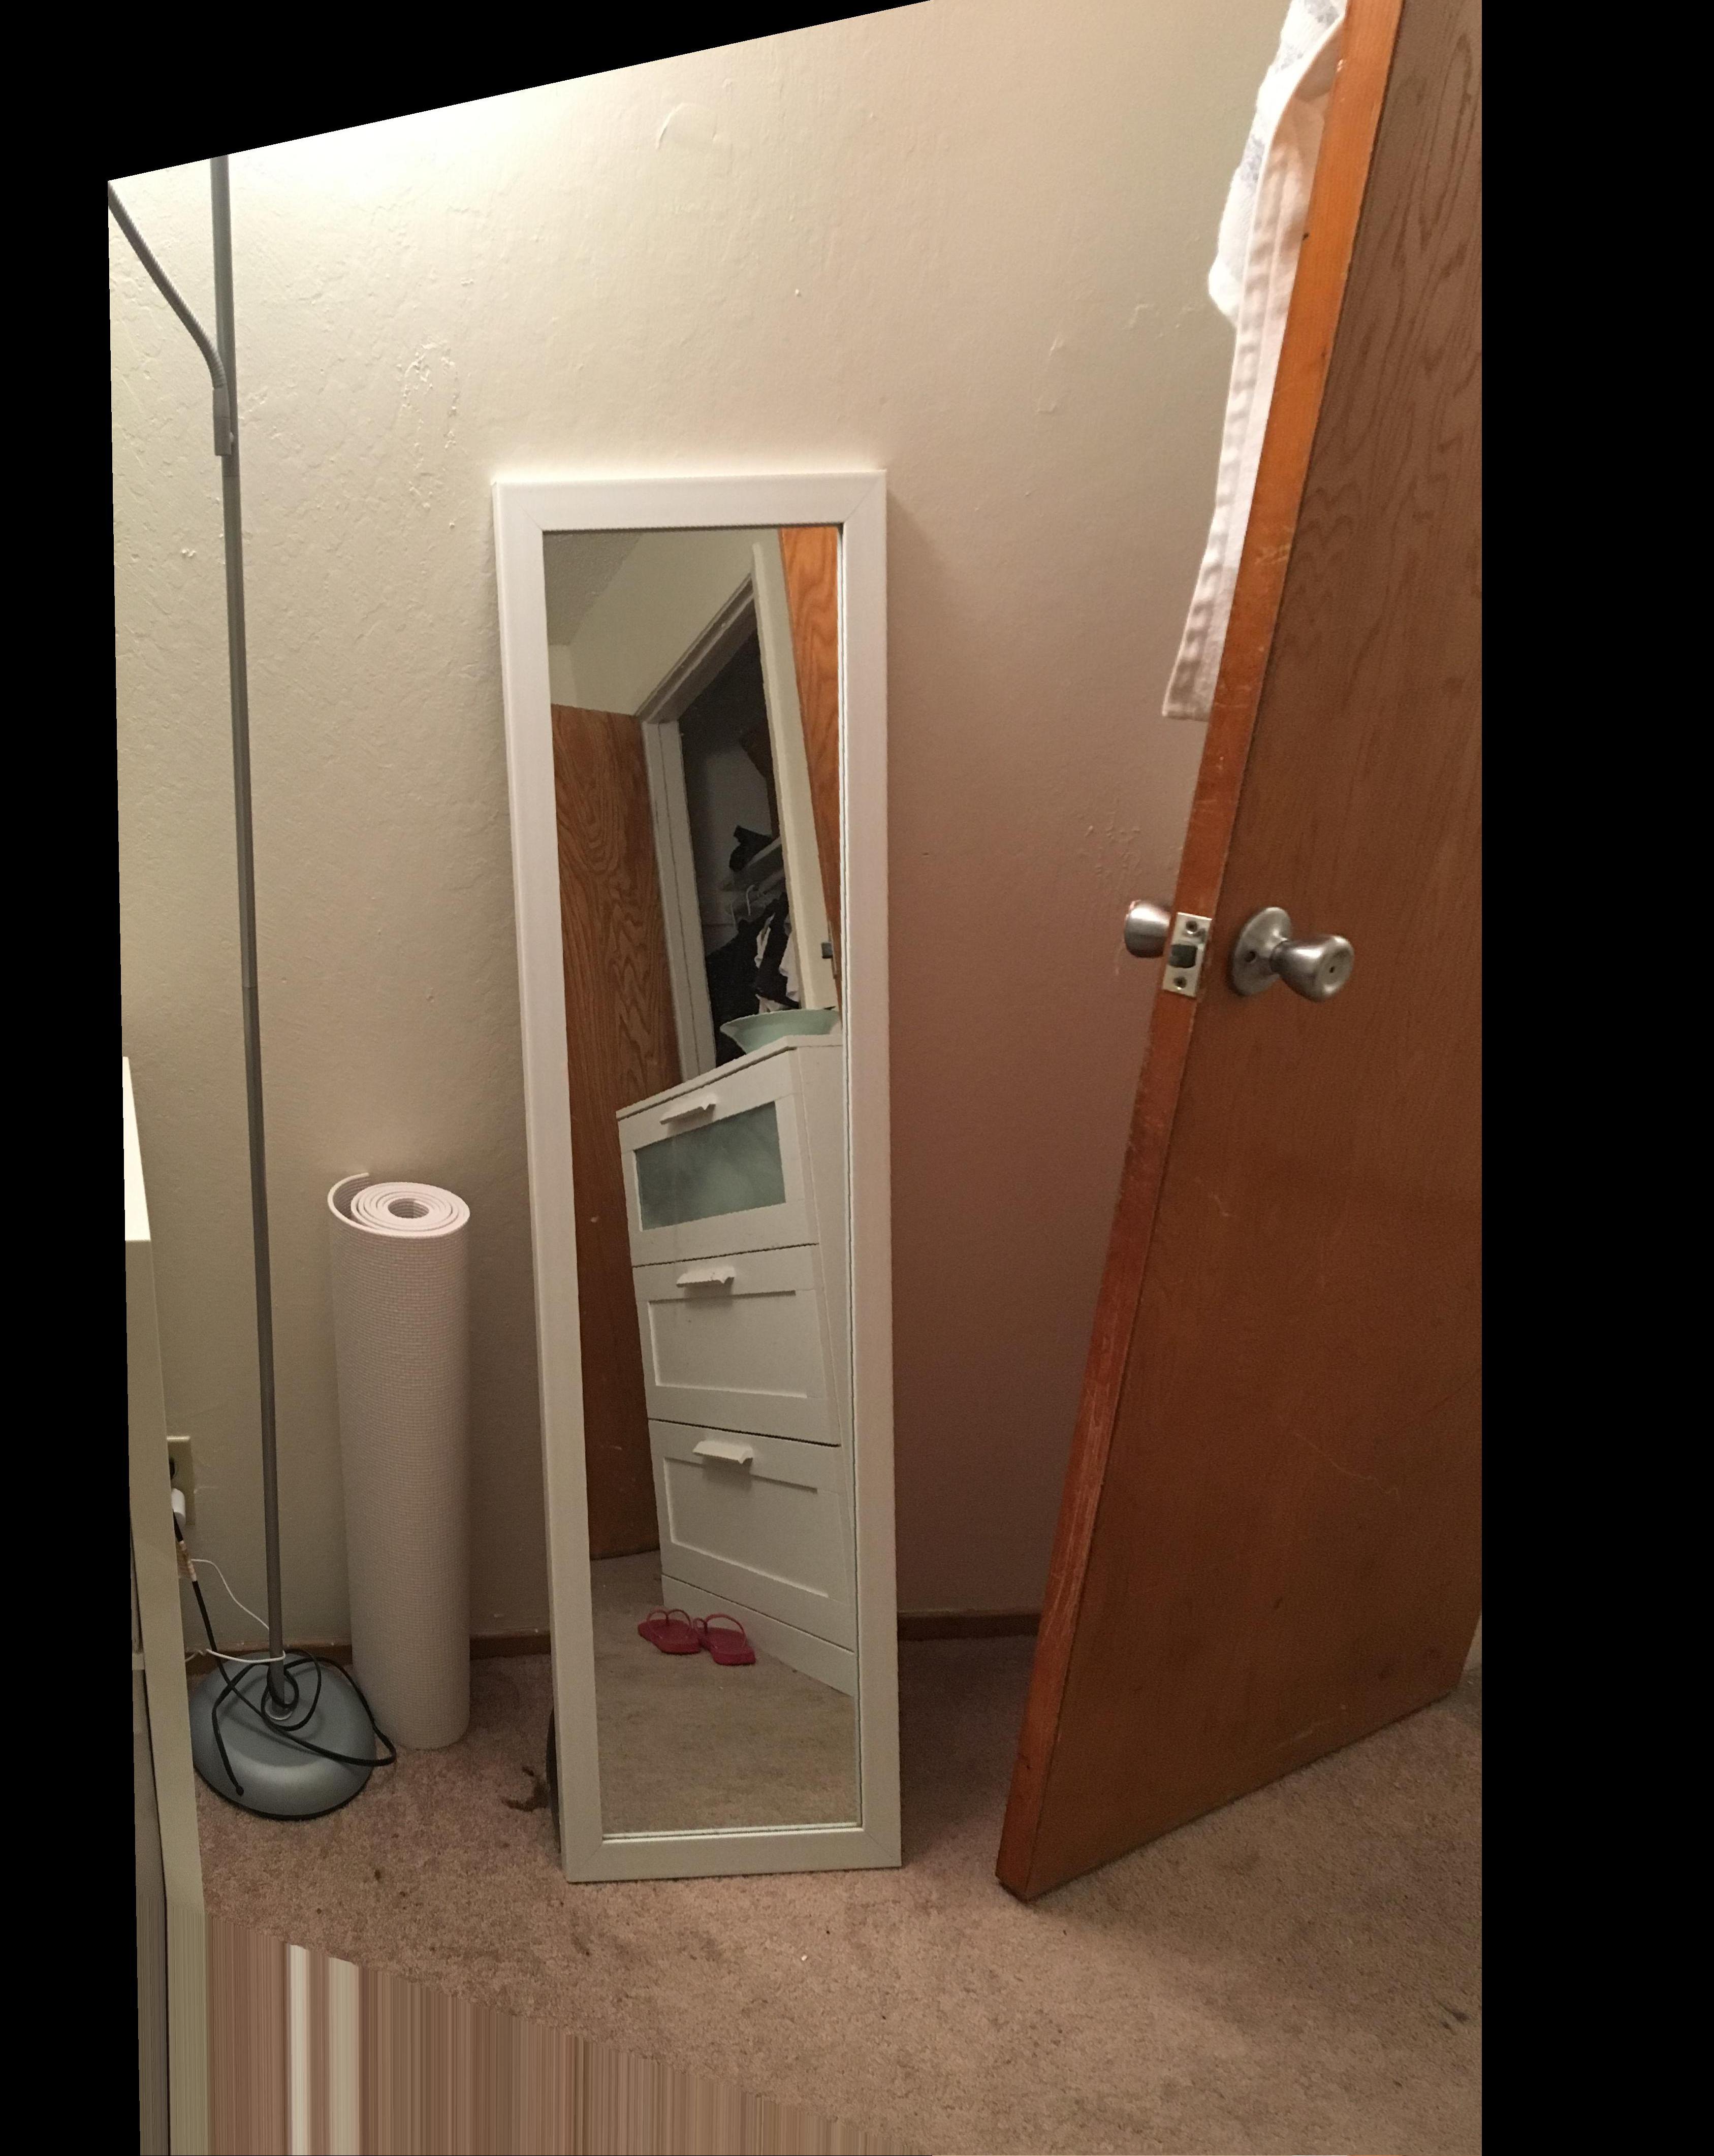 Rectified
|
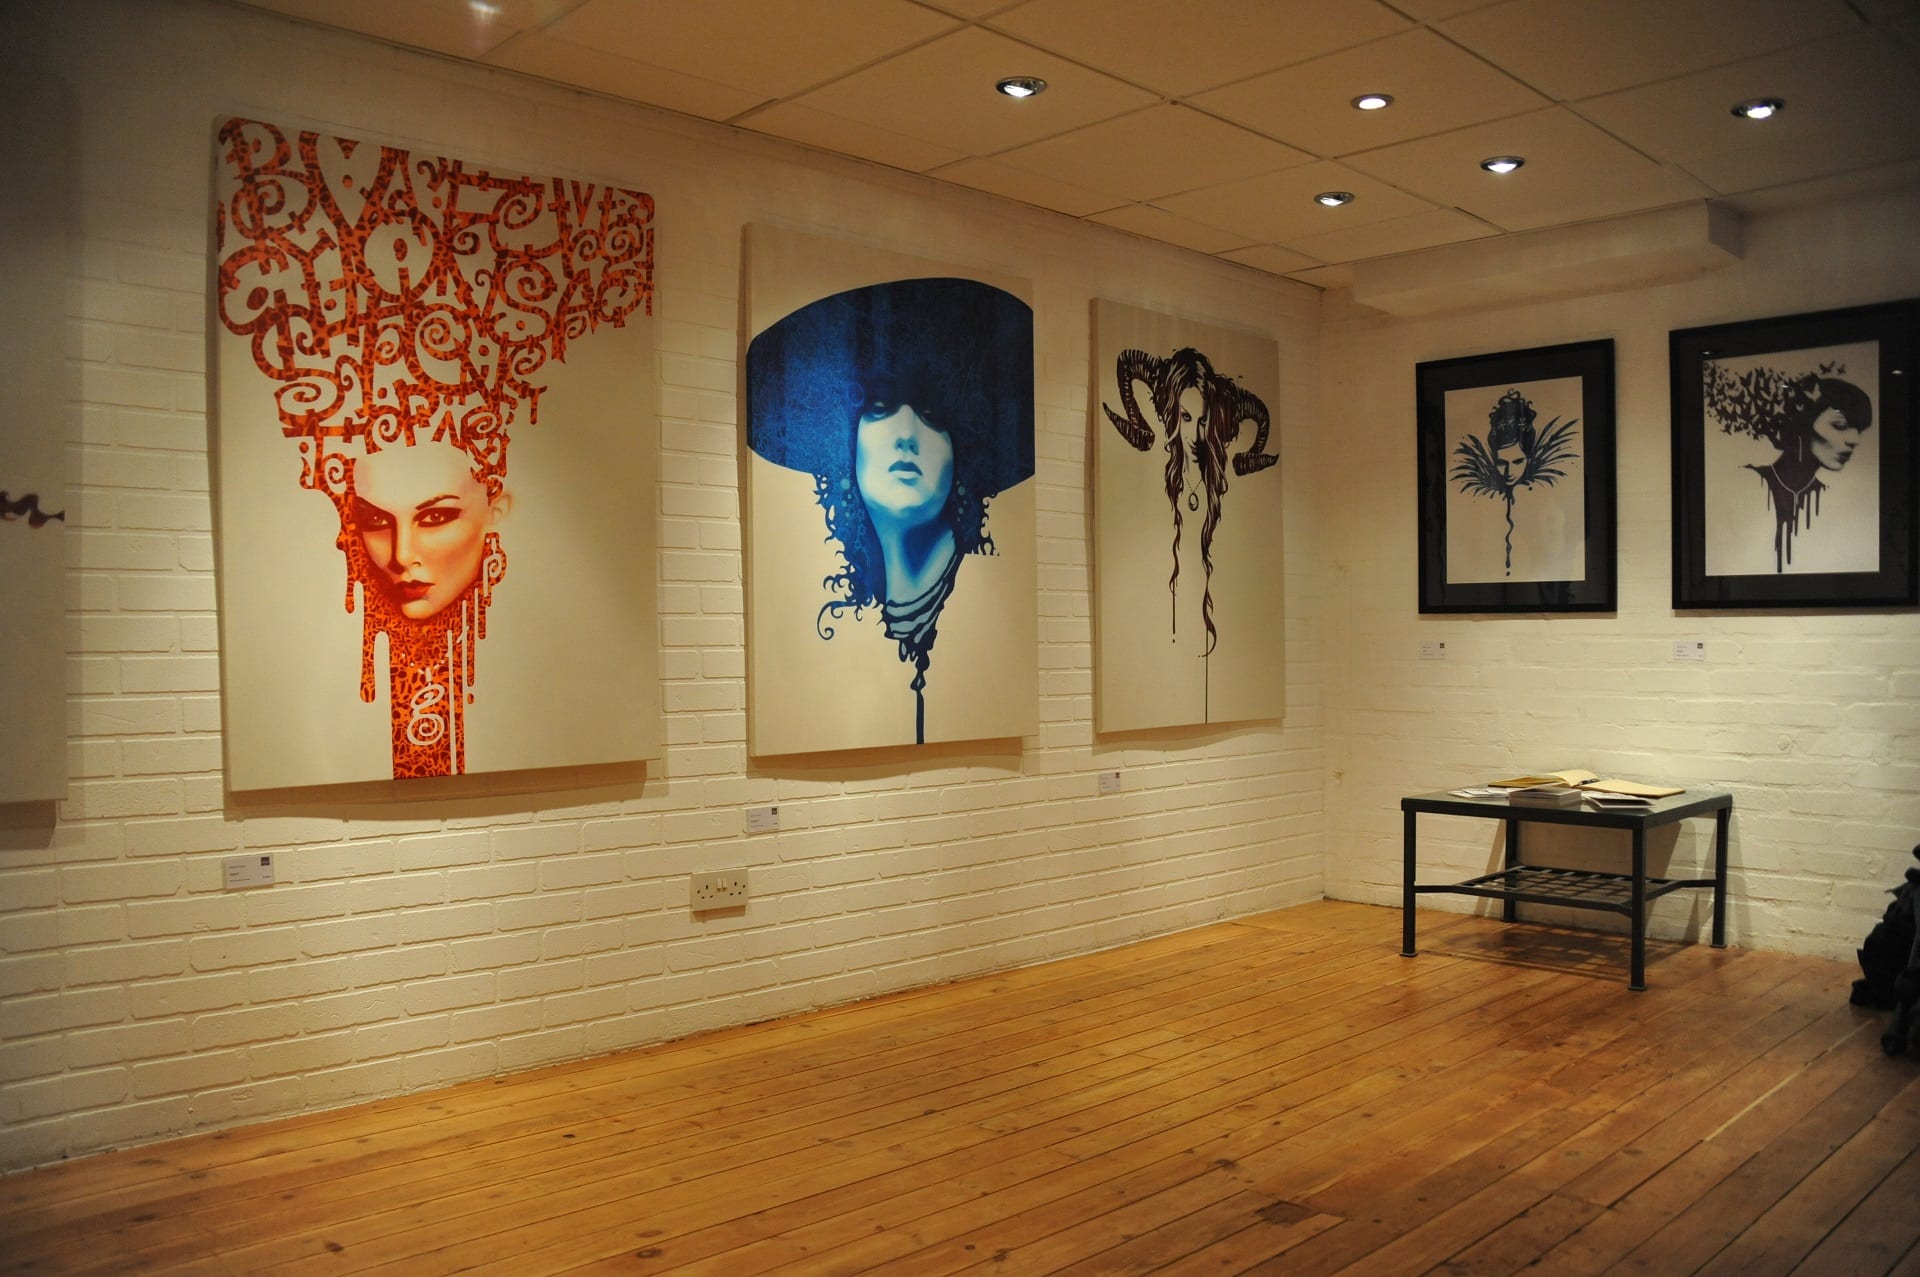 An art gallery
|
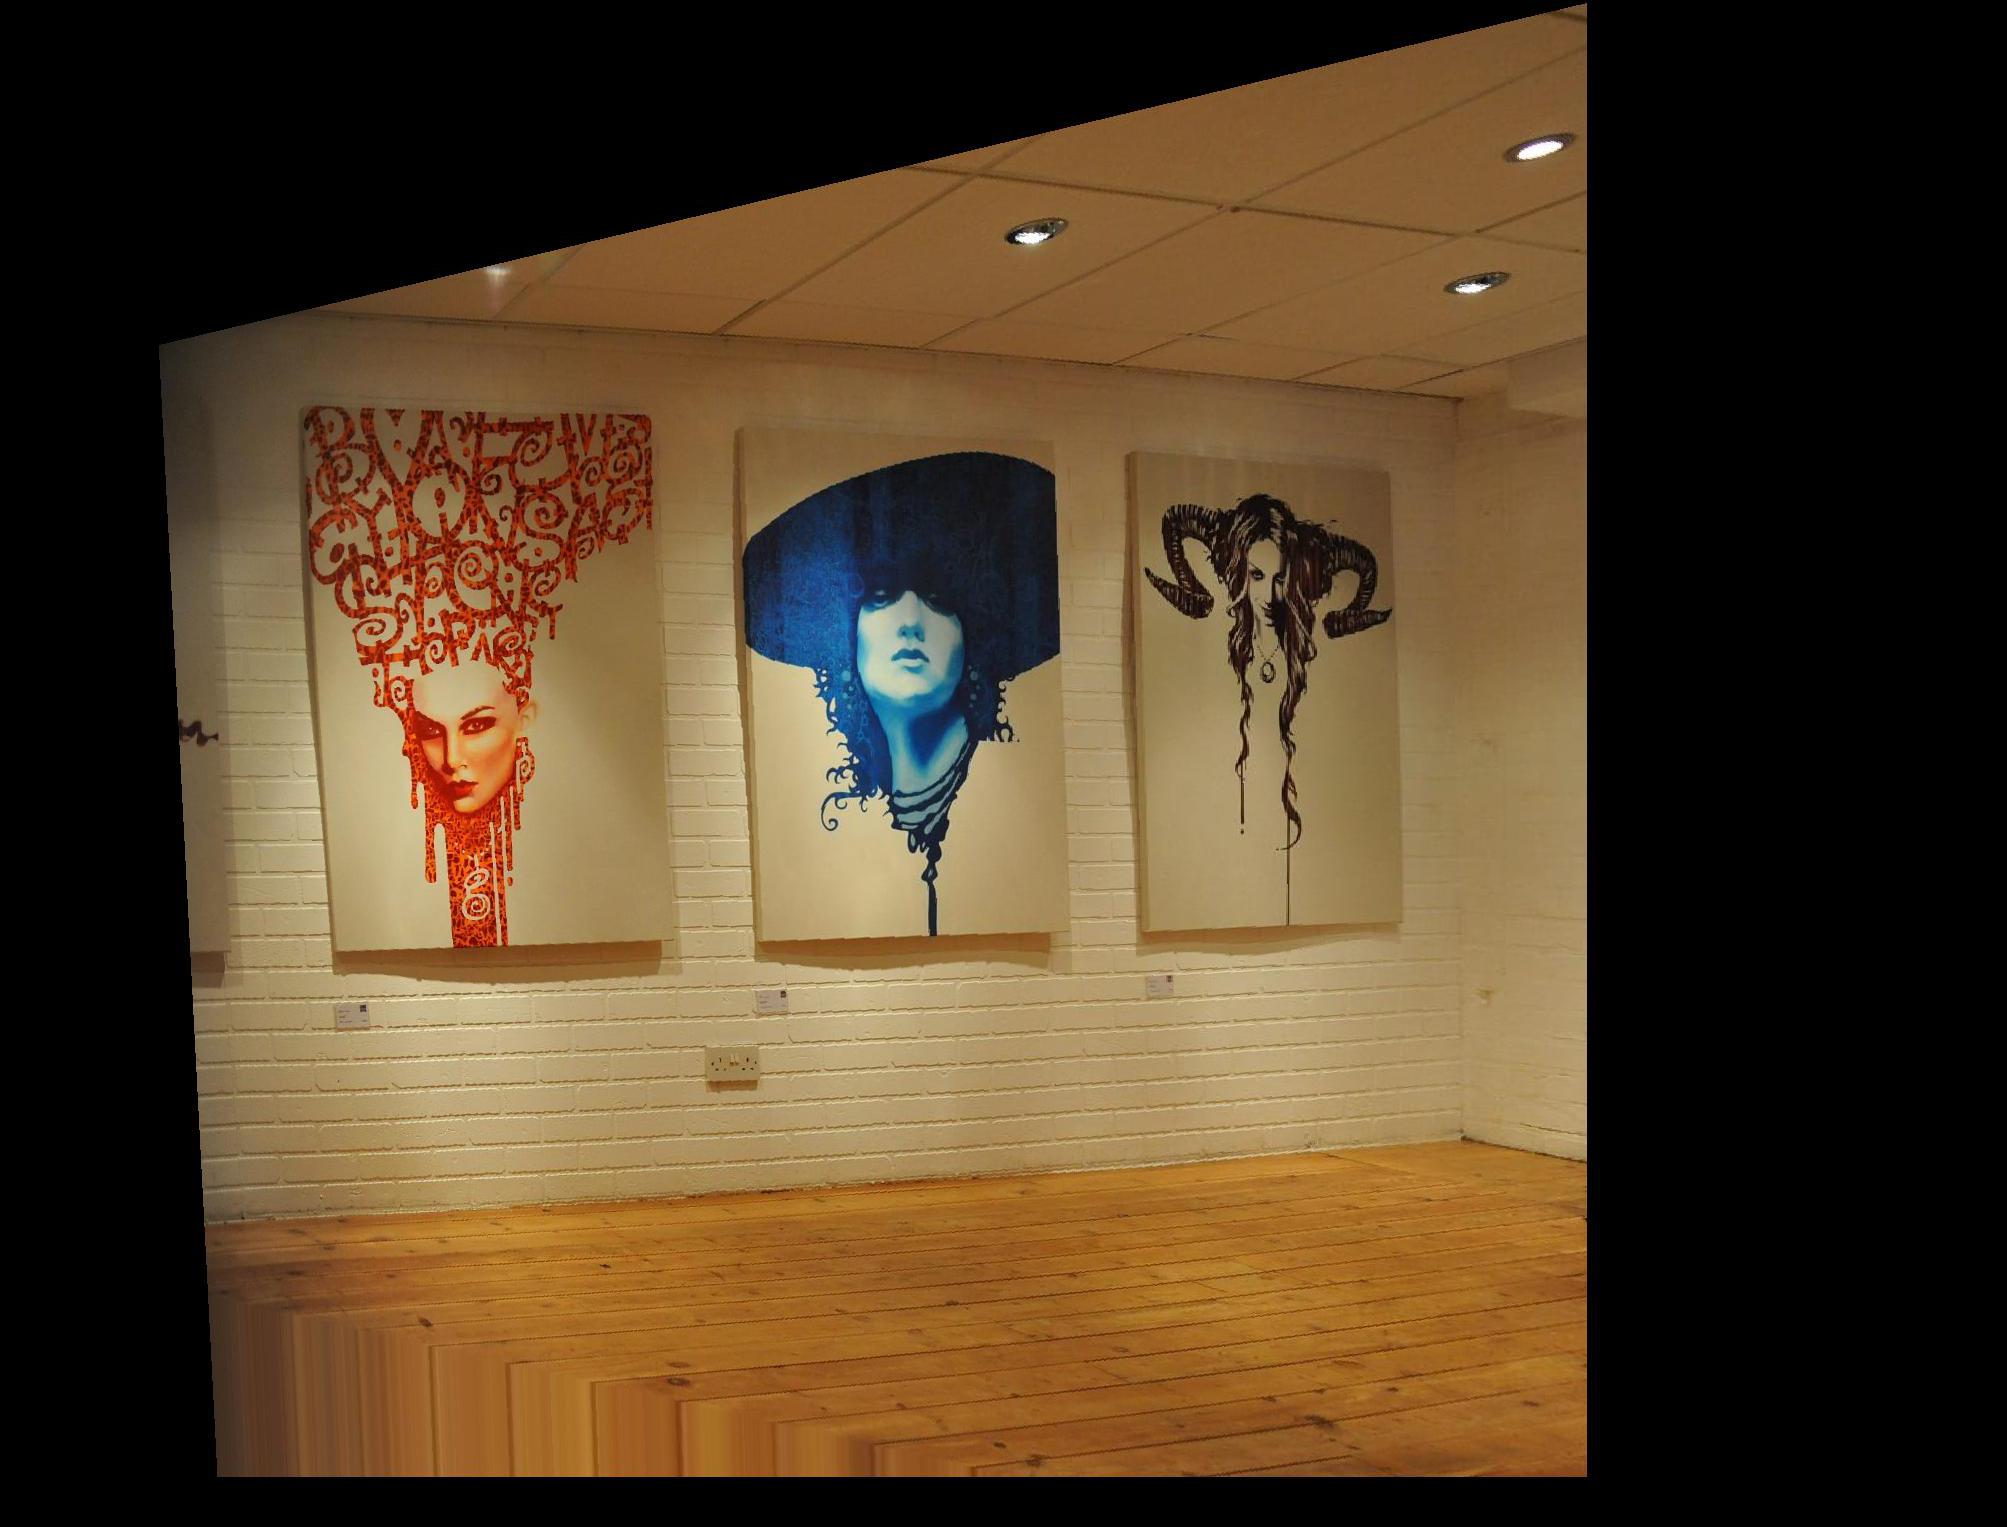 Rectified
|
Mosaic Construction
By using the image rectification results from the previous part, we can create mosaics, creating a panorama-like effect with multiple pictures taken at various angles. To do this, we take two photos of the same scene at slightly different perspectives. Then, using the rectifying process from earlier, we warp one image into the perspective of the other. Finally, we blend the two images together.
Blending the images took a lot of work, but ultimately I used alpha blending to blur the edges of the photos. For some of them you can see artifacts of edges (which I tried to crop out for aesthetics) but for the most part they look pretty good.
 Kitchen-Left
|
 Kitchen-Right
|
 Kitchen-Combined
|
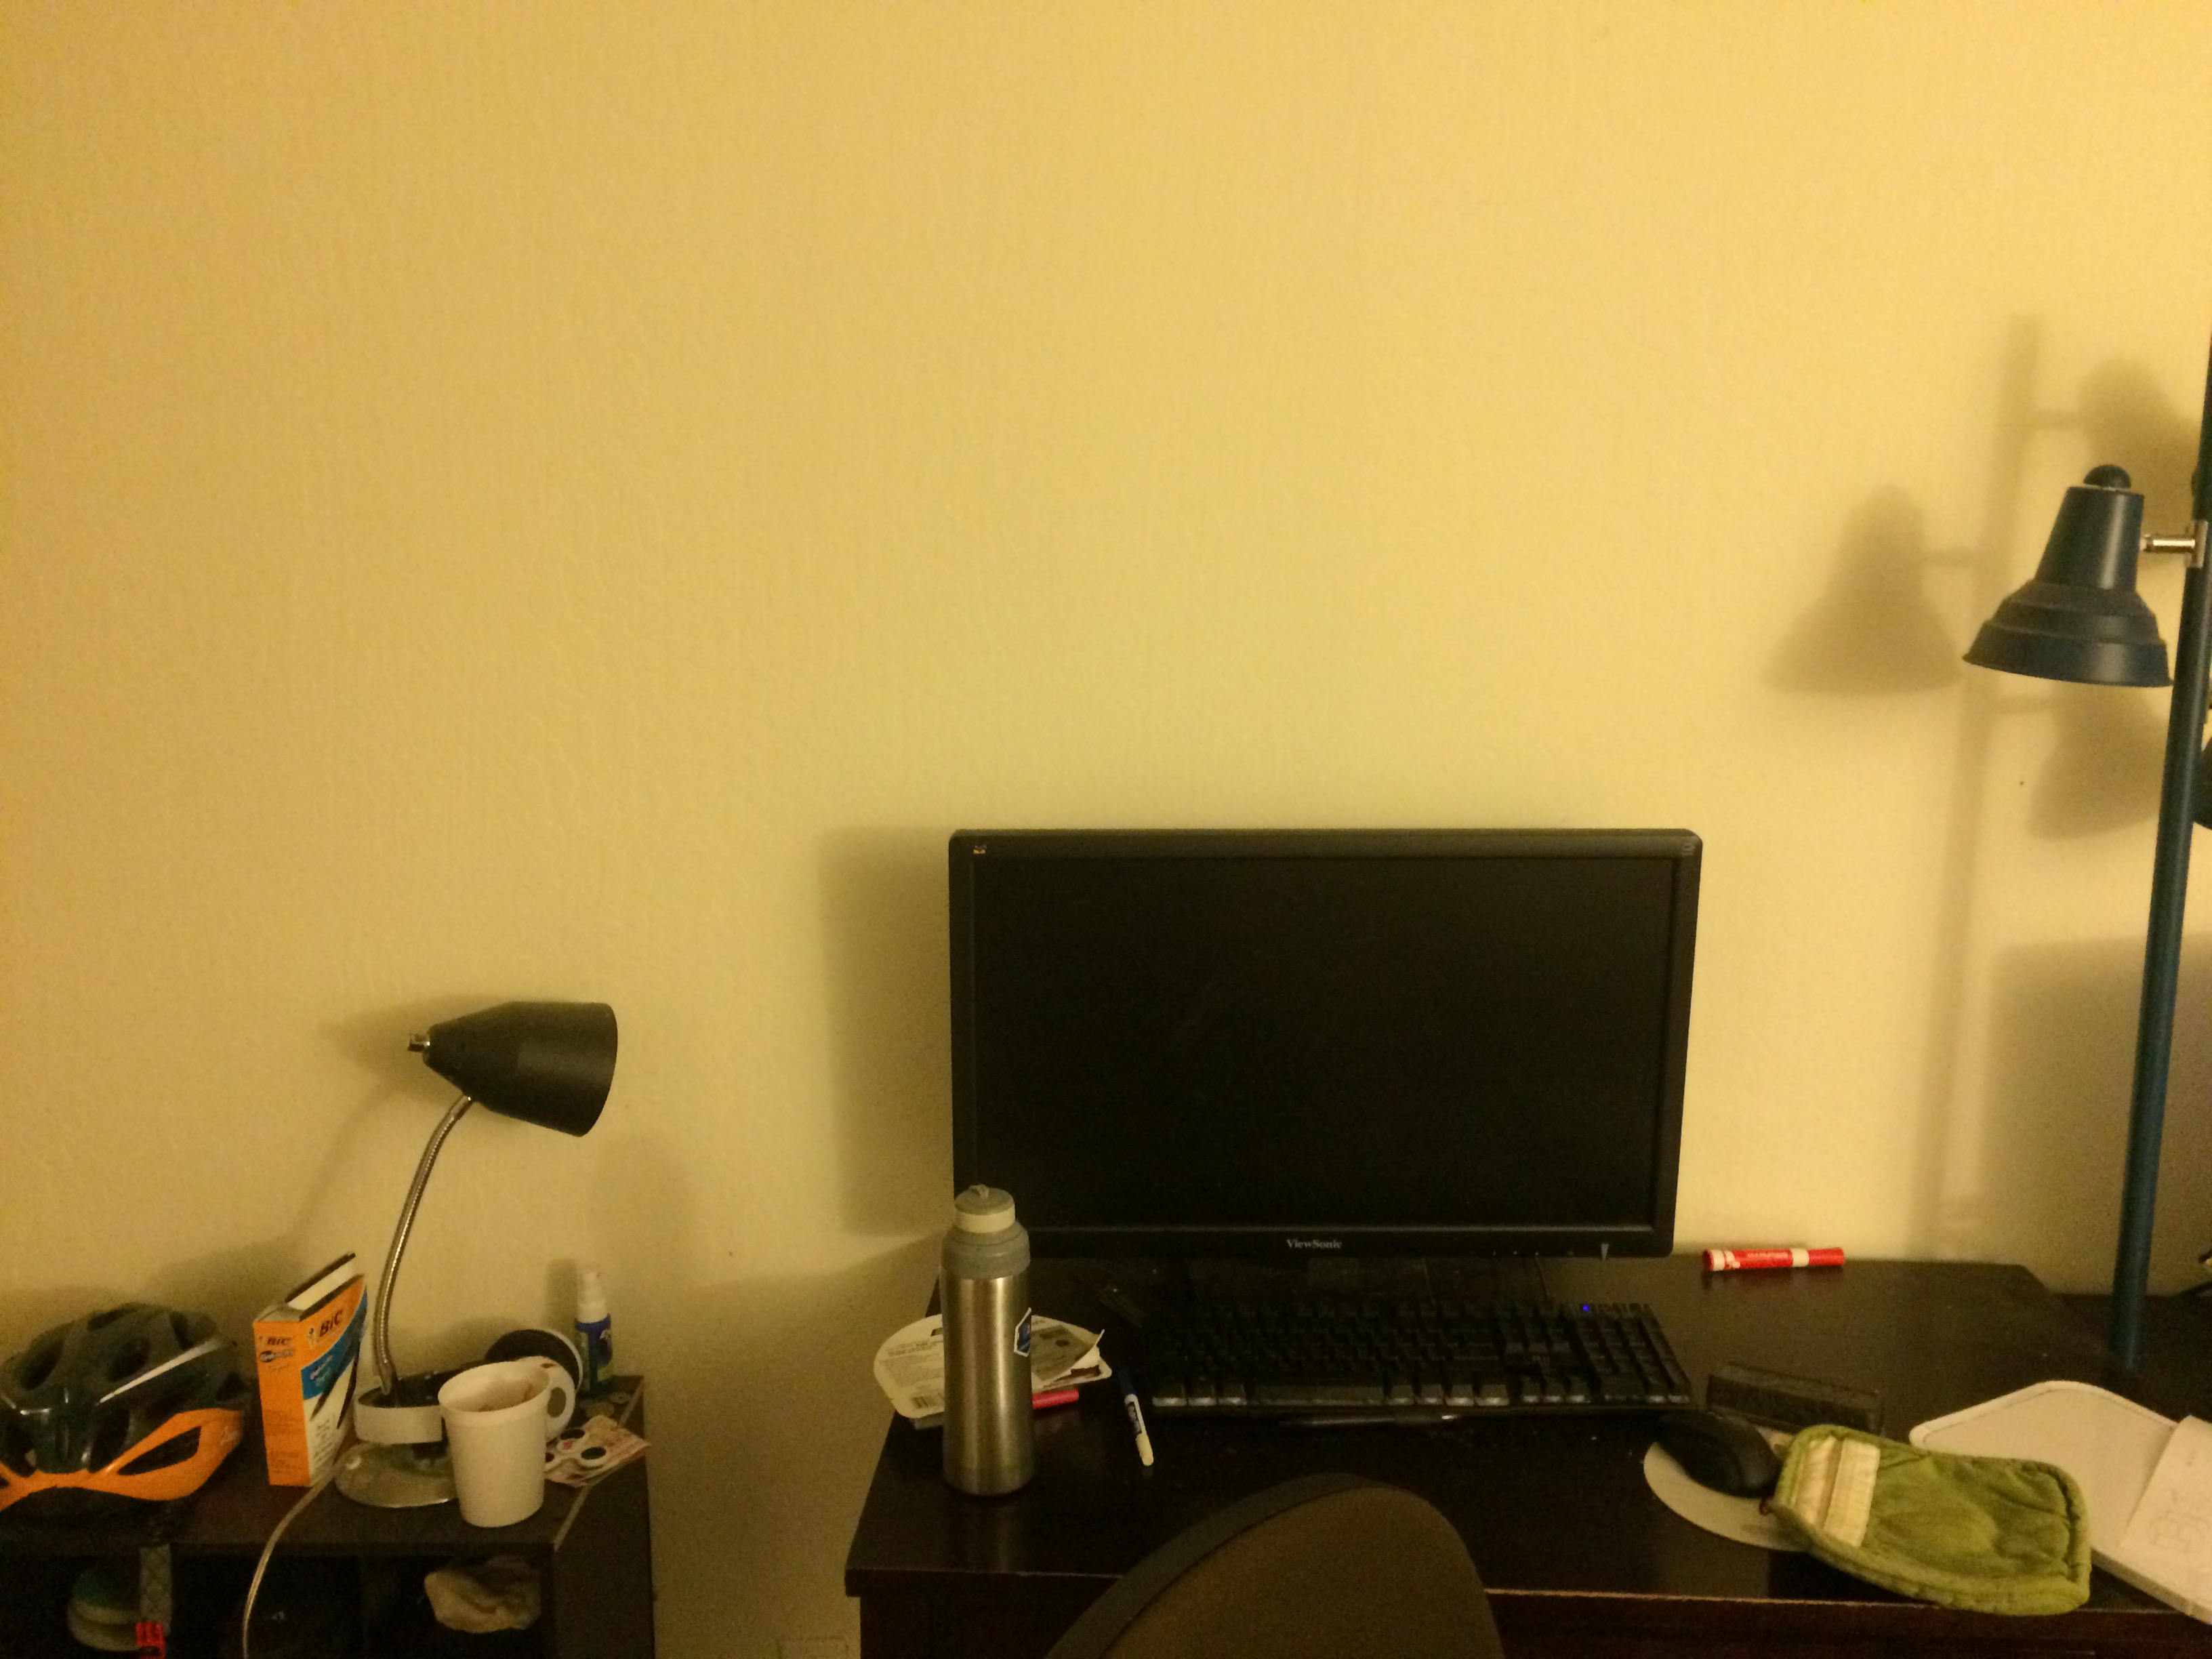 Desks-Left
|
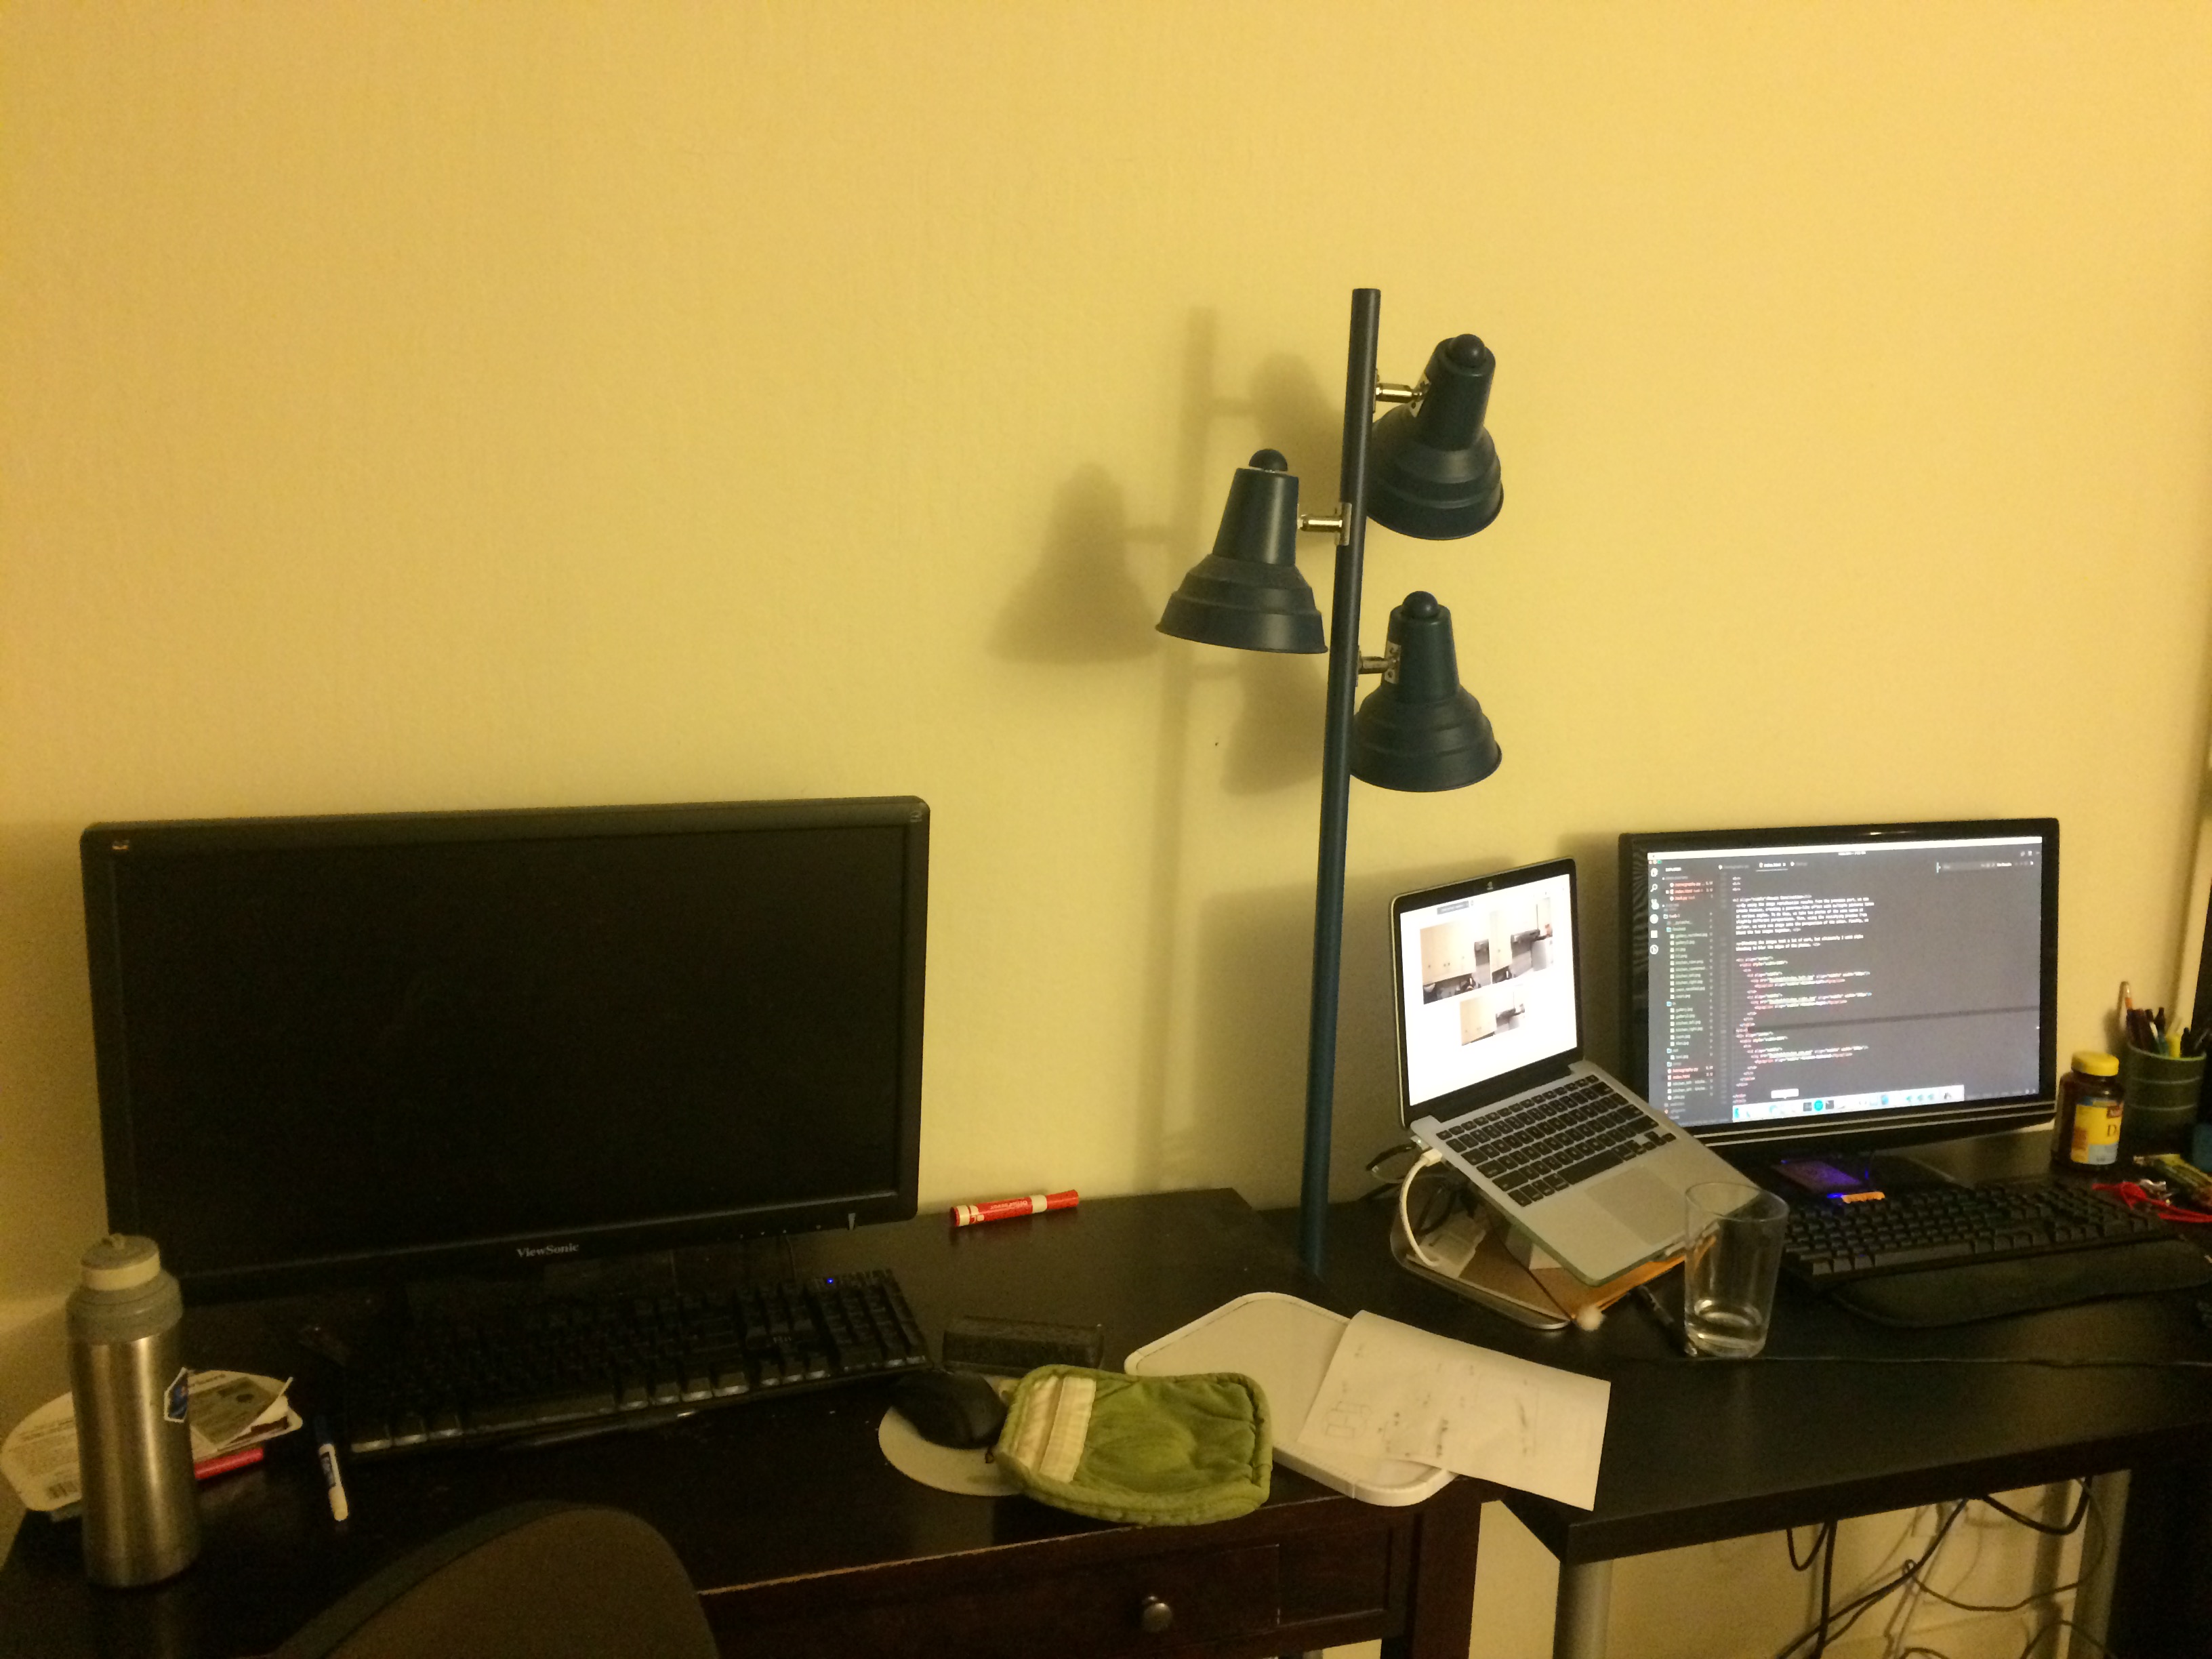 Desks-Right
|
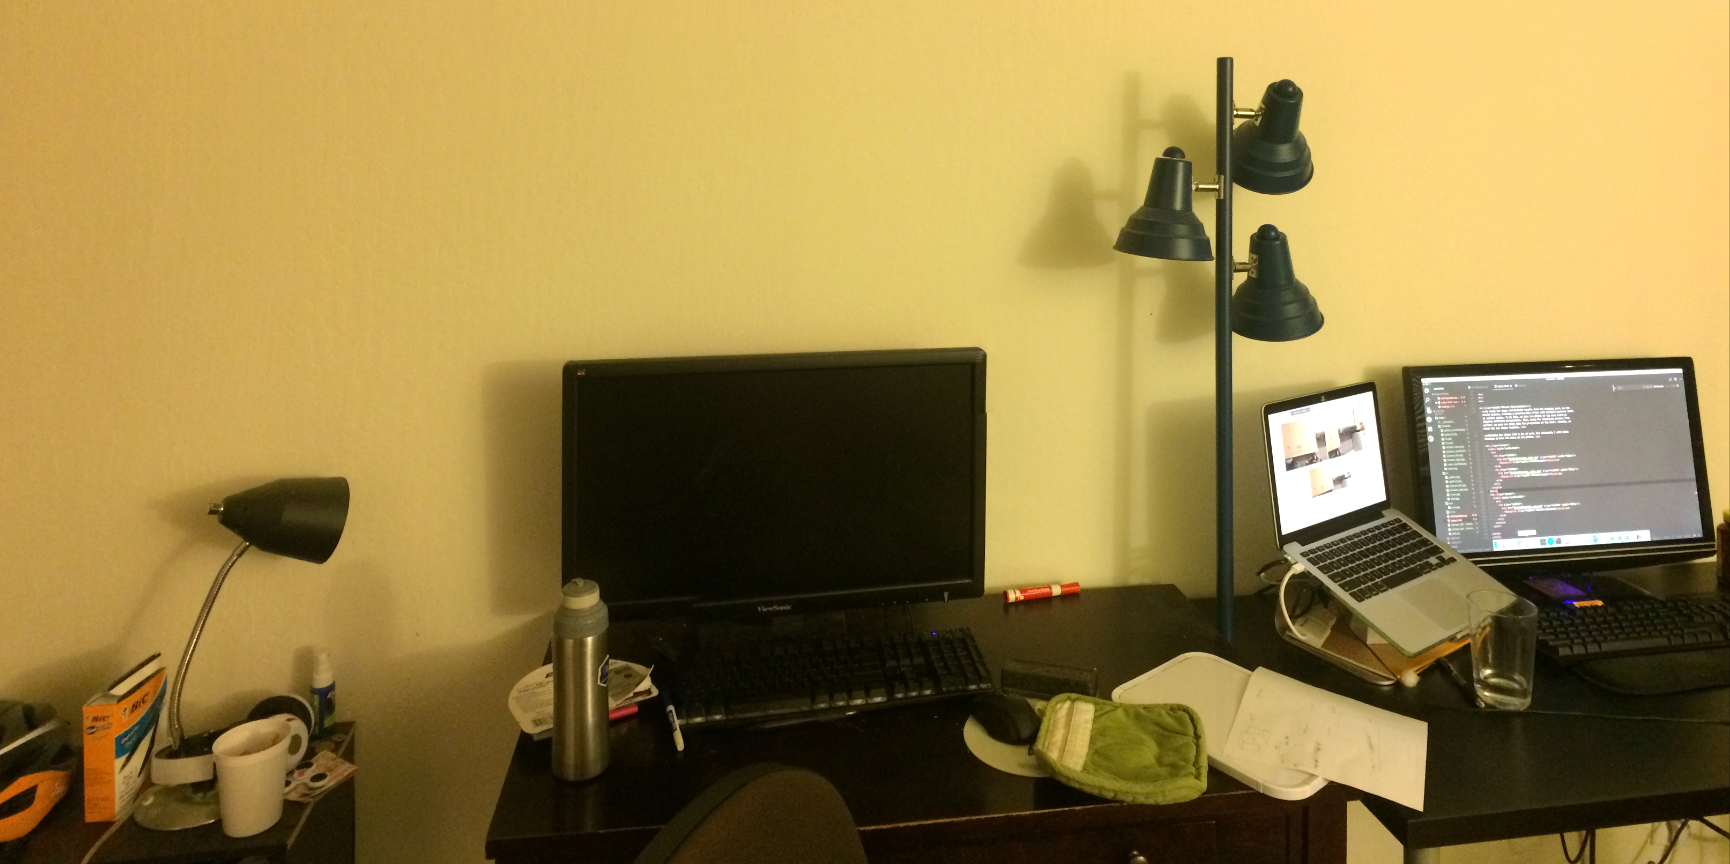 Desks-Combined
|
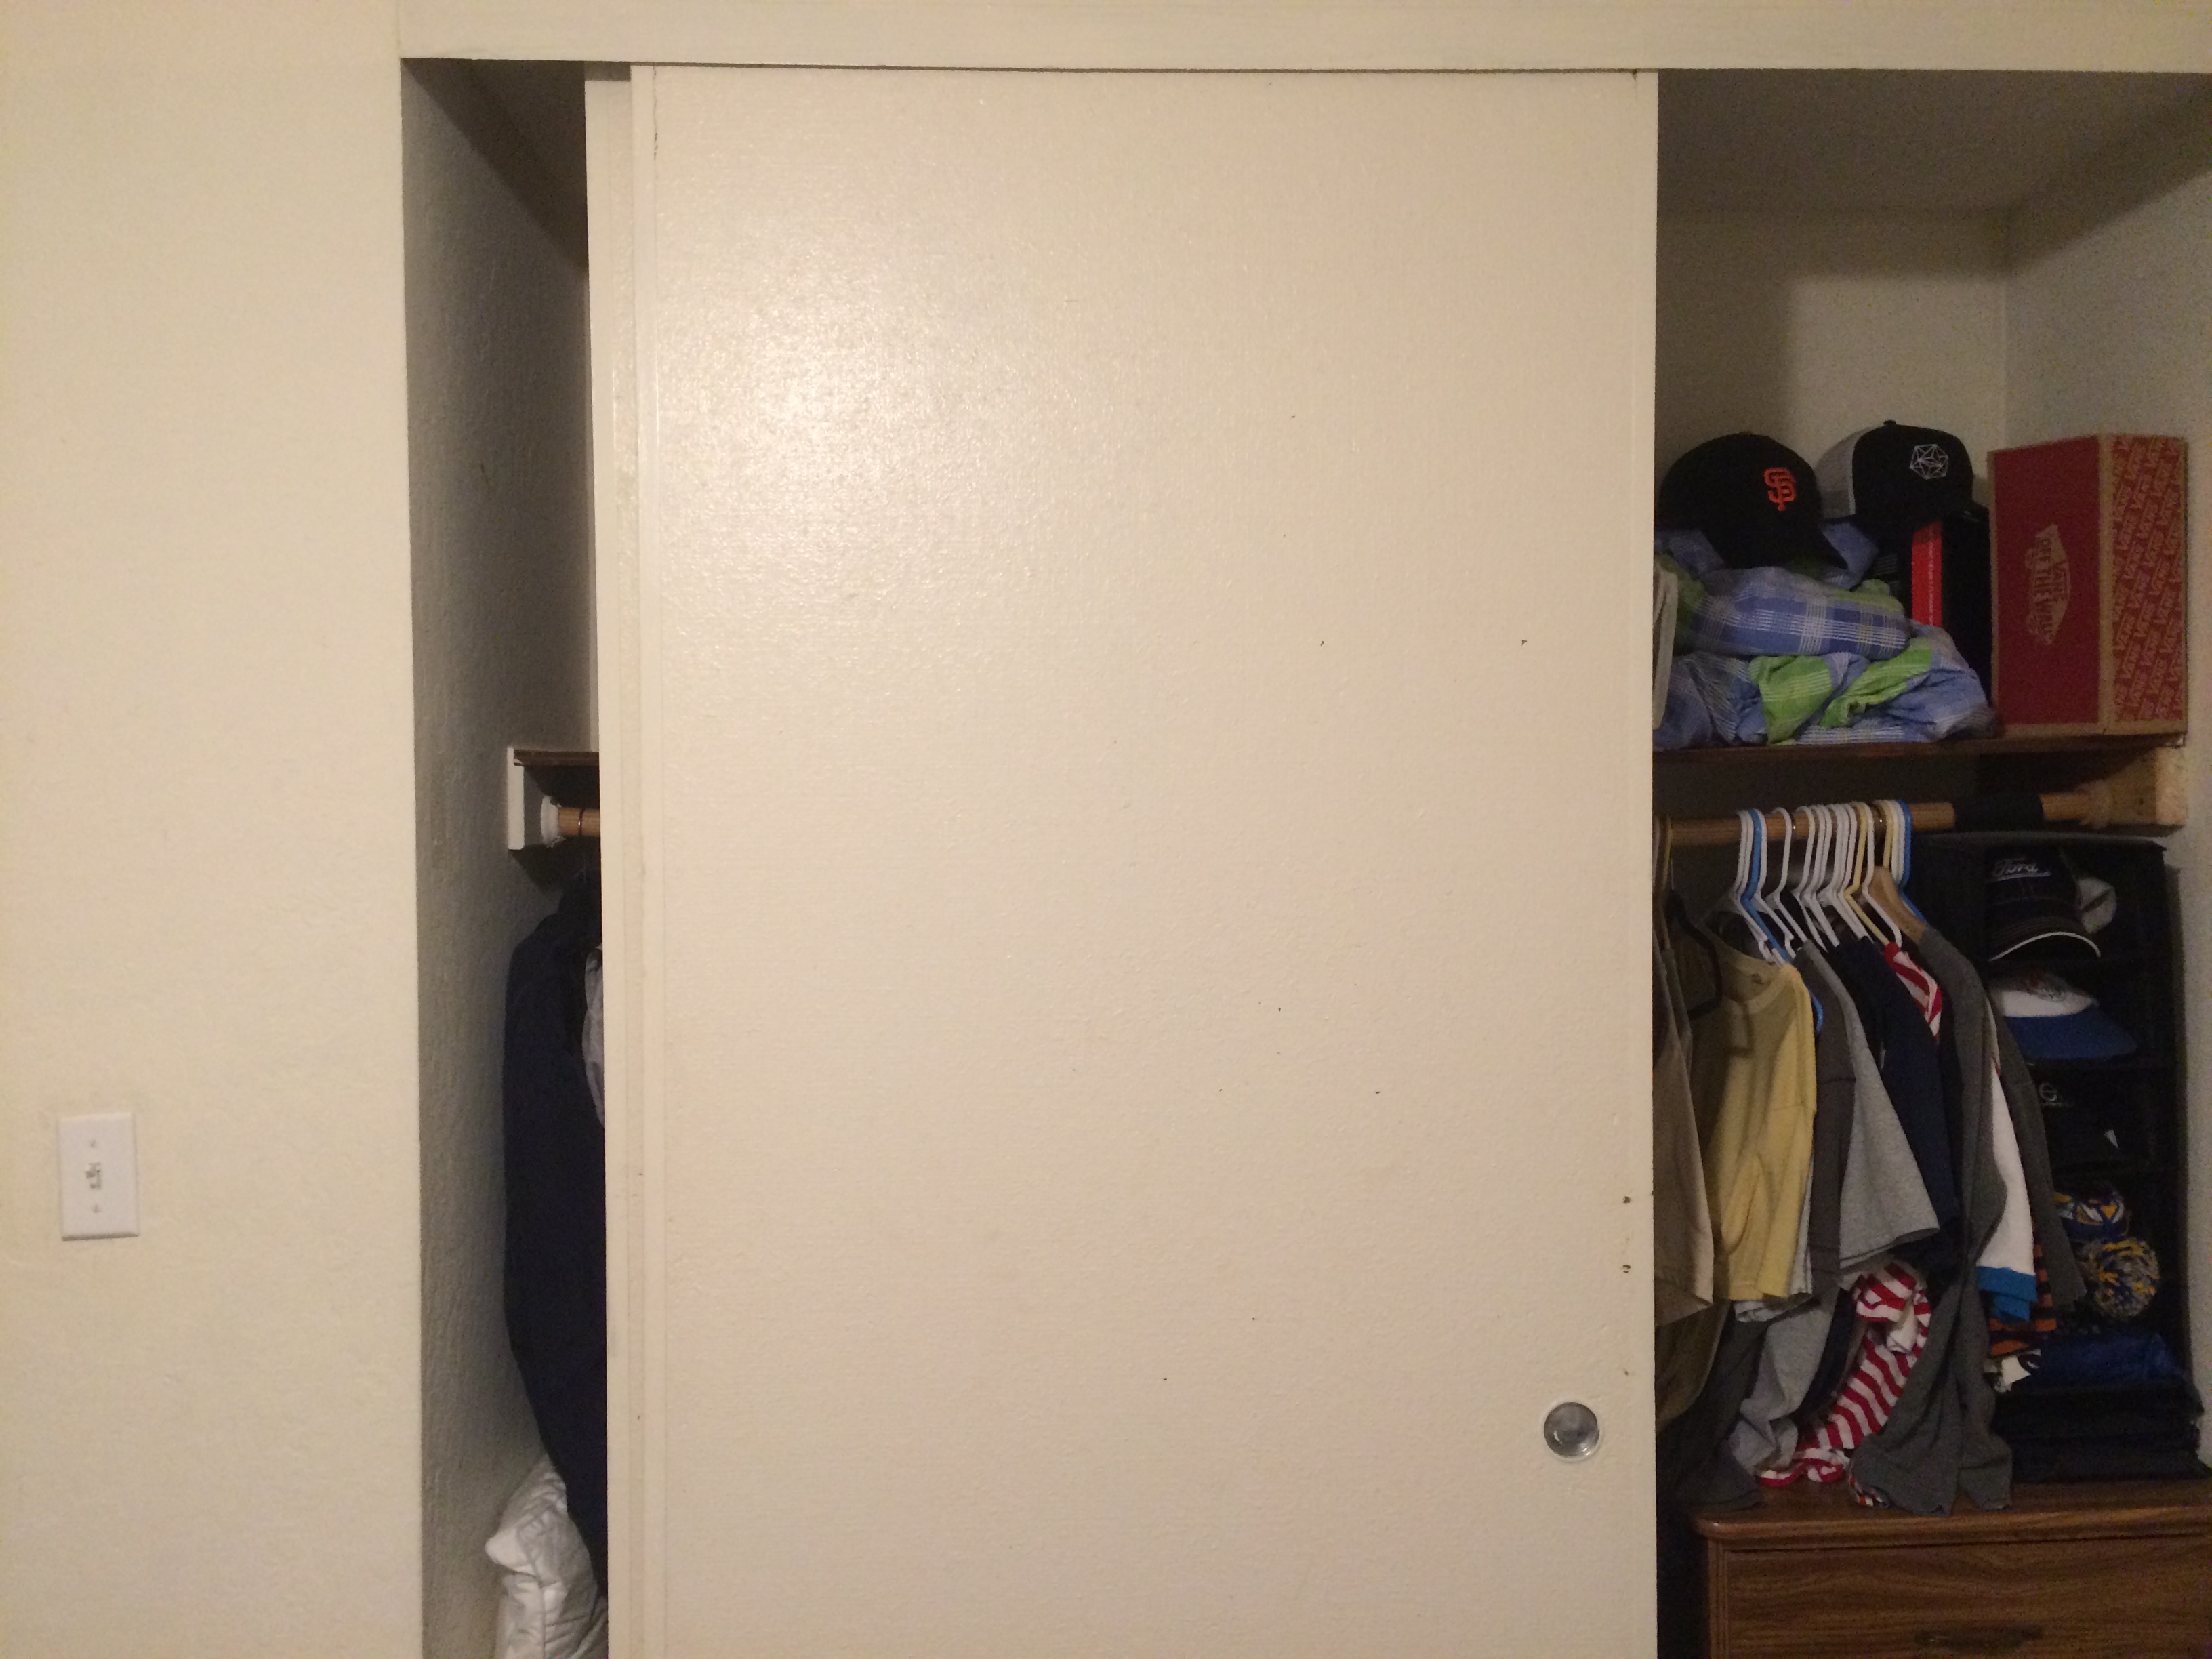 Closet-Left
|
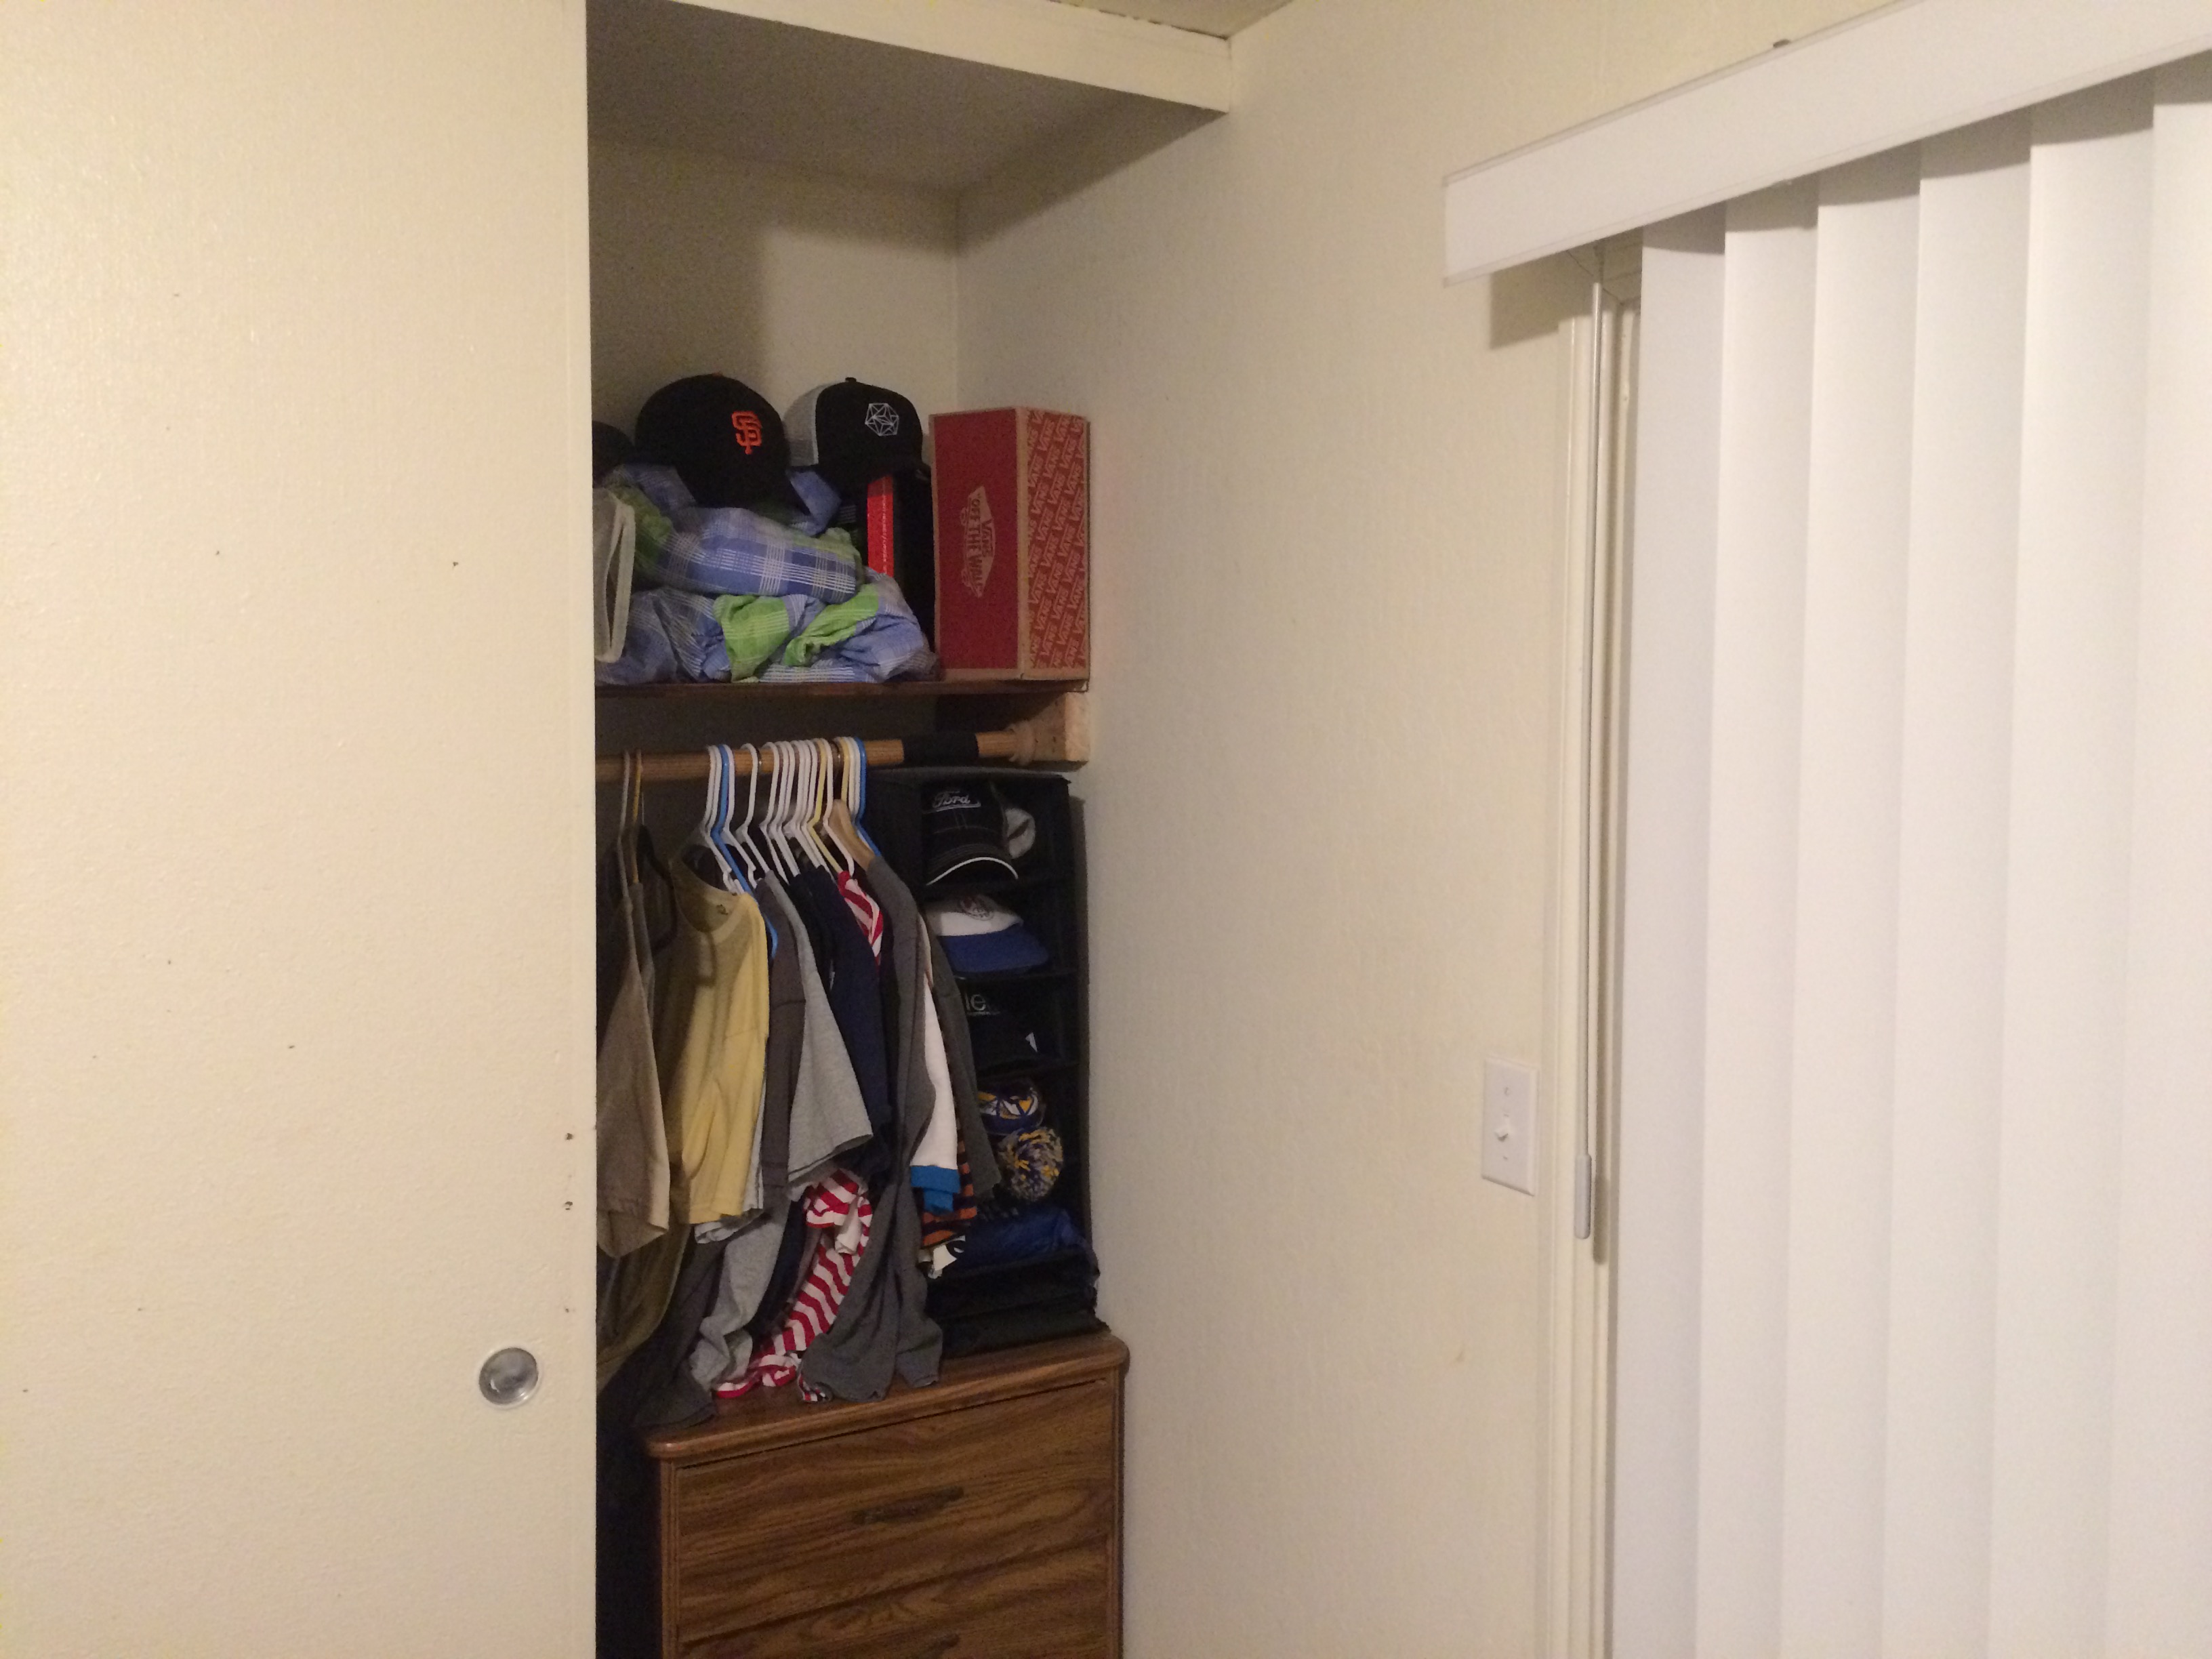 Closet-Right
|
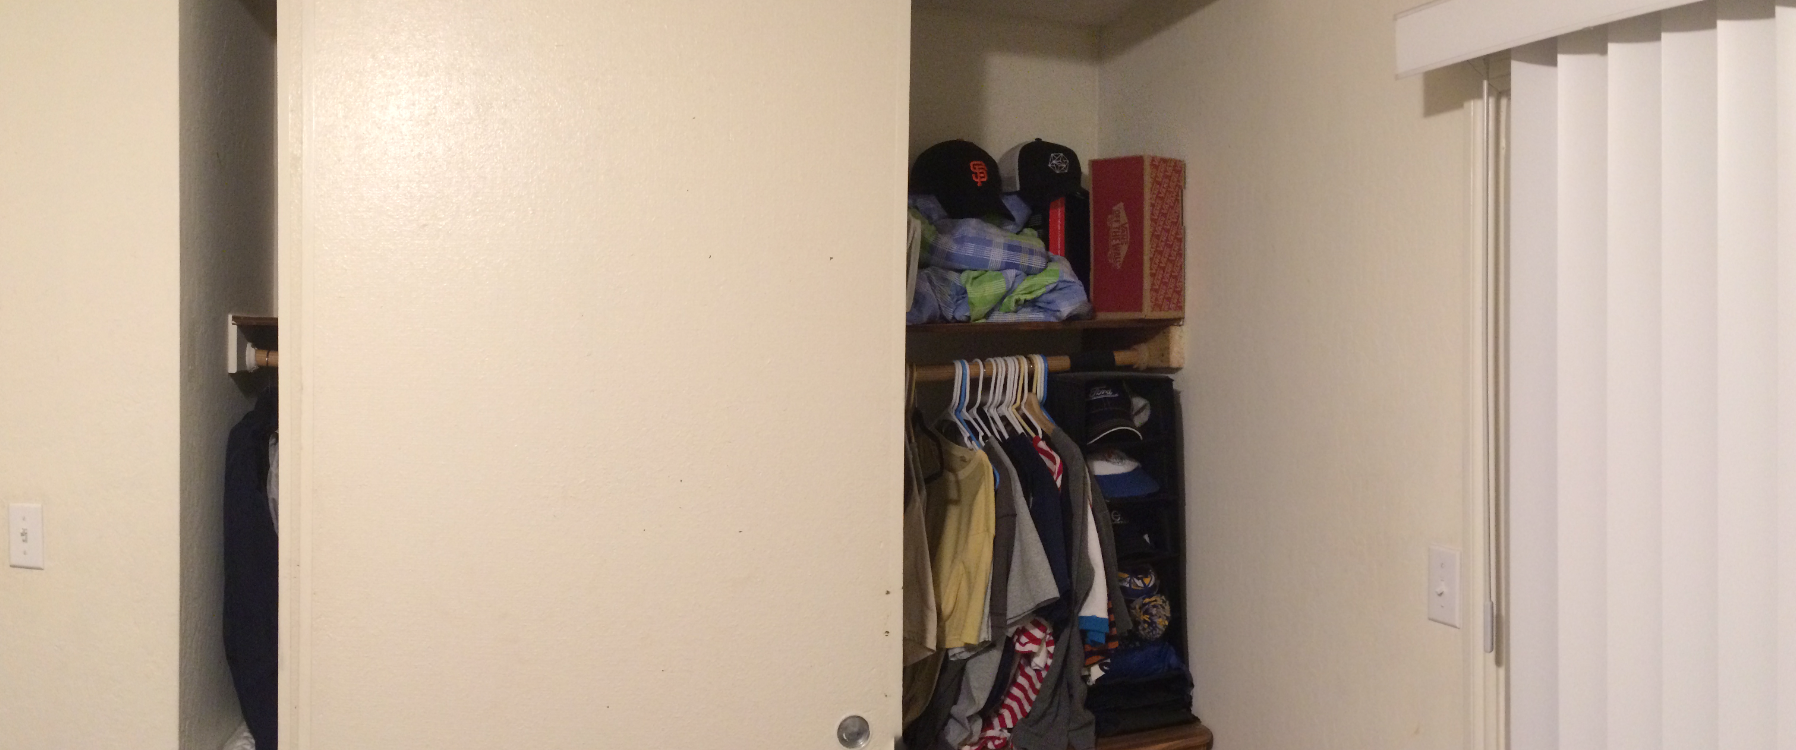 Closet-Combined
|
Conclusion
This project is pretty interesting. It has a lot of application in real world smartphone camera software. This past weekend I tried out the "360" photo feature on my friend's Google Pixel device. They probably use similar techniques to stich together photos as well. It's pretty awesome to be able to see the stuff we work on in class actively being developed in cutting edge consumer technology!