Shoot the Pictures
I shot the following 2 pairs of pictures. For my third mosaic, I decided to use a picture from the internet, to make sure that it works well in general.
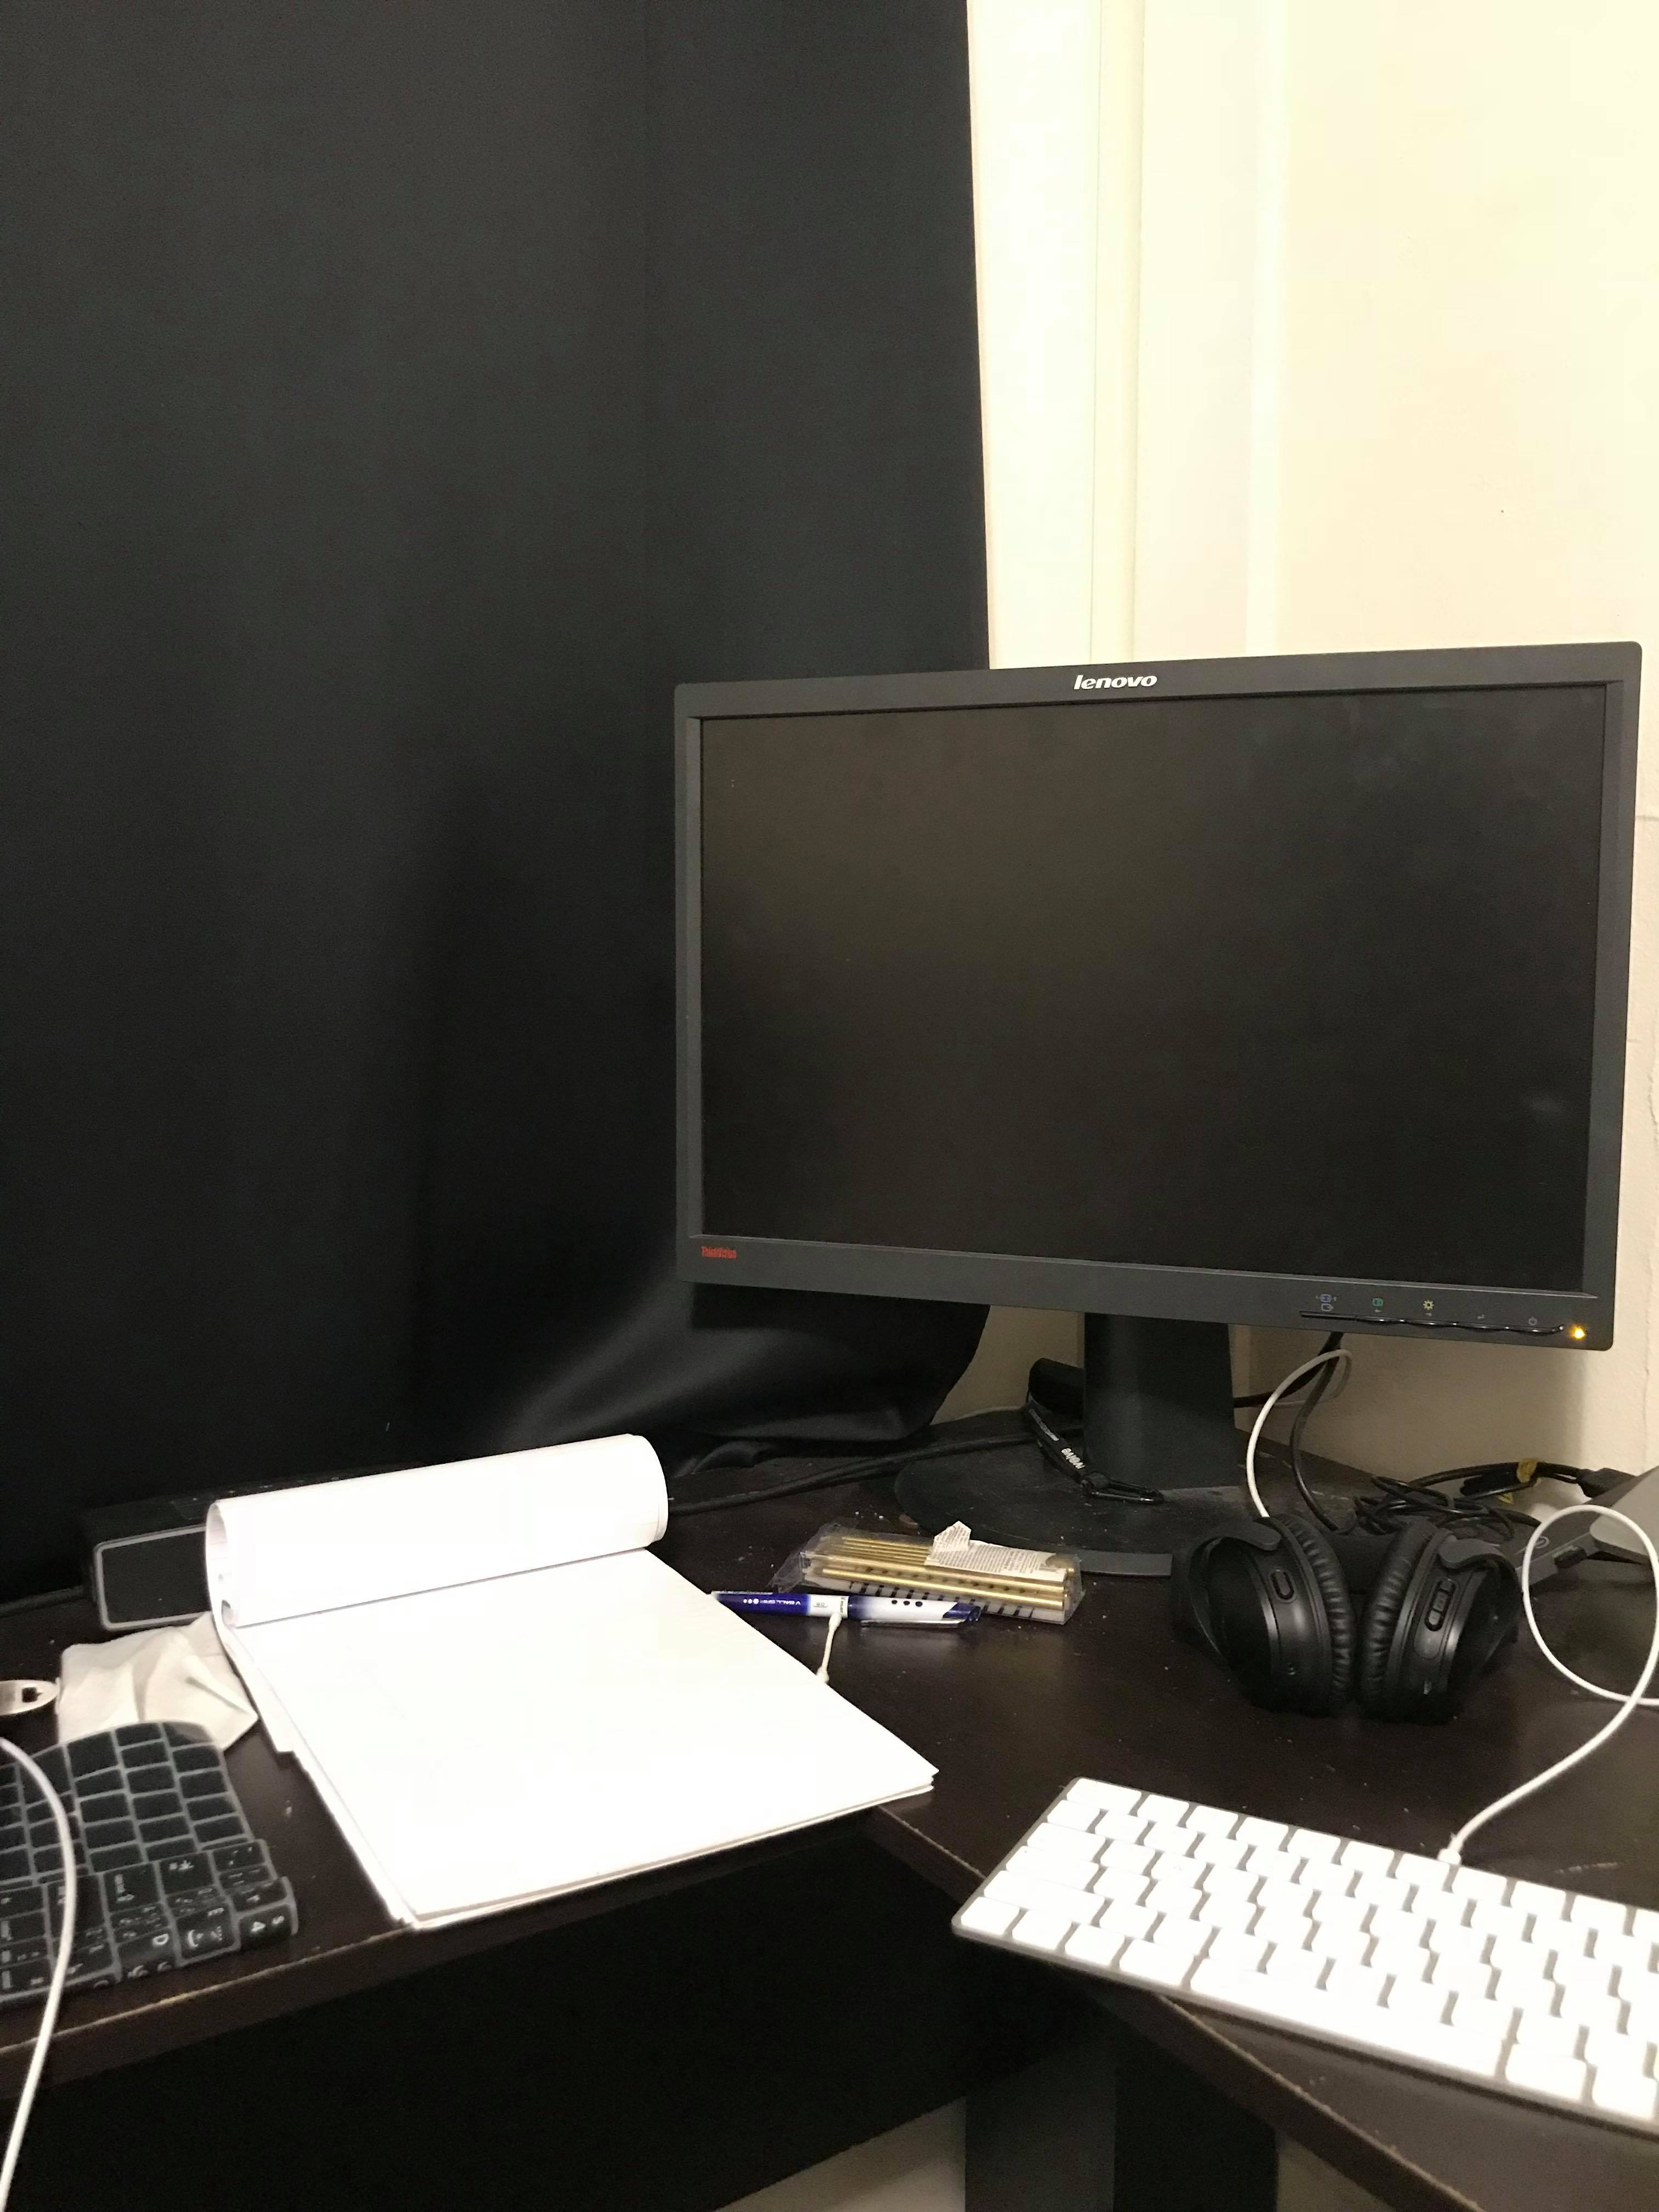
My room (left)

My room (right)
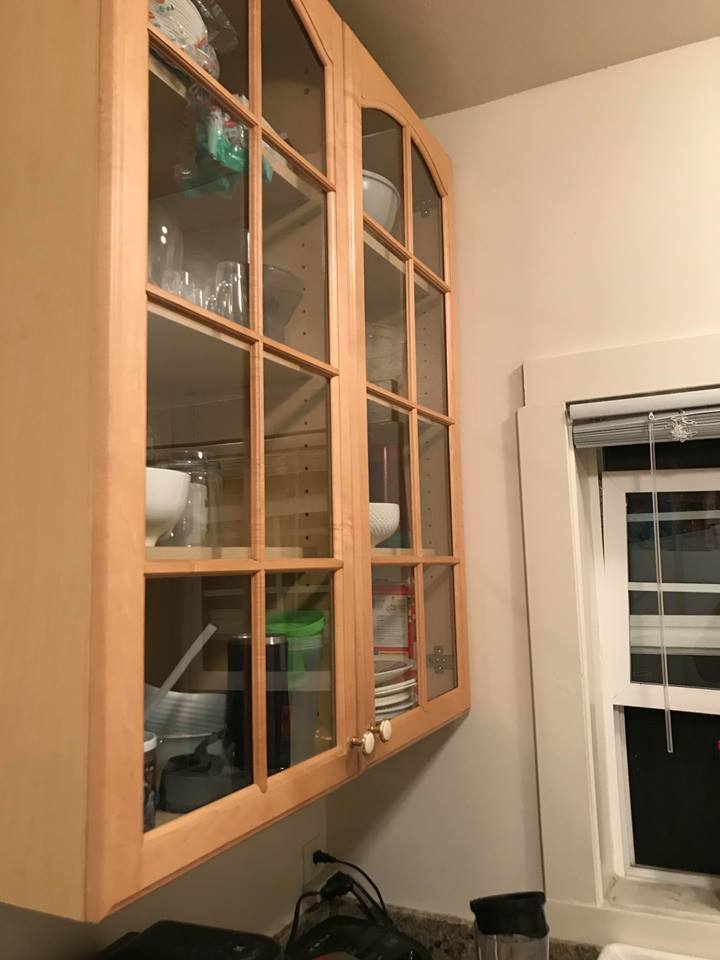
Kitchen (left)

Kitchen (right)
Recover homographies
In this step, I recovered the homography matrix by running least squares on the selected points. In addition, I added some steps to figure out where the border pixels would get translated to. If the border pixels would move to a negative index, then I
computed an offset matrix to make the most-negative pixel positive, ensuring that the result of applying my homography makes my image stay within the frame. I pre-multiplied the offset matrix by the homography matrix.
Warp the Images
I do this in largely the same fashion as the previous project, by doing an inverse-mapping from the output image and figuring out where to select pixels from in the previous image. In addition, I added some checks to make sure that the pixels I am looking
for fall within the input image. If they did not, I ignore them (i.e. leave them be 0). Note that the output image's size is precisely what it should be after the entire combination is done.
Image rectification
I converted my room image's screens to a perfect rectangles. Here, I type in the corresponding points manually by figuring them out using Photoshop.

Unrectified image
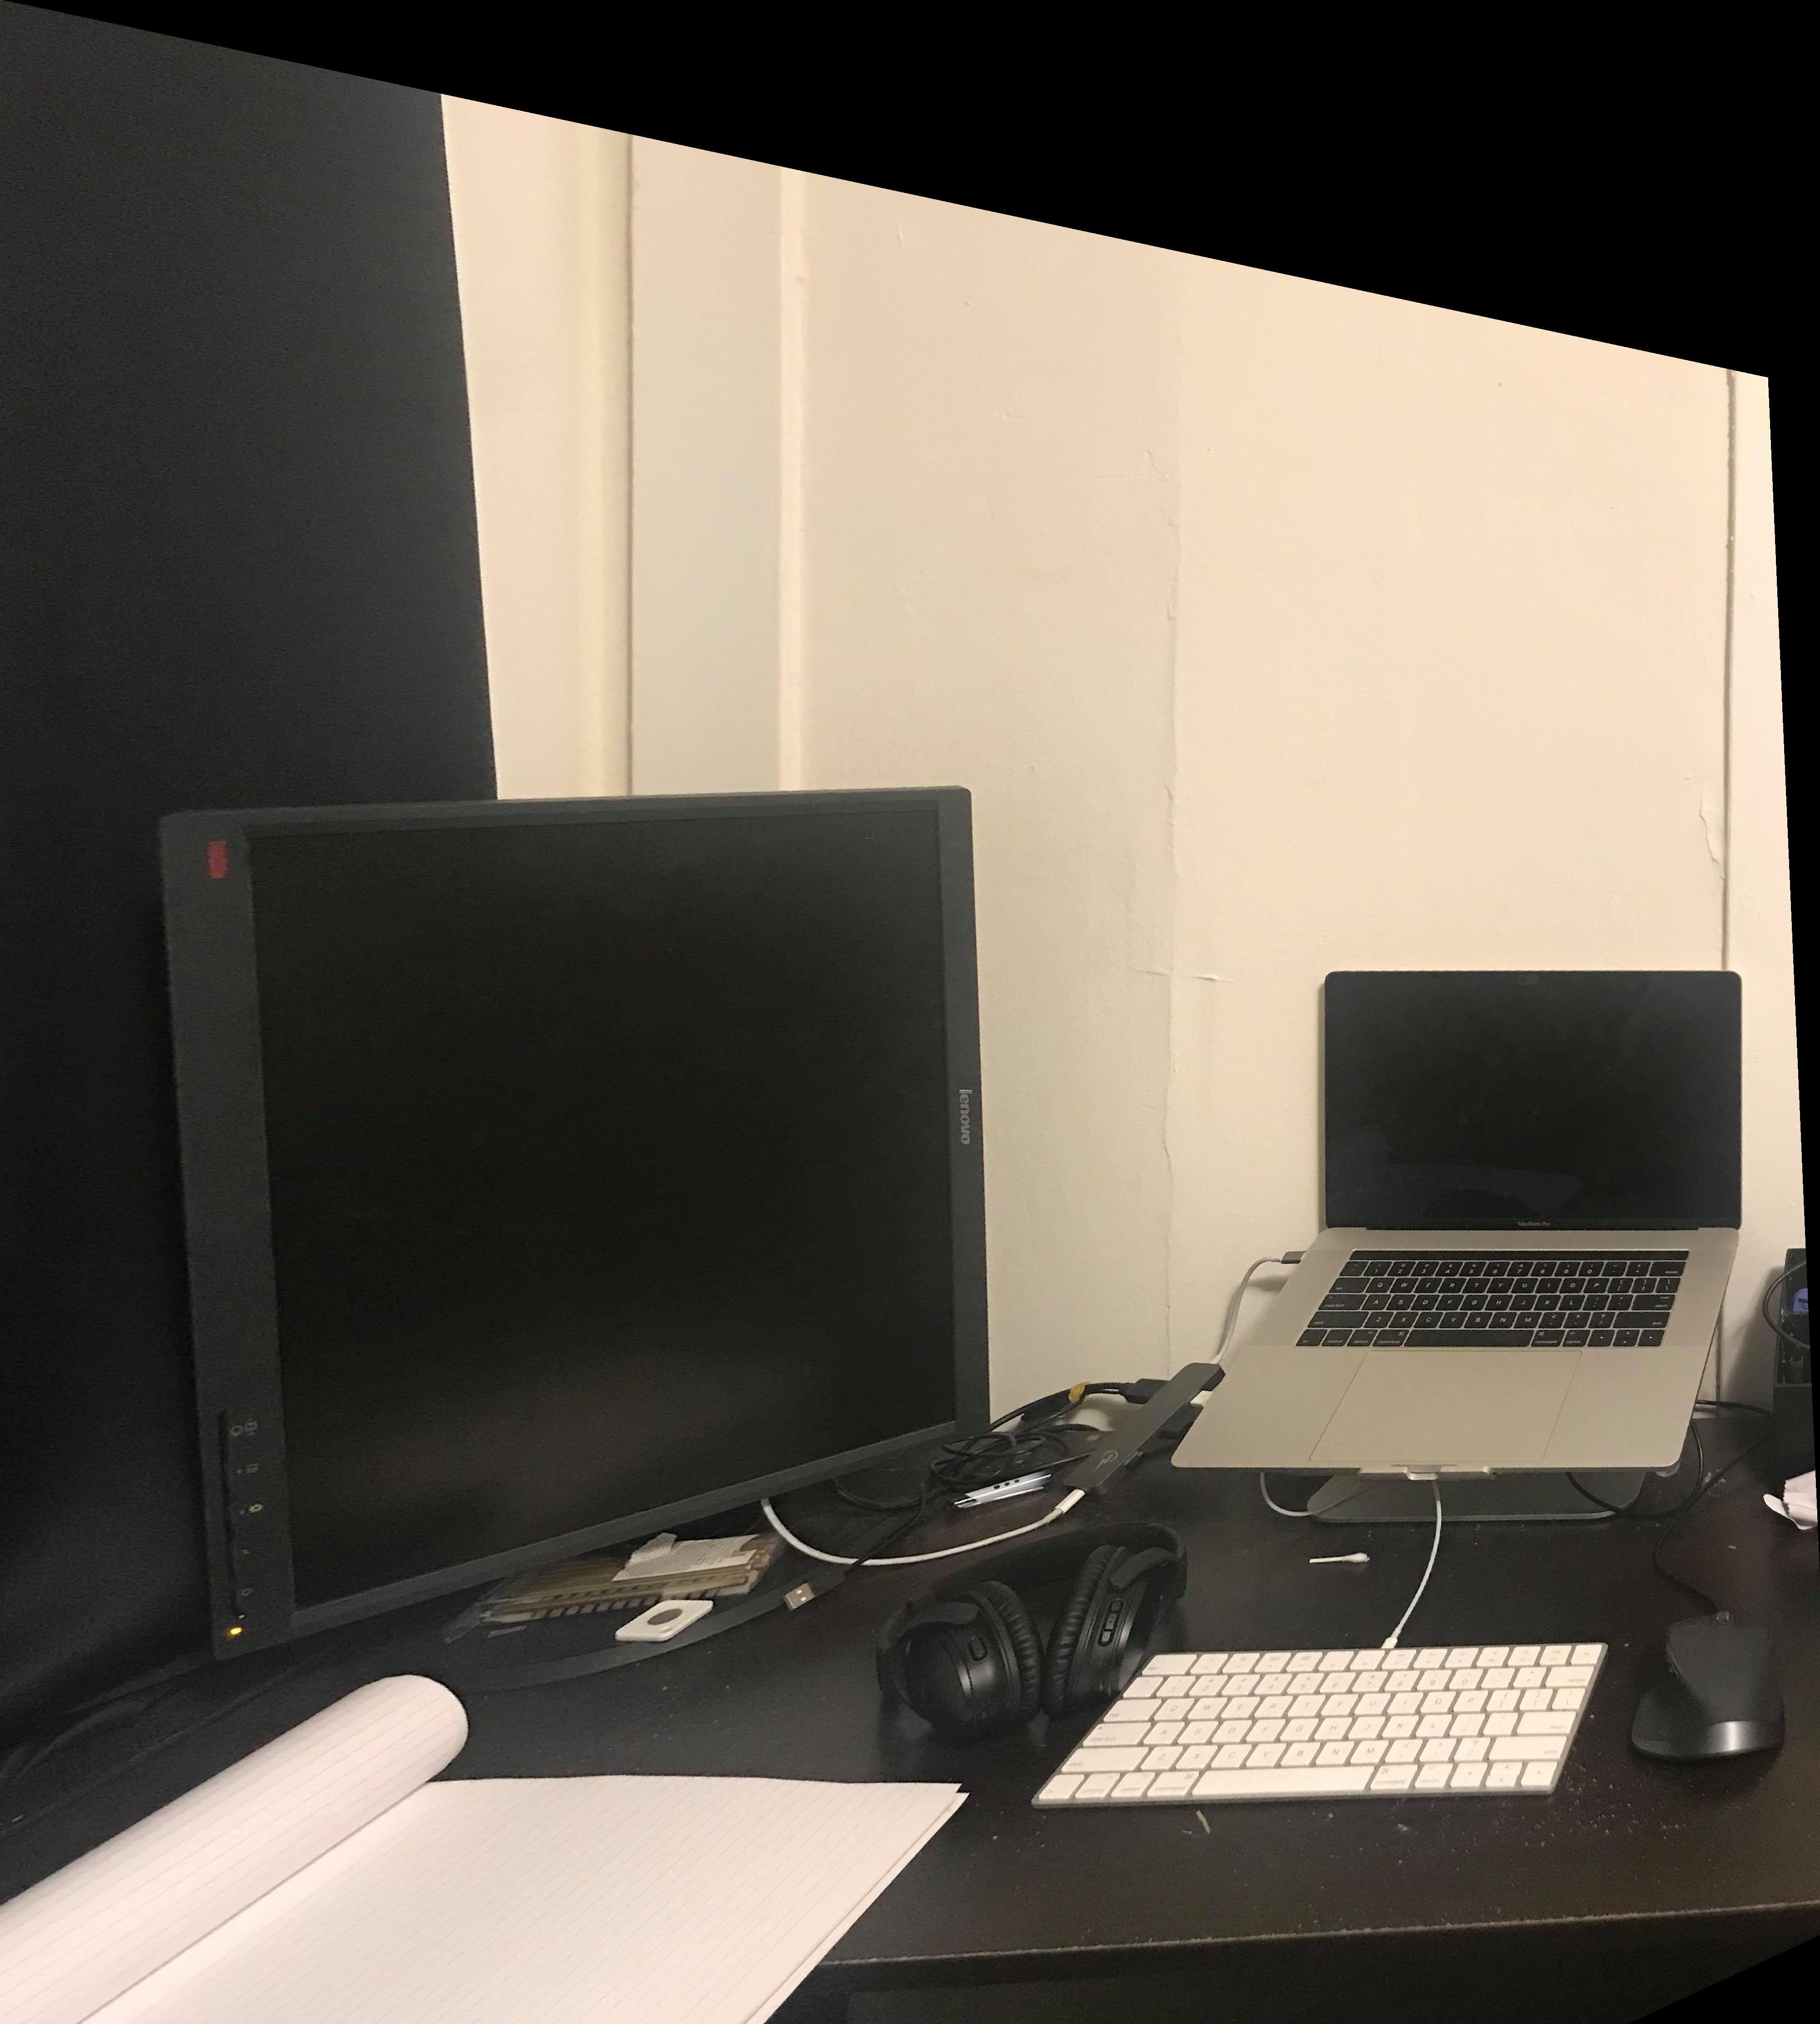
Laptop screen made into perfect rectangle
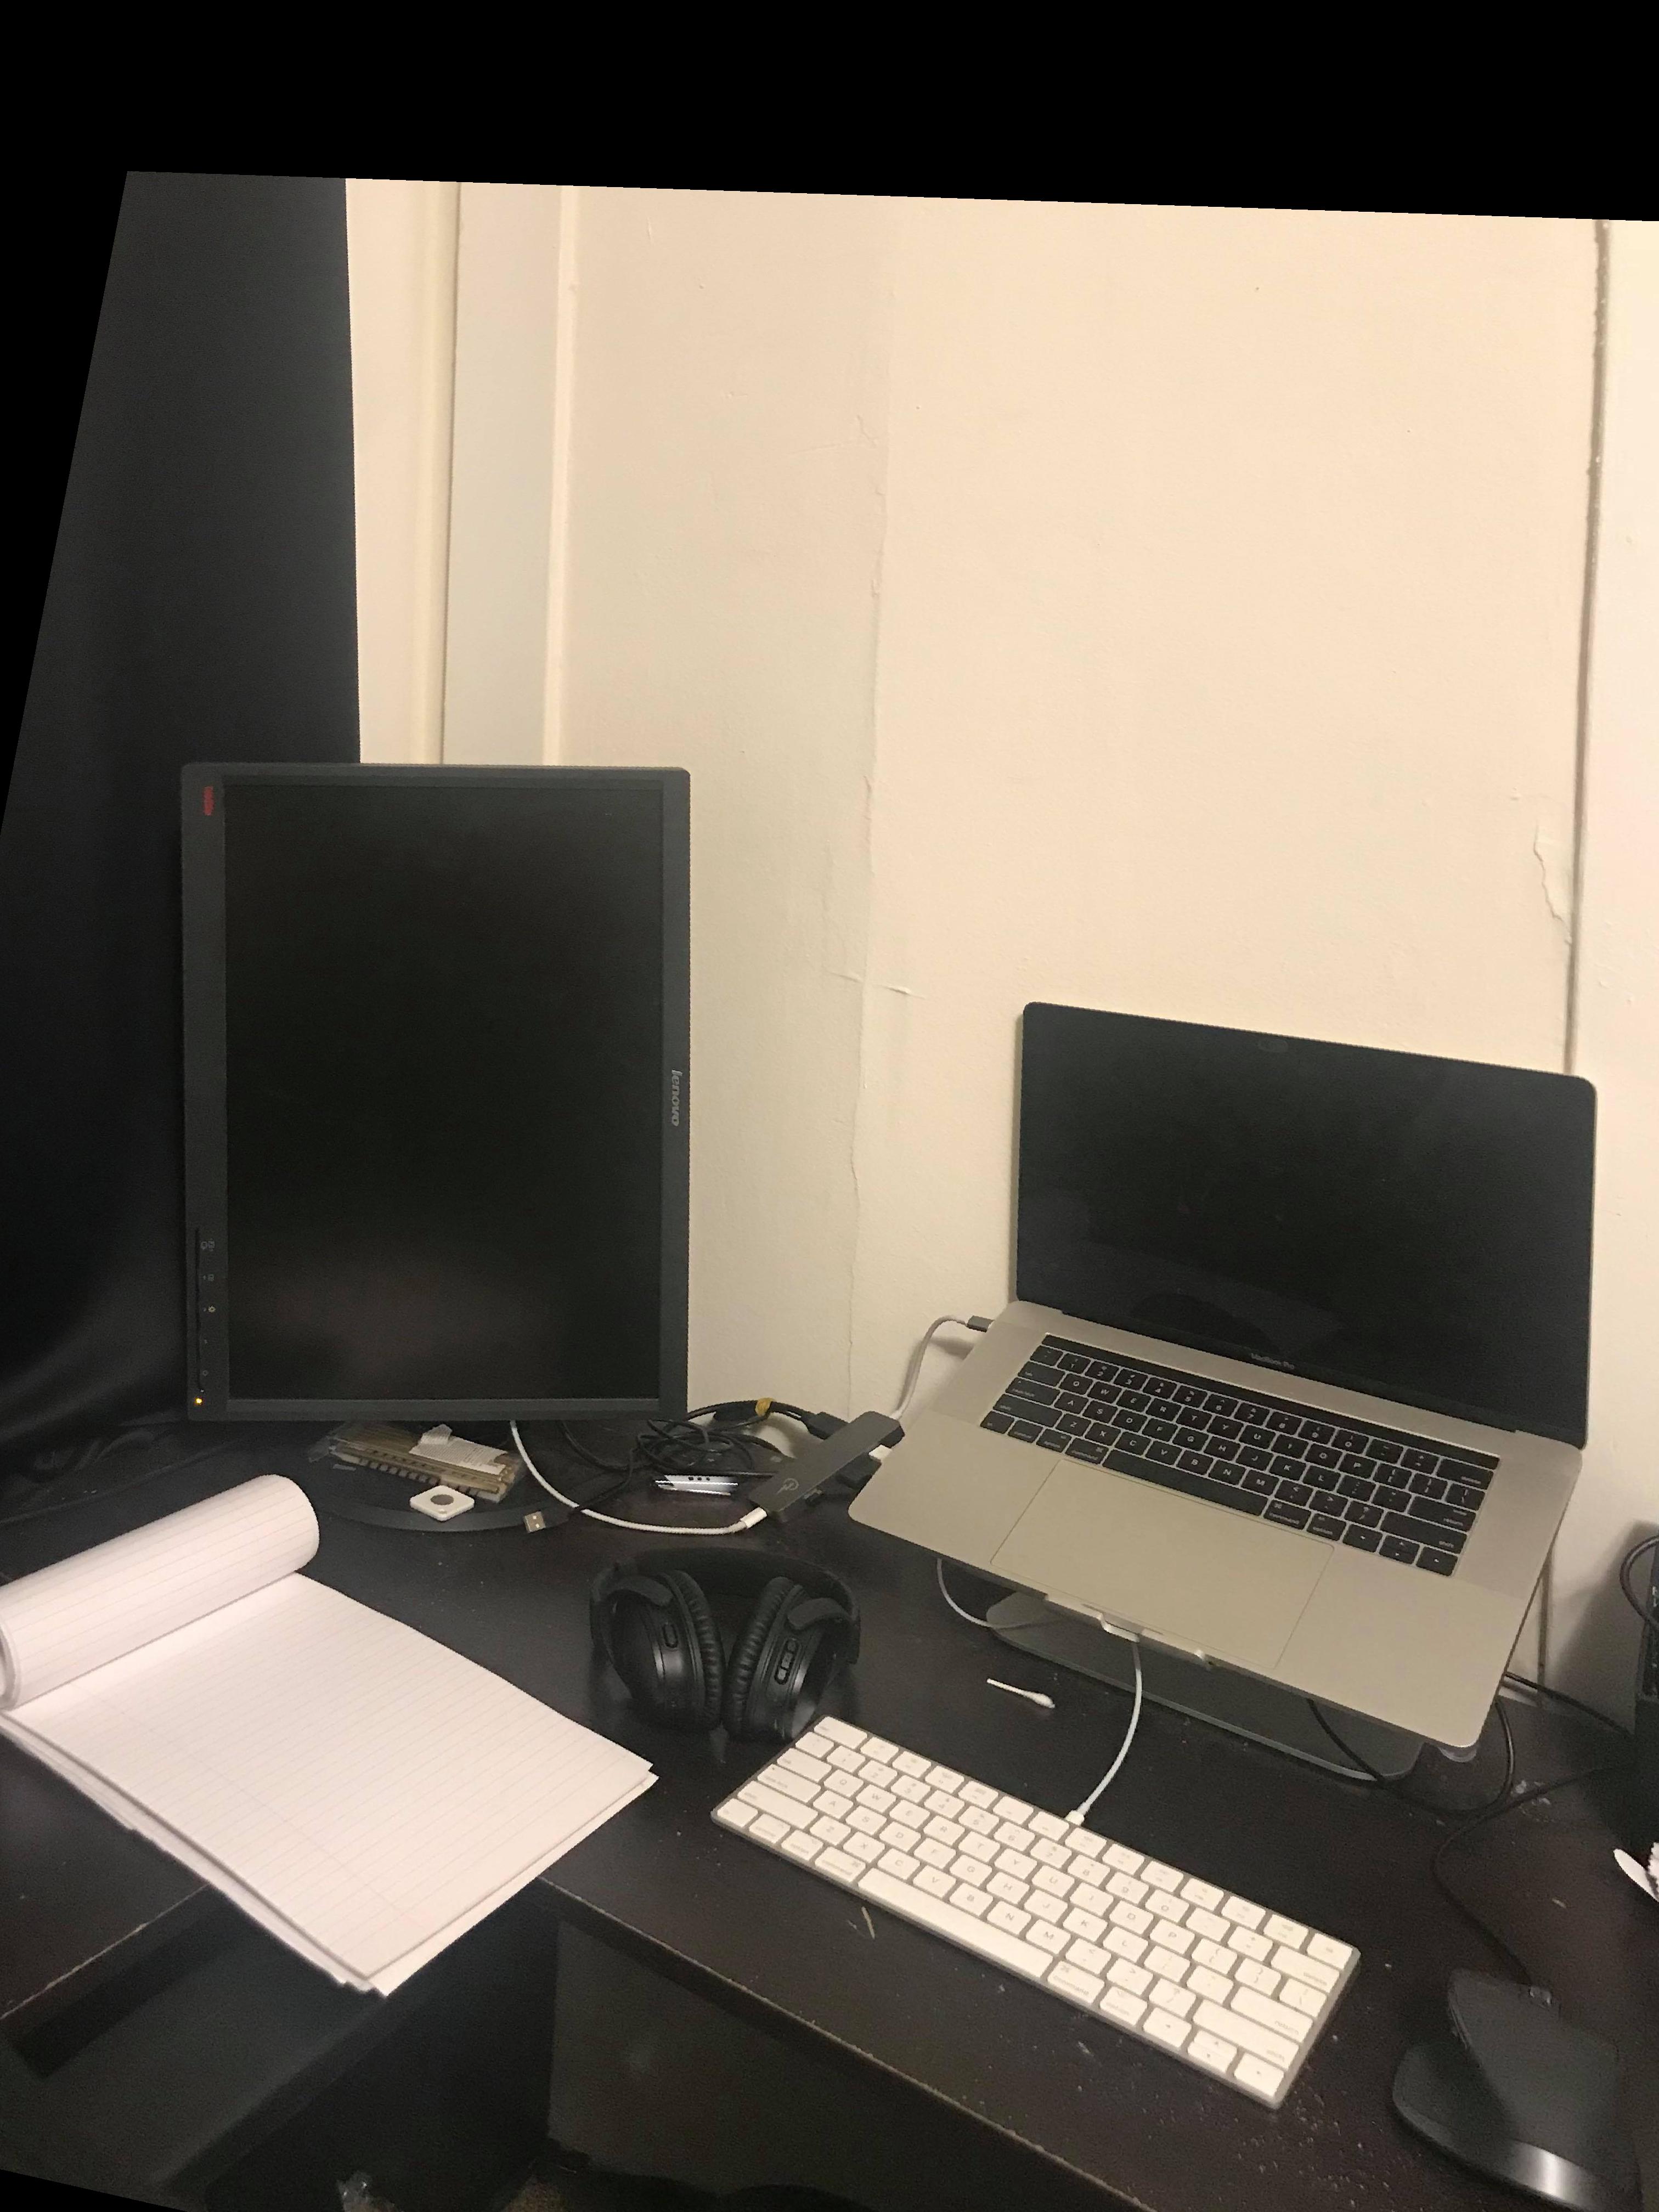
Monitor screen made into perfect rectangle
Blending
To blend the images, first, I add the region from the left-warped image that does not overlap with the right image, and similarly add the corresponding region from the right image. For the middle region, I take an elementwise max of the two pixels possible.
This seems to work surprisingly well. I use this on the 2 pairs of images I shot and on some images of Prague from the internet.
My room (left)
My room (right)

My room (combined)
Kitchen (left)
Kitchen (right)

Kitchen (combined)