Project 6 [Part 1]
This project allows us to see how mosaics can be manually made through multiple photos at different angles of rotation WHILE KEEPING THE CENTER OF PROJECTION CONSTANT. This is possible because at any given point, all light rays that pass through that point can be represented in 2D.
Taking Photos
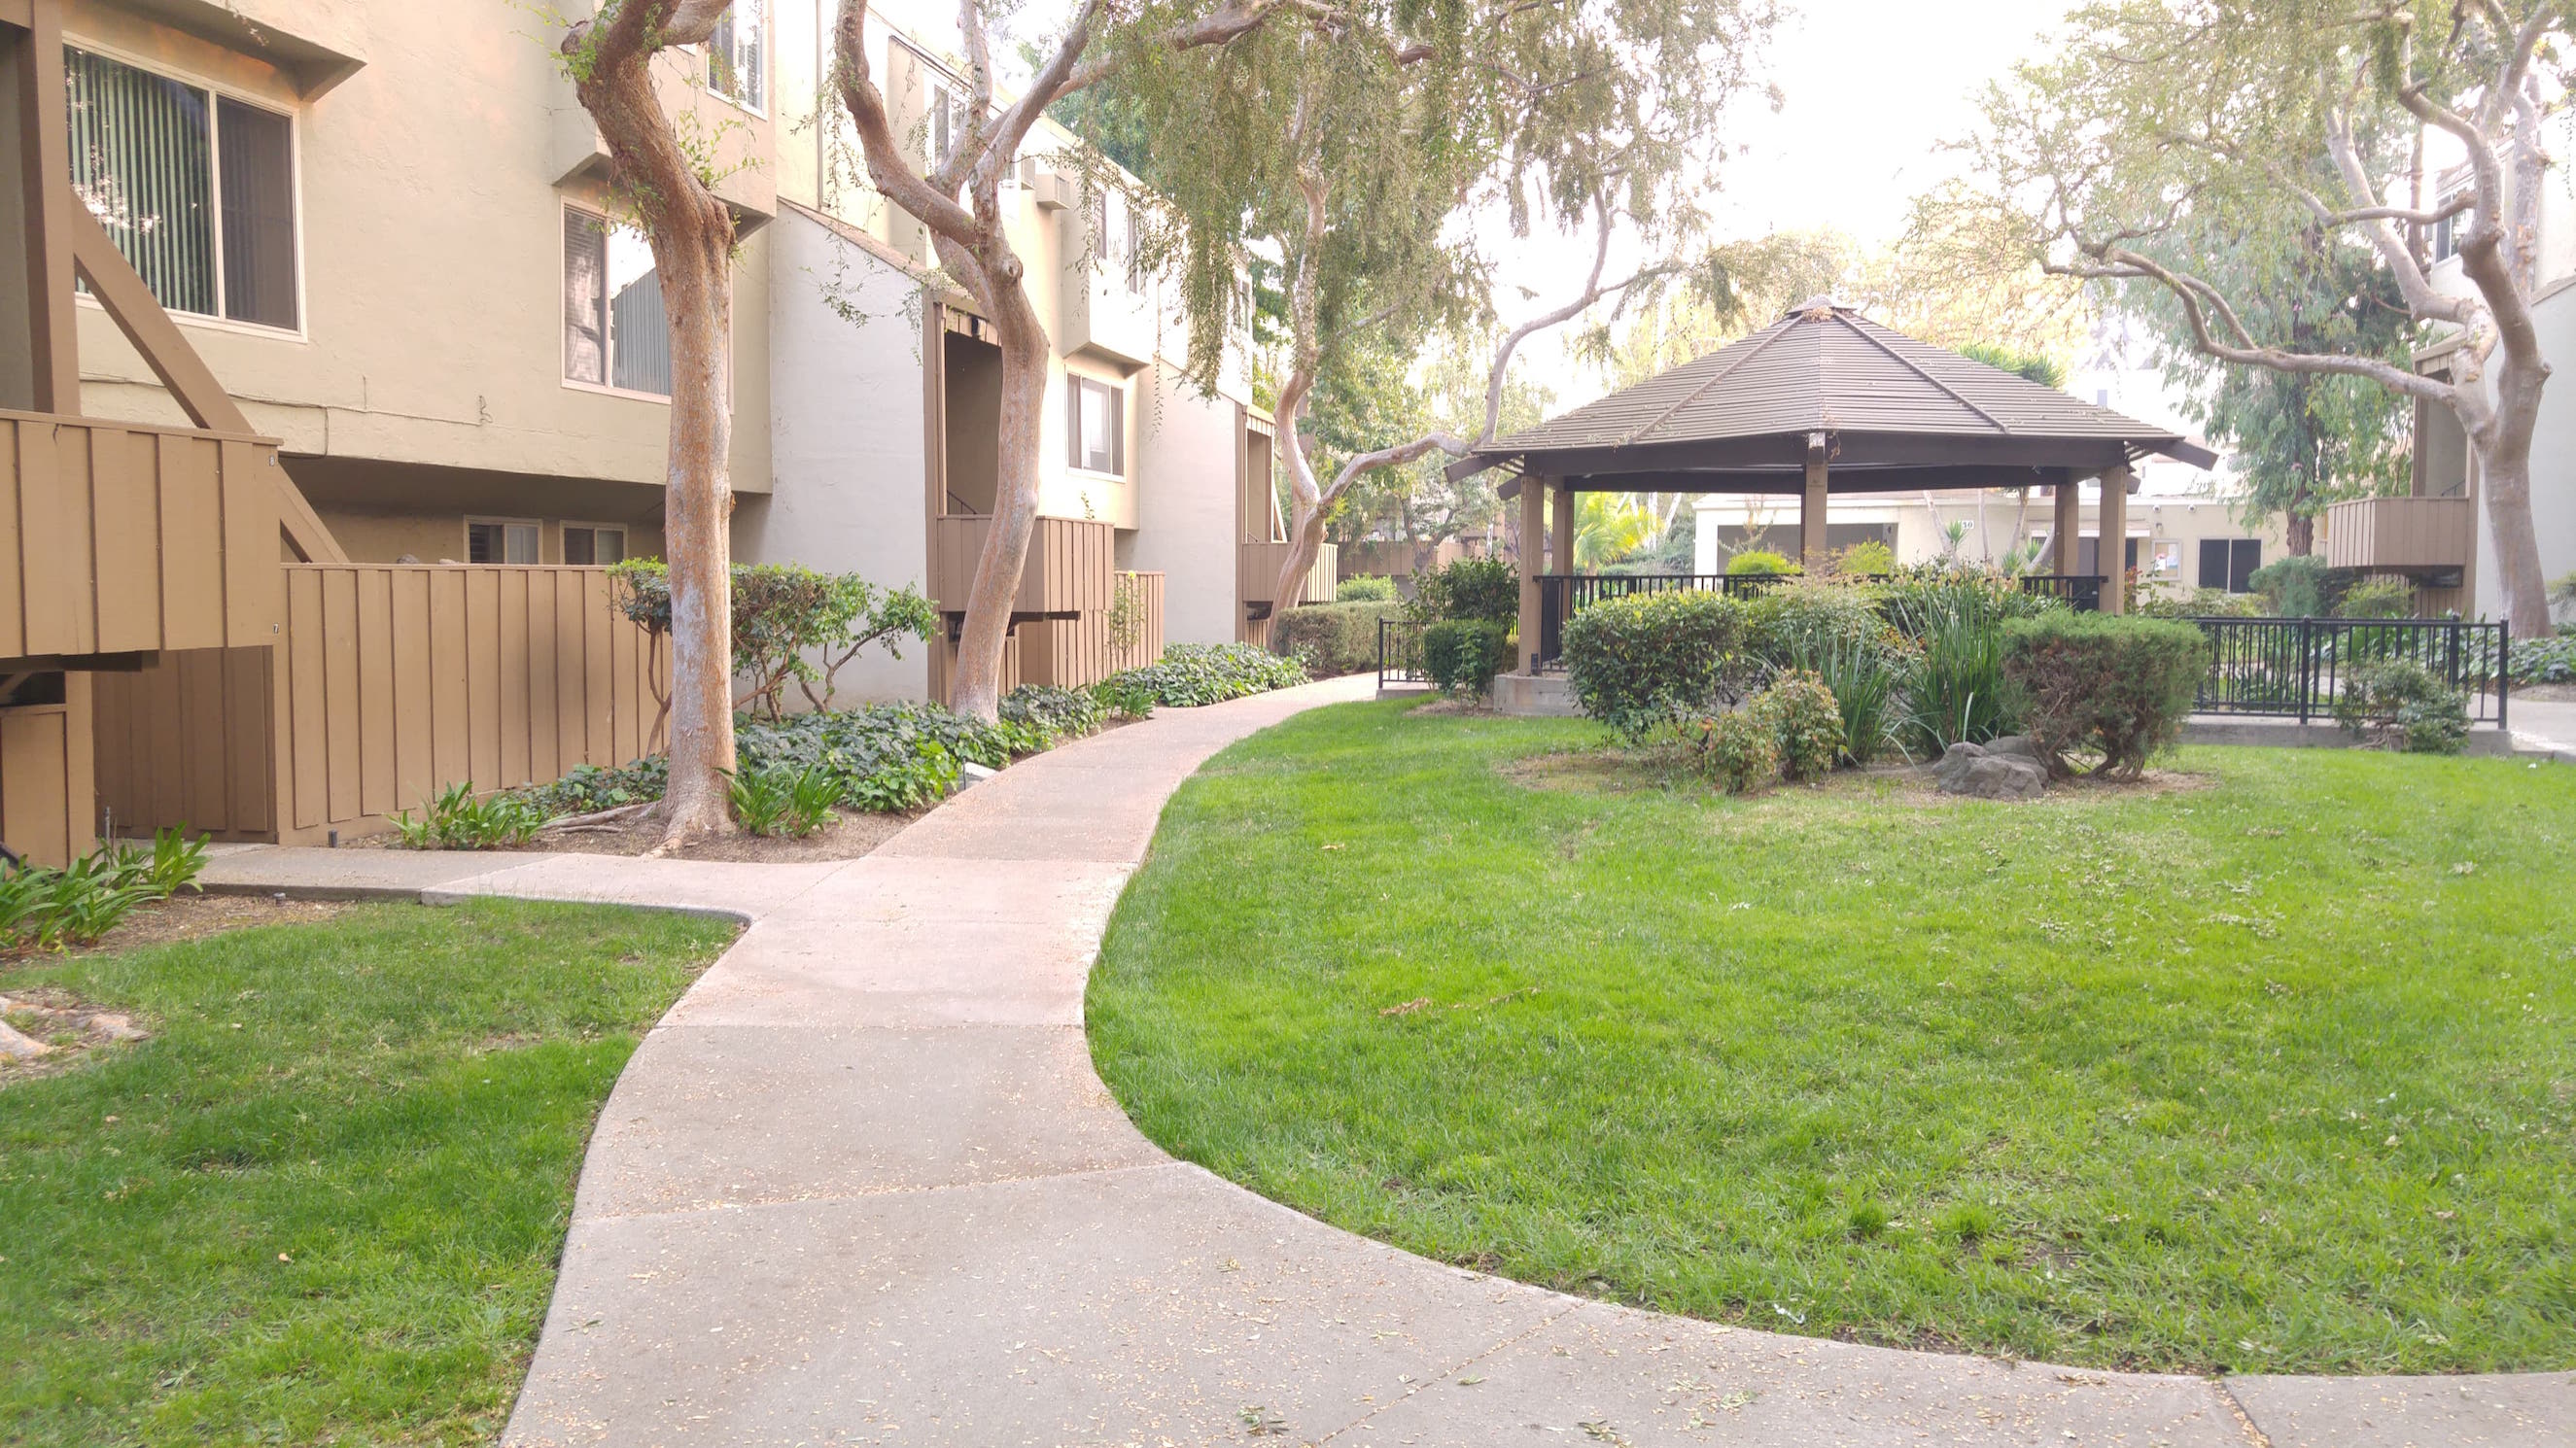
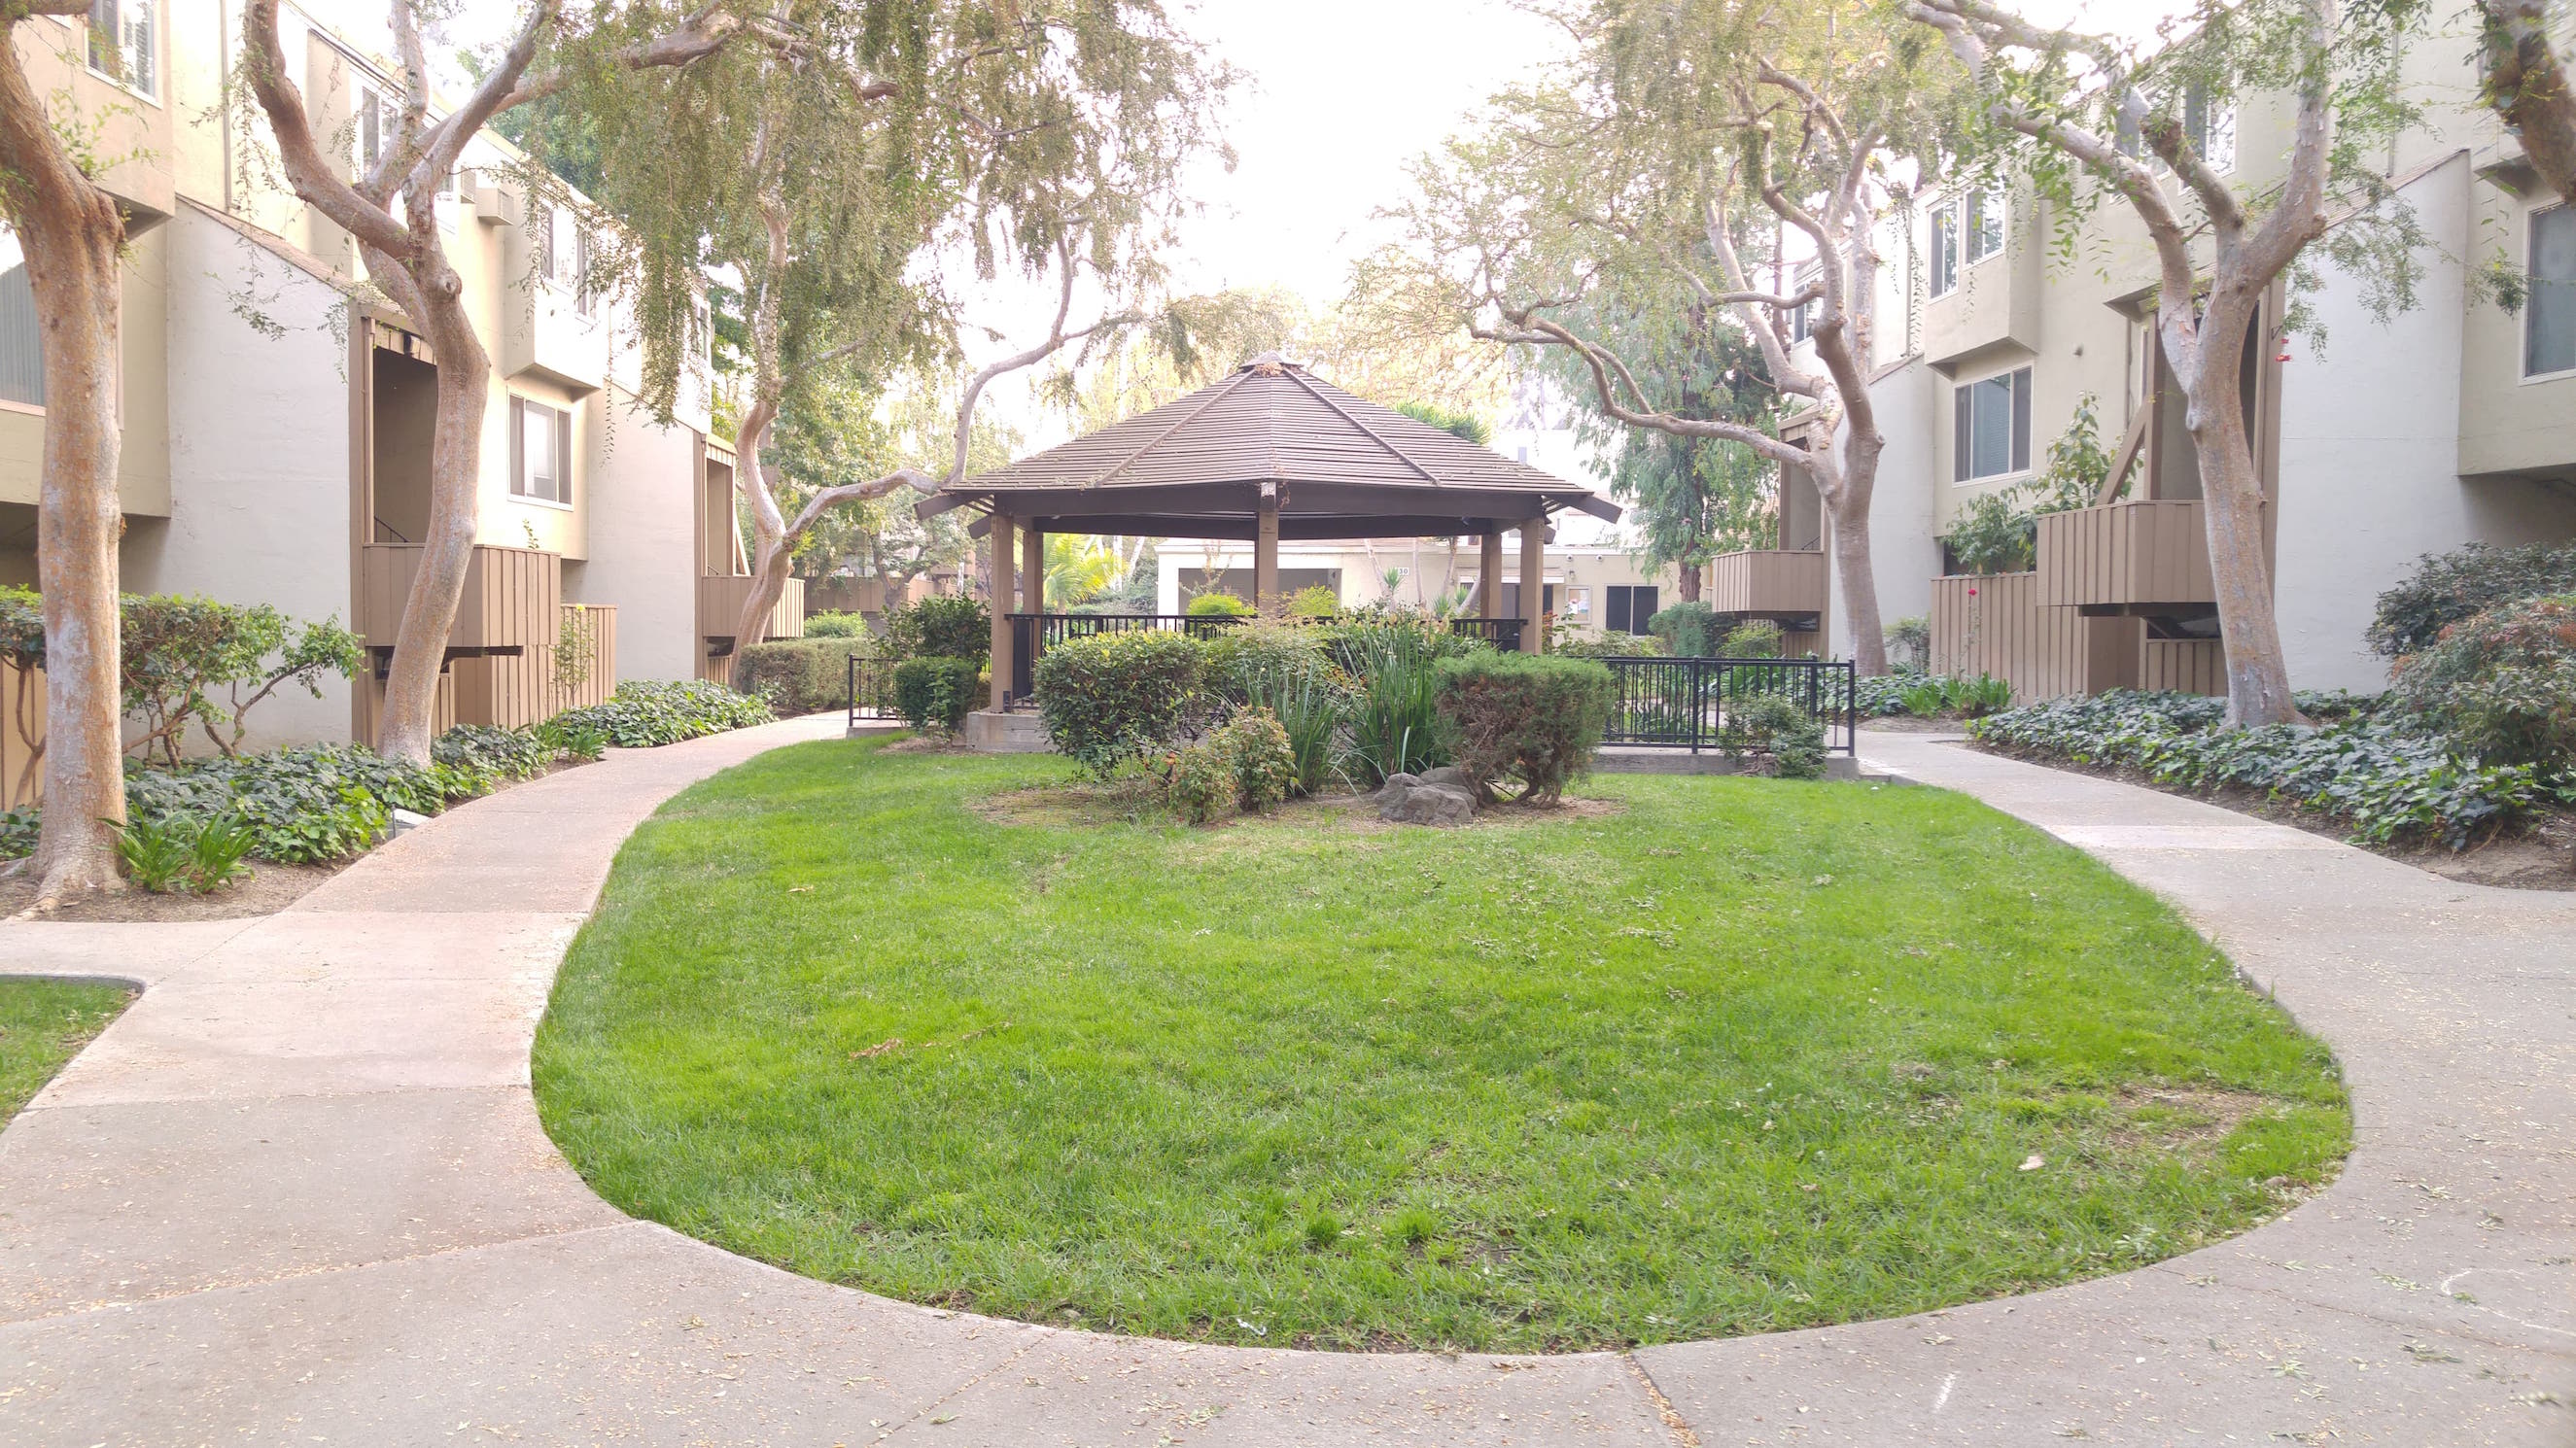
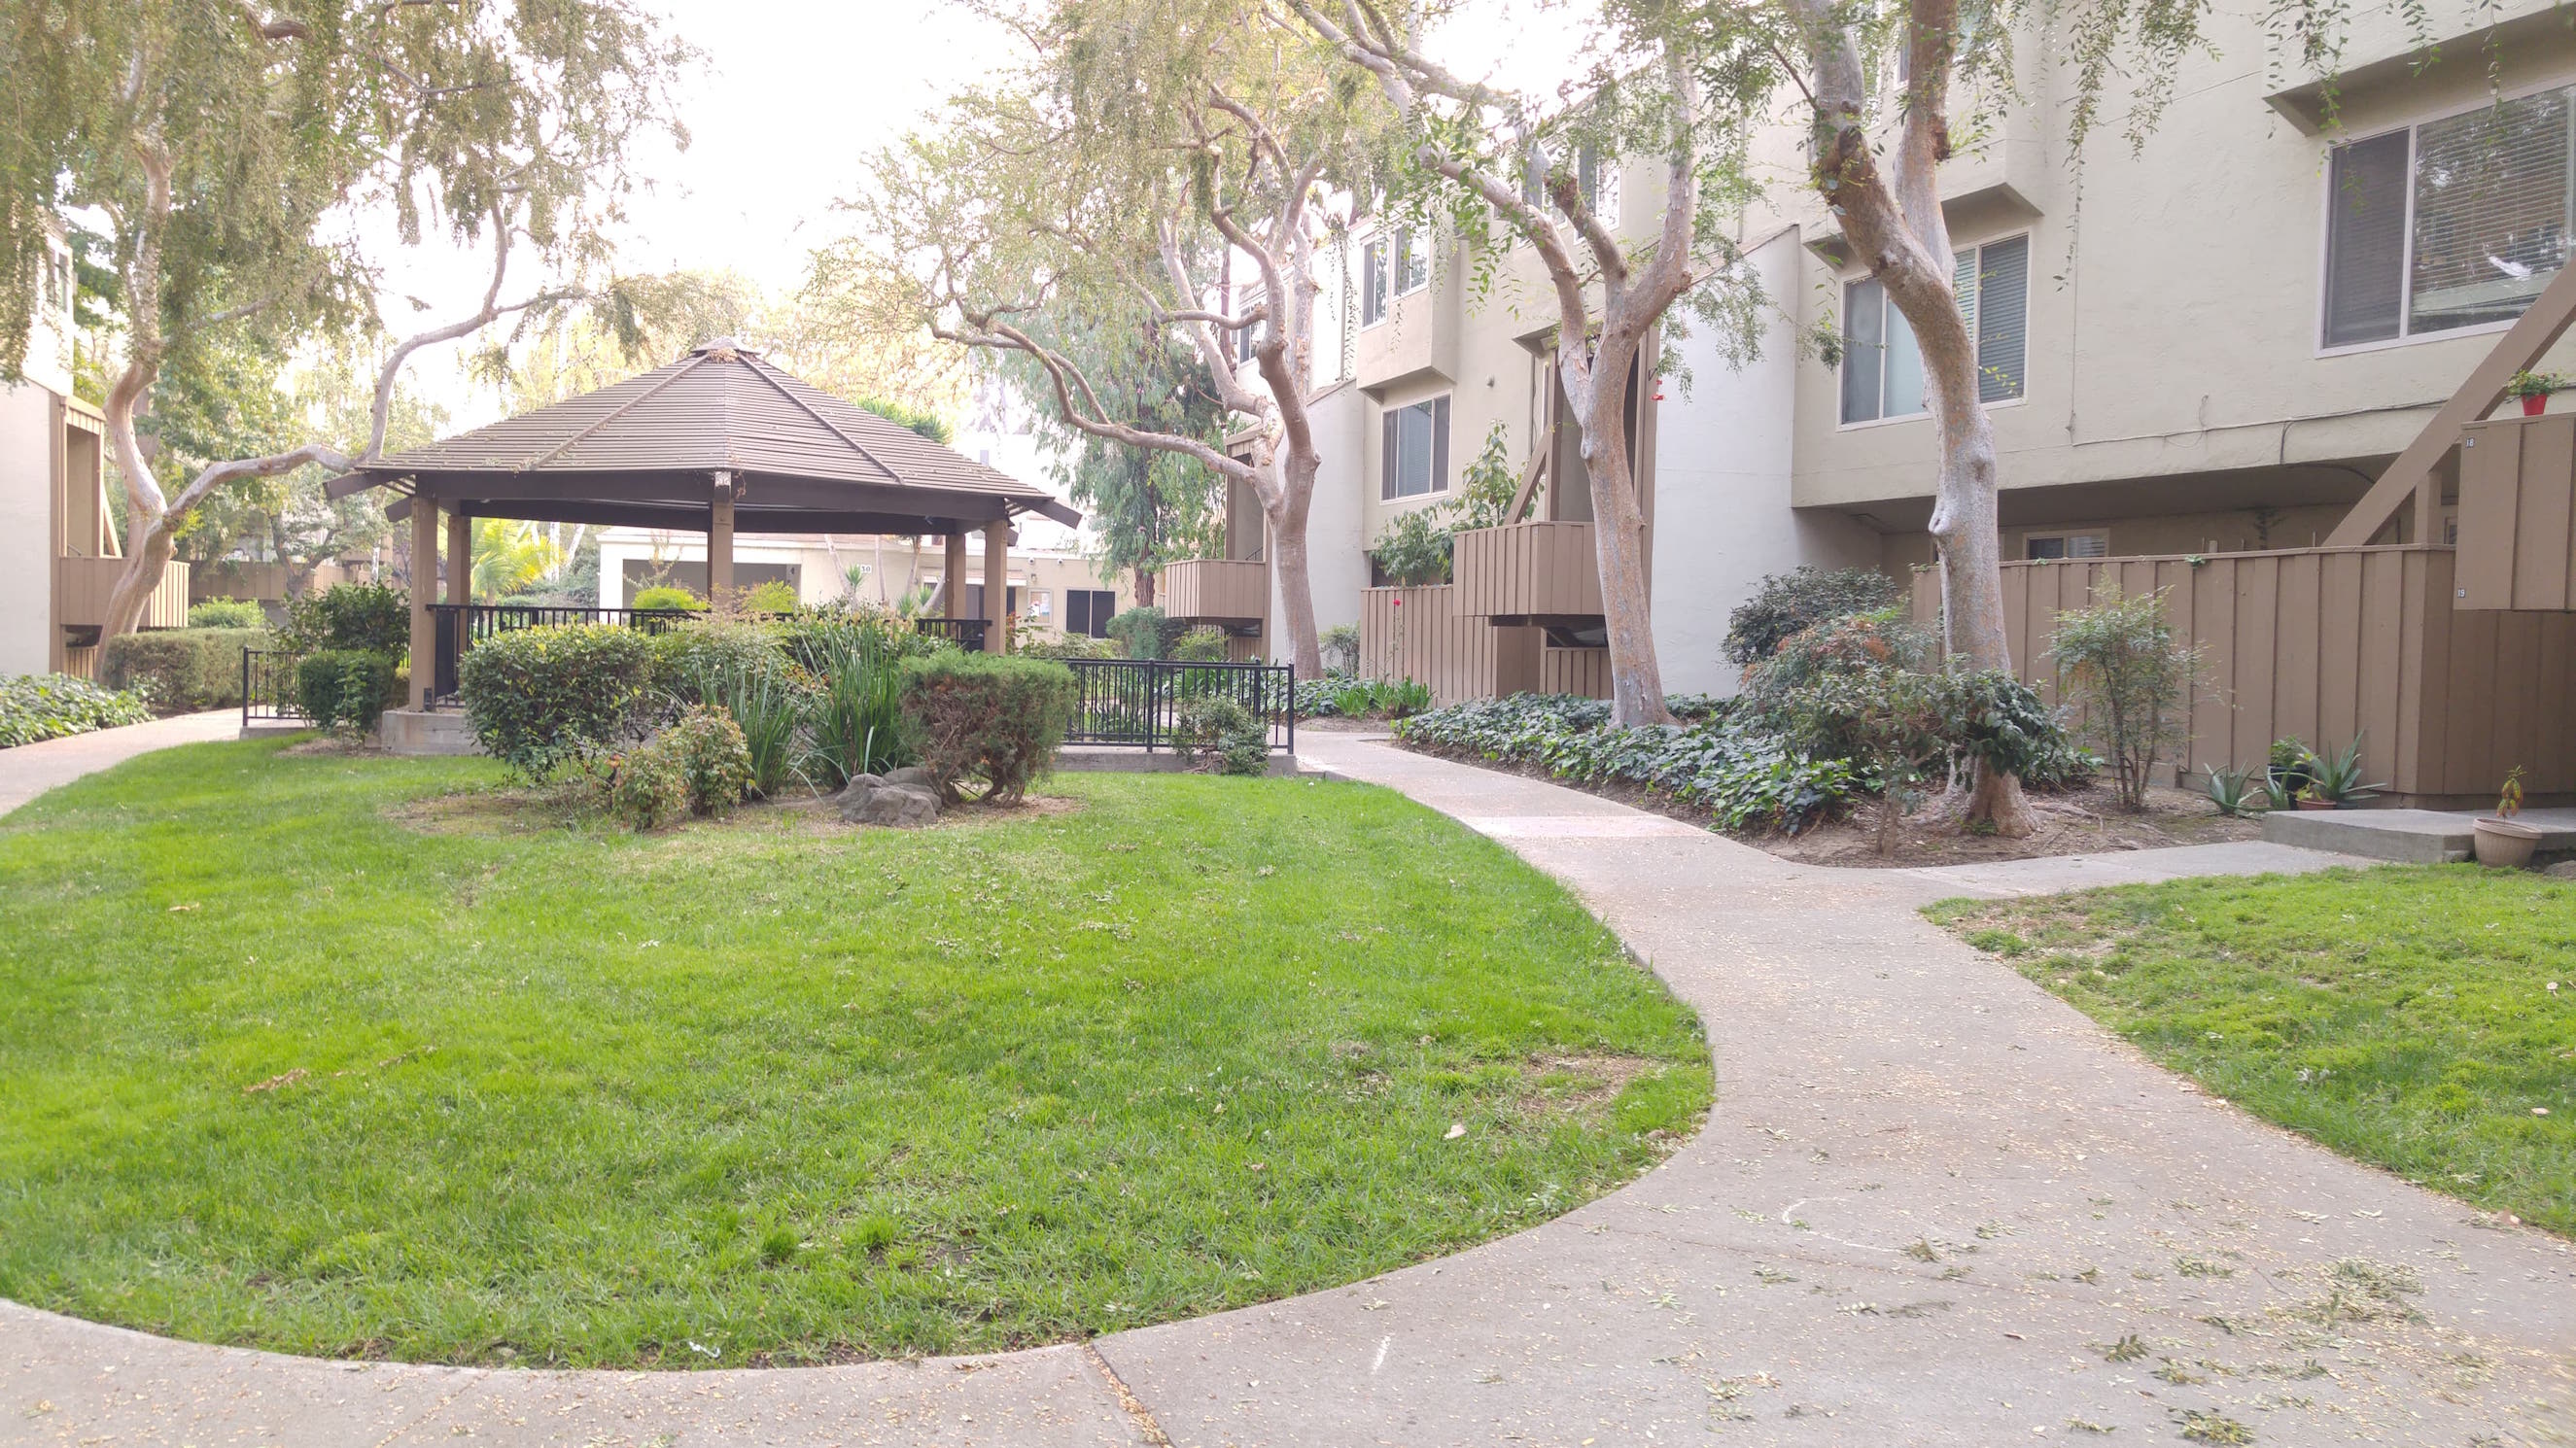
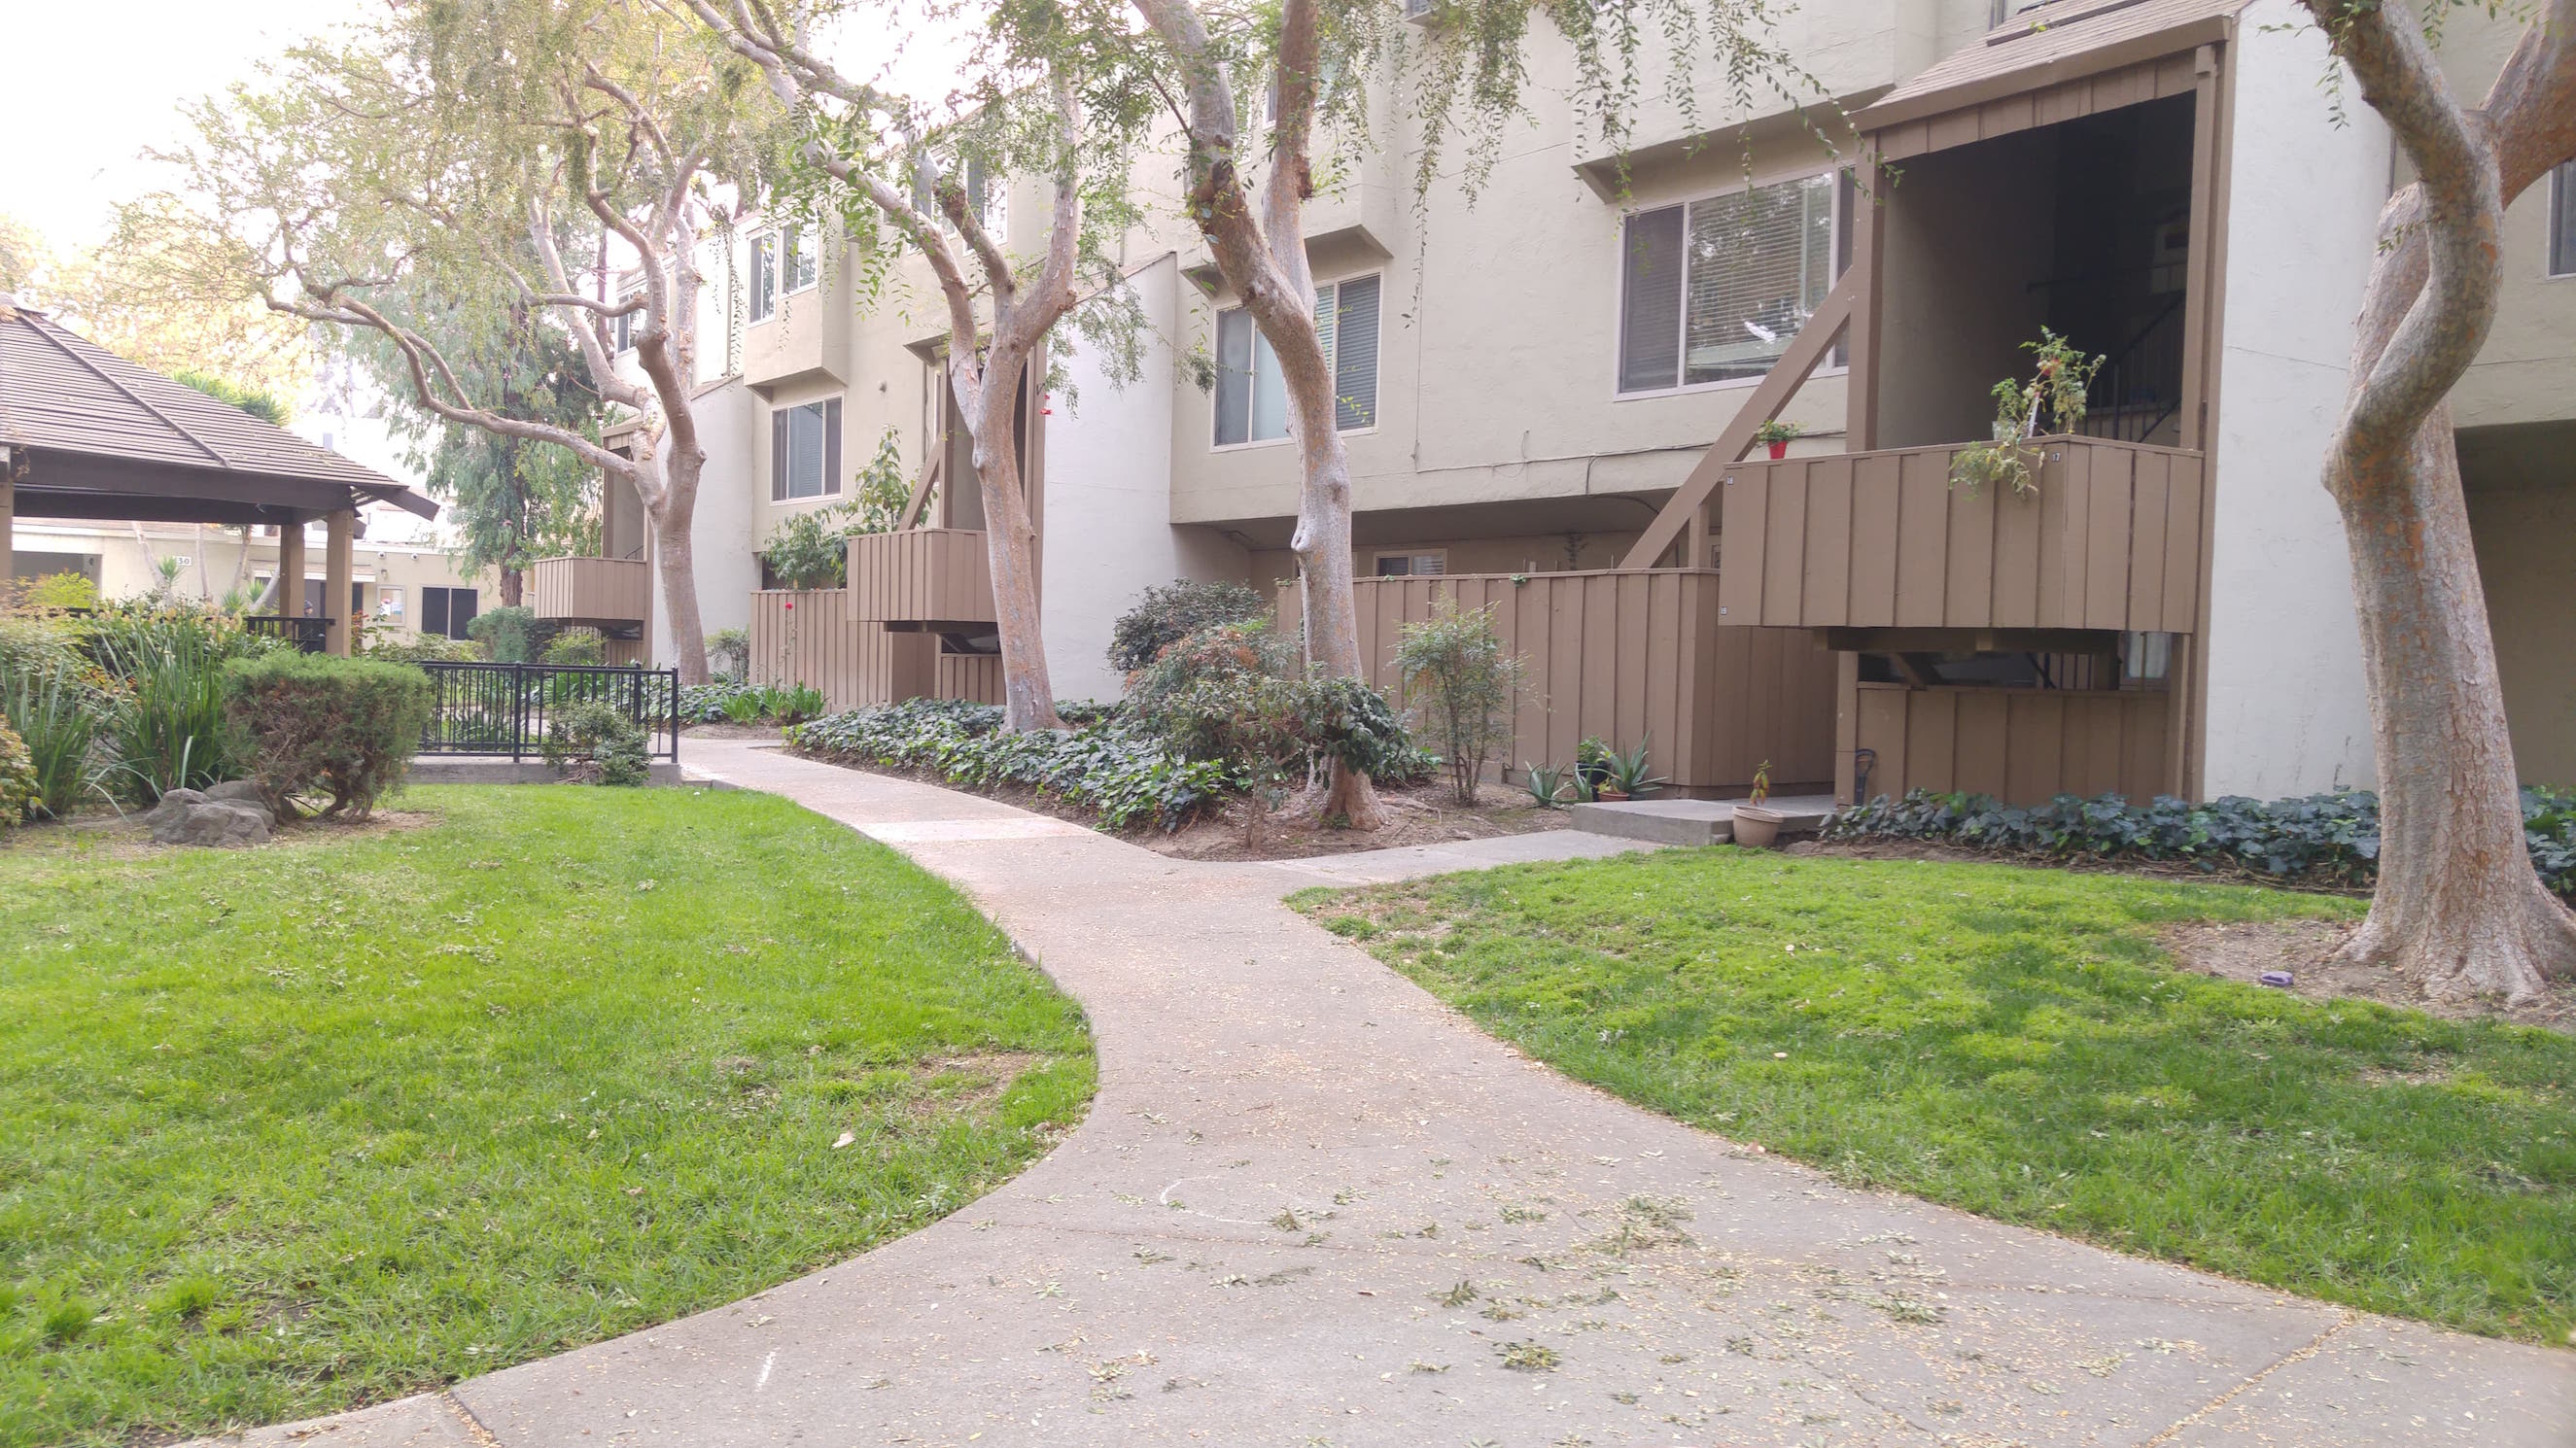
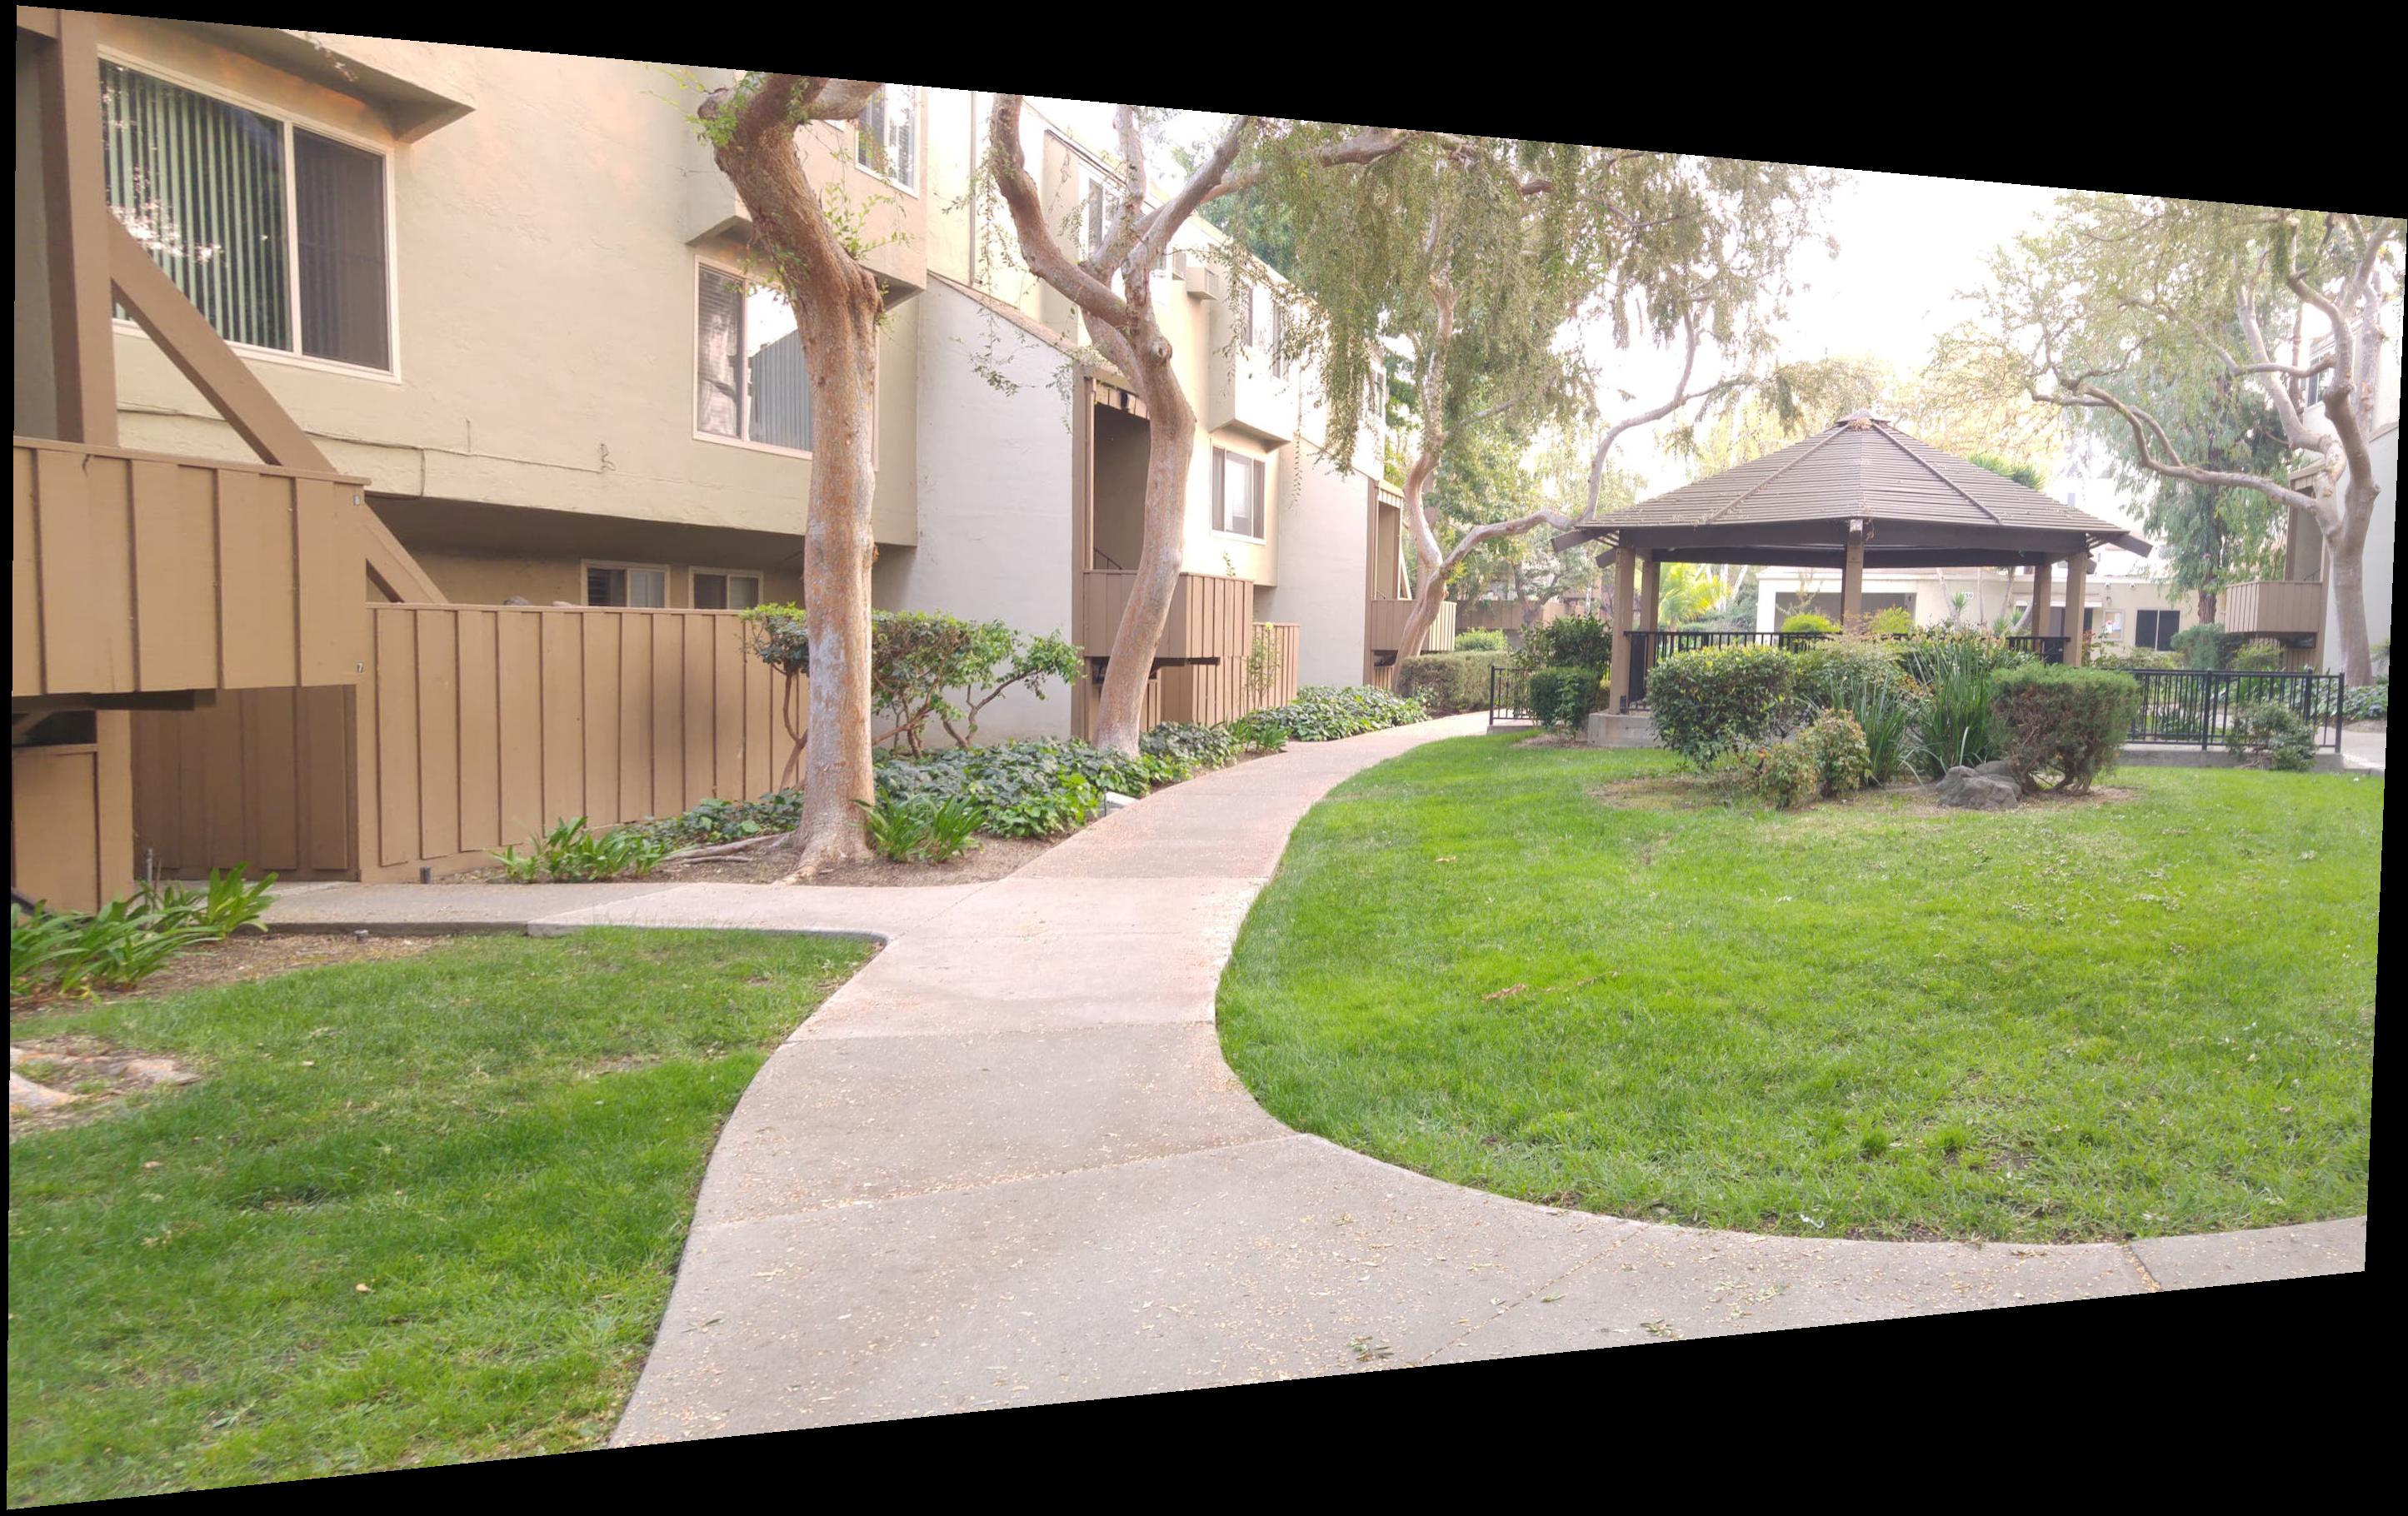
These are photos I took with my phone in landscape orientation. I held my phone at where the camera eye was and tried to keep it as constant as I could.
|
|
|
|
Image Warping
To compute the homography, we use a set of user-defined input points (I used 8 correspondences). Then, we set up the matrix Ax = b where A has dimensions (2 * # of correspondences+1) x 9 and is made up of the point values of the correspondences. x is a column vector of variables a through i that we are solving for and b is a column vector of all 0's except for the last element. Solving this system of equations will give us the coefficients in the homography.
Now that we have our homography, we reshape it and use the dot product of that and our original points to get our new points. This is how we get the placement of the new corners of our image and how we know how much space to allocate for the warped image.
Then, we can create our new image of all 0's at first, loop through all the pixels of the new image, and apply the inverse homography to get a set of corresponding pixels in the original image. If the corresponding point in the original image doesn't fit within the size of the original image, then we throw away that point and move on to the next one in the warped image (this way we can stay within the boundary of the original image when we extract the color).
Note: we must normalize the x and y coordinates yielded by the homography's third value (homography yields three values: wx, wy, and w).
|
|
|
|
|