CS 194-26: Image Manipulation and Computational Photography, Fall 2018
Cody Zeng, CS194-26-AGP
The objective of this project was to use image homographies to warp the projection of images into the perspective of other images, and then to stitch the resulting images together to form a mini-panomarama mosaic.
Homography Matrix Computation
The first part of this project involved computing homography matrices in order to perform homography transformations. For any given homography, we need to find compute values of a 3x3 matrix (let's call this H), like so:
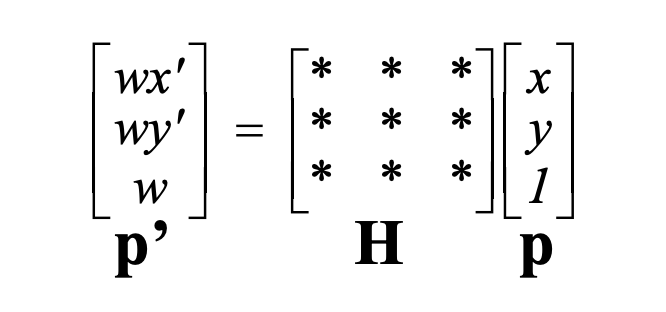
We want H, such that if we multiply a matrix containing x,y coordinate values in one image by H, we get the x,y coorindate values of the resulting image we want the first image to transform to. The bottom right element in H is always 1, so we have 8 unknowns. Thus we need 8 equations, and solve a least-squares system with at least 8 equations, to recover the values of the homography matrix. I created a matrix like so to compute the values:
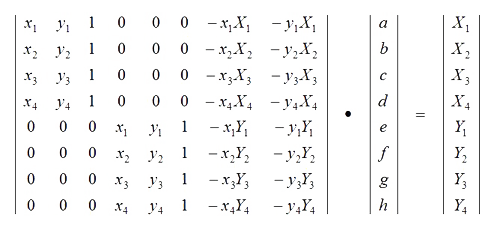
In our case, the lower case x and ys correspond to coordinate values in the original image, and the upper case Xs and Ys correspond to coordinate values in the target image/cooridnate system we want to morph the original image to. We are trying to recover a,b,c,...,h.
Image Rectification
After finding these values of the homographic transformation matrices, the next step was to use these matrices to perform these homographic transformations on images. This was done in order to take images and to warp them into a different perspective, in our case morphing the picture so that the plane is frontal-parallel perspective. This means that the main object appears as if they are right in front of us, not underneath, or to the side.
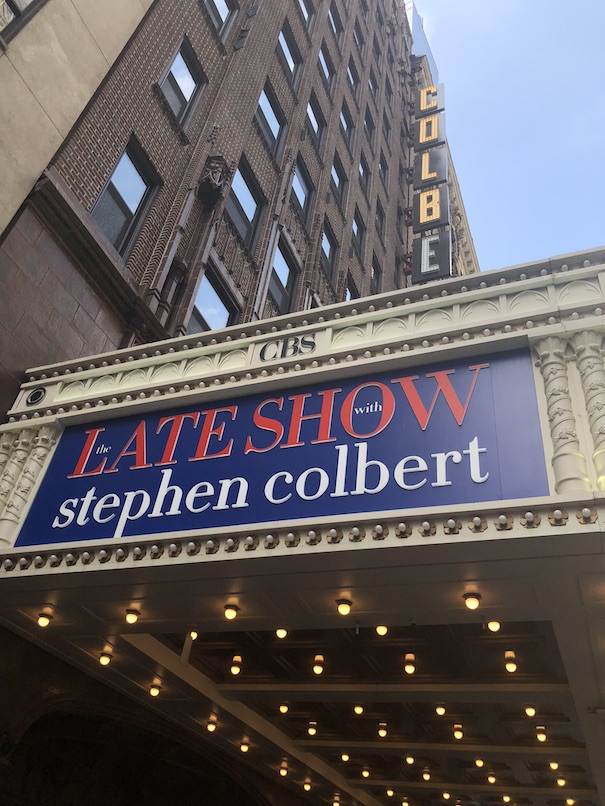
Colbert sign original photo
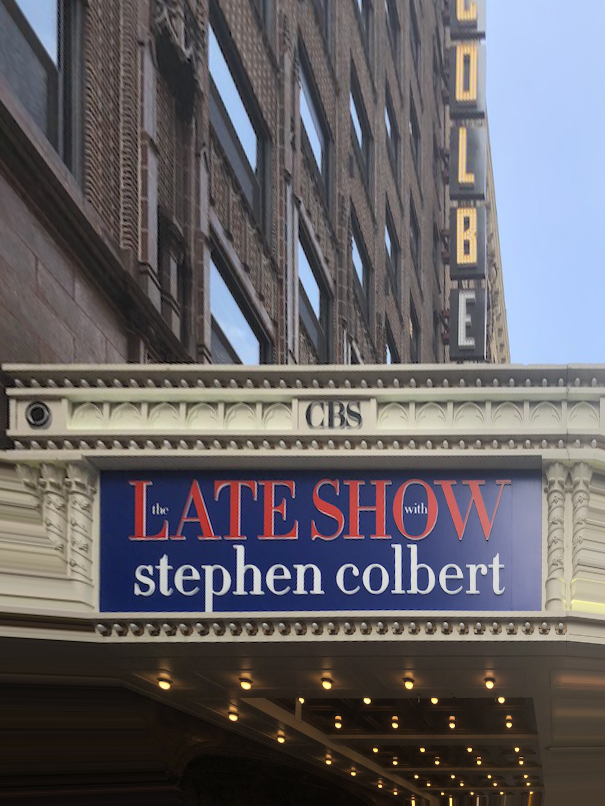
Colbert sign rectified photo

Kellog's NYC storefront original photo

Kellog's rectified photo
Image Mosaic Rectification and Stitching
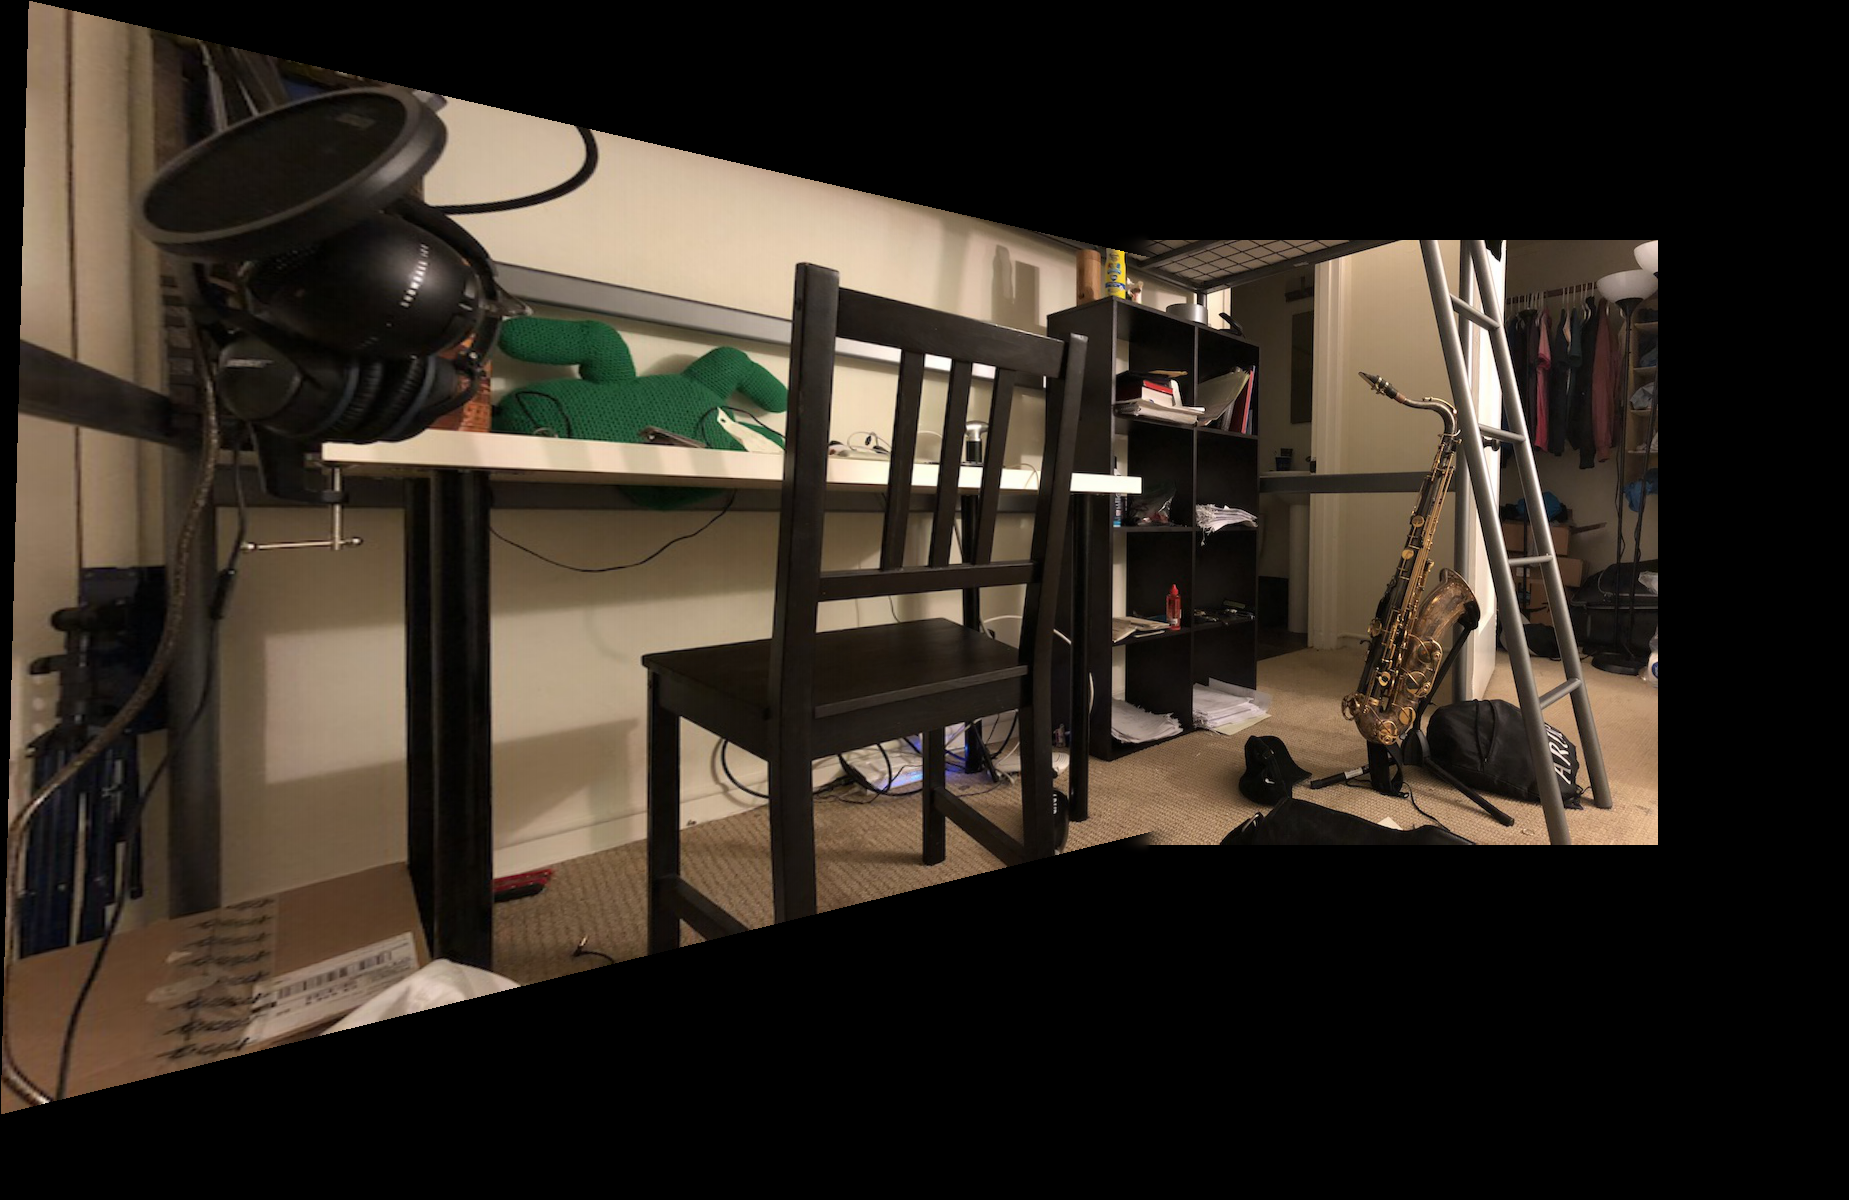
The second part of the project was taking multiple images shot of the same scene (with the camera simply being rotated and taking pictures while being rotated), warping one image such that this warped image now has the same perspective of the other image (meaning we warp it into the first image's projection), and then stitching the two images together. To change the perspective of the other image, we use homography transformations that were used above. I simply marked features on both images, and these served as correspondent points The two images were stitched together based on feature selection of both images, and lining up the images based so the features on both images line up on top of each other. When stacking images on top of each other at first, I naively just added half the pixel value of the first image to half the pixel value of the second image for regions where there were overlap. Finally, since homographies change the actual shape of the image (meaning it's not the same rectagular size as before), it was necessary to first compute the resulting coordinates for the four corners of the input image we wanted to morph, and then enlarge the picture so that the resulting picture after morphing could fit entirely in this new picture. Additionally, the image that wasn't warped needed to be translated to the final location in the mosaic due to the fact that with the offset, the images are now shifted.
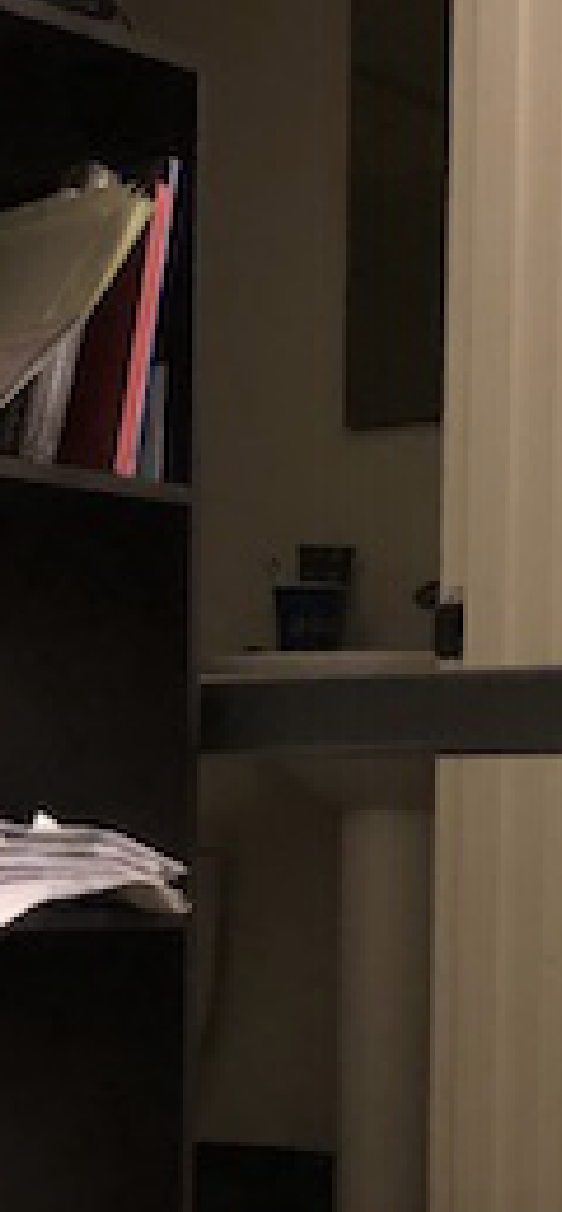
Room
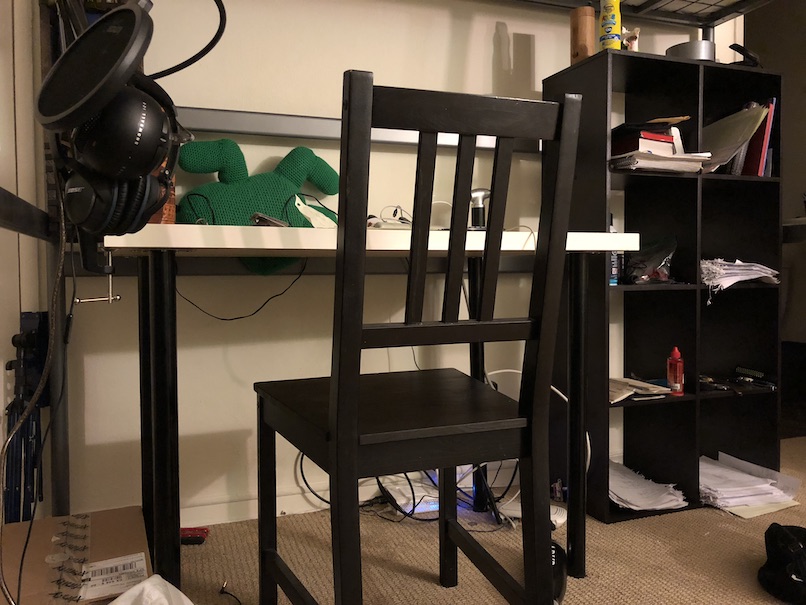
First image of my room

Second image of my room
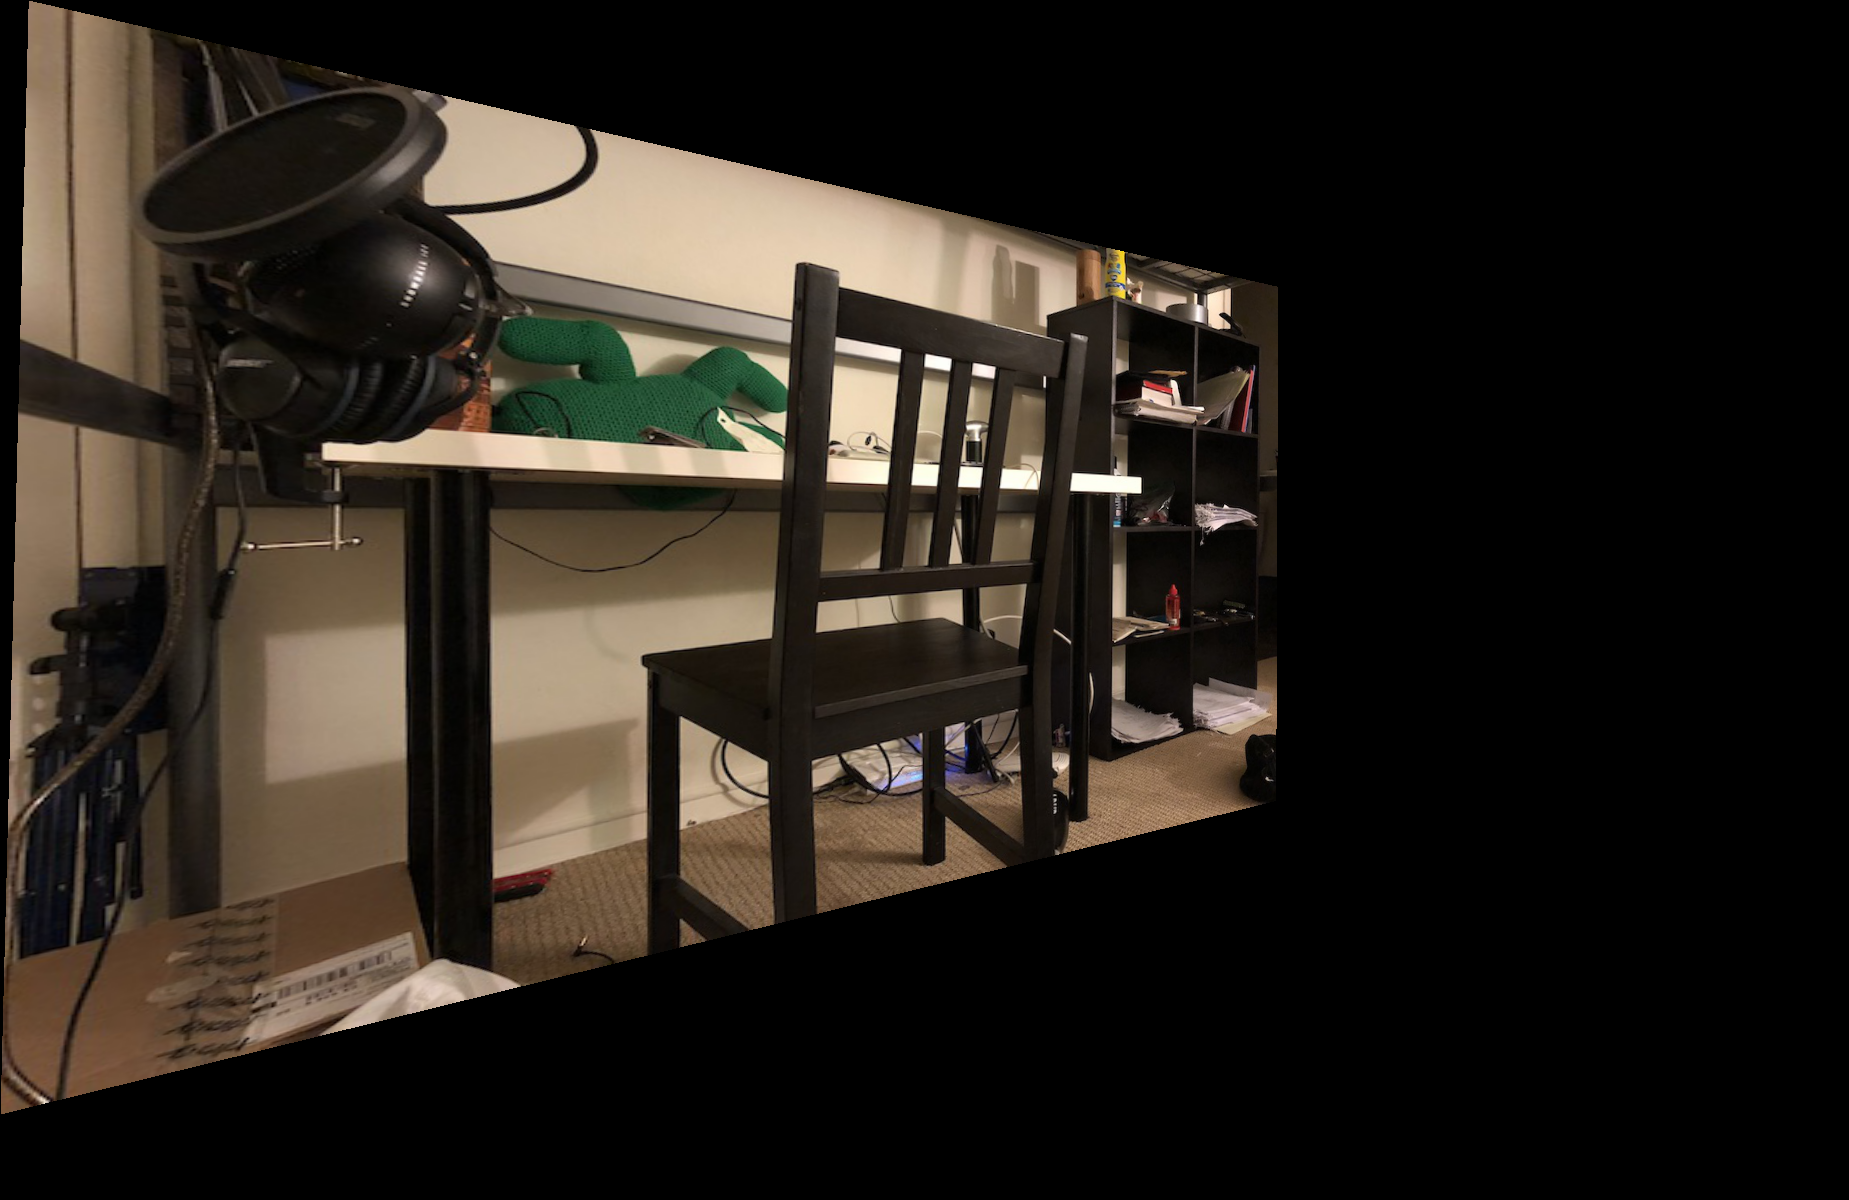
Rectified first image
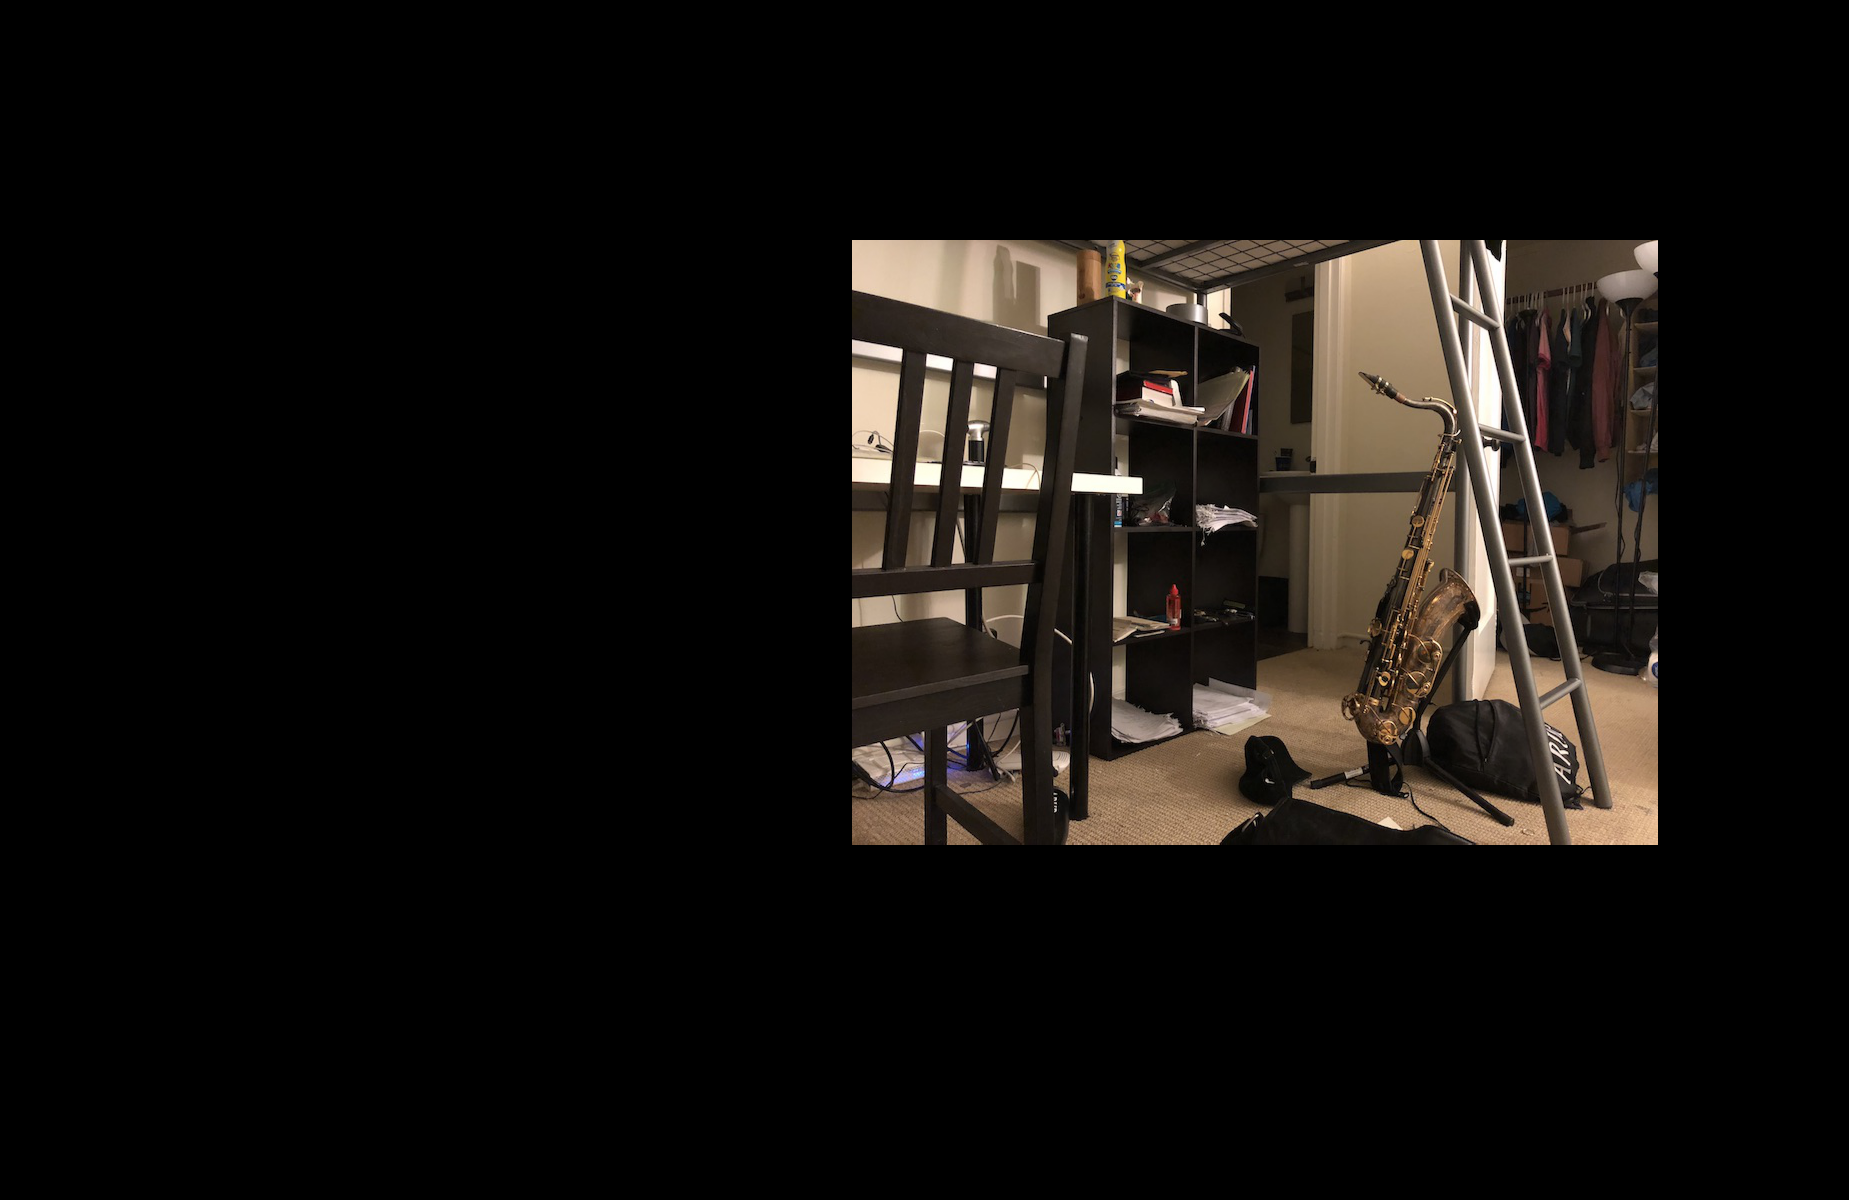
Rectified second image
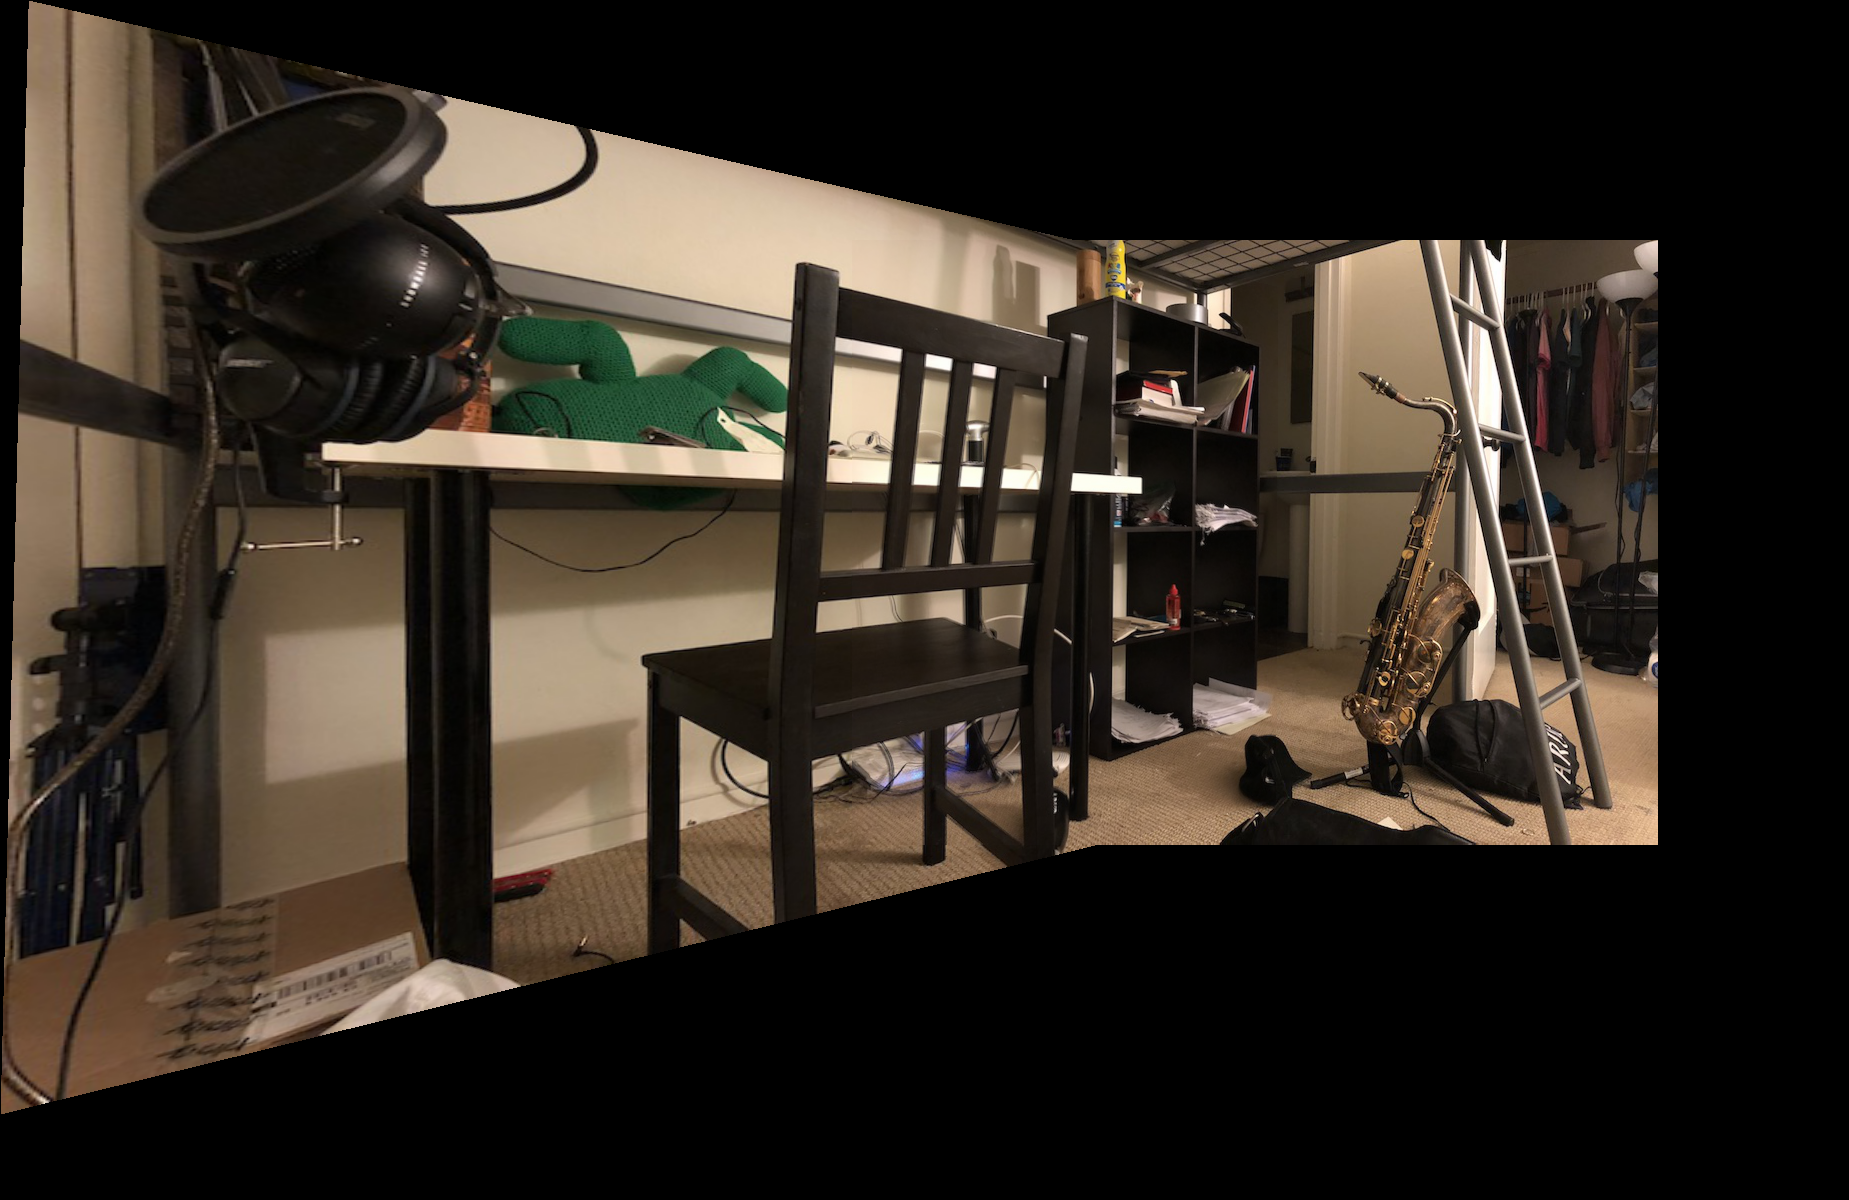
Both images combined
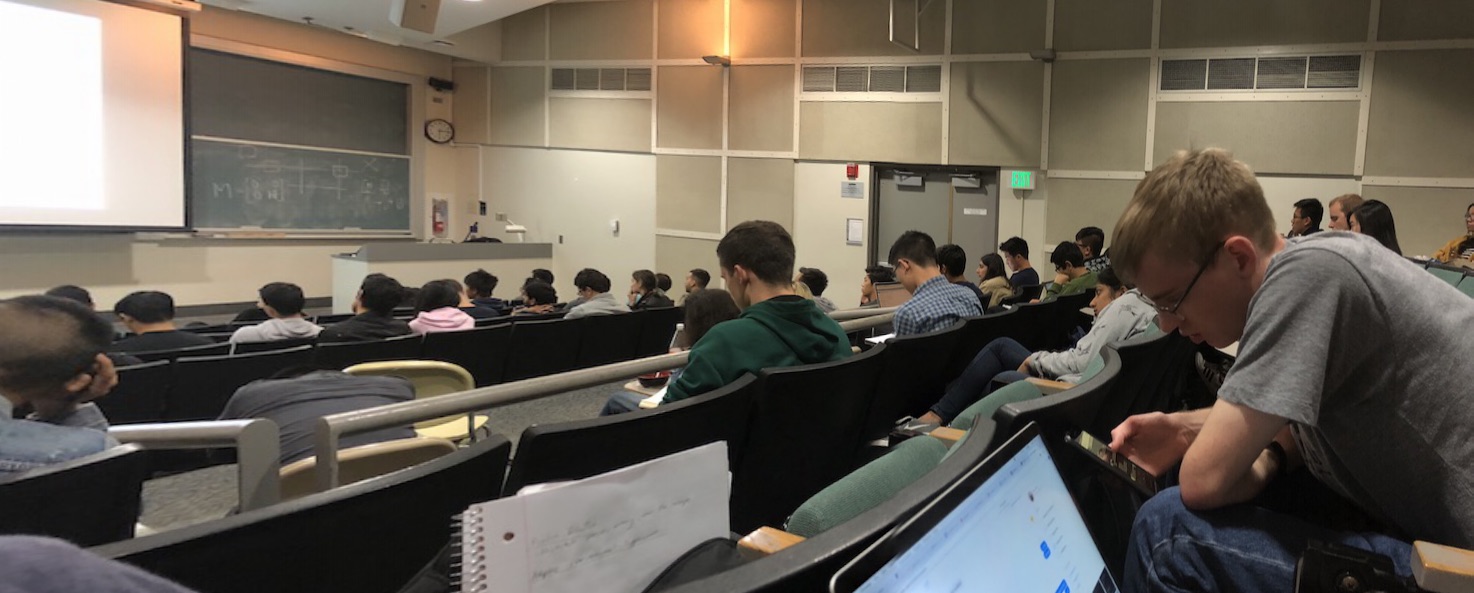
Lecture
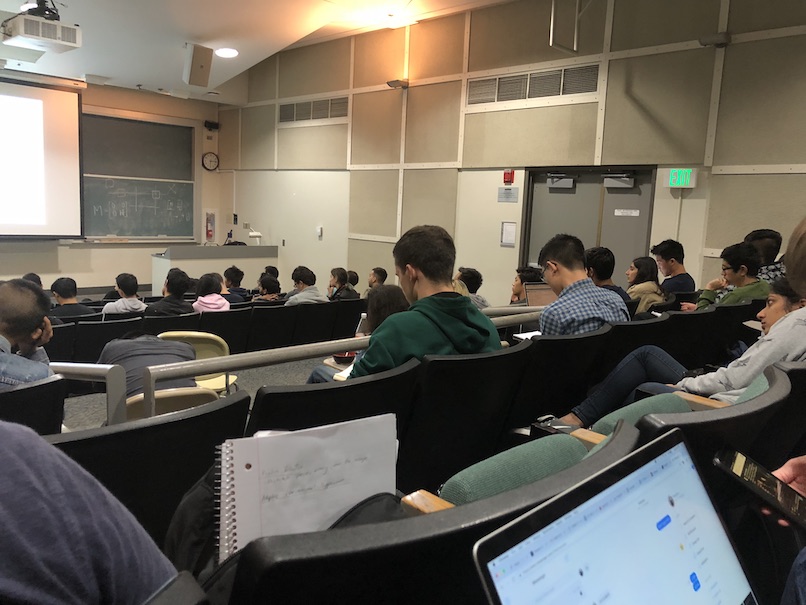
First image of lecture
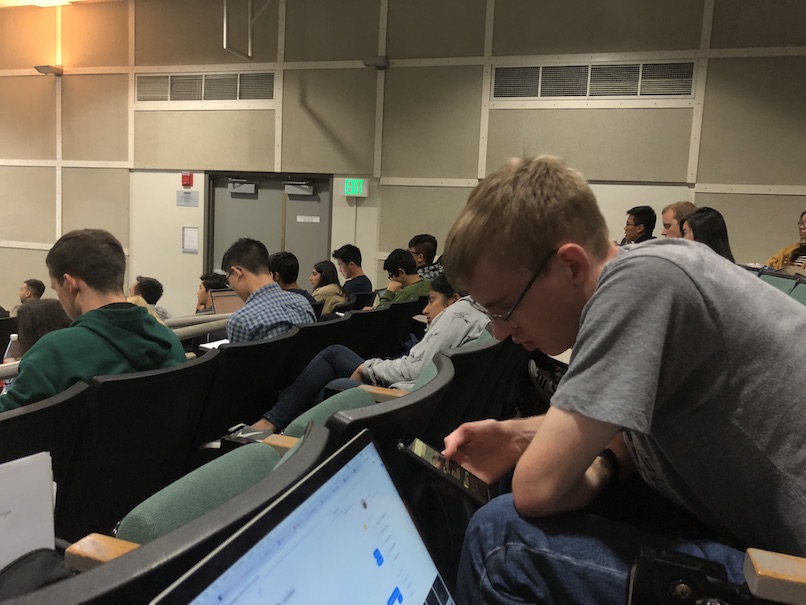
Second image of lecture

Rectified first image
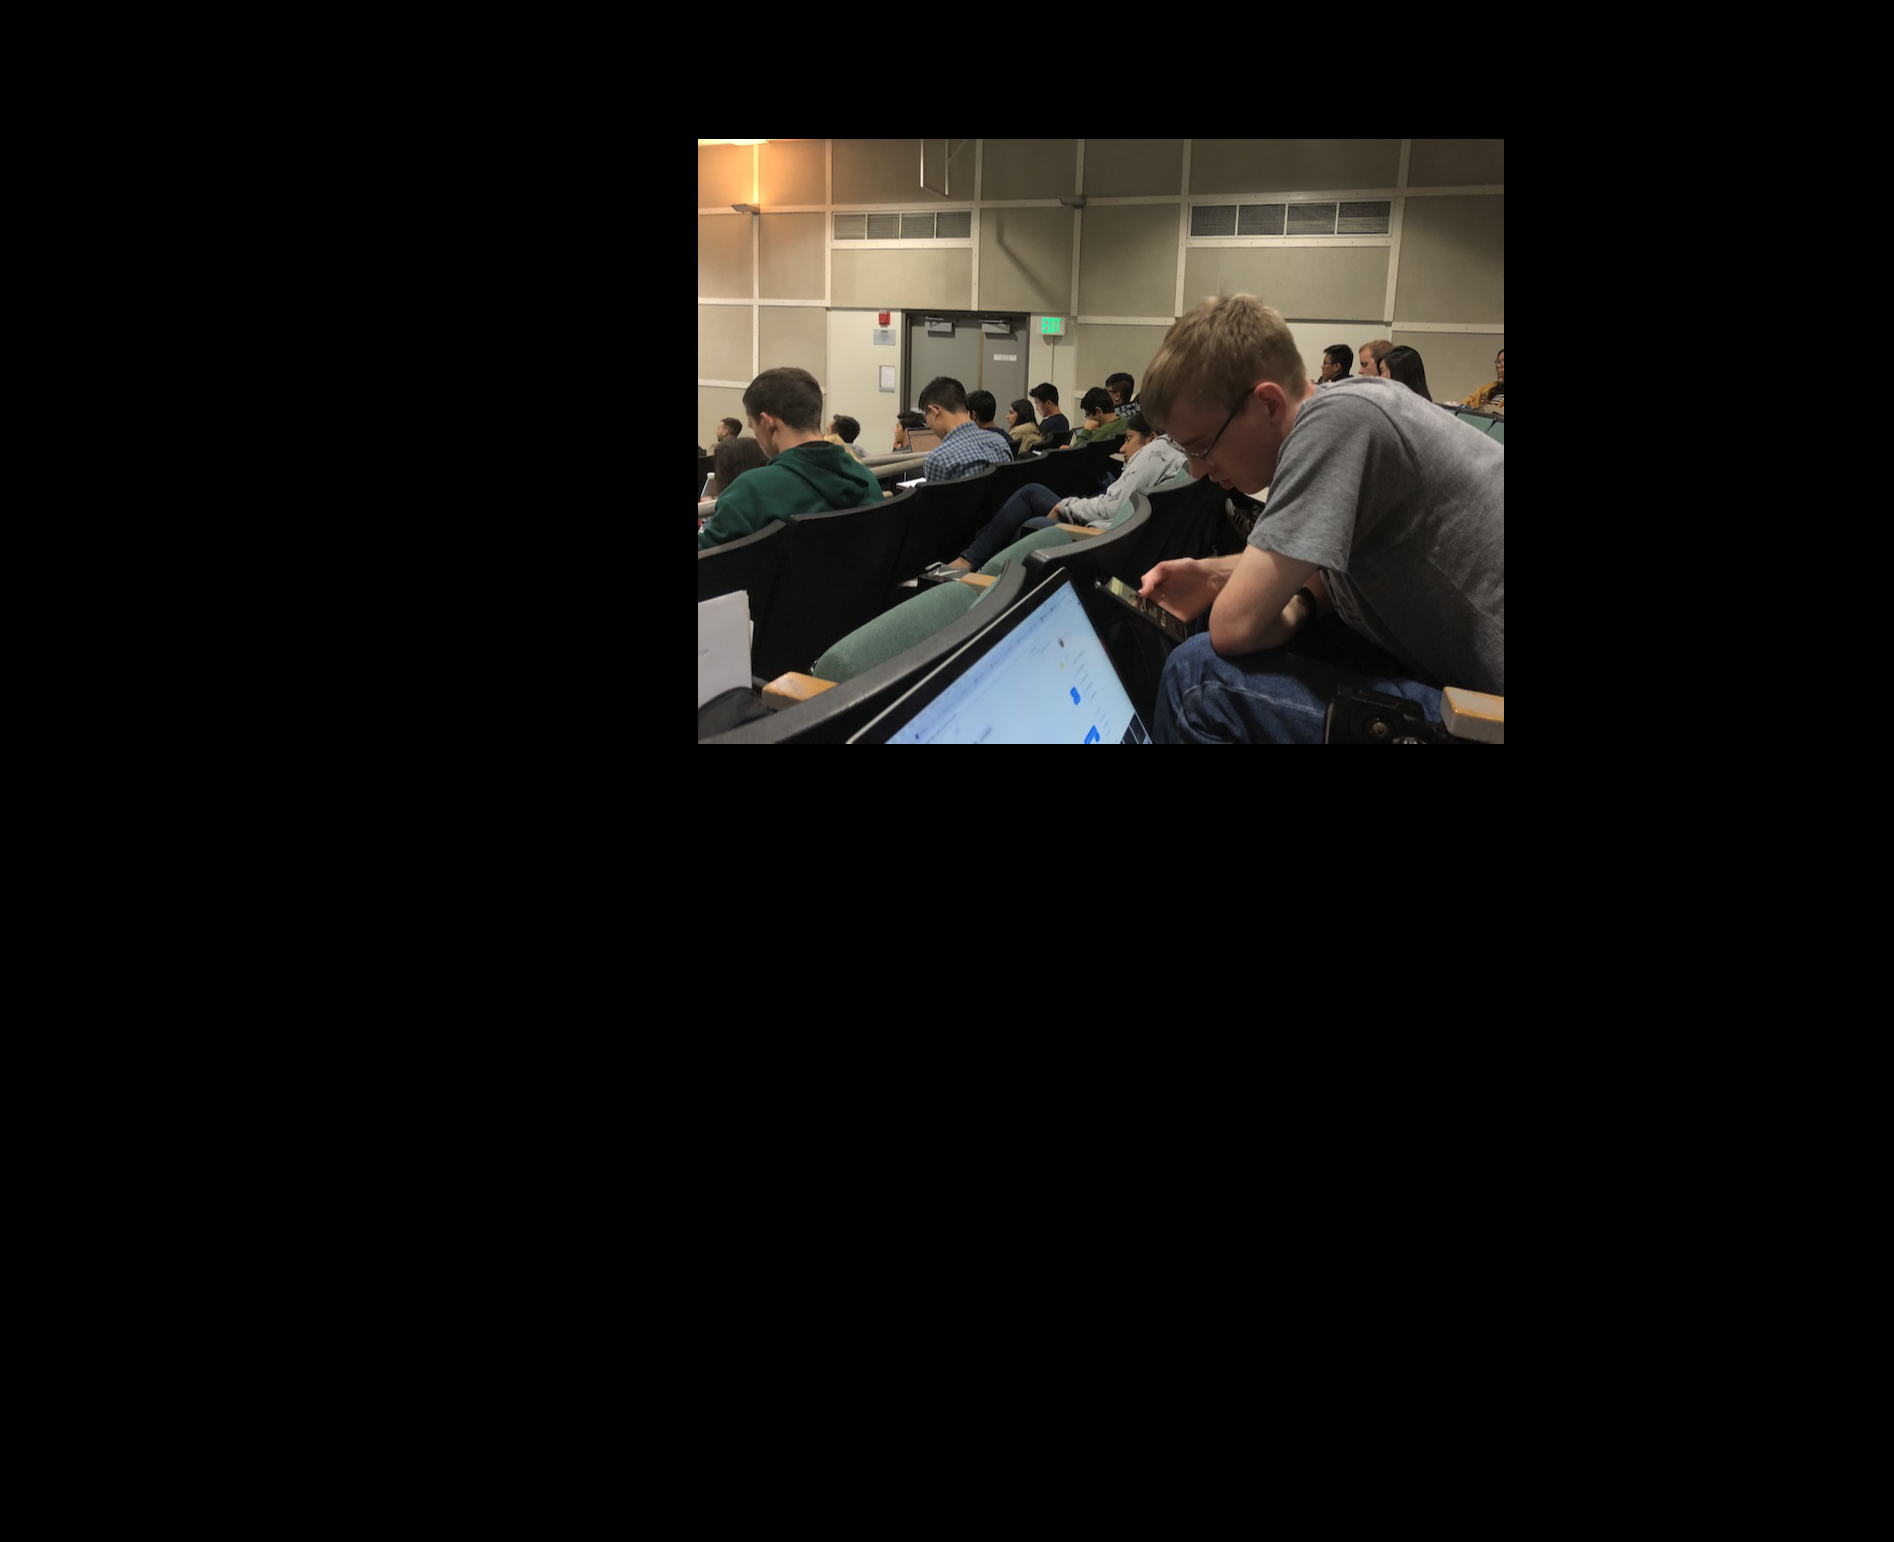
Rectified second image

Both images combined. Notice the blurriness in the combined region. This can be fixed!
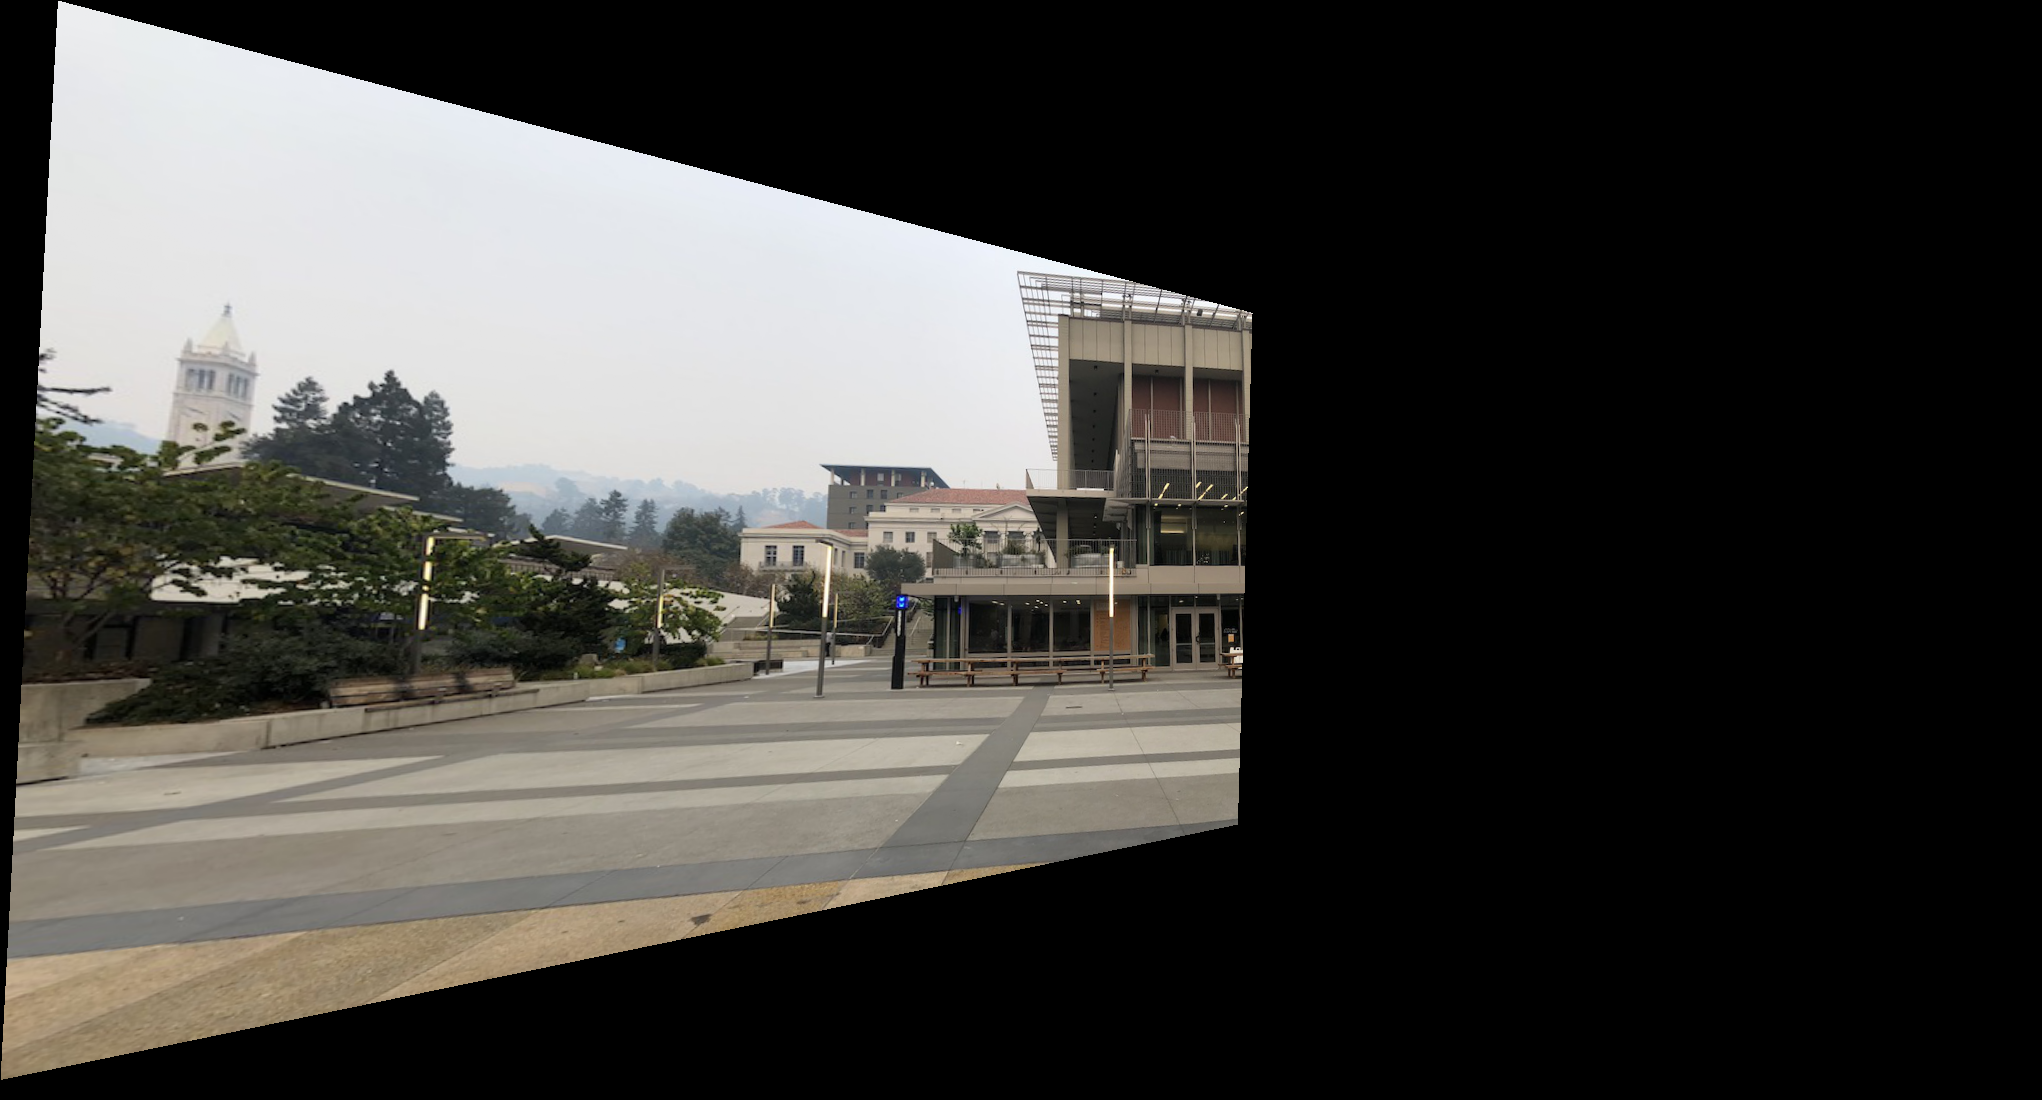
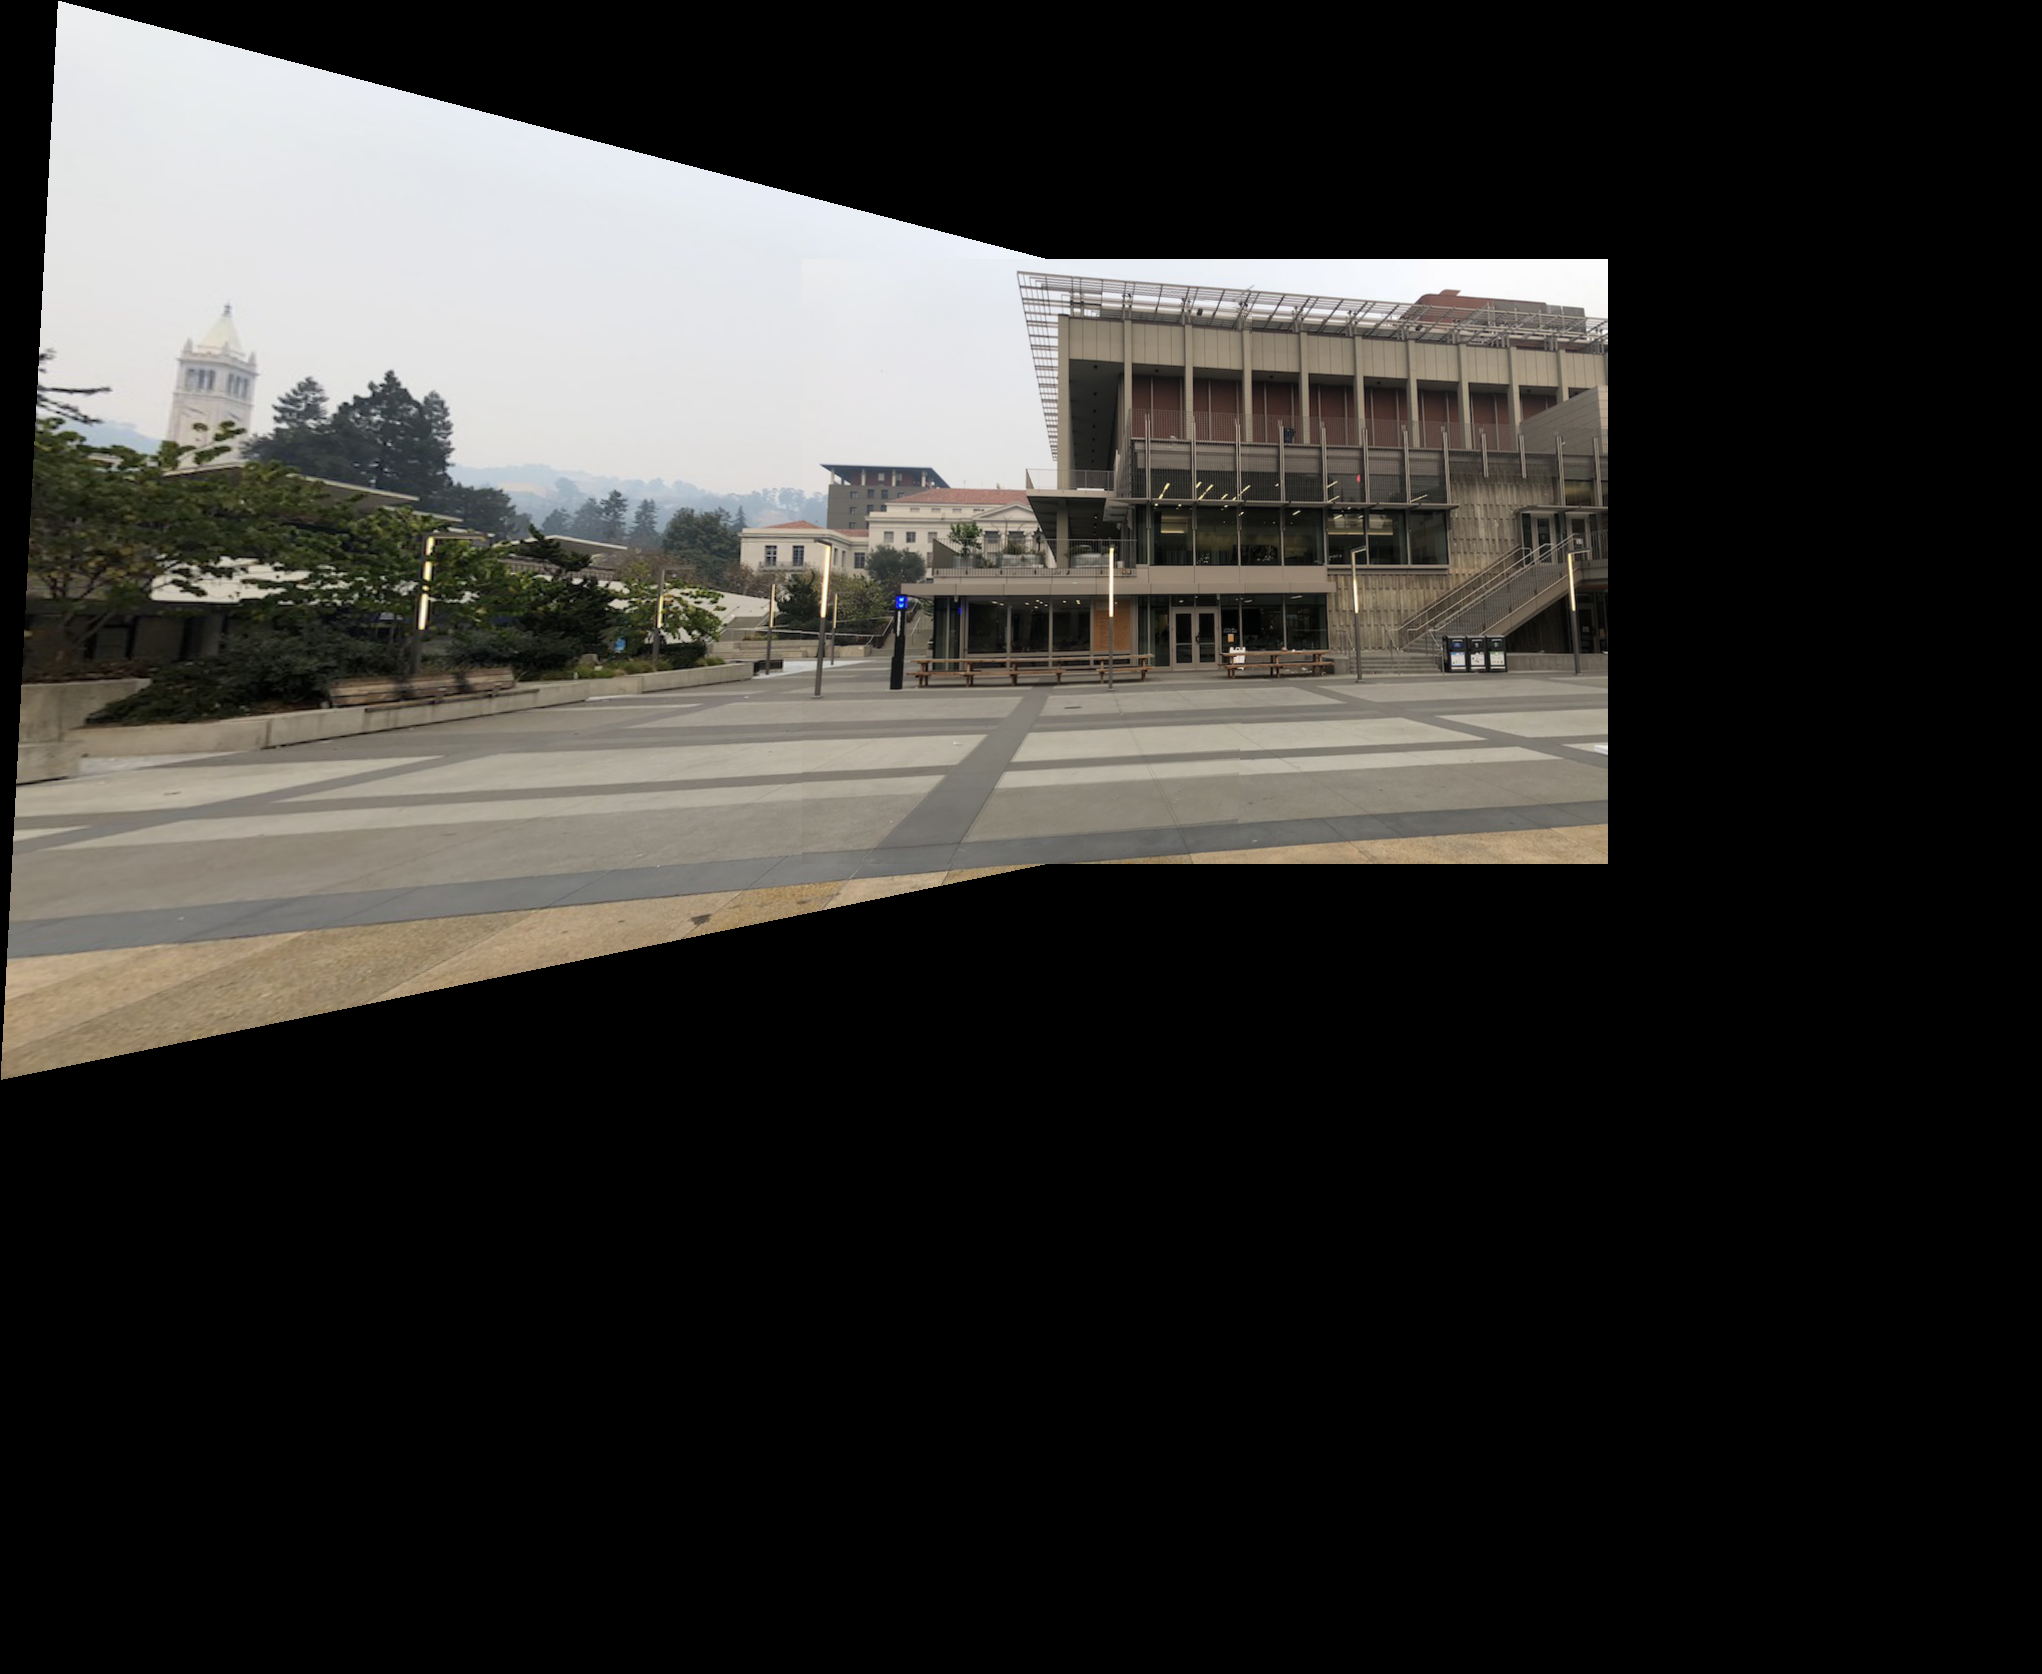
Lower Sproul
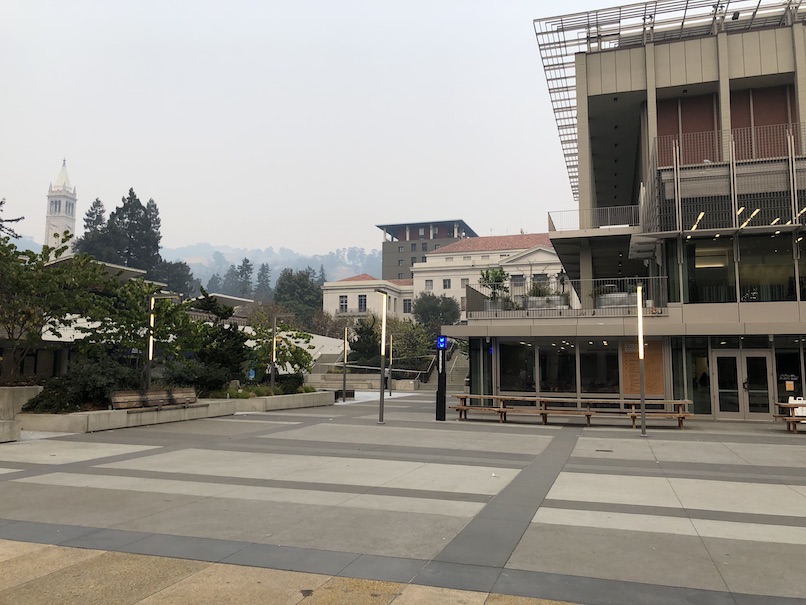
First image of Lower Sproul
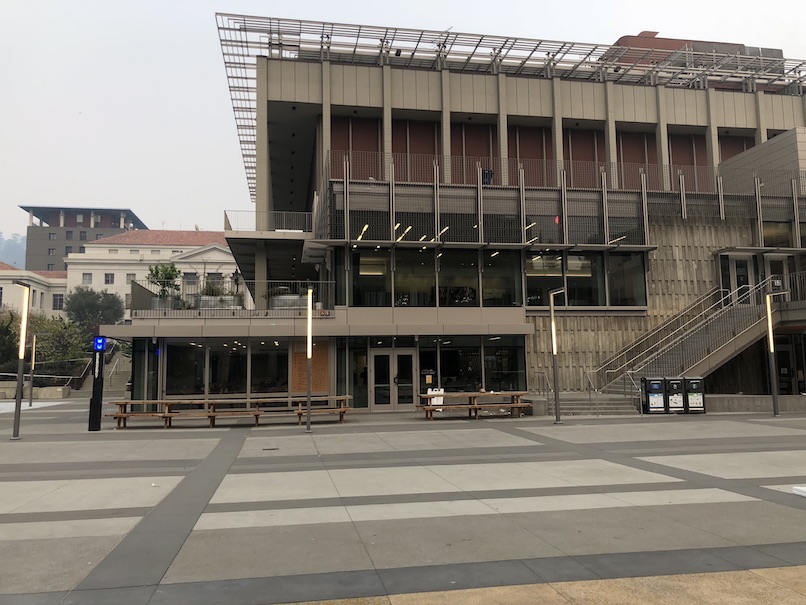
Second image of Lower Sproul
Rectified first image
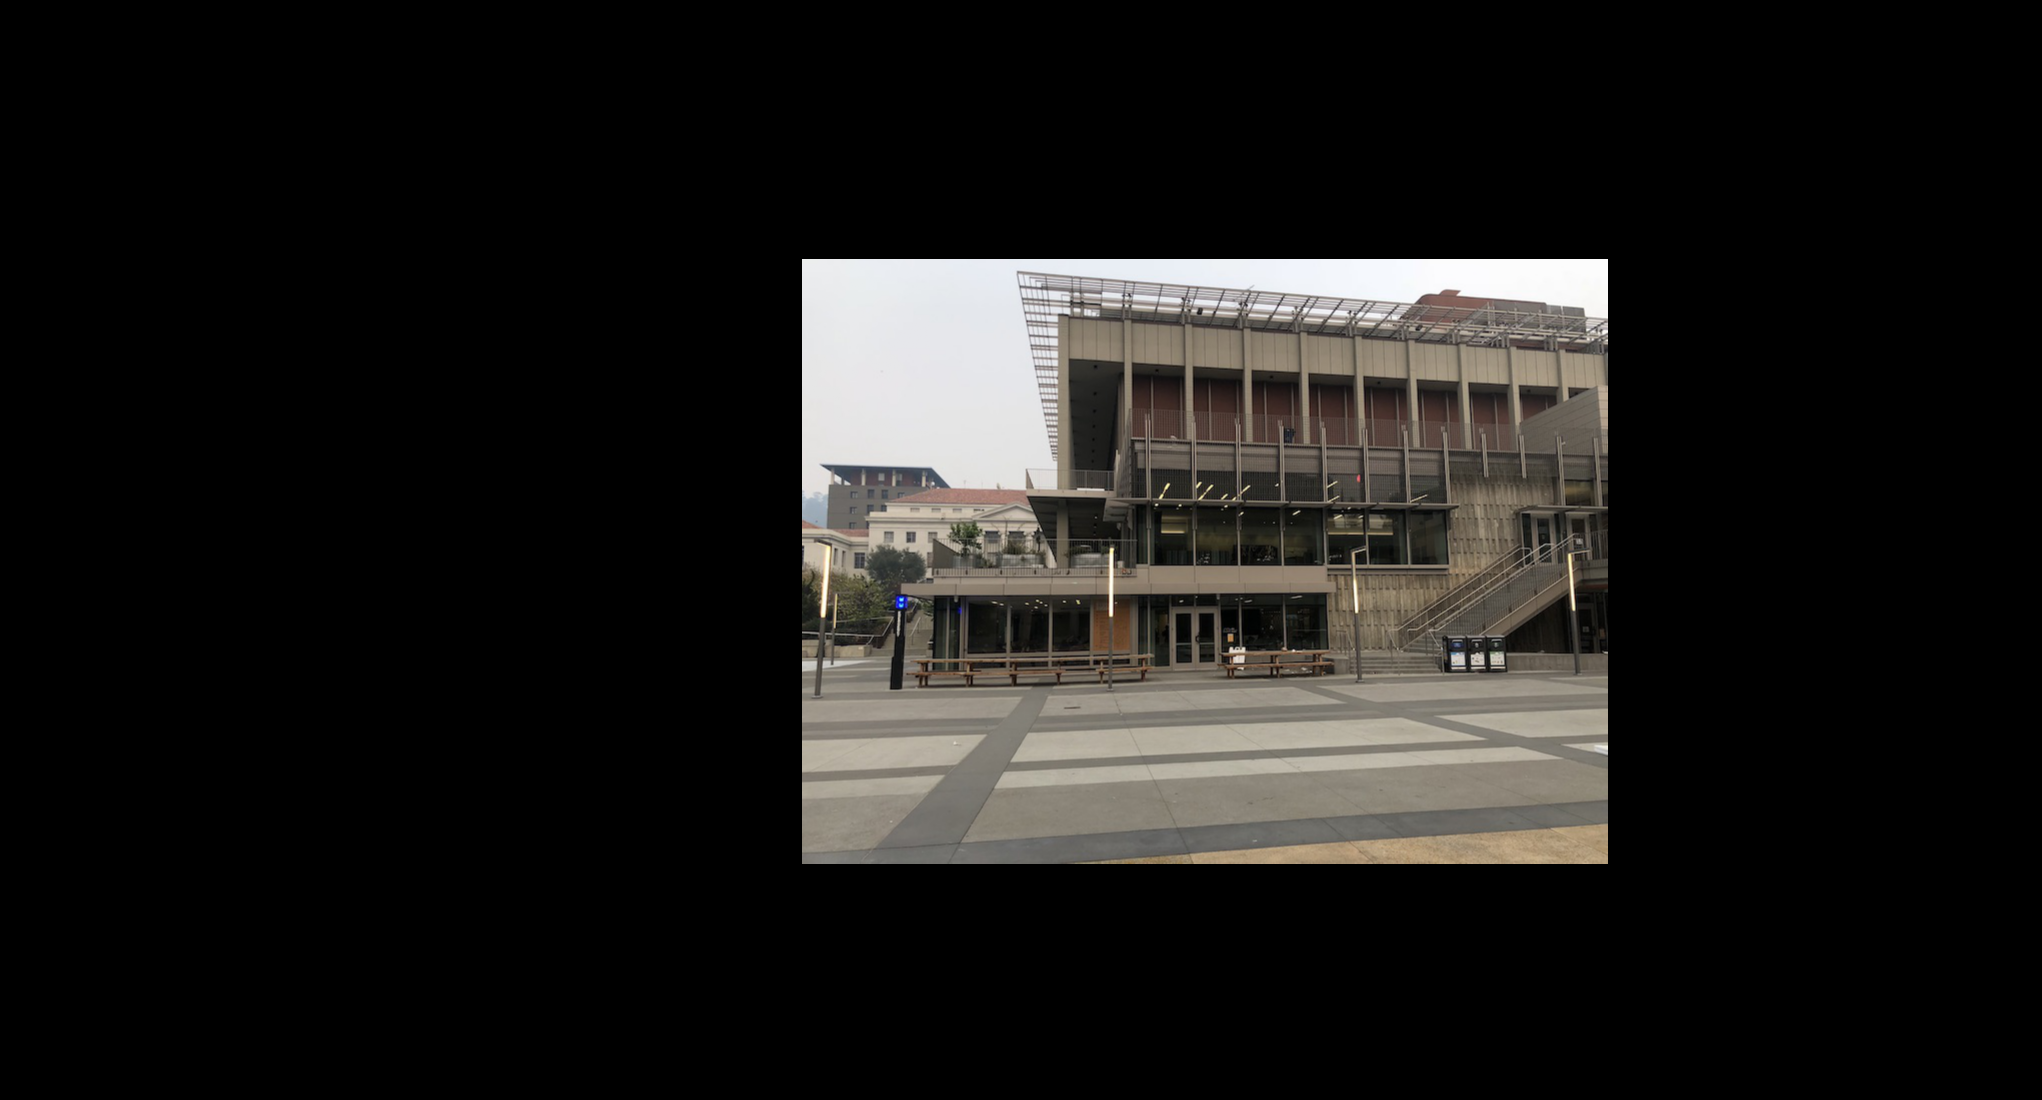
Rectified second image
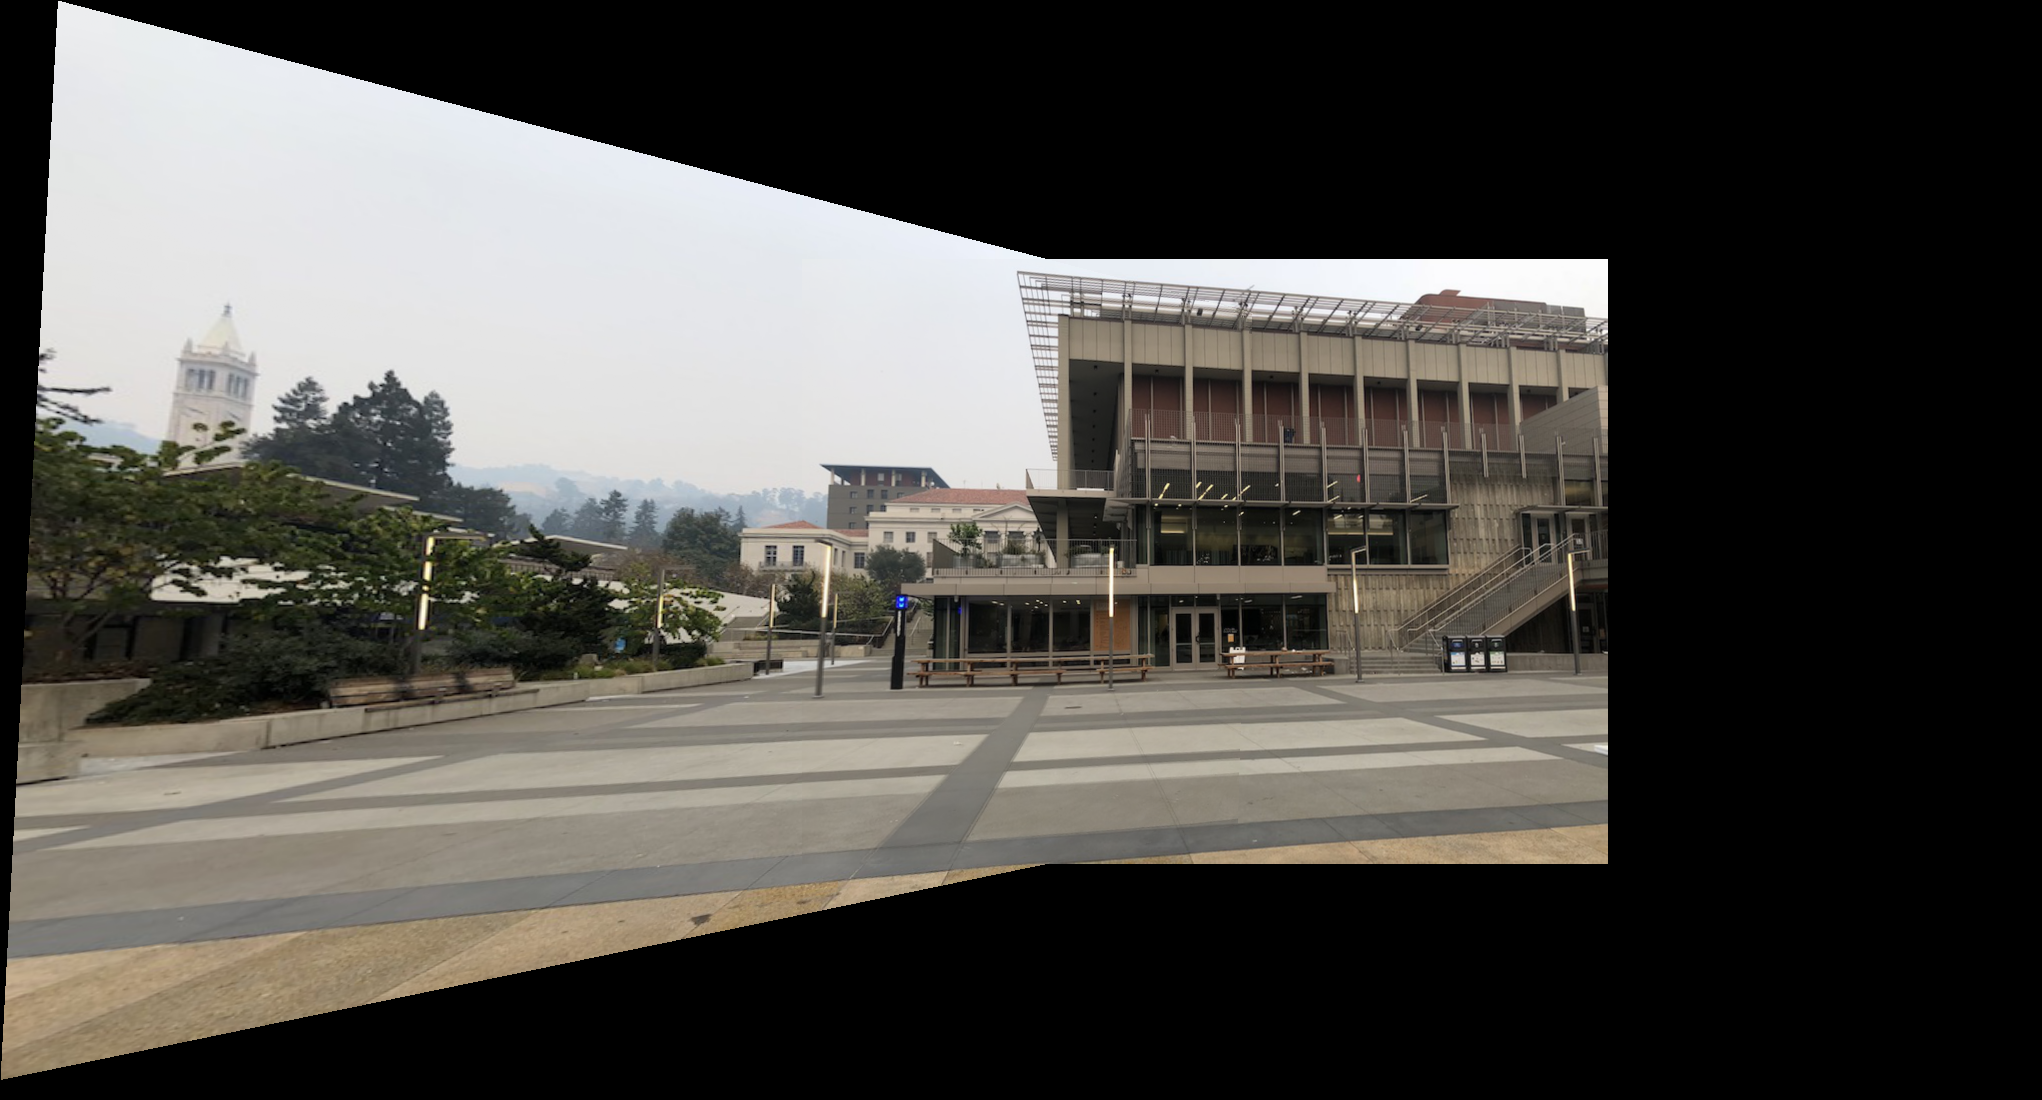
Both images combined.
Blending
In order to smoothly transition from one image to another, blending was conducted on all 3 sets of images. Linear blending (alpha blending), in addition to Laplacian Stack Blending were both used. Laplacian stack blending really helped with eliminating the boundary between the images. Both linear and Laplacian stack blending helped with making the images in the overlap areas less blurry.
Room

Alpha blending of room
Laplacian blending of room
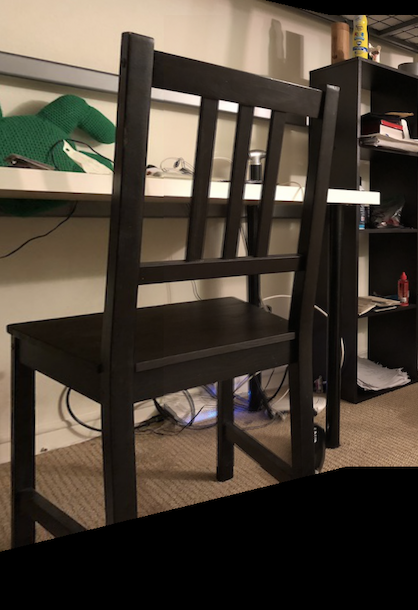
Chair without blending. It's a little blurry
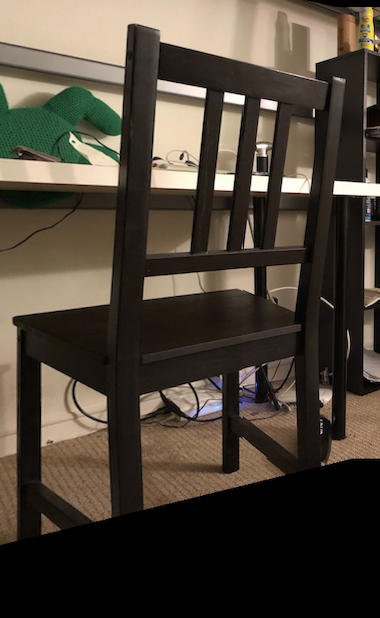
Chair with alpha blending. It's more clear!
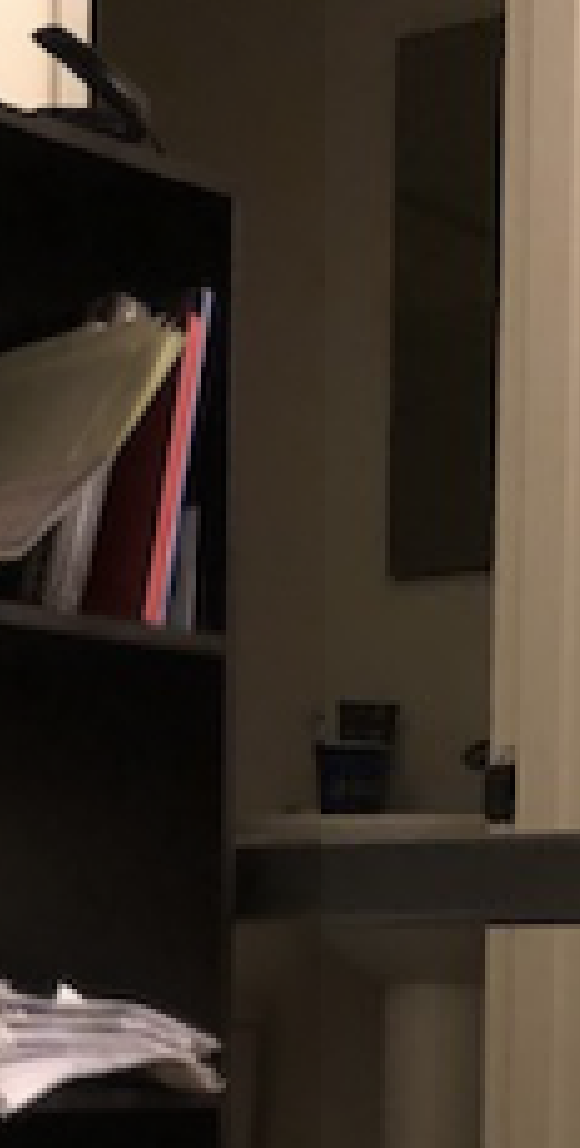
Border betweem both images with alpha blending. You can still see the border
Border betweem both images with laplacian stack blending. The border has been blended in well!
Lecture

Alpha blending of lecture
Laplacian blending of lecture. Notice how Laplican blending has removed the blurriness!
Sproul Plaza
Alpha blending of Sproul
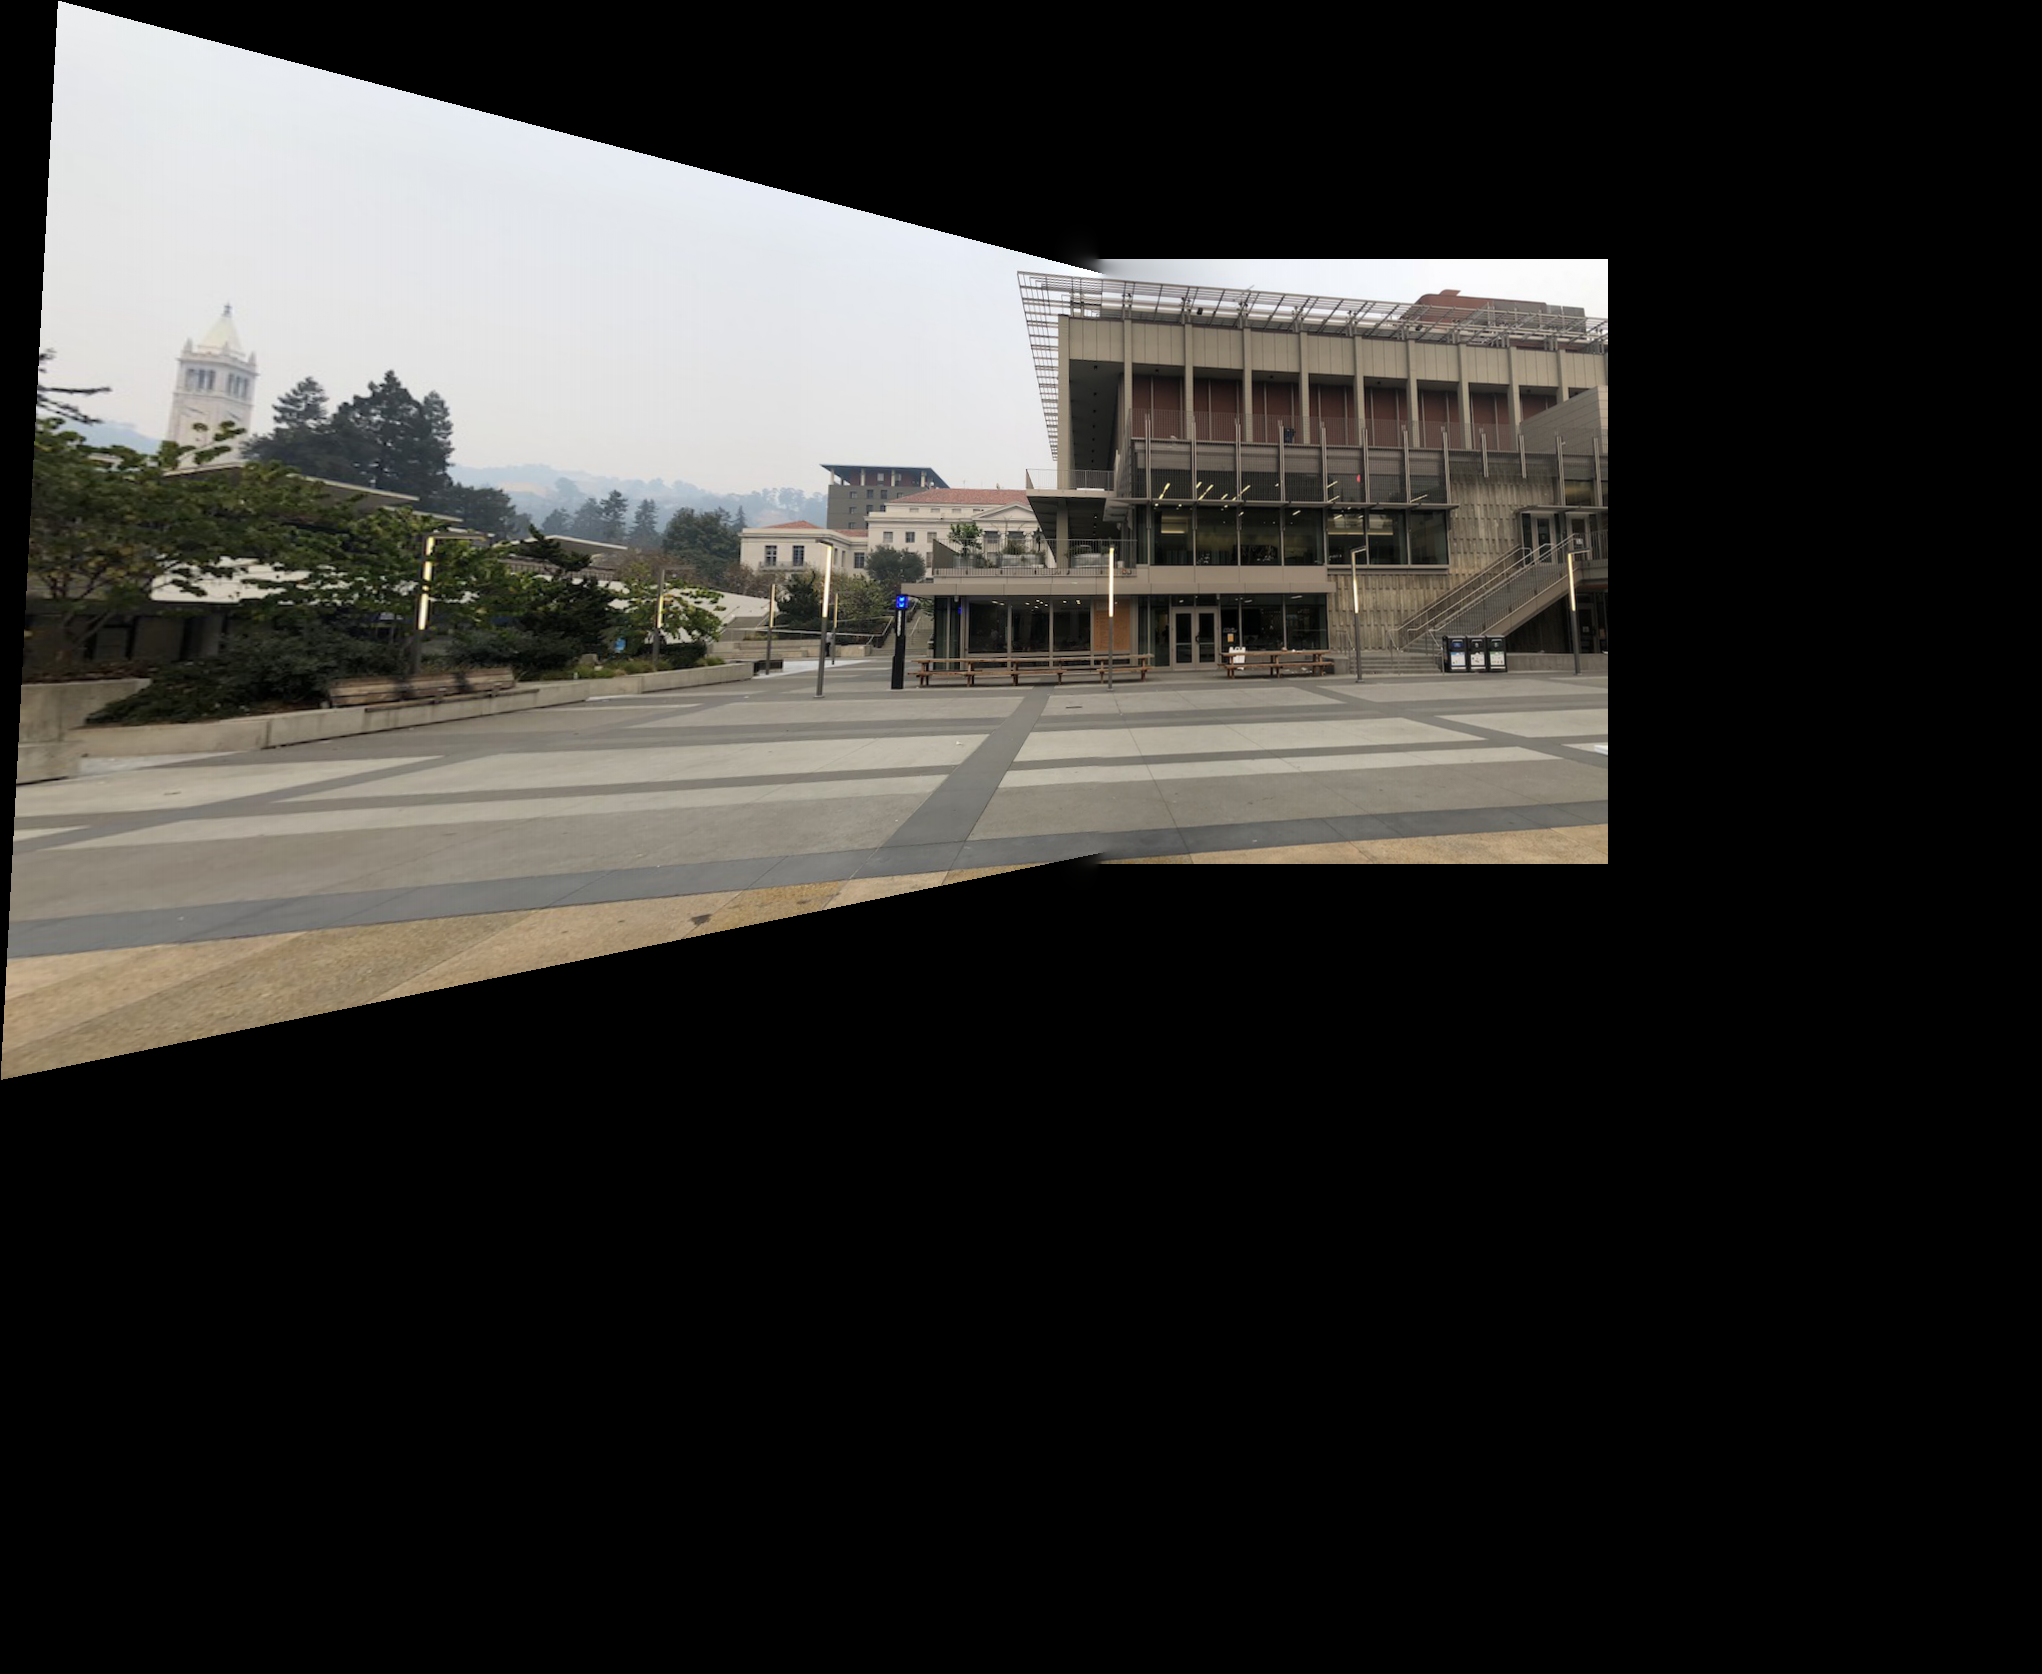
Laplacian blending of Sproul

Ground with no blending
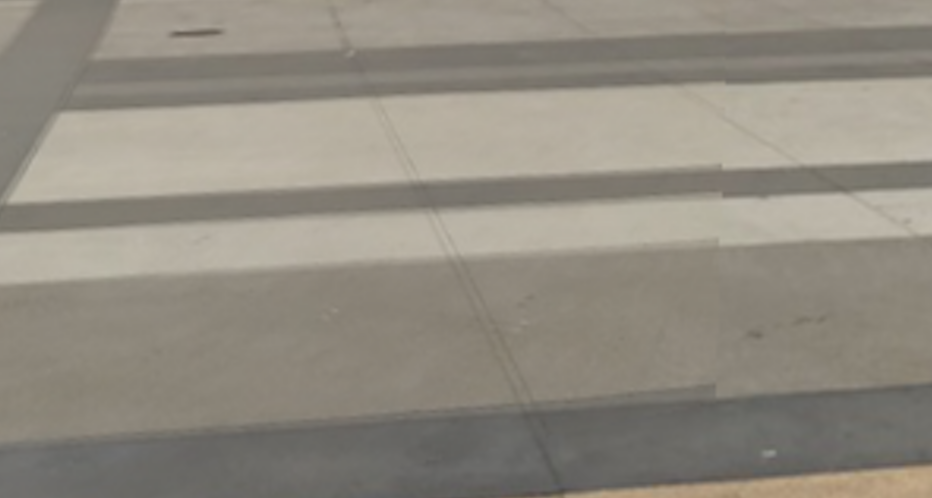
Ground with alpha blending. You can still see the boundaries!
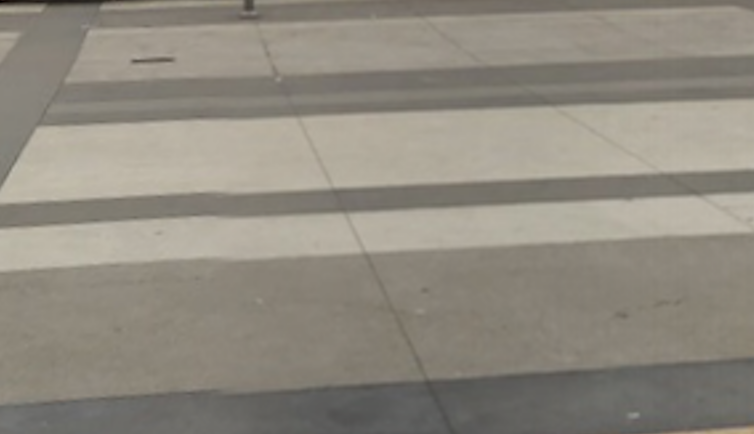
Ground with Laplacian stack blending. The boundaries have blended in well!
Summary
All-in-all, it was extremely eye-opening to learn how a perspective in an image can be completely changed simply with a 3x3 homography matrix. Additionally, solving for the 8 unknowns with least-squares was intriguing as well, as by adding more information (via adding more correspondent points), and by making the system overdetermined, we could in-effect make the homography more accurate. Additionally, using blending techniques that I implemented in Project 3 was interesting, since it let me know that these projects are definitely not isolated, and that one project's methods and implementation can definitely be applied to other projects.
The objective of this project was to use image homographies to warp the projection of images into the perspective of other images, and then to stitch the resulting images together to form a mini-panomarama mosaic.
Homography Matrix Computation
The first part of this project involved computing homography matrices in order to perform homography transformations. For any given homography, we need to find compute values of a 3x3 matrix (let's call this H), like so:
We want H, such that if we multiply a matrix containing x,y coordinate values in one image by H, we get the x,y coorindate values of the resulting image we want the first image to transform to. The bottom right element in H is always 1, so we have 8 unknowns. Thus we need 8 equations, and solve a least-squares system with at least 8 equations, to recover the values of the homography matrix. I created a matrix like so to compute the values:
In our case, the lower case x and ys correspond to coordinate values in the original image, and the upper case Xs and Ys correspond to coordinate values in the target image/cooridnate system we want to morph the original image to. We are trying to recover a,b,c,...,h.
Image Rectification
After finding these values of the homographic transformation matrices, the next step was to use these matrices to perform these homographic transformations on images. This was done in order to take images and to warp them into a different perspective, in our case morphing the picture so that the plane is frontal-parallel perspective. This means that the main object appears as if they are right in front of us, not underneath, or to the side.
|
|
|
|
|
|
Image Mosaic Rectification and Stitching
The second part of the project was taking multiple images shot of the same scene (with the camera simply being rotated and taking pictures while being rotated), warping one image such that this warped image now has the same perspective of the other image (meaning we warp it into the first image's projection), and then stitching the two images together. To change the perspective of the other image, we use homography transformations that were used above. I simply marked features on both images, and these served as correspondent points The two images were stitched together based on feature selection of both images, and lining up the images based so the features on both images line up on top of each other. When stacking images on top of each other at first, I naively just added half the pixel value of the first image to half the pixel value of the second image for regions where there were overlap. Finally, since homographies change the actual shape of the image (meaning it's not the same rectagular size as before), it was necessary to first compute the resulting coordinates for the four corners of the input image we wanted to morph, and then enlarge the picture so that the resulting picture after morphing could fit entirely in this new picture. Additionally, the image that wasn't warped needed to be translated to the final location in the mosaic due to the fact that with the offset, the images are now shifted.
Room
|
|
|
|
|
|
|
|
Lecture
|
|
|
|
|
|
|
|
Lower Sproul
|
|
|
|
|
|
|
|
Blending
In order to smoothly transition from one image to another, blending was conducted on all 3 sets of images. Linear blending (alpha blending), in addition to Laplacian Stack Blending were both used. Laplacian stack blending really helped with eliminating the boundary between the images. Both linear and Laplacian stack blending helped with making the images in the overlap areas less blurry.
Room
|
|
|
|
|
|
|
|
|
Lecture
|
|
|
|
Sproul Plaza
|
|
|
|
|
|
|
Summary
All-in-all, it was extremely eye-opening to learn how a perspective in an image can be completely changed simply with a 3x3 homography matrix. Additionally, solving for the 8 unknowns with least-squares was intriguing as well, as by adding more information (via adding more correspondent points), and by making the system overdetermined, we could in-effect make the homography more accurate. Additionally, using blending techniques that I implemented in Project 3 was interesting, since it let me know that these projects are definitely not isolated, and that one project's methods and implementation can definitely be applied to other projects.