CS194-26 Project 6A - MAGE WARPING and MOSAICING
Parsa Fereydouni - cs194-26-agy
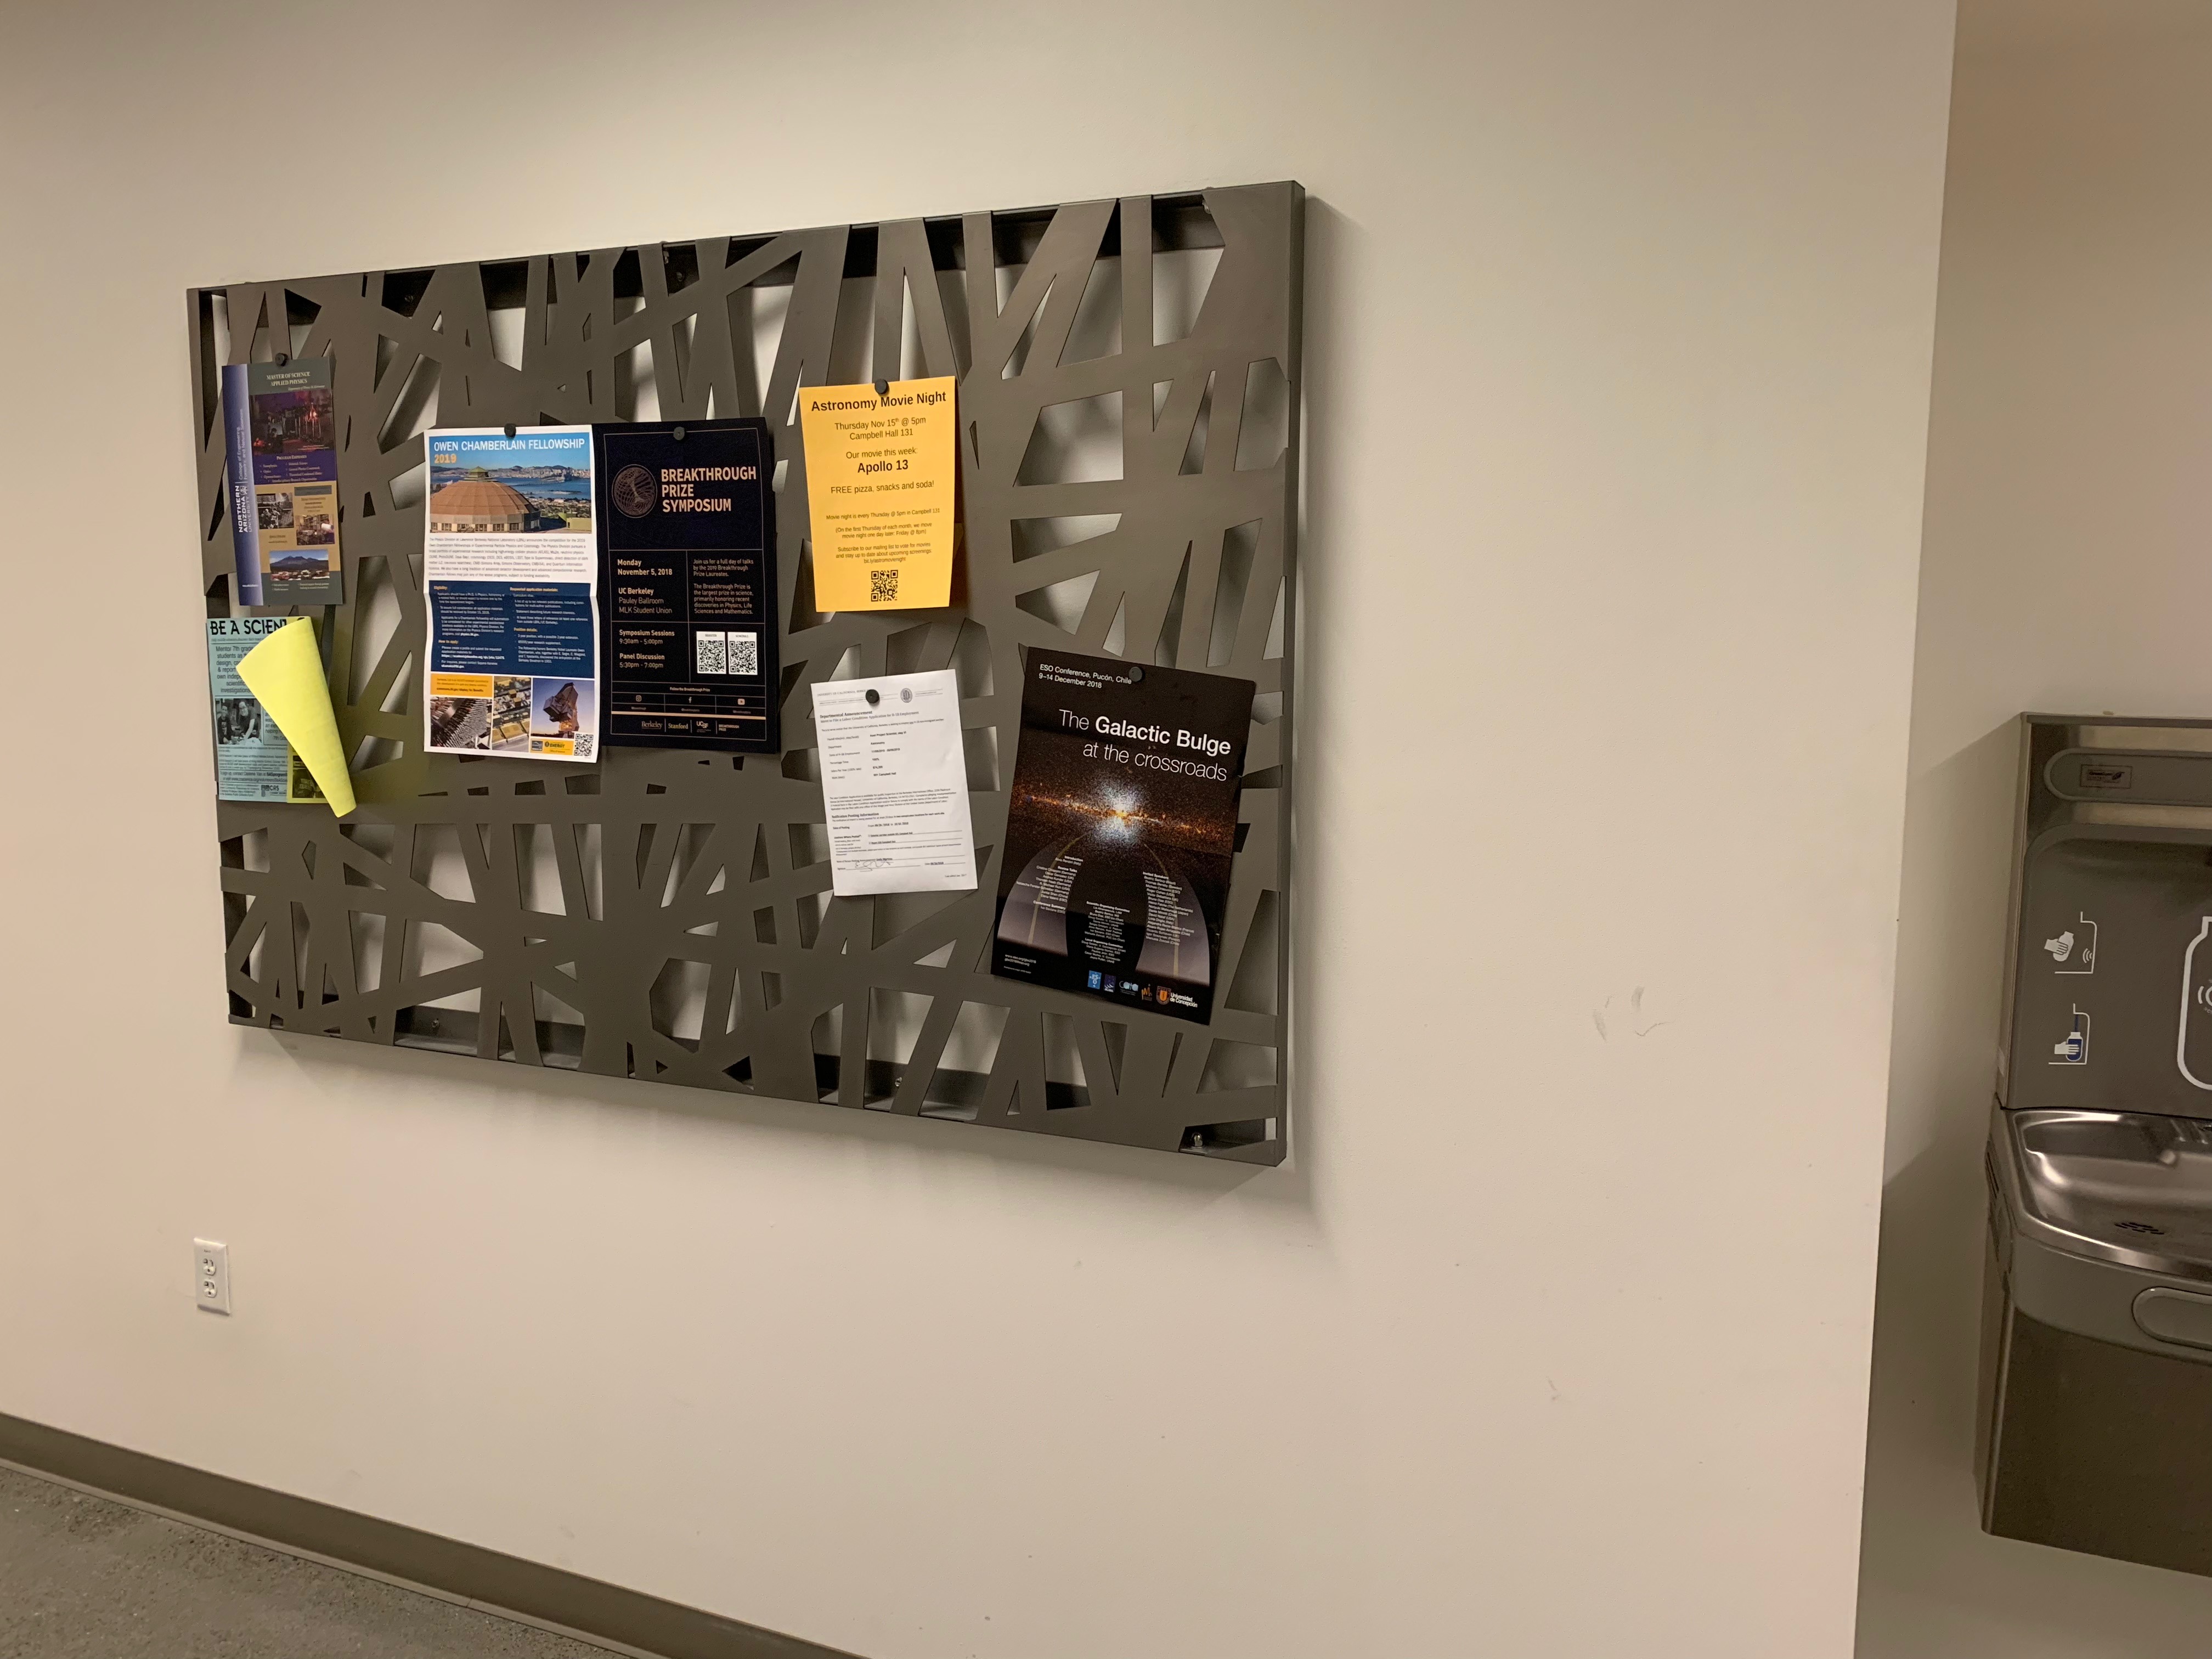
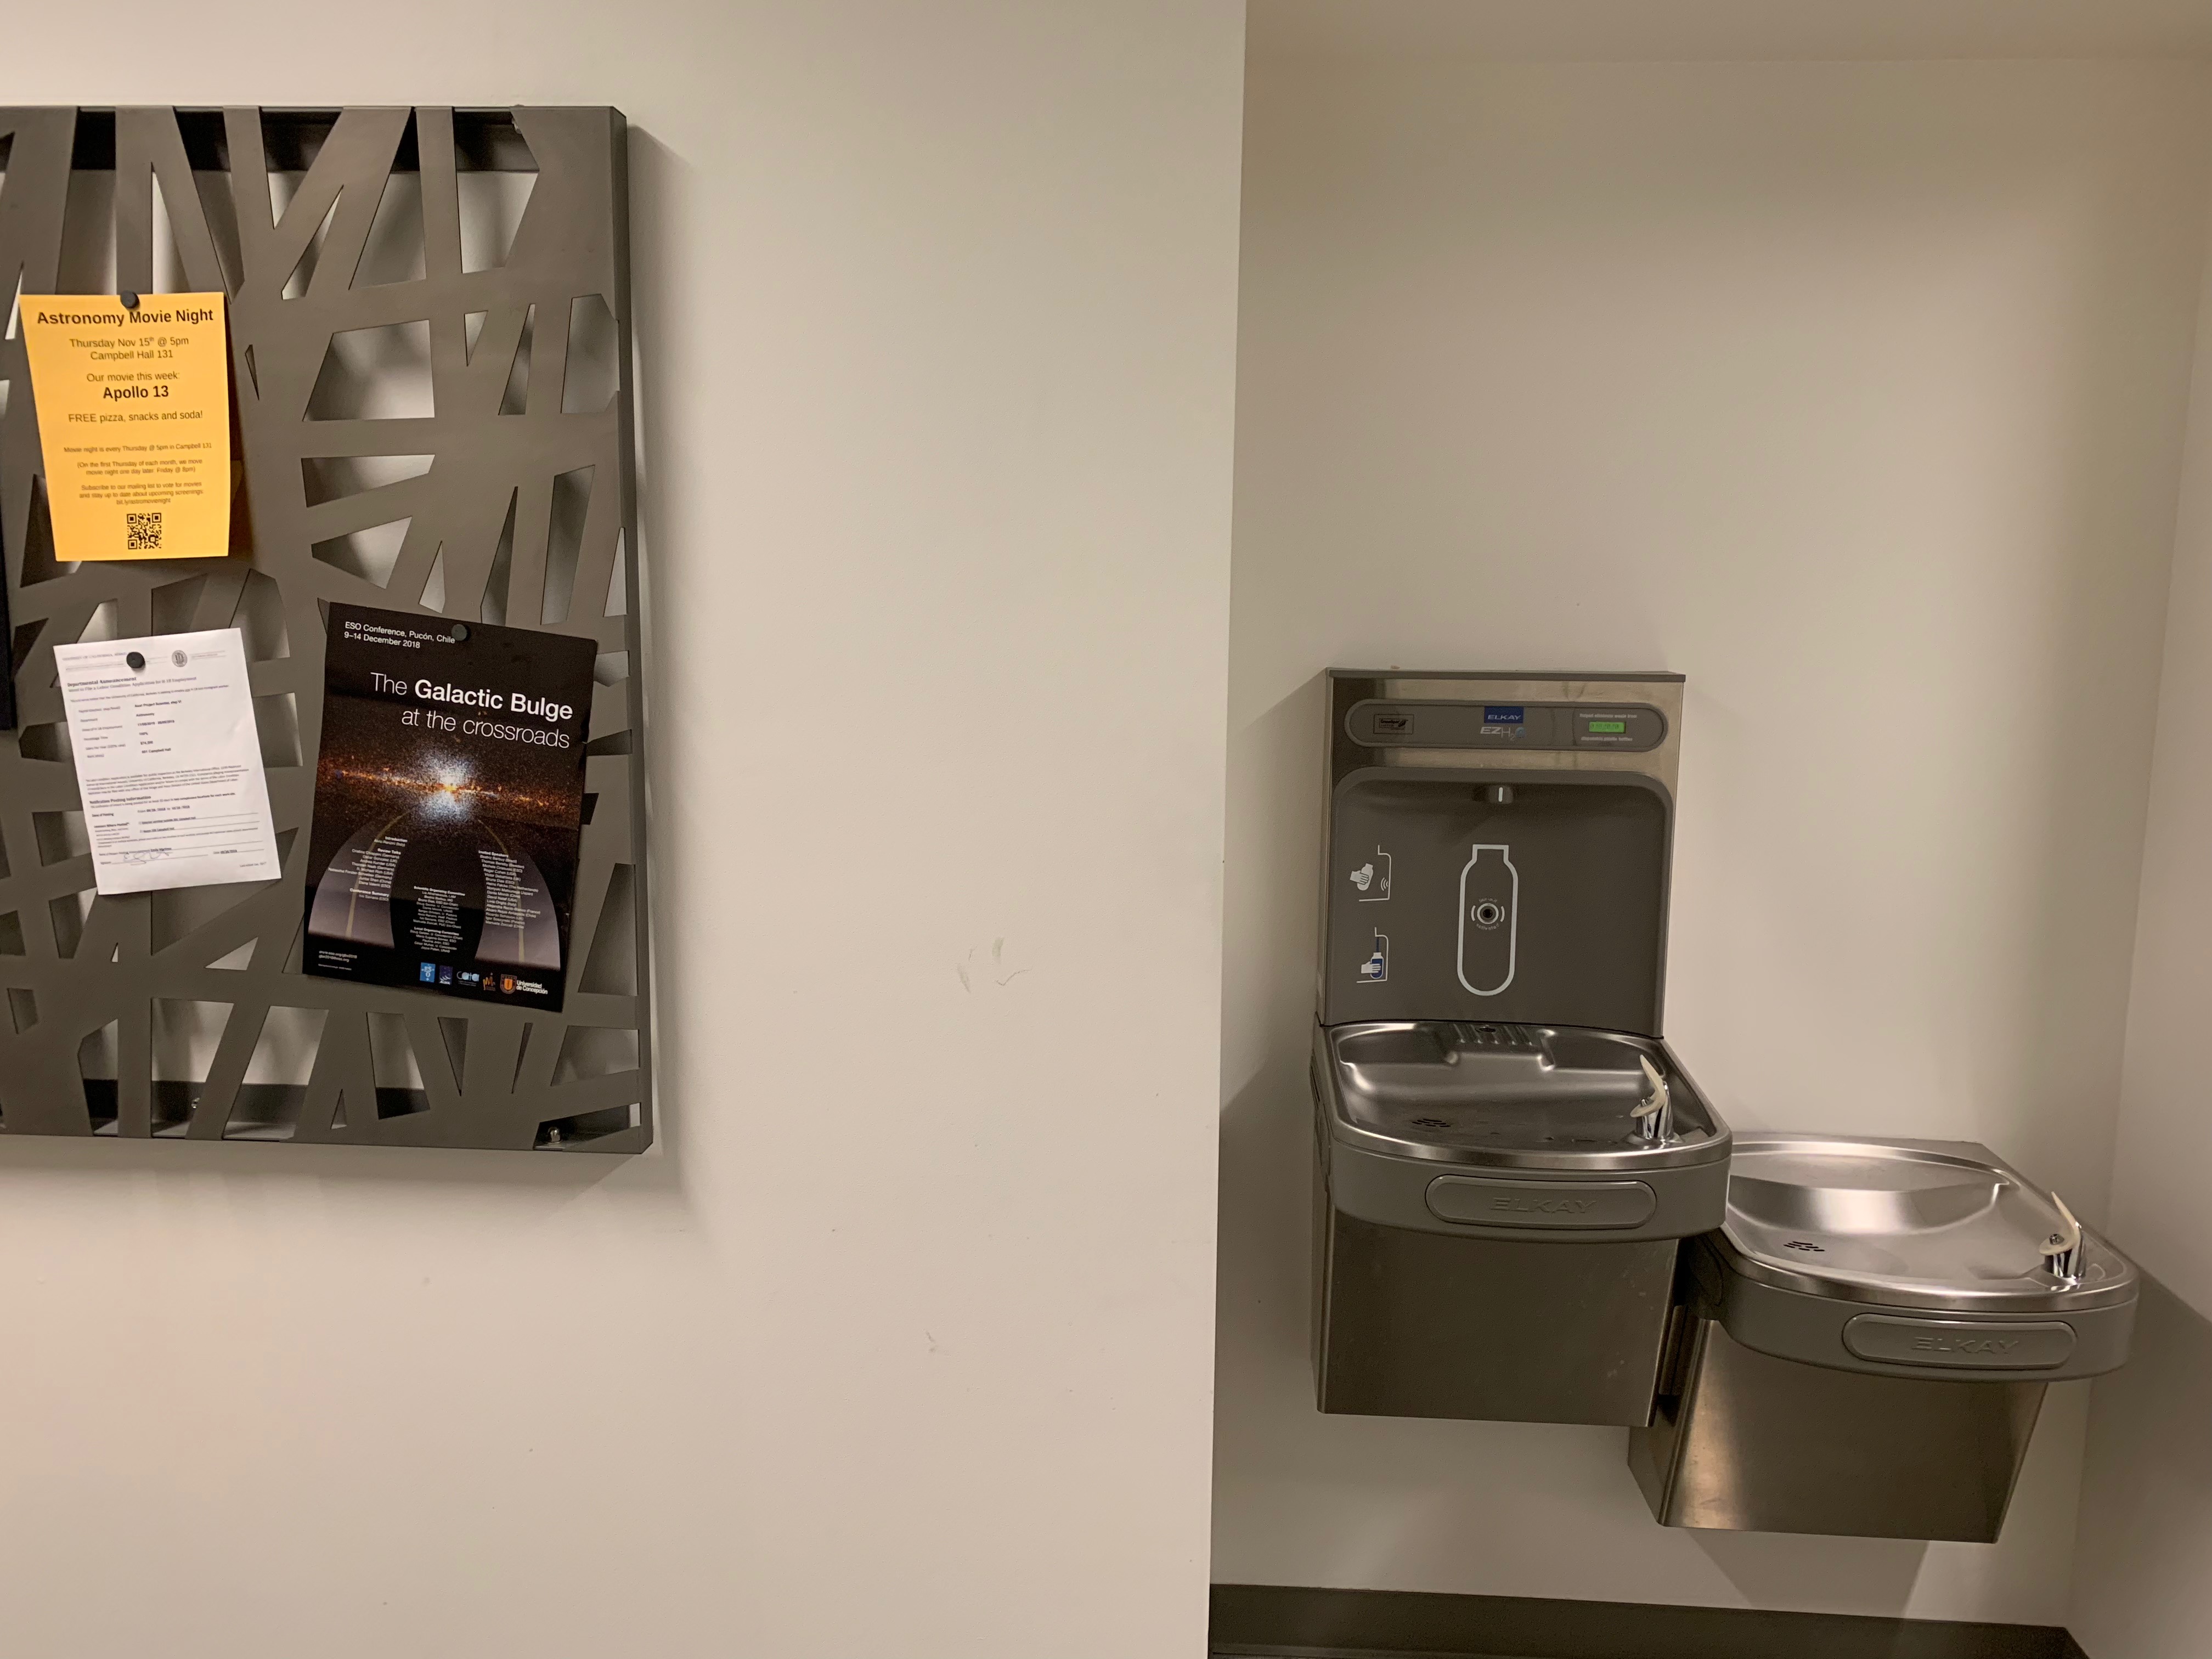
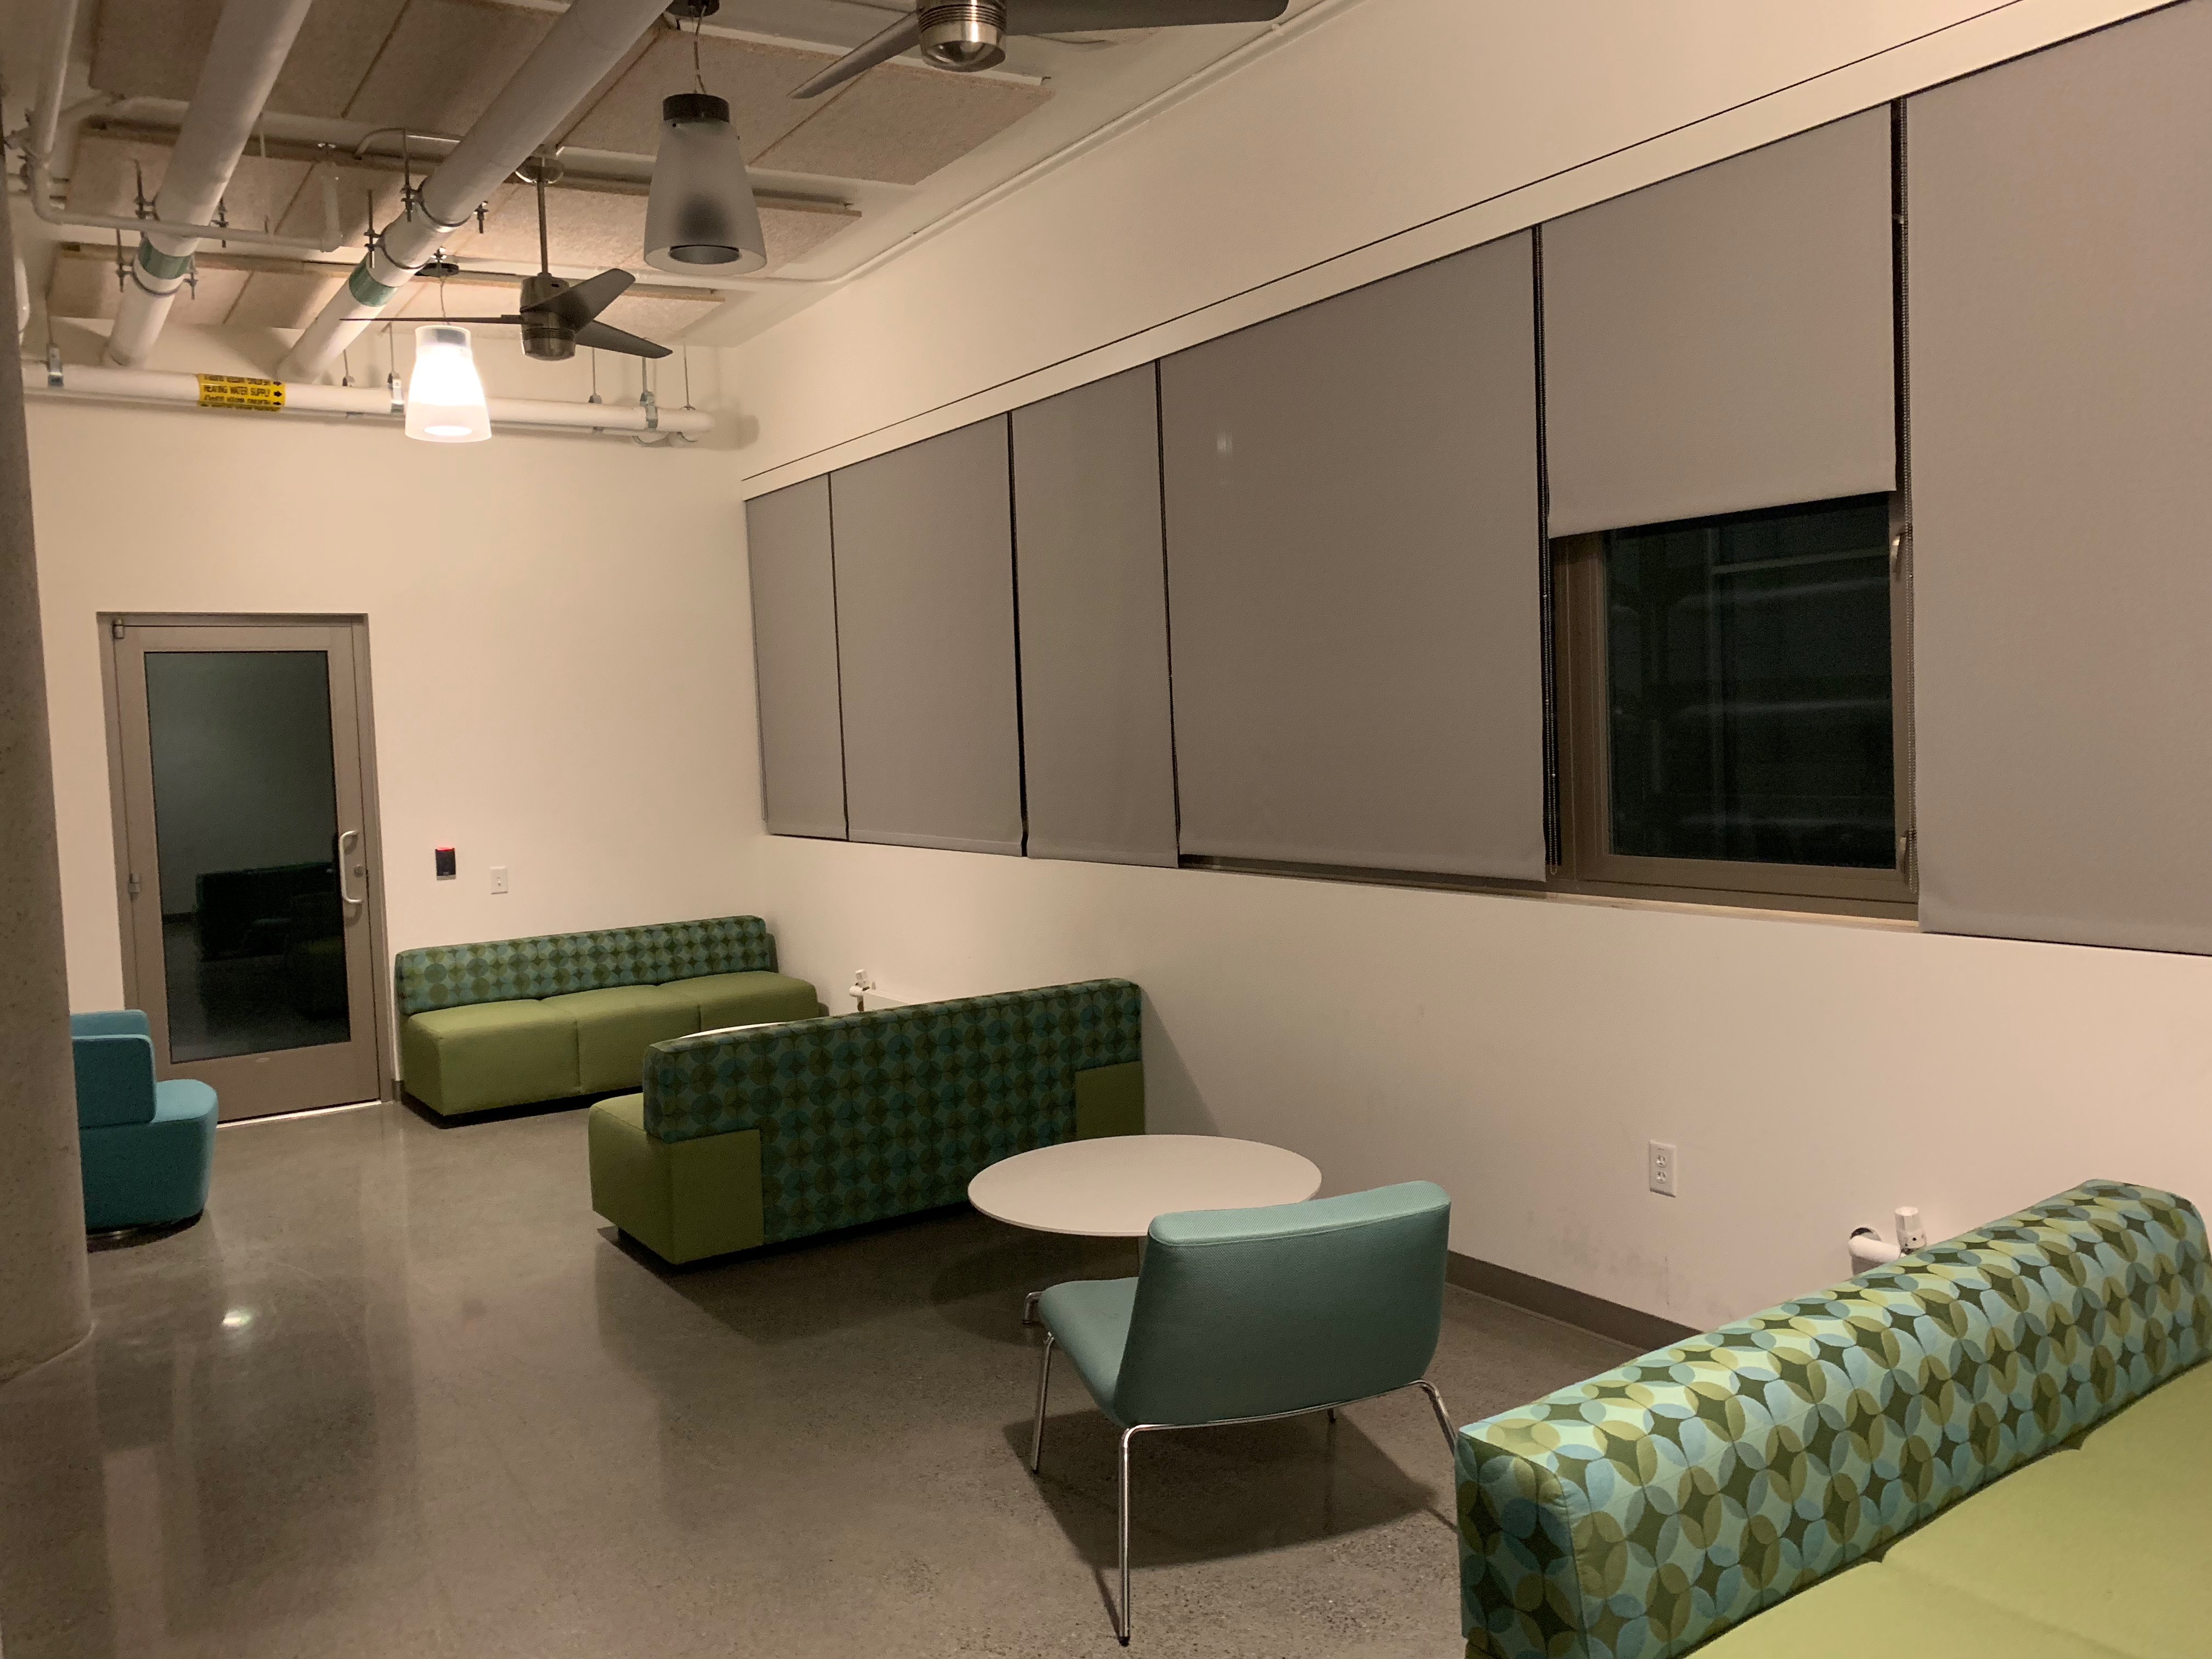
In this project we demonstrate the power of homography, warping, and blending. We do this by stitching together images that are taken at close but different angles and stitching them together to mimick a wide an image taken by a wide angle camera.
Take the following two images:
#

We select 8 corresponding points on each image. These points make it possible for us to recover the homography, which then we will use to warp the right image and stitch to the left image.
#

To get an idea of how large the resulting image is going to be we use inverse homography to map the 4 corners of the right image into coordinates of the left image. Using those 4 corners, we get an outline of where the warped right image will end up in the resulting image.
#

The left image is padded accordingly to make space for the warped image that we will calculate shortly.
#

For every point within the boundary encloused by the 4 corners we previously calculated, we find the corrsponding (using our homography matrix) color values in the right image and copy them over. If the corresponding point in the right image is between pixels, we interpolate the color value using the neighboring pixels.
The following image is resulted from this process.
#

#
Now we can combine the padded left image with the above warped right image to obtain the wide-angle mosaic. If we combine the images naively the resulting mosaic will have visible and unpleasent seems in it. However if we blend the two images, we can get rid of these seams.
#


We can further improve the image by cropping it to get the following beautiful sunset:
#

We repeat the process with other images to get more mosaics:
#
 |  |

#
 |  |
another exampe:
#
 |  |

#
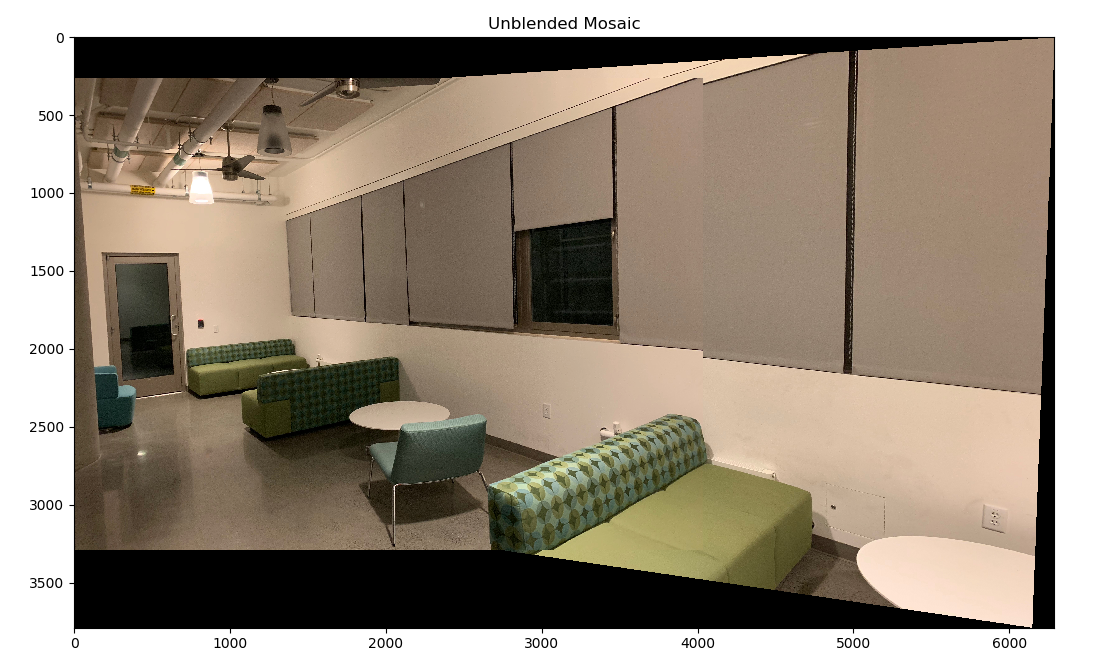 | 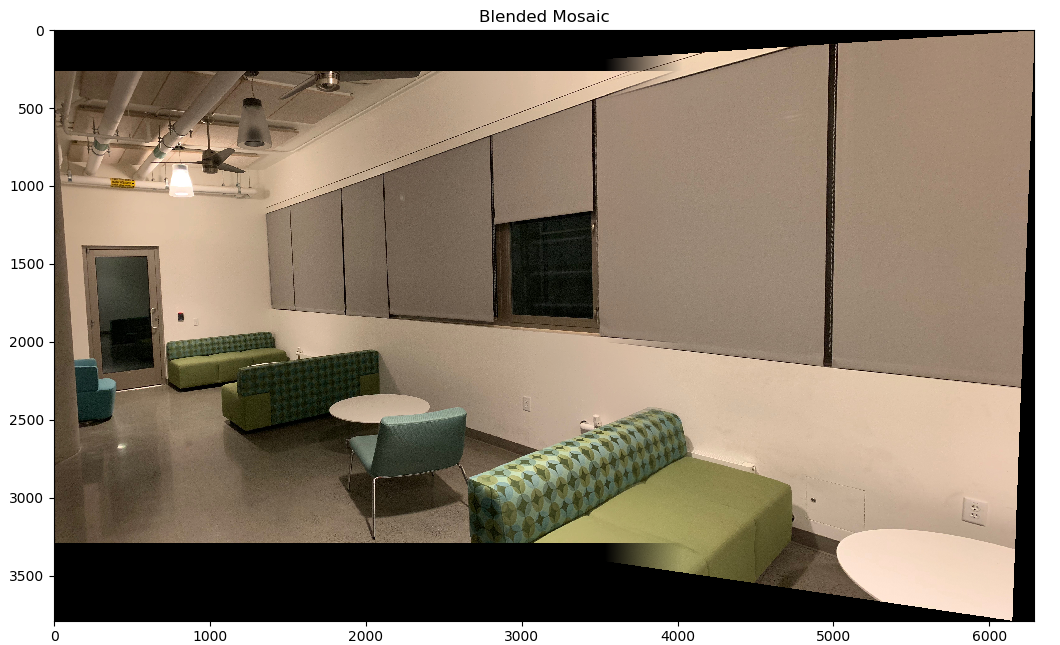 |
Image Rectification
Homography and warping can also be used for image rectification. In the example below, I rectify the pattern on the rug seen in the painting below (painting from pinterest).
To do this I change the view of the camera to be looking down on the rug, by selecting the 4 corners of the rug and warping it to the 4 corners of an empty image.
#

#

As this project demonstrated, homography and warping are powerful tools that with a little bit of creativity can yield amazing results