Part A: Creating mosaics with manually defined correspondences
1. Define Correspondences
To start the project, I took pictures of random things with my IPhone. I then manually defined correspondences between the images with ginpoint in python.
2. Recover Homography
Before I can align the pairs of images, I need to recover the homography transformation matrix H. As seen in the equation below, H is a 3x3 matrix. If we set scale factor i to 1, then we have 8 unknown variables to solve. Thus, we need a minimum of 4 pairs of corresponding points to either directly solve for H or estimate H using least squares.
3. Image Warping
After recovering the homography matrix, I then use inverse warp to creat the transformed image: I first applied the homography transformation on the corner points of the original image to find the border offsets, then created a blank output image with appropriate padding, before finding the inverse warped pixel for every point in the output image.
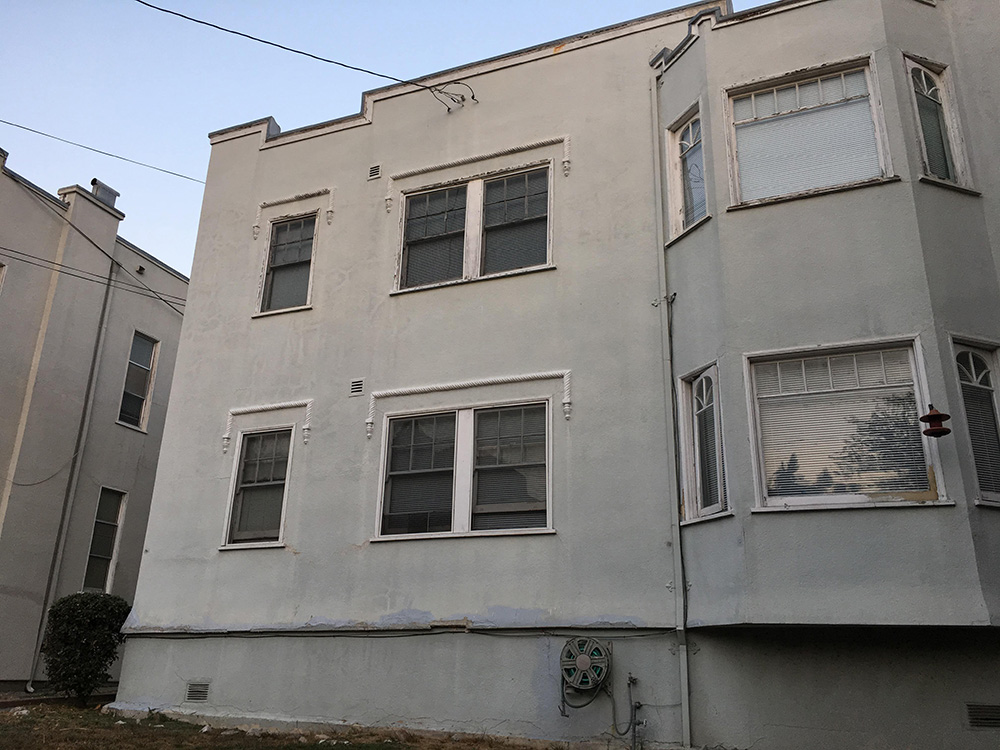
4. Image Rectifying
To test my homography recovering and image warping process, I rectified a few simple images so that square shapes in the images are frontal-parallel.

5. Mosaics Results
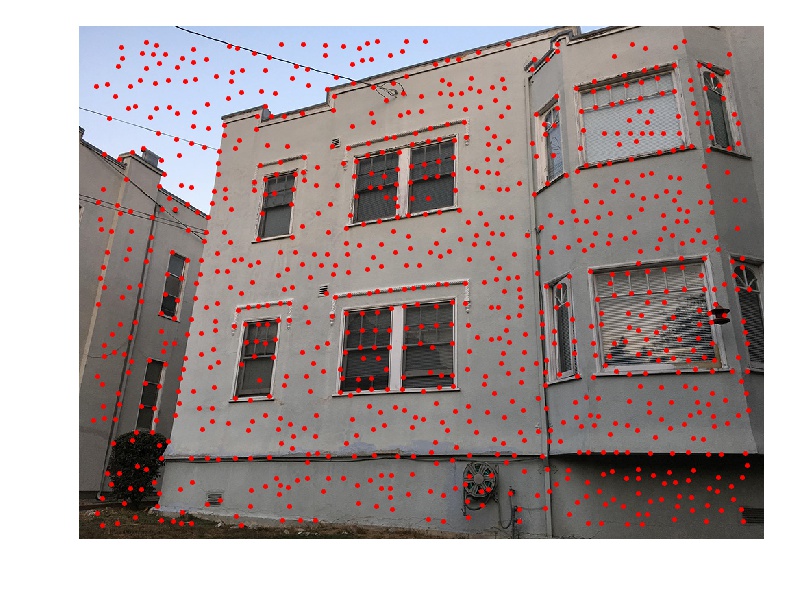
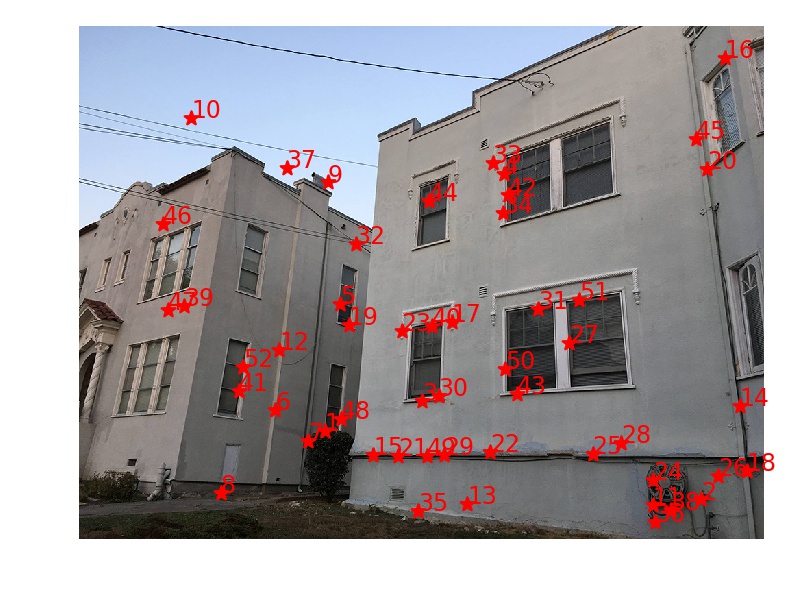
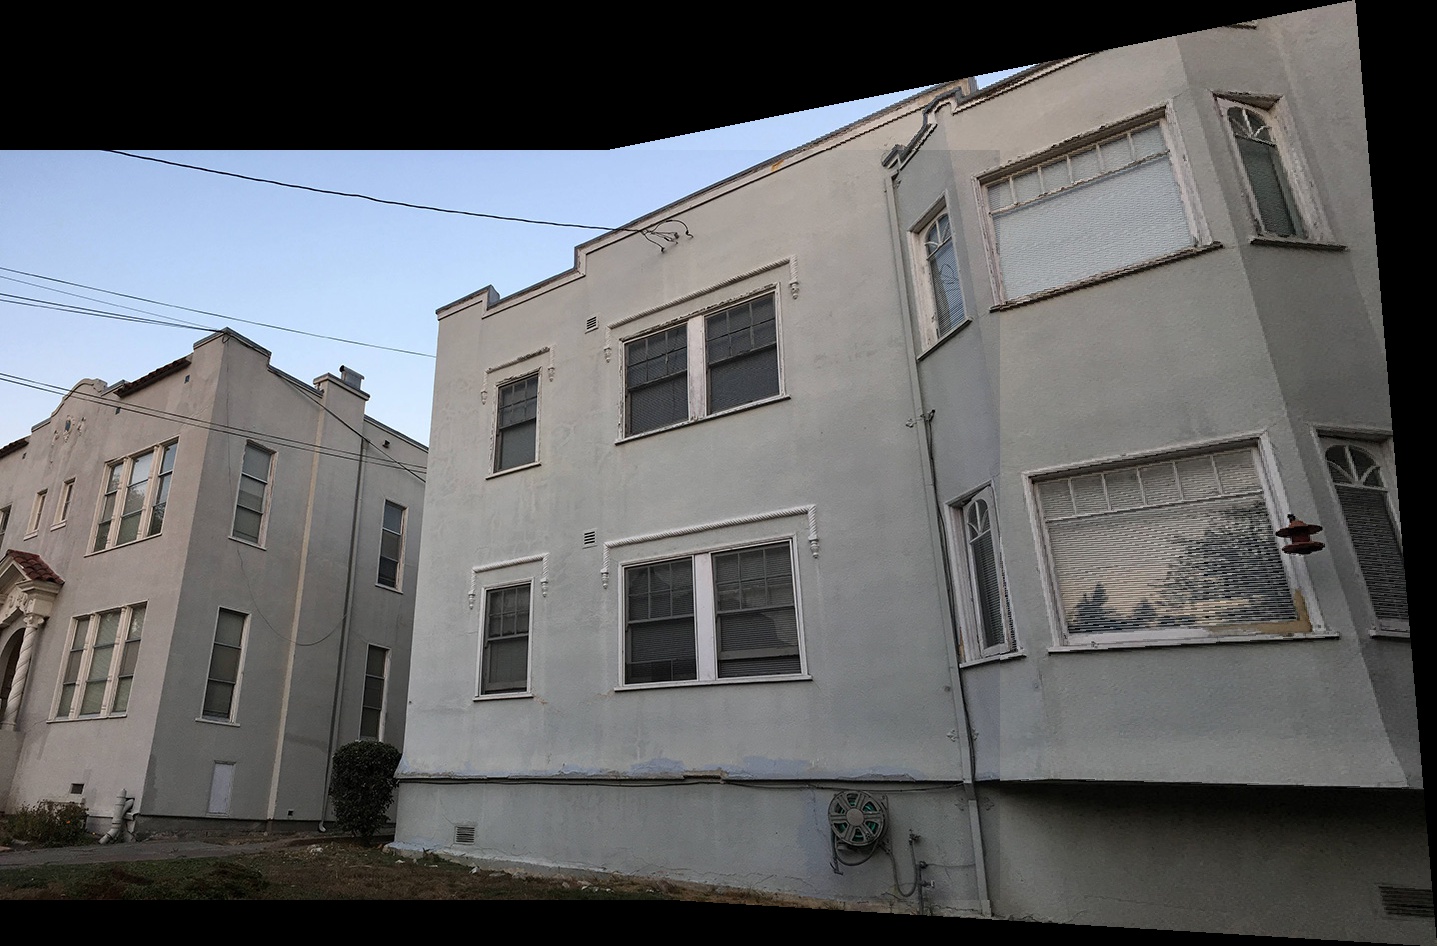
1. Apartment Building
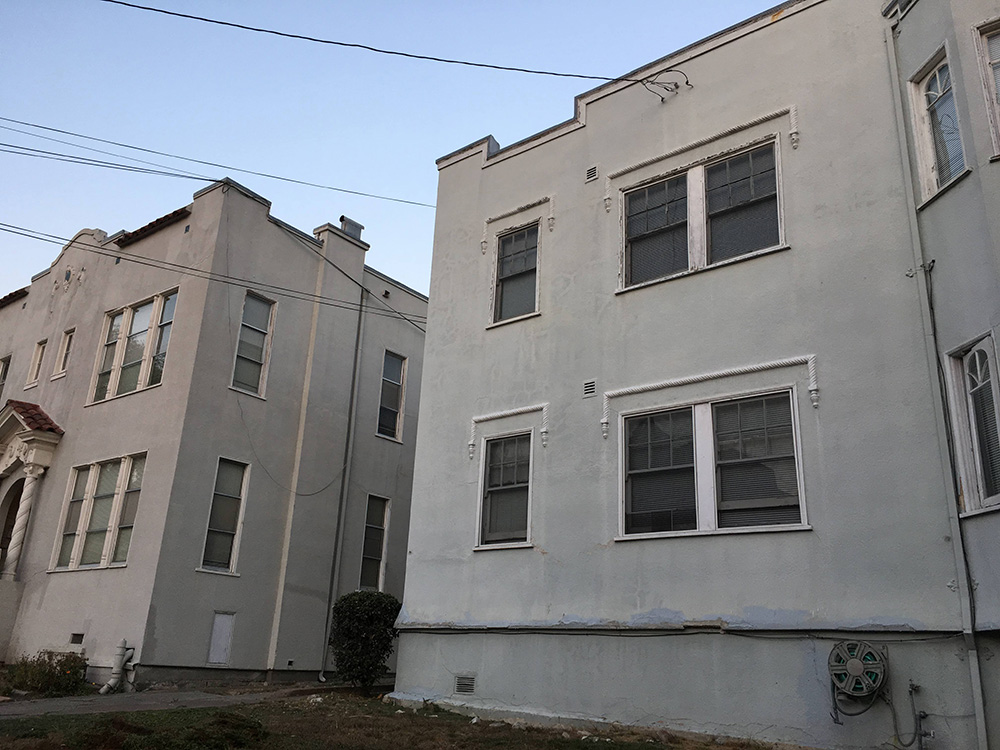
Apt 1
Apt 2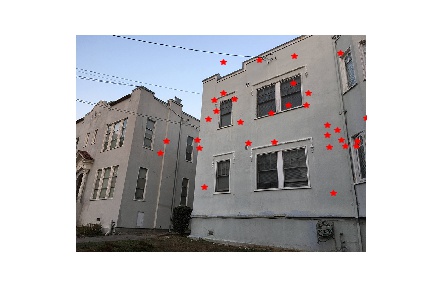
Apt 1 Points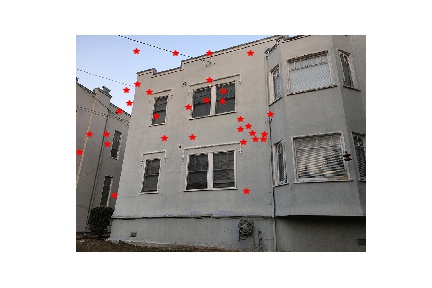
Apt 2 Points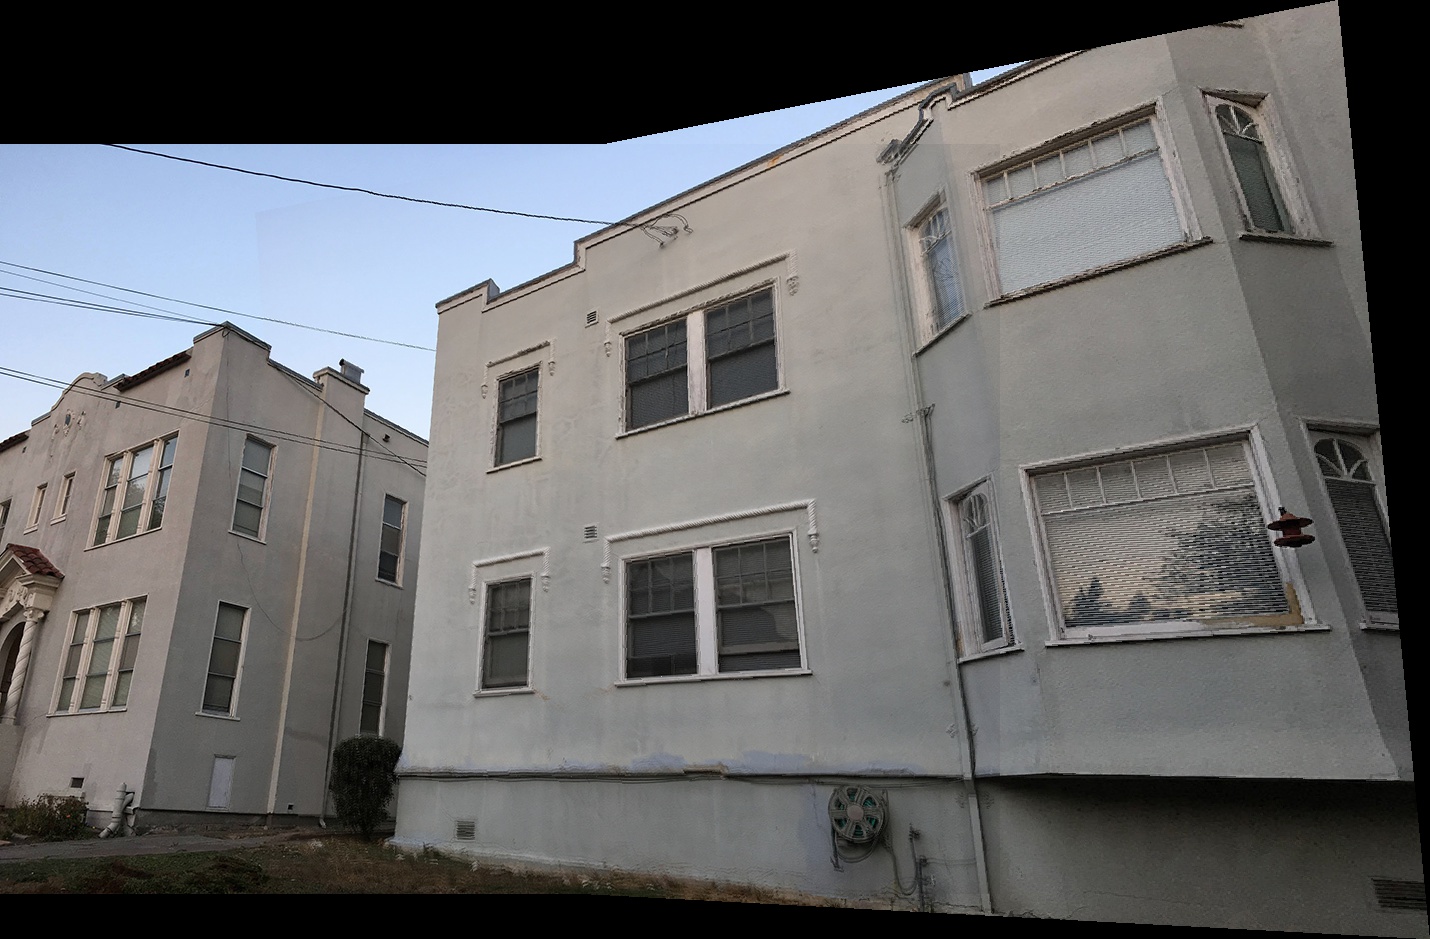
Full Apartment2. Lake
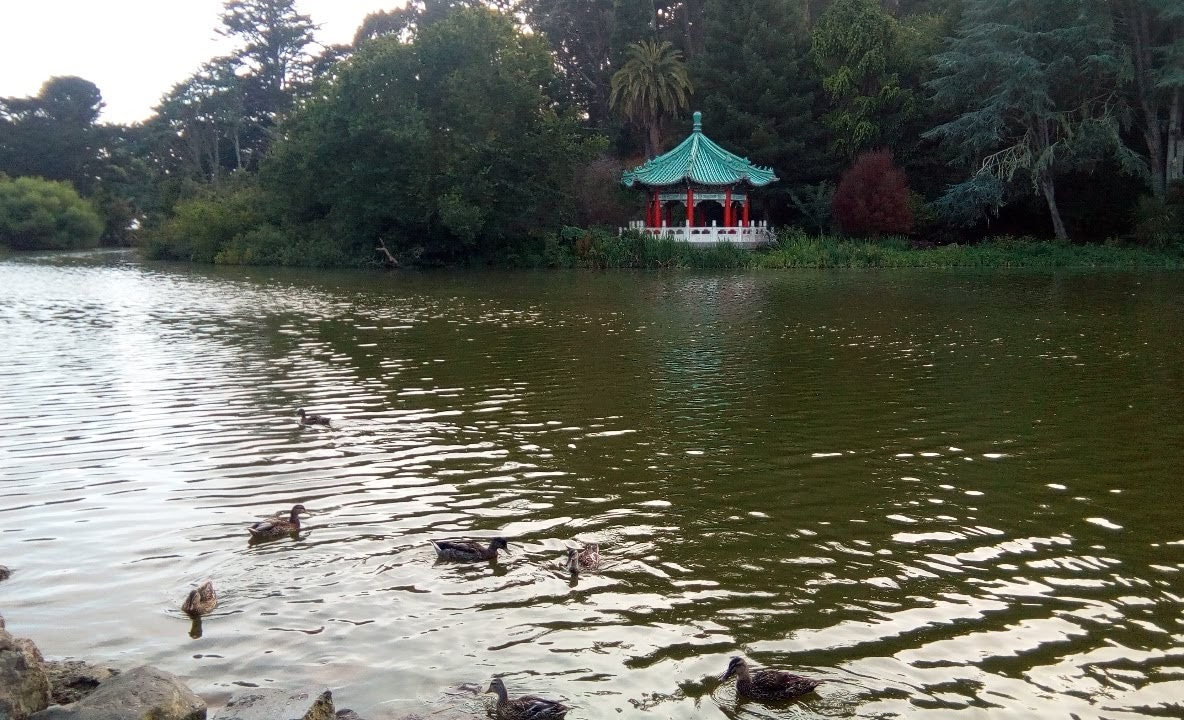
Lake Left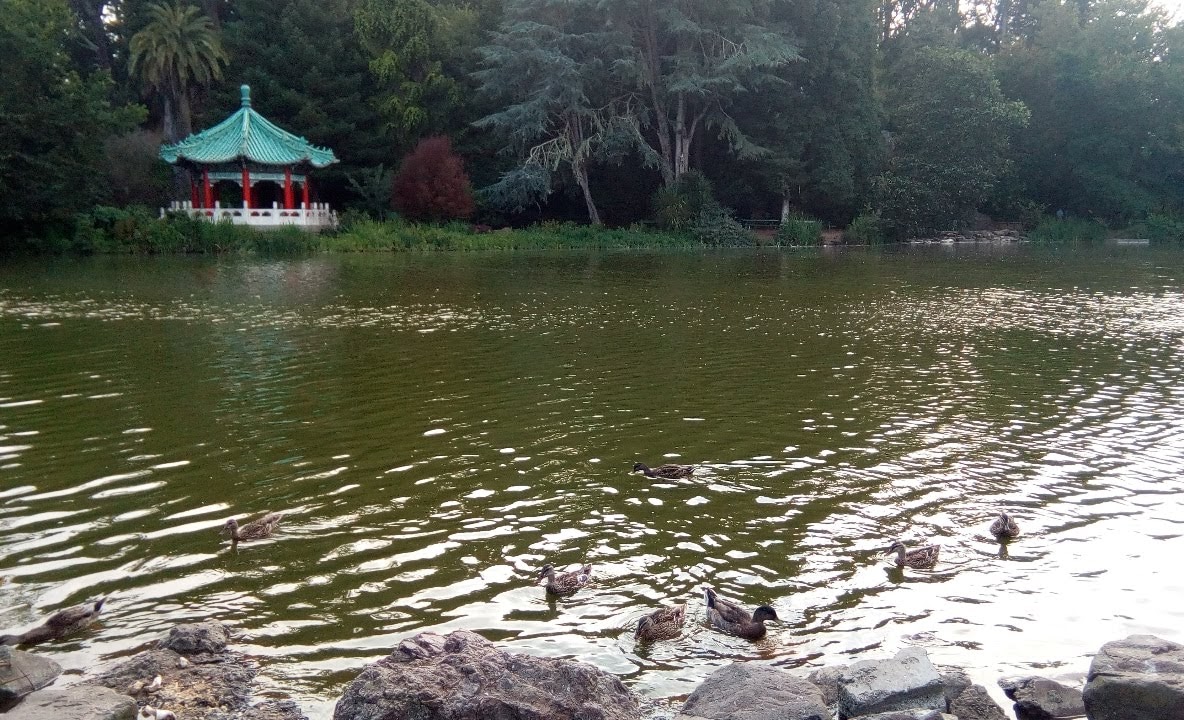
Lake Right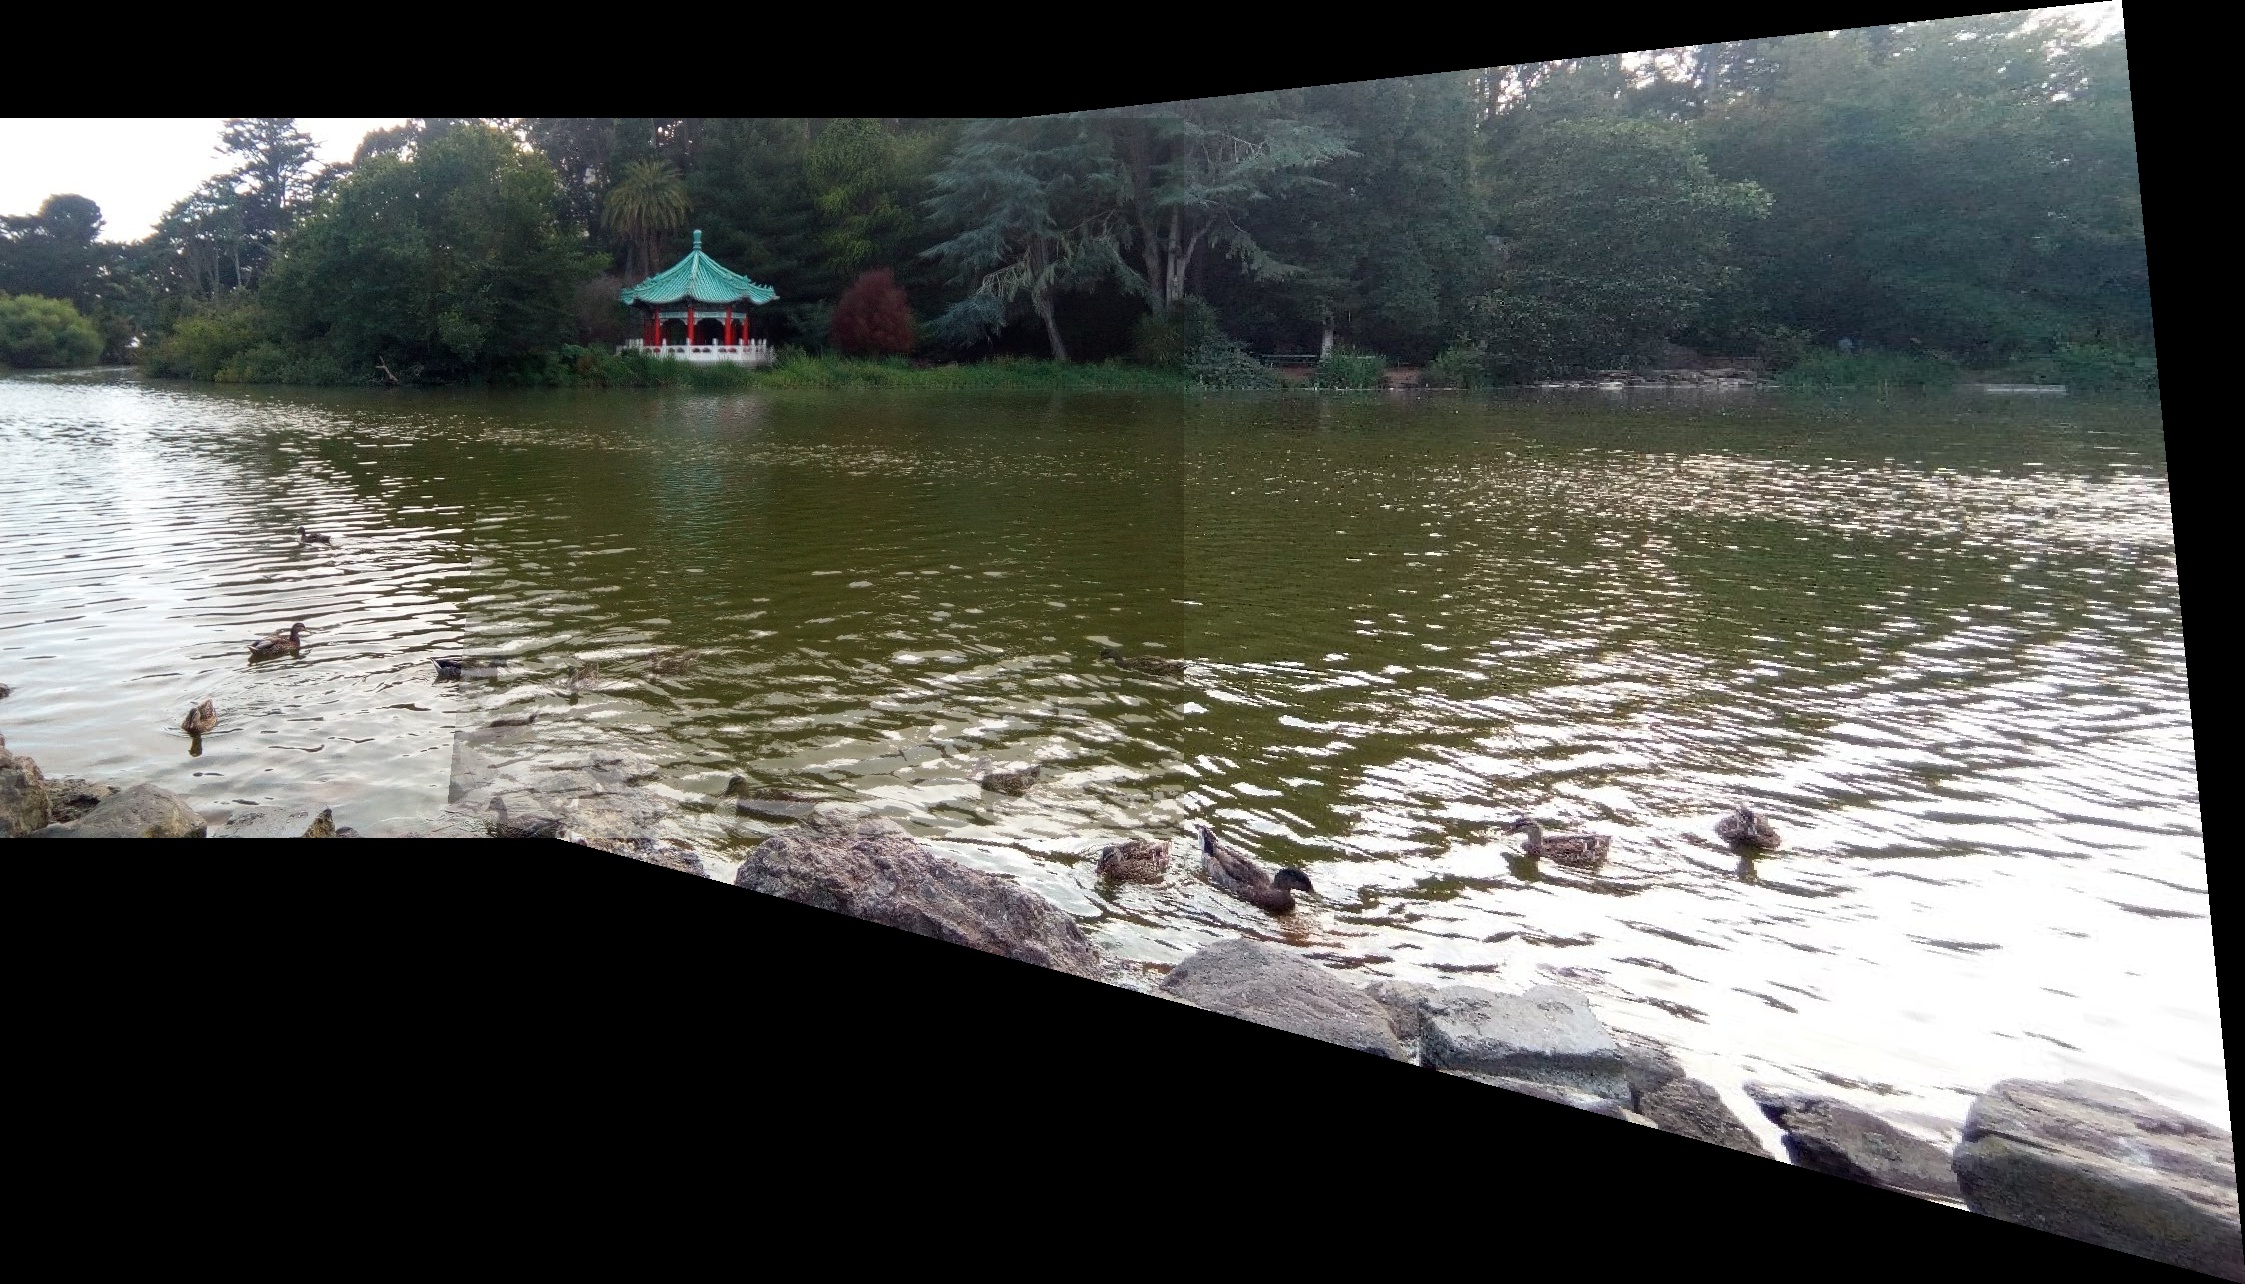
Full Lake3. Toy Collection
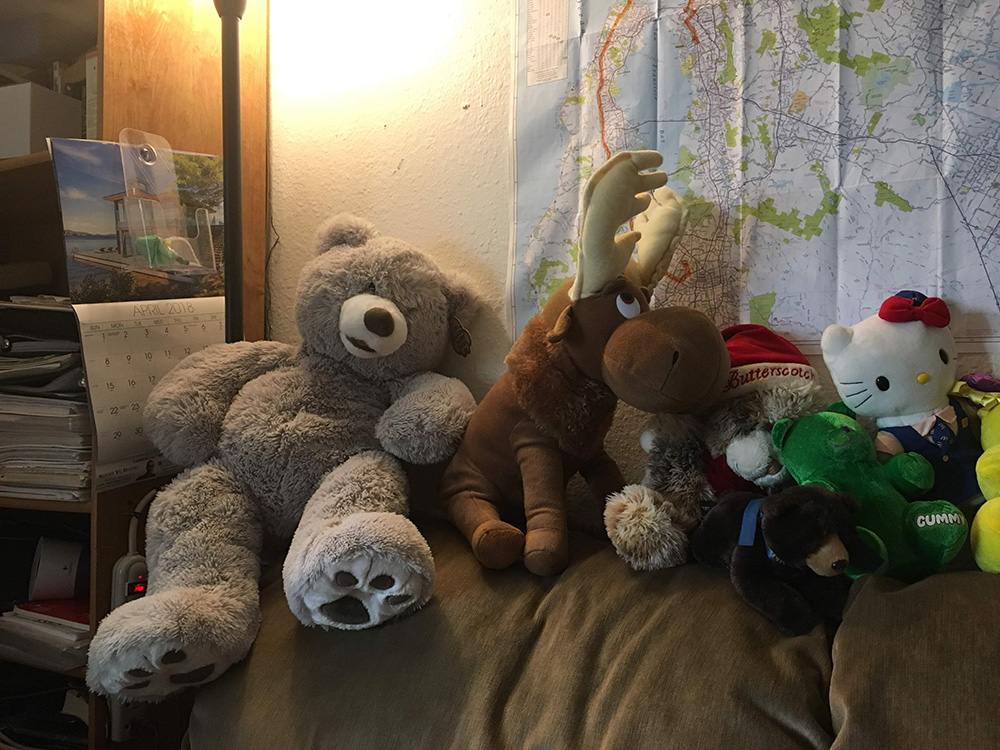
Toy Left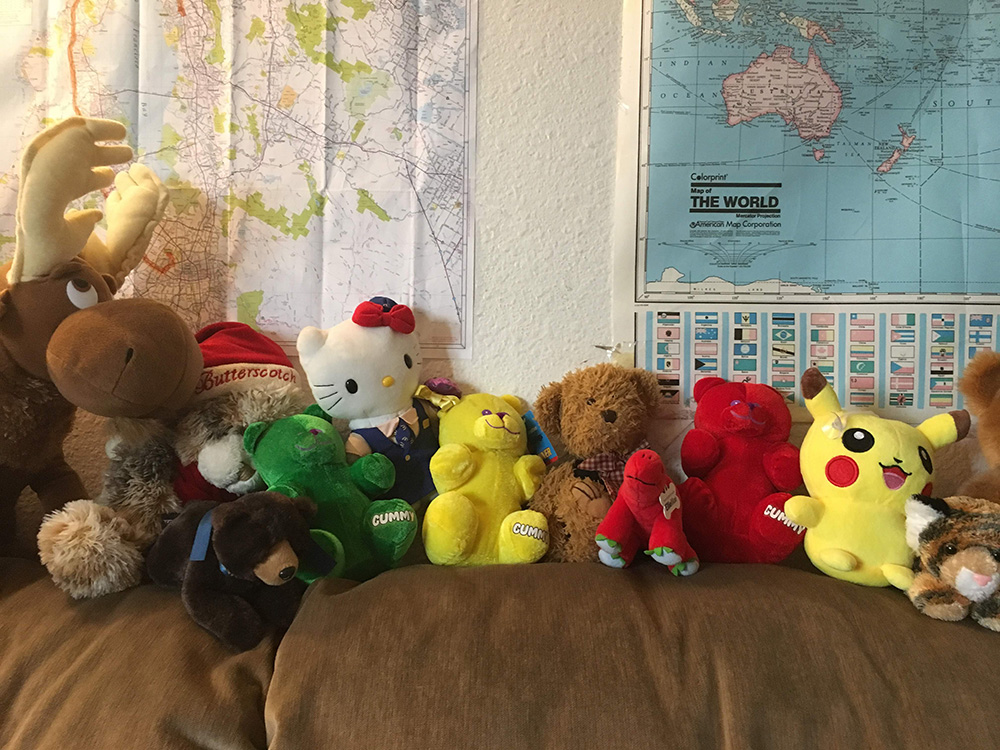
Toy Right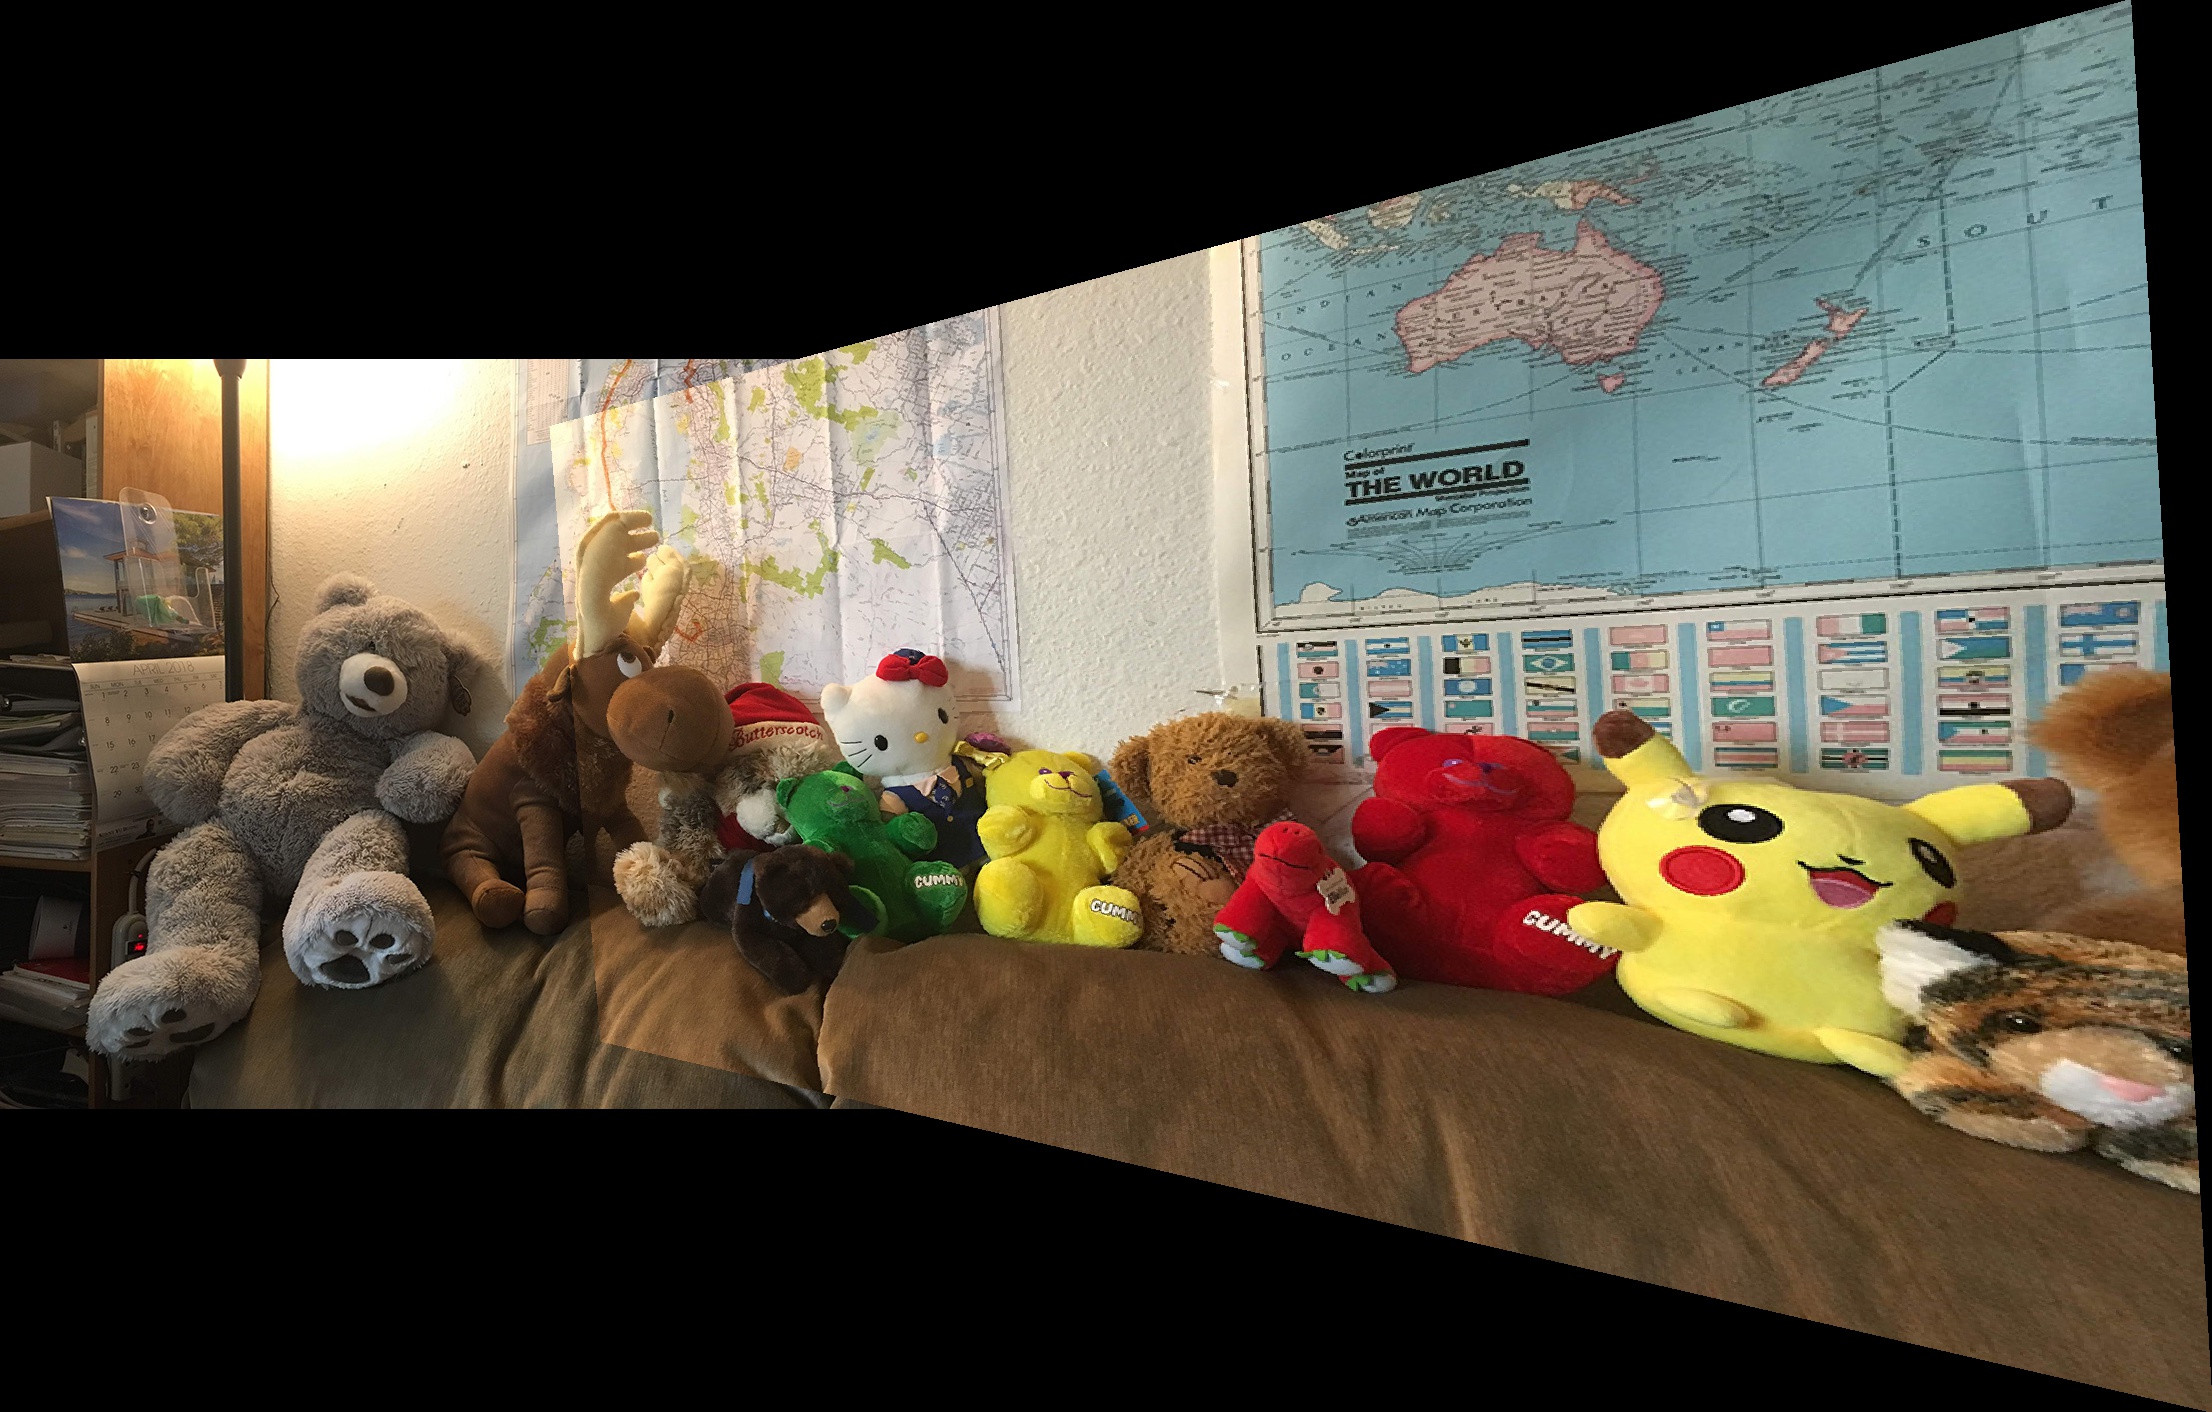
All ToysPart B: Auto-detect pairs of correspondences between 2 images
1. Harris Corners
Instead of manually identifying correspondences between the two images, I automated point matching using a feature-based approach. To do so, I first used the Harris Interest Point Detector to identify the Harris Corners in each image. (I set the min_distance between points to 10 to reduce the set of Corners.) Harris Corners are rotation invariant and partially affine intensity invariant, making them good features to use.
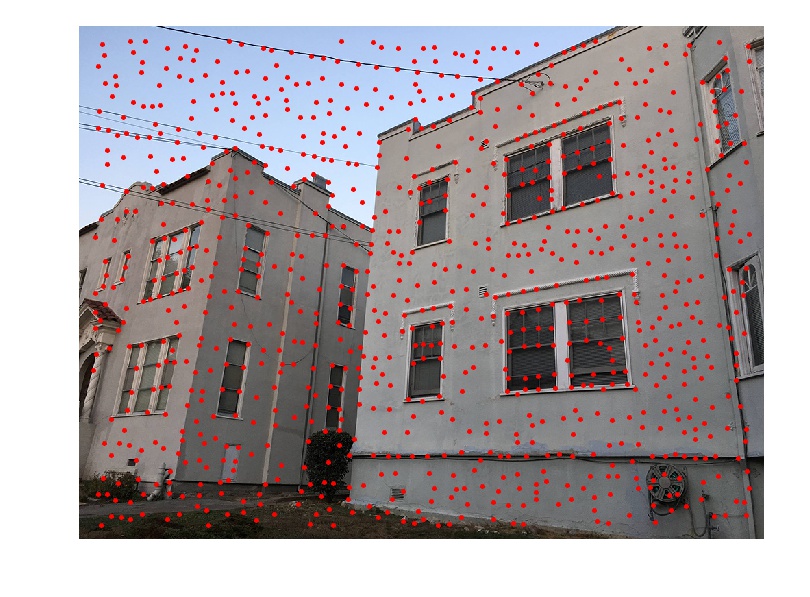
Apartment Left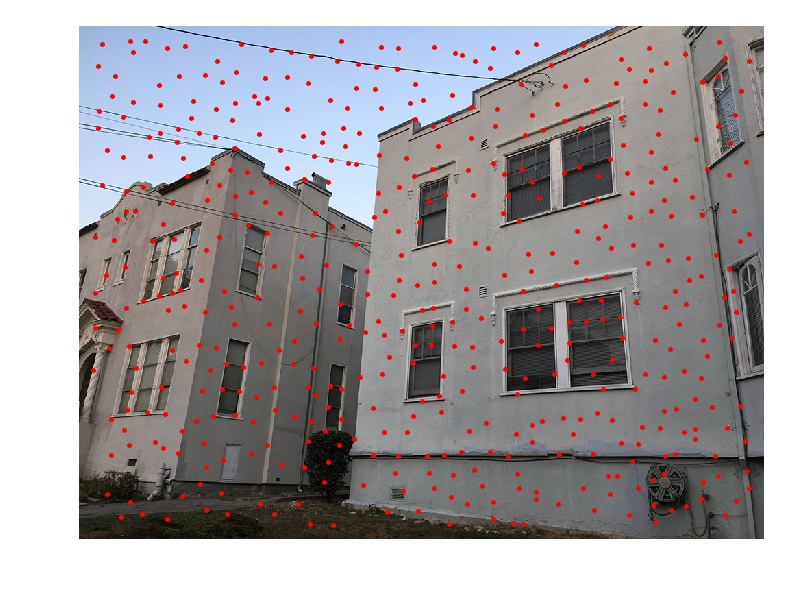
Apartment Right2. Adaptive Non-Maximal Suppression
With the set of Harris Corners, I applied the Adaptive Non-Maximal Suppression technique to keep only 500 points which are distributed evenly over the image: for every point xj, I find all the xi's such that the corner strength of xi is less than a percentage of the corner strength of xj, then pair xj with the xi that has the closest Euclidean distance to xj. From the list of (xj, xi) pairs, I then keep only the 500 xj's with the biggest Euclidean distance, so that the resulting points have largest radius to the next significant feature point and thus are nicely spread out.
Apartment Left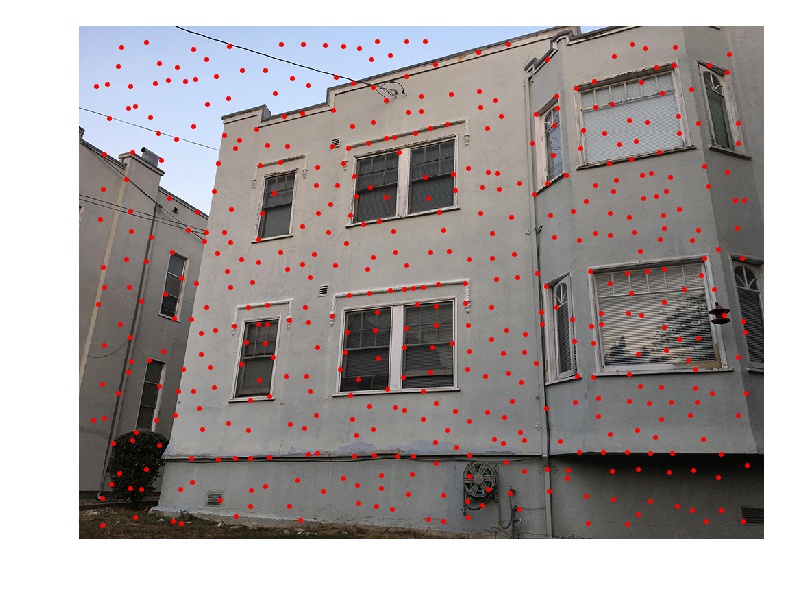
Apartment Right3. Feature Descriptors
I turned these 500 interest points into feature descriptors by extracting 40x40 patch around each point and then shrinking the patches into 8x8 feature descriptors. I normalized the bias and gain of the descriptors, then flattened them into 1x64 vectors for easy computation in the next step.
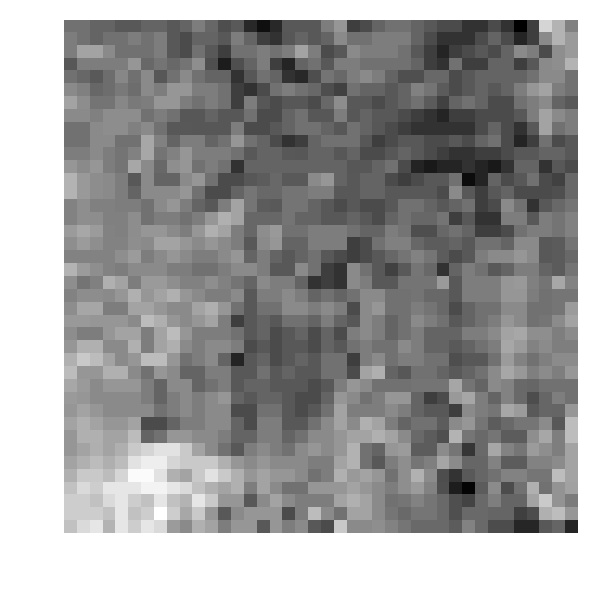
40x40 Descriptor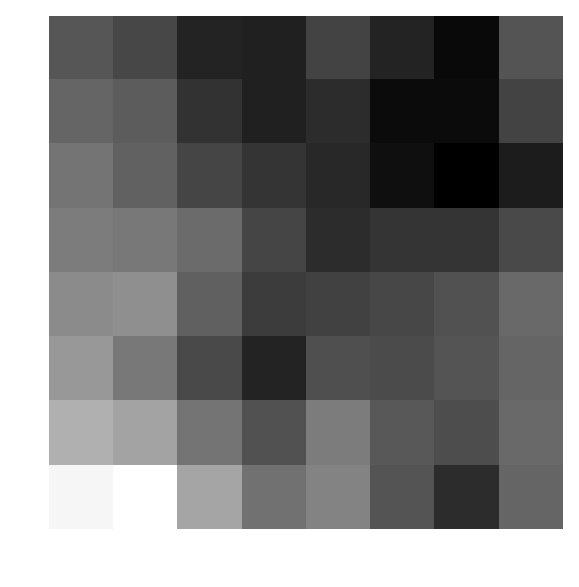
8x8 Descriptor4. Feature Matching
For every interest point p, I find two other points whose feature descriptors are most similar to p's feature descriptor. I used SSD to measure the similarity between two descriptors, since the more similar two images are, the smaller their SSD. From the list of interest points and their top two nearest neighbors, I only keep the points whose ratio between the first and second nearest neighbors is less than a threshold of 0.45.
Apartment Left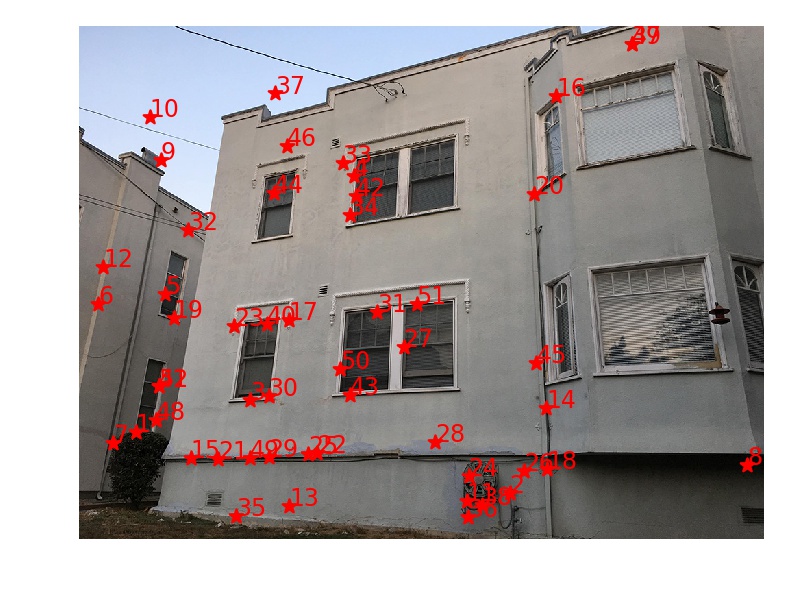
Apartment Right5. RANSAC
There still might be outlier pairs in the list of matches, so I applied RANSAC to further reduce the size of matching pairs of points: I randomly sampled 4 pairs of matching points and computed an exact homography matrix from them, then counted the number of inliers that supports this homography. I do this for 5000 iterations before keeping the biggest set of inliers, so that I can compute a final homography matrix H using least squares using the pairs in the set. This final matrix H I would then use for warping the right image to the left and produce the final stitched result.
Final Apartment6. Other Results
1. Desk
Desk Left
Desk Right
Harris Corners
ANMS
Harris Corners
ANMS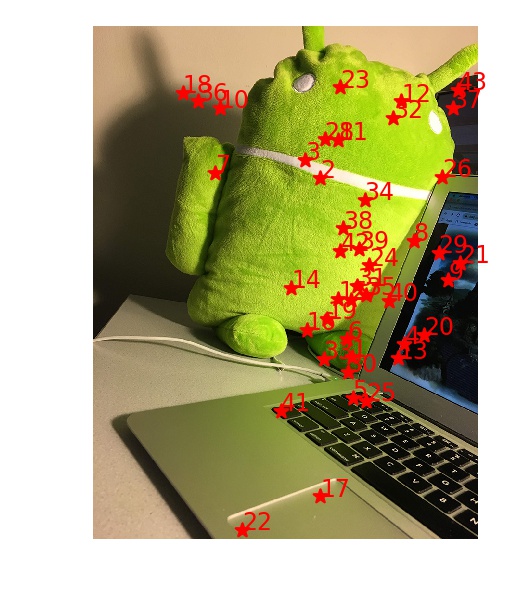
Desk Left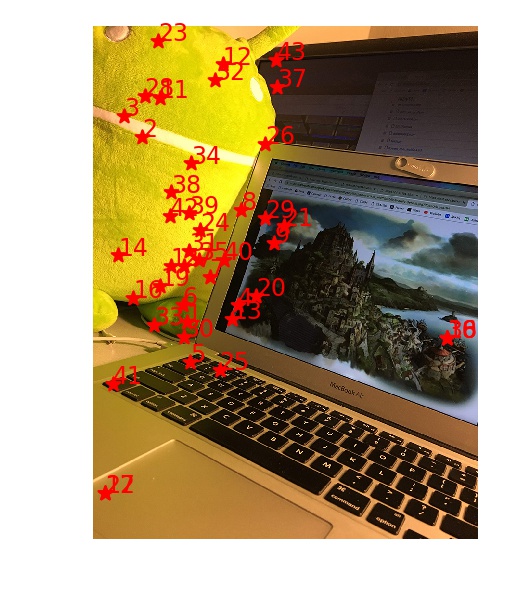
Desk Right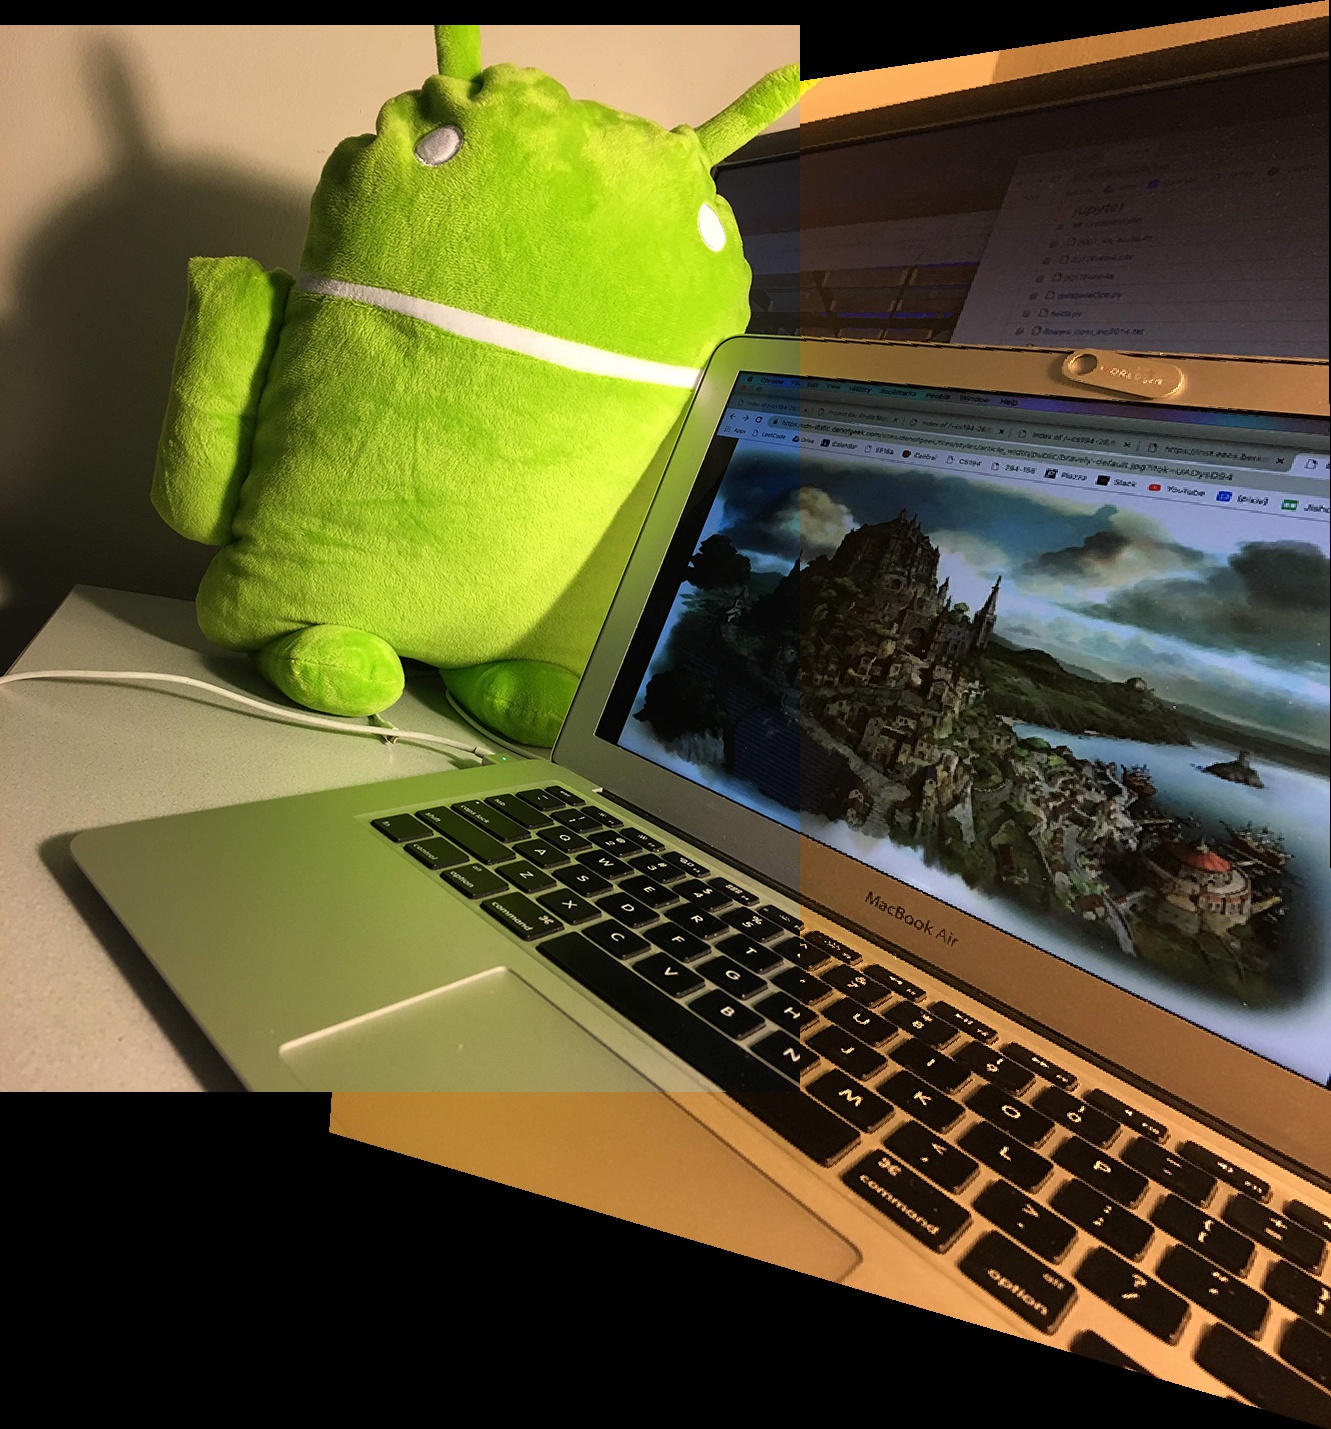
Whole Desk2. Library
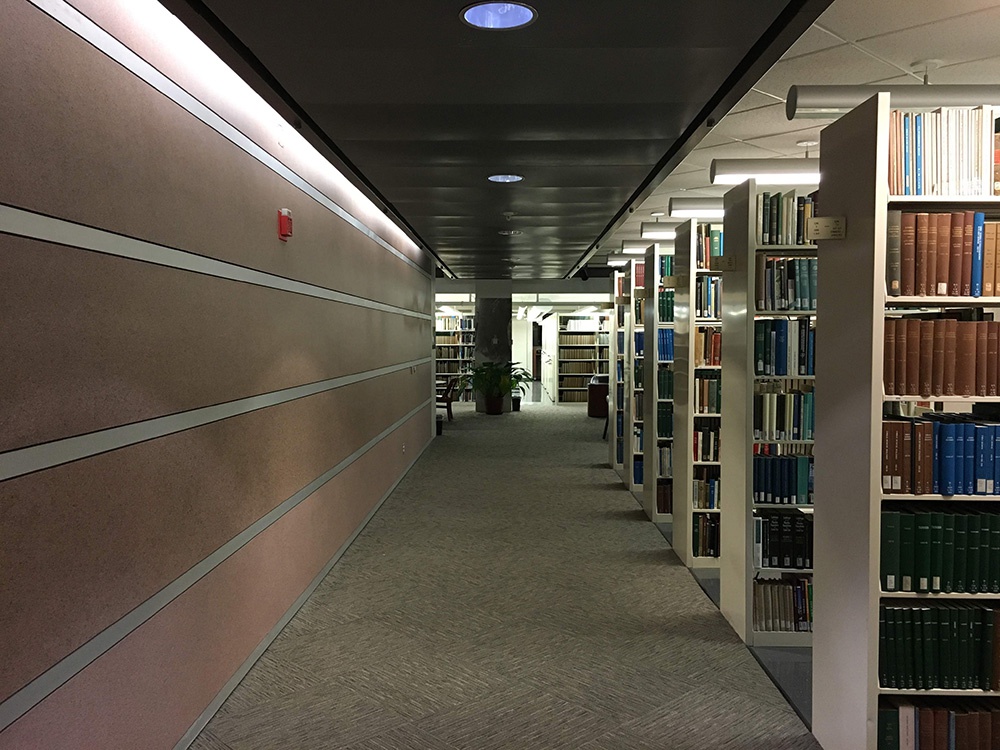
Library Left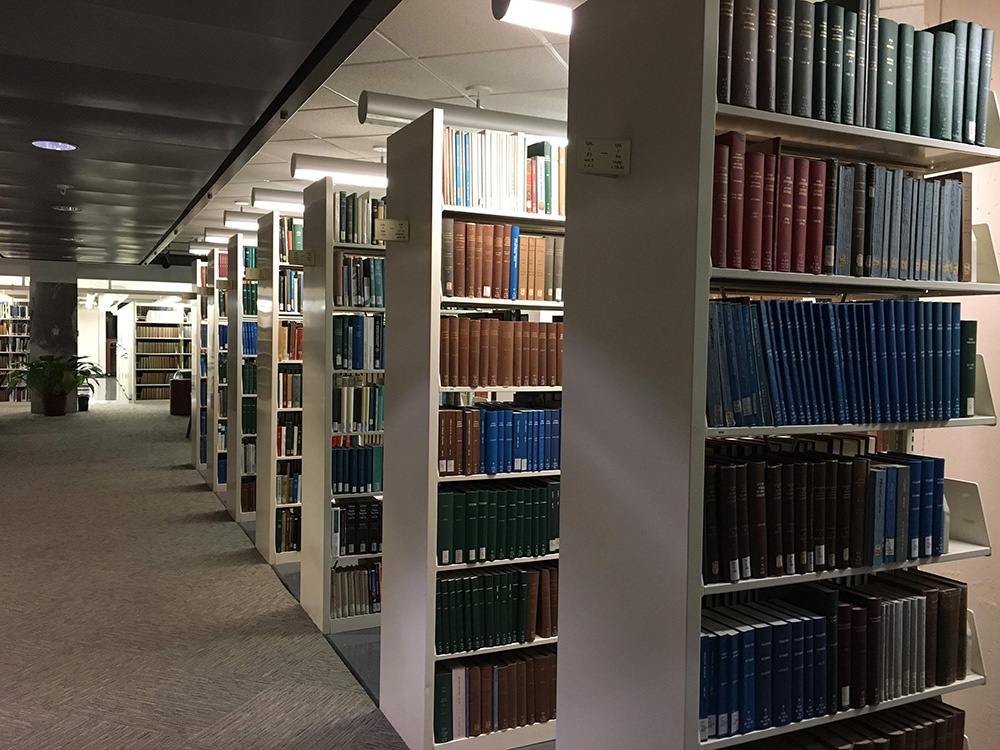
Library Right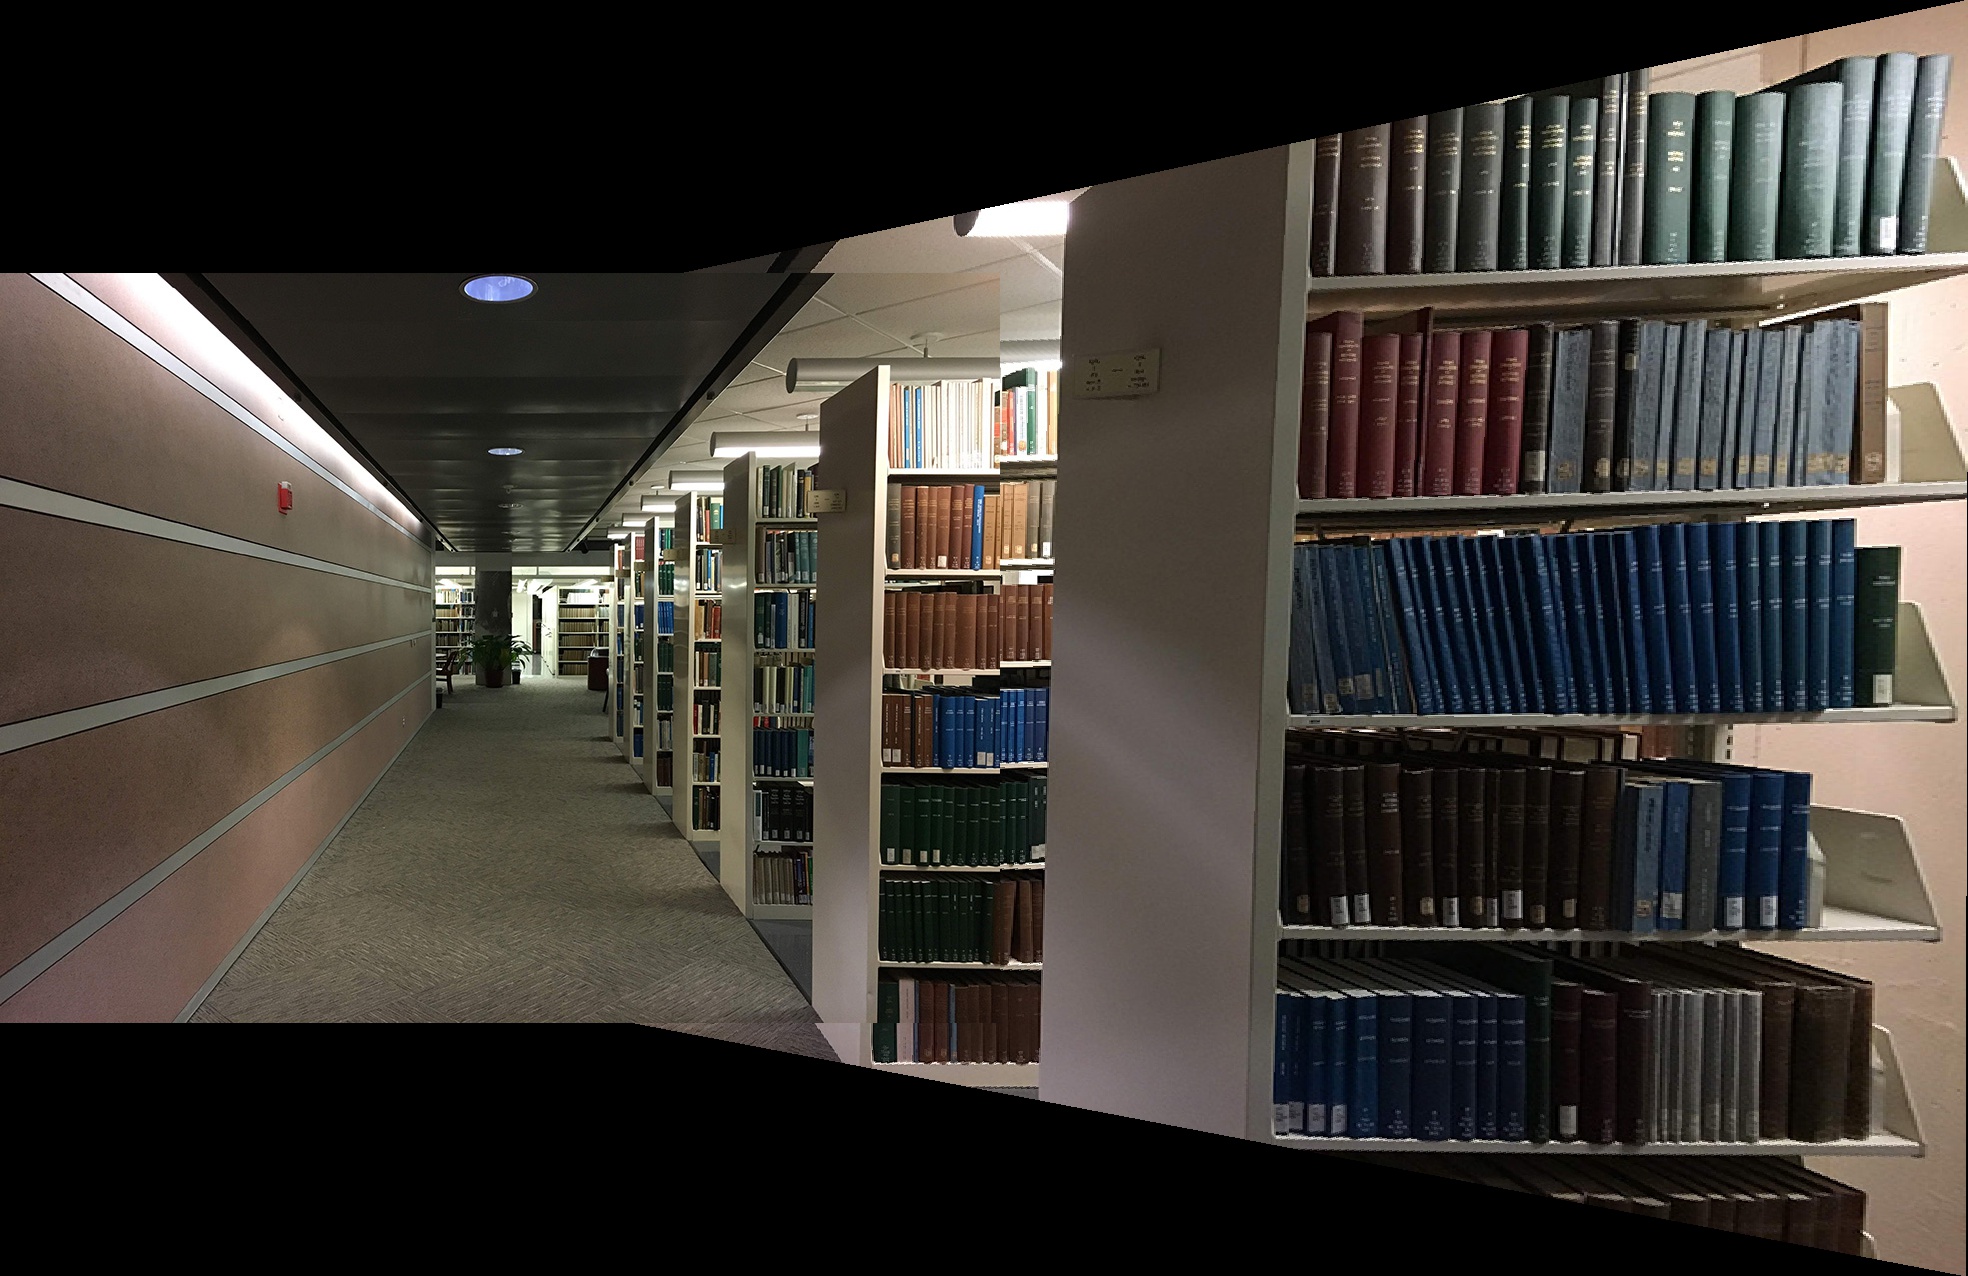
Full Library7. Comparison of Results
Manual Correspondences
Auto Correspondences
Manual Correspondences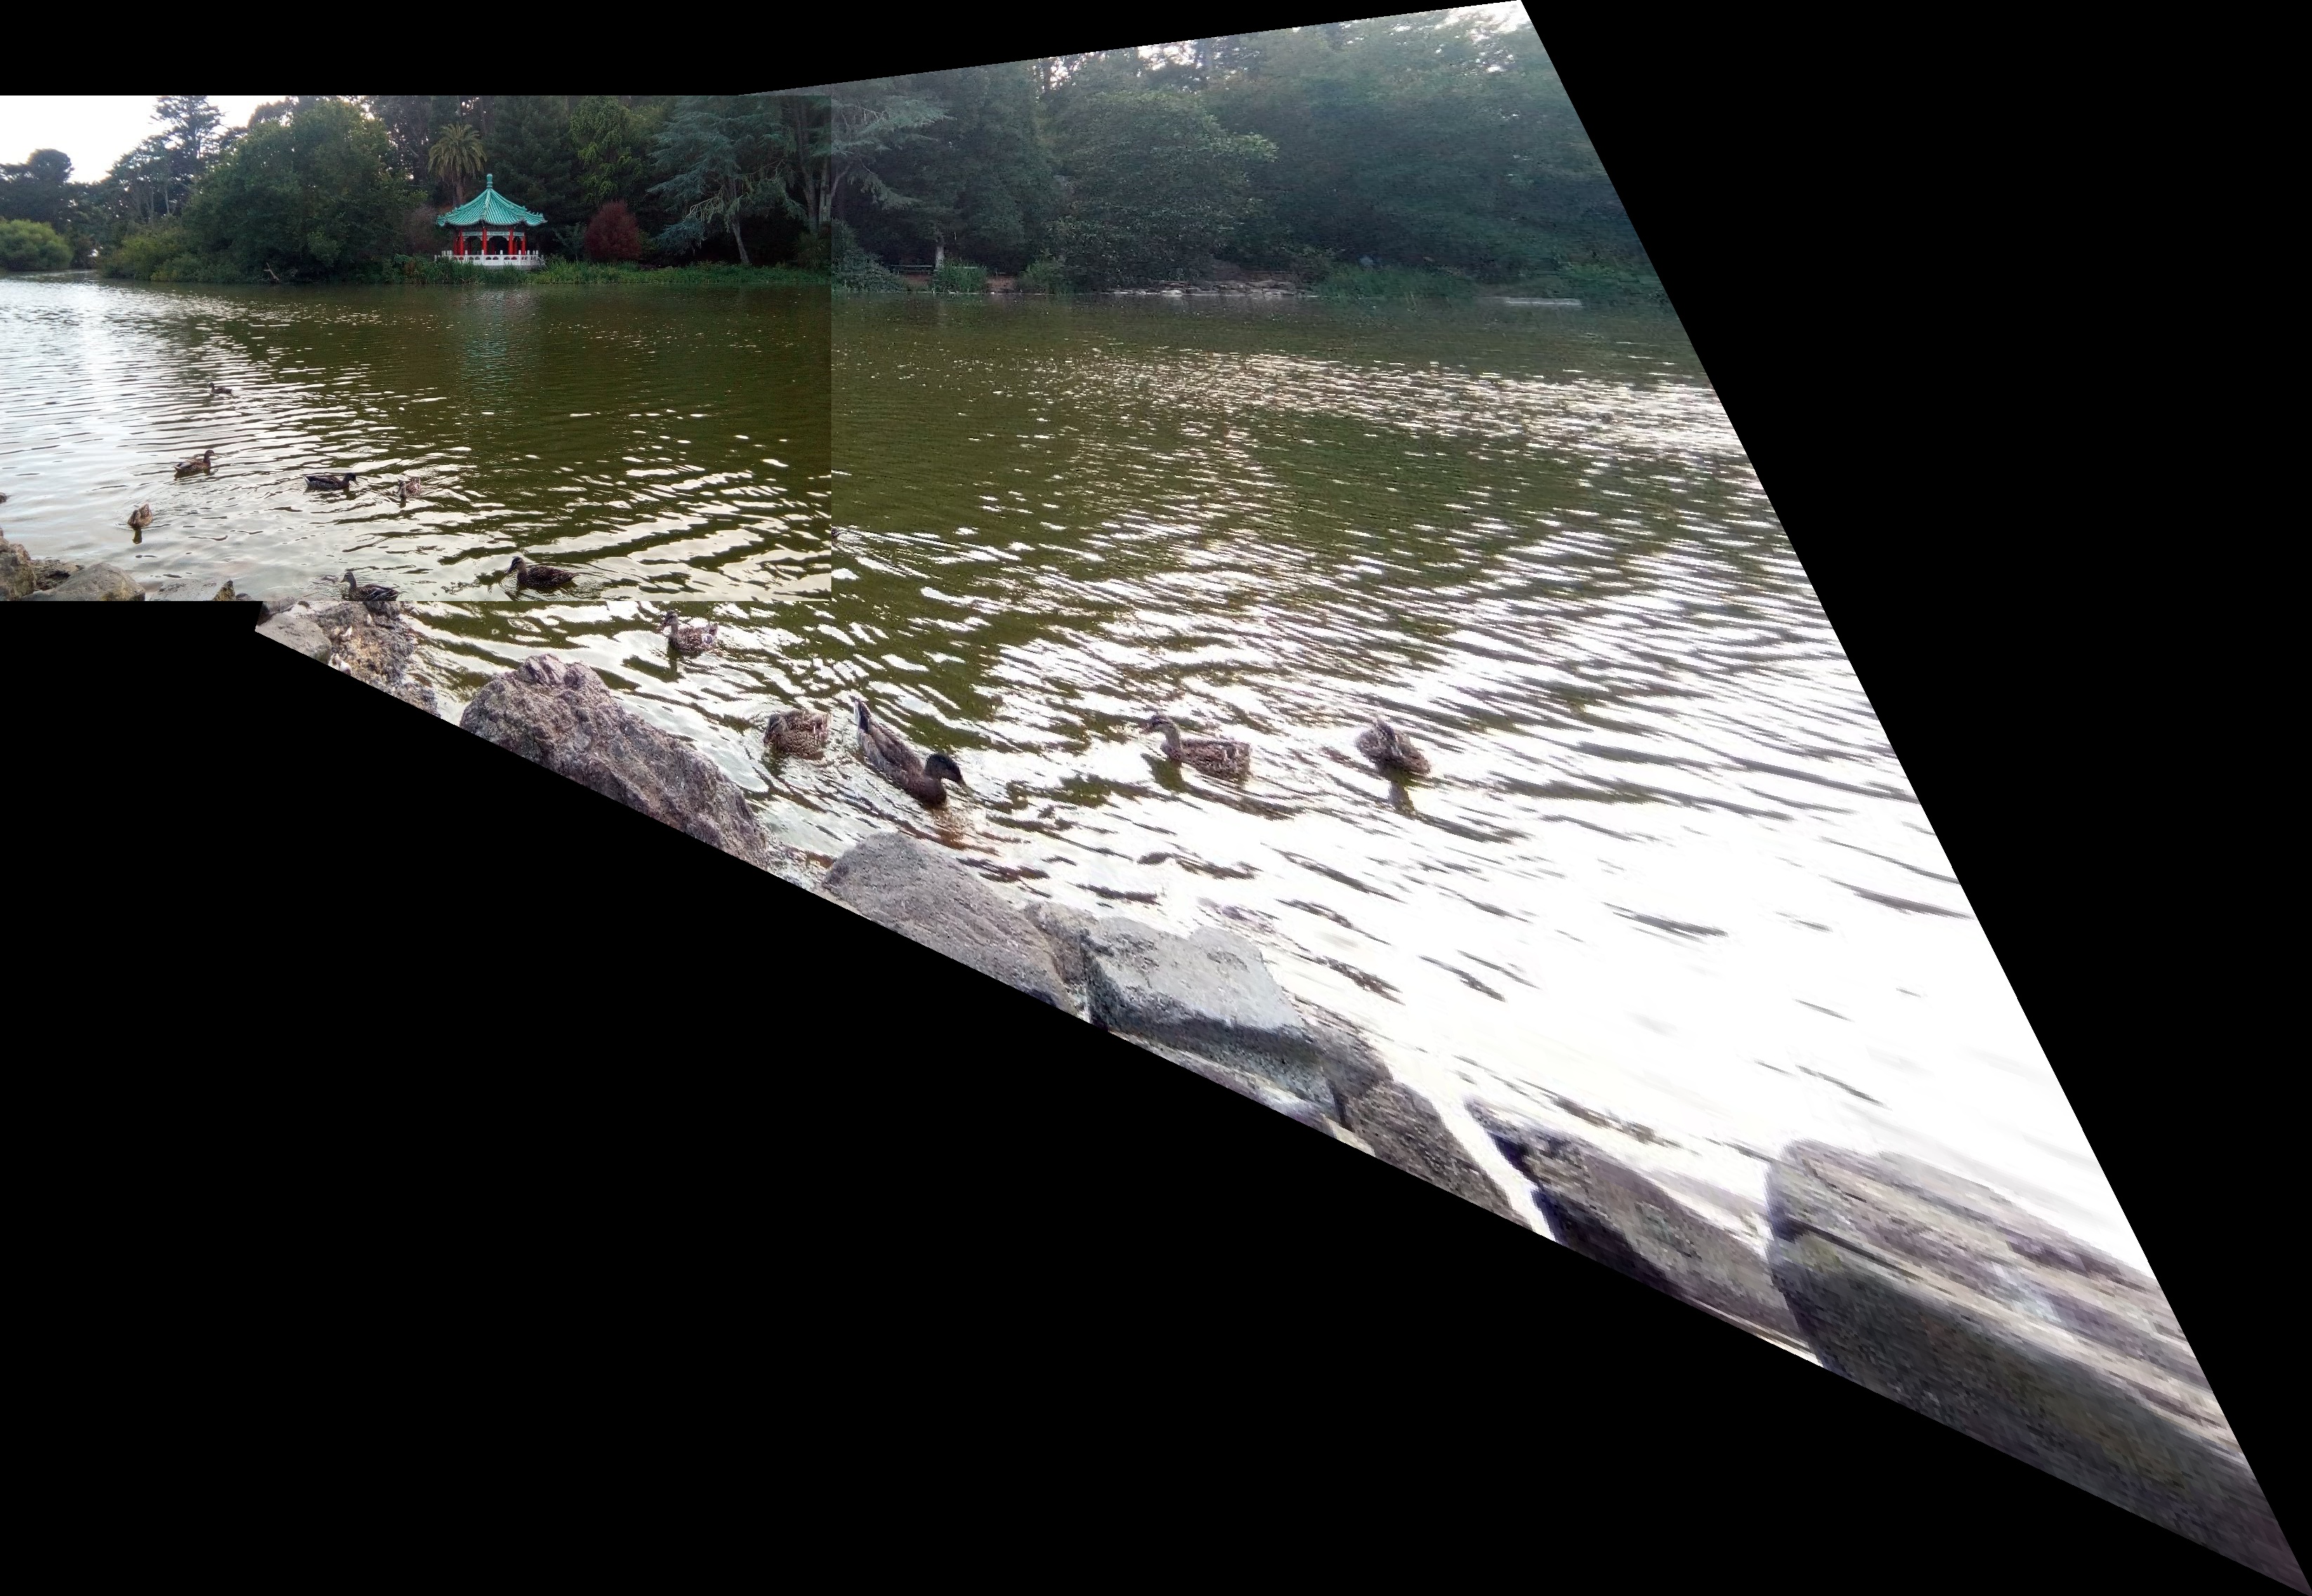
Auto Correspondences
Manual Correspondences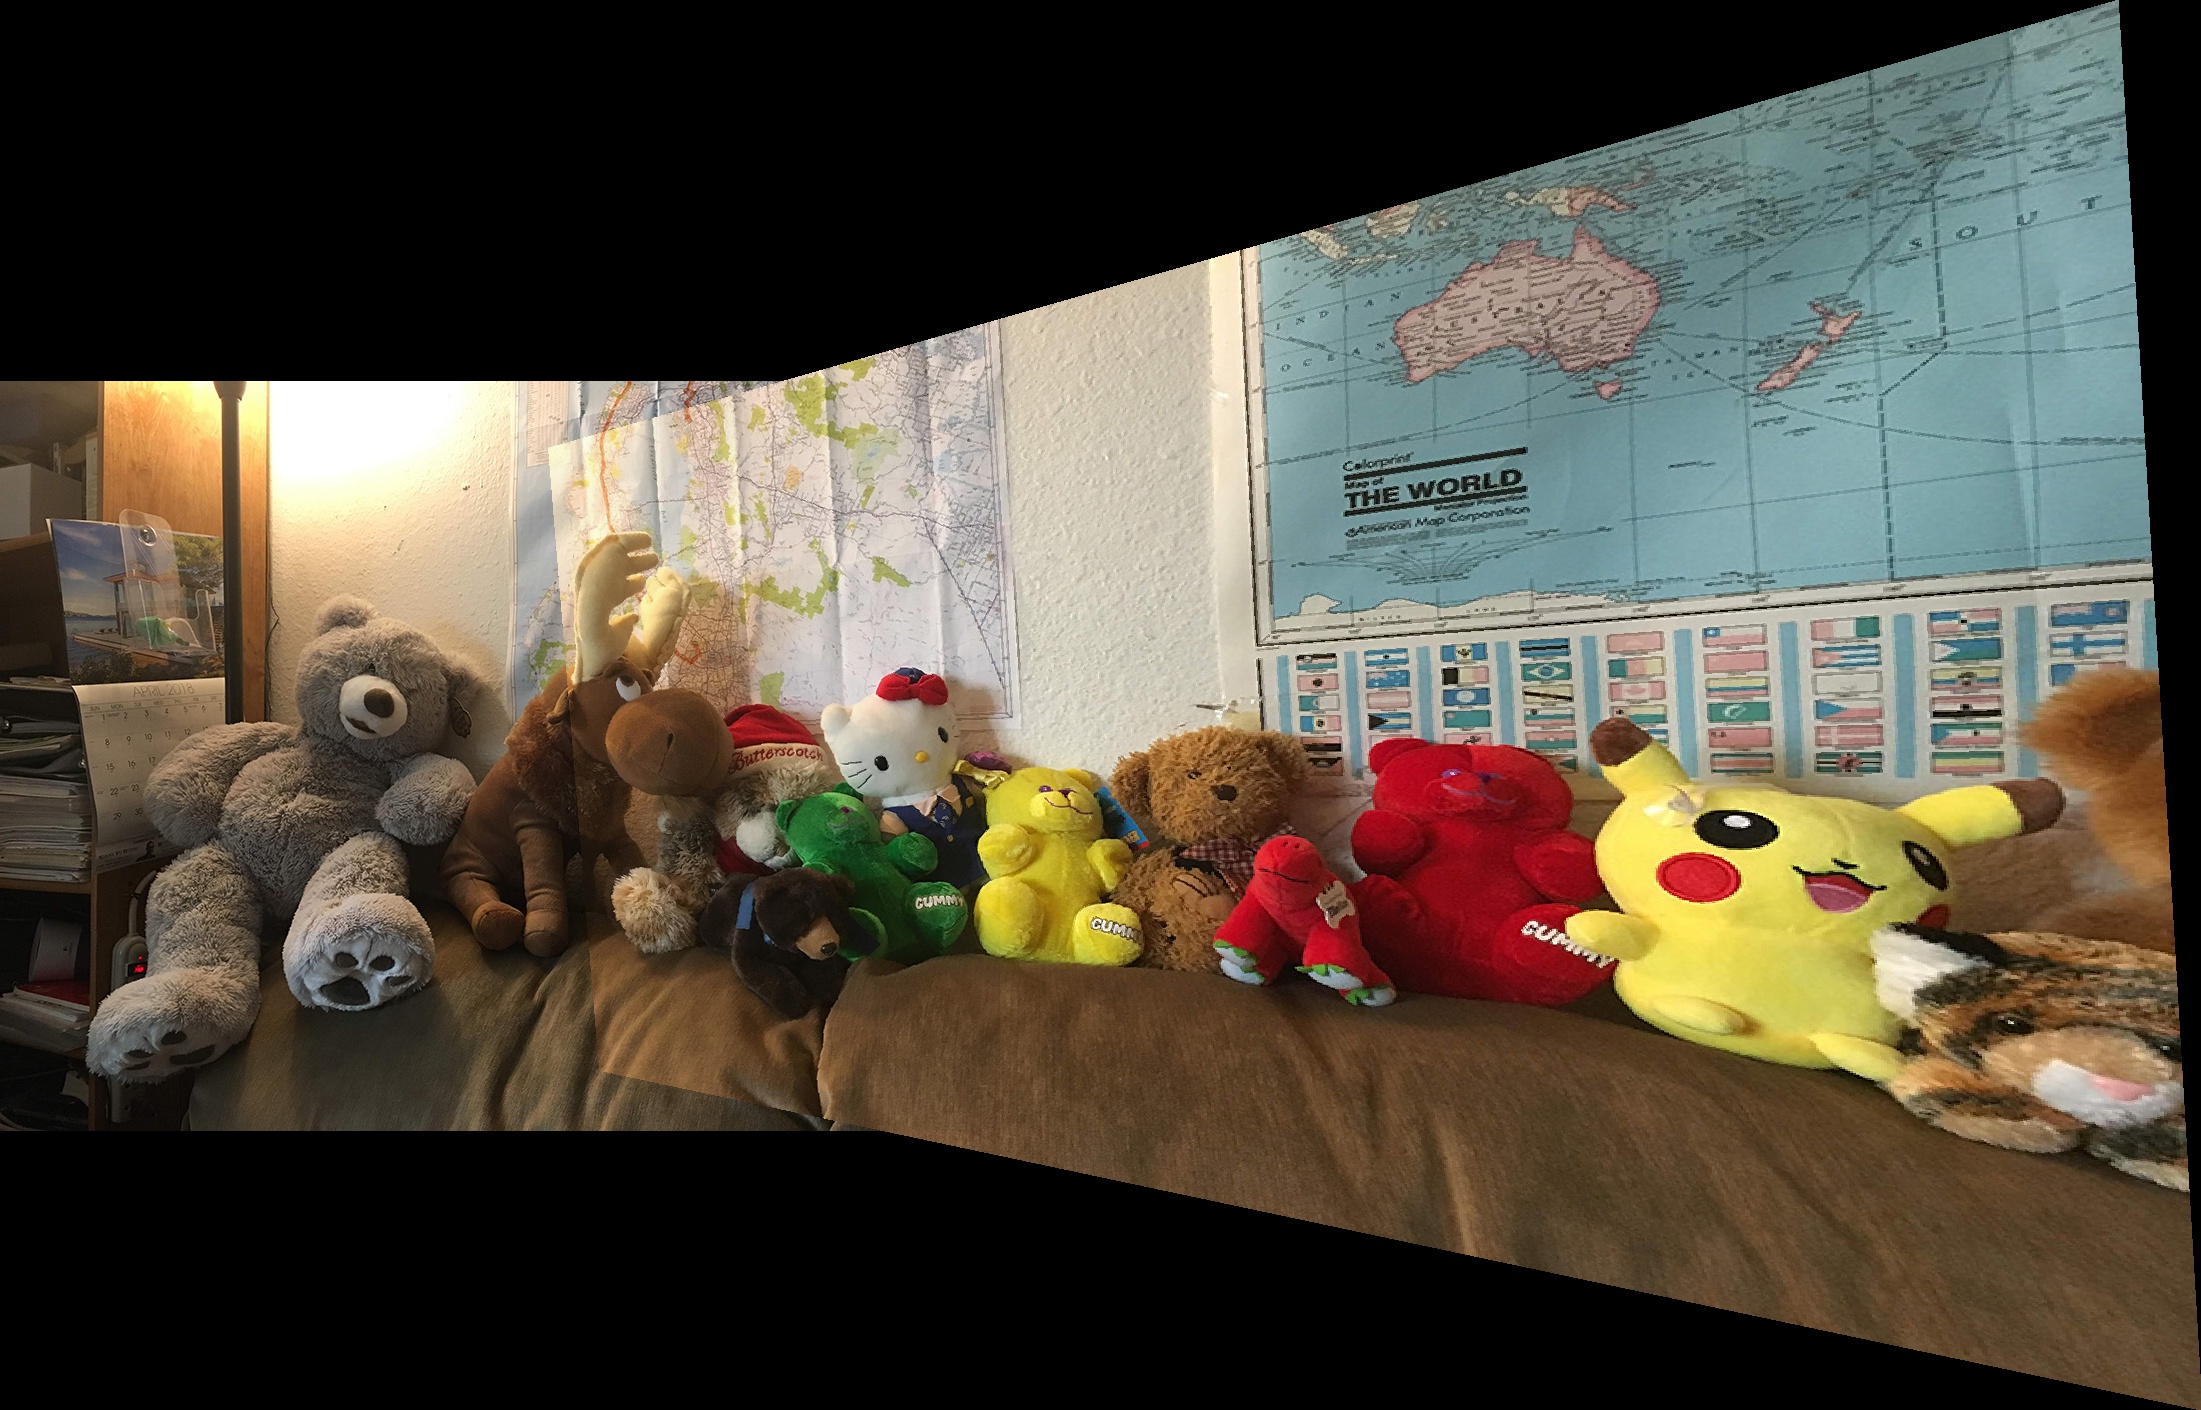
Auto CorrespondencesIt's really cool that I'm able to create my own panoramas in this project! The image warping process was more challenging than I had expected because of padding issues, but I'm glad to finally get it to work as desired. I also enjoyed the process of automating image matching using different metrics and learned a lot from this.