This project taught me many cool features of how panorama images are stitched together, as well as how certain images can have their perspectives changed by using homography.
MANUAL STITCHING
Part 1: Recover Homography Matrix
To recover the homography, I reshaped the matrices and did least squares to find the best fit h vector that transformed points P to points P'. This was the method described in lecture.
Part 2: Warping the Images
I used an inverse warp to remove aliasing by interpolating from the original image. For each pixel position in the warped image, I use the inverse of H to find out where the pixel came from in the original image and interpolated from there. I check that the pixel is in the range of the original image, otherwise I set the value to 0.
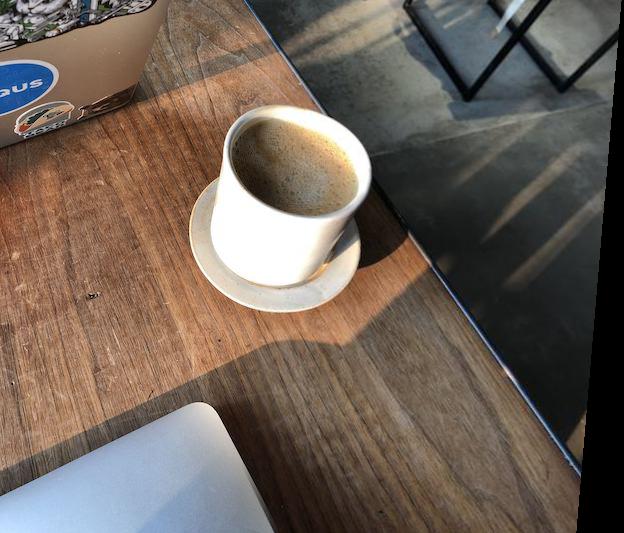
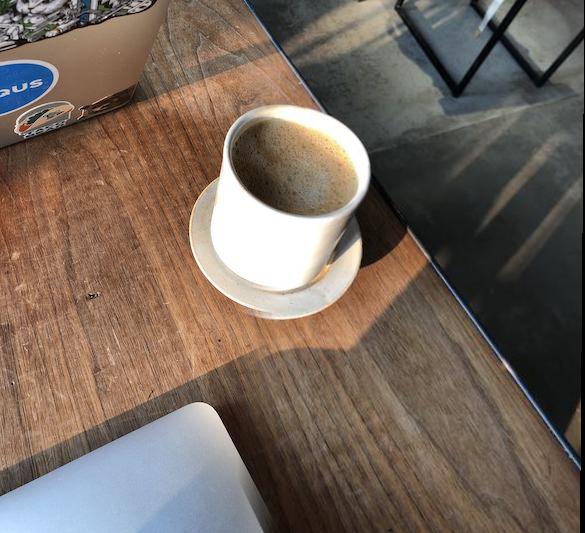
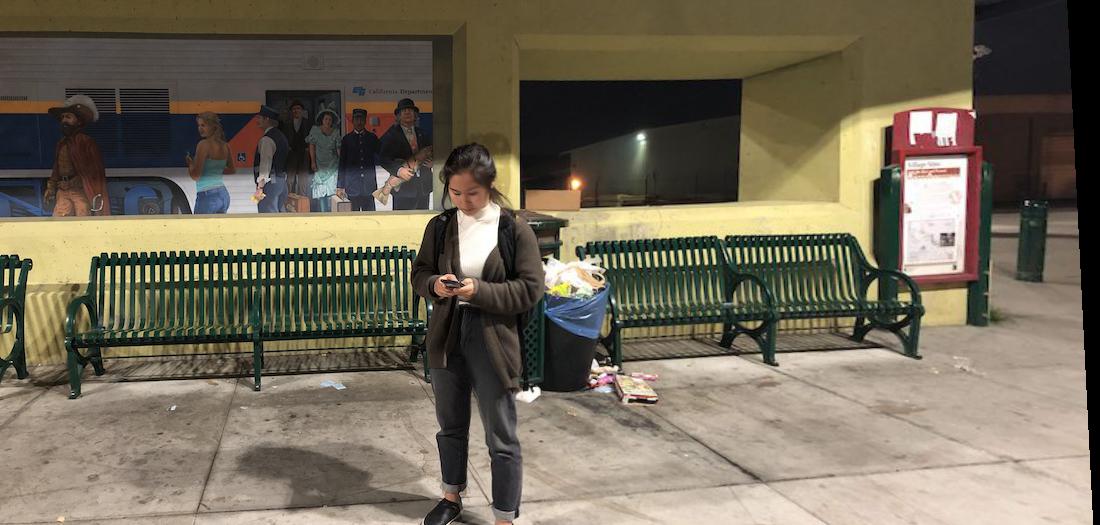
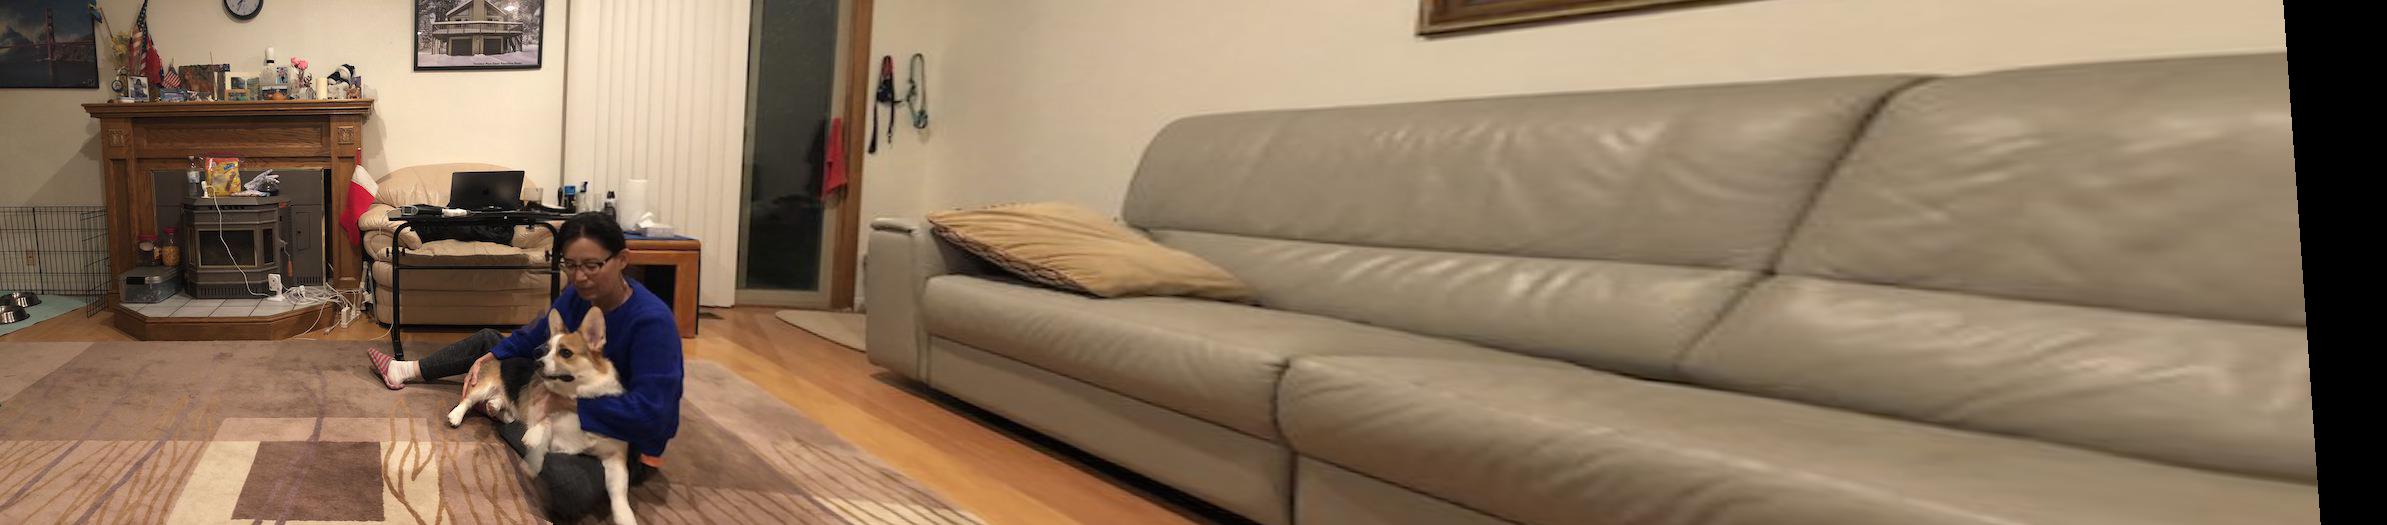
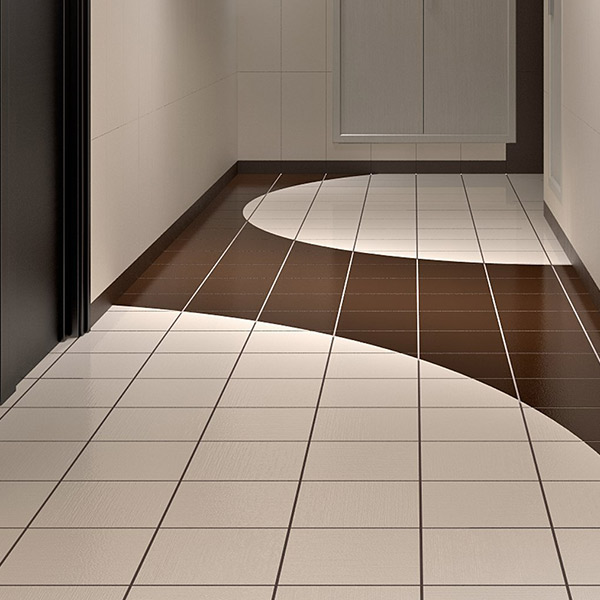
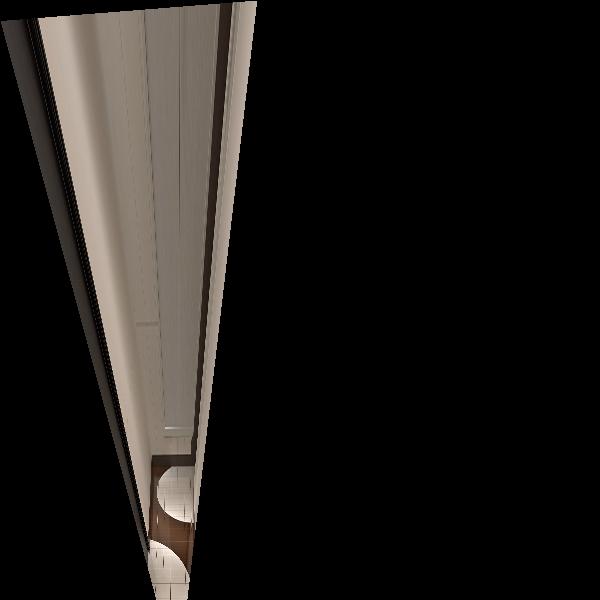
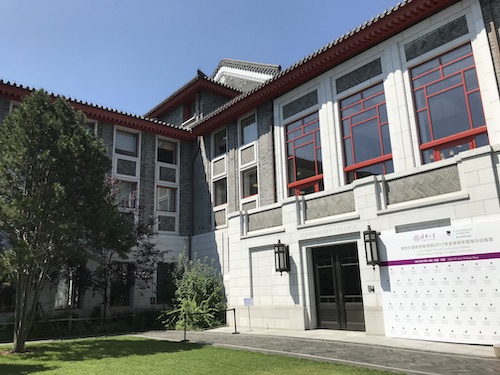
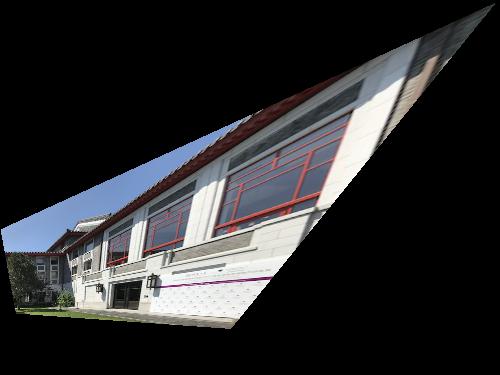
Part 3: Image Rectification
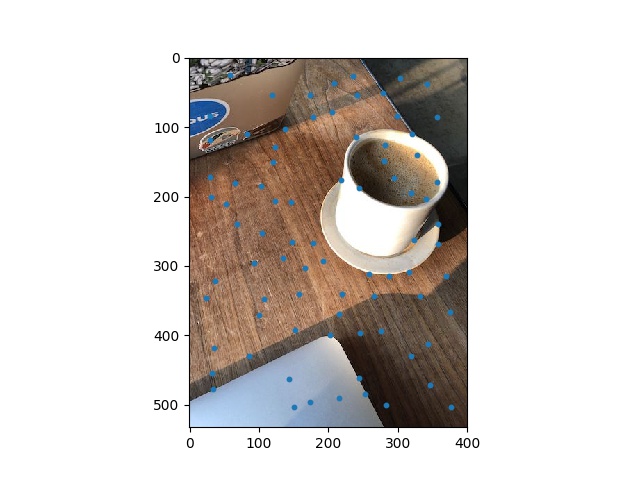
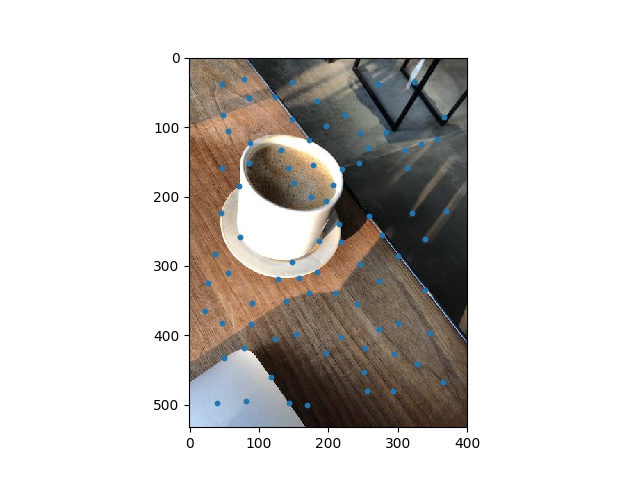
For these images, I picked points that I knew were squares or rectangles in the images. And then I artificially create rectangle points simulating the warped points in the desired result. Then I found the homography and warped the image to align by those squares.
|
|
|
|
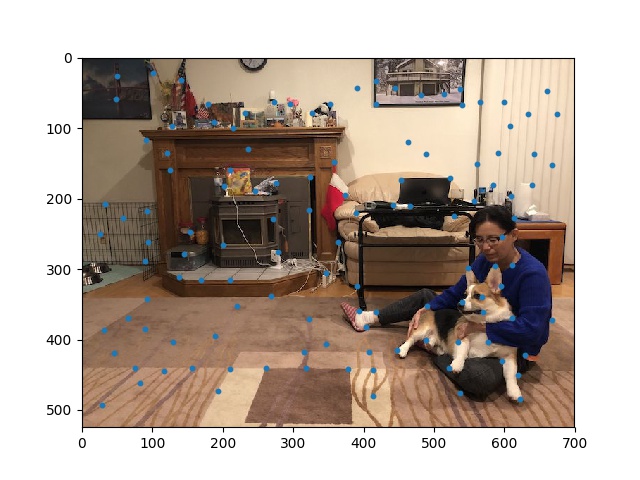
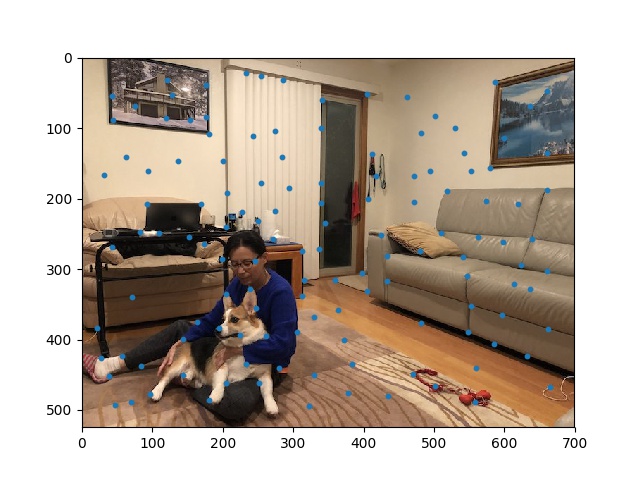
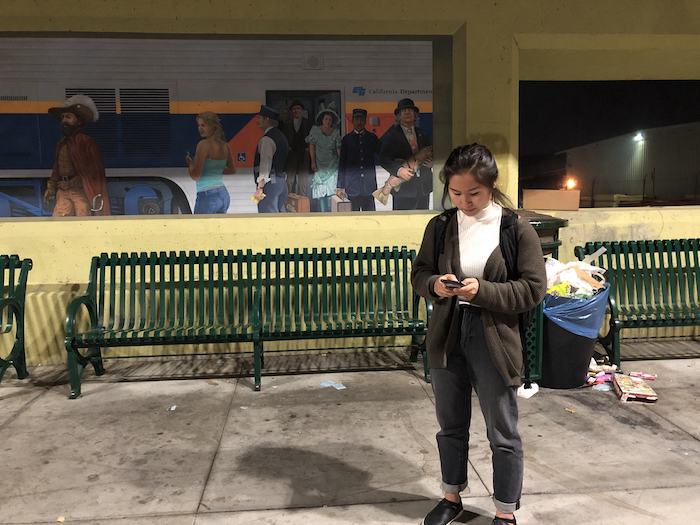
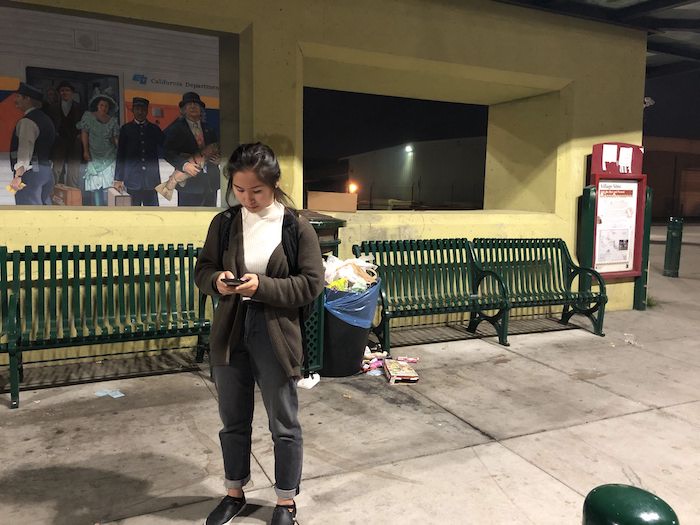
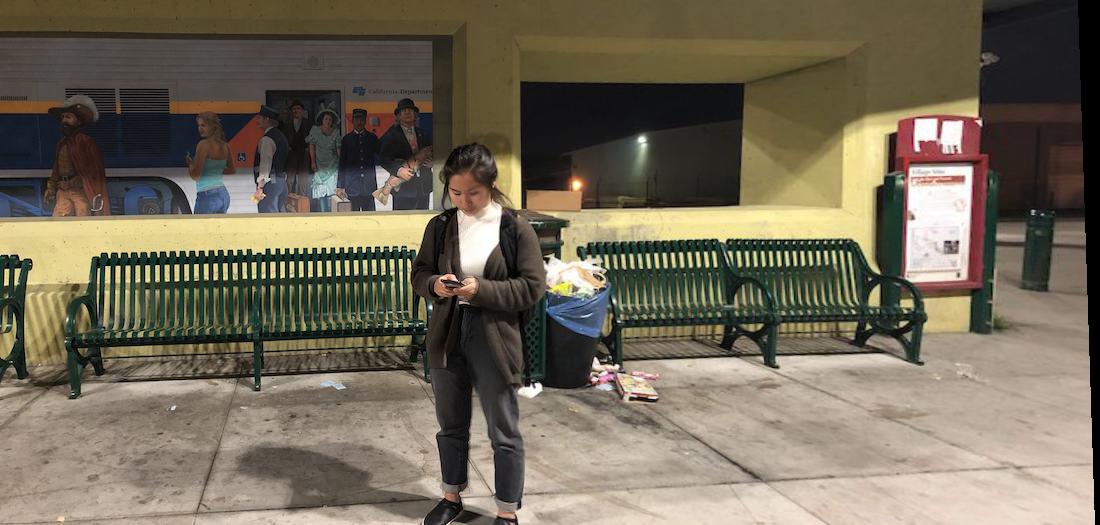
Part 4: Mosaic
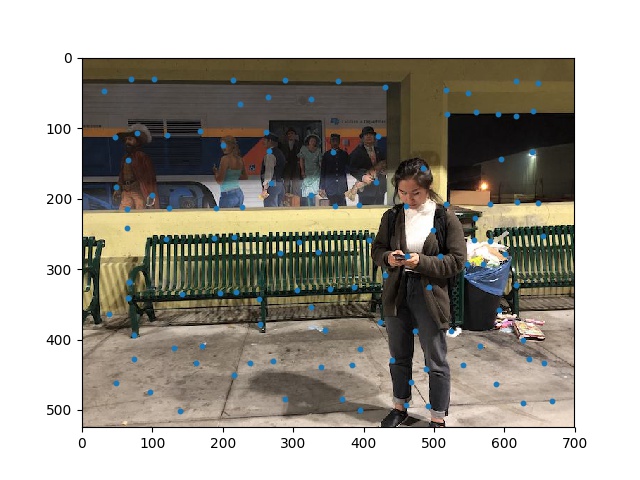
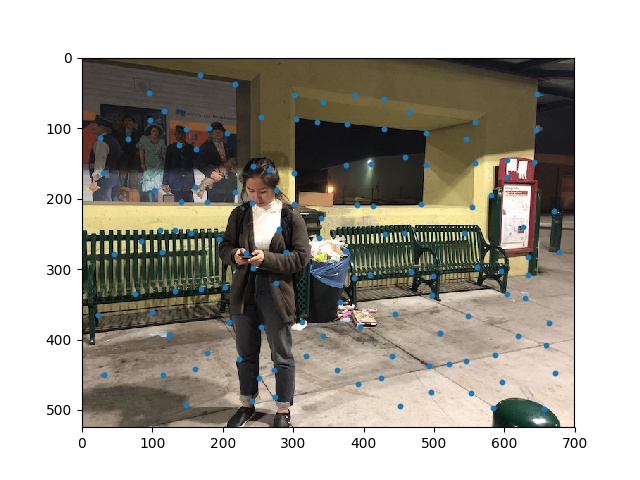
For these images, I picked points that I knew were squares or rectangles in the images. And then I artificially create rectangle points simulating the warped points in the desired result. Then I found the homography and warped the image to align by those squares.
|
|

|
|
|
|
|
|
|