For the first part of the project, we used homographies to perform image rectification and create mosaics.
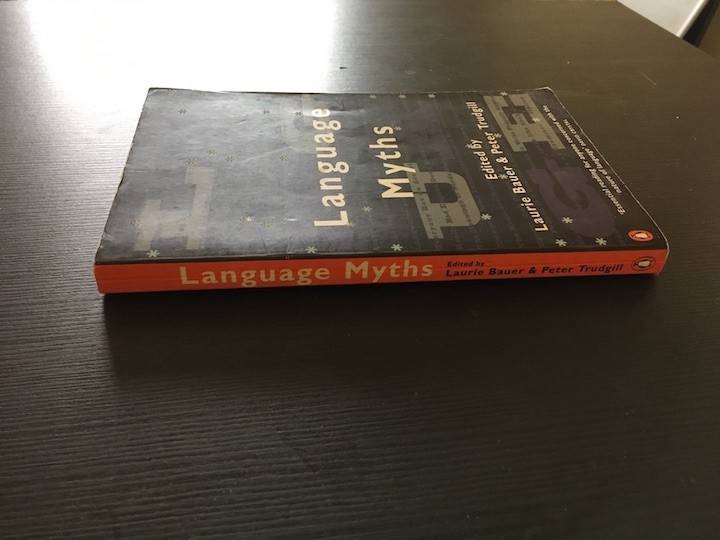
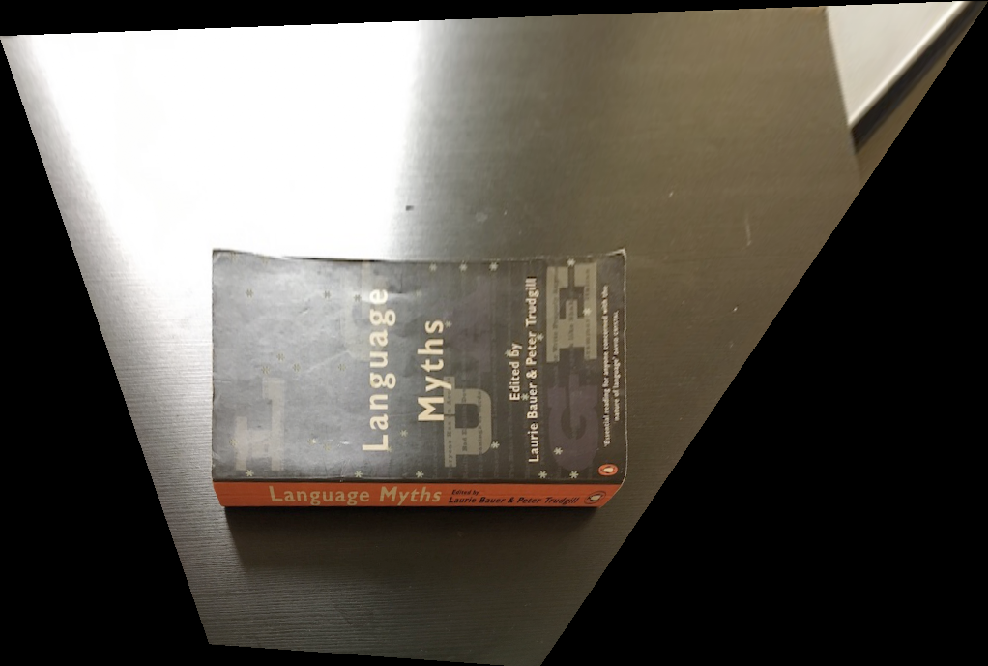
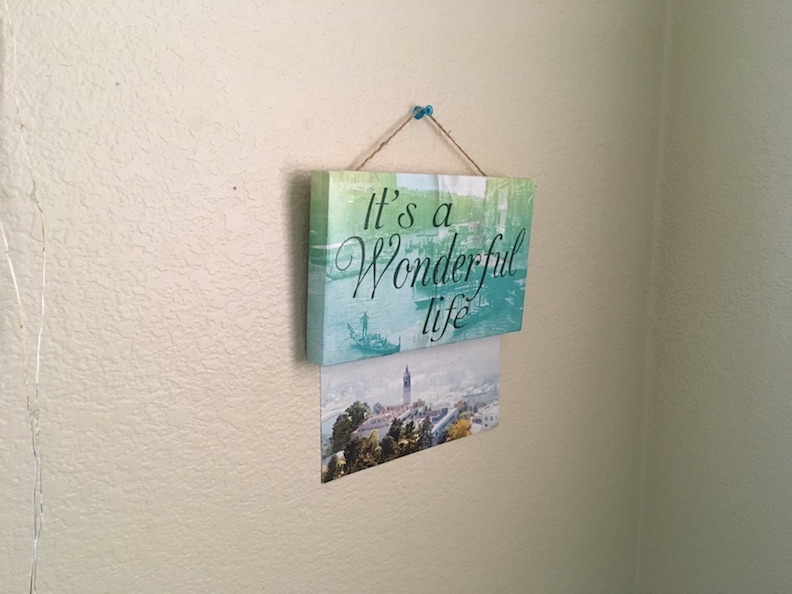
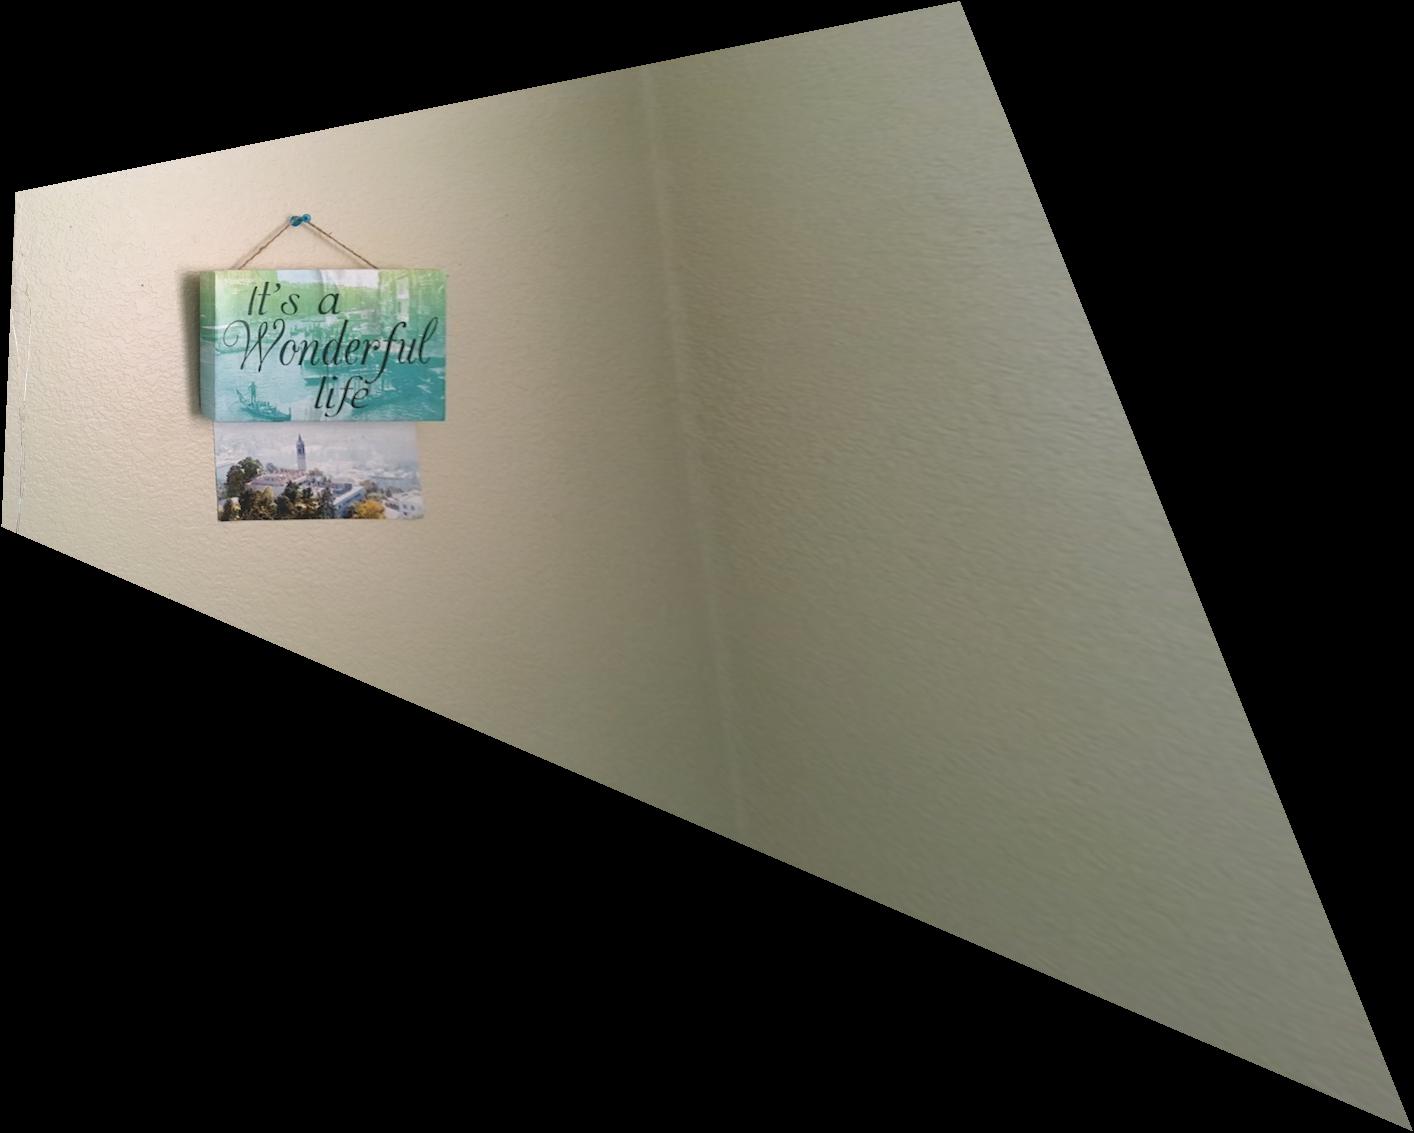
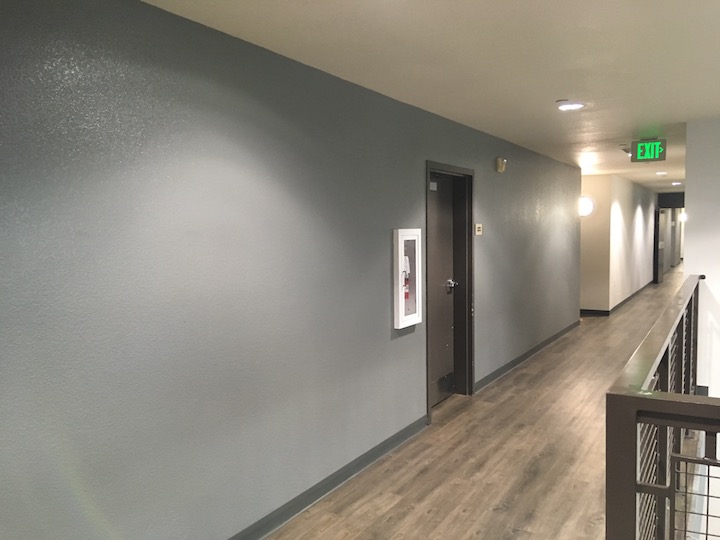
For this part of the project, I took pictures of a book and some art on a wall at an angle. I wanted to warp these images to show the book cover taken from a top down view without an angle, and the wall art also taken from the front without an angle. Essentially, the text shouldn't look too slanted or skewed on the book or wall art. To do this, we wanted to recover the homography matrix H, where the relation between p and p' is Hp = p', p are the original points on the image, and p' are the specified destination points of the image. H has 8 degrees of freedom, so by choosing 4 points and 4 destination points p', we have enough information to set up a linear system and solve for H. Then, I used inverse warping to get the resulting pixel values in the output image.
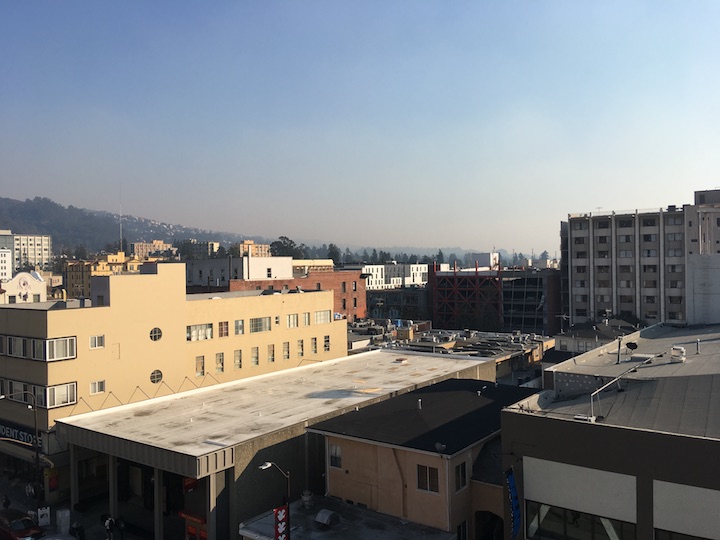
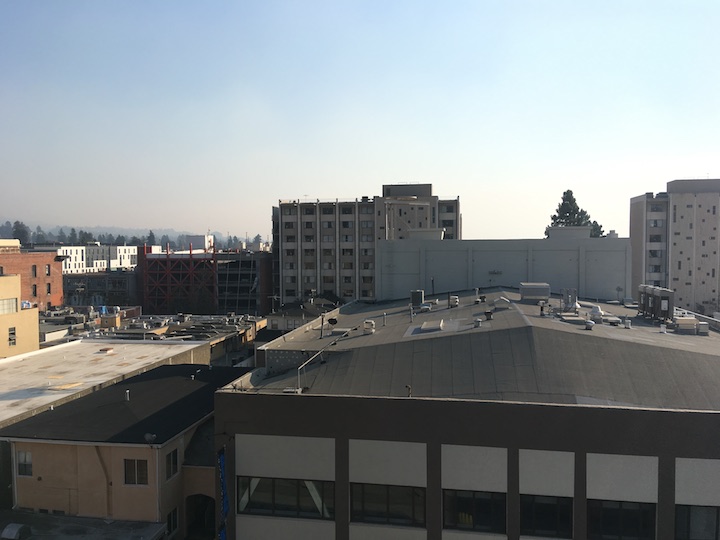
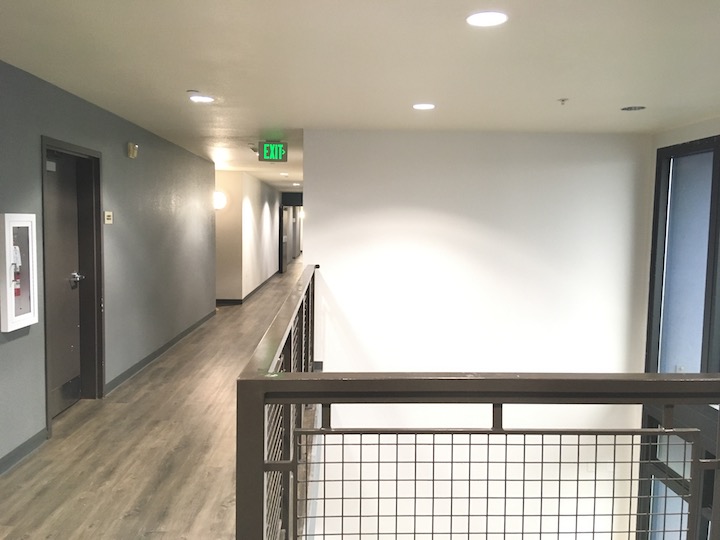
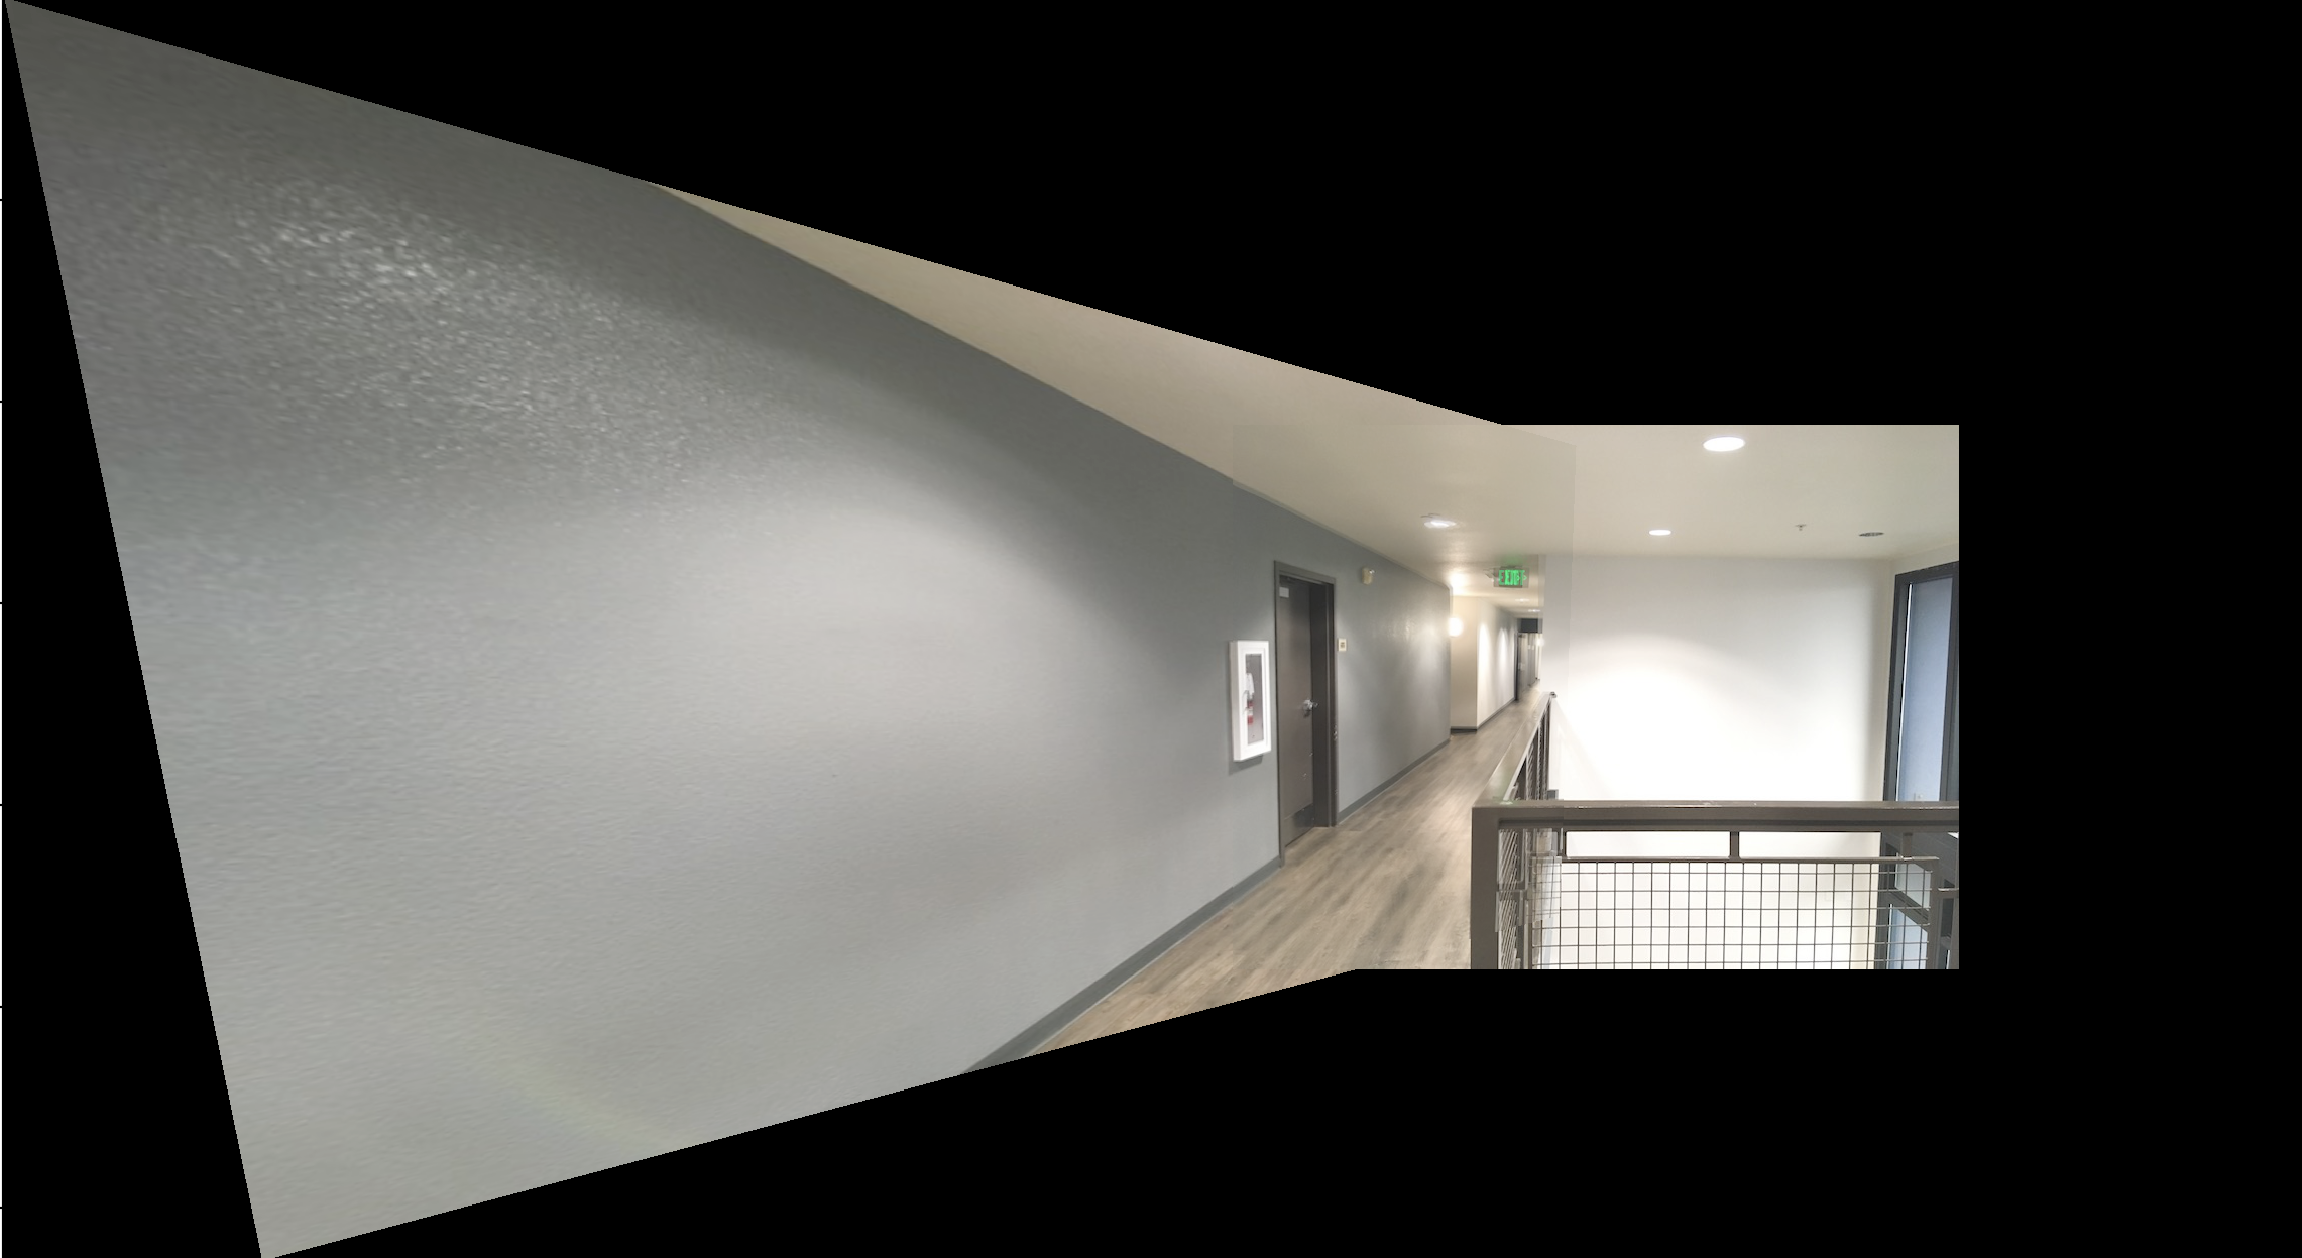
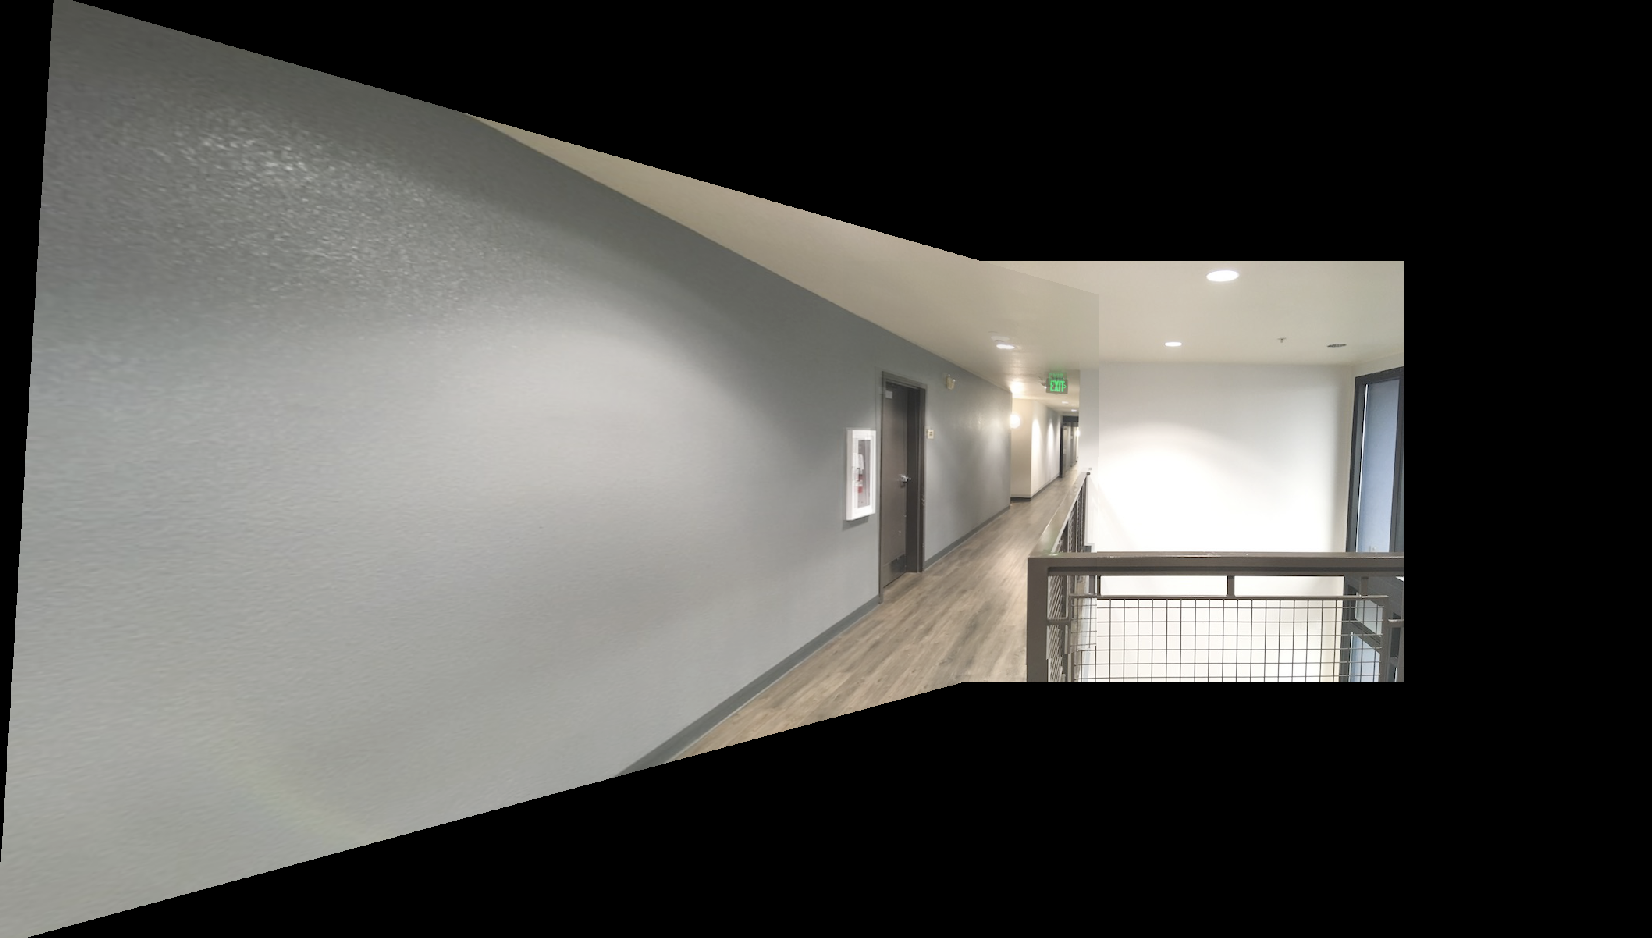
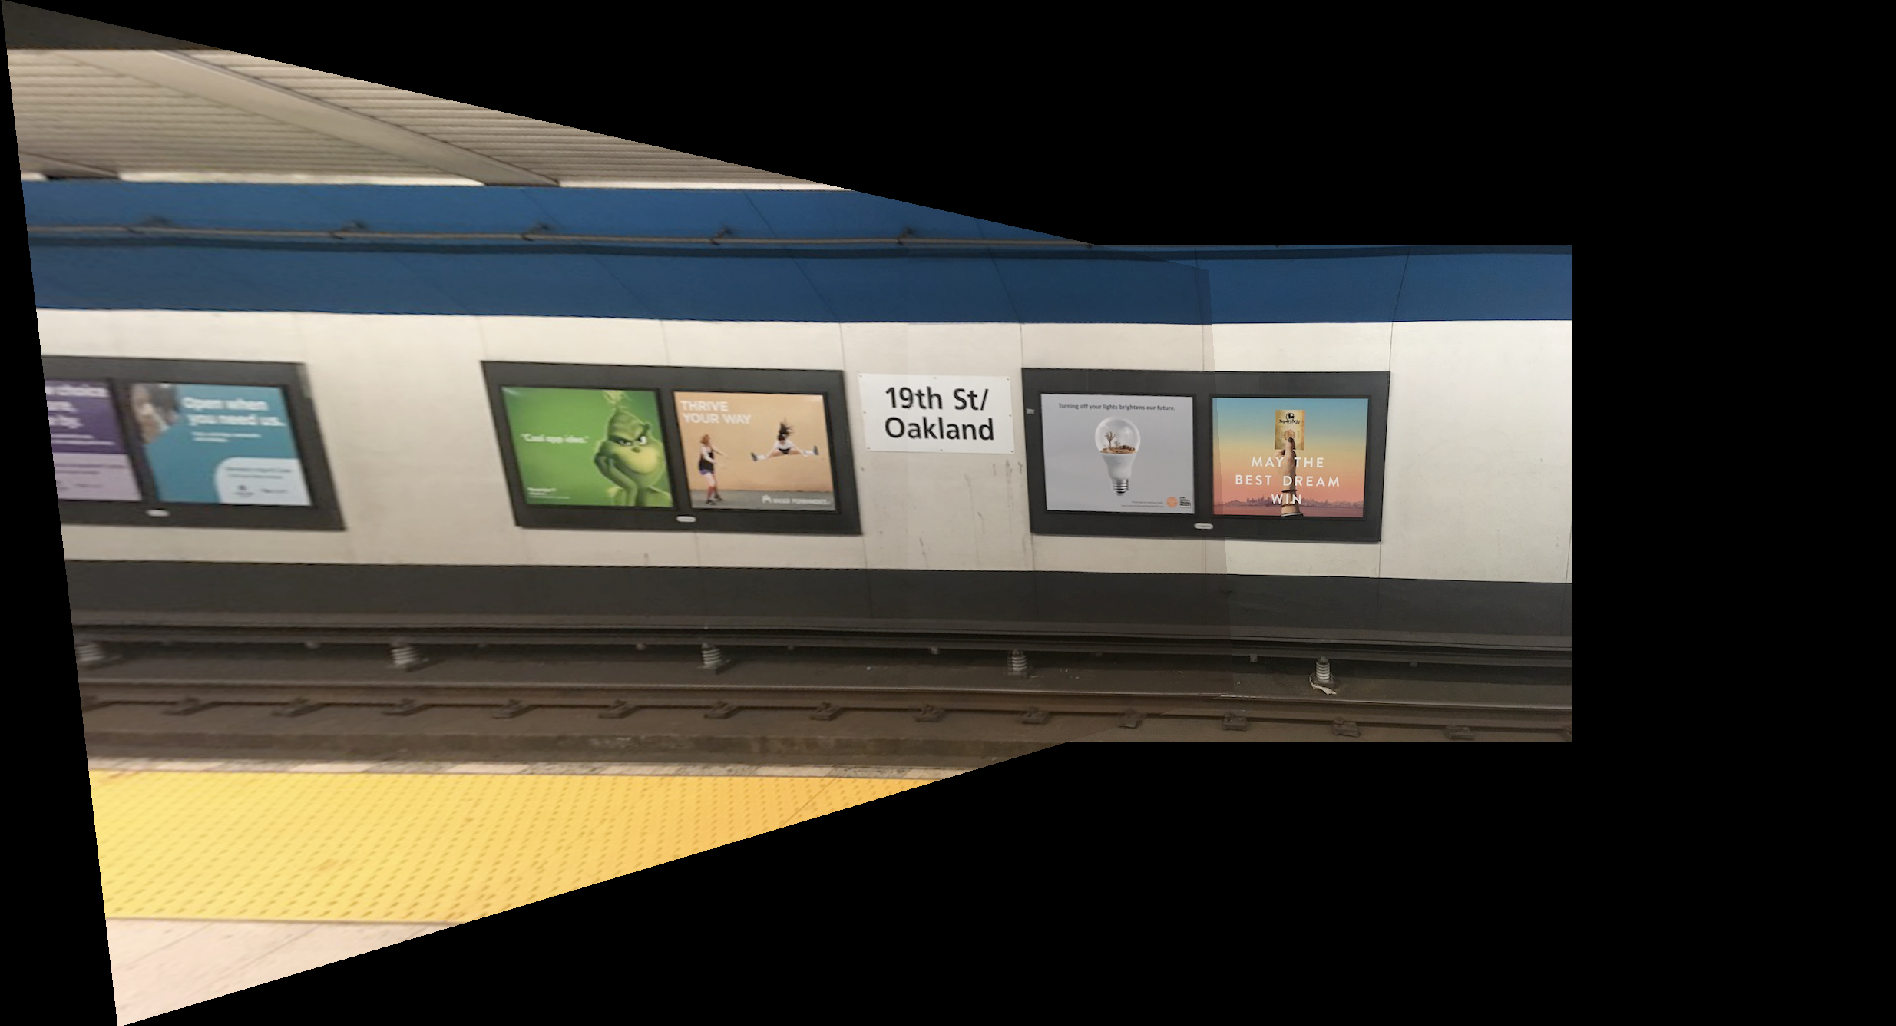
To capture the pictures for mosaics, we wanted to try to keep our camera steady and only rotate around one axis to take the pictures (essentially, we didn't want our camera to move in world coordinates, only rotate about its current world coordinate). This way, we can account for a projective transformation between the photos and use the homography matrix to warp from one image to a position that aligns with the second image. To do this, we used a similar technique mentioned in part 1 of image rectification, choosing more than 4 points and solving for H using linear least squares.
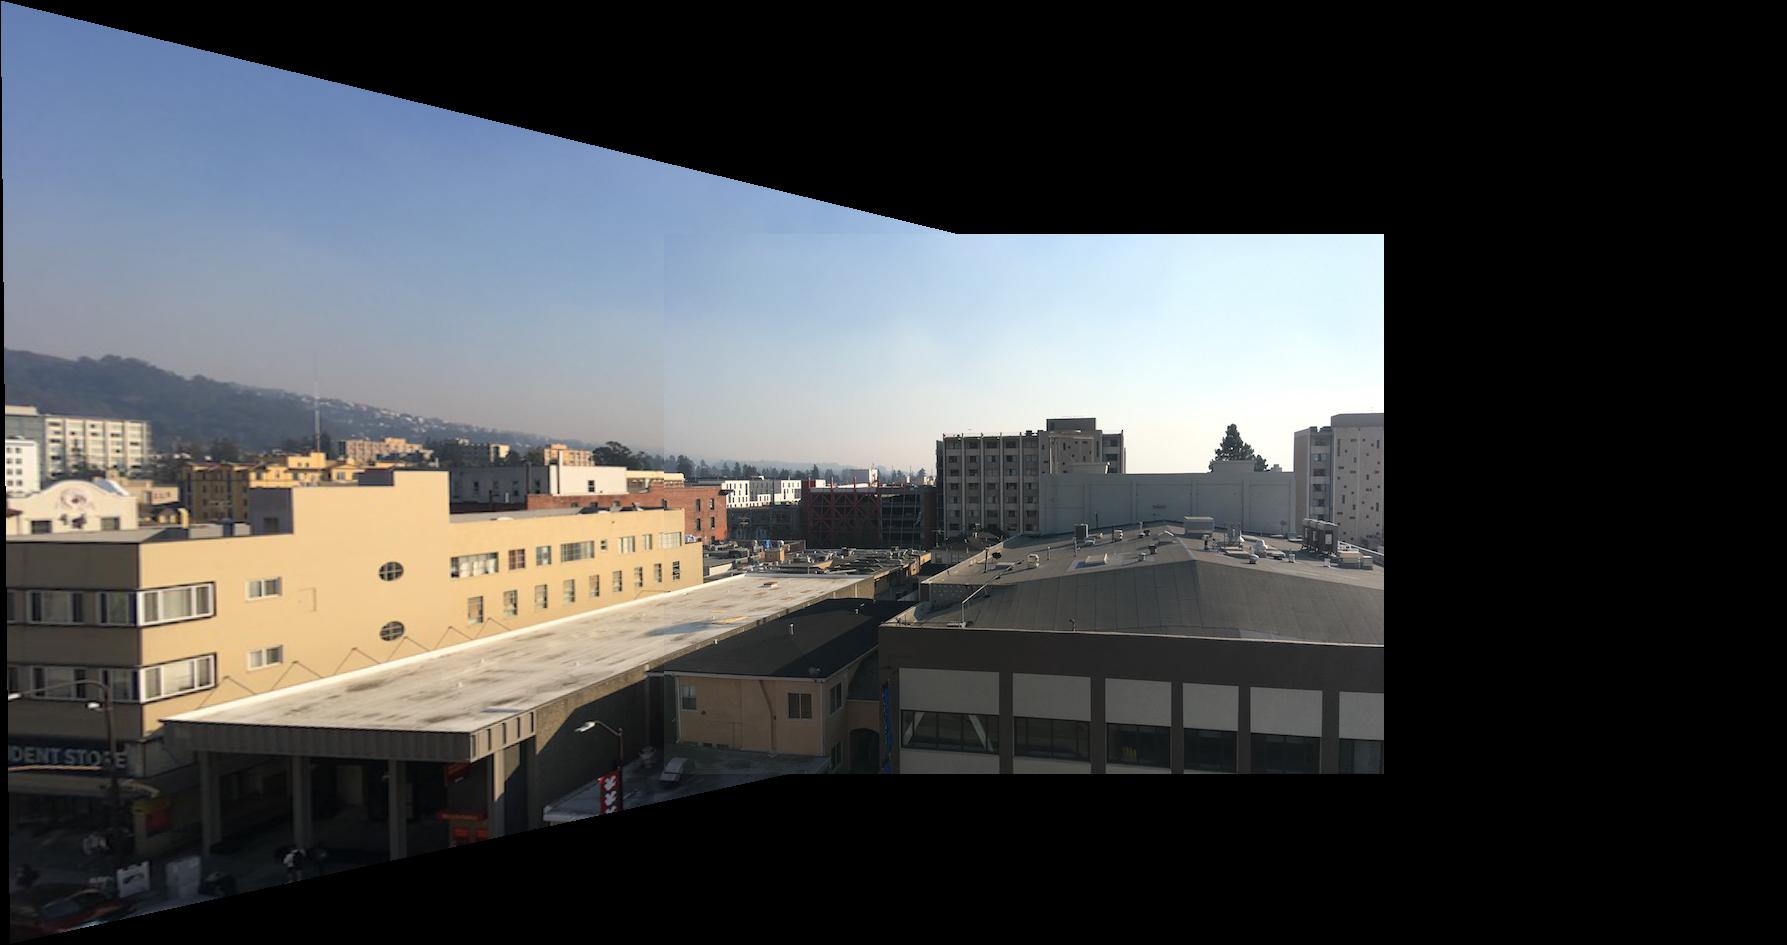
To create each mosaic, I took 2 pictures. Using the solved H, I decided to warp my left image to the position that would align with the right image. Then, I used linear interpolation to use an alpha value of 0.8 to blend the image overlapped areas, reducing the presence of the edge overlap for the images.


It was really cool to learn how to stitch together pictures to form panoramas. It was a concept I remember learning in my linear algebra class, and it was nice seeing that concept actually applied.
In this part of the project, we automatically stitch together images to form panoramas. In the first part of the project, we manually defined correspondences between two images before stitching. For this part, we learned to automatically find these correspondences through feature matching.
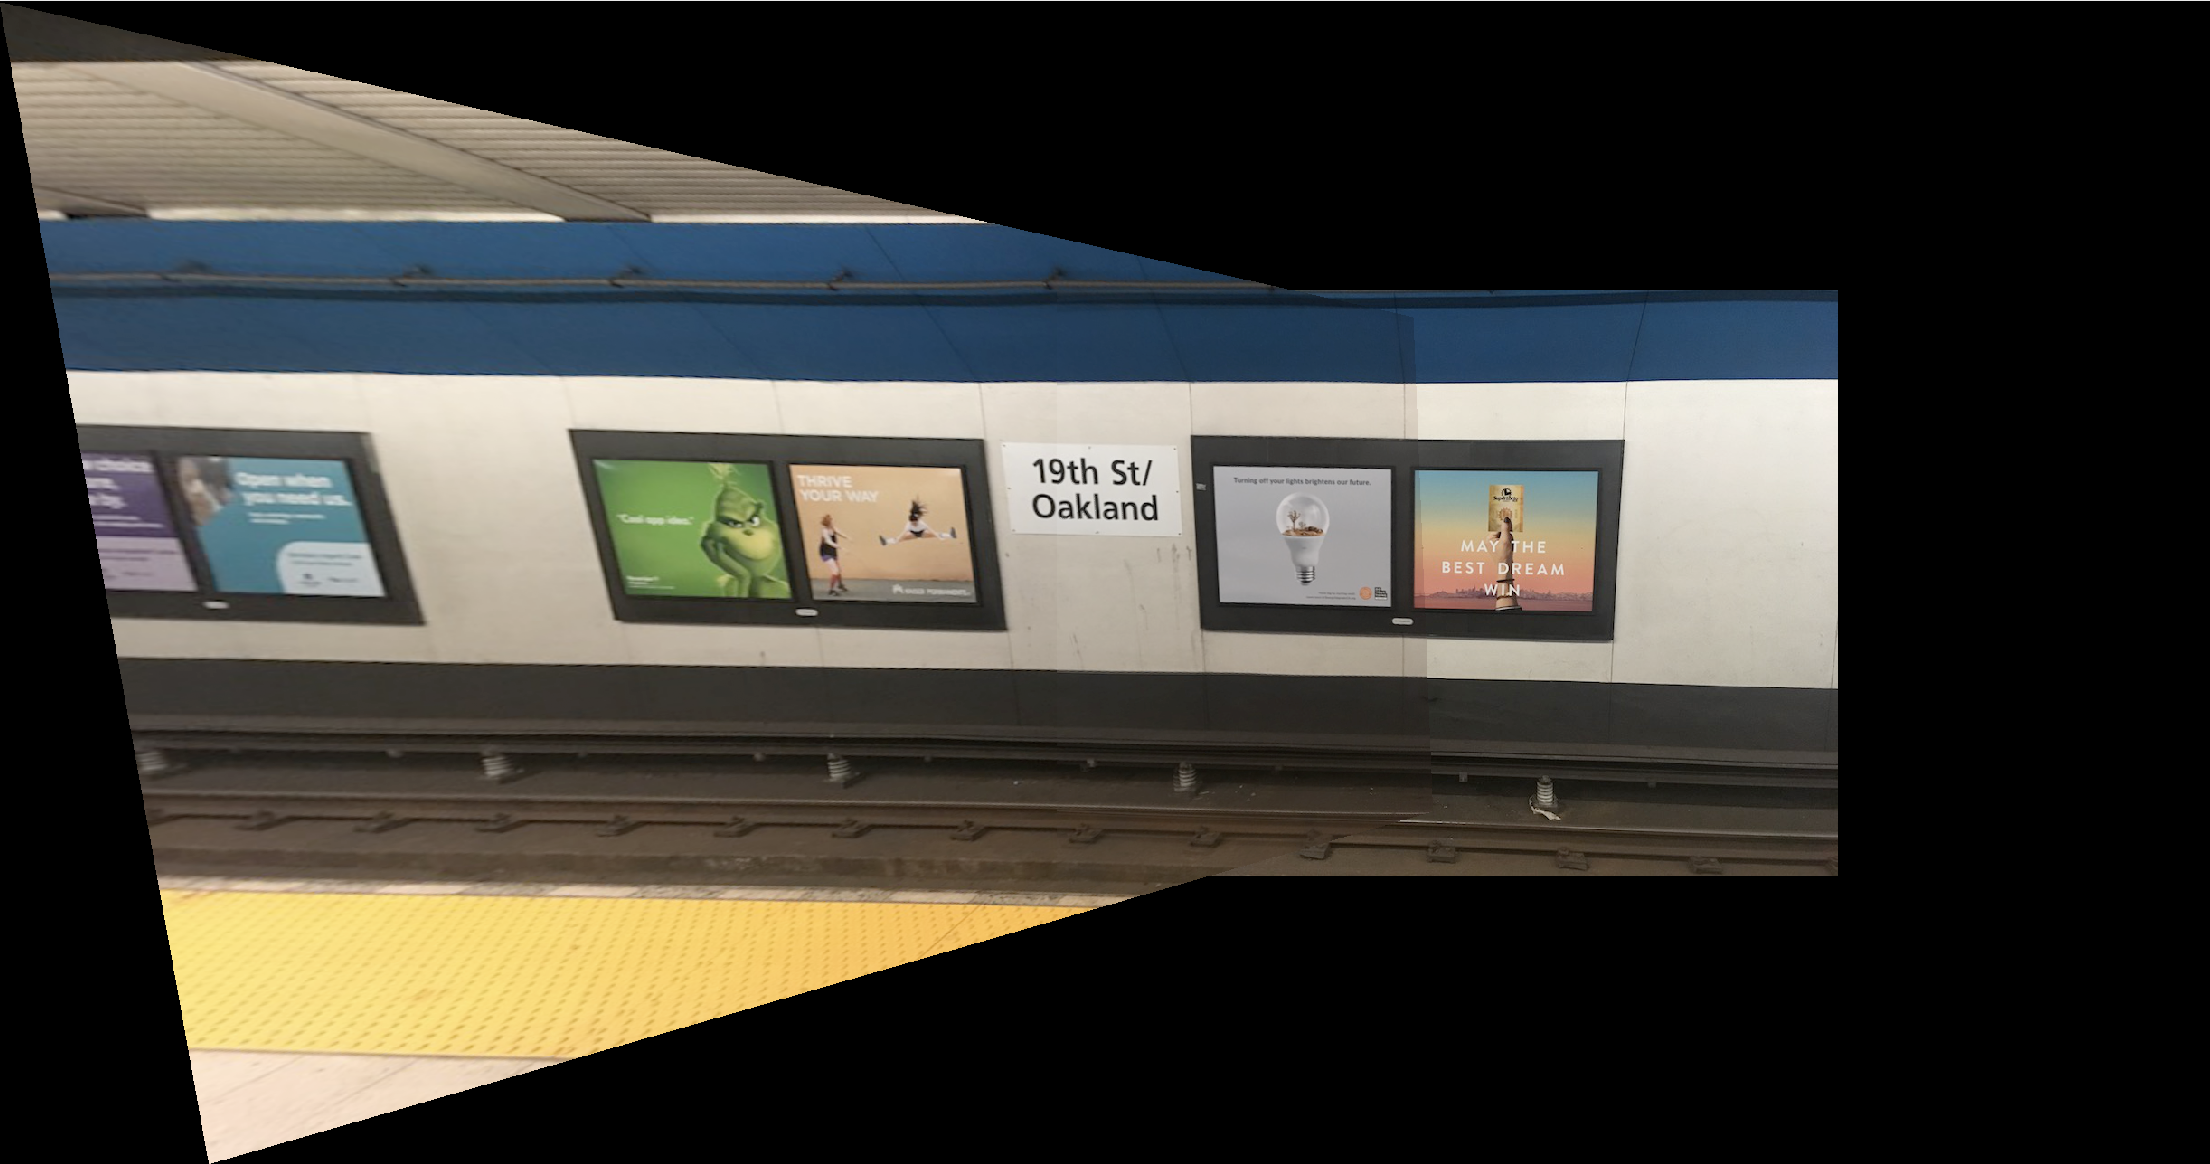
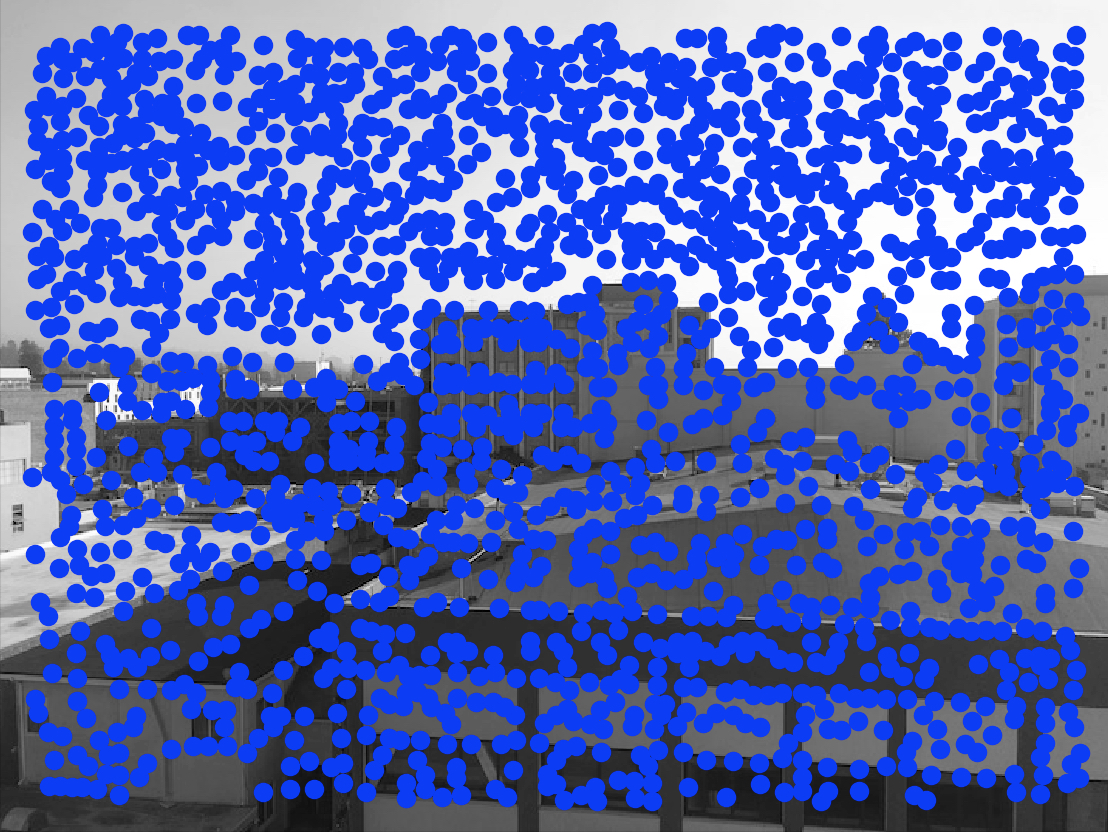
First, we want to find points of interest that we will consider for feature matching. To find these points of interest, we use harris corner detection.
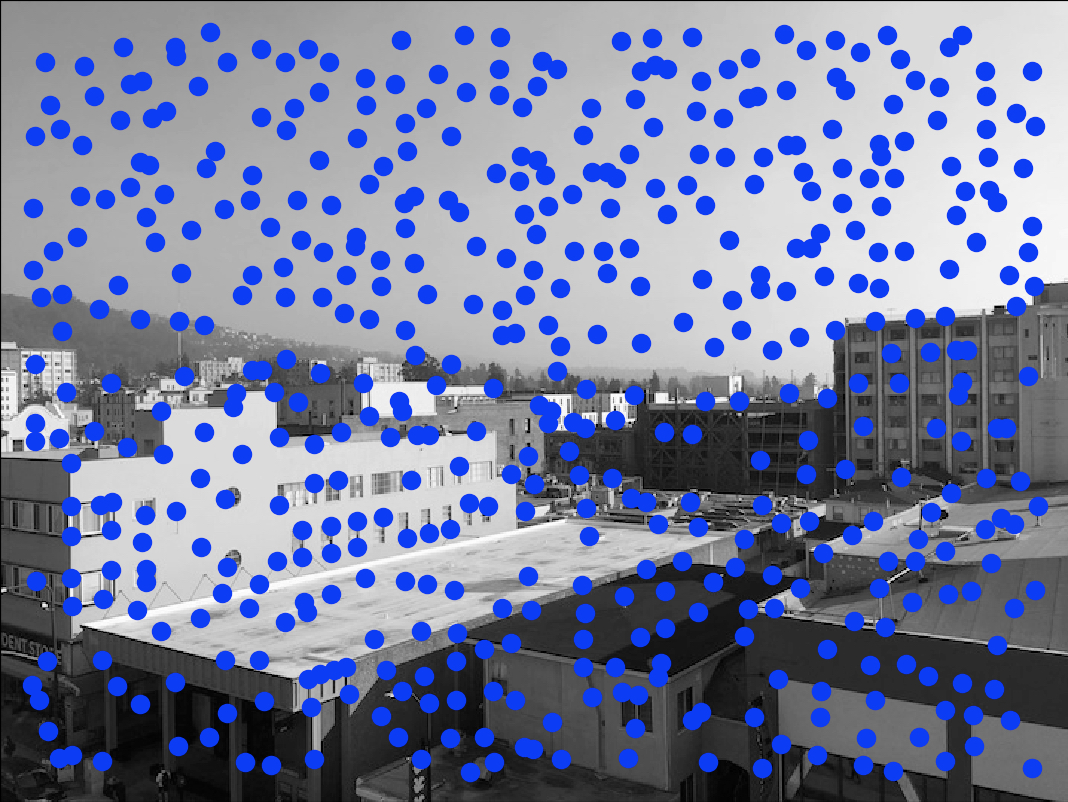
We want to reduce the number of points of interest found from harris corner detection. This is so the search space will not be unmanageably big when we do feature matching with these points. To figure out which points of interest to keep, we use ANMS. This allows for more spread out points of interest that allow for good spatial distribution over the image. ANMS achieves this by finding the minimum suppresion radius ri for each point. This radius is determined by the minimum distance of that point compared to all other feature points, where the following is satisfied: the first feature point's corner response is less than 0.9 * the second feature point's corner response. Then, we sort by decreasing values of ri and select the top 500 points.
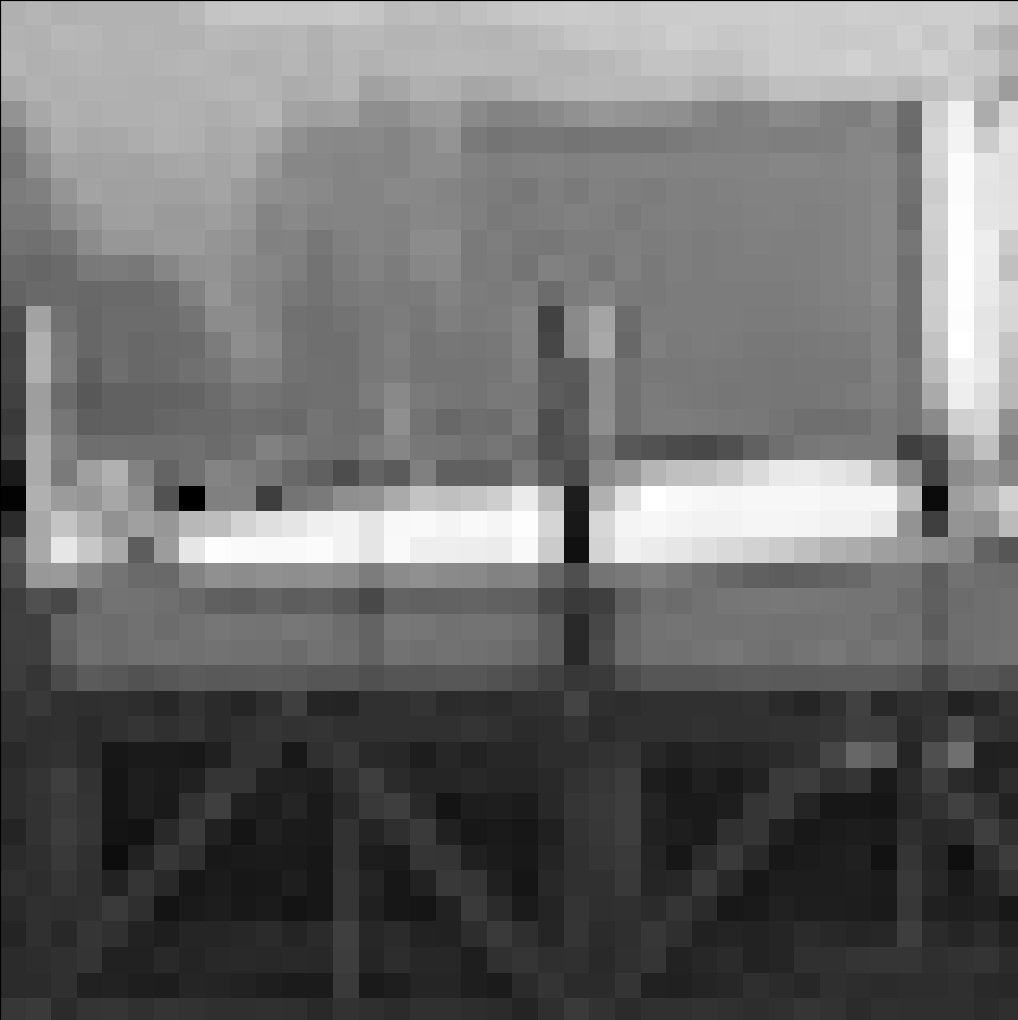
Once the feature points are selected, we want to create feature descriptors for those points. We do this by taking 40x40 patches around the feature points, and we subsample these patches to an 8x8 patch. To normalize these patches, we then subtract the mean intensity value from these pixels and divide them by the standard deviation of the intensity values.

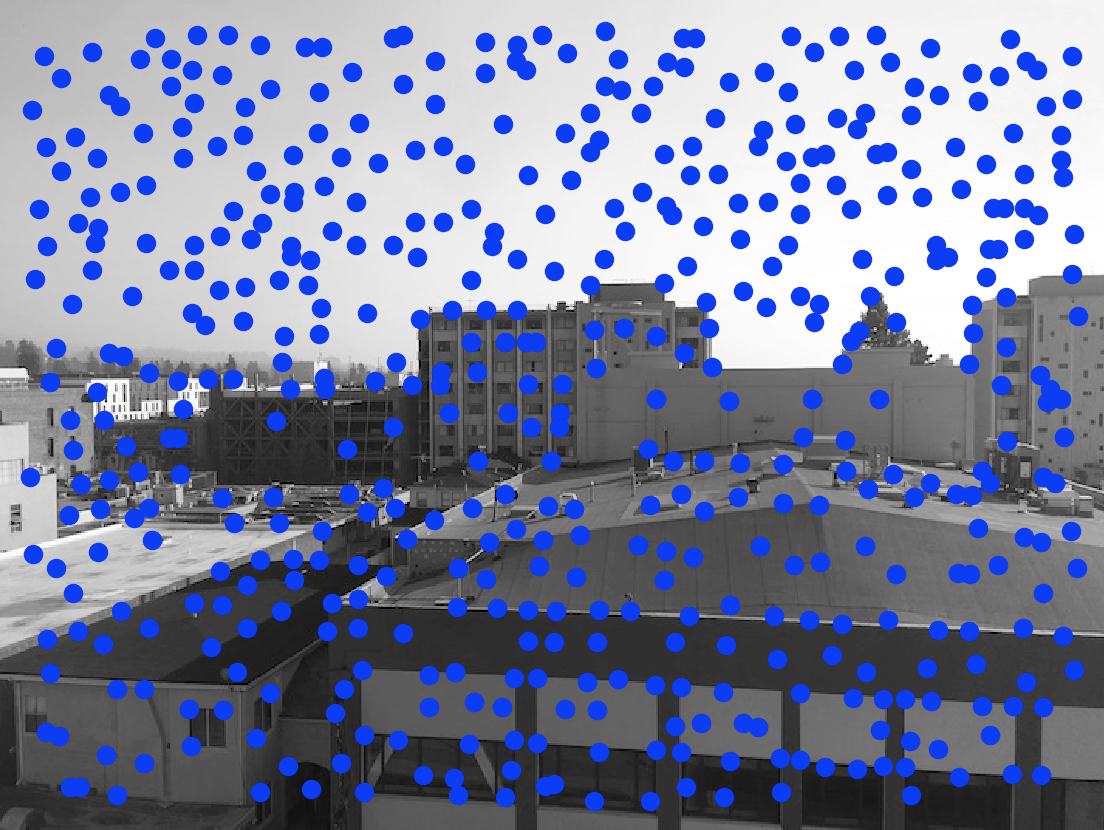
Now that we have feature descriptors, we can start trying to match these feature descriptors together (and thus match feature points together). To do this, we compute the SSD between feature descriptor patches in the left image and feature descriptor patches in the right image. We will calculate the accuracy of a match with e1-NN/e2-NN, where e1-NN is the error of the best match (first nearest neighbor) and e2-NN is the error of the second best match (second nearest neighbor). We will only retain matches where this ratio is < 0.5.
Now that we have matches, we still want to further filter these matches in order to remove potential outliers. To do this, we first randomly select four feature point pairs in the left image. Then, we compute a homography matrix based on these four points. Now, we calculate the SSD between all interest points in the left image warped with the homography matrix, and all their matching interest points in the right image. We will only add these interest point pairs to a set of inliers if their SSD is less than a certain error threshold (which I defined as 0.5). We repeat this loop many times, keeping track of the largest set of inliers. When the iterations are complete, we recompute the homography matrix based on this set of inliers. We can then perform the steps in Part 1 of the project to form the final mosaic.

It was cool to be able to automatically stitch together images, rather than manually stitch together images like in part 1. I thought it was interesting to go through the entire feature refinement process where you start with a lot of potential feature points with harris corner detection, get a subset of those points with anms, find some matching points, and then further refine those matches with RANSAC.