Project 6: Image Warping and Mosaicing Part
Daniel Zheng - cs194-26-acj
Part I
Input pictures
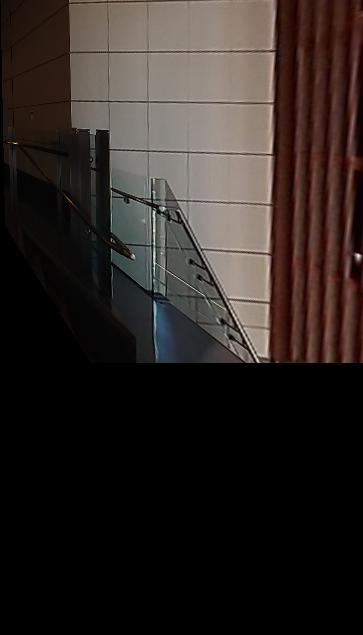
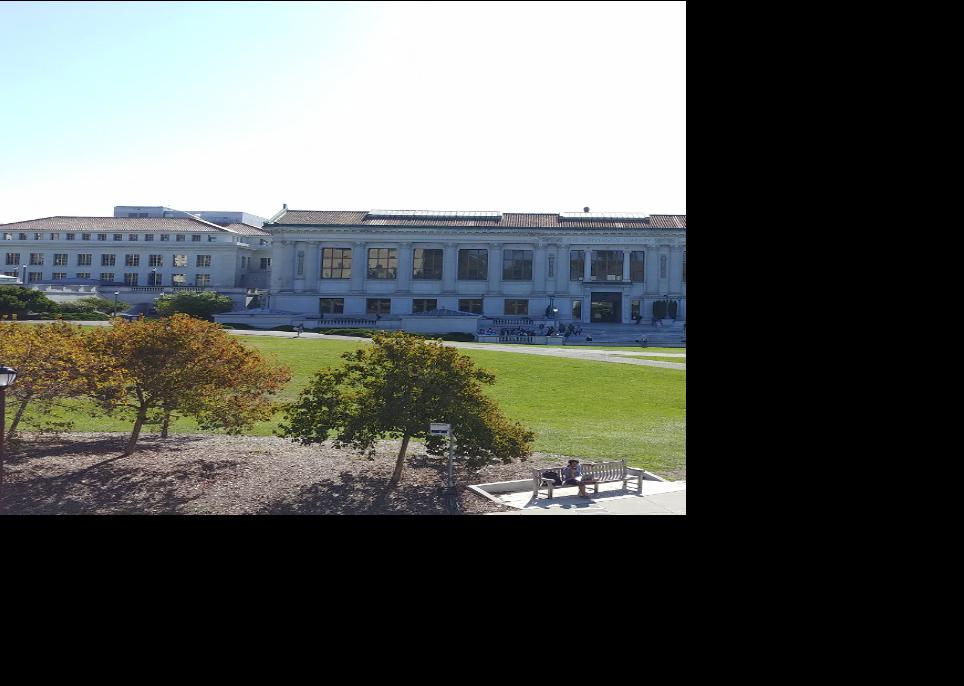
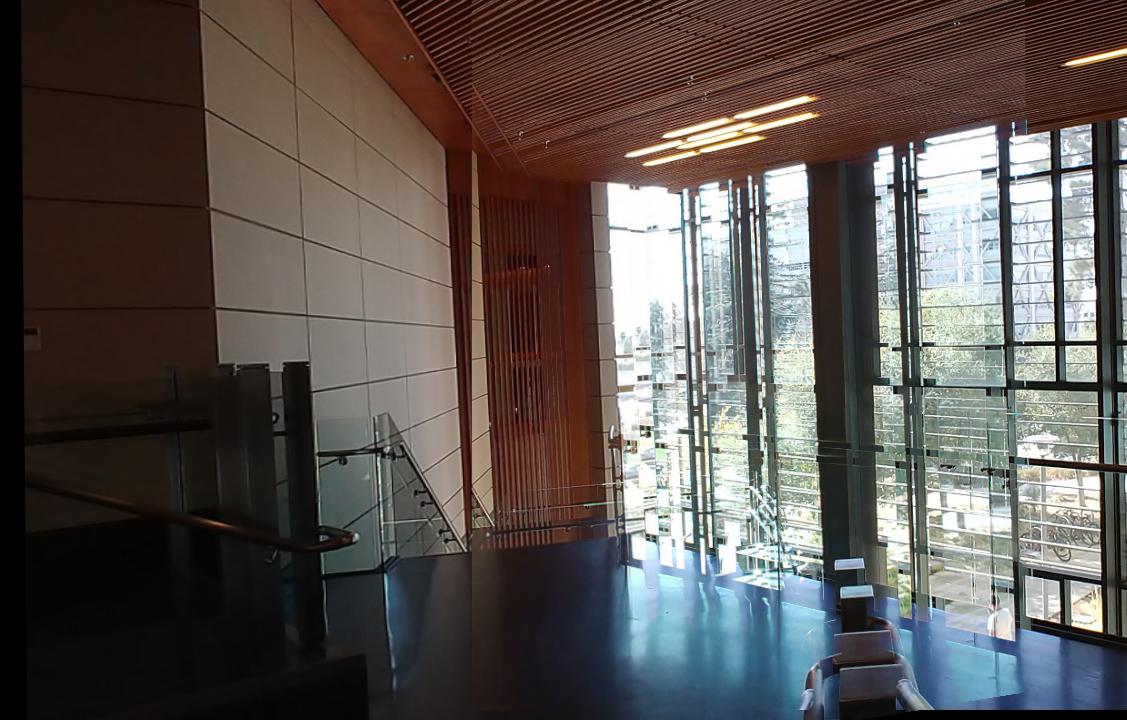
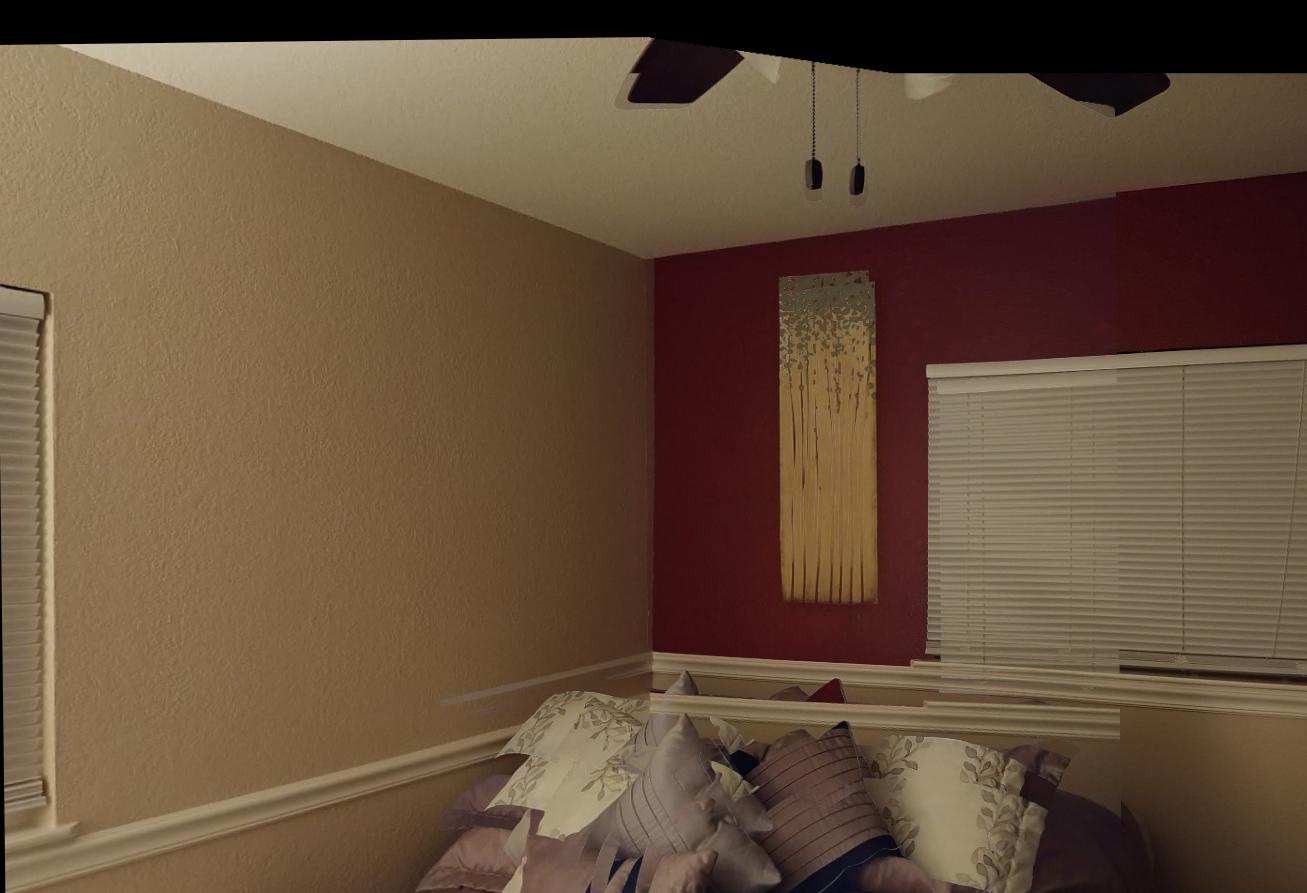
I took pictures of Doe library, Li Ka Shing, and a room at an Airbnb I stayed in.


Rectification
I made the Li Ka Shing wall tiles square and the Doe Library windows square. To accomplish this, I clicked 4 points that I wanted to rectify (the corners of the tiles and windows) and computed a homography between those 4 points and a square. As a result of applying the transformation to the entire image, the homography caused the rest of the tiles and windows to also become square.
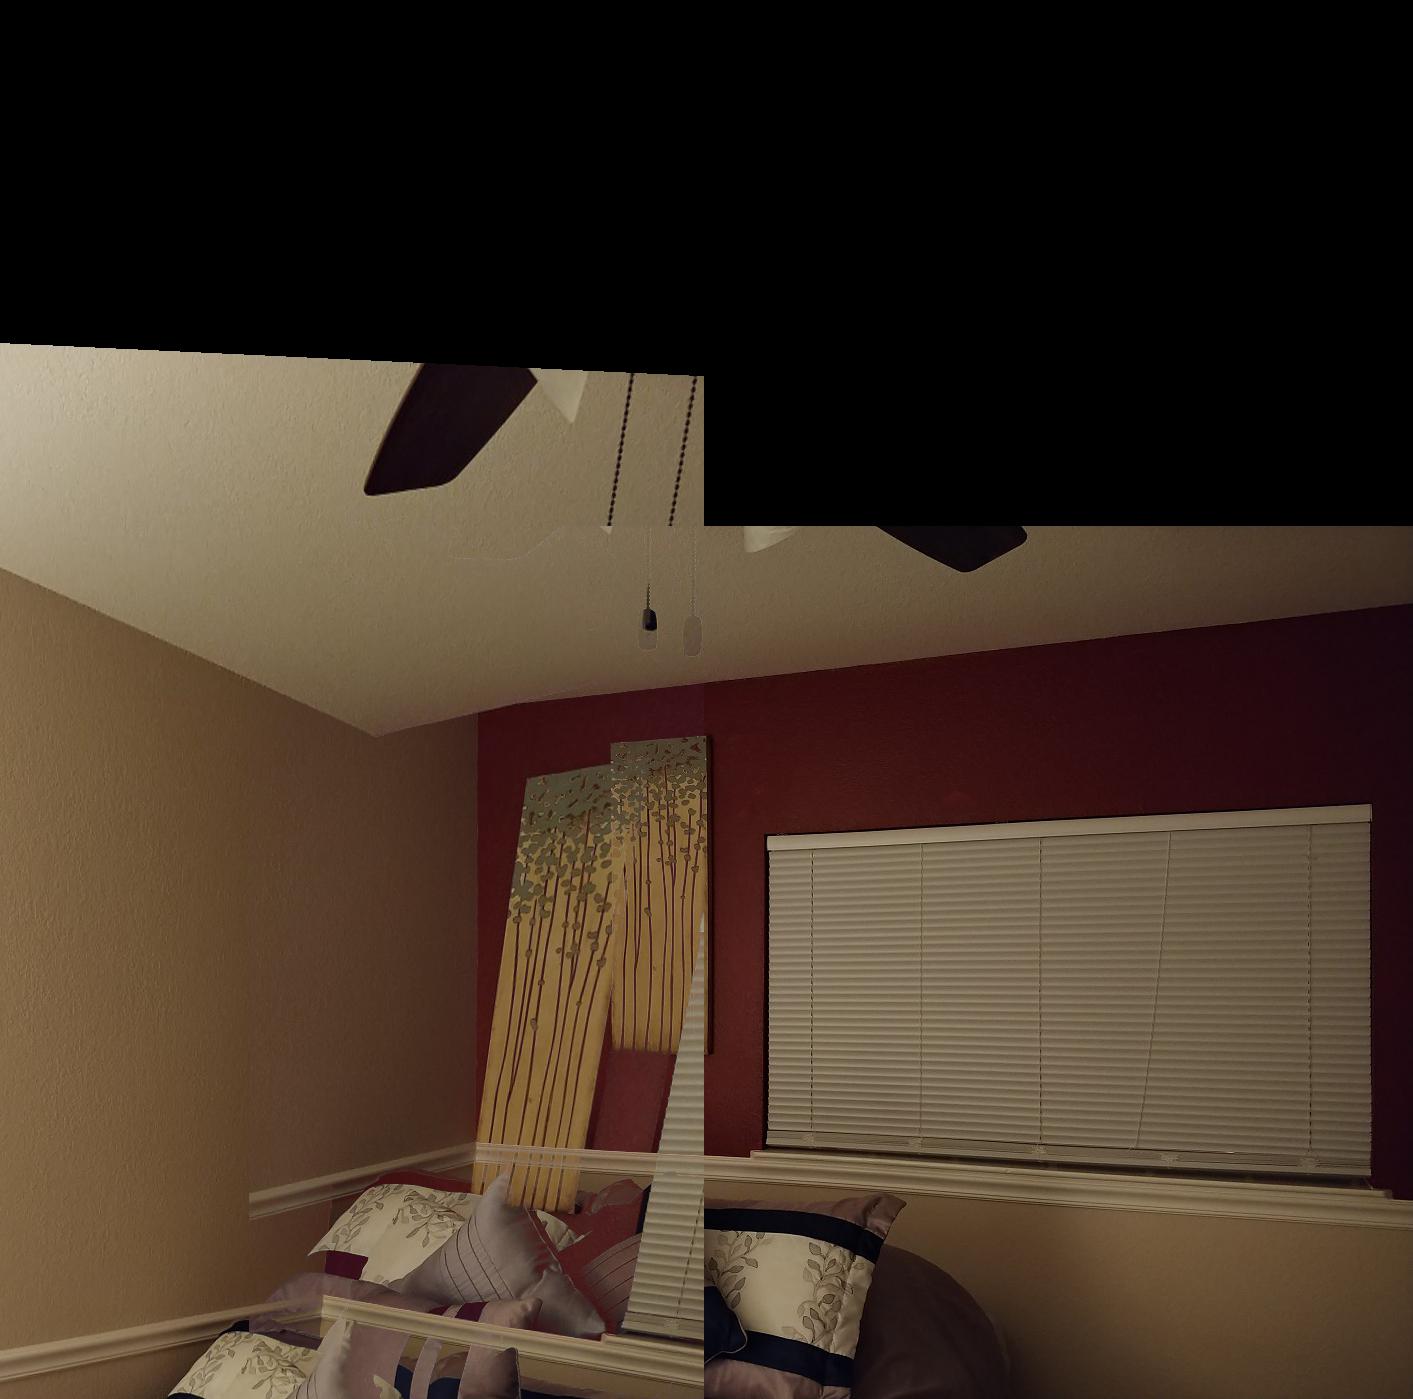
Mosaic
Due to errors in my image-stitching code, I was unable to get my images to become well-aligned.

Conclusion
I learned that producing mosaics is mostly expanding on what we've already learned in class (homography rather than affine transformation). However, in order to achieve a good effect manually, there needs to be very precise image-taking and choosing correspondences. A difference of a few pixels makes a very big difference.
Part II
Detecting corner features
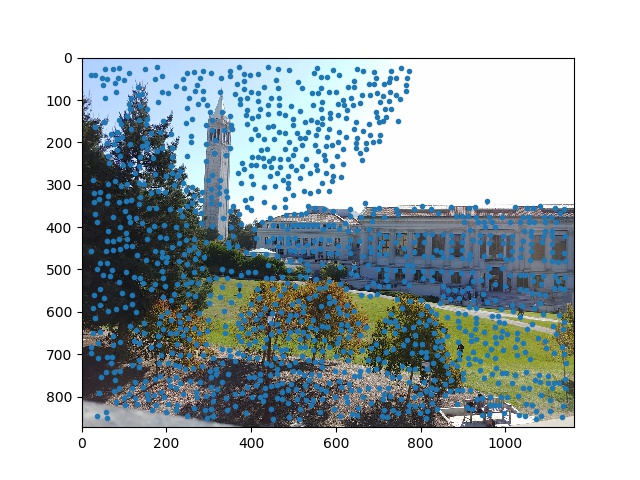
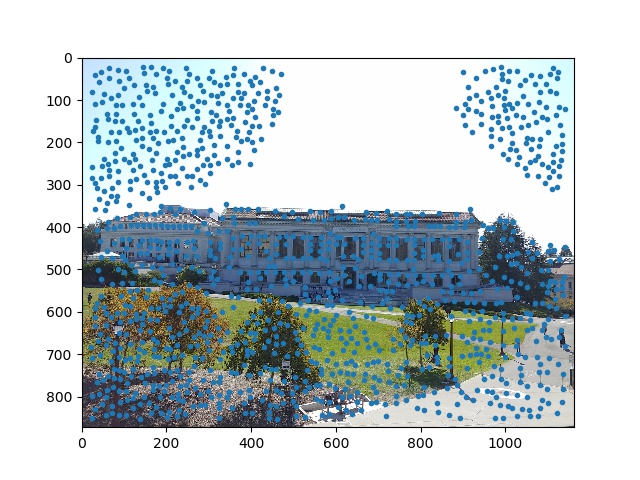
For this part, I used the provided harris.py starter code to find the Harris corners on my image. The Harris corner detector works by finding a patch on the image that varies across all directions - that is a corner.
Here are the Harris corners overlaid on my Doe Library images.
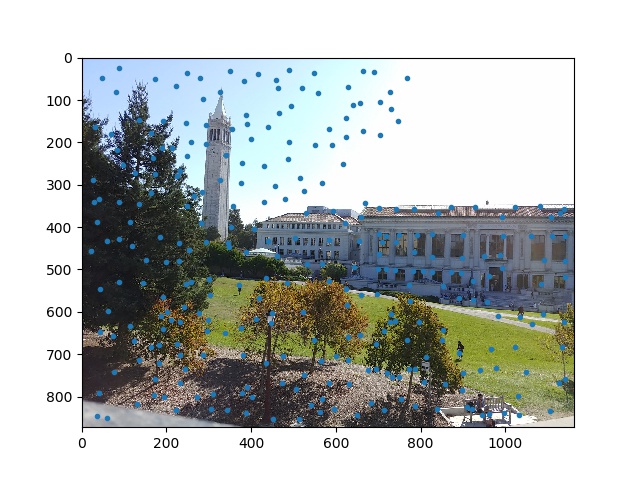
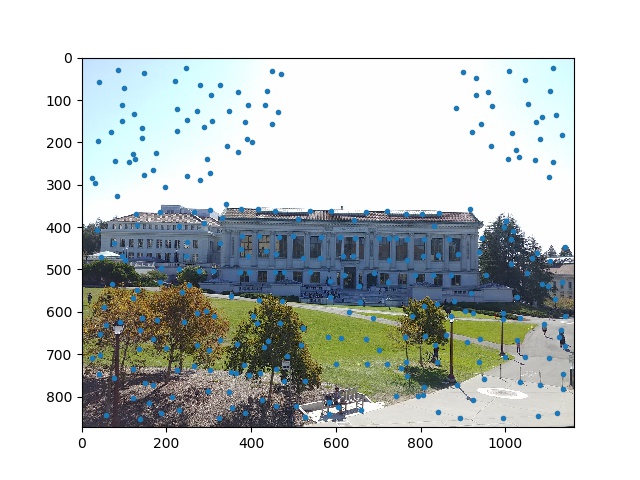
Adaptive Non-Maximal Suppression
The ANMS section of the paper seems complicated but is actually very simple. The idea is to take the Harris corners found in the previous step and for each point, loop through the rest of the Harris corners and find the closest point that is of similar strength, keeping track of the distance between the two points. After all the distances are taken down, we take the N points with the largest distances from another strong point. This reduces the number of Harris corners to consider, and the resulting points are still evenly spaced from each other.
Here is ANMS applied to the Doe Library images.
Feature descriptor extraction
To extract the feature descriptors, I take a 40x40 patch around every feature point and resize it down to 8x8. Then I bias/gain normalize the descriptor to make it invariant to changes in brightness, and I convert it to a 64x1 vector so that I can use the provided dist2 function for the feature matching section.
Feature matching
To find pairs of matching features, I use dist2 to find the SSD between every feature with every other feature. I only keep a feature if its strongest match is much stronger than its second strongest match - that is, if the 1-NN/2-NN ratio is less than some threshold value. After looking at figure 6b in the paper, I used a value of 0.4.
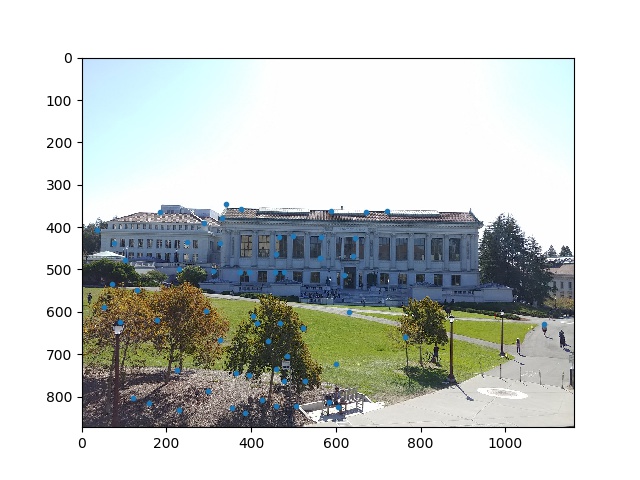
Here are the feature points after feature matching is applied.

RANSAC
After feature matching, there are still outliers: points in one image that don't have a corresponding point in the other image. RANSAC deals with this. The RANSAC loop works by choosing 4 random pairs of points, computing the homography between them, and applying the homography on every point to find the inliers. An inlier is a pair of points where |Hp - p'| lies within some distance epsilon. I repeat this loop and keep the largest group of inliers. For my RANSAC implementation, I used an epsilon of 1 and ran the loop for 5000 iterations.
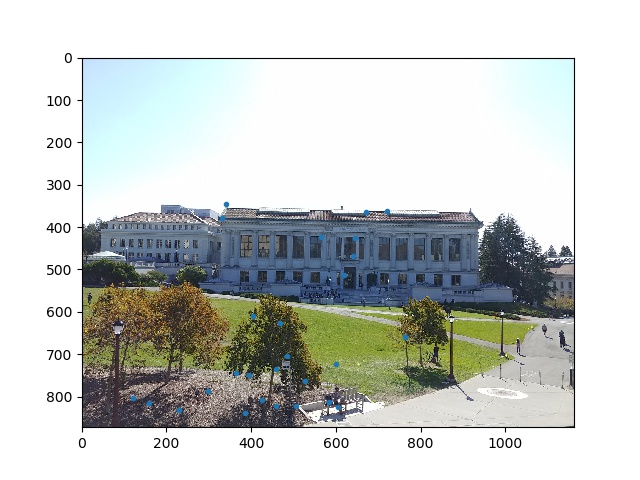
Here are the results after running RANSAC. As you can see we are only left with points that have correct correspondences.

Mosaic comparisons
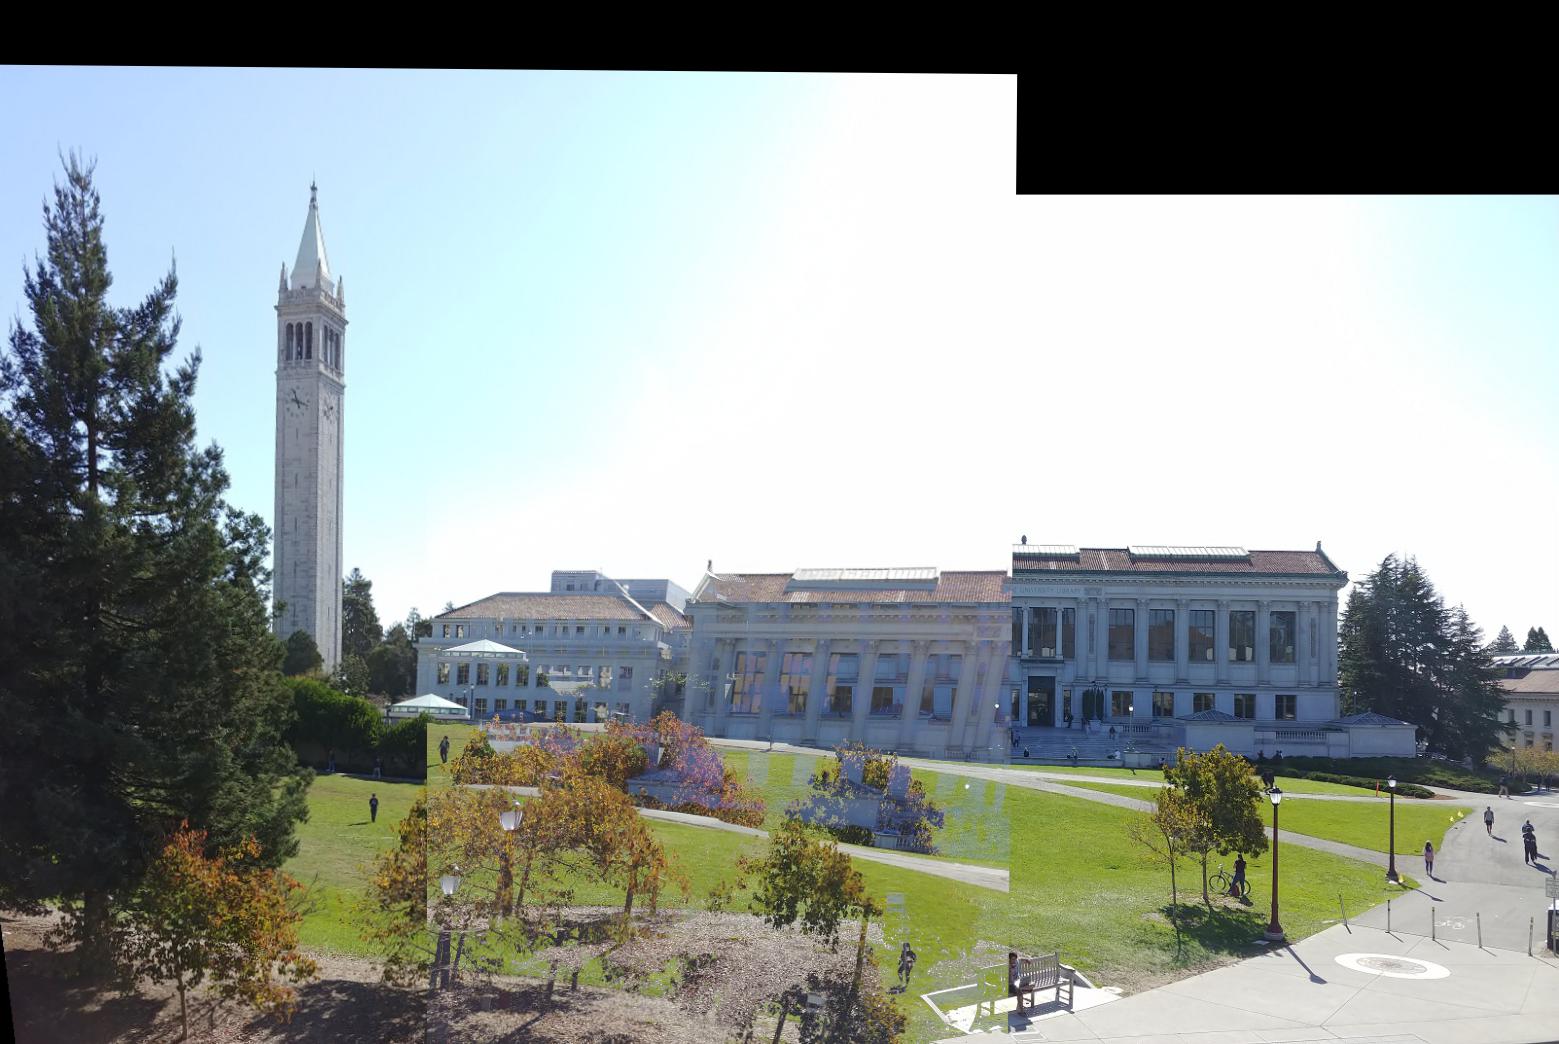
Because my stitching code doesn't work properly, the mosaic is still not well-aligned. Here are the comparisons with manual on the top and automatic on the bottom.
Doe library
 Li Ka Shing
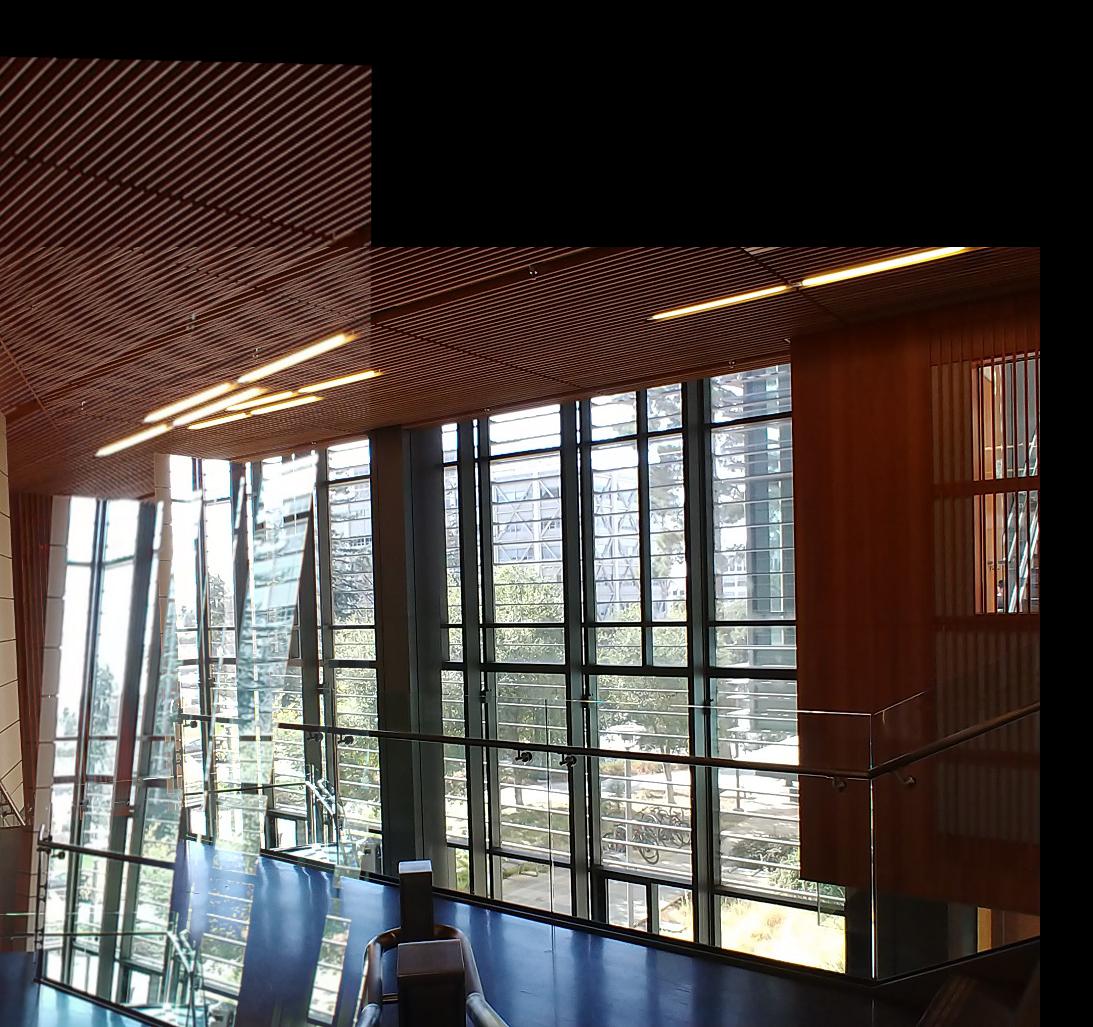 Airbnb room
Conclusion
I learned that automatic mosaic stitching is actually not too difficult. I learned how to implement a research paper, which was cool. I was also surprised at how fast the automatic mosaic stitching algorithm was.