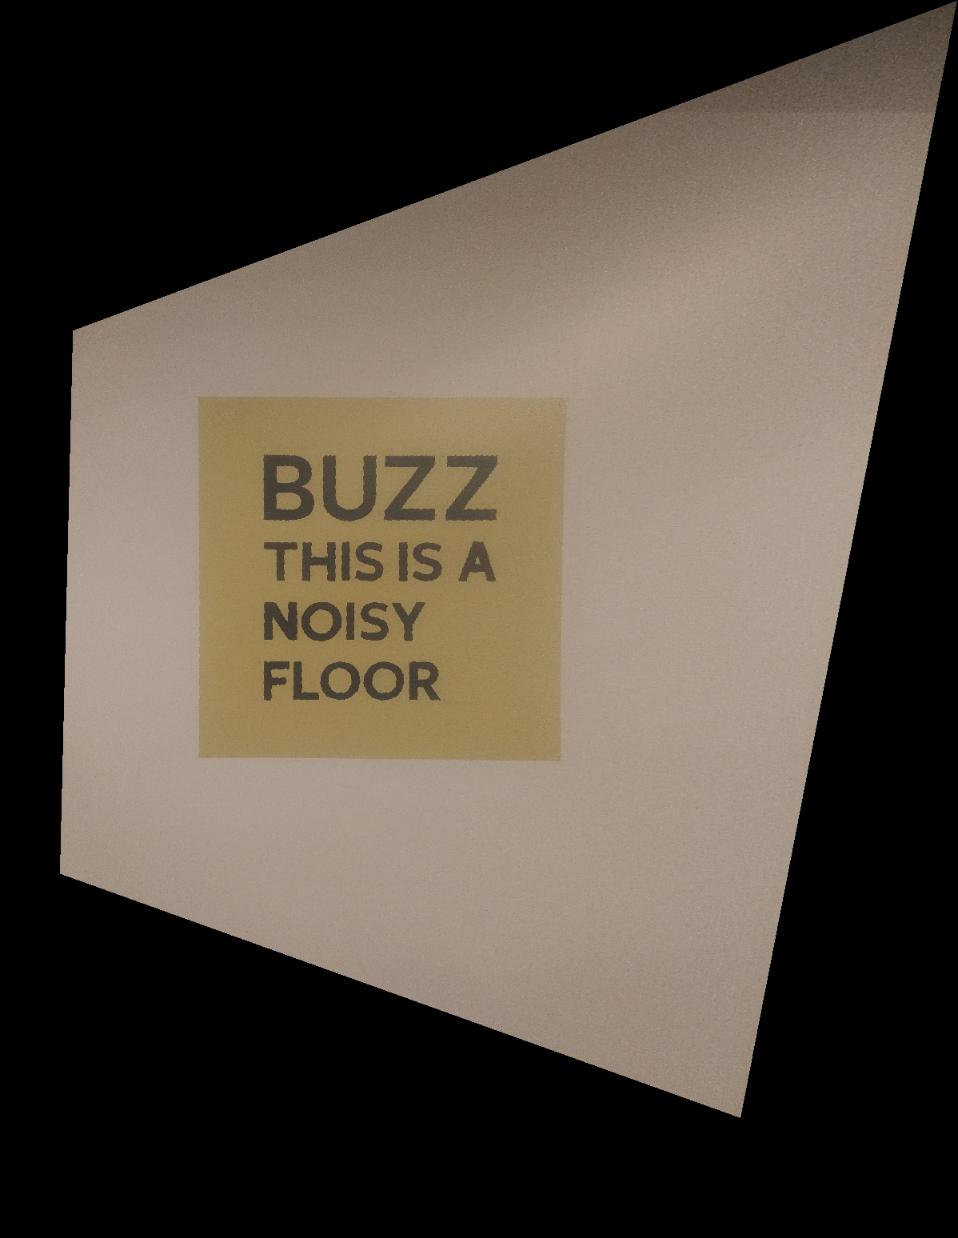
Image Rectification
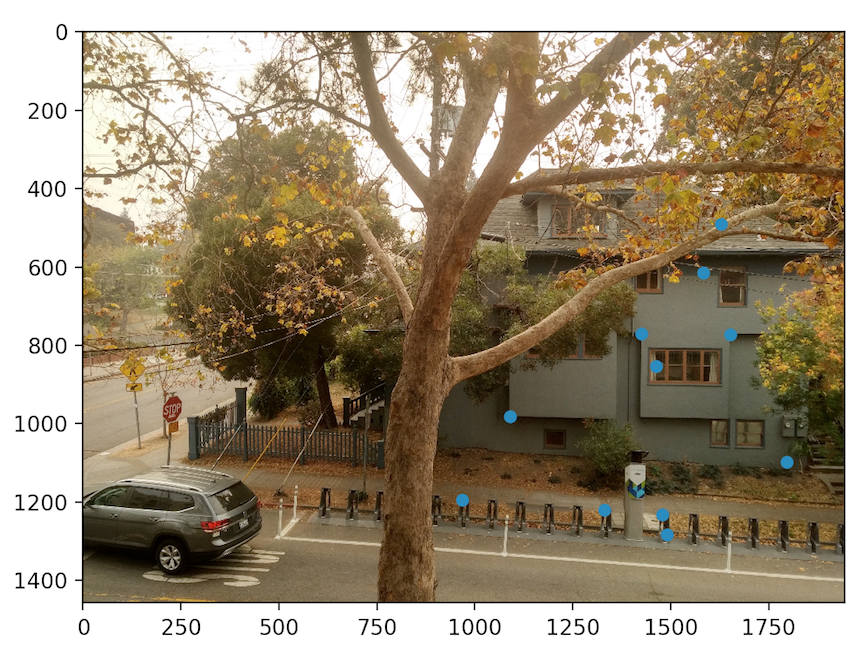
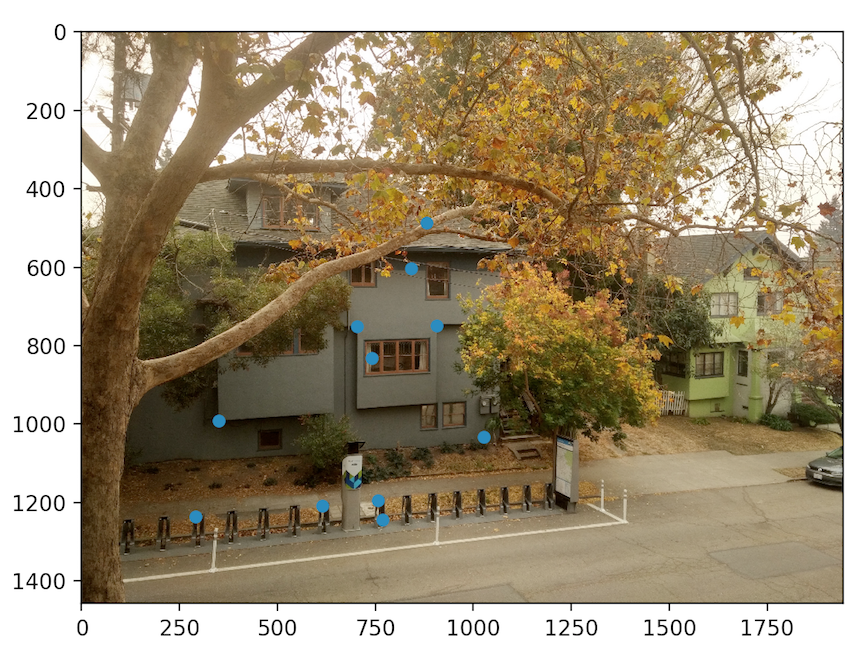
I computed a homography matrix given a set of points and warped my image to verify that I correctly rectify my images.
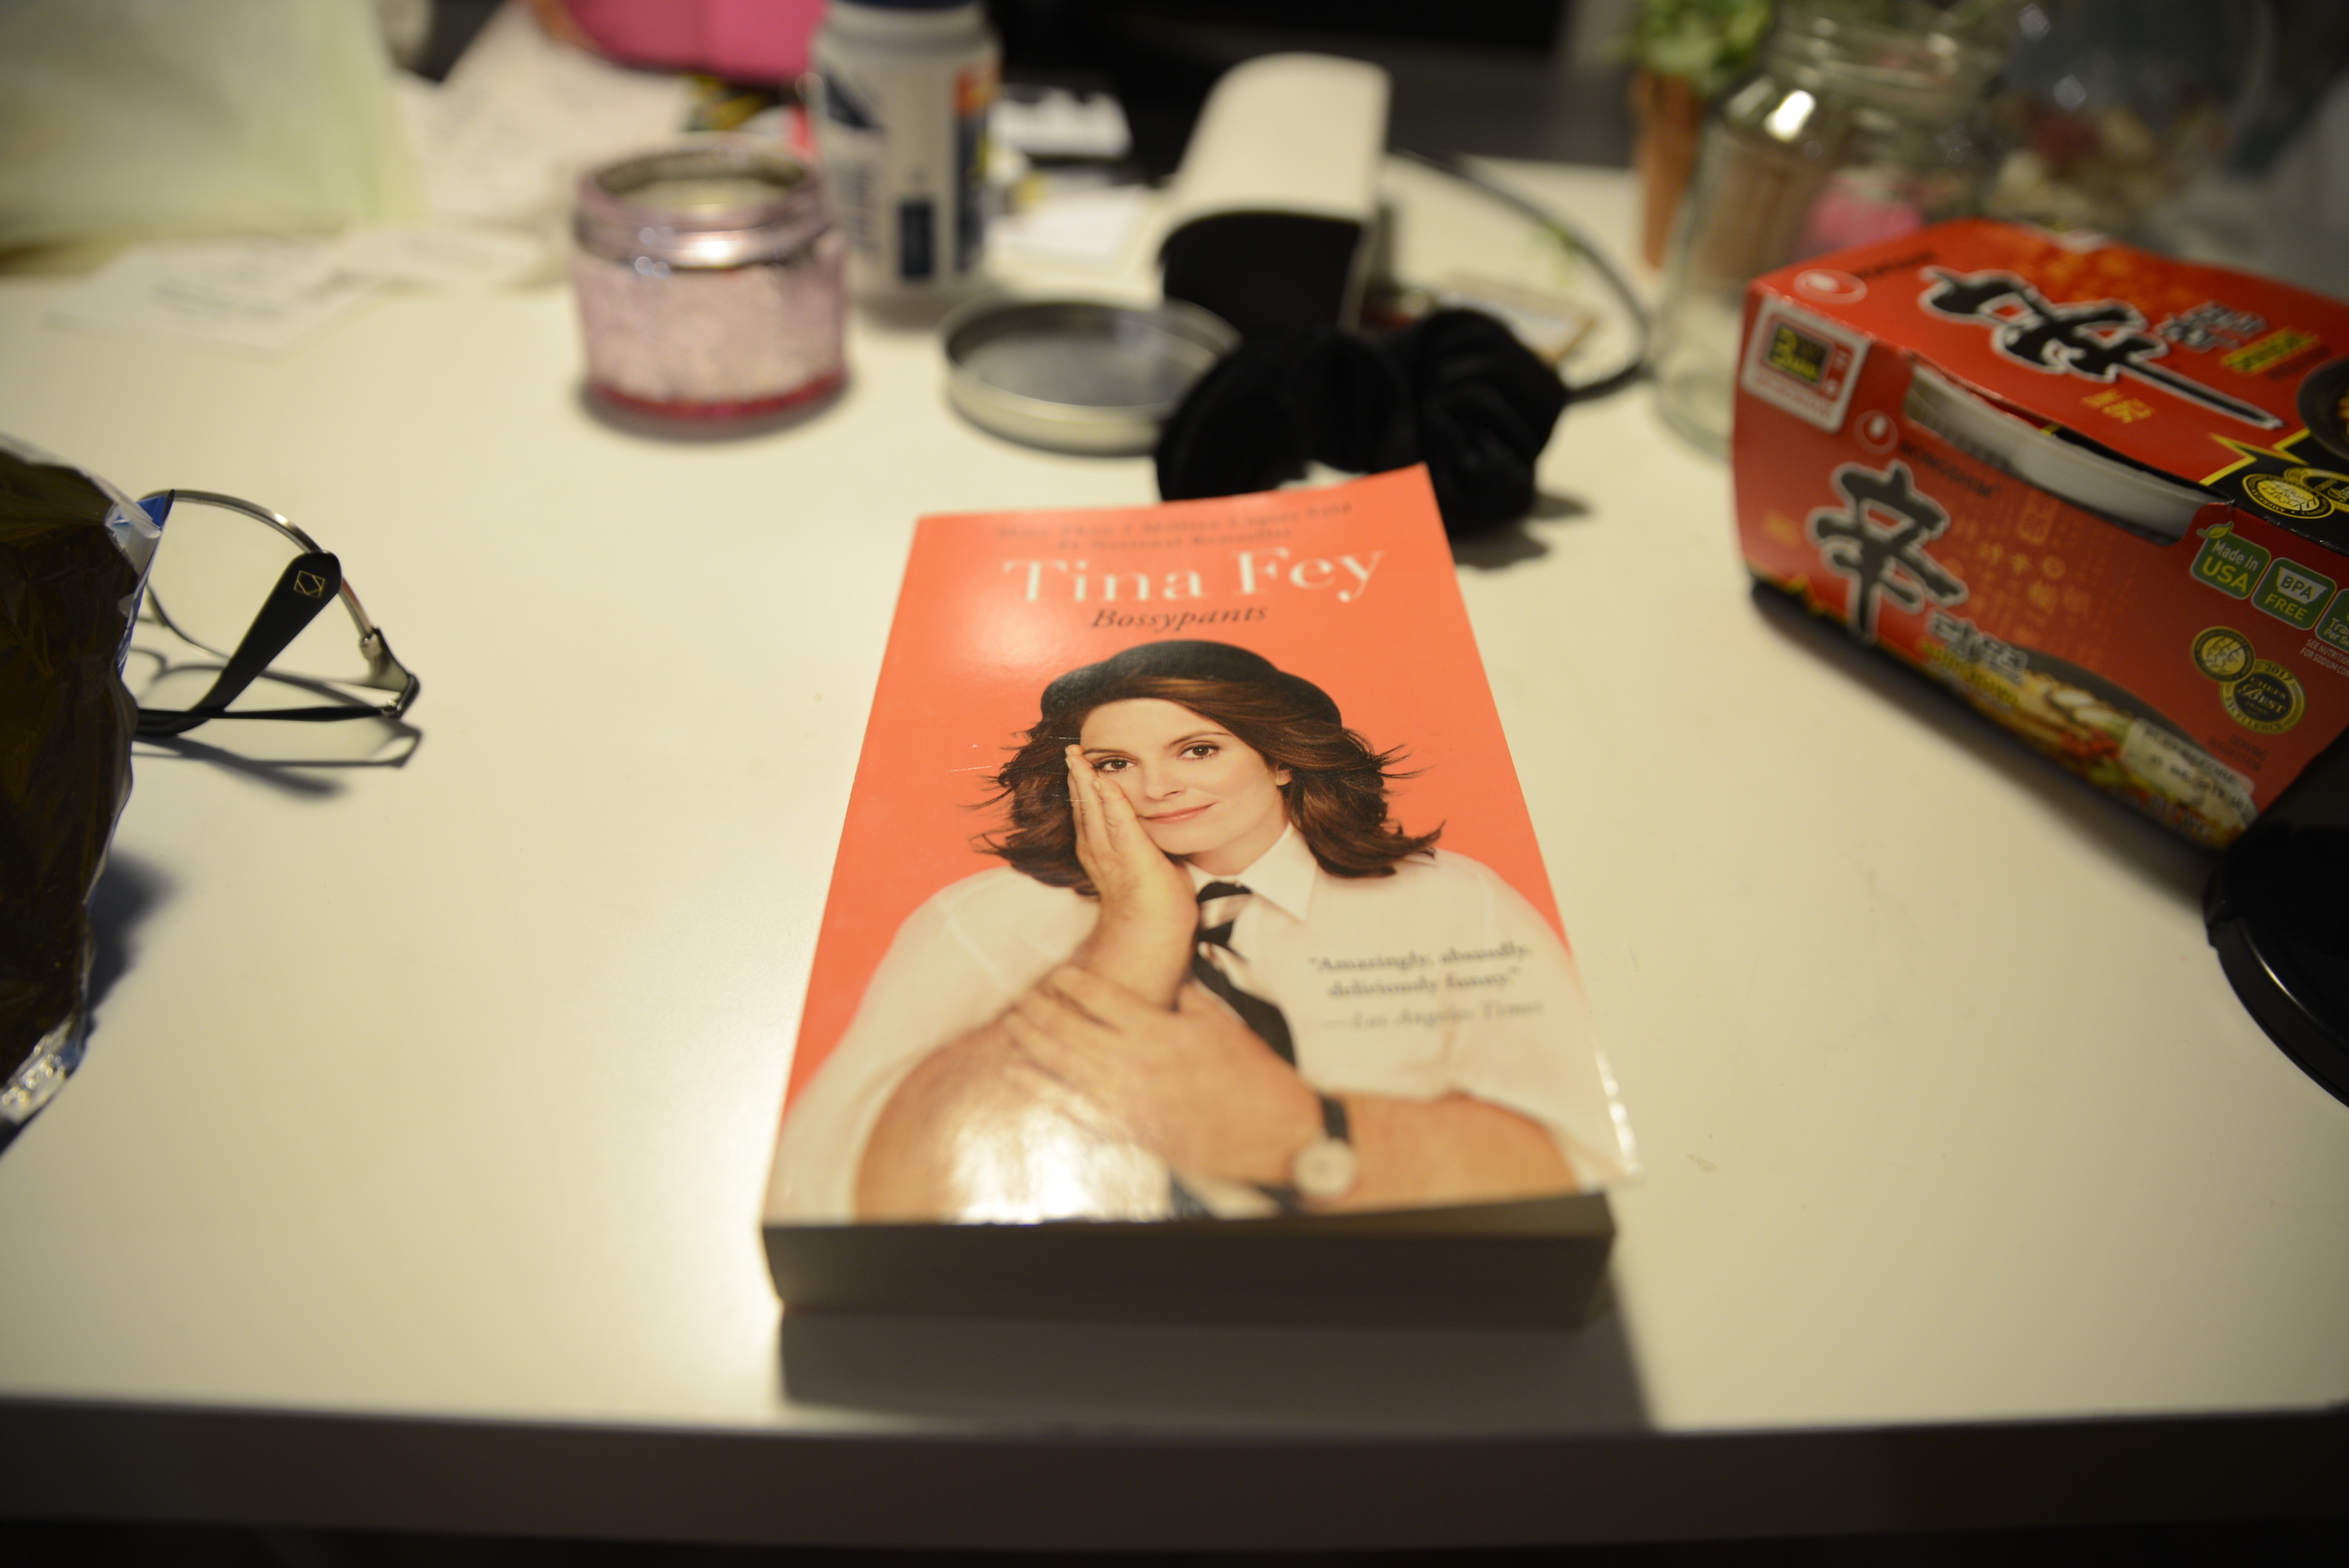
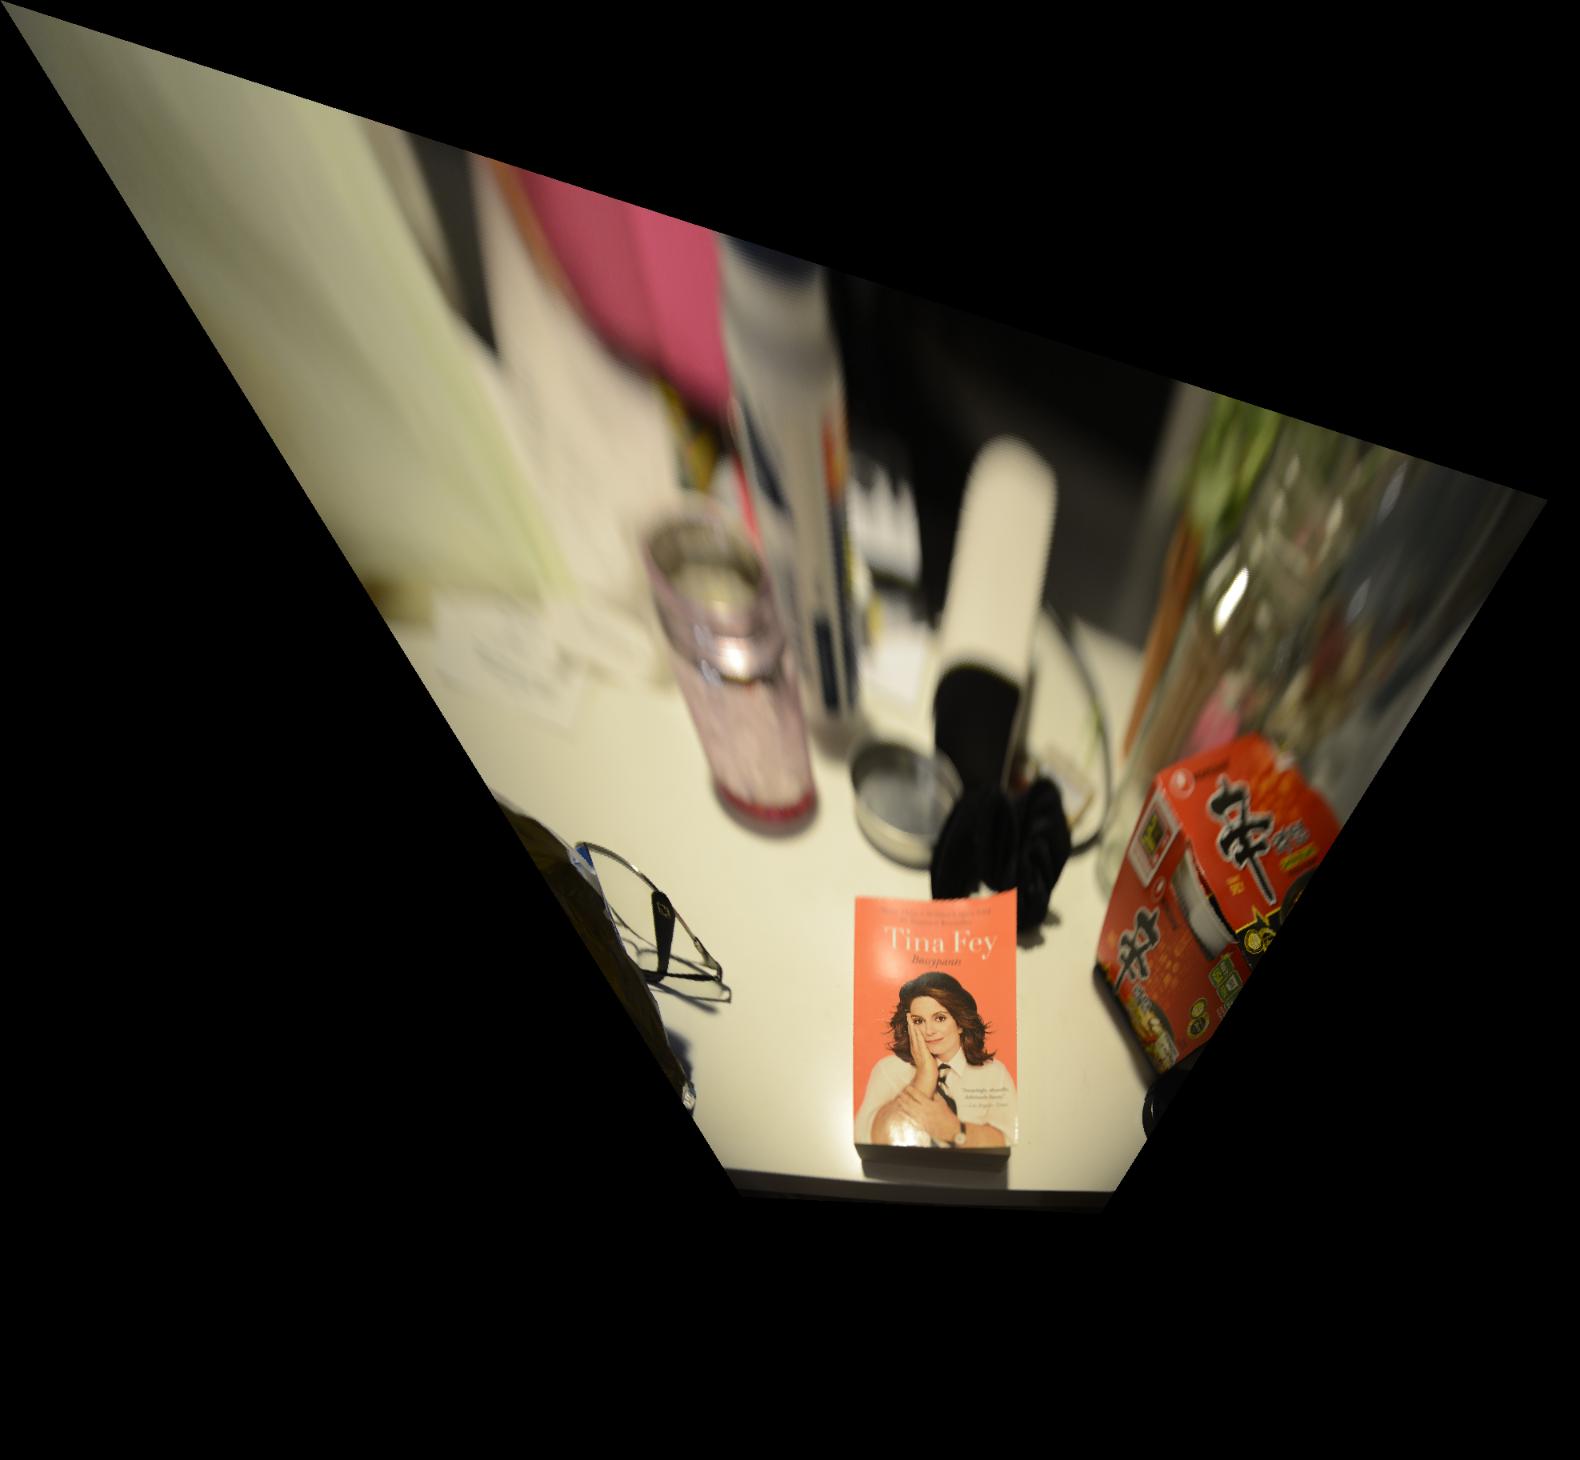
I computed a homography matrix given a set of points and warped my image to verify that I correctly rectify my images.

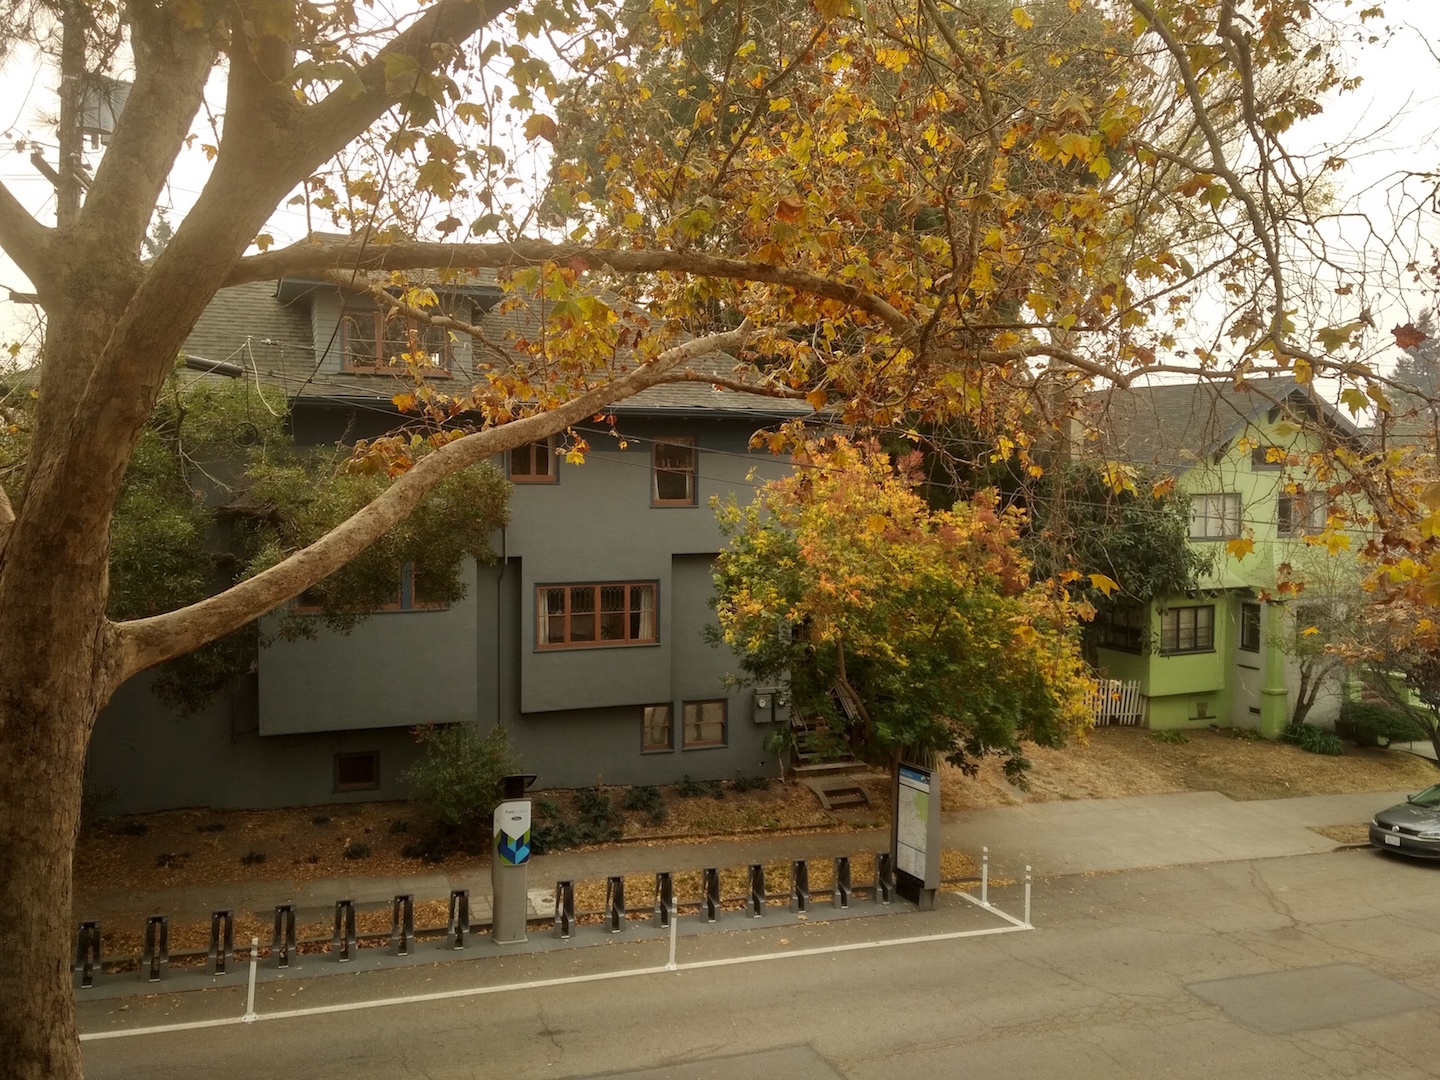
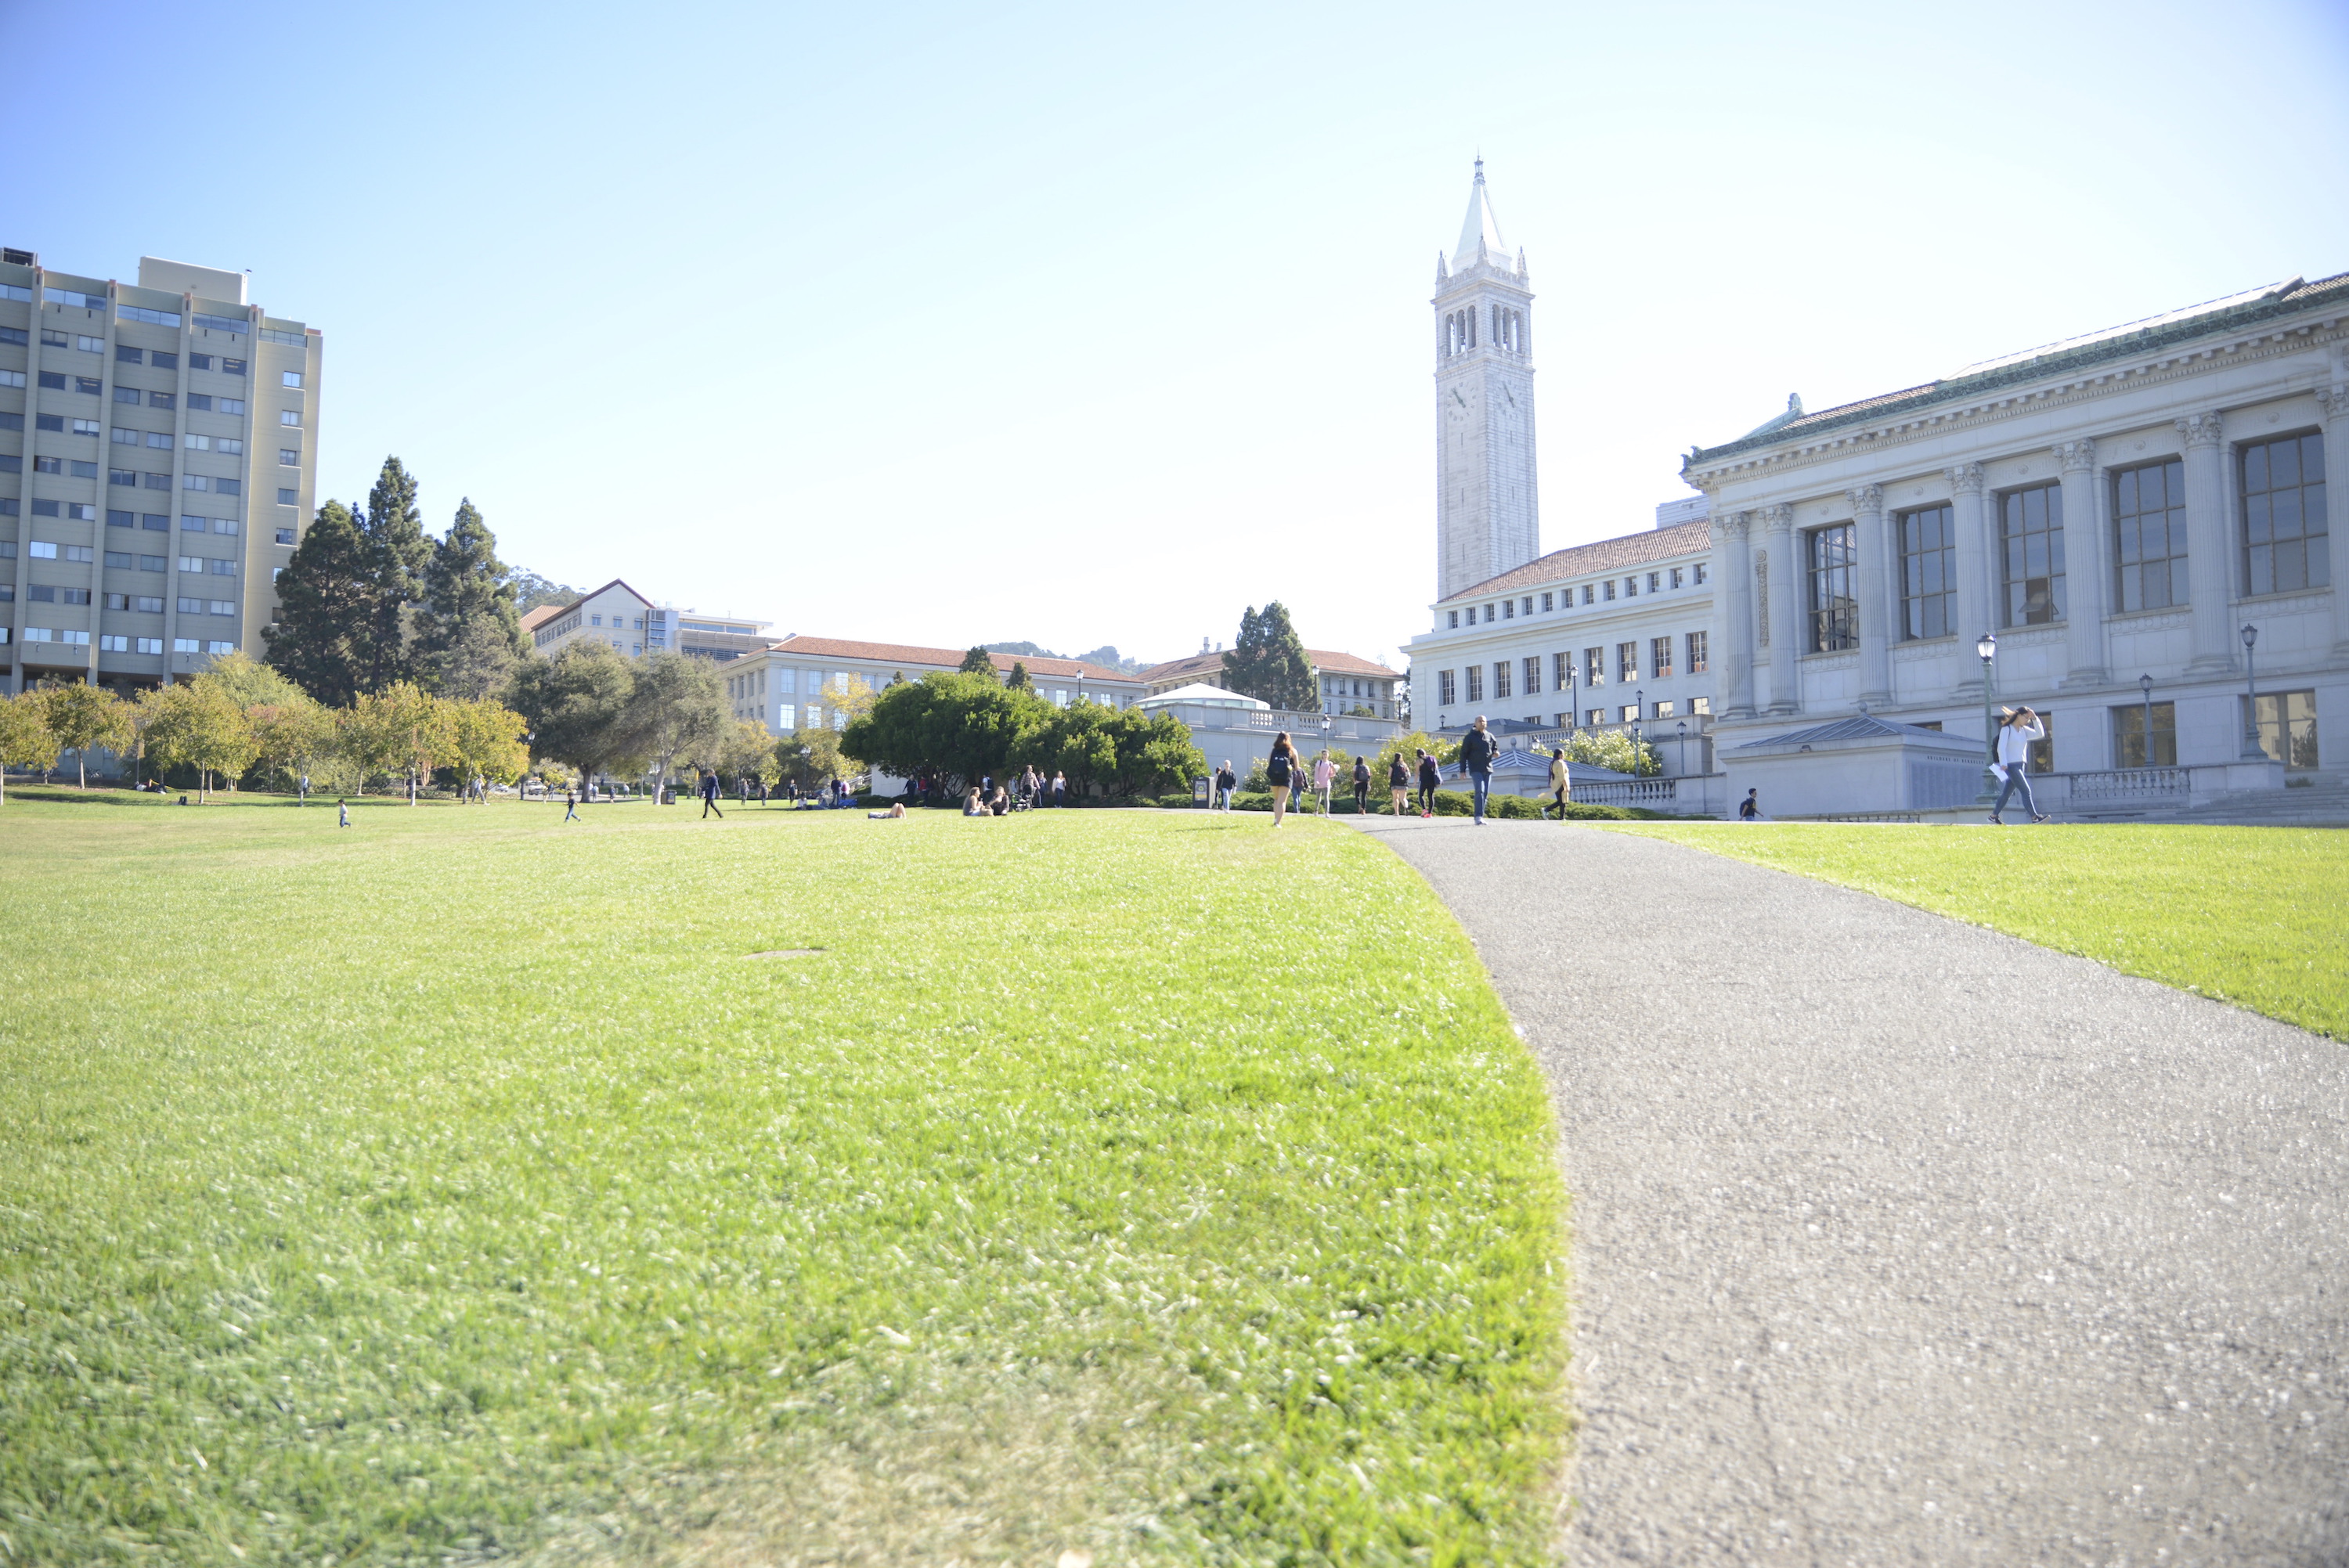
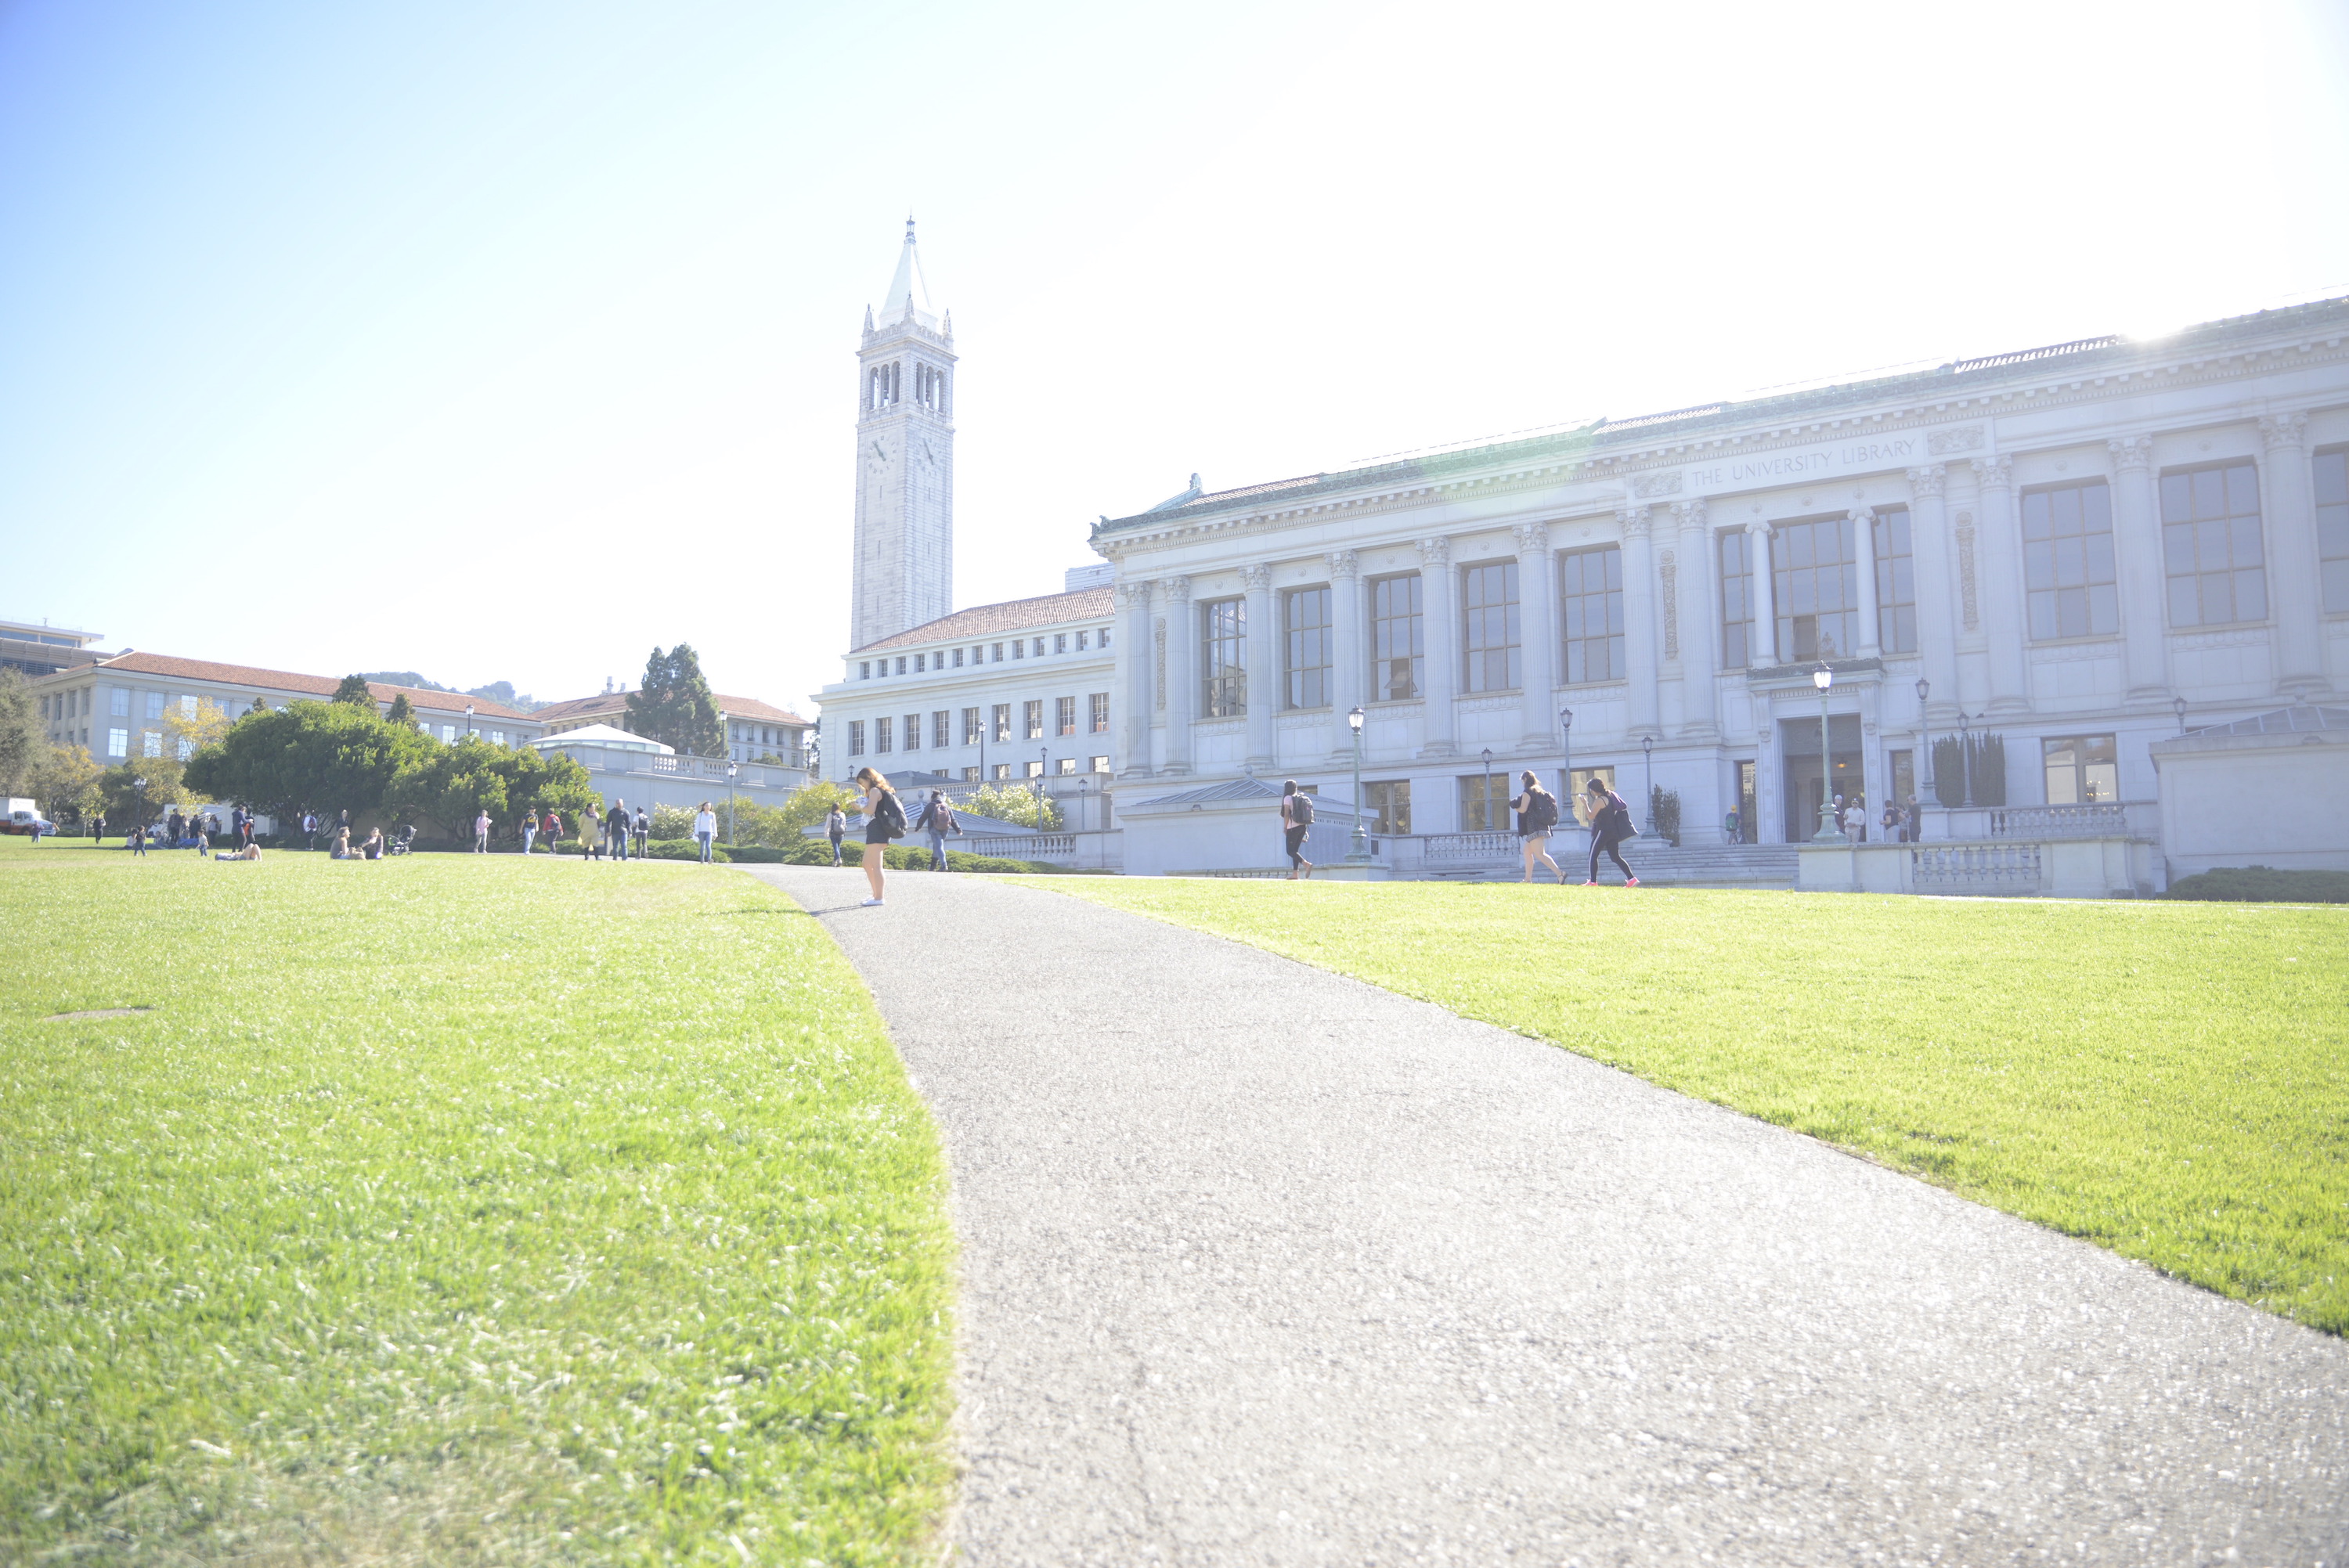
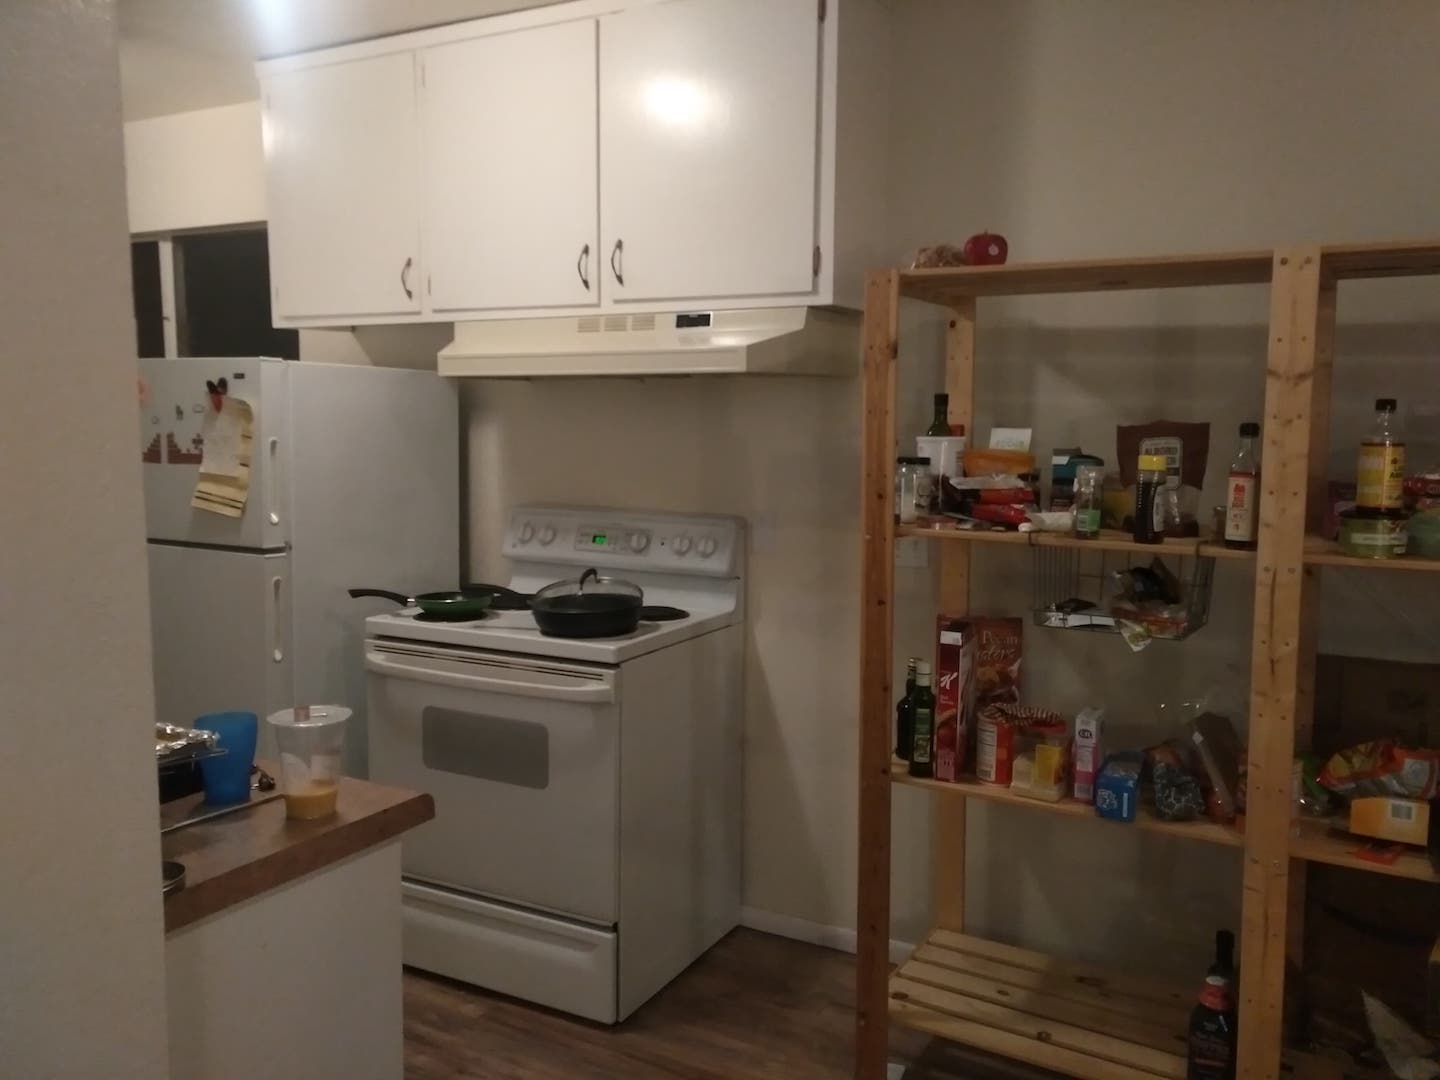
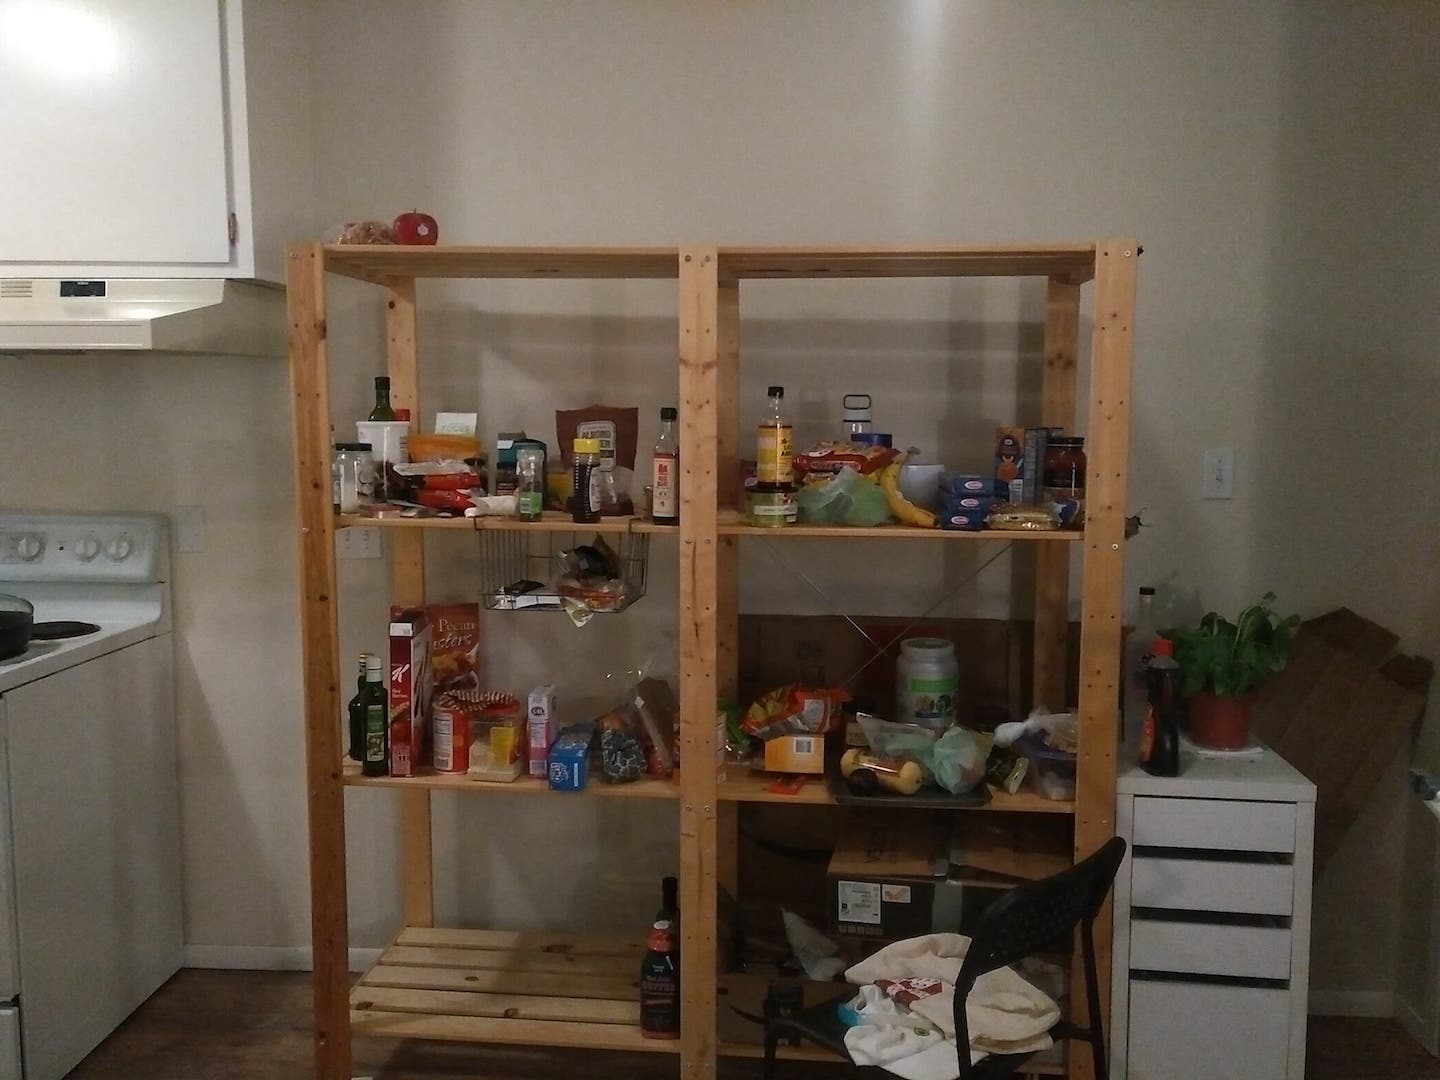
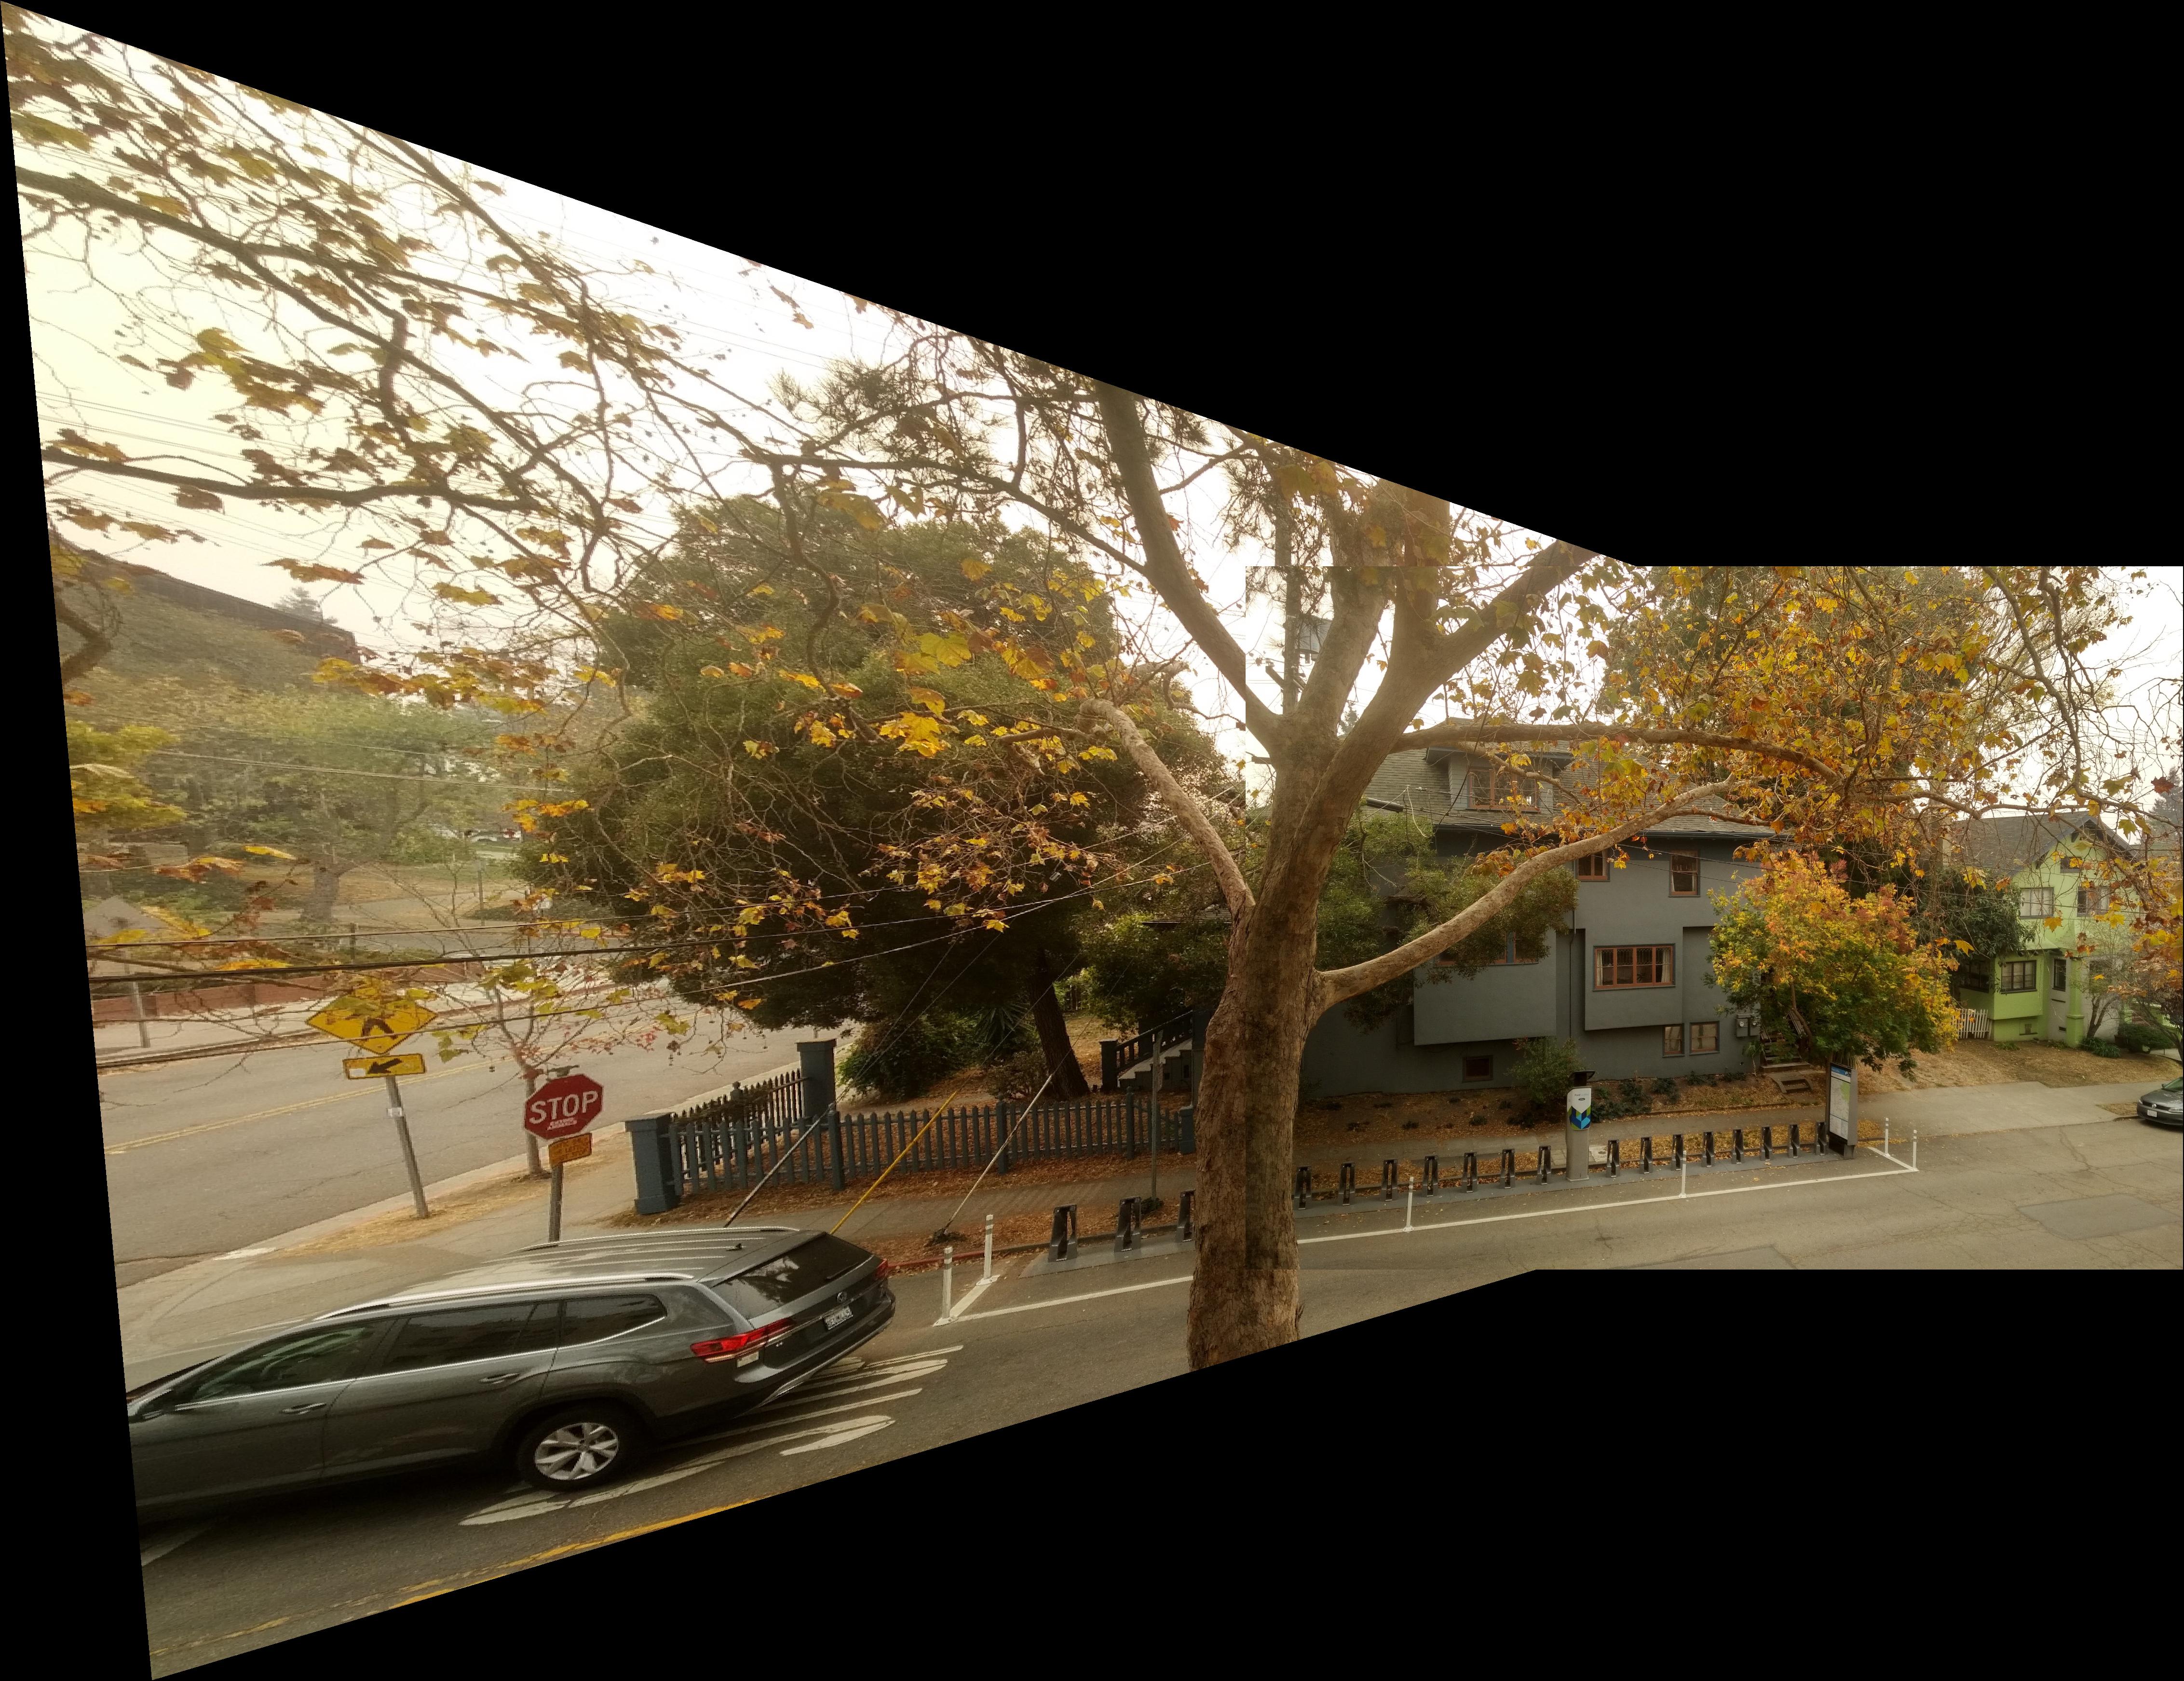
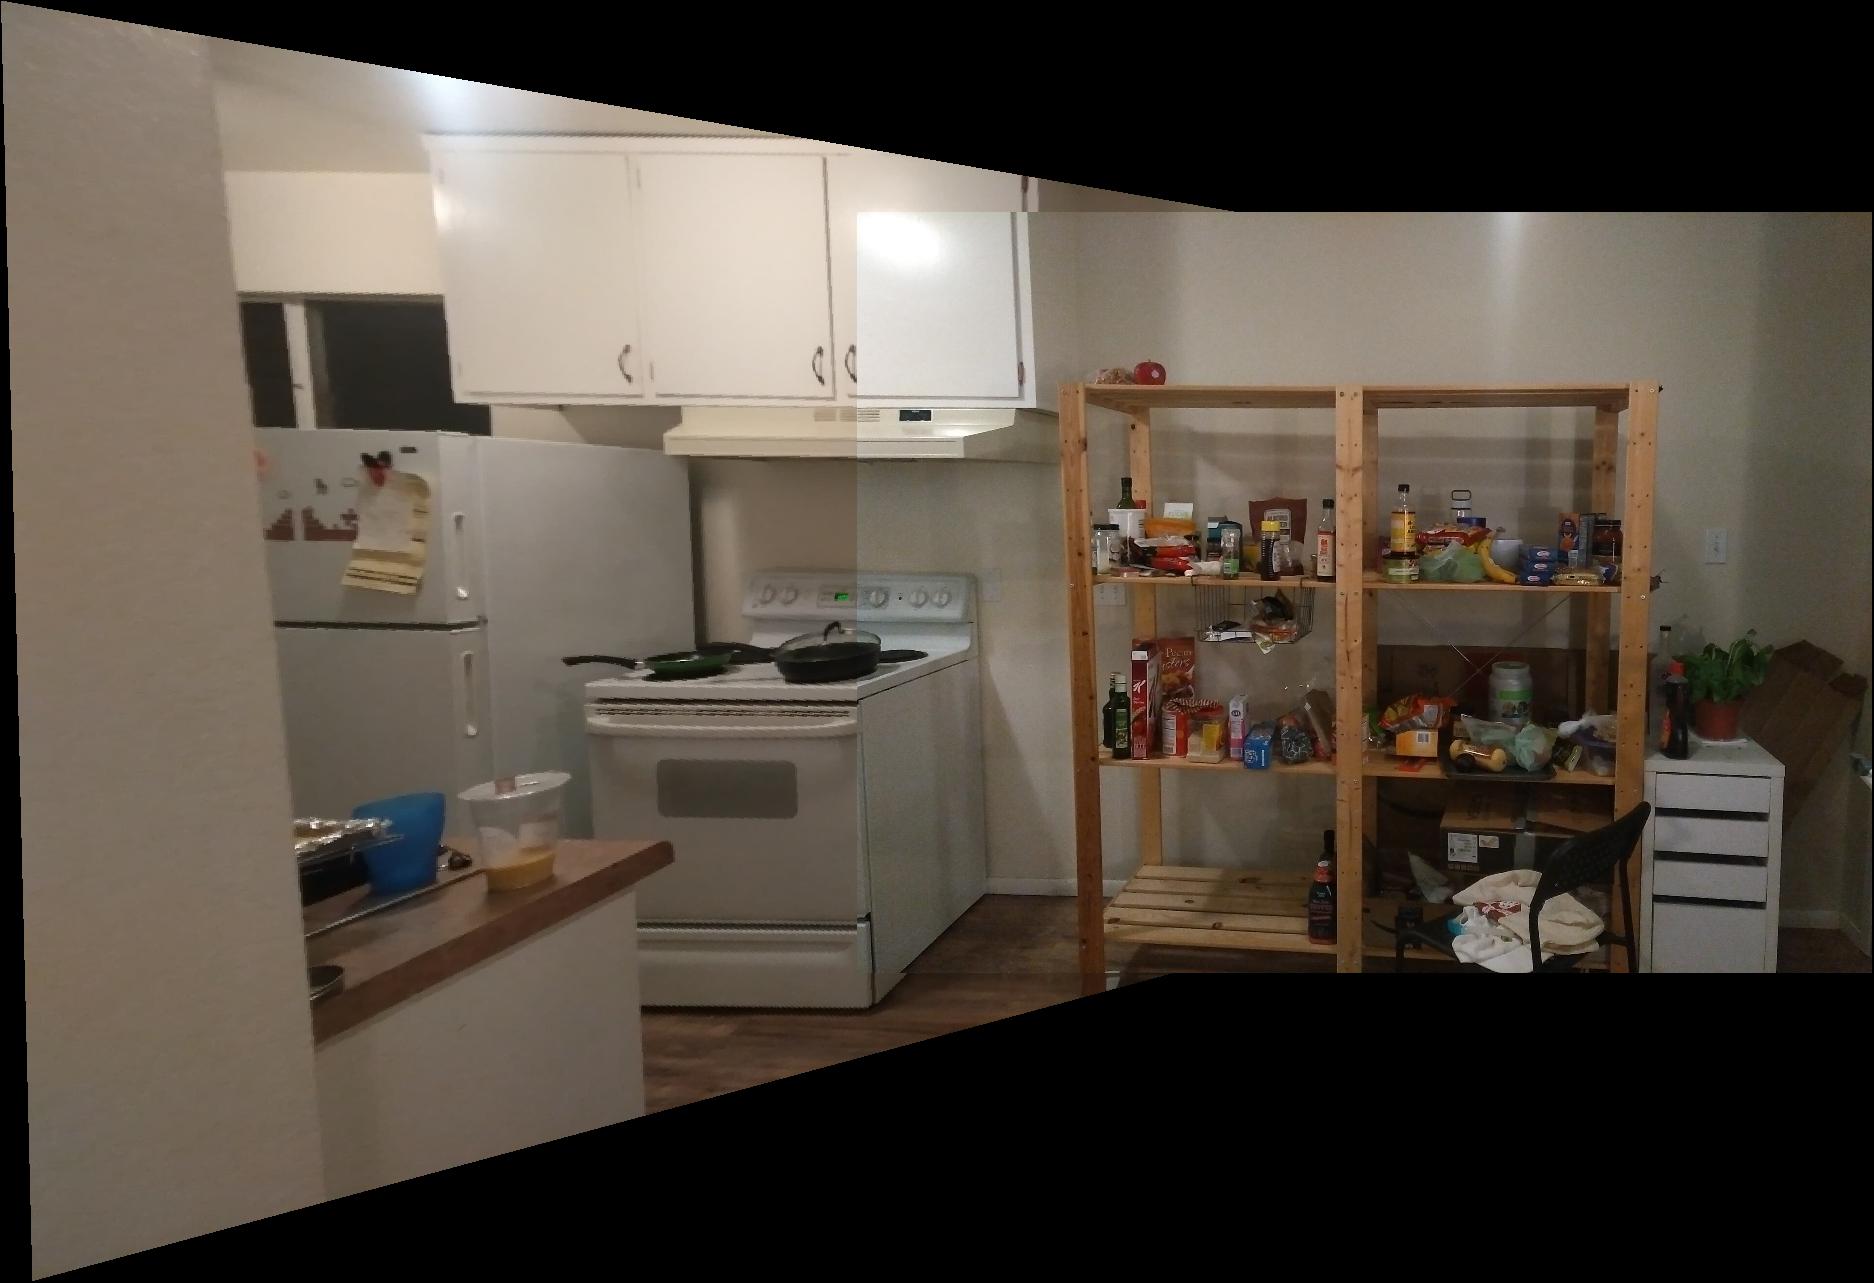
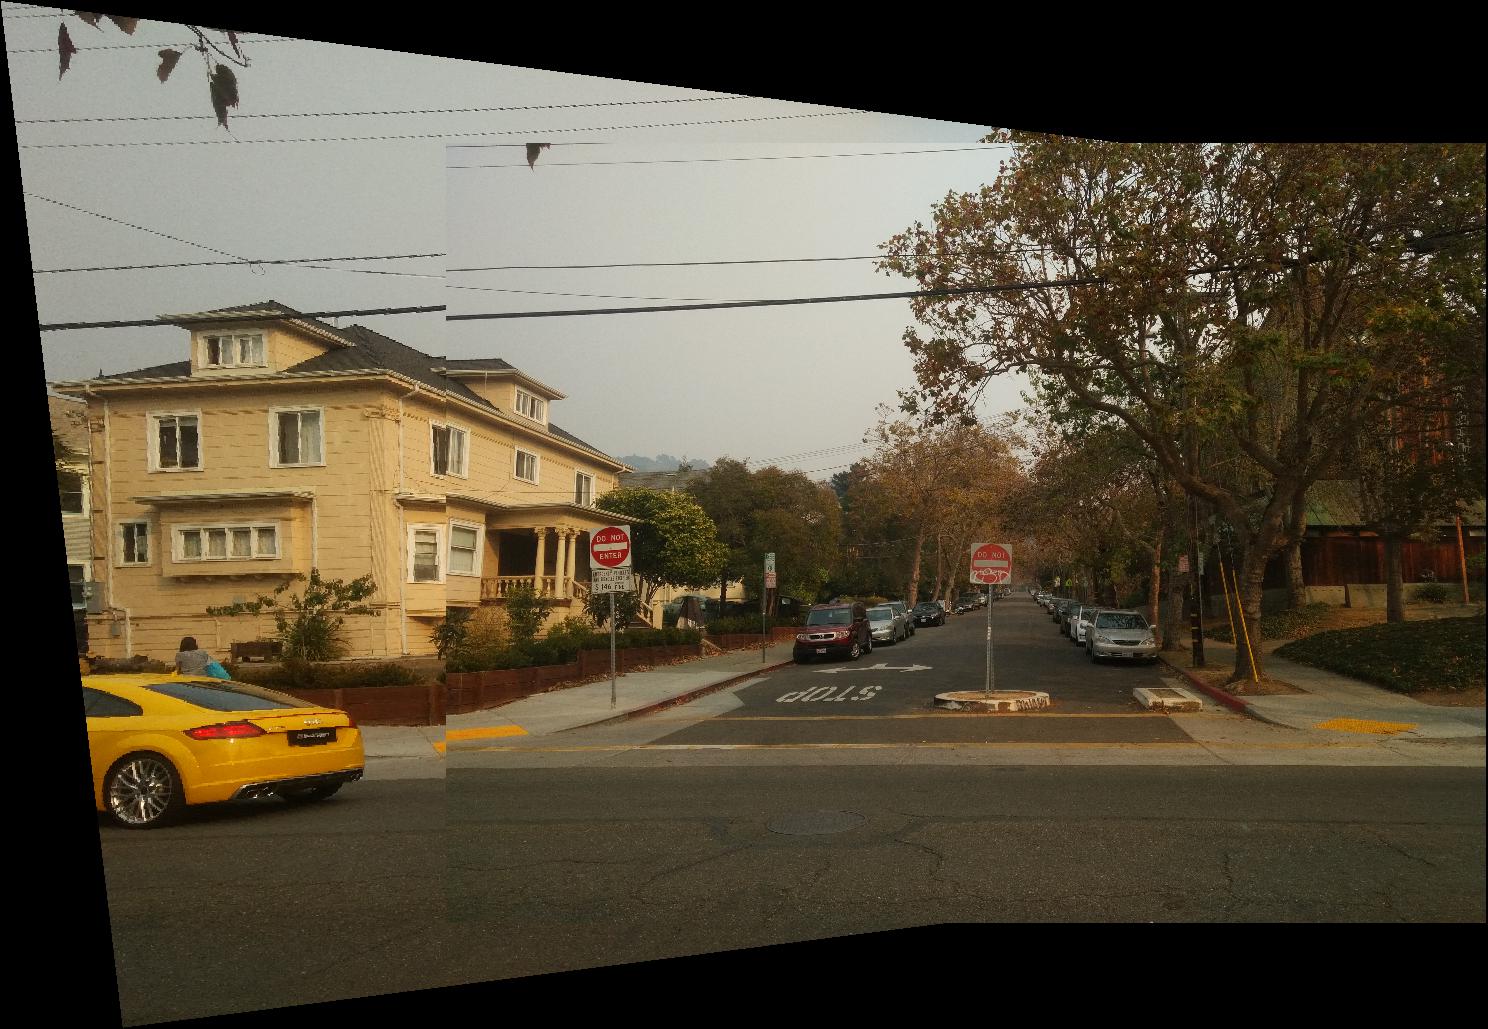
First I selected 4 corresponding points between the left and right views of a scene. Next I computed the homography based on the corresponding points. I warp the images by taking into account offsetting images so that they will overlap properly. We see that there is a noticeable seam in some images due to lighting differences and shadows.
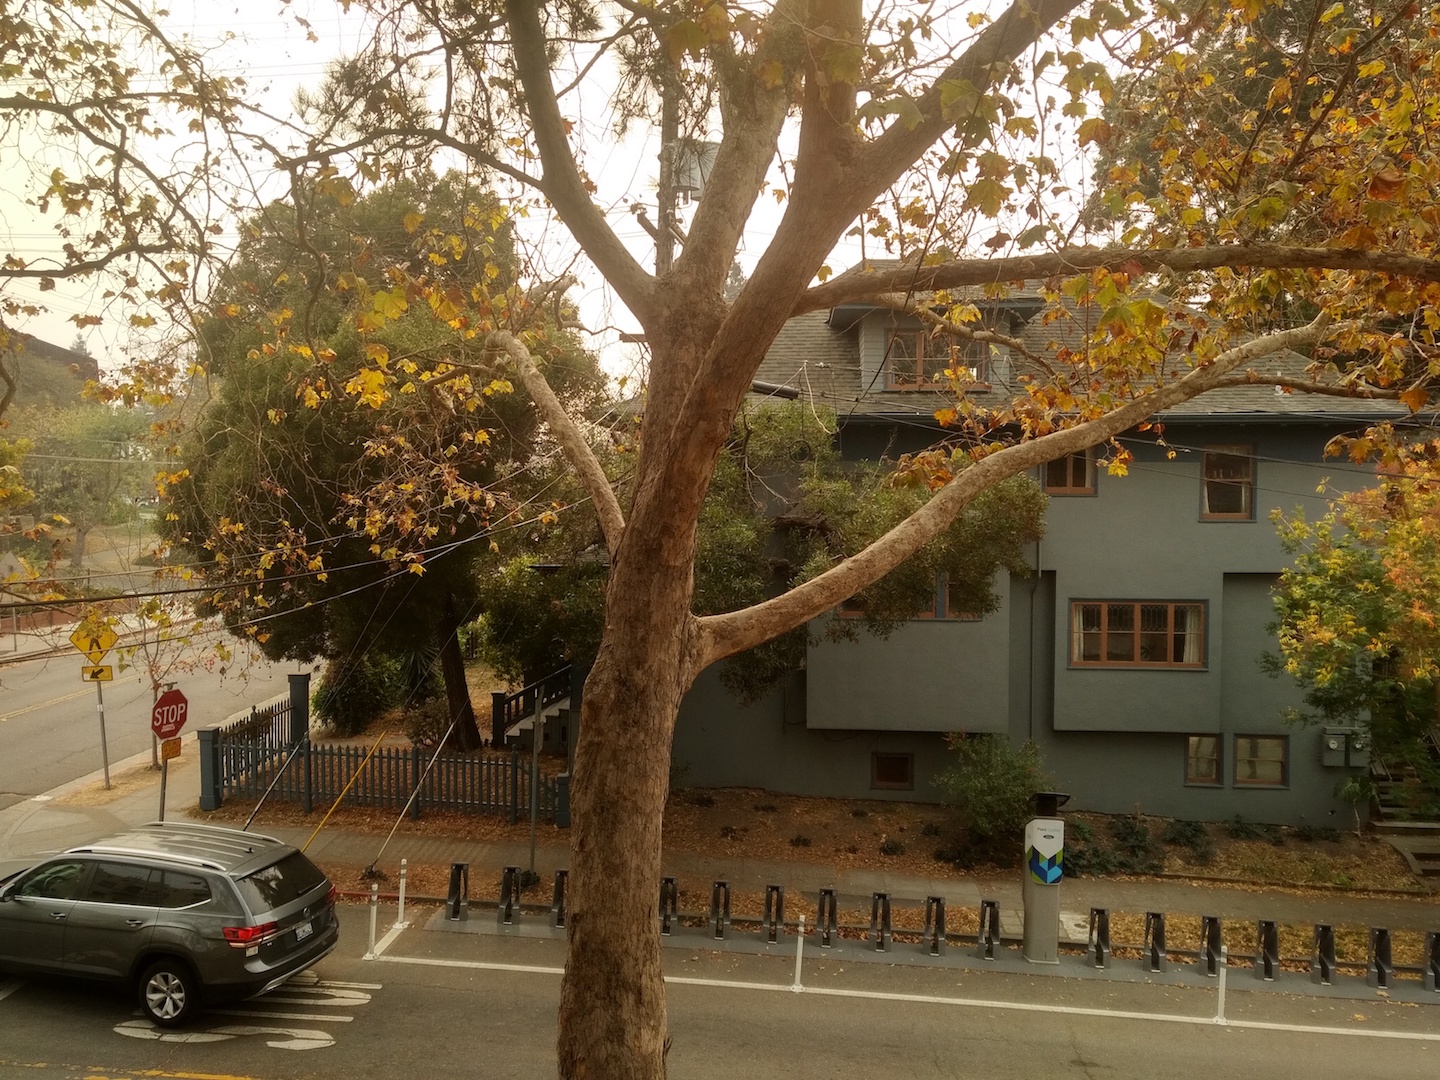
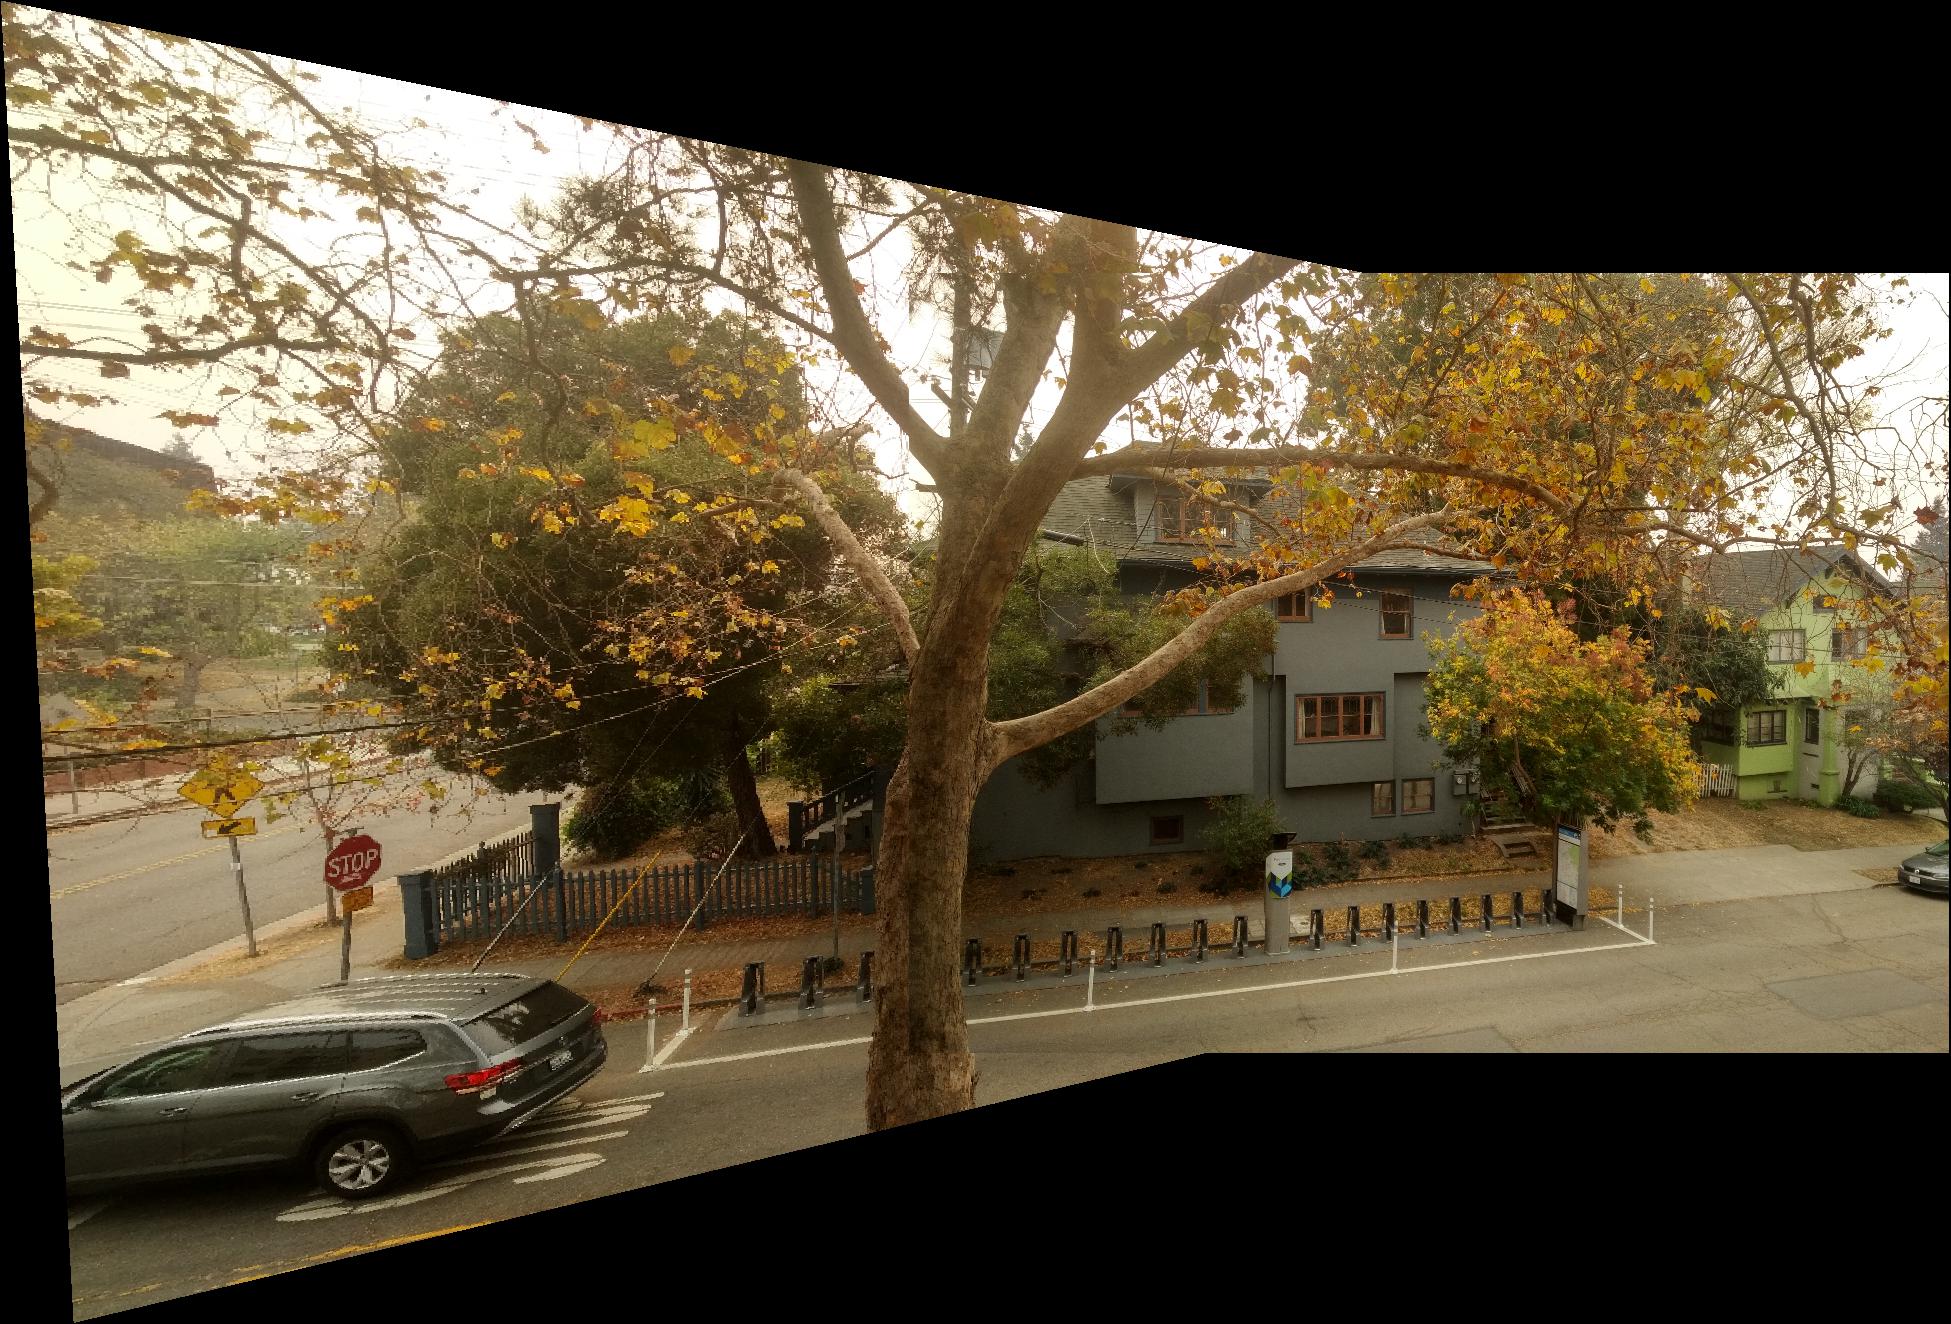
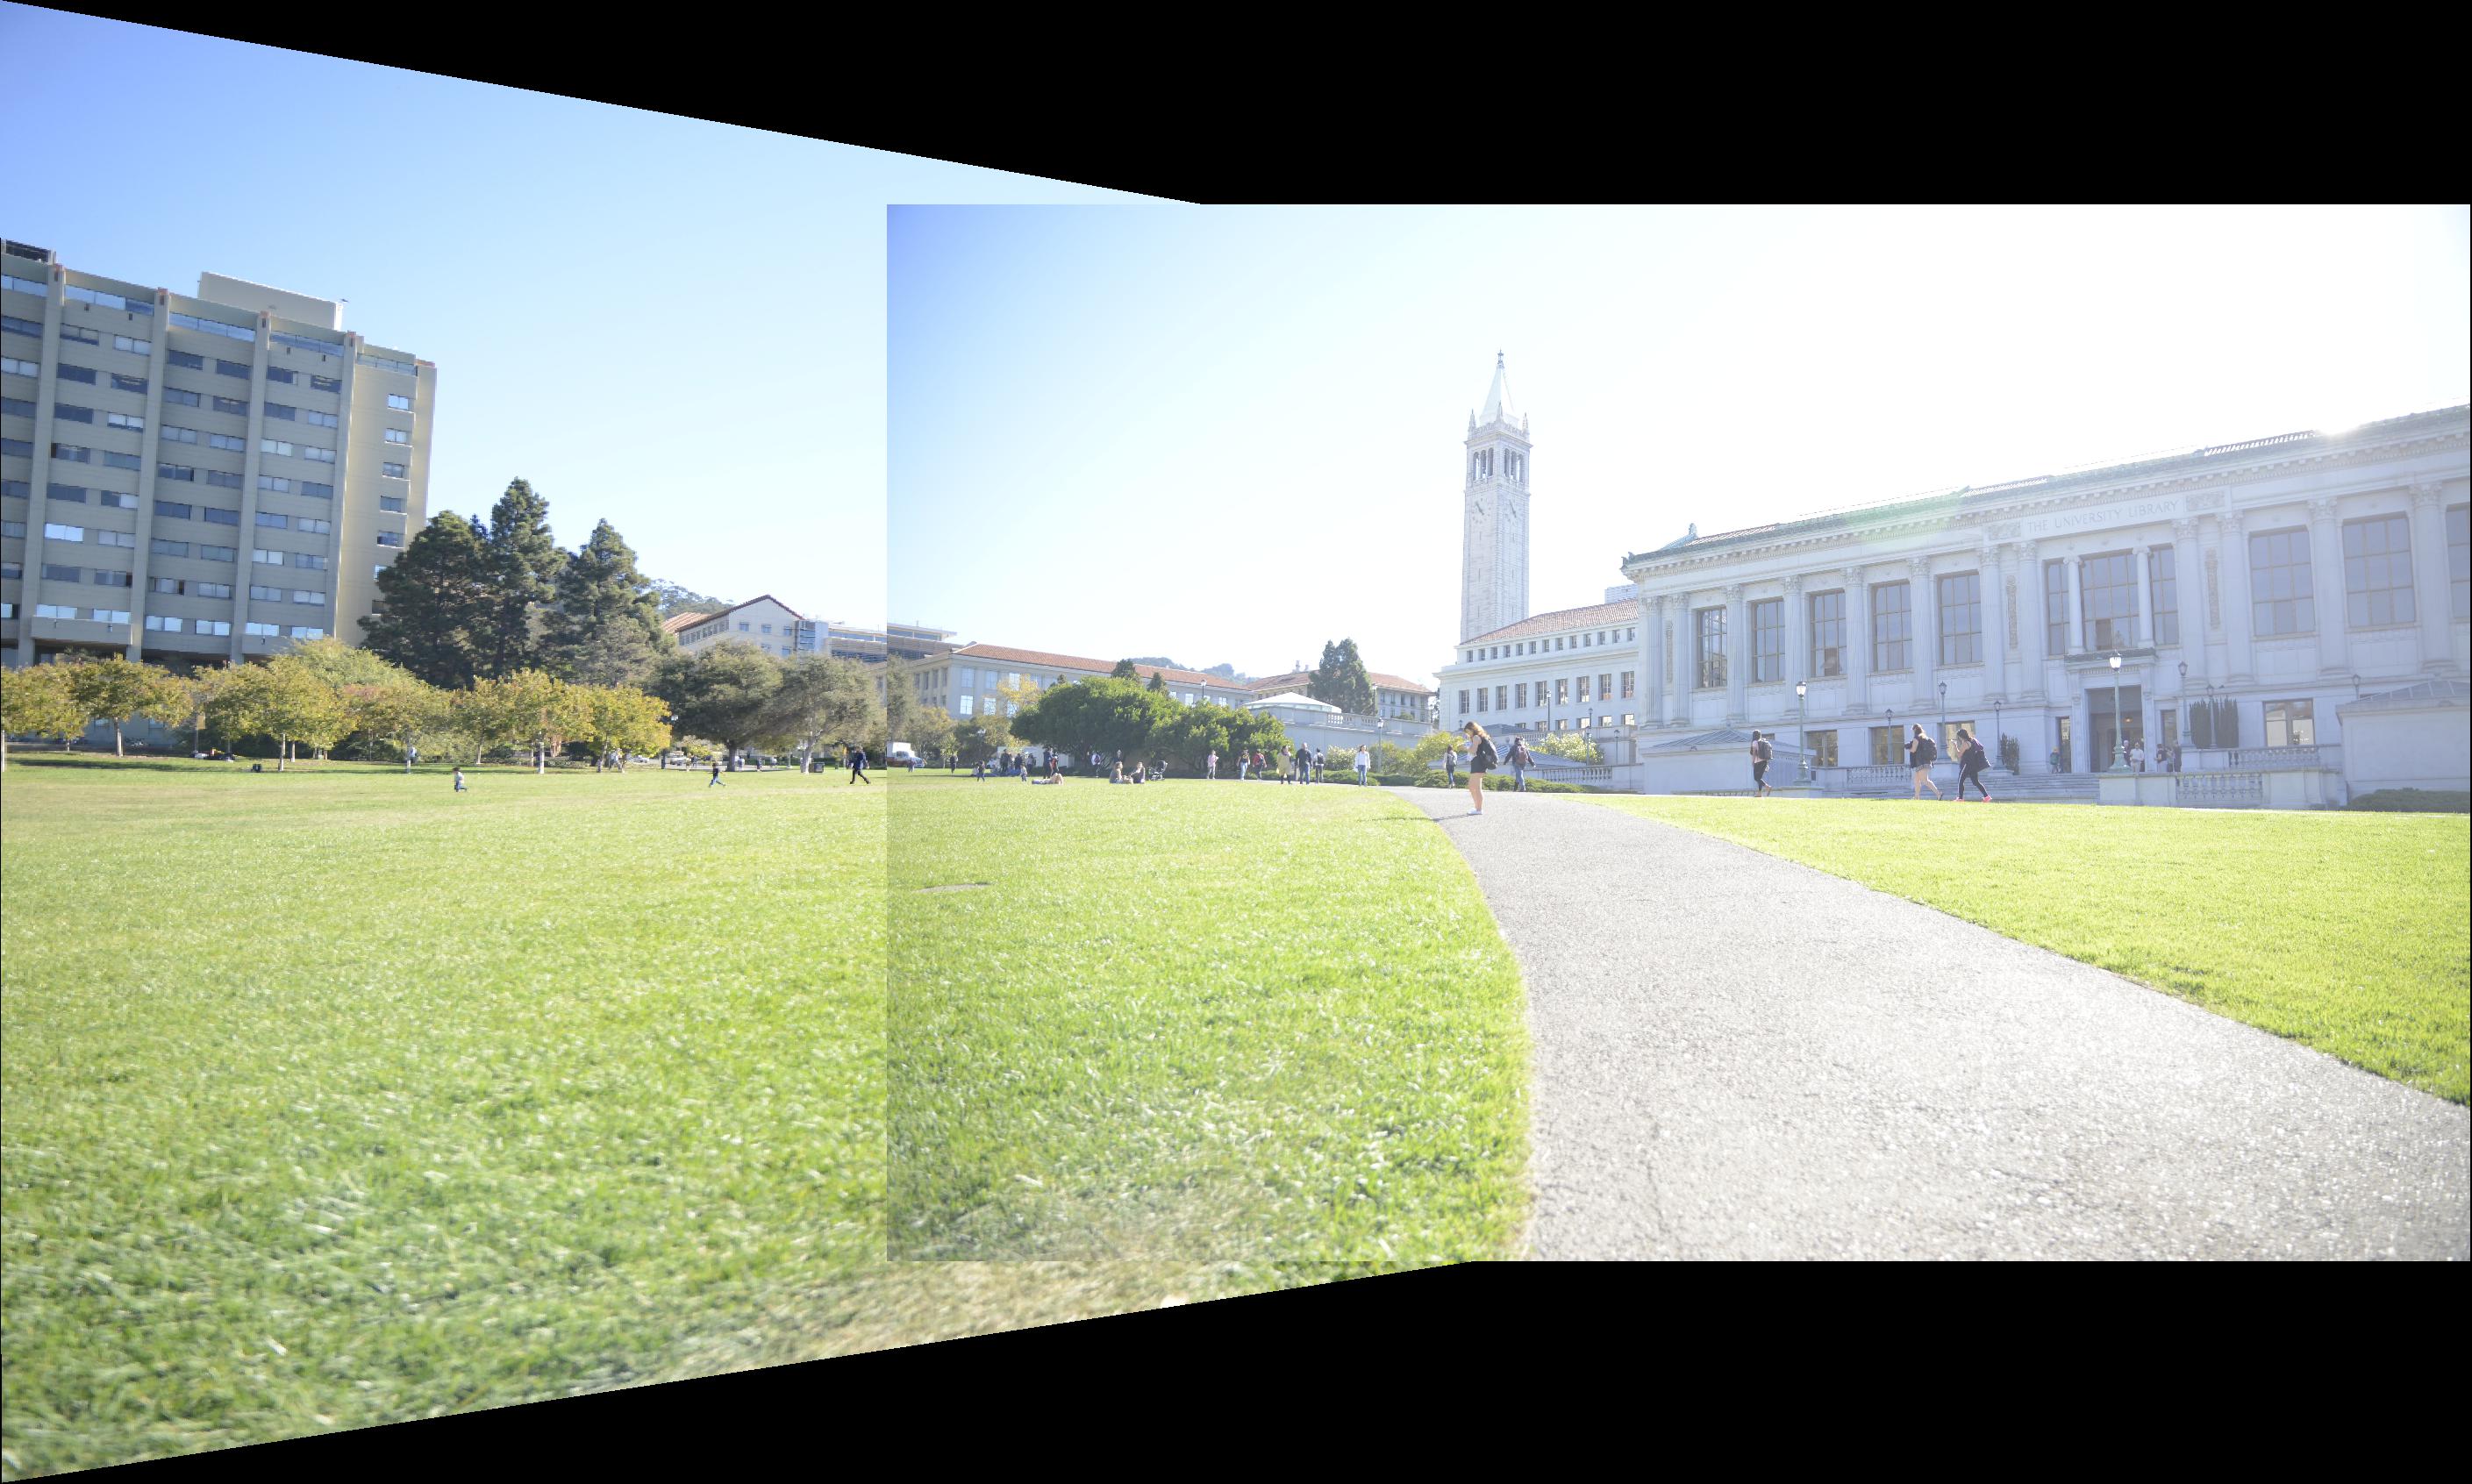
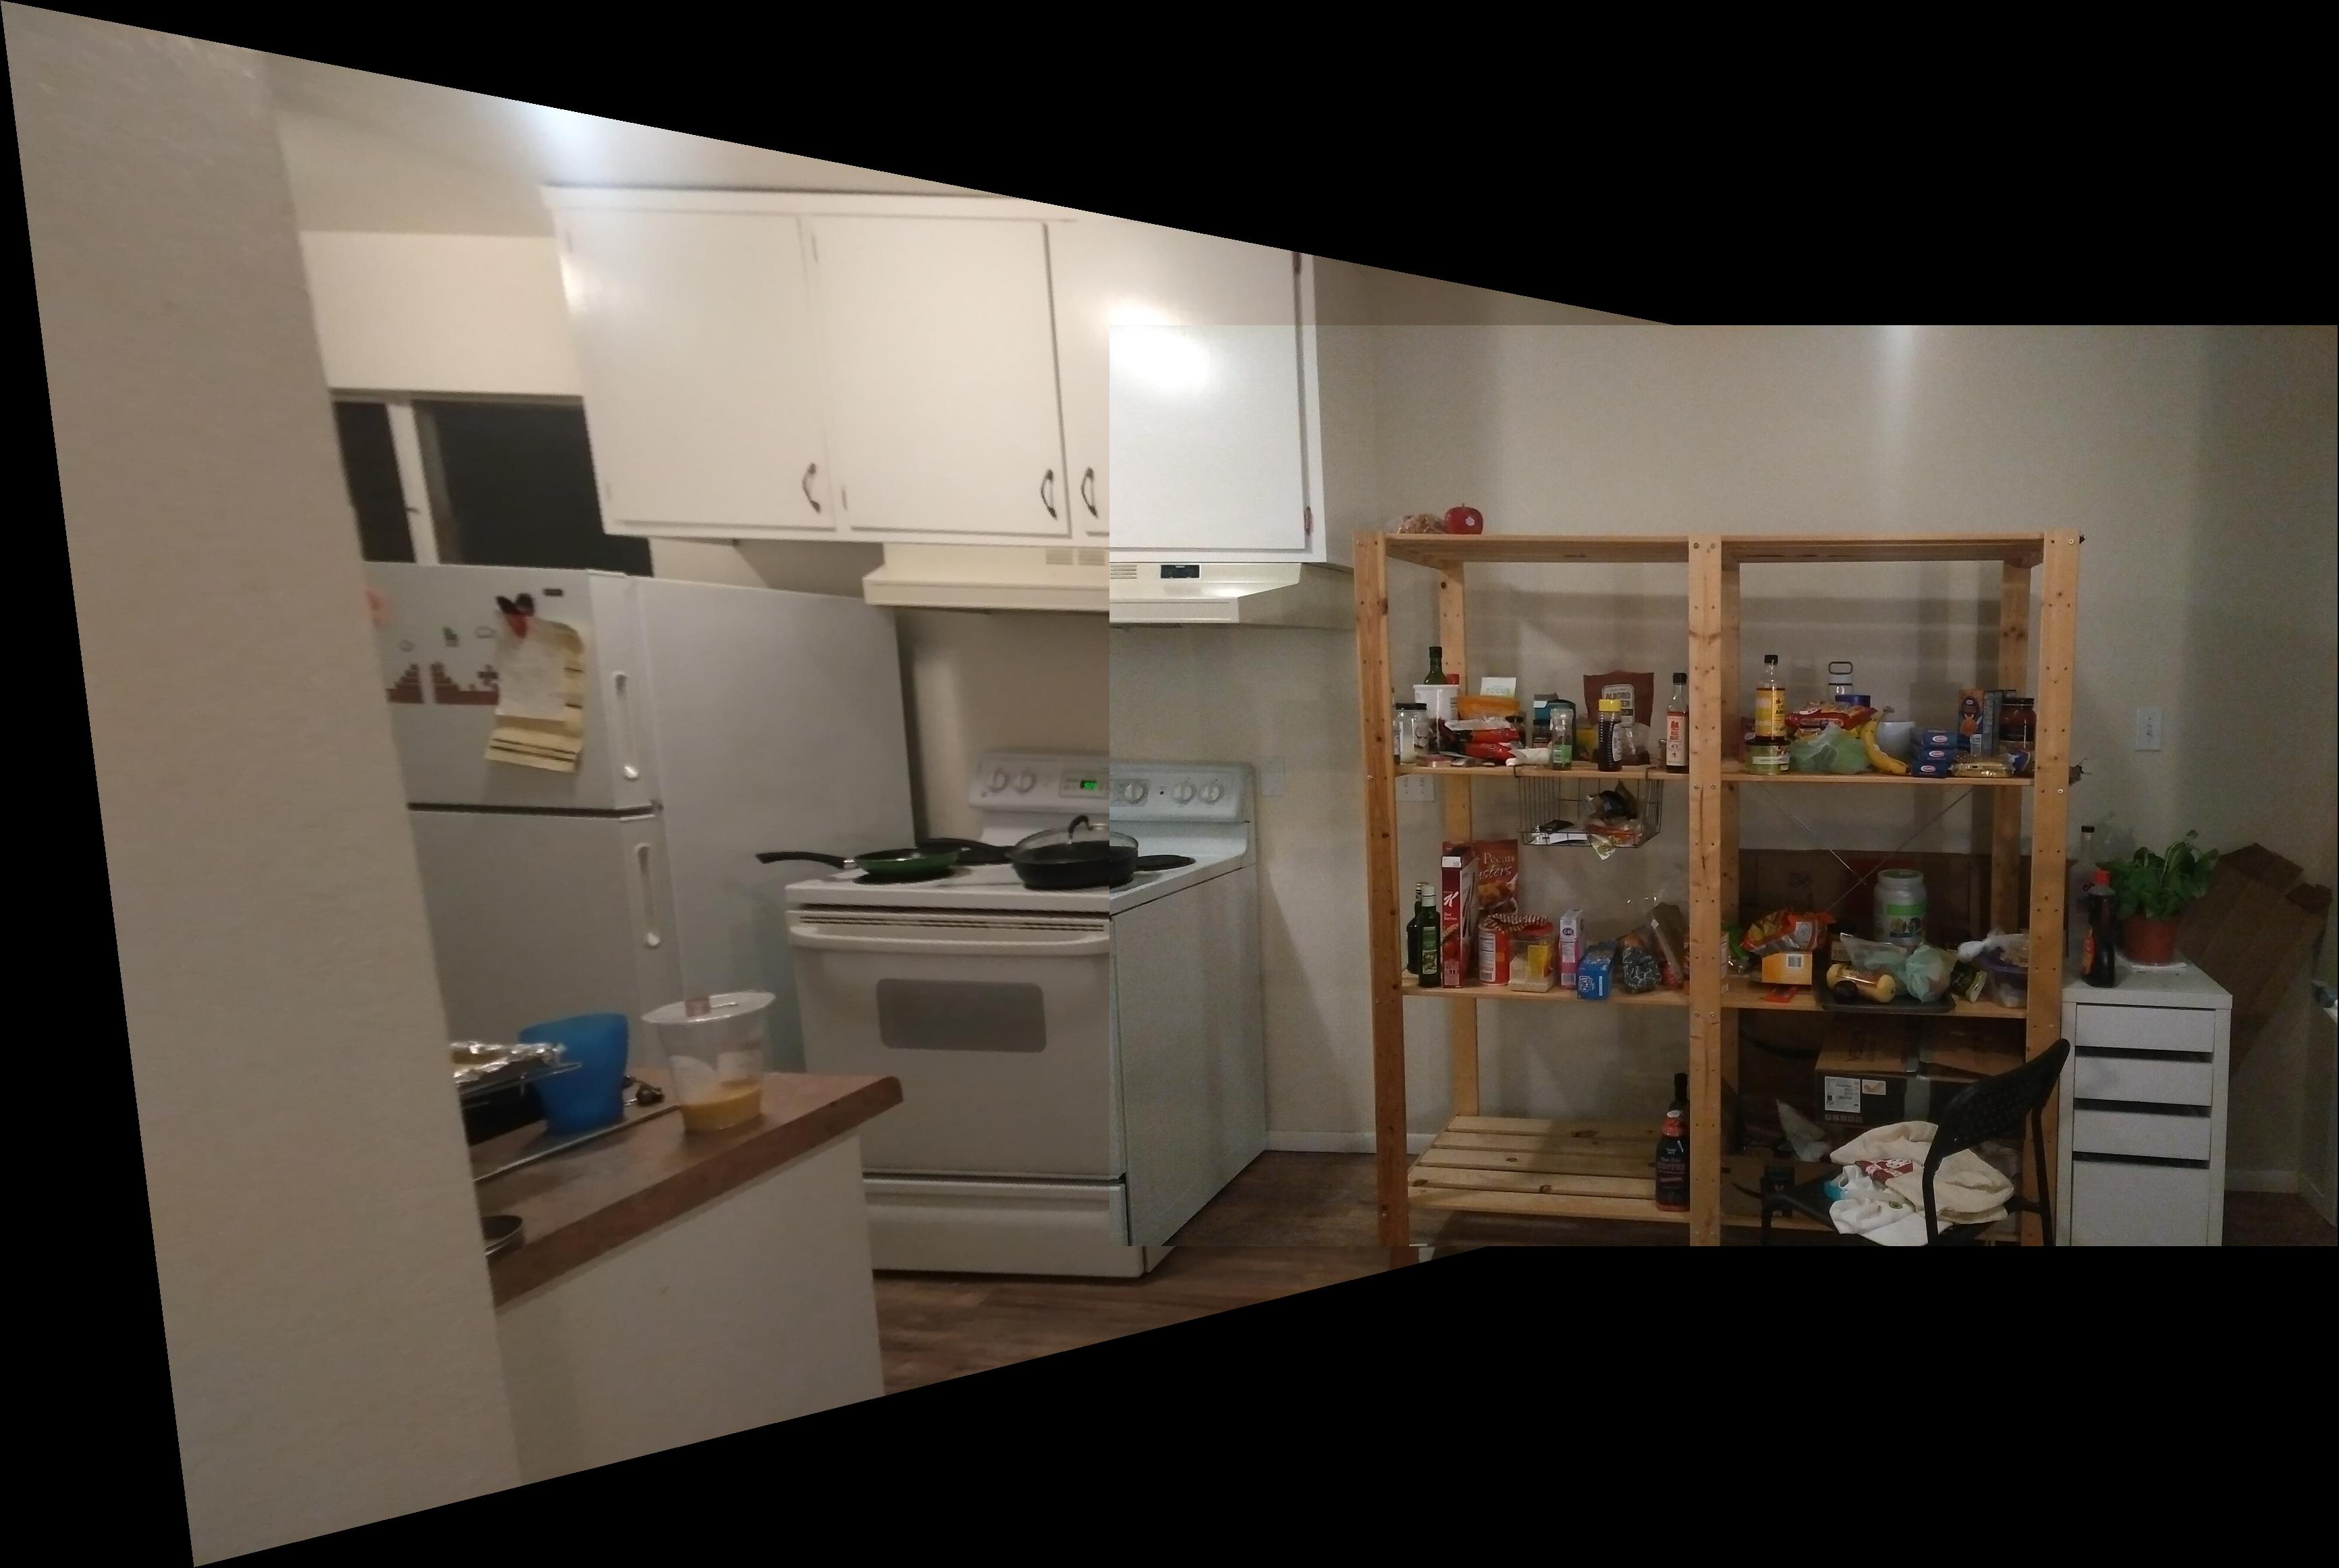
I learned how the basics of linear algebra is really useful in altering images. In addition, I learned that it's really important to take pictures from angles with the same lighting since it will make blending more seamless. Picking points is really important for finding an accurate homography matrix.
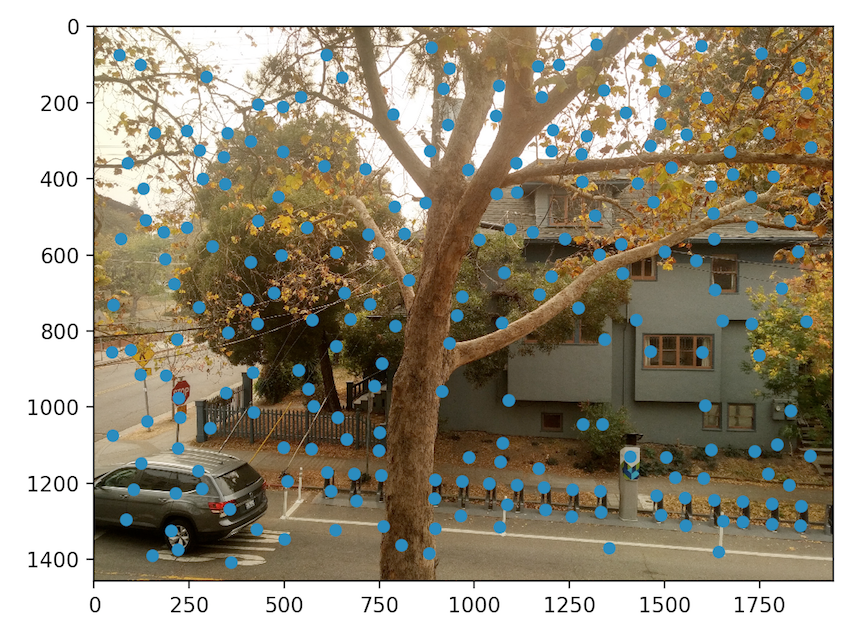
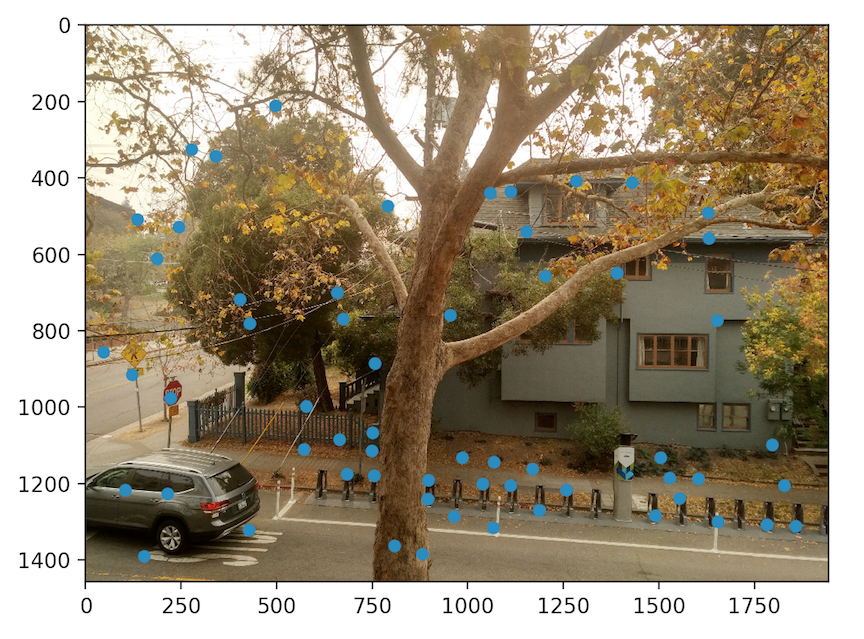
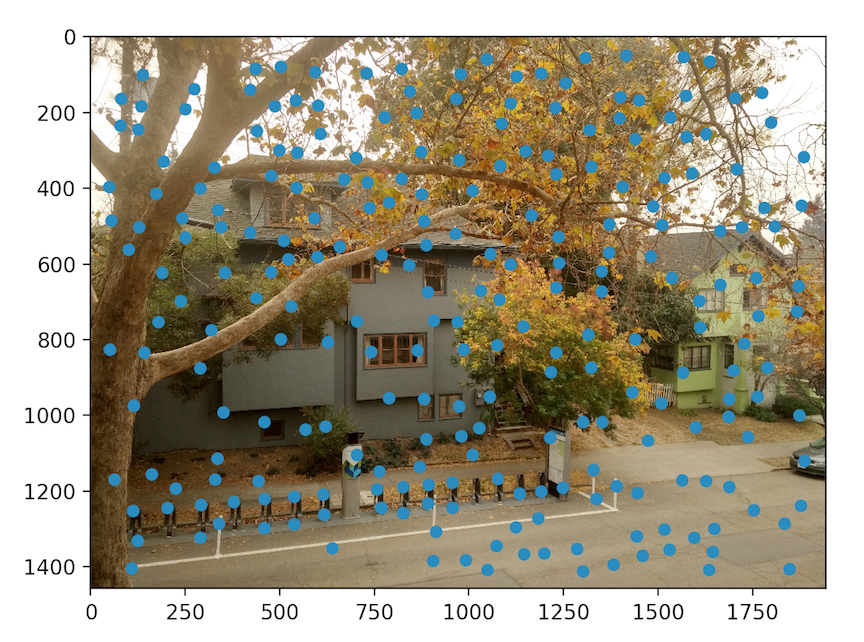
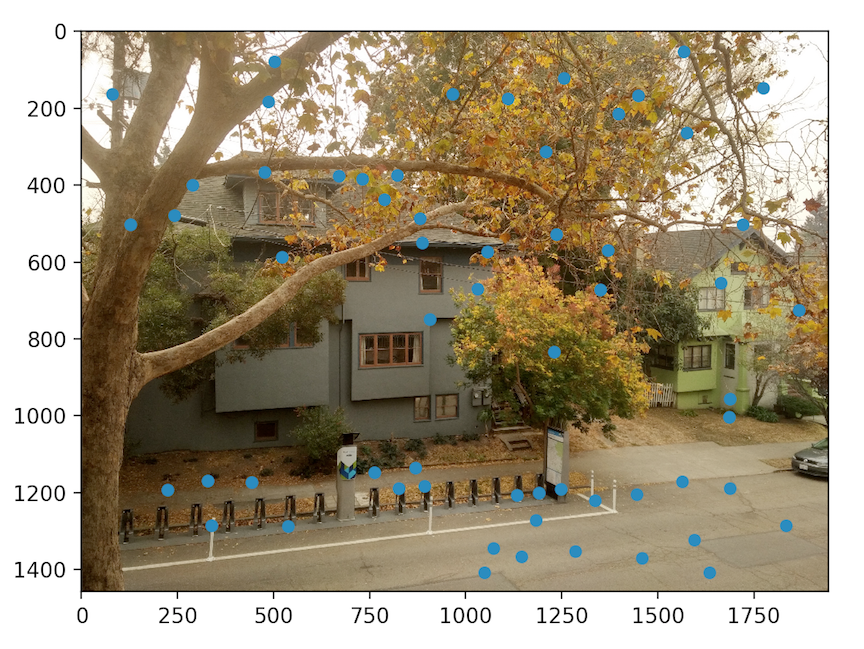
In this part of the project, we use Harris Interest Points Detector, Adaptive Non-Maximal Supression, Feature Descriptor, Feature Matching, and RANSAC to help us automatically compute homographies rather than self-select points between two images to generate a panorama
We use the Harris Interest Points Detector to identify points in our images that are most likely to be corners. We perform a single scale detection with the code provided to us. Notice how after collecting the Harris Corner Points, there are alot of points of interest. So we can run the Adaptive Non-Maximal Suppression (ANMS) algorithm to get Harris points with the strongest corner strengths and more evenly spread out the points of interest.
For each feature point, we generate a feature descriptor. First I take a 41x41 patch around the point of interest and then sample from the 41x41 patch to generate an 8x8 patch. Given two images, we want to compare each patch from the first image to a patch in the second image to determine how similar they are to each other. I computed the SSD between each patch and if it was below a certain threshold, we can say with some degree of confidence that the two patches are a match for each other.
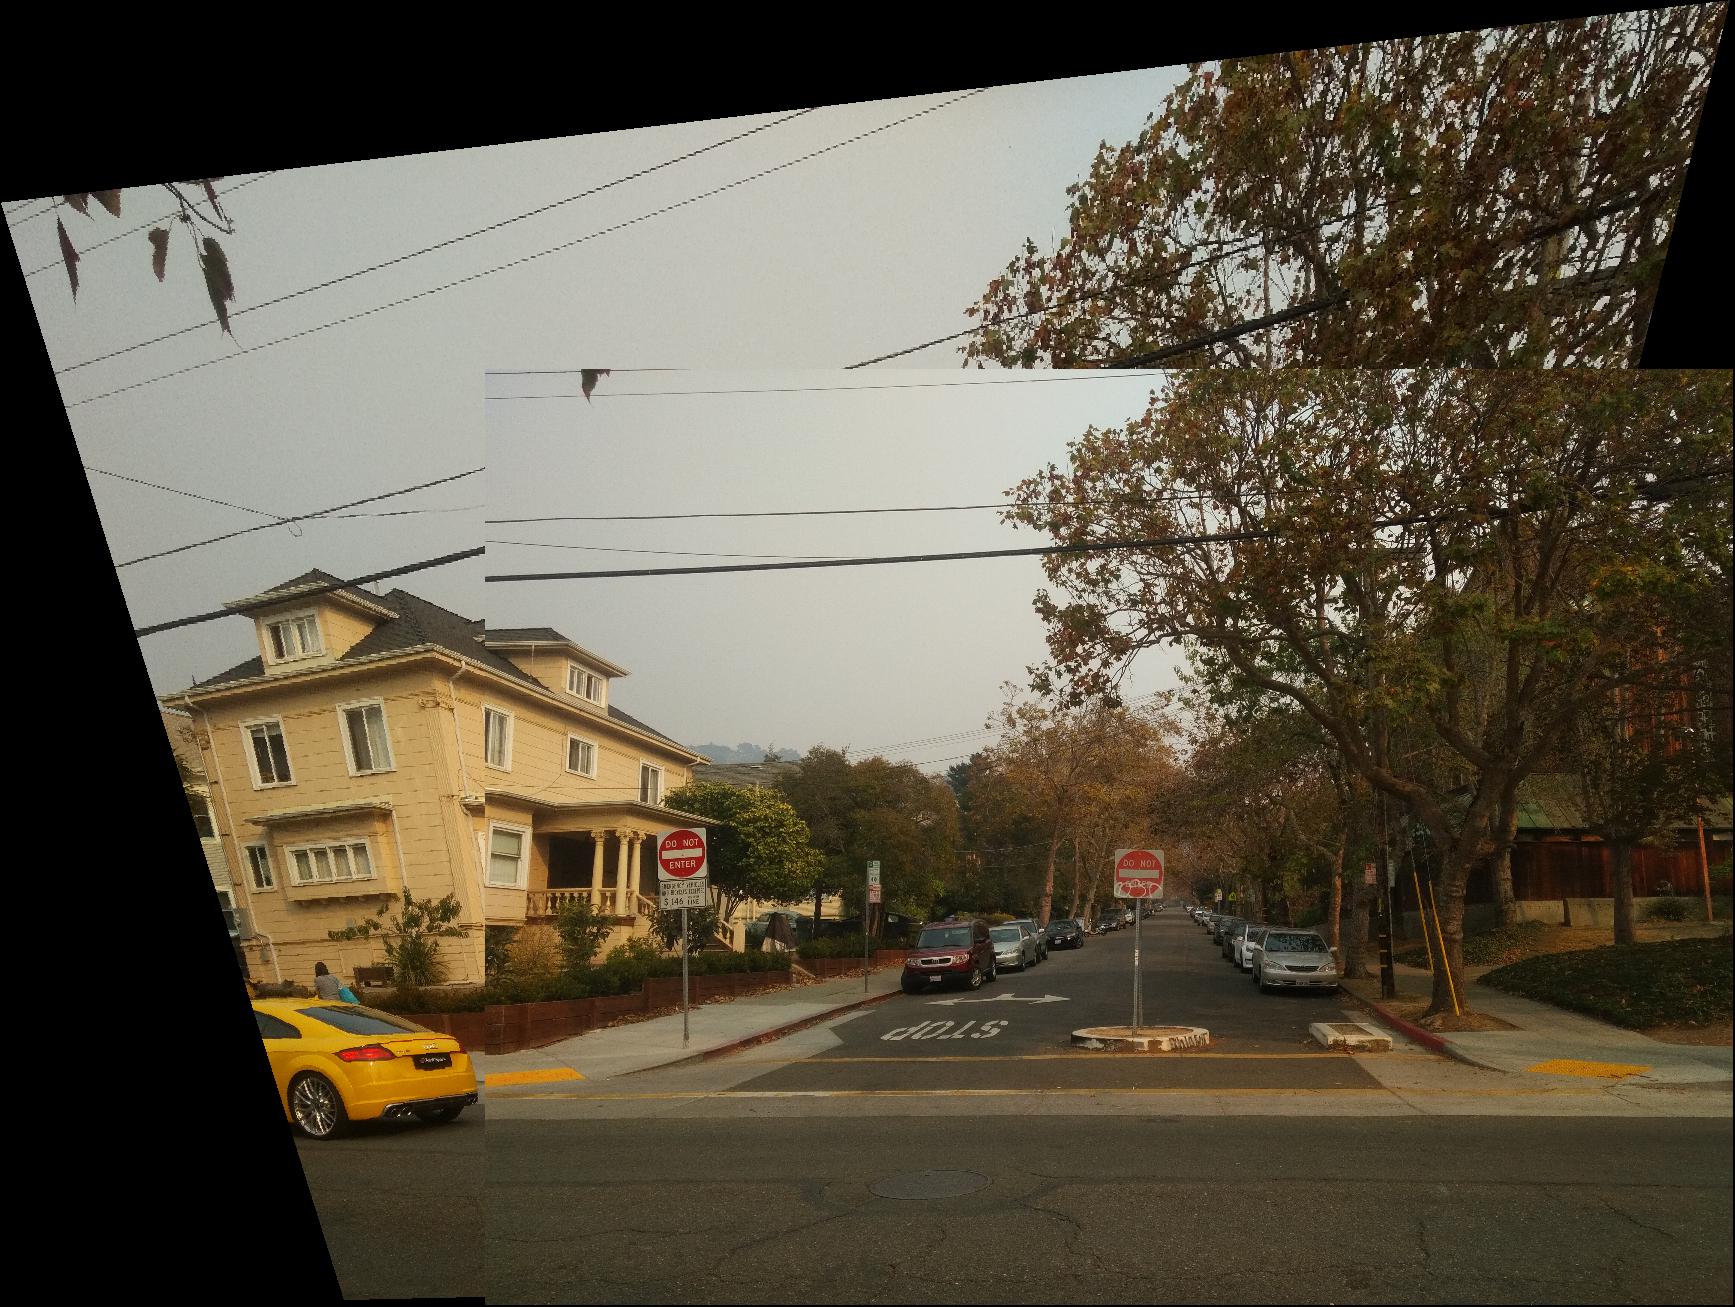
To create the auto-stitched images, I used the 4-point RANSAC algorithm. We pick 4 points at random and create a homography from image one to image two based on those 4 points. Next we compute how many of the matching points between the images are inliers. We take the homography that generates the highest number of inliers. Once I compute the best homography estimate, I use the warp function that I created in part A of the project to warp my images and stitch them together. To create the manually stitched images, I just pre-select points from image one and image two and use the warp function created in part A of the project.
I learned that sometimes the human eye is not enough to find points of interest. In my images there were some Harris points in the sky that had some corner strength that existed even after running ANMS. These are not points that I would have thought to select by hand in part A of the project.