CS194-26 Project 6
Michael
Weymouth (cs194-26-adc)
Part A
In this project, we were able
to use a manually-corresponded point set between an image and a defined shape
to rectify the image to a particular perspective. Then, we corresponded points
between two overlapping images, which allowed for the stitching of multiple
images into a single panorama.
Image Rectification
For this part, we used a set
of points corresponding an image with a desired shape, such as a square or a
piece of printer paper, to warp an image to a desired perspective. This was
first done by computing a homography between the
selected points and the desired shape, then applying the warp to the input
image. Perhaps the most difficult part of this section of the project was
determining the bounds of the output image and translating the coordinates
appropriately.
I present below a few sample
inputs and outputs from this part.
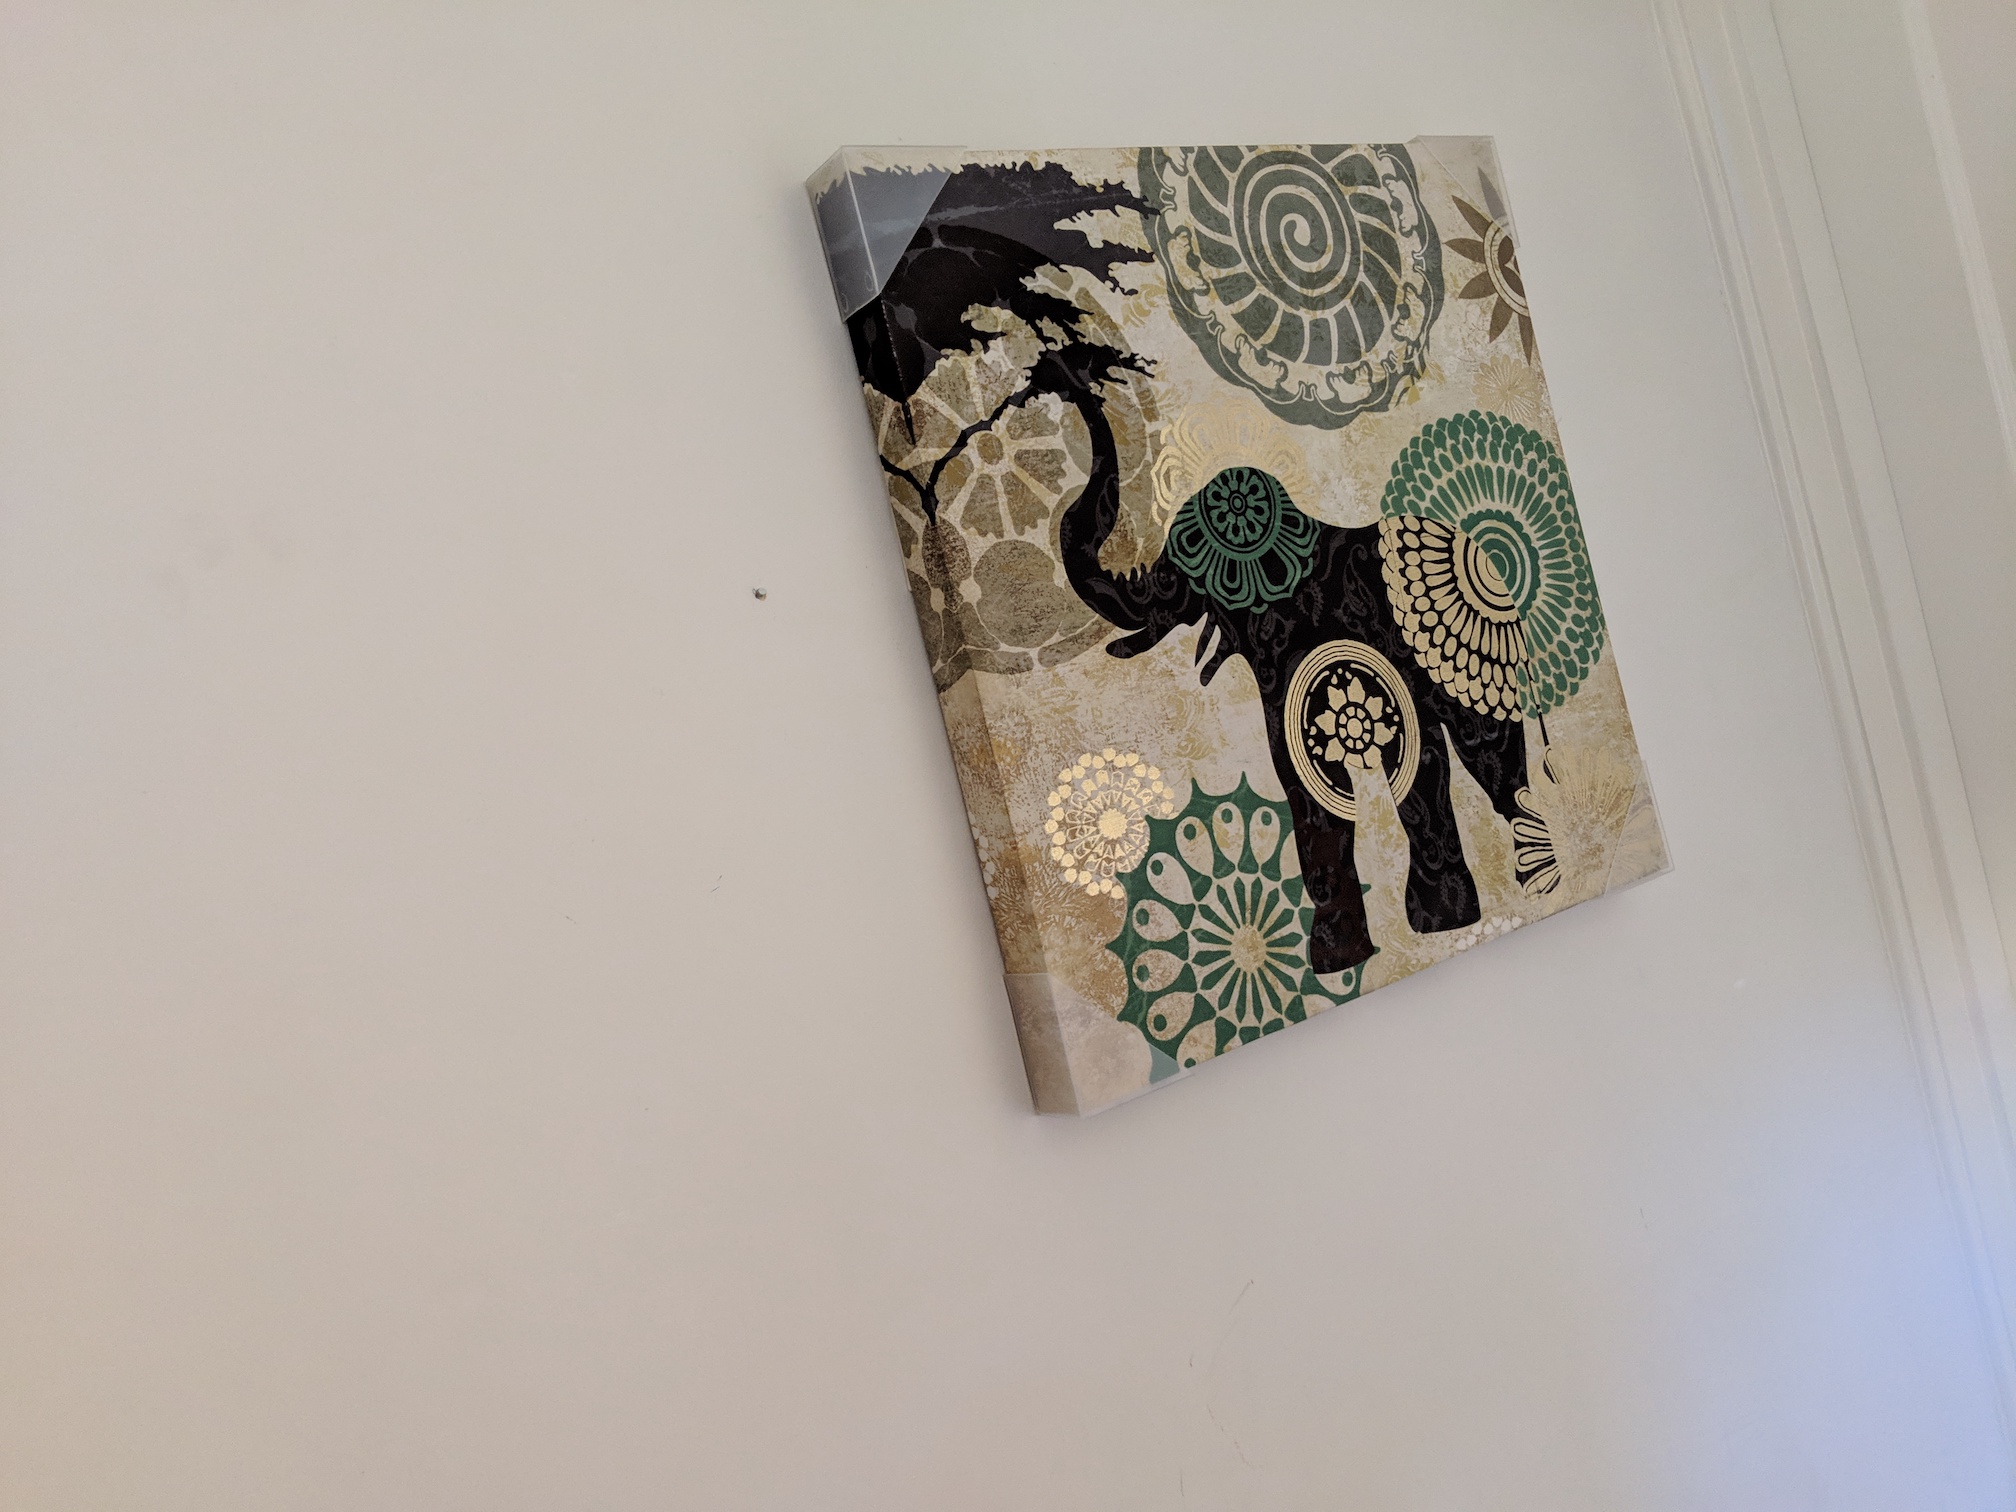
A piece of art from my apartment, poorly photographed.
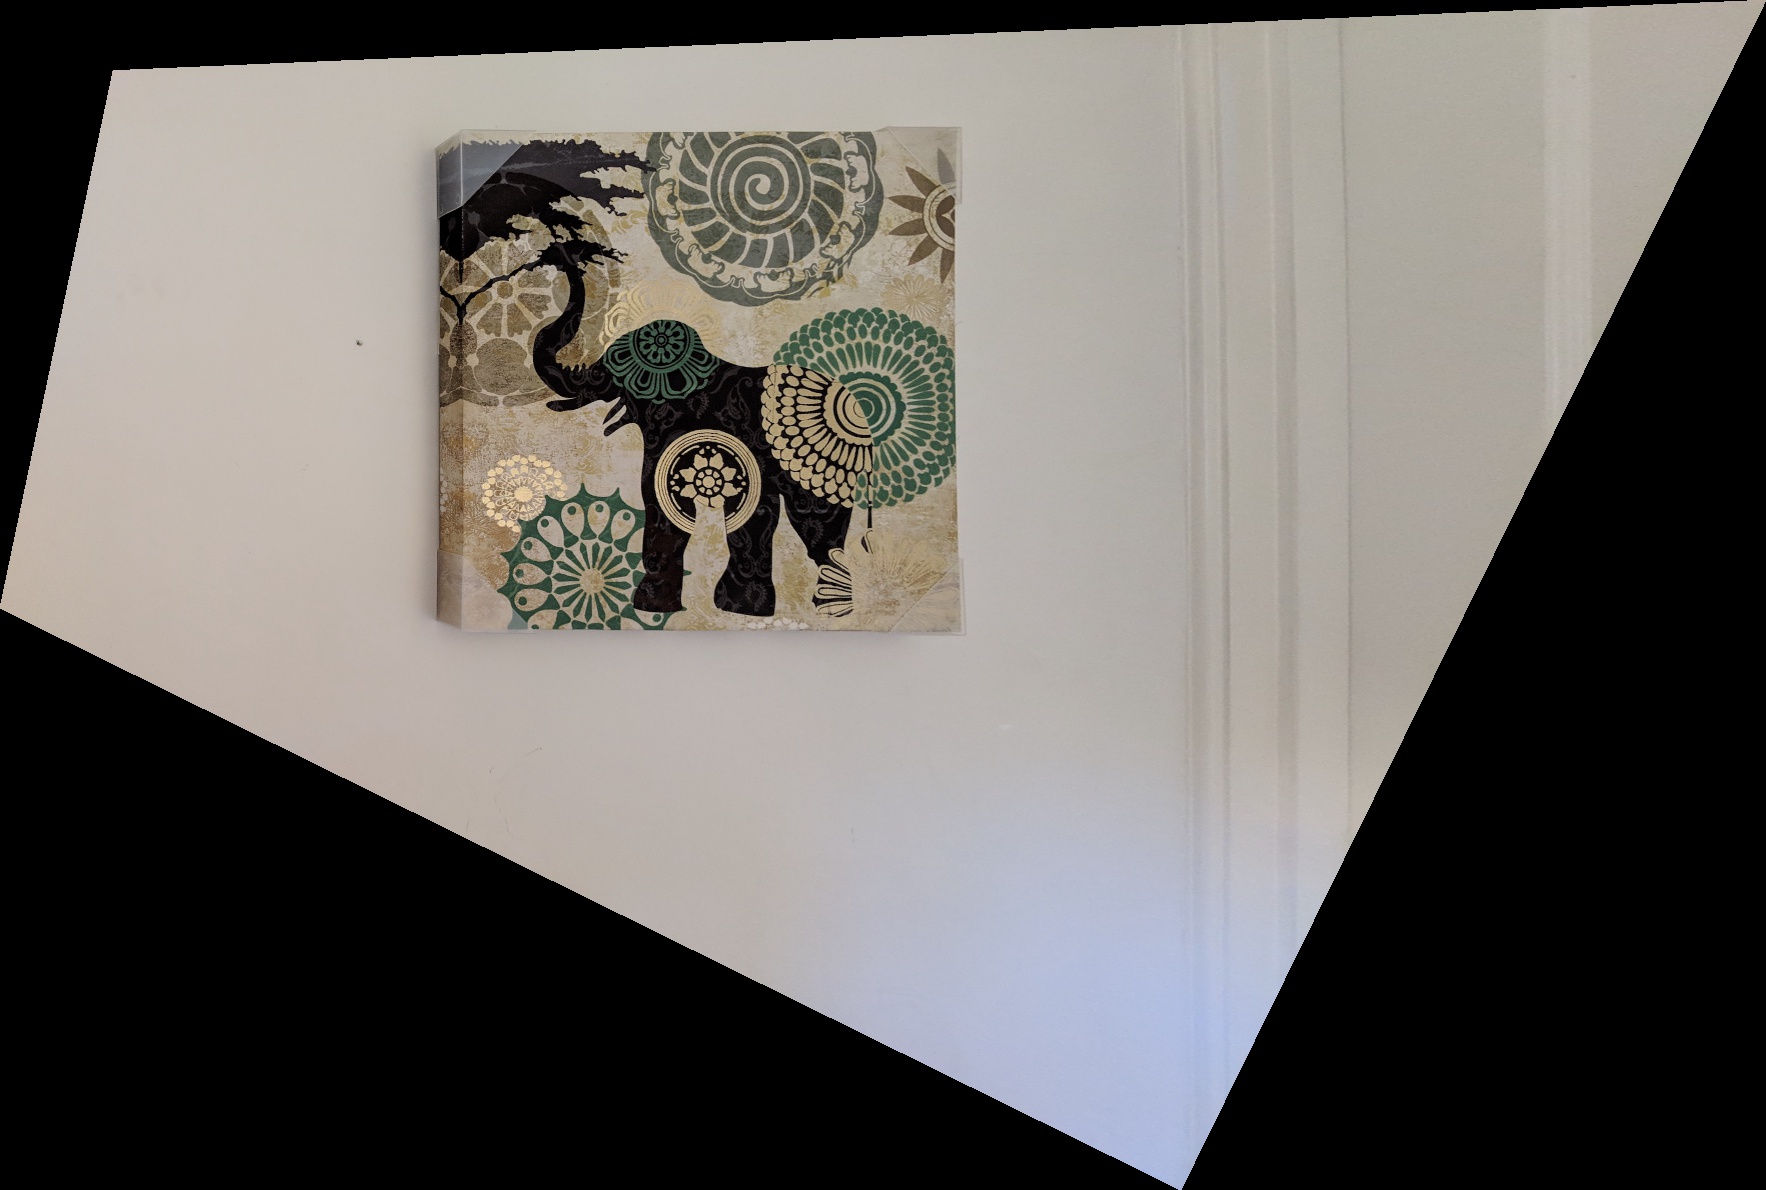
The same art, correctly rectified to a square!
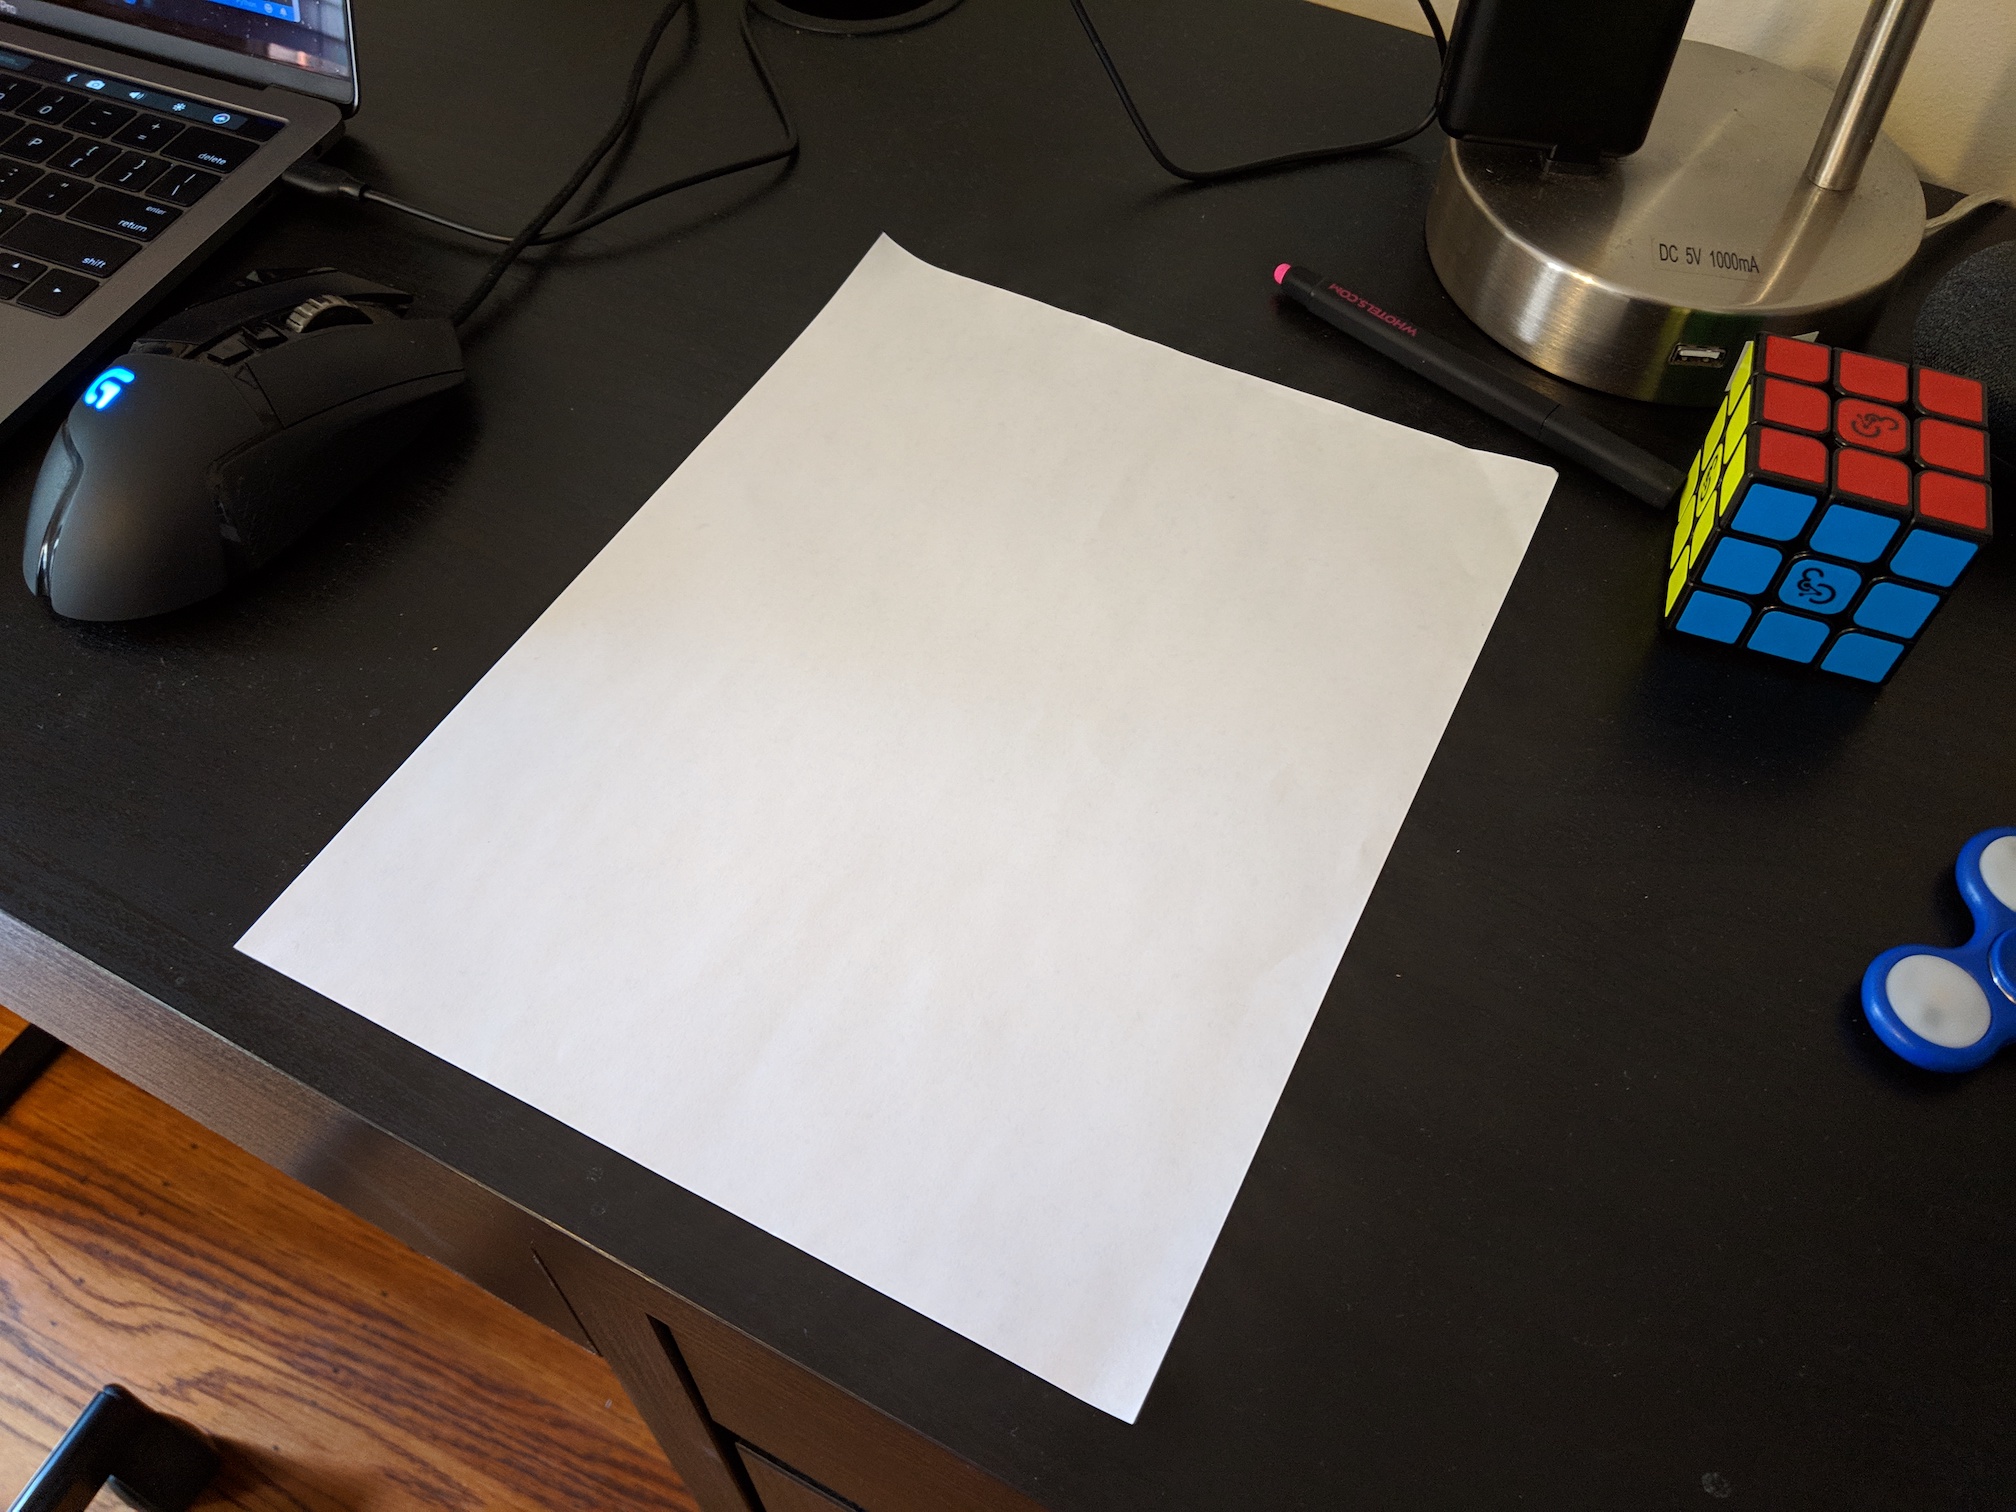
A piece of paper, also poorly photographed.
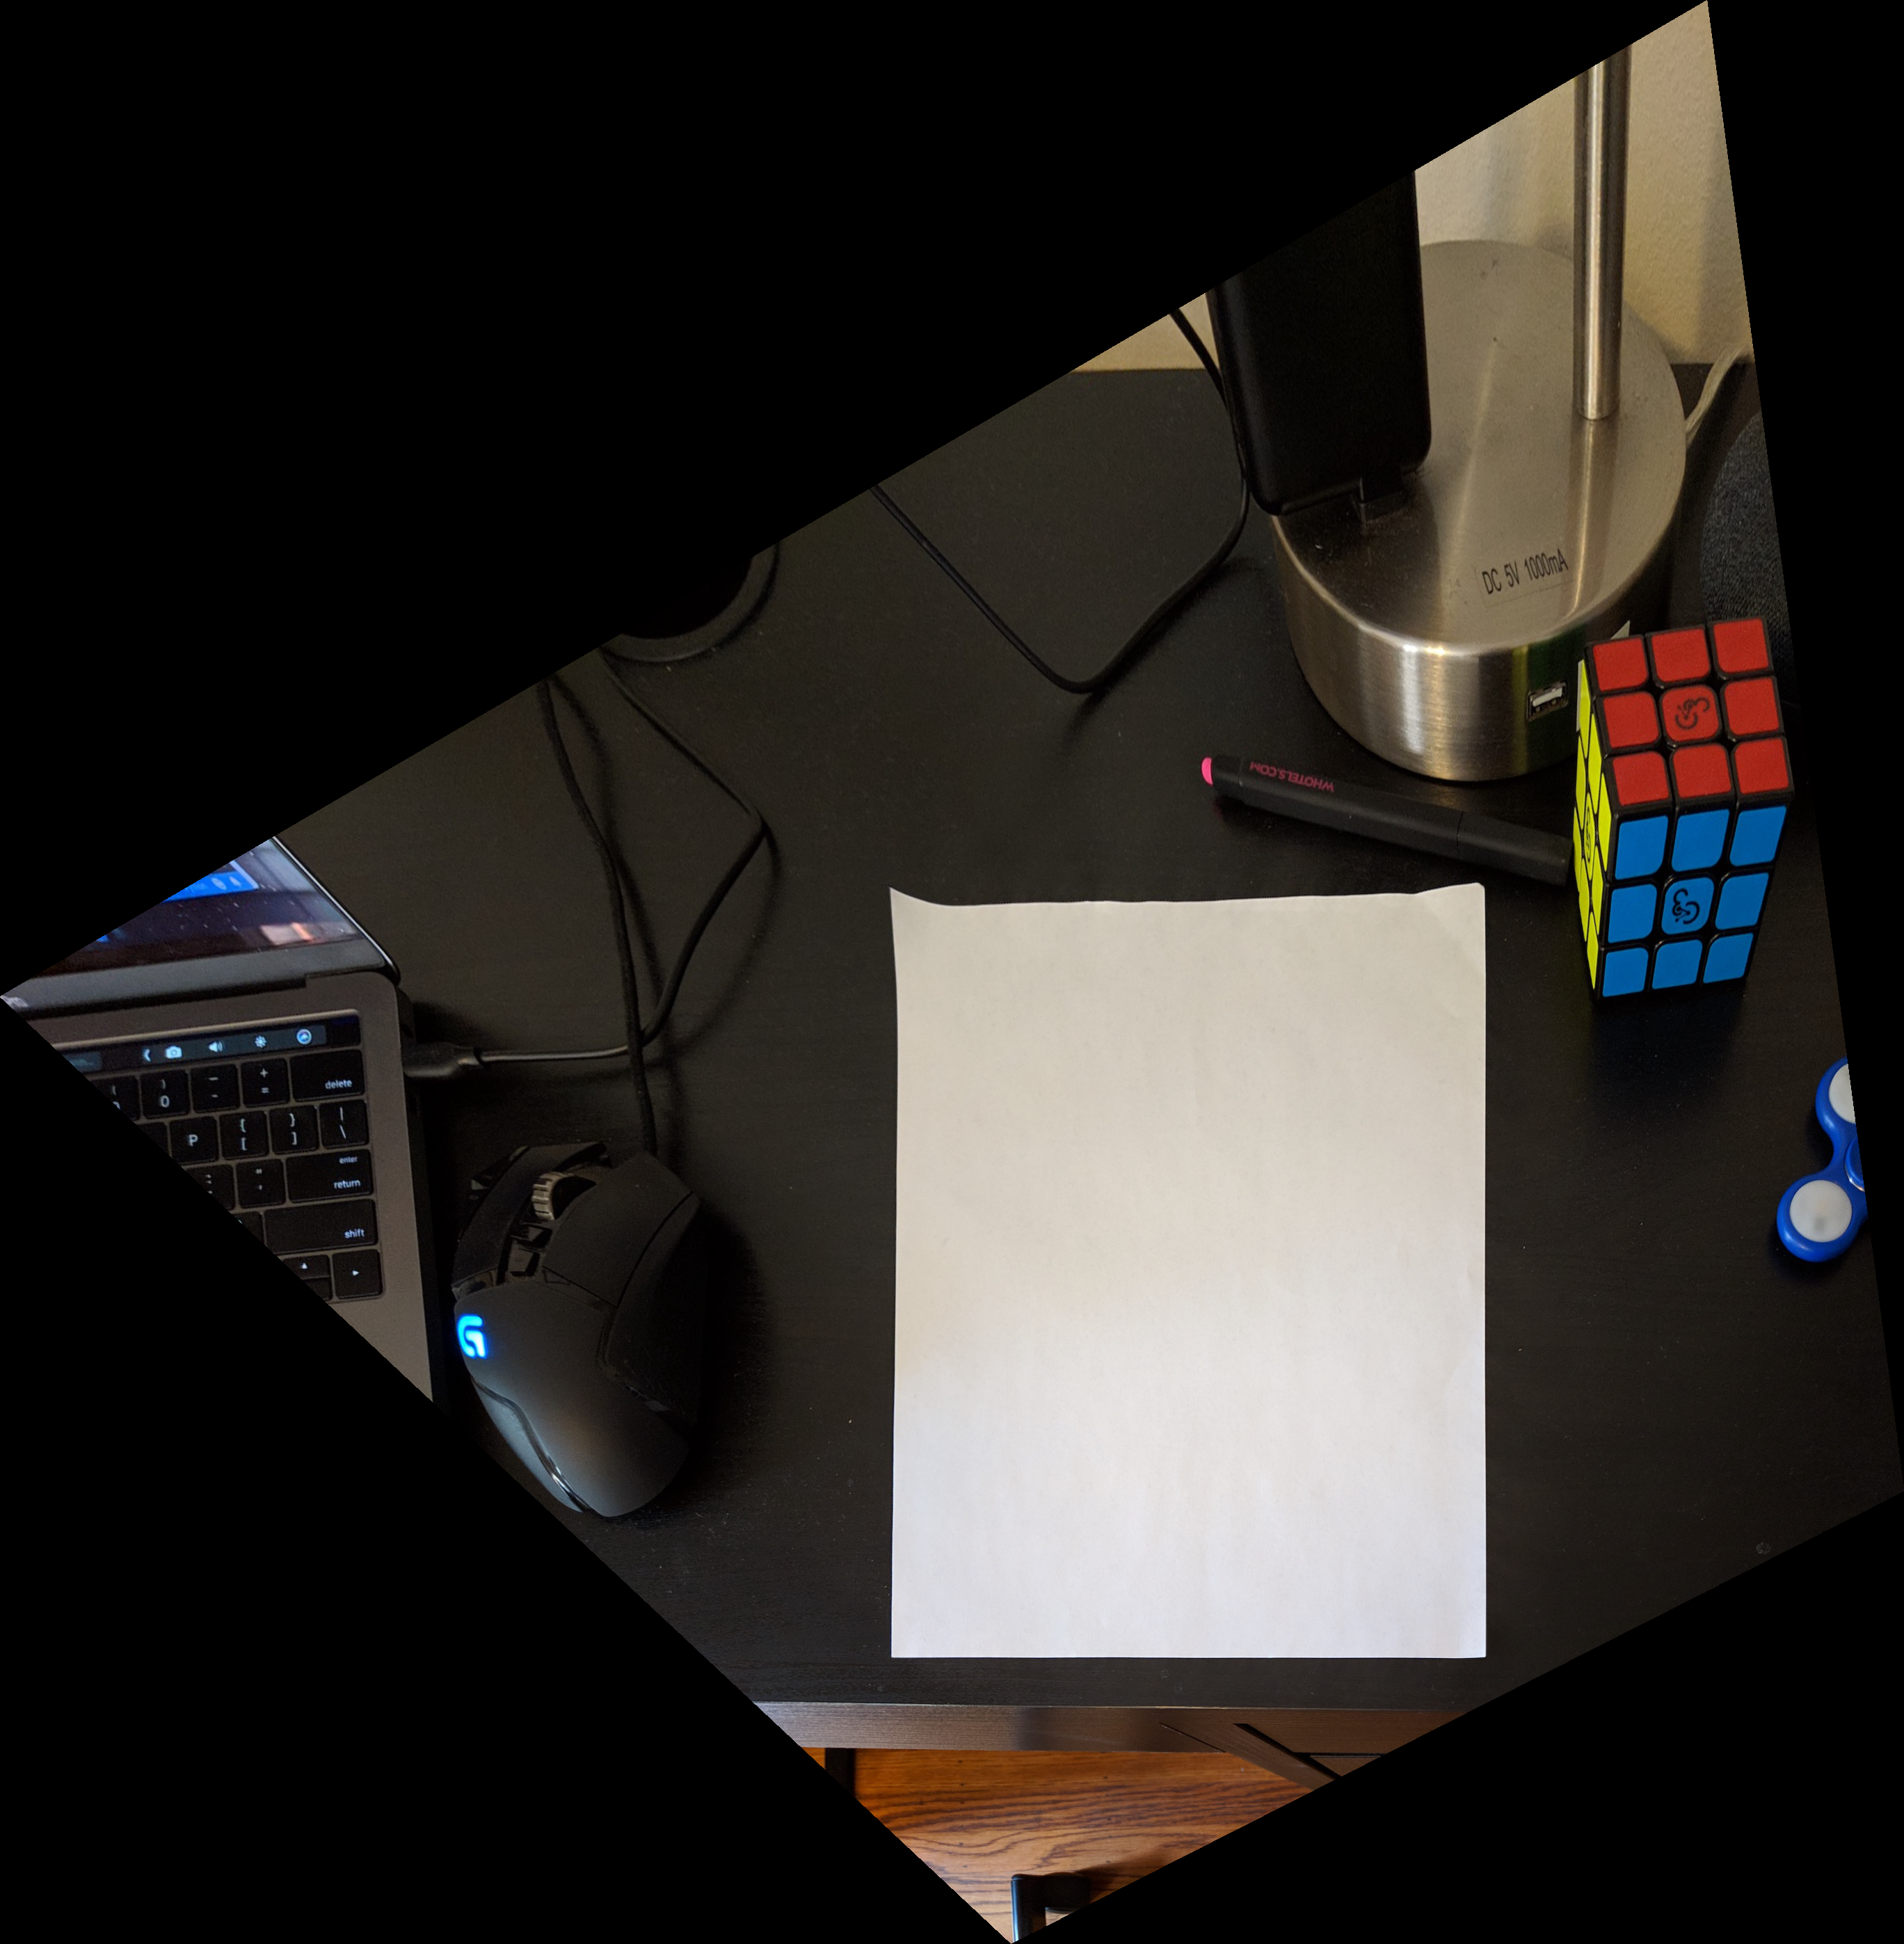
So that’s
how CamScanner works!
Mosaics
For the next part of the
project, we rectified one image into the plane of another, then layered those
two images on top of each other to generate a panoramic mosaic. At first, I
tried using the correspondence tool from the face morphing project to select my
points, however I quickly found the results to be too imprecise for the
purposes of homography calculation. By the end, the
best method I managed to find was manually locating corresponding pixels using
macOS Preview, and then saving those correspondences to a file for use by the
program. This is reflected in the code at the bottom of corresponder.py which just manually saves entered points to a file.
This method bypasses the correspondence selector entirely but allows for much
higher precision, so this additional effort was justified.
For blending, the first
approach I tried was feathering. This led to a bit of perceived ghosting in the
output mosaic, so I tried Laplacian blending. This method didn’t seem to
improve the results at all, so I only used alpha-channel feathering in the
final results presented below. As it turns out, the real cause of the ghosting
was the translational movement of my hand while capturing the photographs, an
issue which I resolved by reshooting my scenes. Admittedly a tripod would have
made this alignment much easier to do overall, but the final results are quite
good nonetheless.
I present below a few sample
inputs and outputs from this part.
The two input images, taken from the base of the
Campanile towards The Bay.
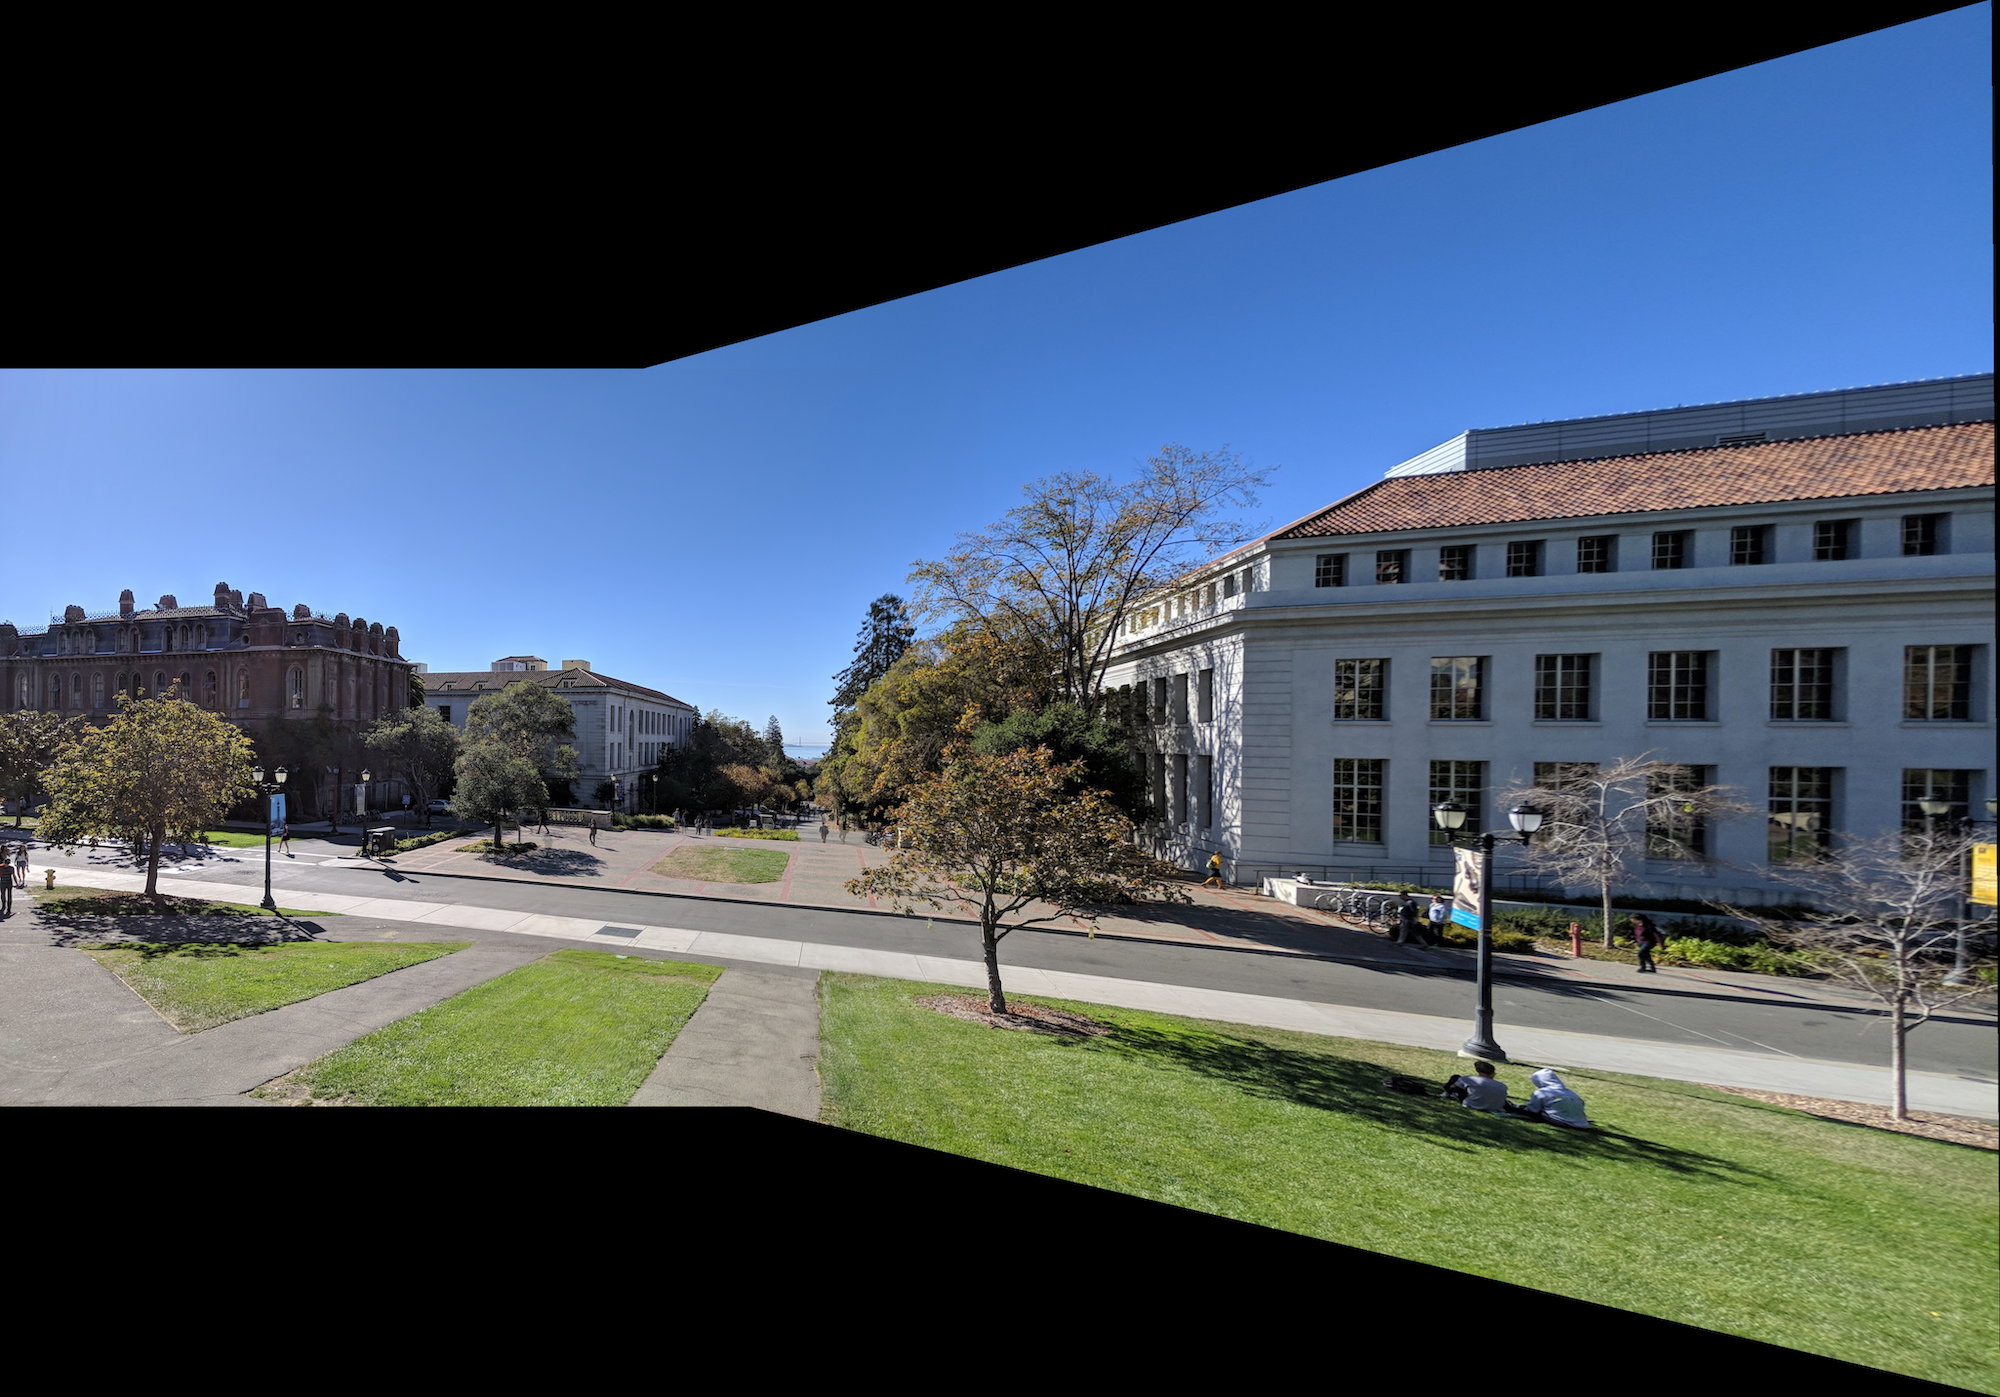
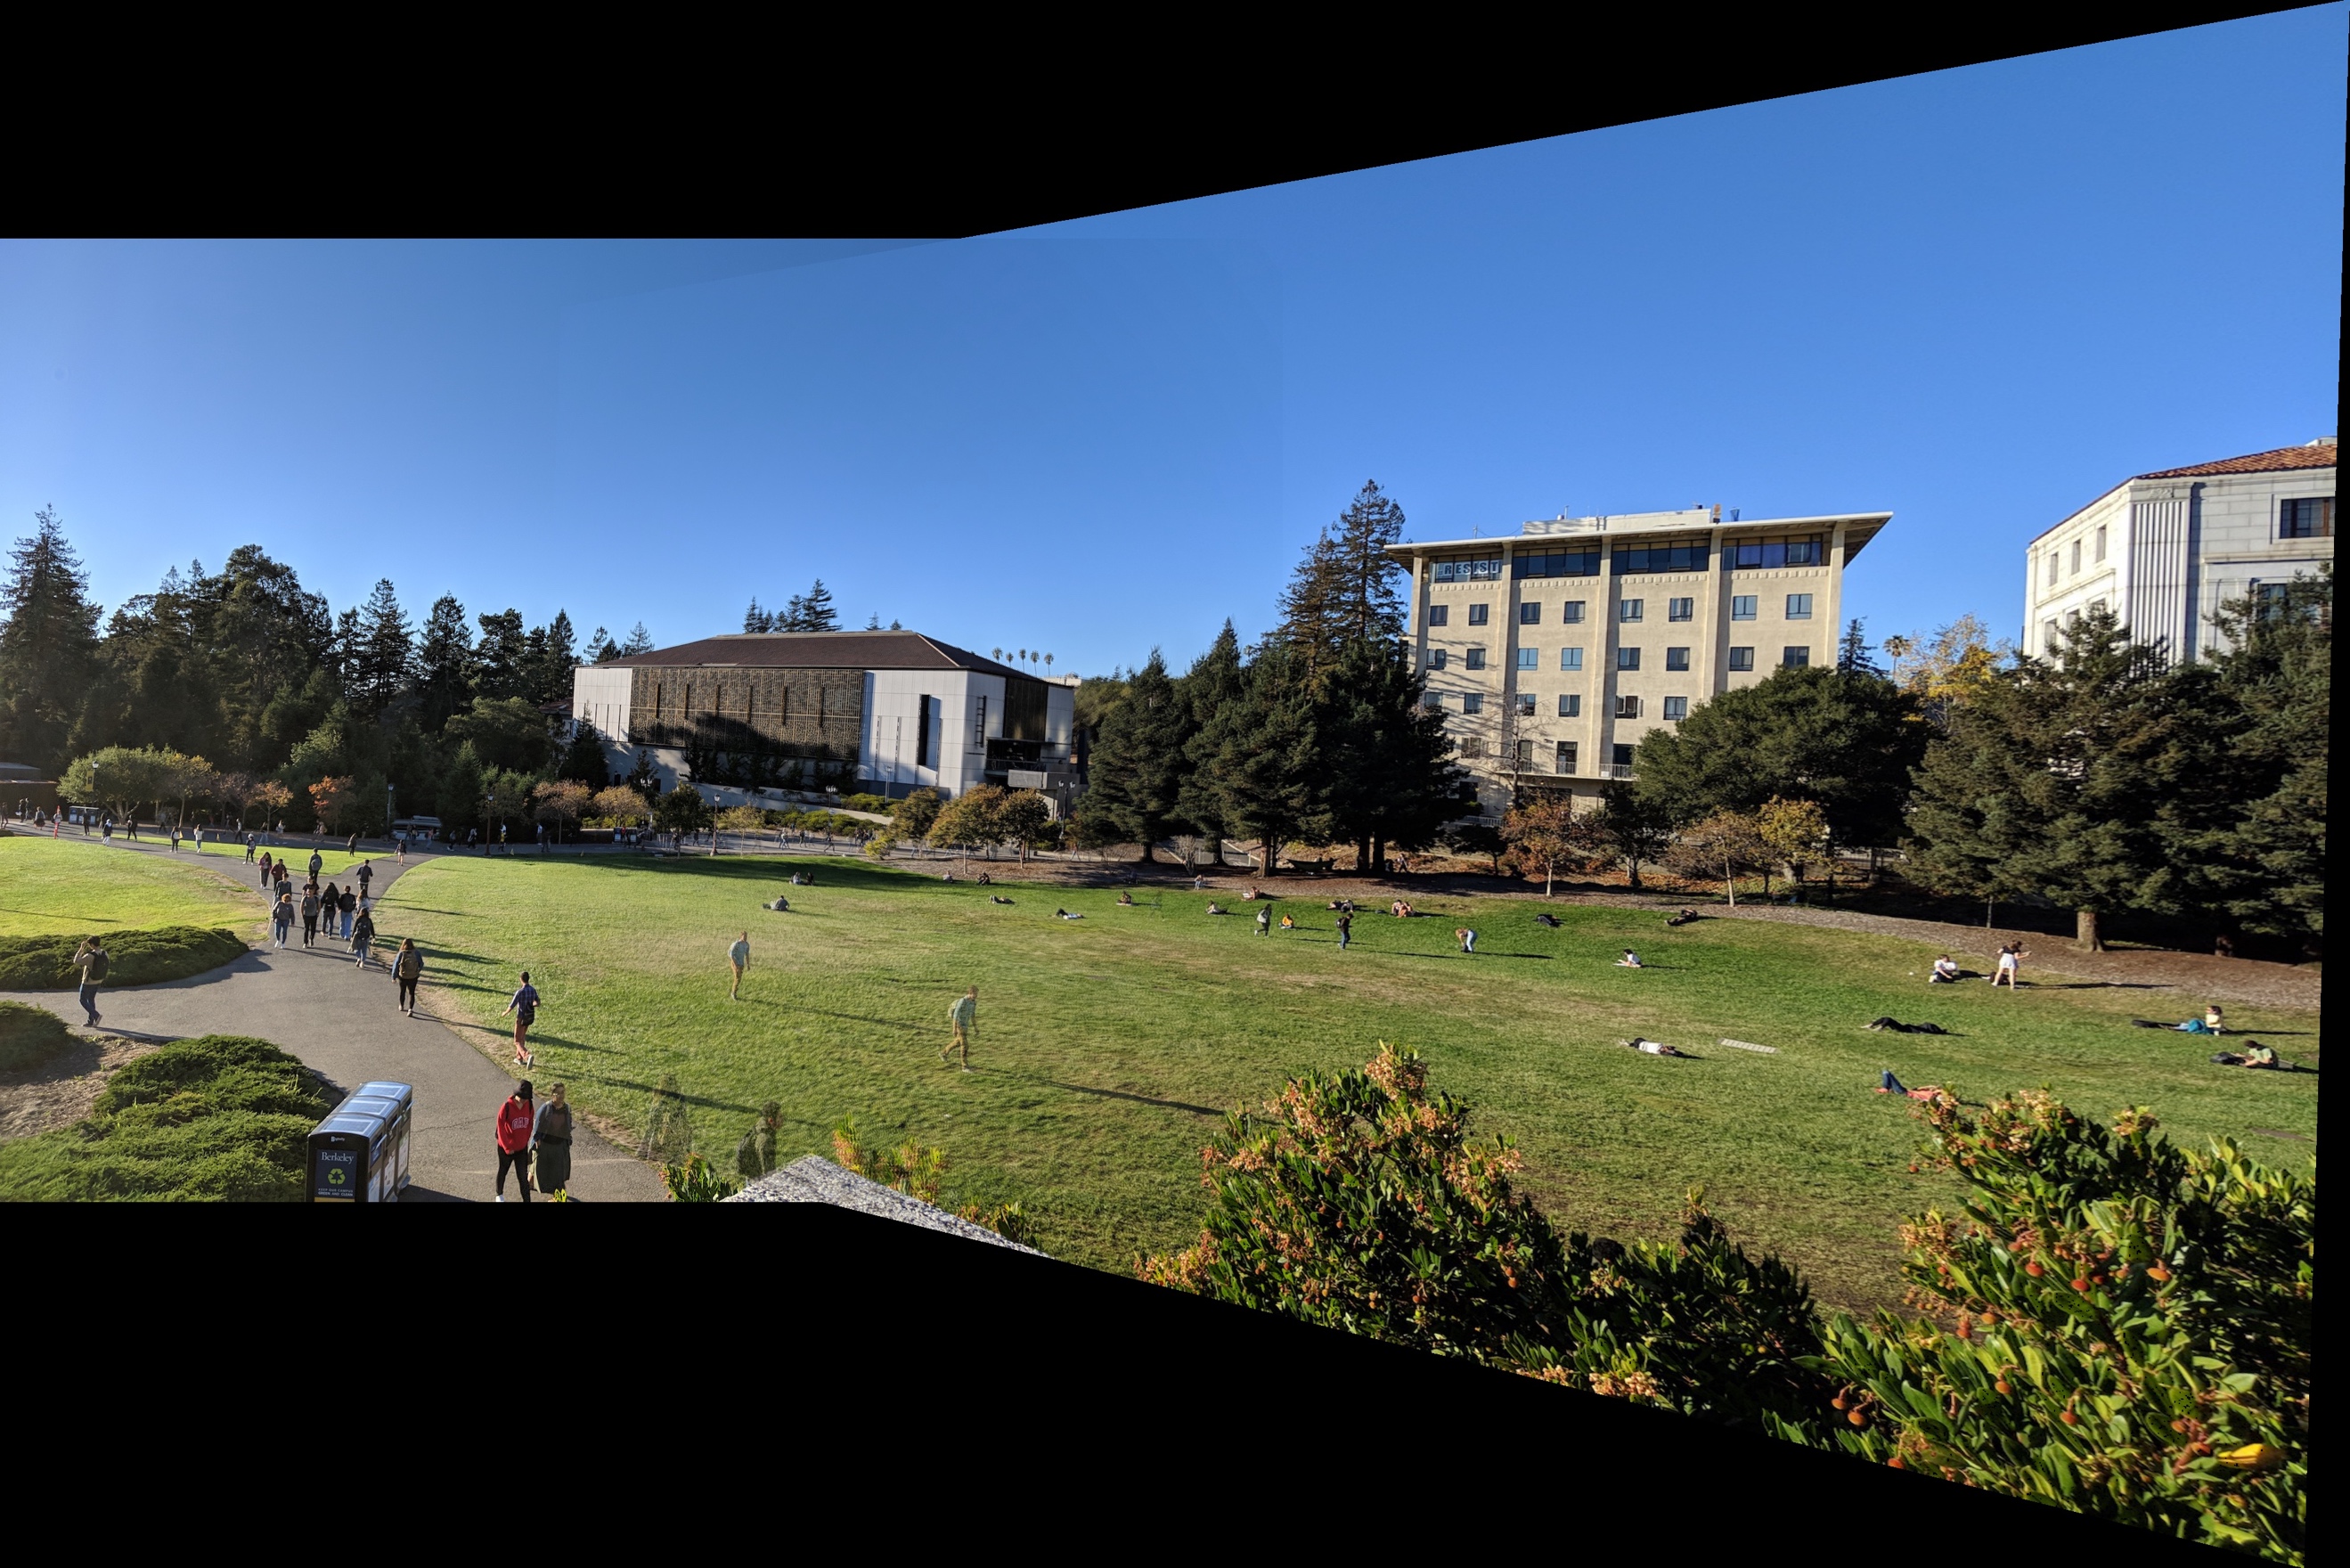
The generated mosaic.

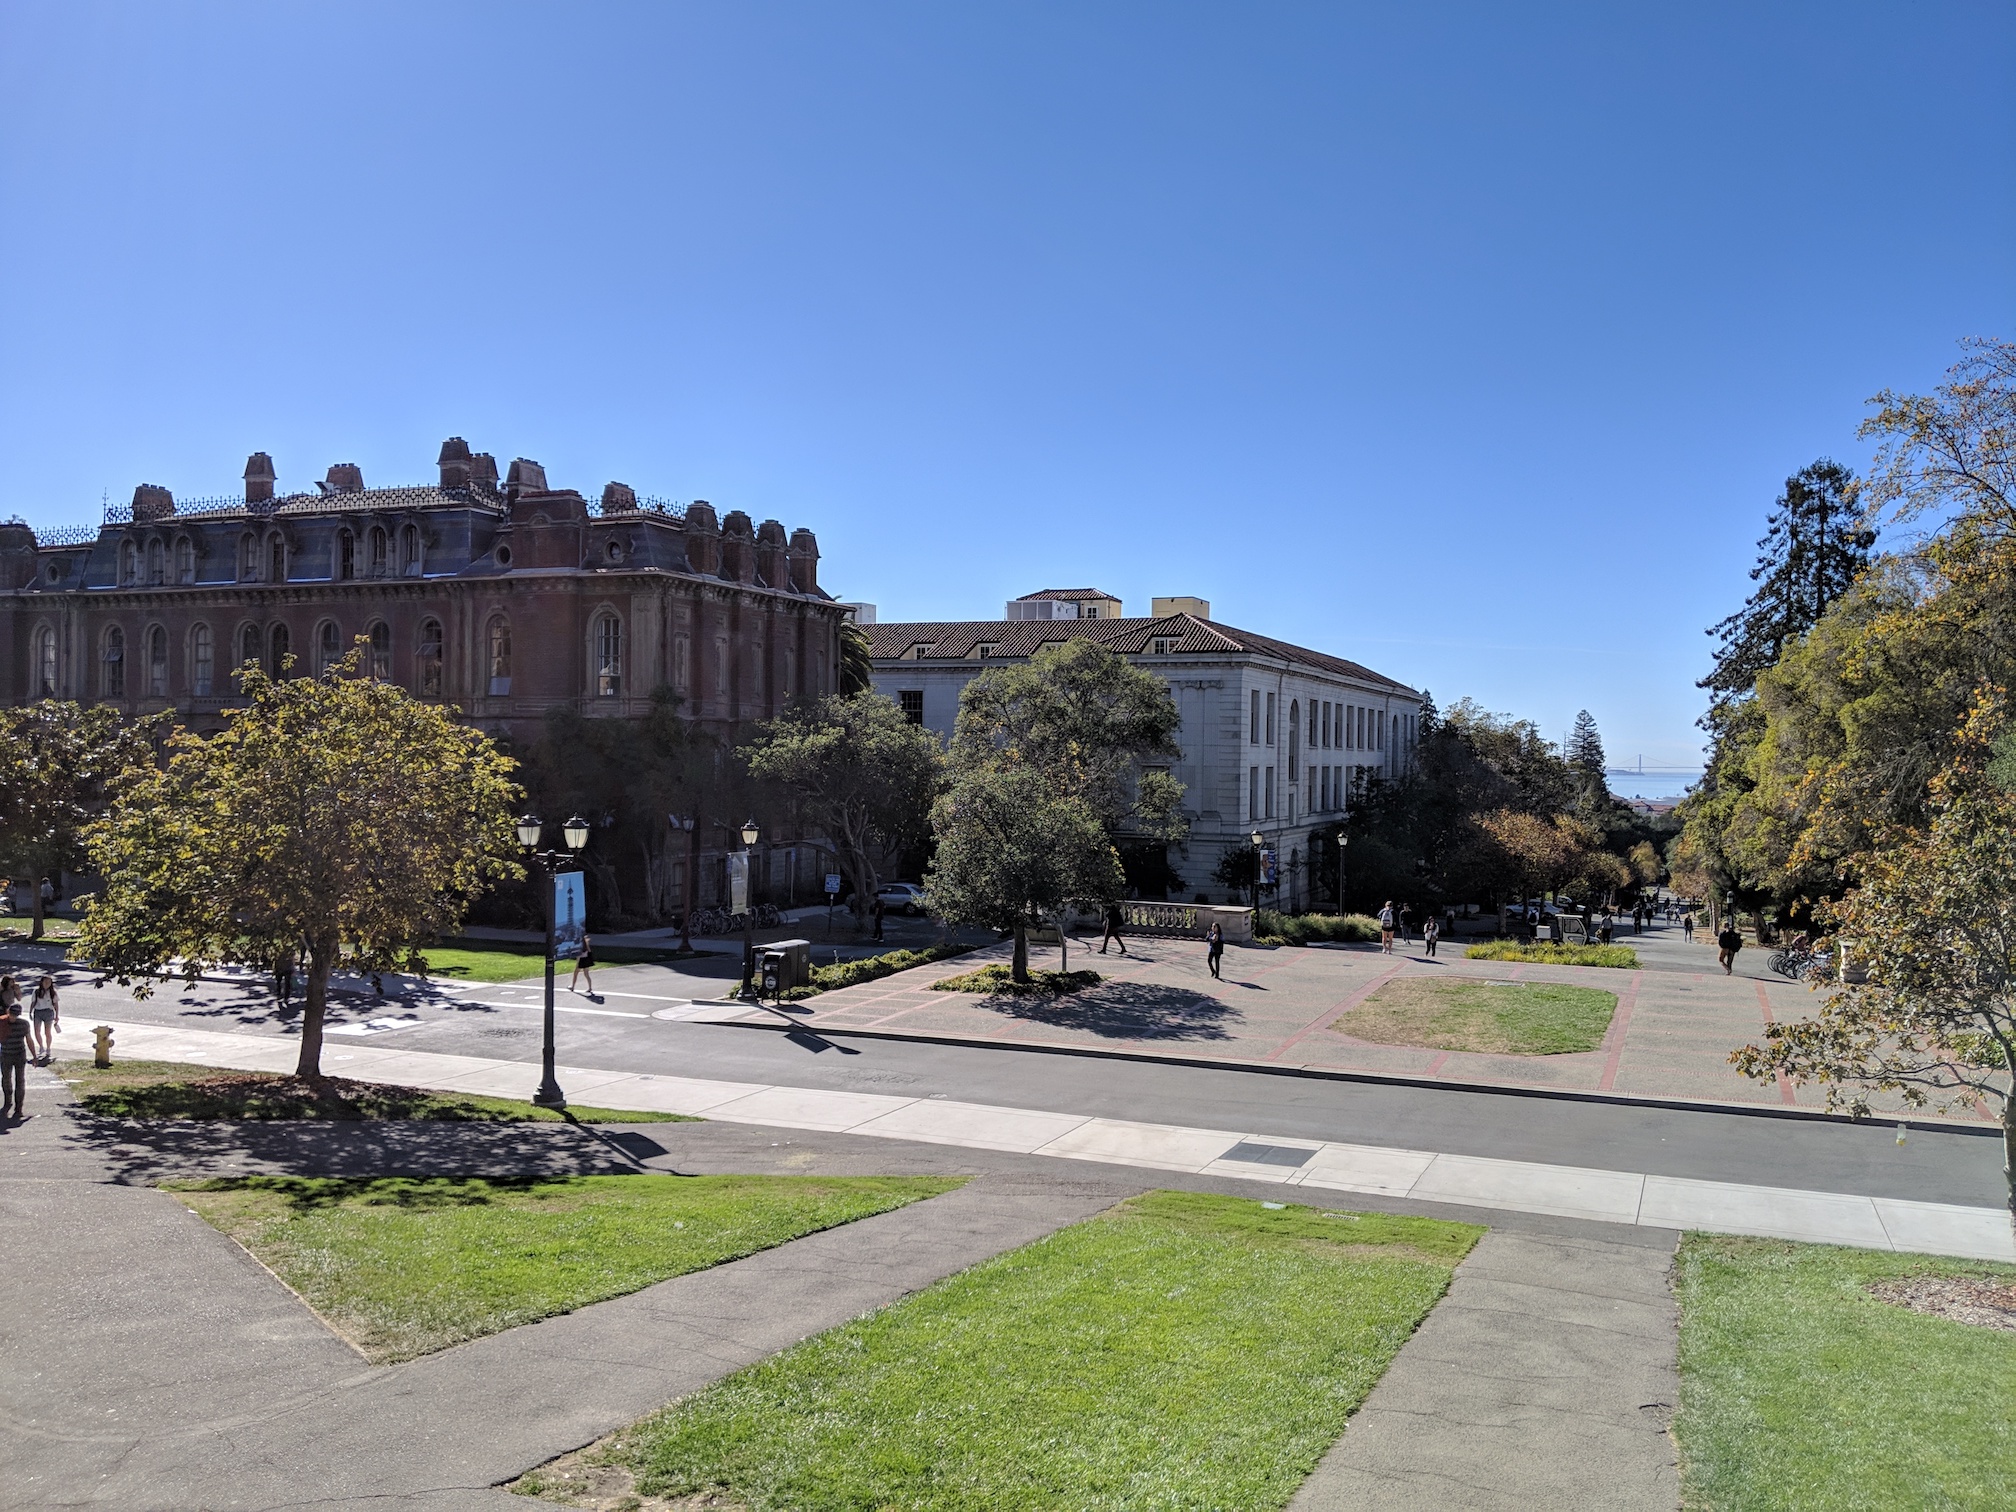
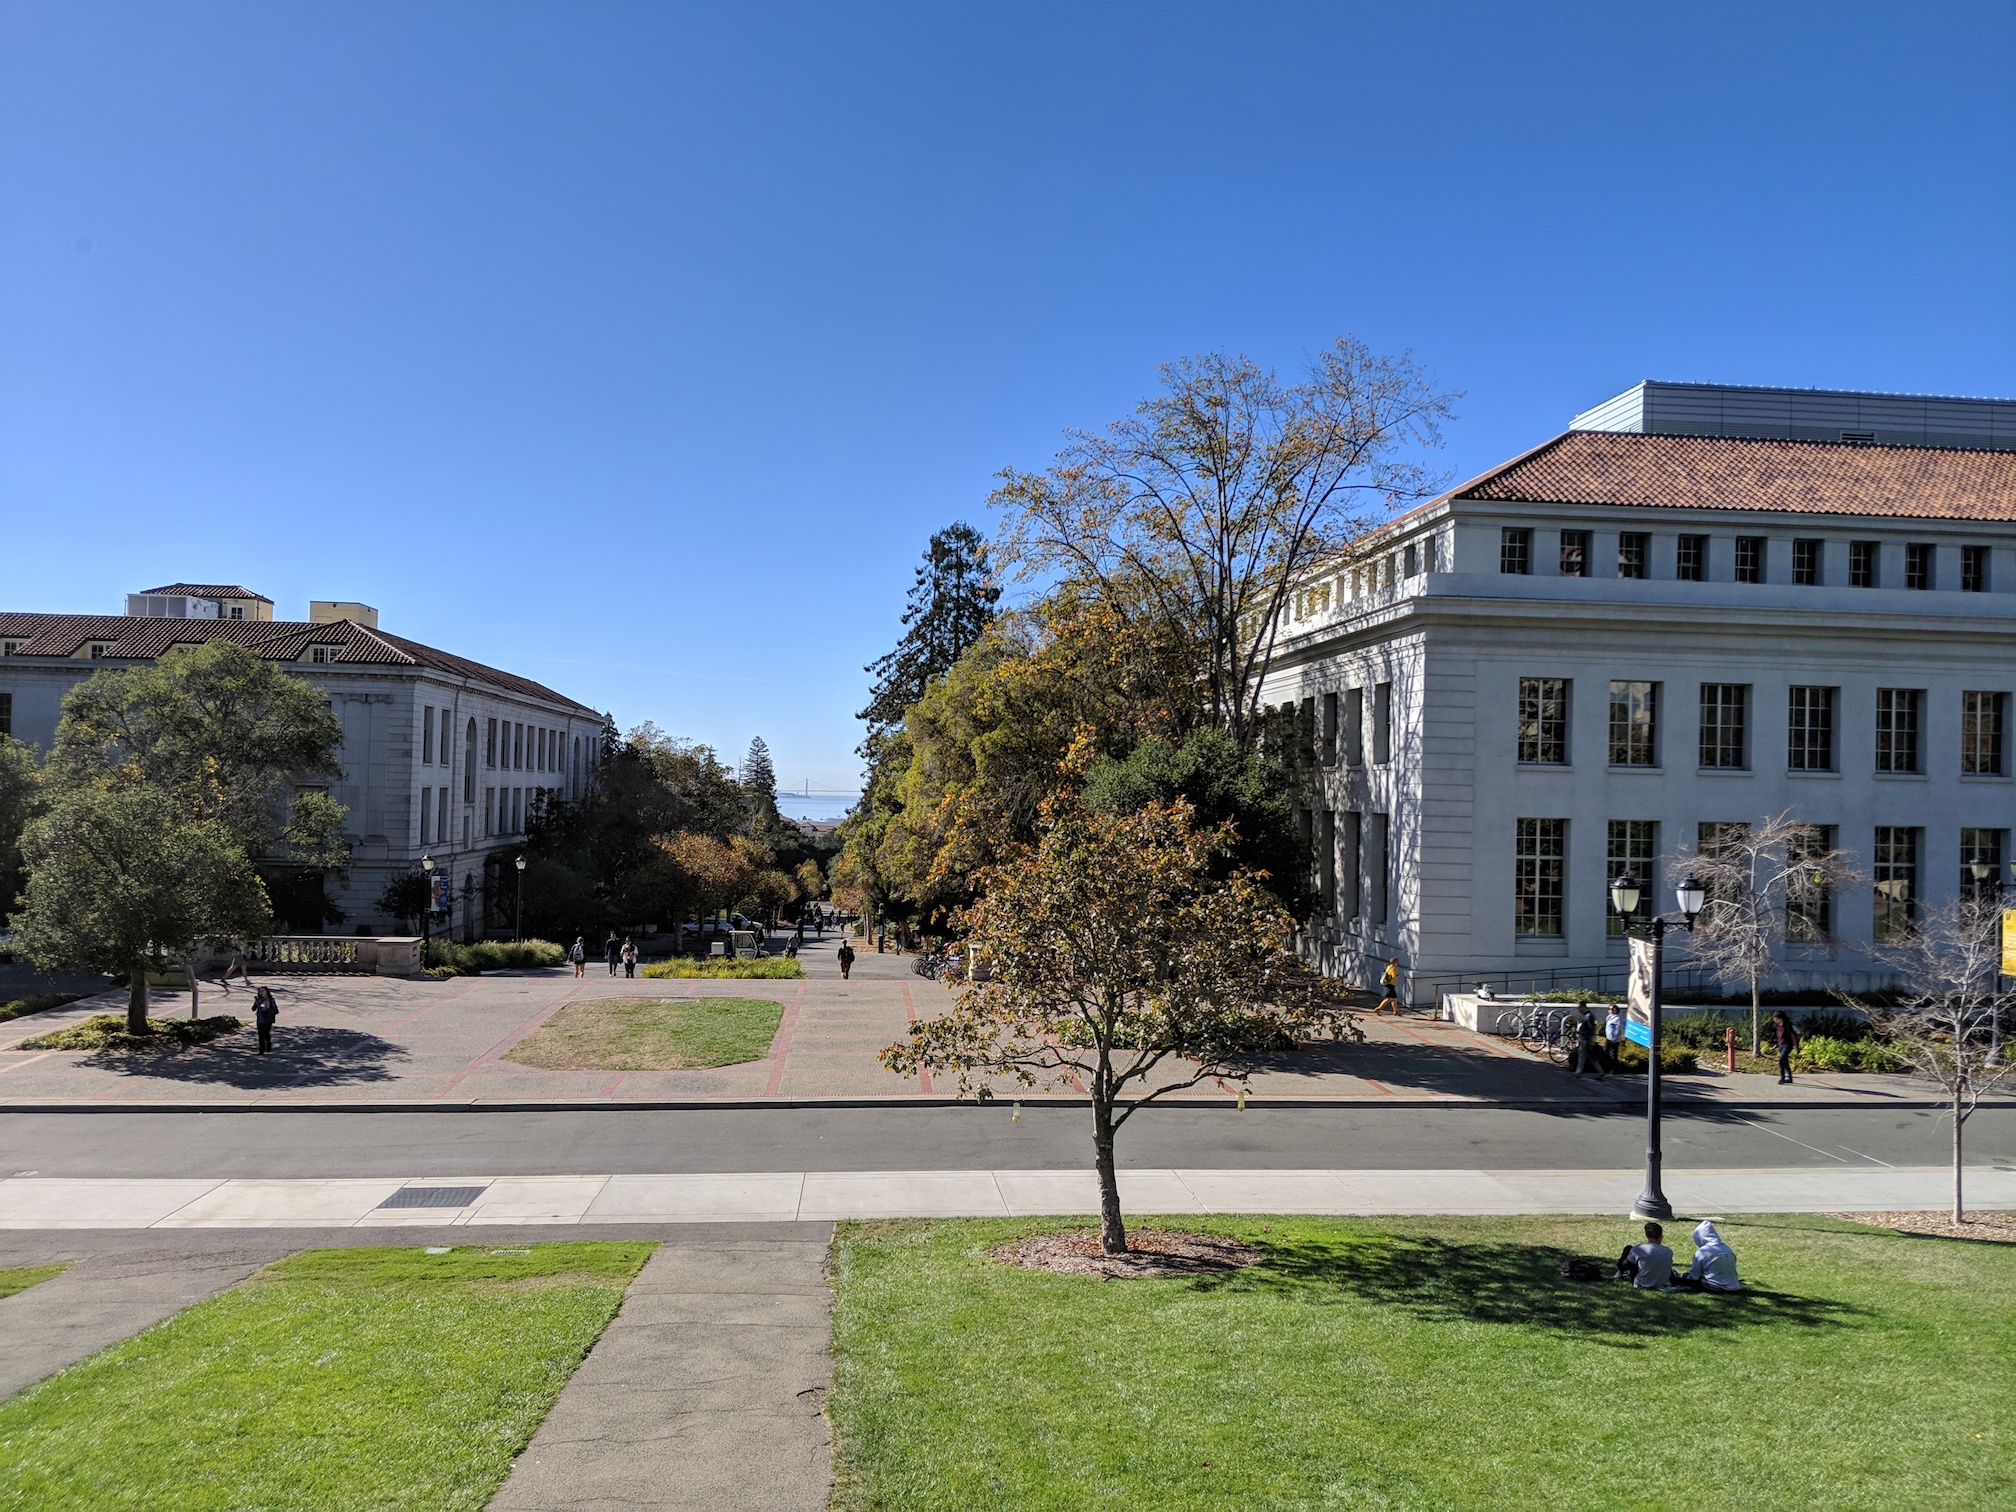
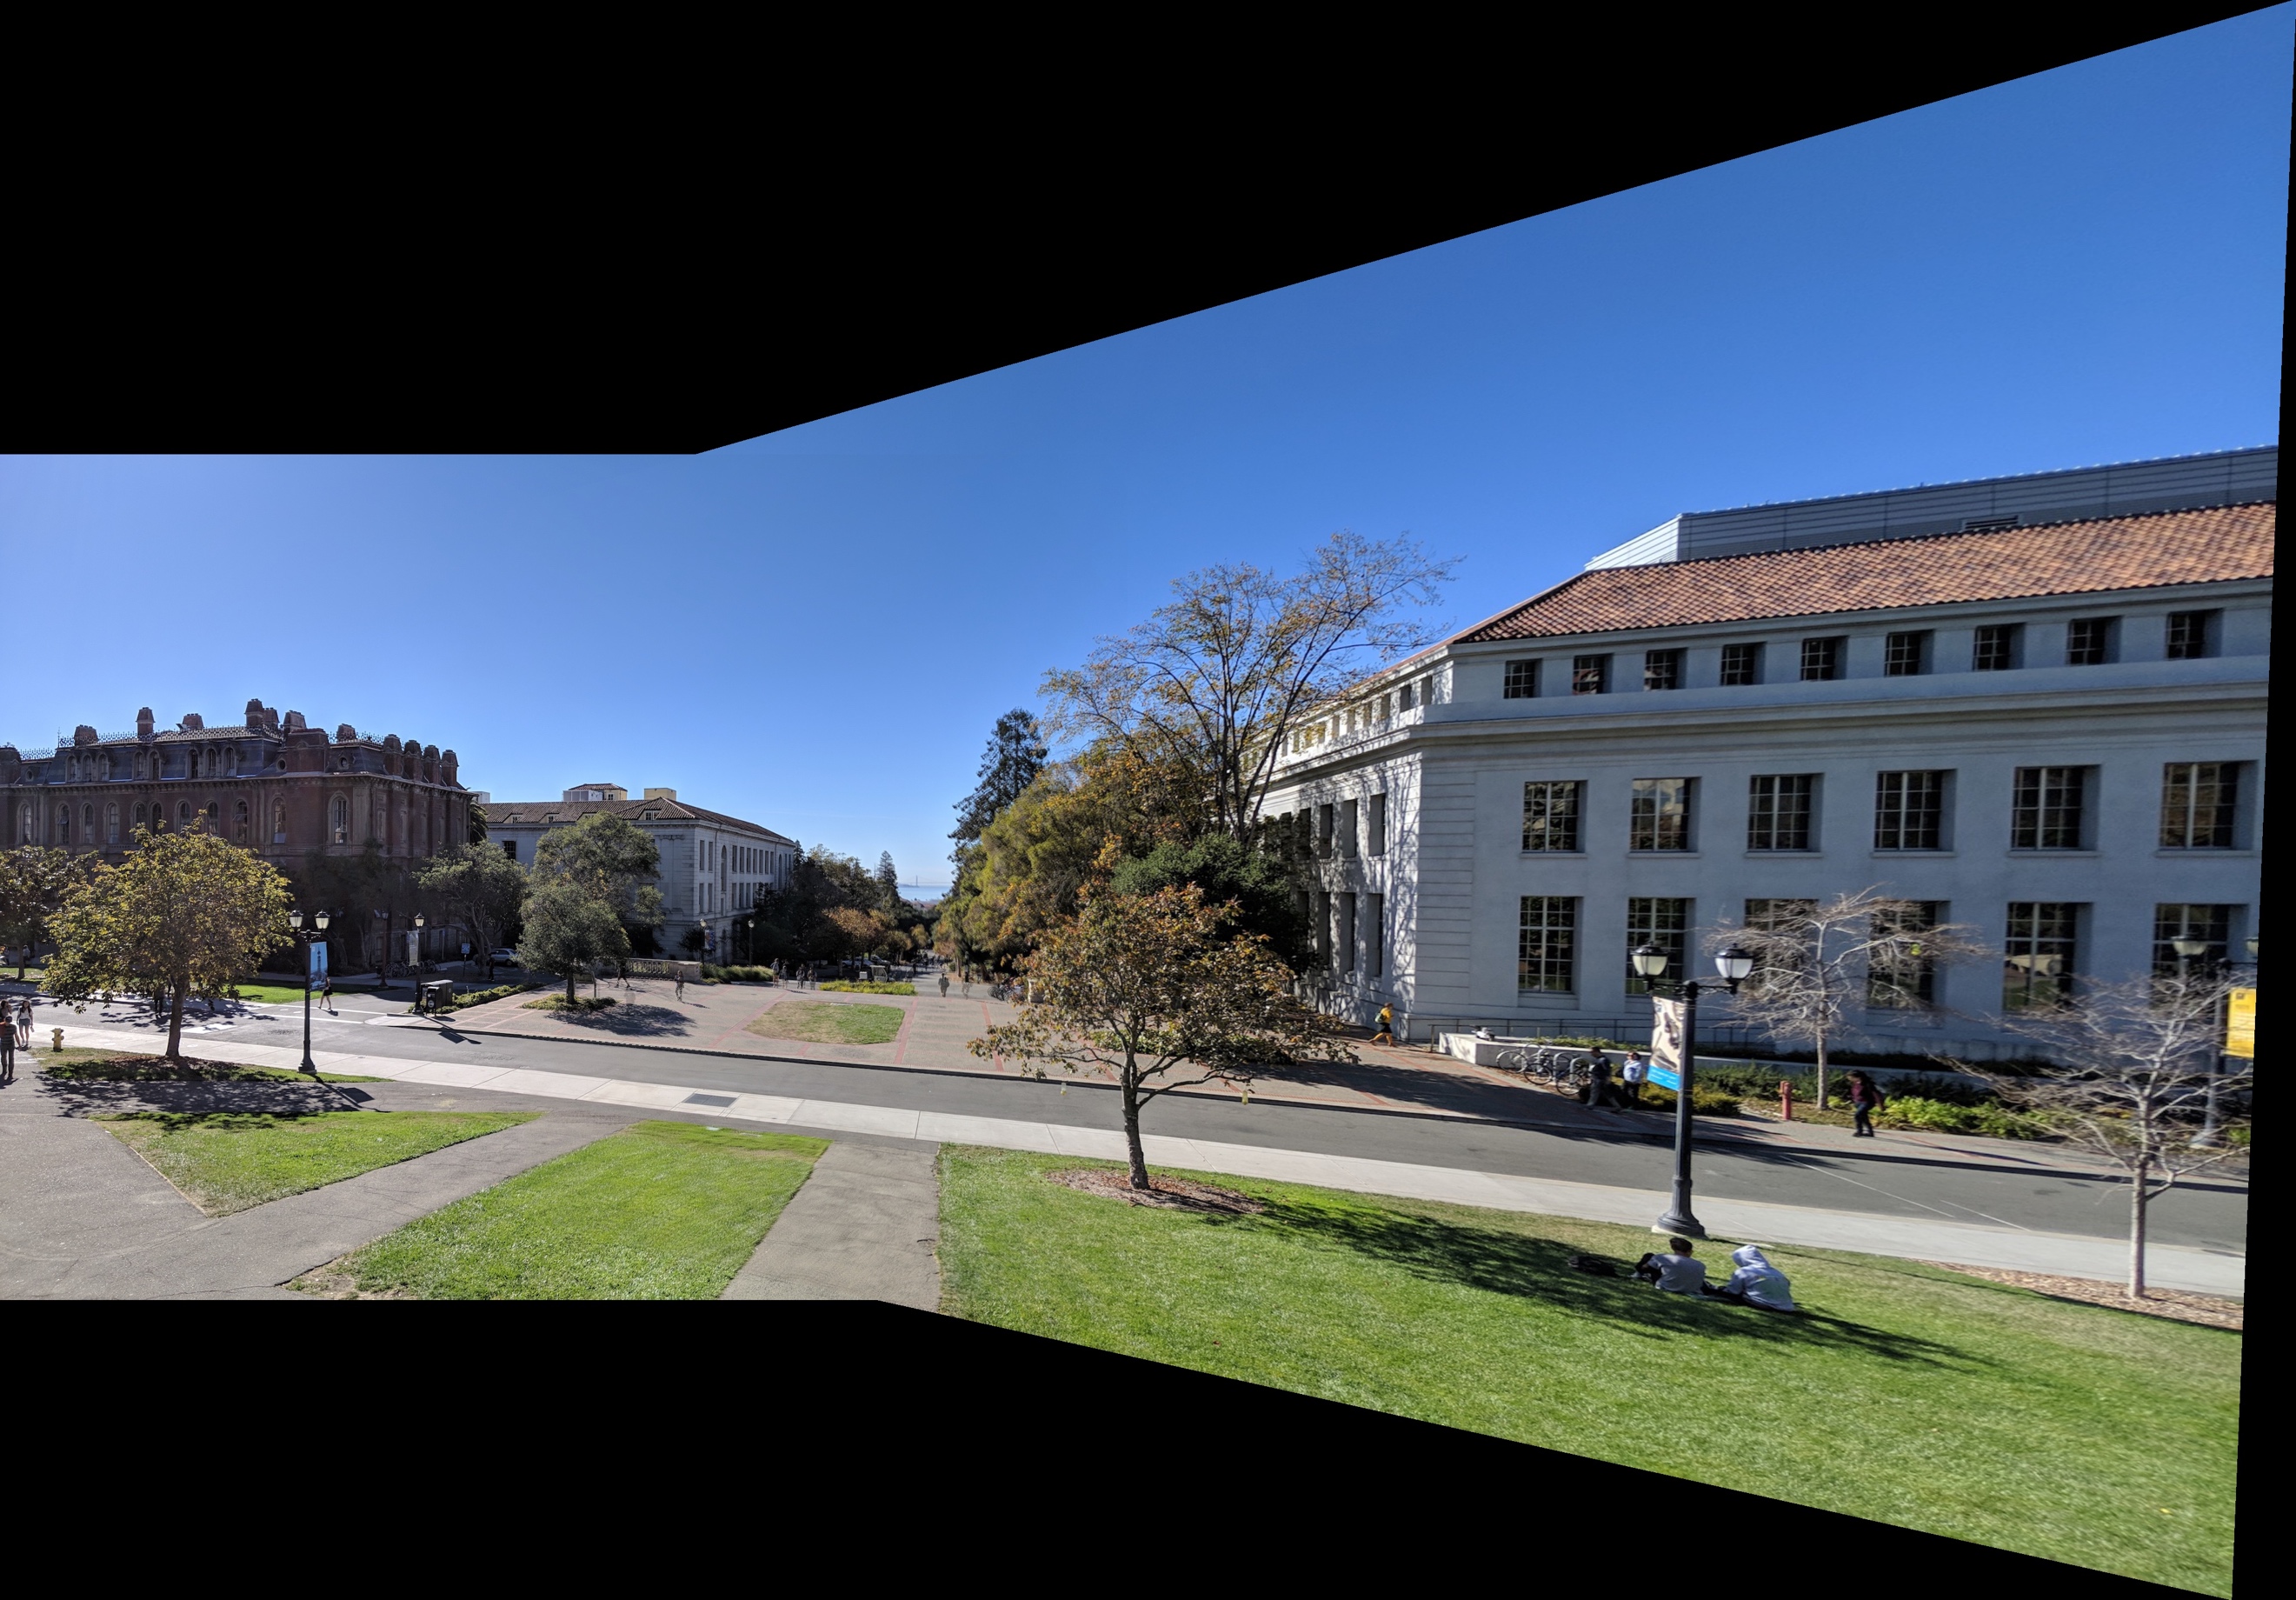
Two more input images, taken facing Memorial Glade
from Doe Library.
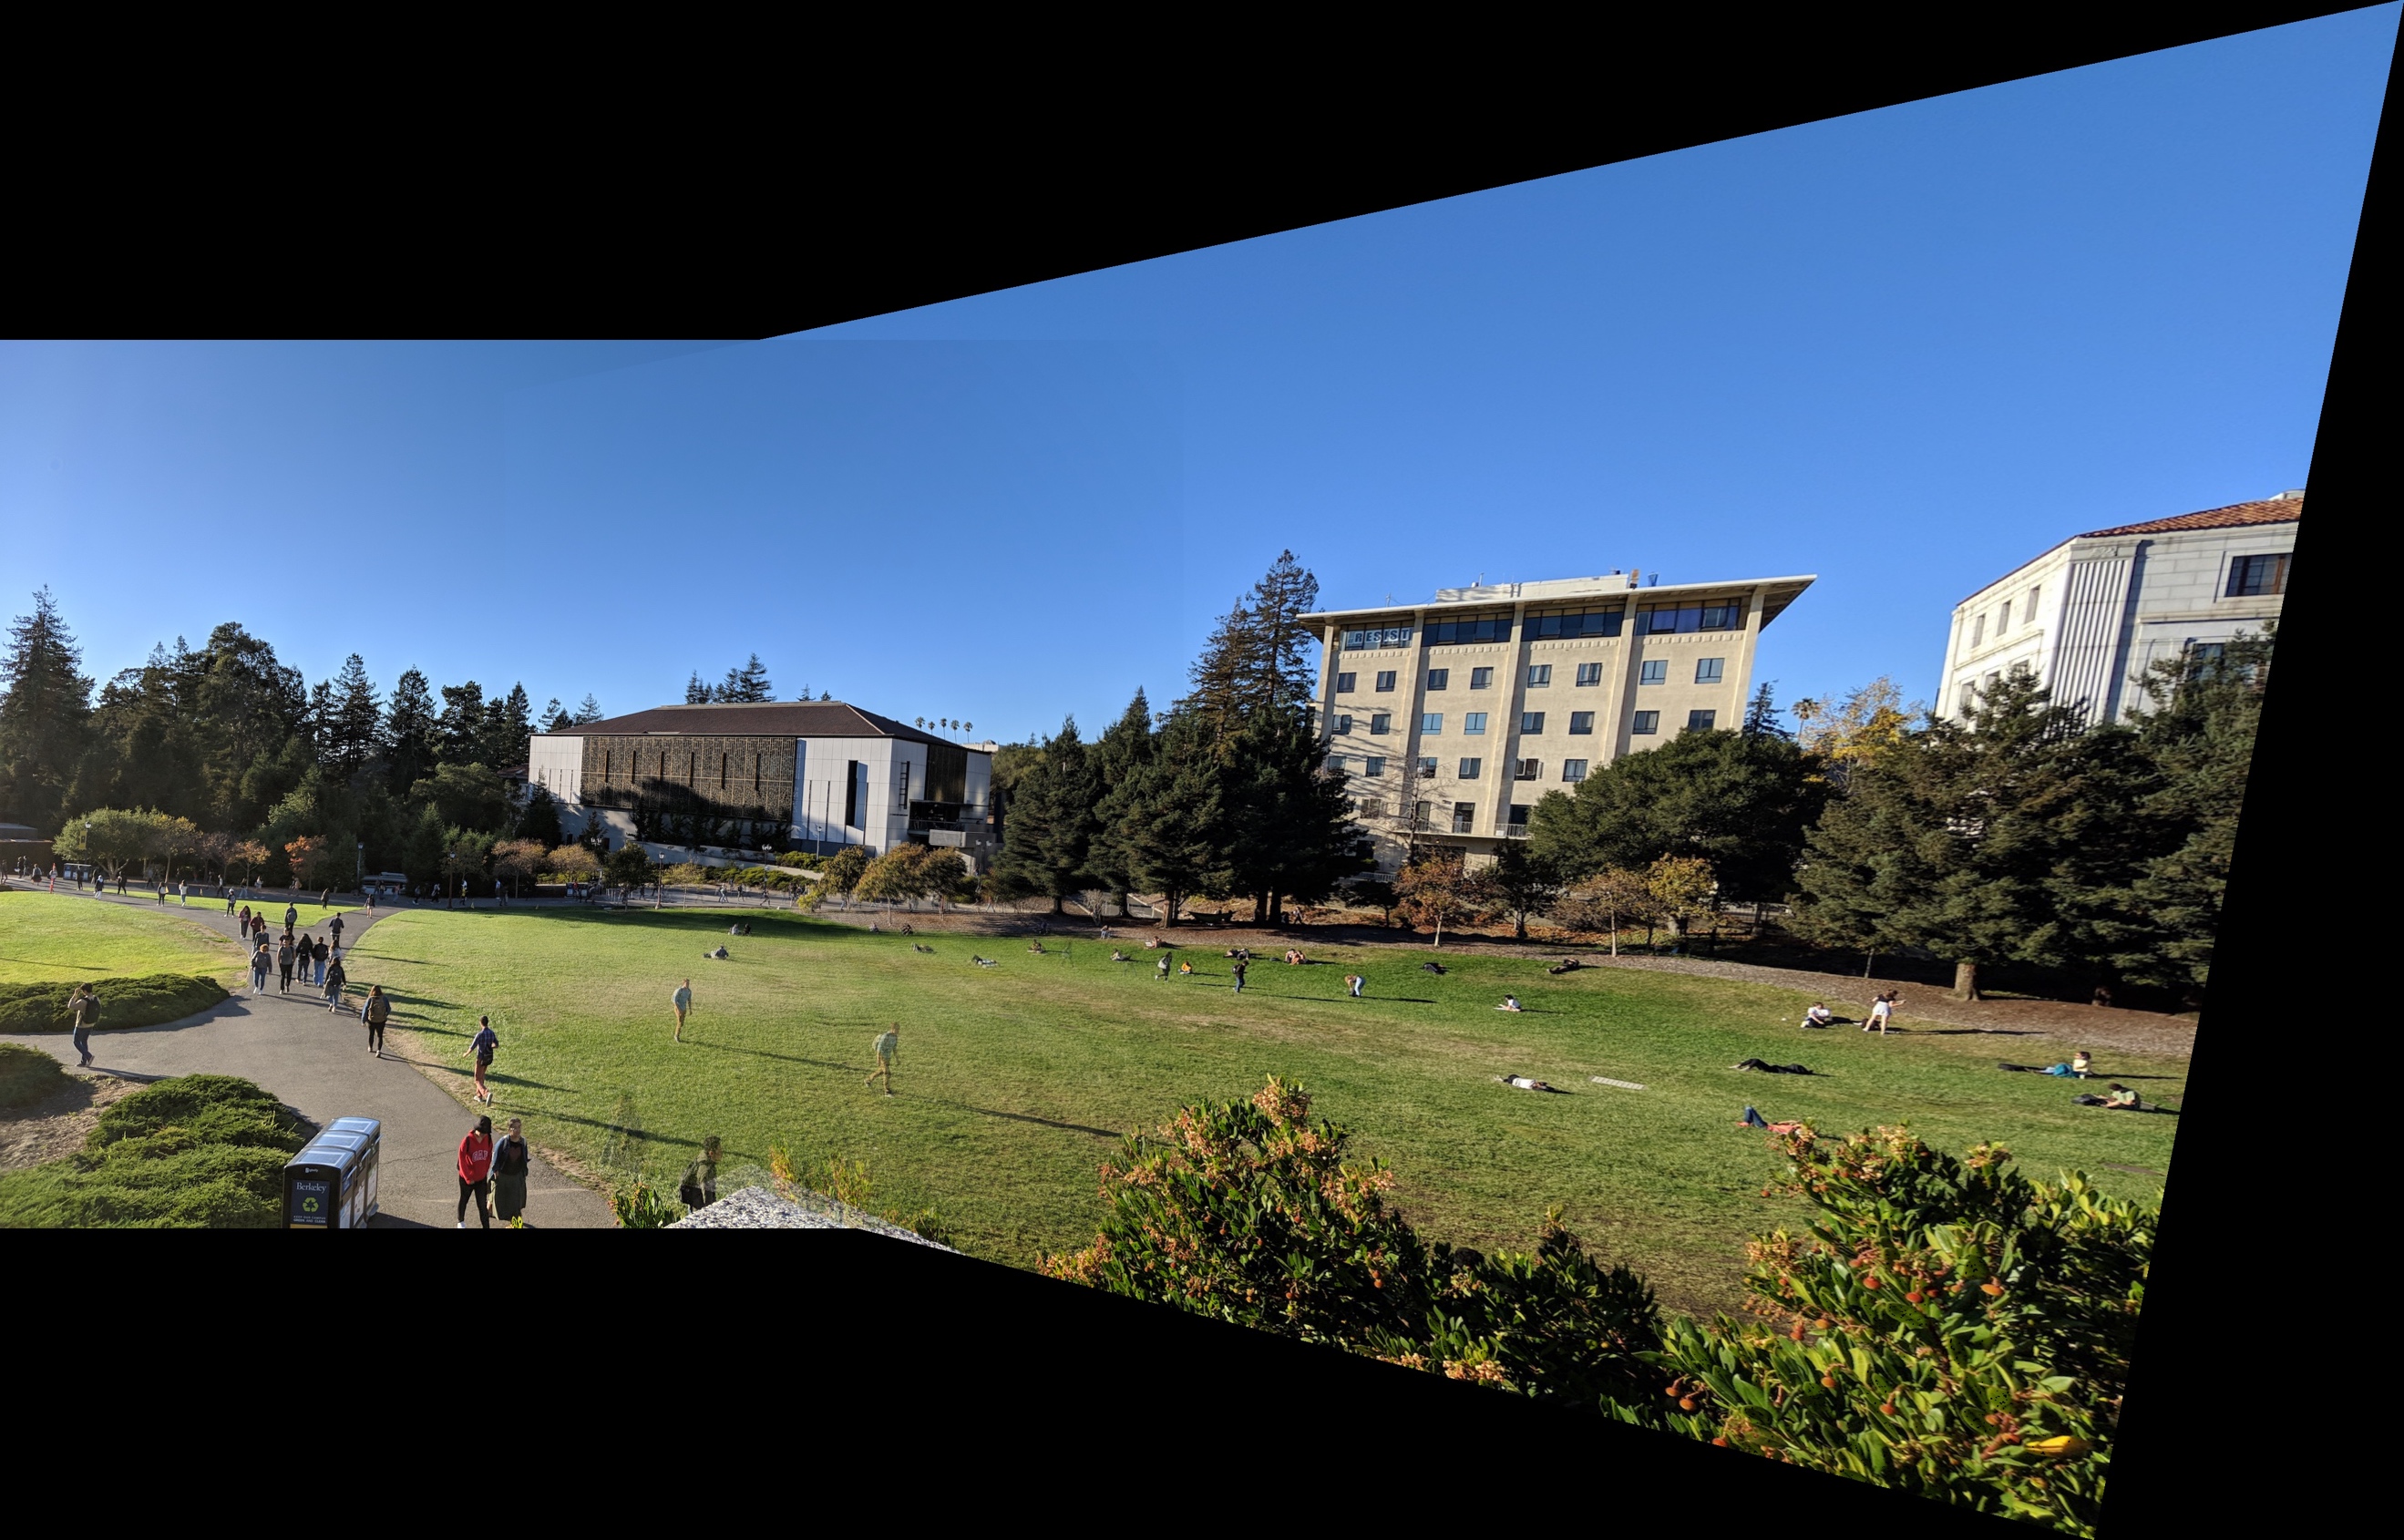
The generated mosaic.
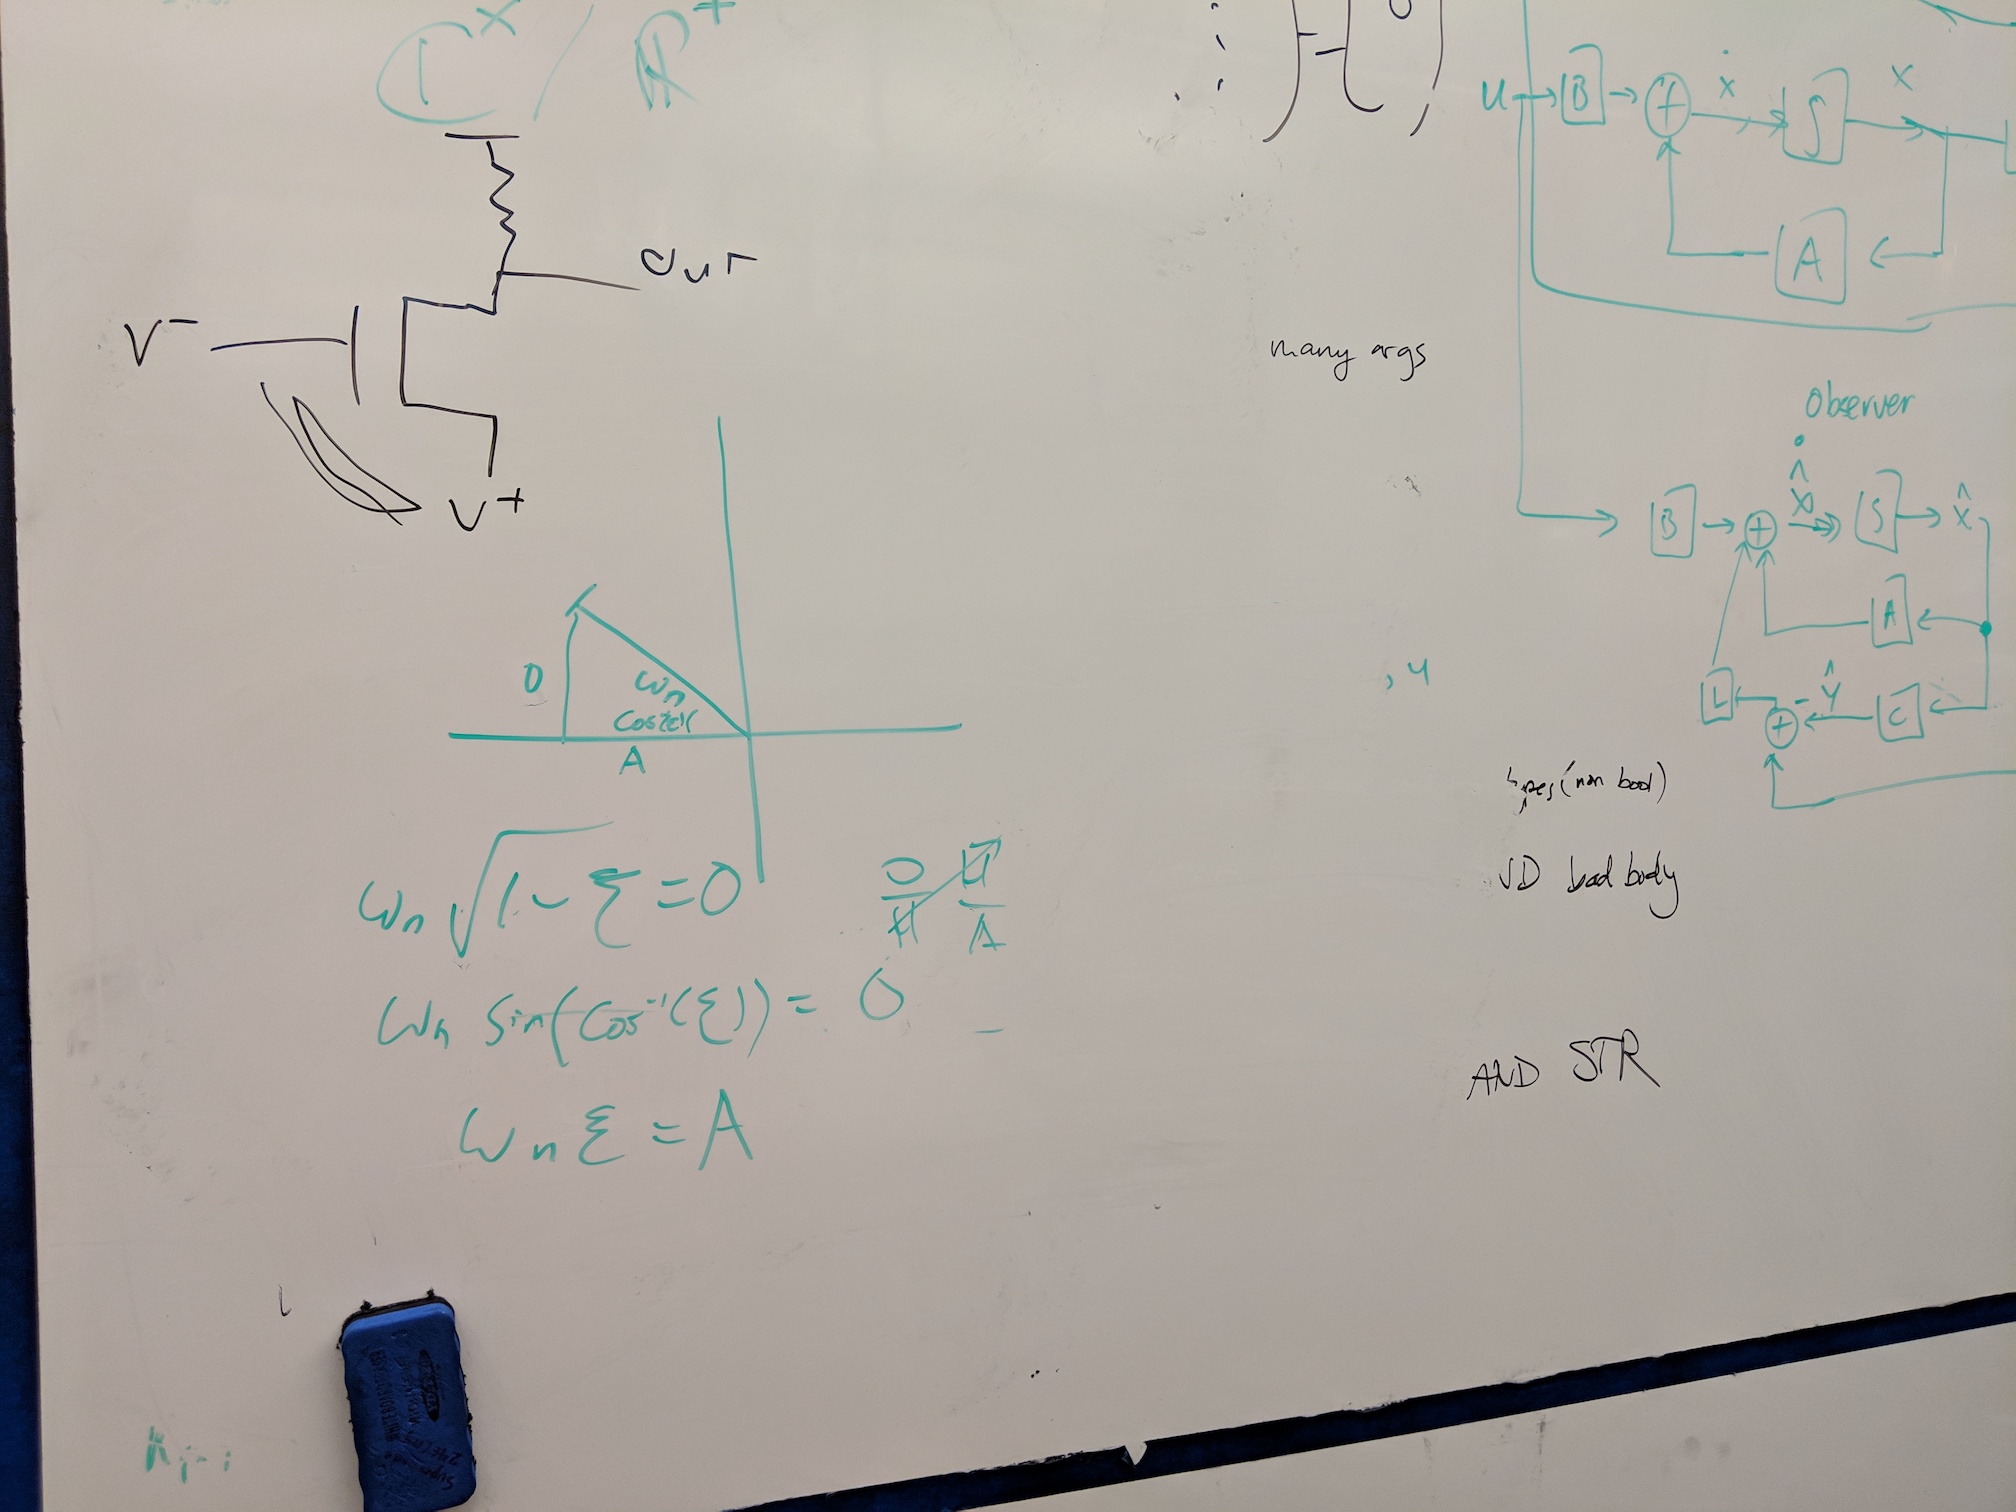
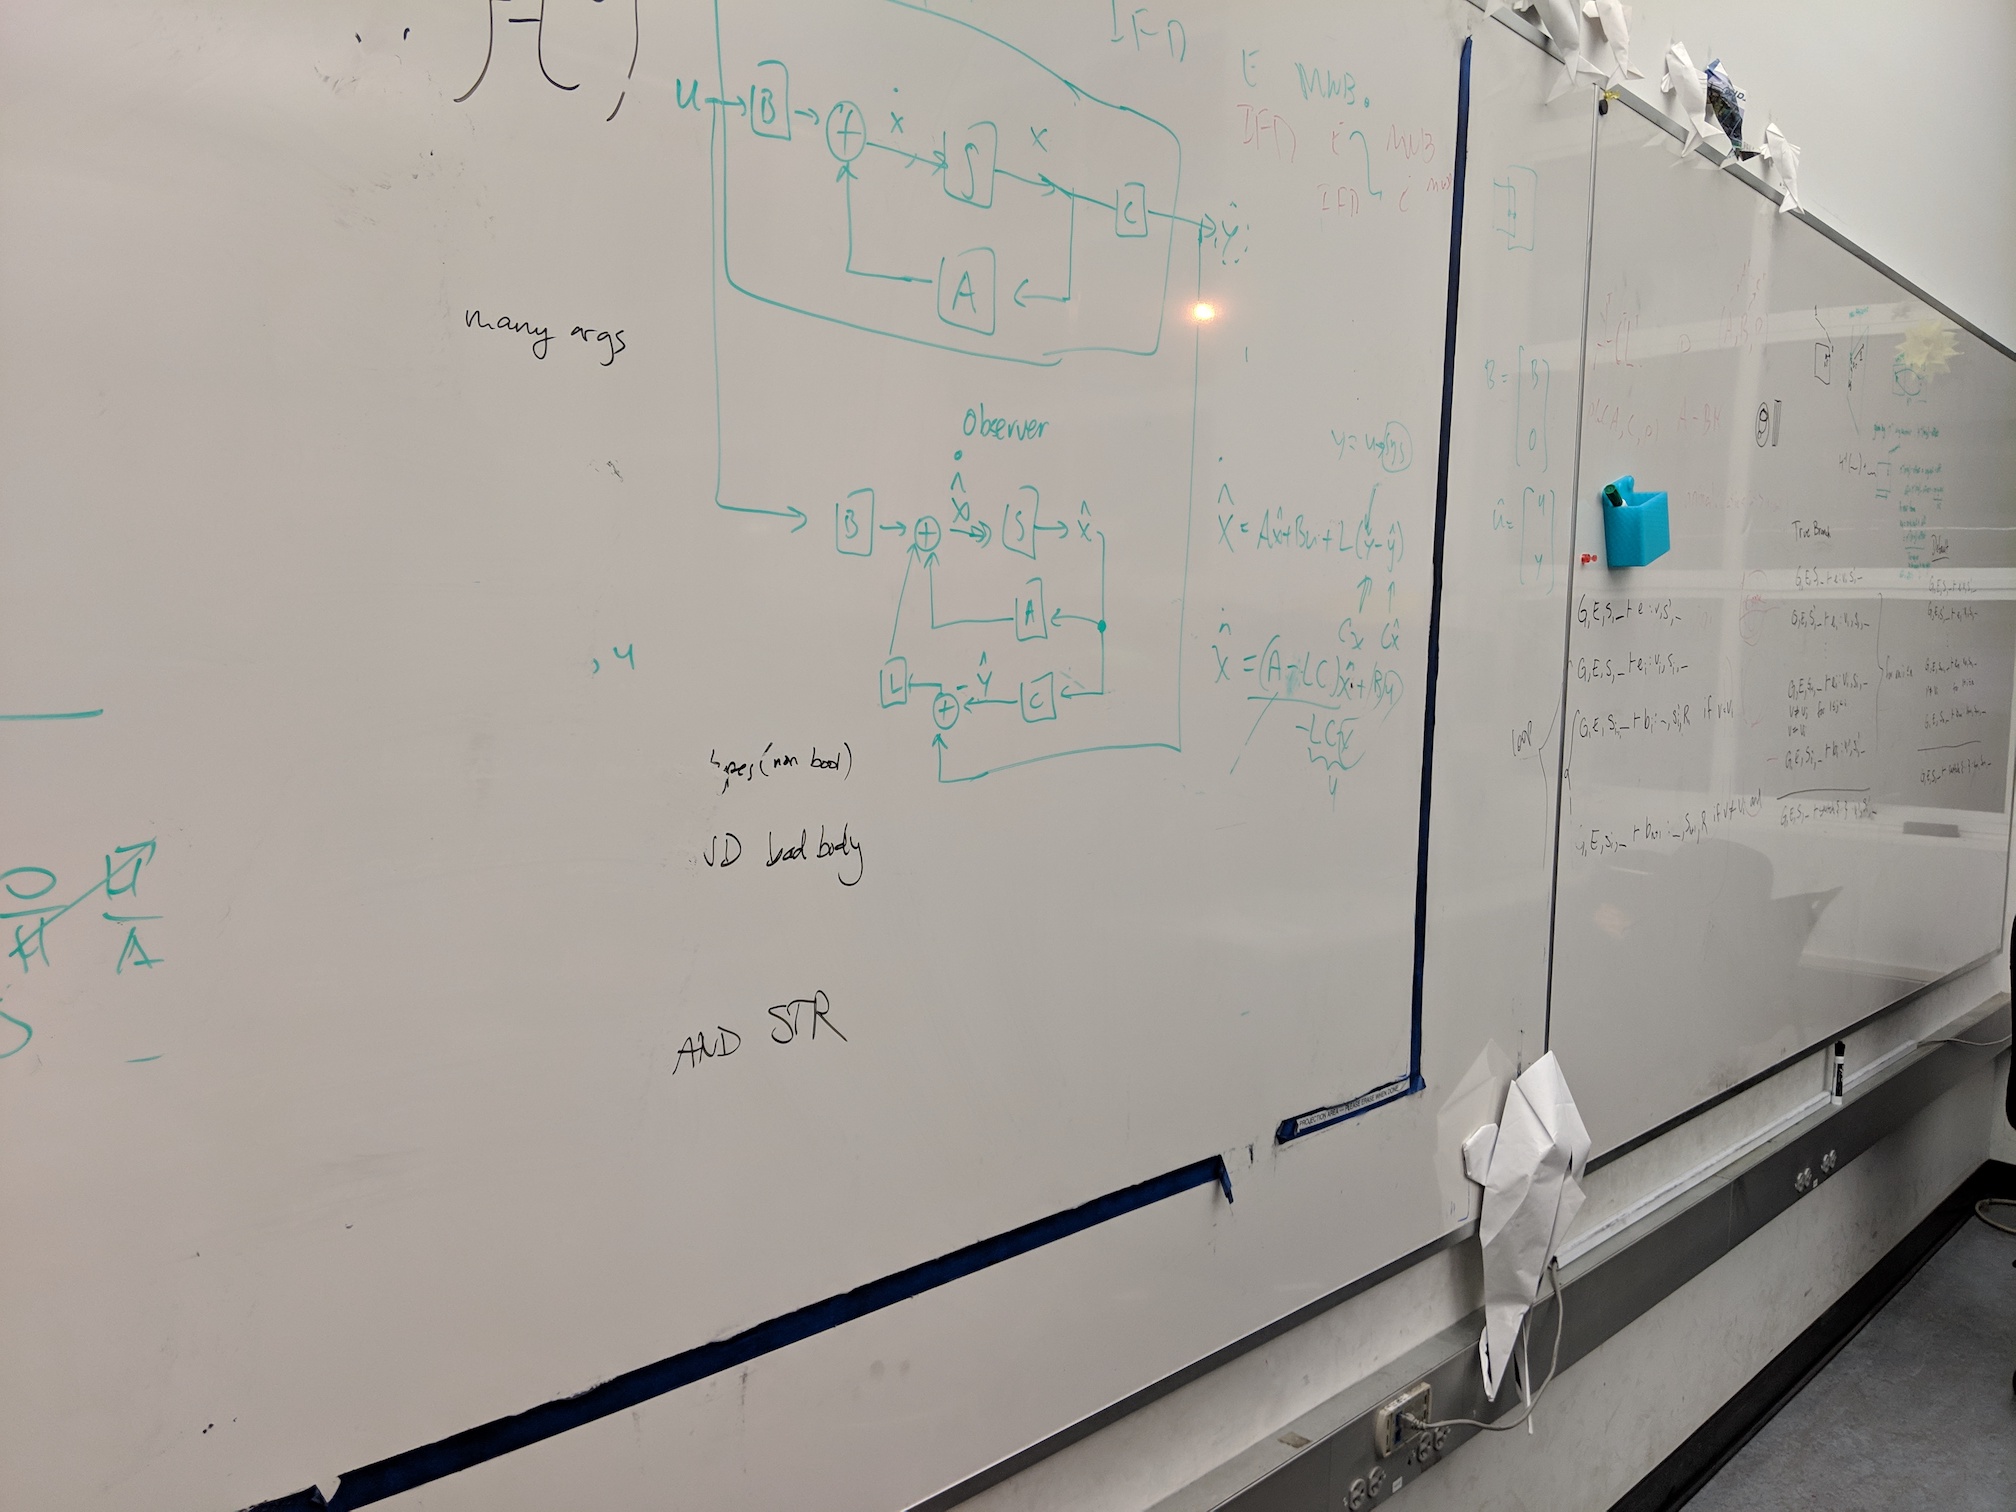
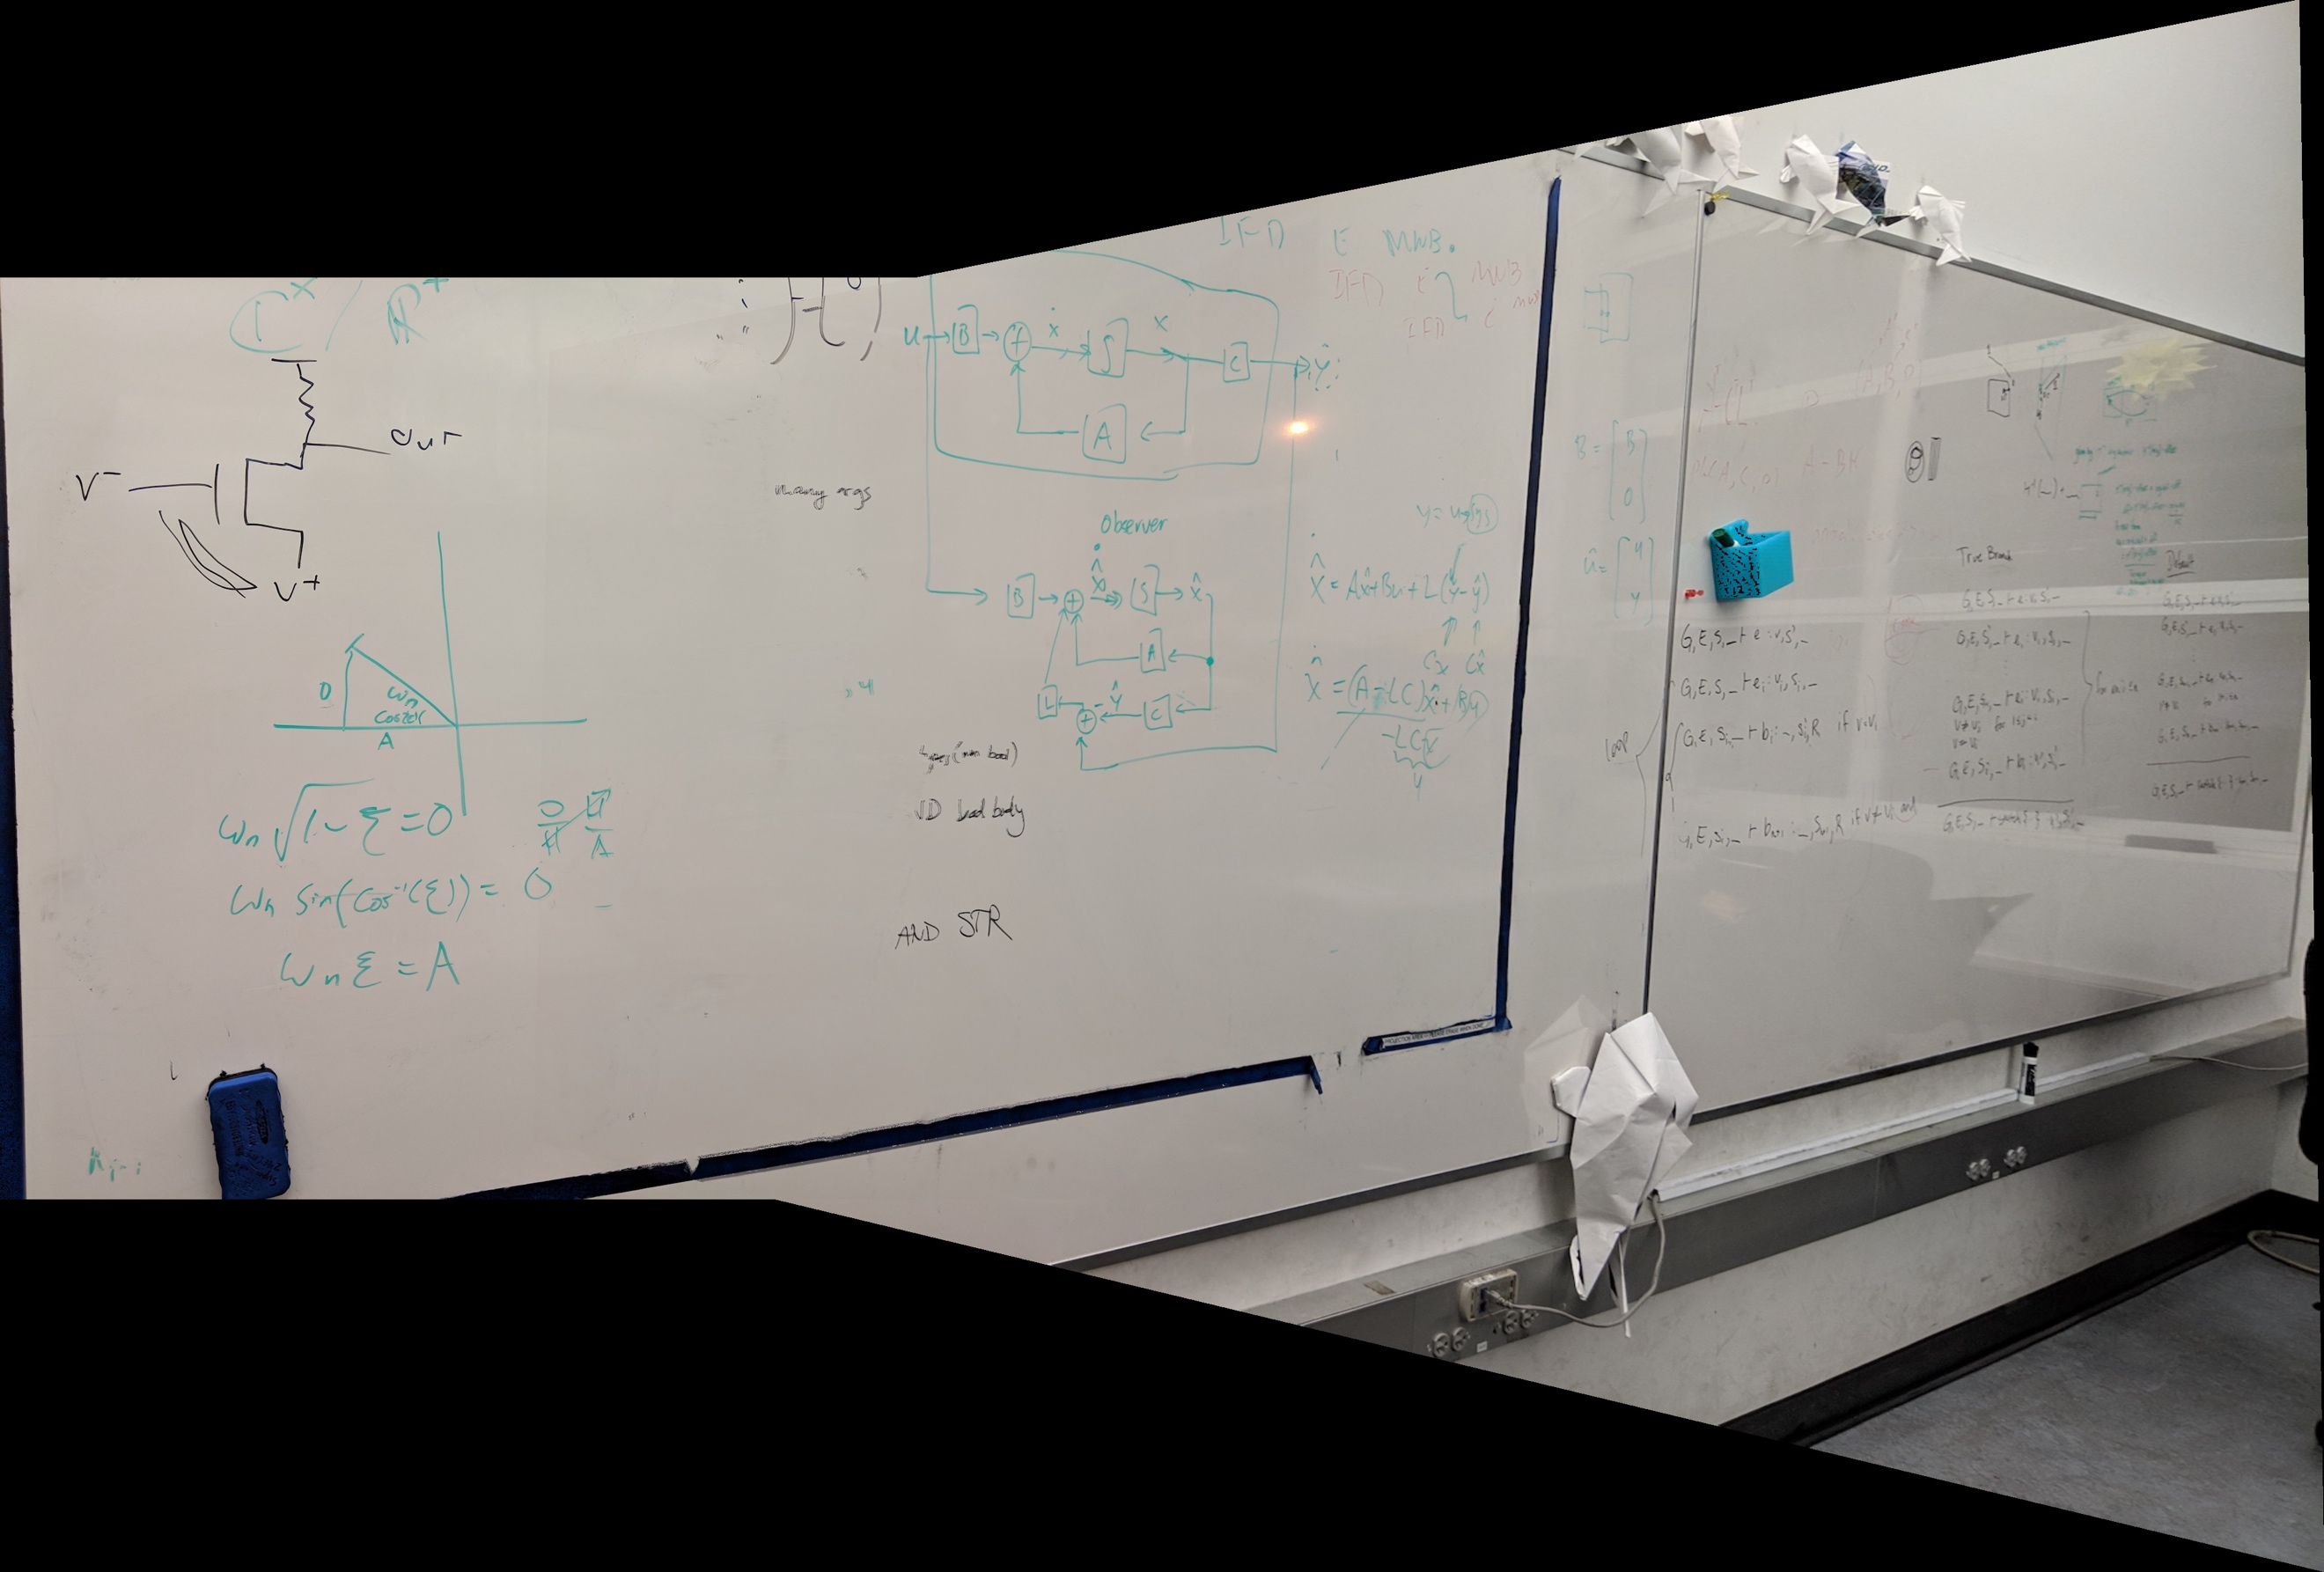
Two more input images, this time of the whiteboard in Supernode.
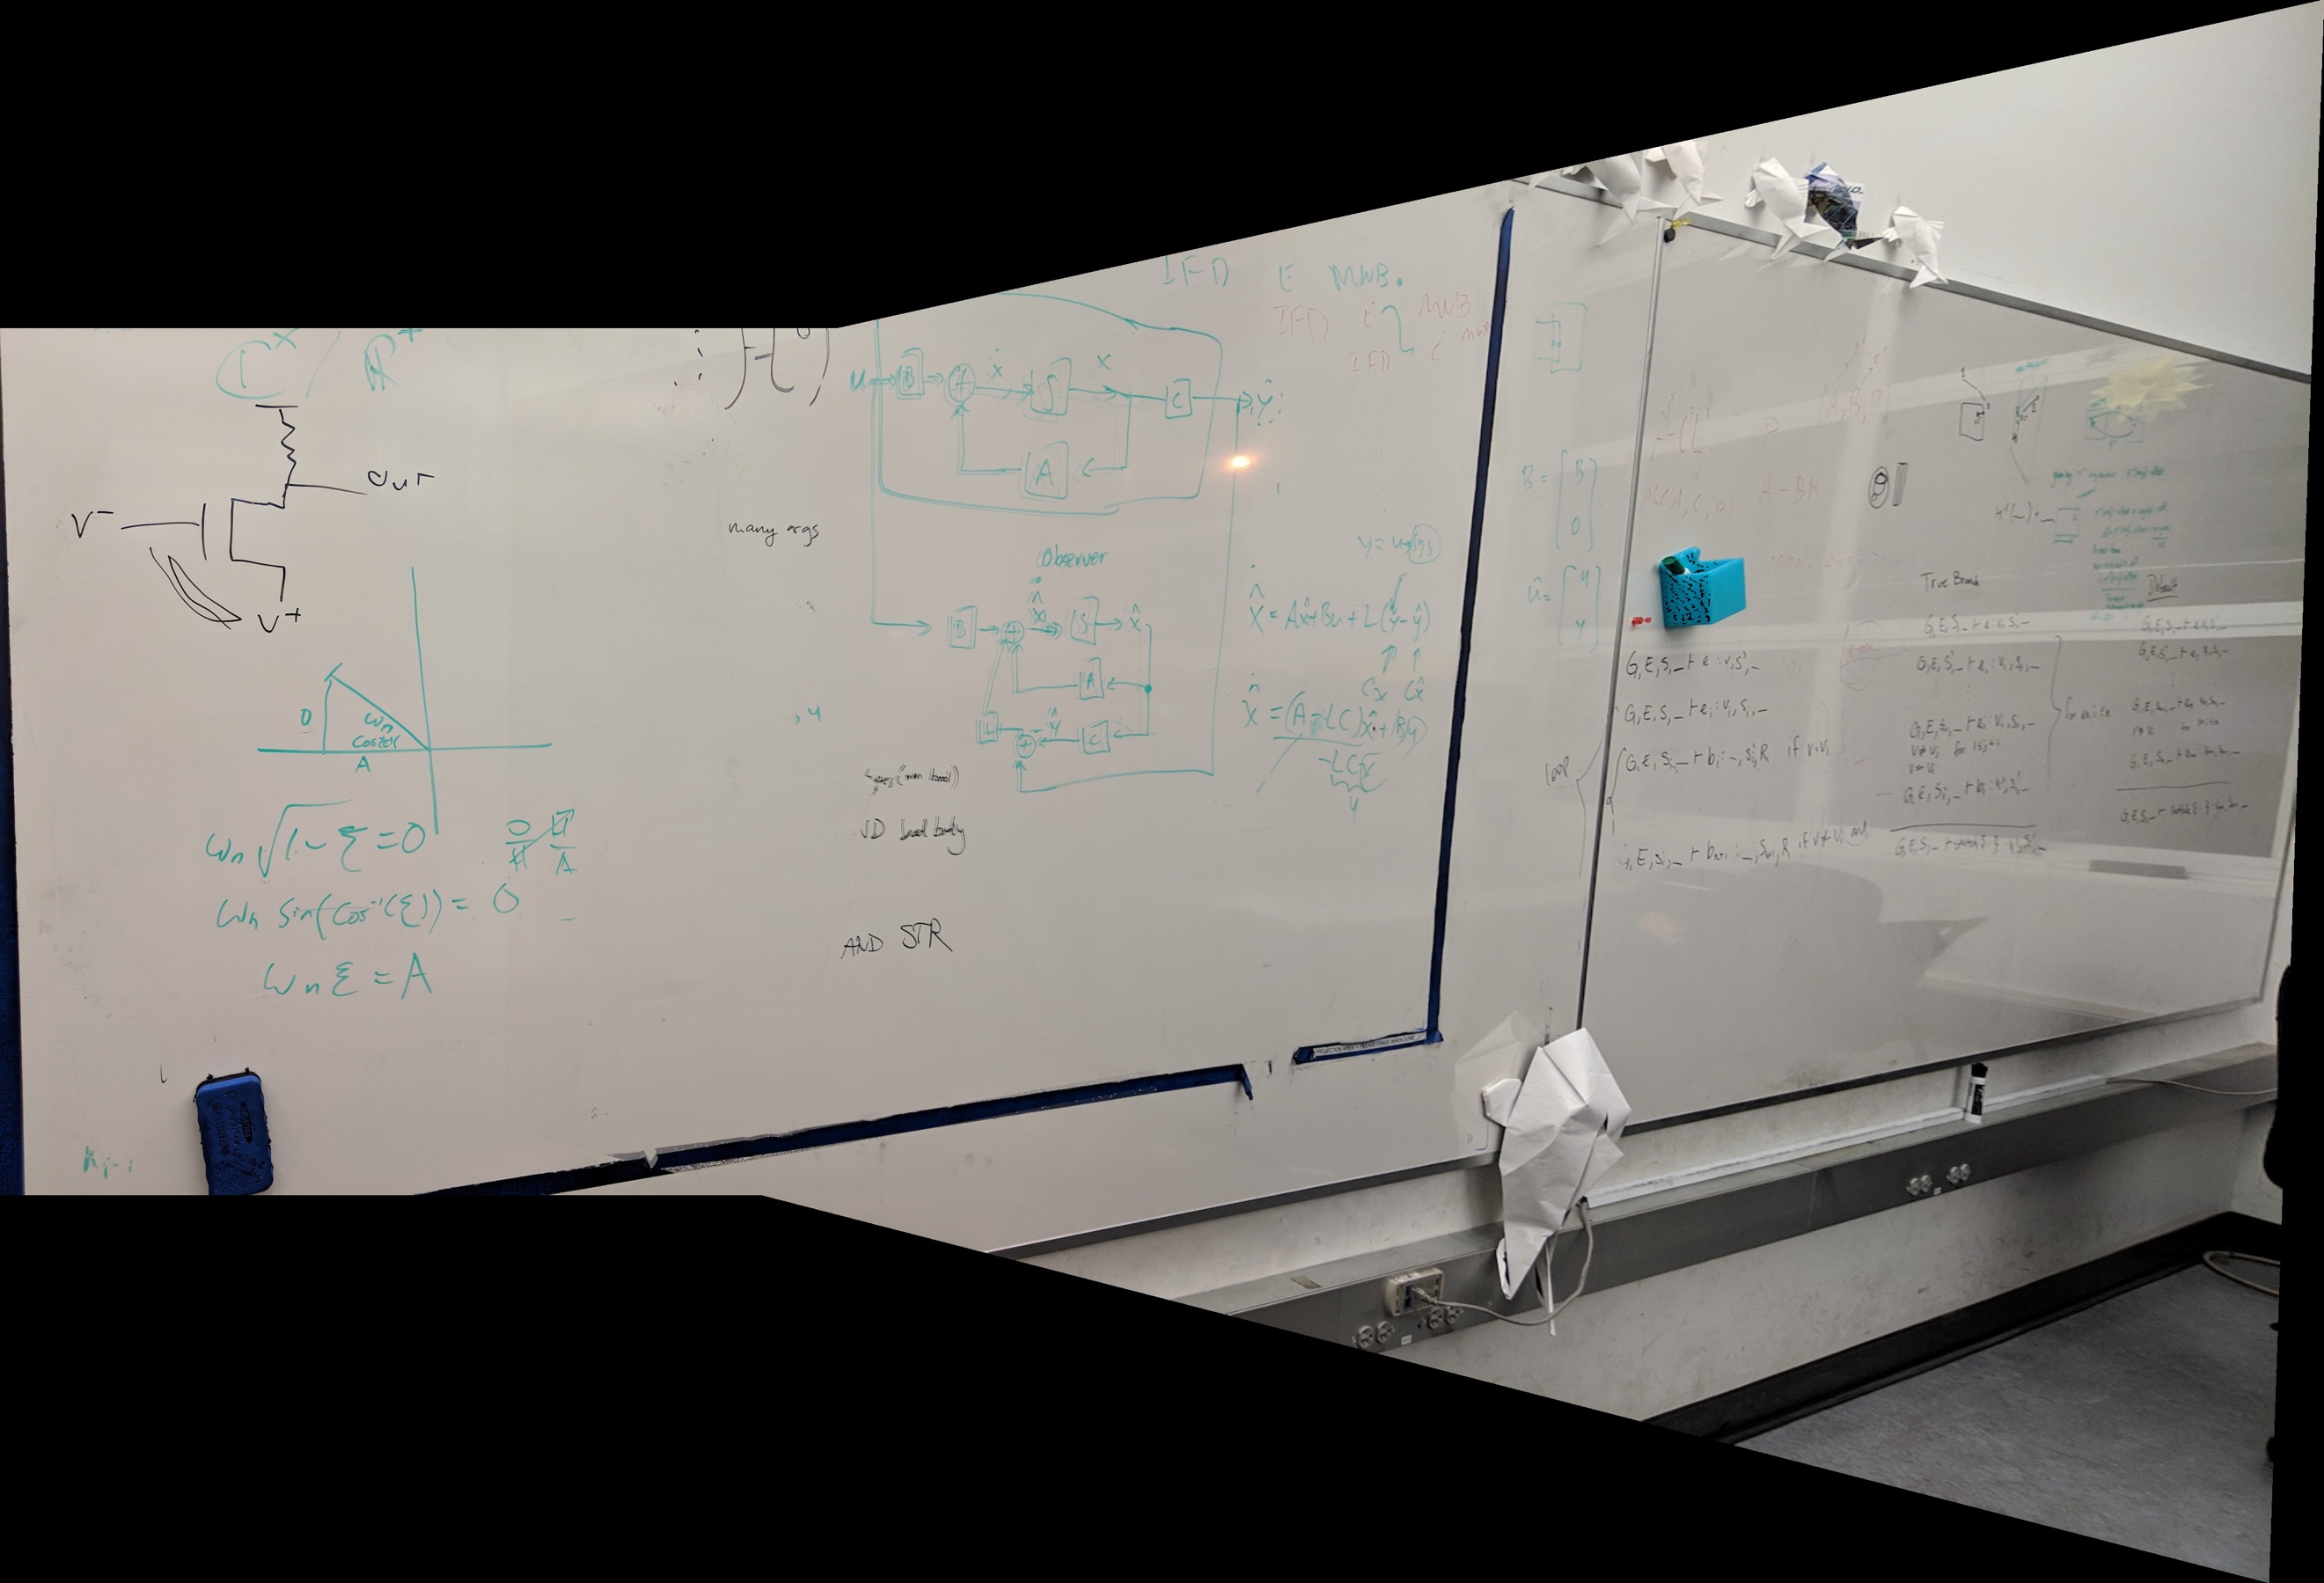
The generated mosaic. Look at all that math!
Summary
I think that the most
important thing I learned in this project is that selecting accurate
correspondence points is very difficult.
Even small inconsistencies or a slightly-imperfect alignment can lead to
catastrophic results in mosaic generation, which happened very frequently
throughout my completion of this project. As a result, I’m excited to attempt
the next part of the project, as I now see the value in automatically
generating correspondence points.
Part B
In this part of the project,
we used slightly-simplified versions of the algorithms described in the paper Multi-Image
Matching using Multi-Scale Oriented Patches to automatically
detect and match corresponding points between two images. These correspondences
are then used to stitch the images together to form a mosaic, as in the
previous part.
Detecting Harris Corners
Below I showcase the results
of finding Harris points on the first Campanile Esplanade input image. Notice
that there are a lot of points, far too many to process. Most of them will be
filtered out in the future.
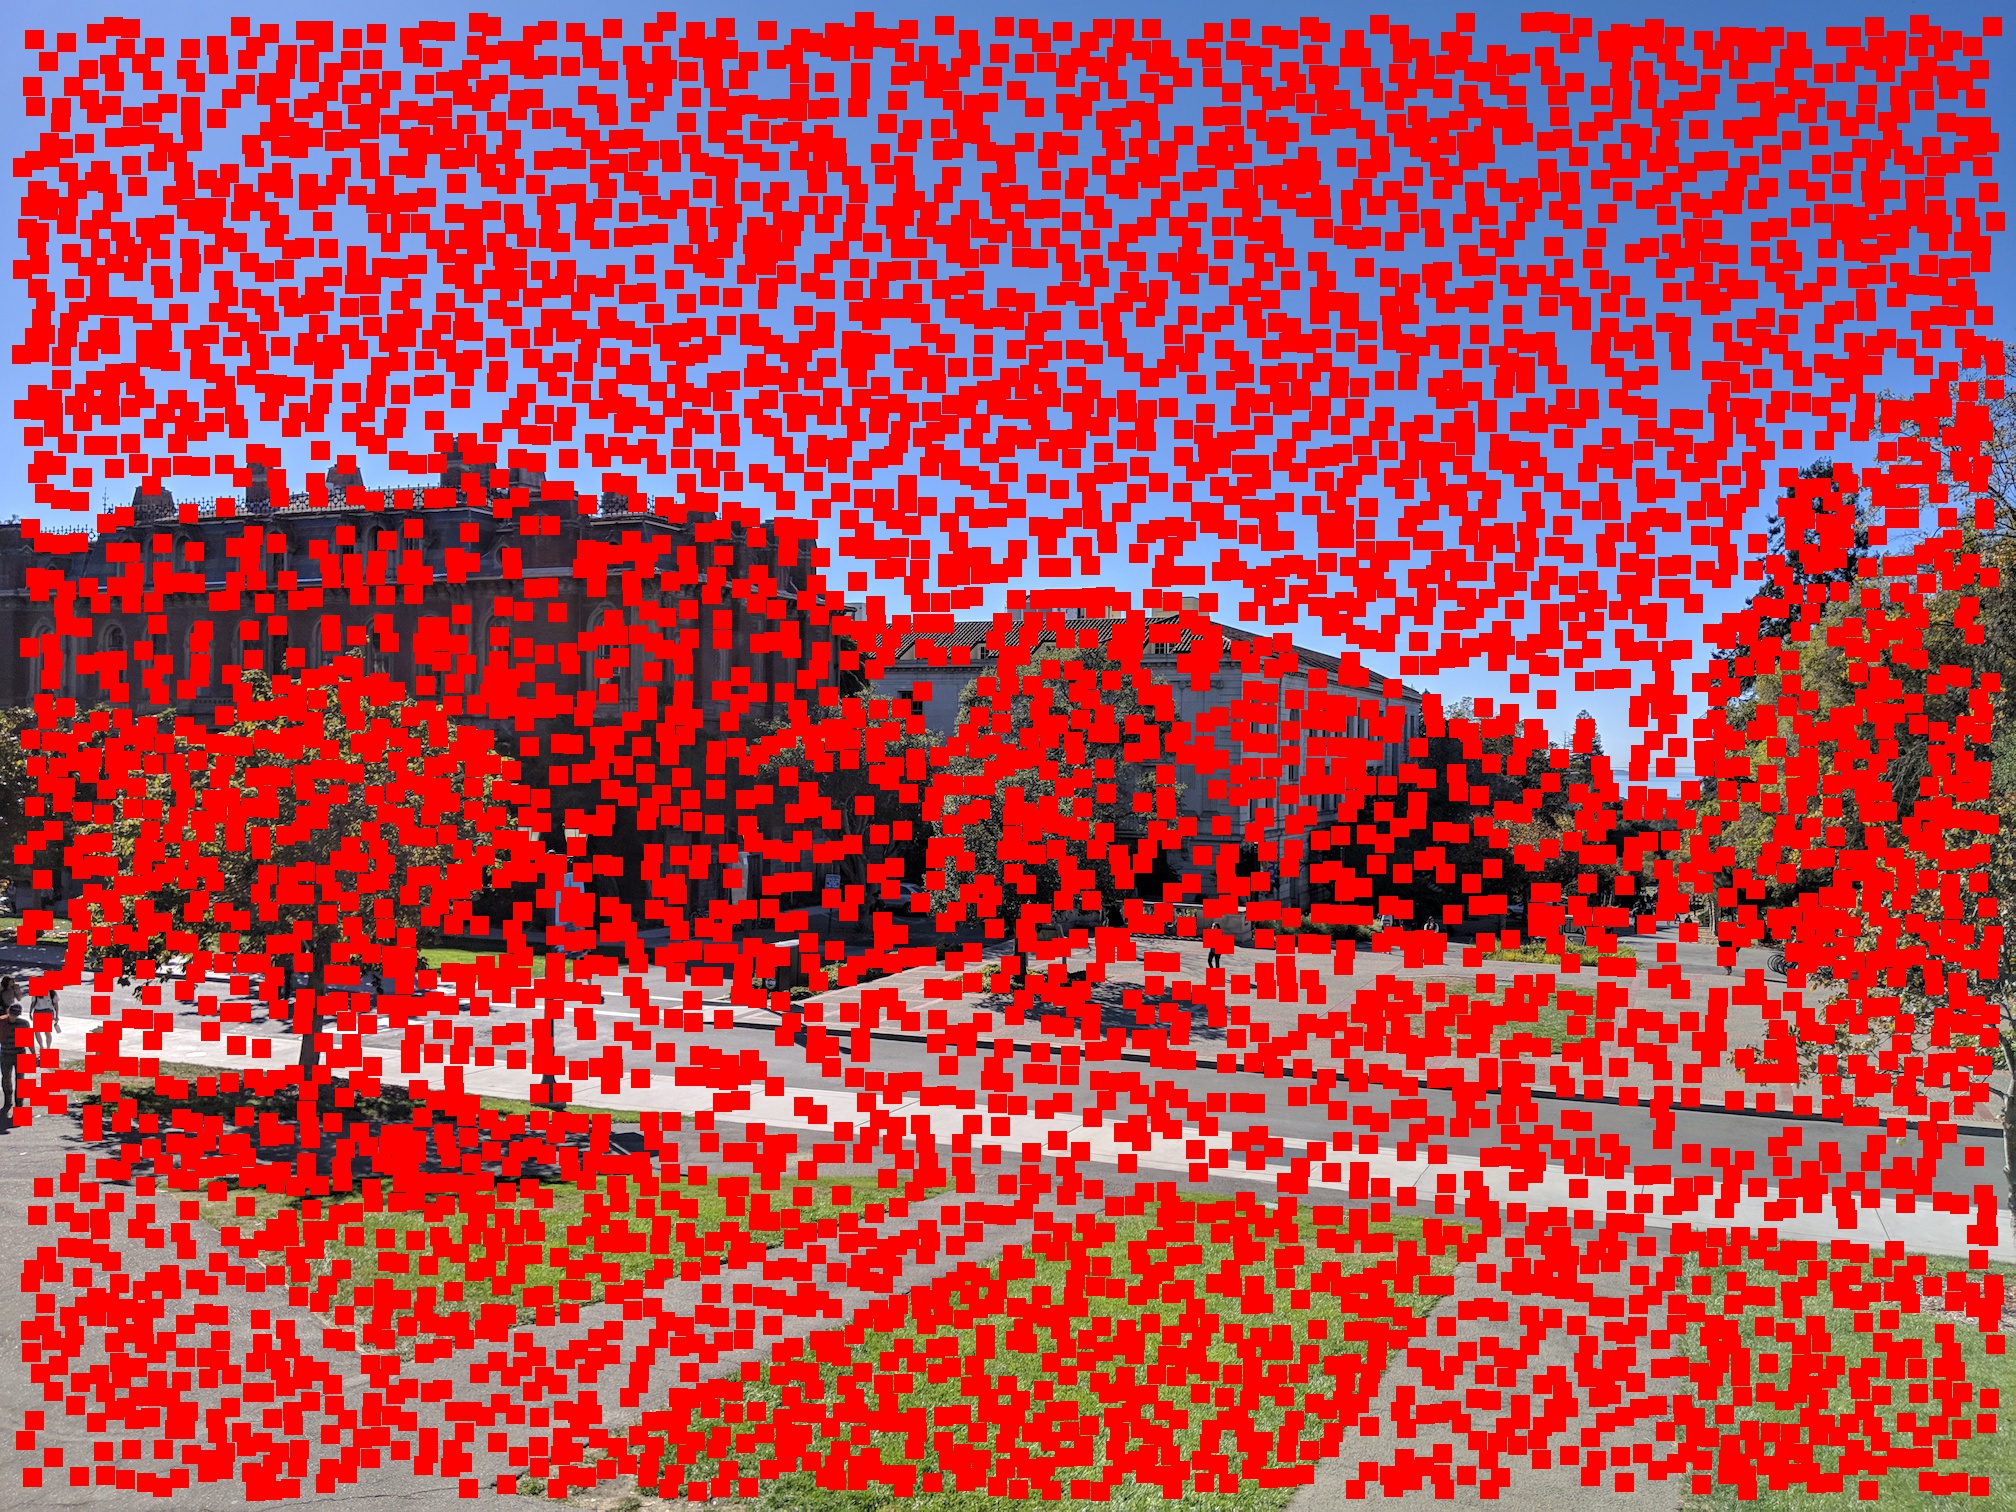
Adaptive Non-Maximal Suppression
The Harris corners are then
filtered using the Adaptive Non-Maximal Suppression algorithm, which greatly
reduces the number of points used. For the below image, I chose to use the top n = 500 points.

Automatic Image
Mosaics
Finally, I extract and match
features, then use the RANSAC algorithm to find the best inlier points to
choose for the final homography calculation. Below, I
show a selection of both manually-aligned mosaics and their automatically-aligned
counterparts.
Left: The manually-aligned image mosaic of the
Campanile Esplanade.
Right: The automatically-aligned version of the same
mosaic.
Left: The manually-aligned image mosaic of Memorial
Glade.
Right: The automatically-aligned version of the same
mosaic.
Left: The manually-aligned image mosaic of the Supernode whiteboard.
Right: The automatically-aligned version of the same
mosaic.
What I Learned
The coolest thing I learned
from this project was definitely how to implement a research paper. Previously,
I had no direct experience doing this, so it was a really useful experience to
learn how. Additionally, it was interesting to see how changing different
parameters in the various algorithms affected the resulting points chosen for
alignment. I can absolutely see how this field could go much deeper, and this
gives me a greater appreciation for the advanced computational photography
functions that can be done with such ease on modern consumer devices.