CS194-26 Project 6: Image Stitching
Hersh
Sanghvi | cs194-26-add
Summary
In this
project, we learn how, based on correspondences, we can solve for
transformations between images. Similar to a previous project in which we solved
for affine transformations between triangles, we now generalize that to homographies between entire images. This comes in handy
when stitching images together for panoramas, where you know that the camera
will only be rotating around the optical center of the image. Thus, based on
this knowledge, you can solve for a 3x3 homography
matrix that relates the two images based on the correspondences, using SVD.
![]()
This matrix
has 8 degrees of freedom, since we specify that the last element, h22, must be 1.
Part A1: Image Rectification
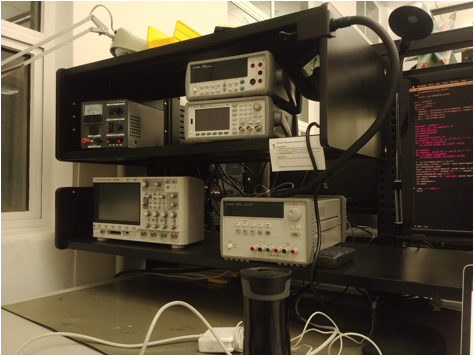
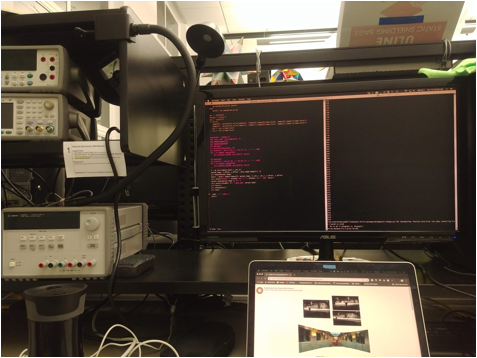
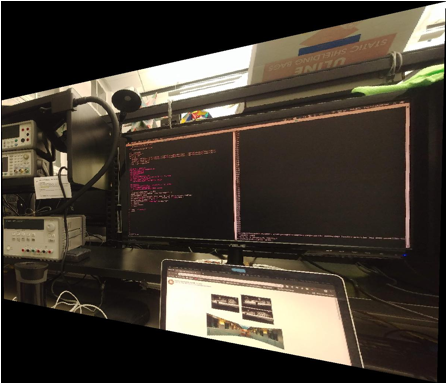
By manually specifying points in a planar image taken
at an angle, we can rectify it by applying a homography.
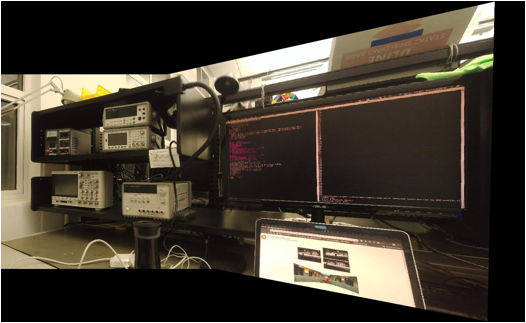
Examples are shown below (some artifacts may appear due to downsampling):

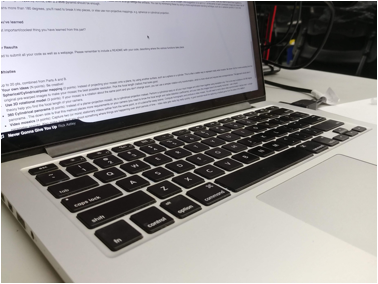
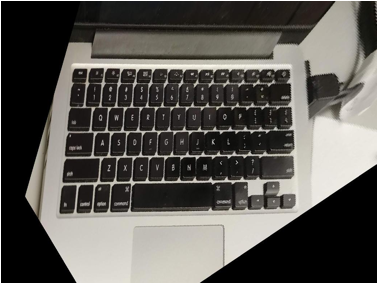
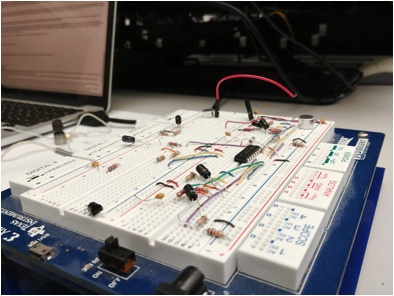
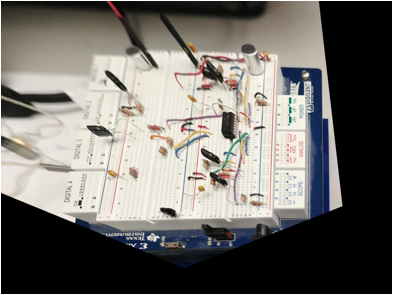
Notice how the rectification does not handle 3D
aspects very well! For example, the speakers in the circuit become extremely
stretched out, and on the keyboard, the keys appear to be much thicker than
they actually are.
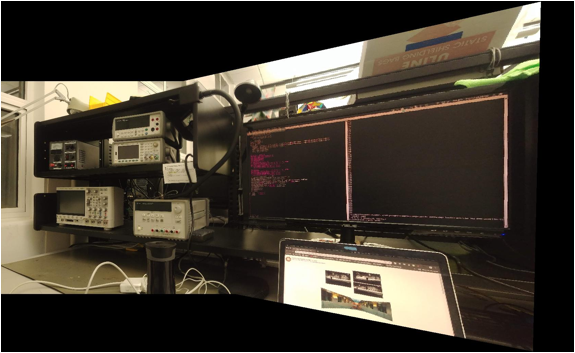
Part A2: Image Stitching
In this part, the task is to manually specify
correspondences between two images that are taken from the same optical center,
but with the camera rotated around the center, use those correspondences to
calculate a homography that will then warp one of the
images into the plane of the other image, and then stitch the two. This was
quite challenging, as there are generally artifacts due to the fact that the
images are not perfect rotations, and the stitching can be finicky due to
lighting changes or translational motion. I found that using 8-10
correspondences worked well enough. Although you only need 4 at minimum,
providing more helps to more robustly estimate the matrix. For the blending, I
used a nonlinear blend in the overlap region. I basically took the 2-norm
distance between the points in the overlap and the edges of the overlap region
as the alpha factor for my mask. I found this worked well since it took into
account both x and y into the masking, and thus produced natural looking
results.
Here are some examples:
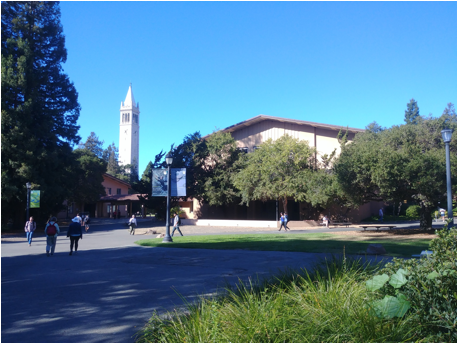
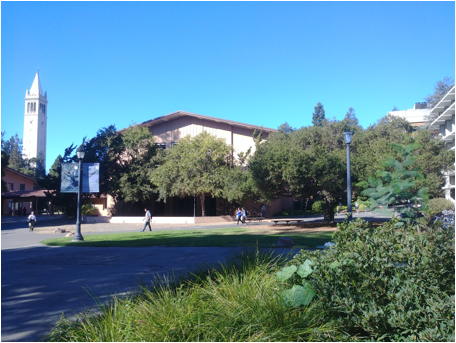
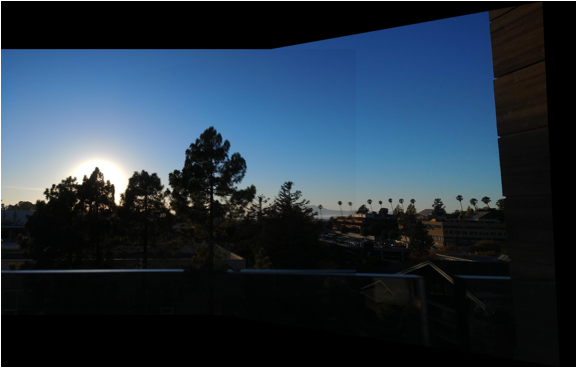
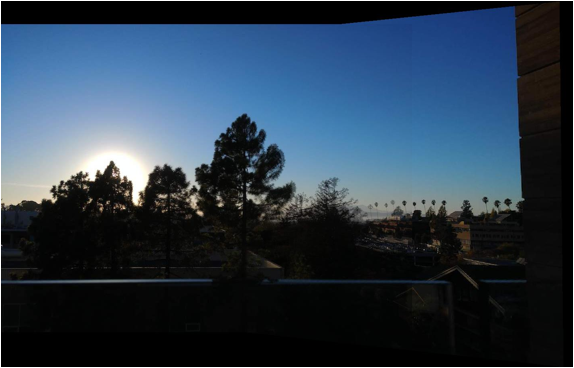
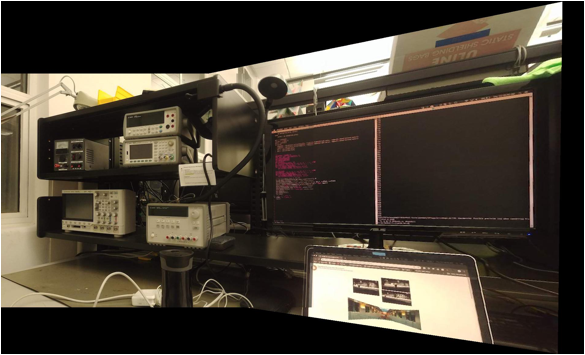
Original images:
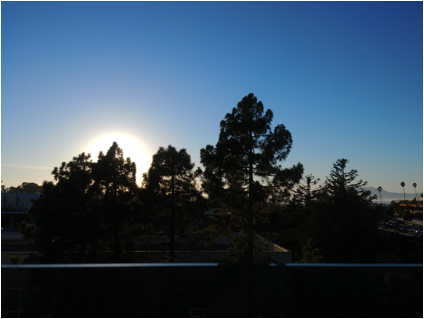
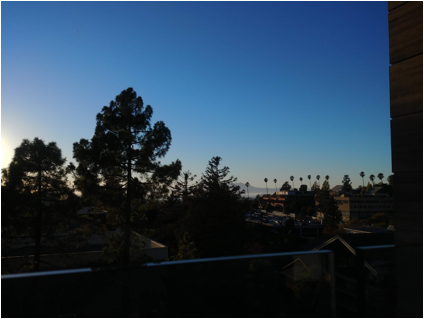
Left image warped into the plane of the right image:
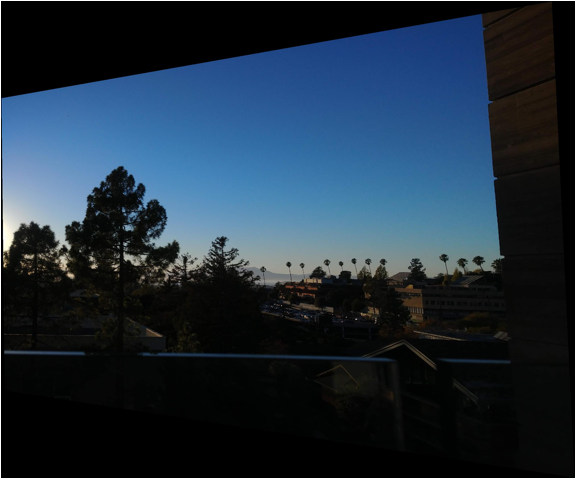
Blended:
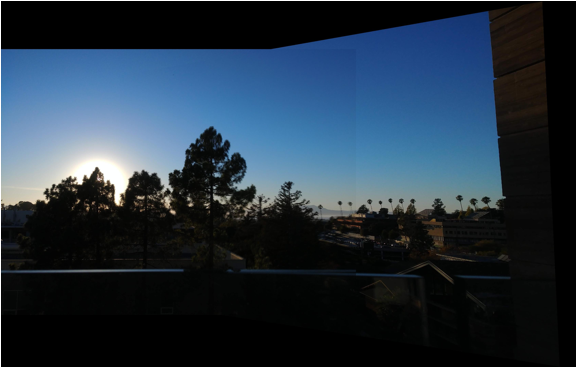
There is a slight discrepancy at the border, due to a
small vertical displacement between the frames (this shows up especially in the
handrail).
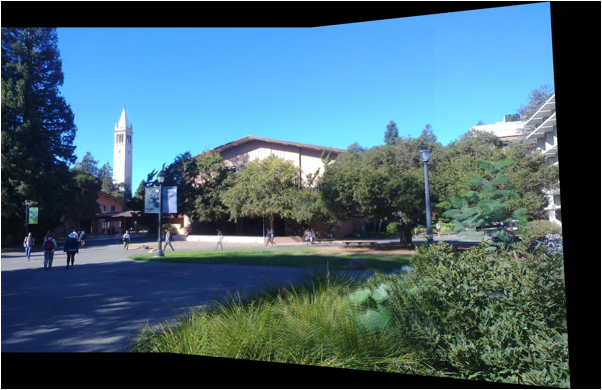
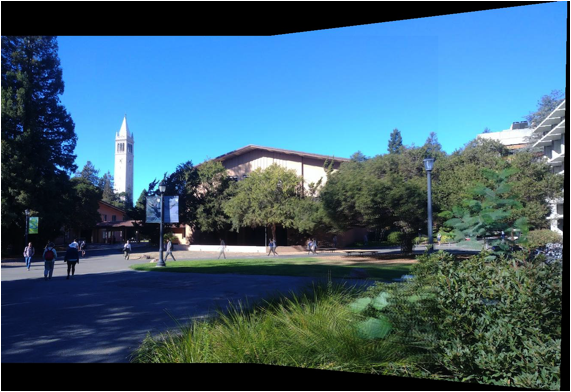
Original Images:
Left image warped into right plane:
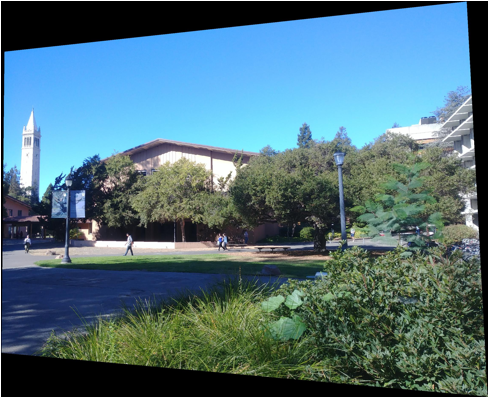
Blended:
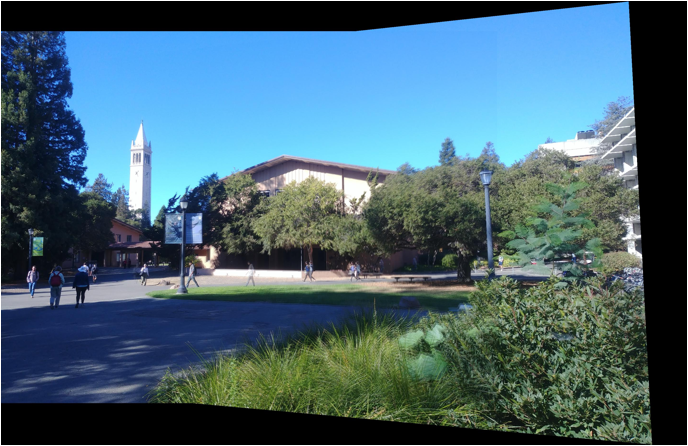
There is no stitch artifact here, but the plants are
blurry because of both wind and because small translations produce
disproportionate effects at close range. This is why having a stationary
environment is important during taking a panorama. Also notice how certain
people appear transparently in the walkway. This is because they moved between
frames! Looks pretty cool.
Original Images:
Left warped:
Blended:
Using Automatic
Feature Detection and Matching
Using the Harris
Corner Detector
In this part of the project, we use a Harris Corner
detector, which is a rotation and shift invariant feature selector, to find
correspondences between images. If we search for corners in the Campanile
image, we get: 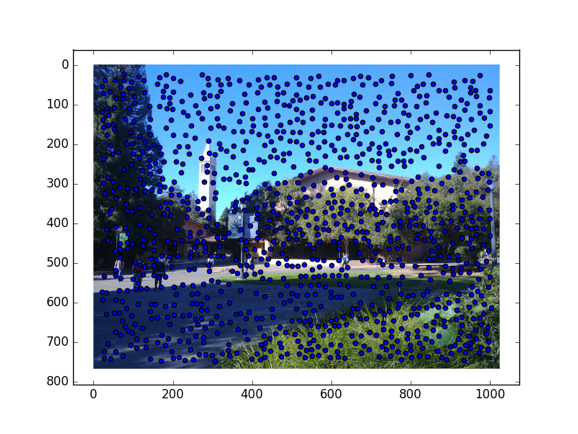
Using ANMS to Pick
Best Corners, and Extracting Patches
As we can see from in the previous image, there are
many detected “corners” which are actually insignificant for the image. We
would like to pick the most salient features, for which we use ANMS, which is
basically picking features which are local maxima in
terms of the Harris measure of corner strength. Here are the results:
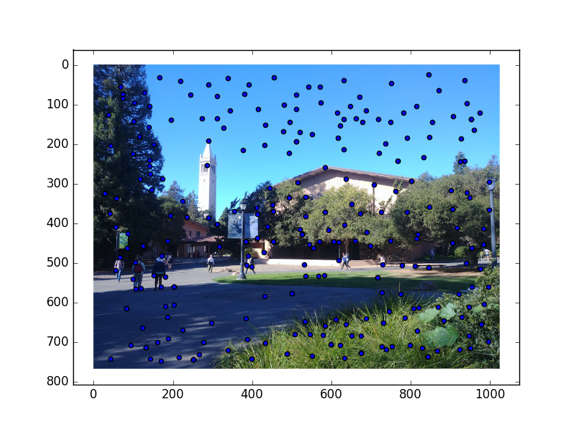
As you can see, many corners have been suppressed, as
we select only the locally strongest corners. After doing this, we then extract
8x8 grayscale patches from the regions around each
corner that serve as feature descriptors. We can then use these feature
descriptors to compute the correspondences between corners between different images.
Picking
Correspondences Between Images
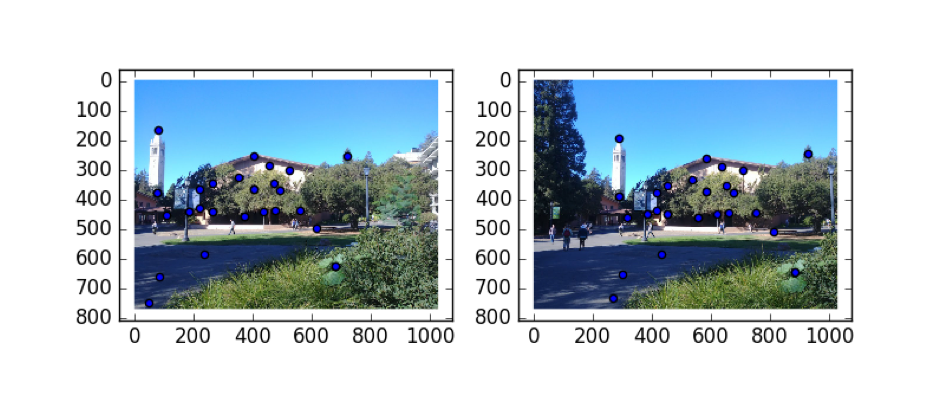
In this part, we compute the correspondences between
the images. In particular, we pick two points as corresponding to each other
only if the ratio between the strength of the closest match and strength of the
second closest match is above a certain threshold. The idea is that if you are
uncertain about the match, then maybe you should not be using it as a
correspondence in the first place. This works pretty well; check out the
correspondences after running this algorithm:
Using RANSAC to
Compute Homography to Mosaic
Although the correspondence matching from above is
good, it is possible that there are still some bad correspondences produced
from the algorithm. Thus, to ensure that large outliers do not affect the
algorithm, we randomly sample points to use for computing the homography, and, in the end, pick the homography which “agrees”
with the most number of correspondences. Here are the results for the same
images above:
Left: By hand, Right: Automatic
I learned a lot during this project! It was
interesting to see how theoretically simple homography
matrices are, but the gory details required when inverse warping images. In
addition, I learned a lot about the potential pitfalls that could occur when
implementing RANSAC and other automatic algorithms.