Image Manipulation and Computational Photography
Project 6AB: Image Warping and Auto Stitching Mosaics
Jianglai Zhang
Overview
This time let's explore how you can make a panorama, which is a wide-angle view of a space, by warping and stitching a set of pictures that share overlapping fields onto the same planar surface. The general idea is to first take these images with the same POV, or point of view, so that parallax is avoided, and then compute a homography matrix by defining pairs of corresponding points and use this matrix to warp the image(s) onto the plane we hope it is projected towards. At last, we use some blending technique such as multiresolution blending used last time to 'stitch' the images together. In the second part, we'll also explore how to automatically stitch these photos together using Harris corner detection, ANMS, feature descriptor finding and matching, and RANSAC.
Recovering Homographies and Warping
After taking some sets of nice pictures where each set shares some overlapping field and also shares the same POV, we can proceed to recover the homography matrix. Specifically, we hope to solve a linear system that is consisted of at least 4 pairs of in total 8 vector elements so that we can have a solution for all the 8 unknowns in the homography matrix H. Since we want high quality warping results, we would like to have more than 4 x 2 = 8 linear equations to solve and use least square to minimize the error in the system. Once we retrieve the 3 x 3 matrix H, we can use the inverse of it to inverse warp and get the corresponding pixel for each of the pixel in the result image we want, and after doing this for each RGB channel, we get the warped result image(s) that is mapped onto the plane we want.
Image Rectification
Now we have all we needed after computing the homography matrix and knowing how to warp the images, we can proceed and have some fun! The first application is to rectify images such that the result image is frontal-parallel to us. This is done by simply defining the second set of chosen points as the four corners of the image we want and play with the result matrix a bit. Here are some examples of the original and rectified images:


Mosaics
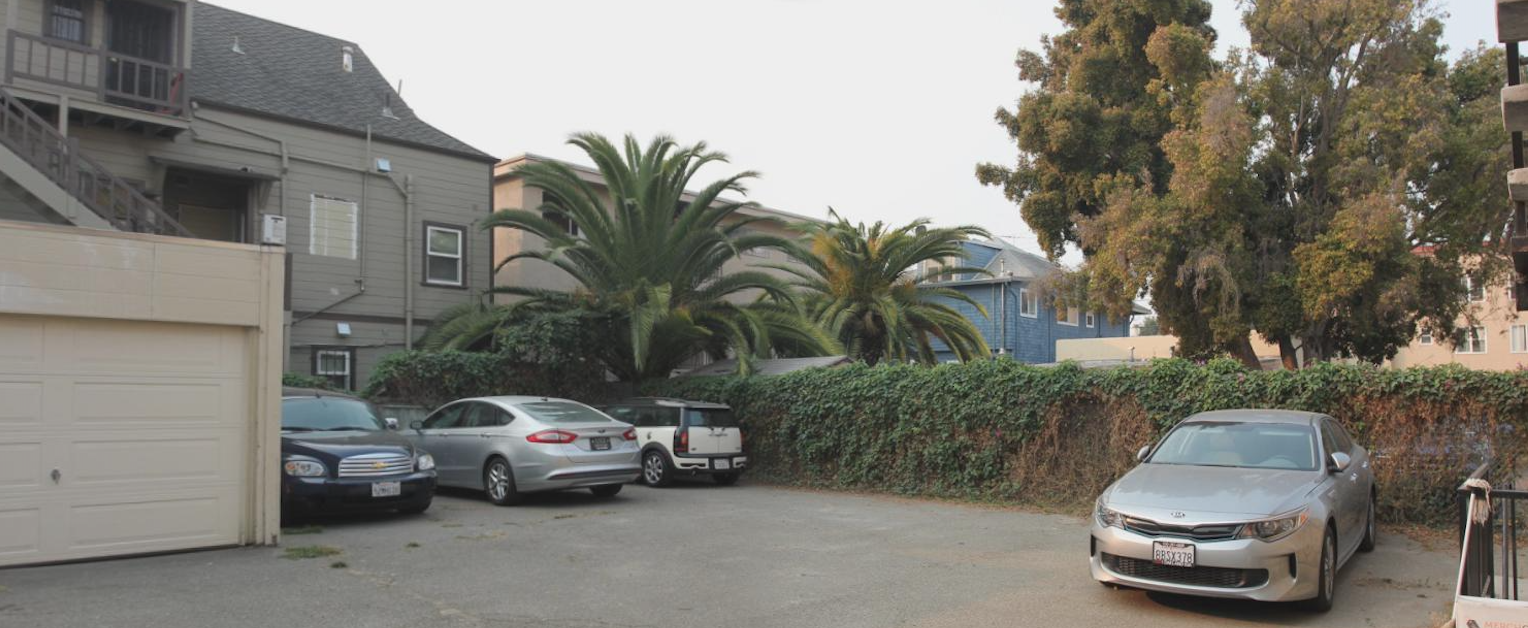
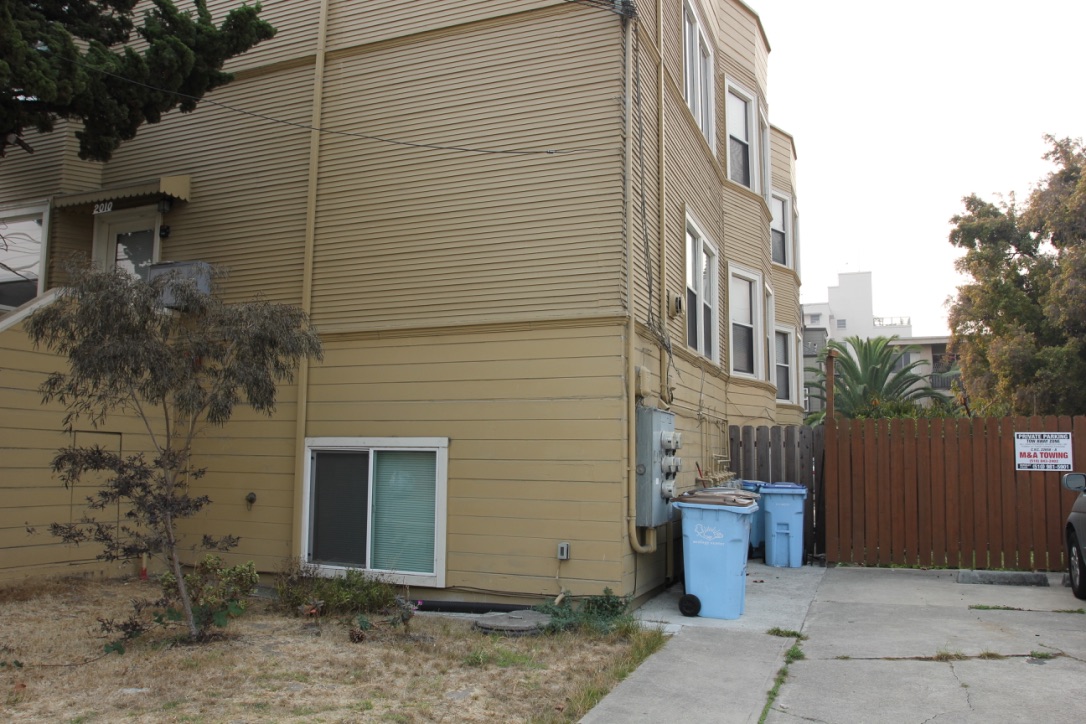
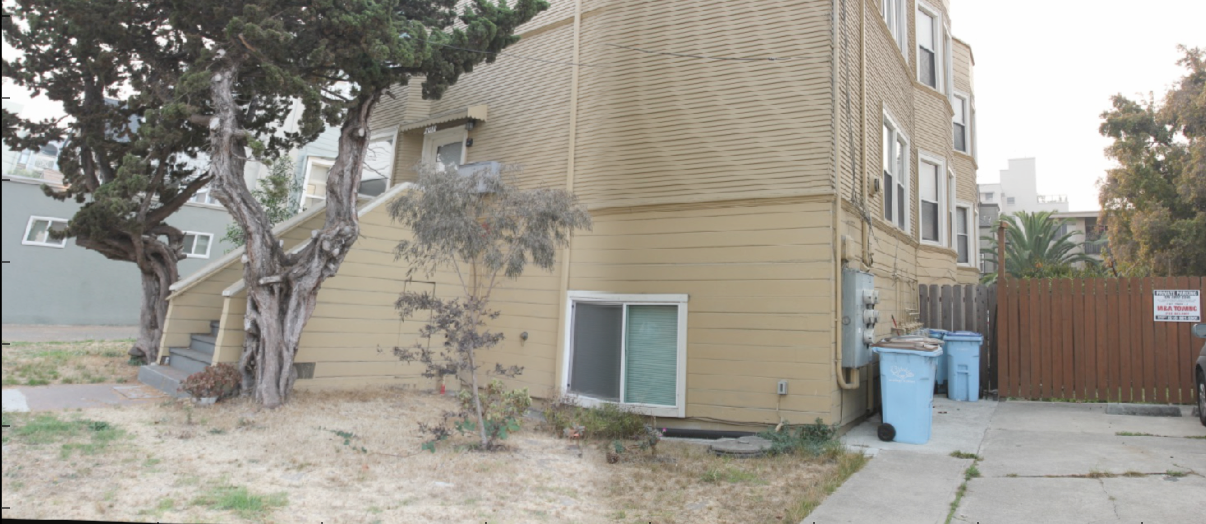
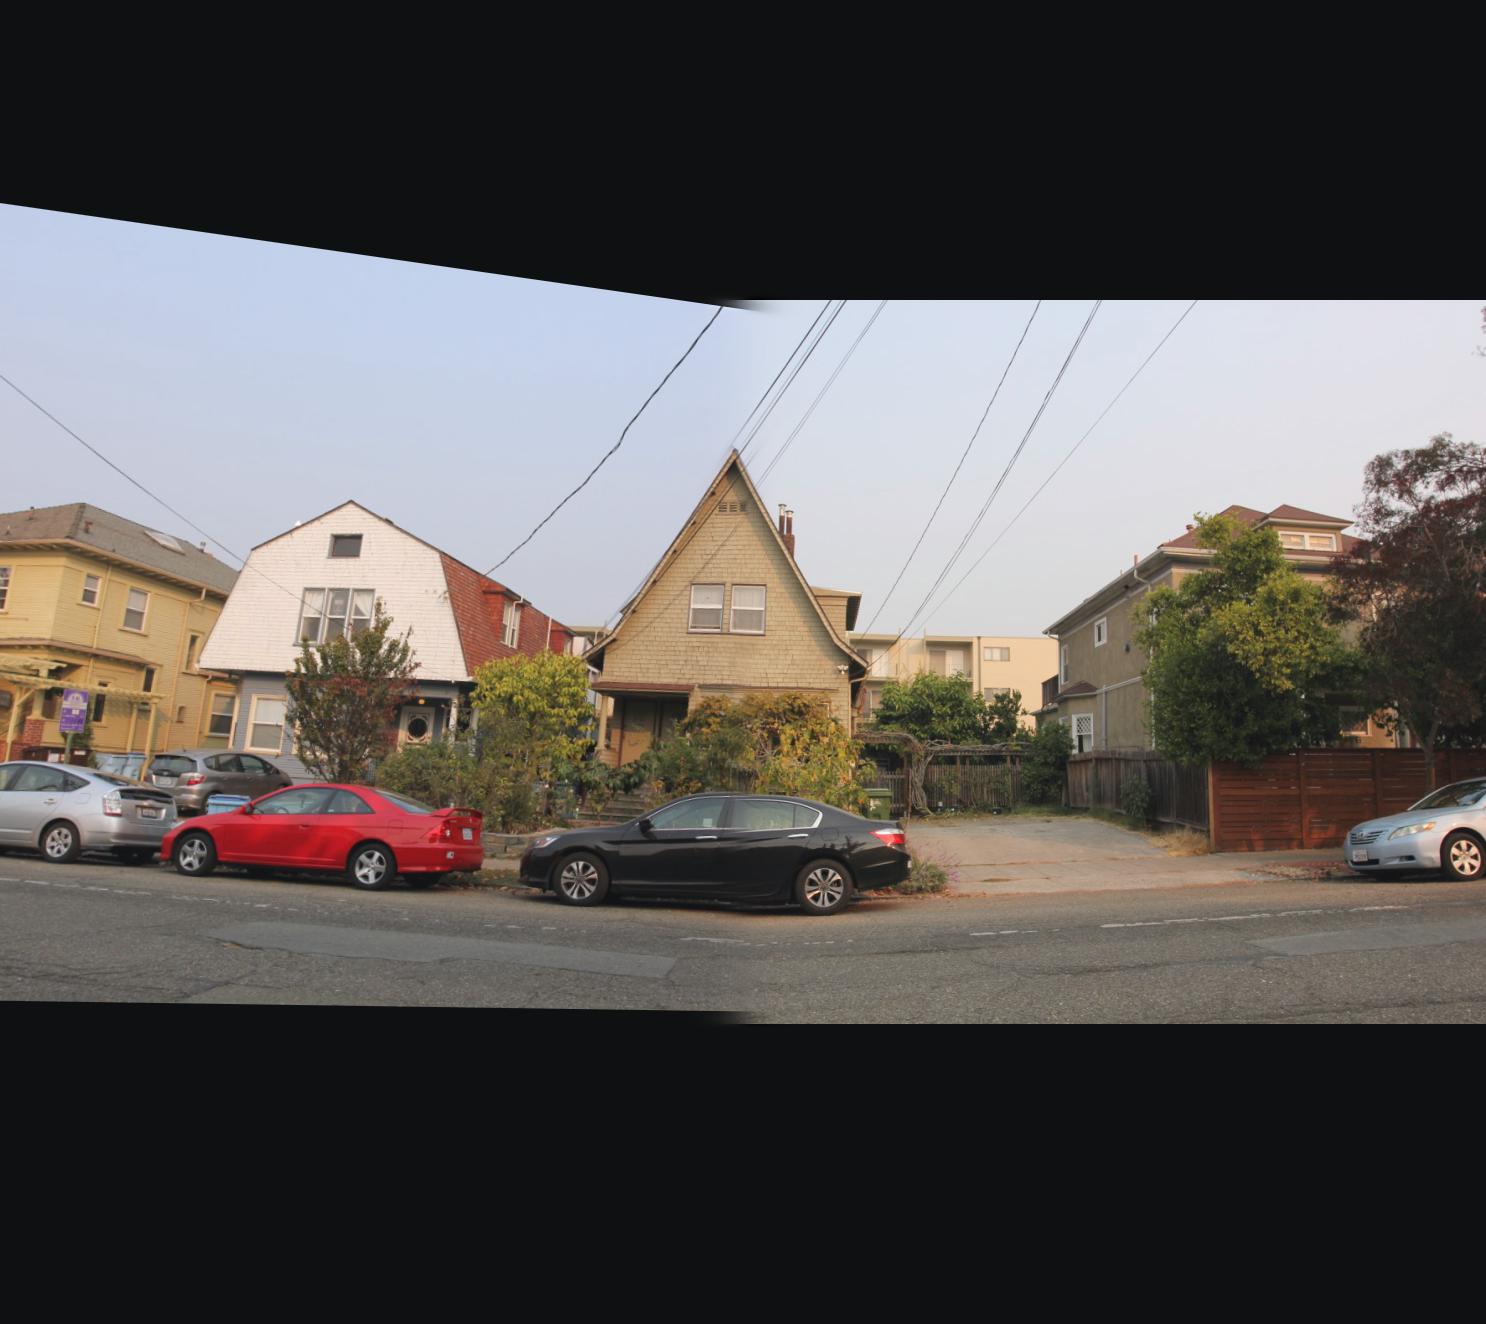
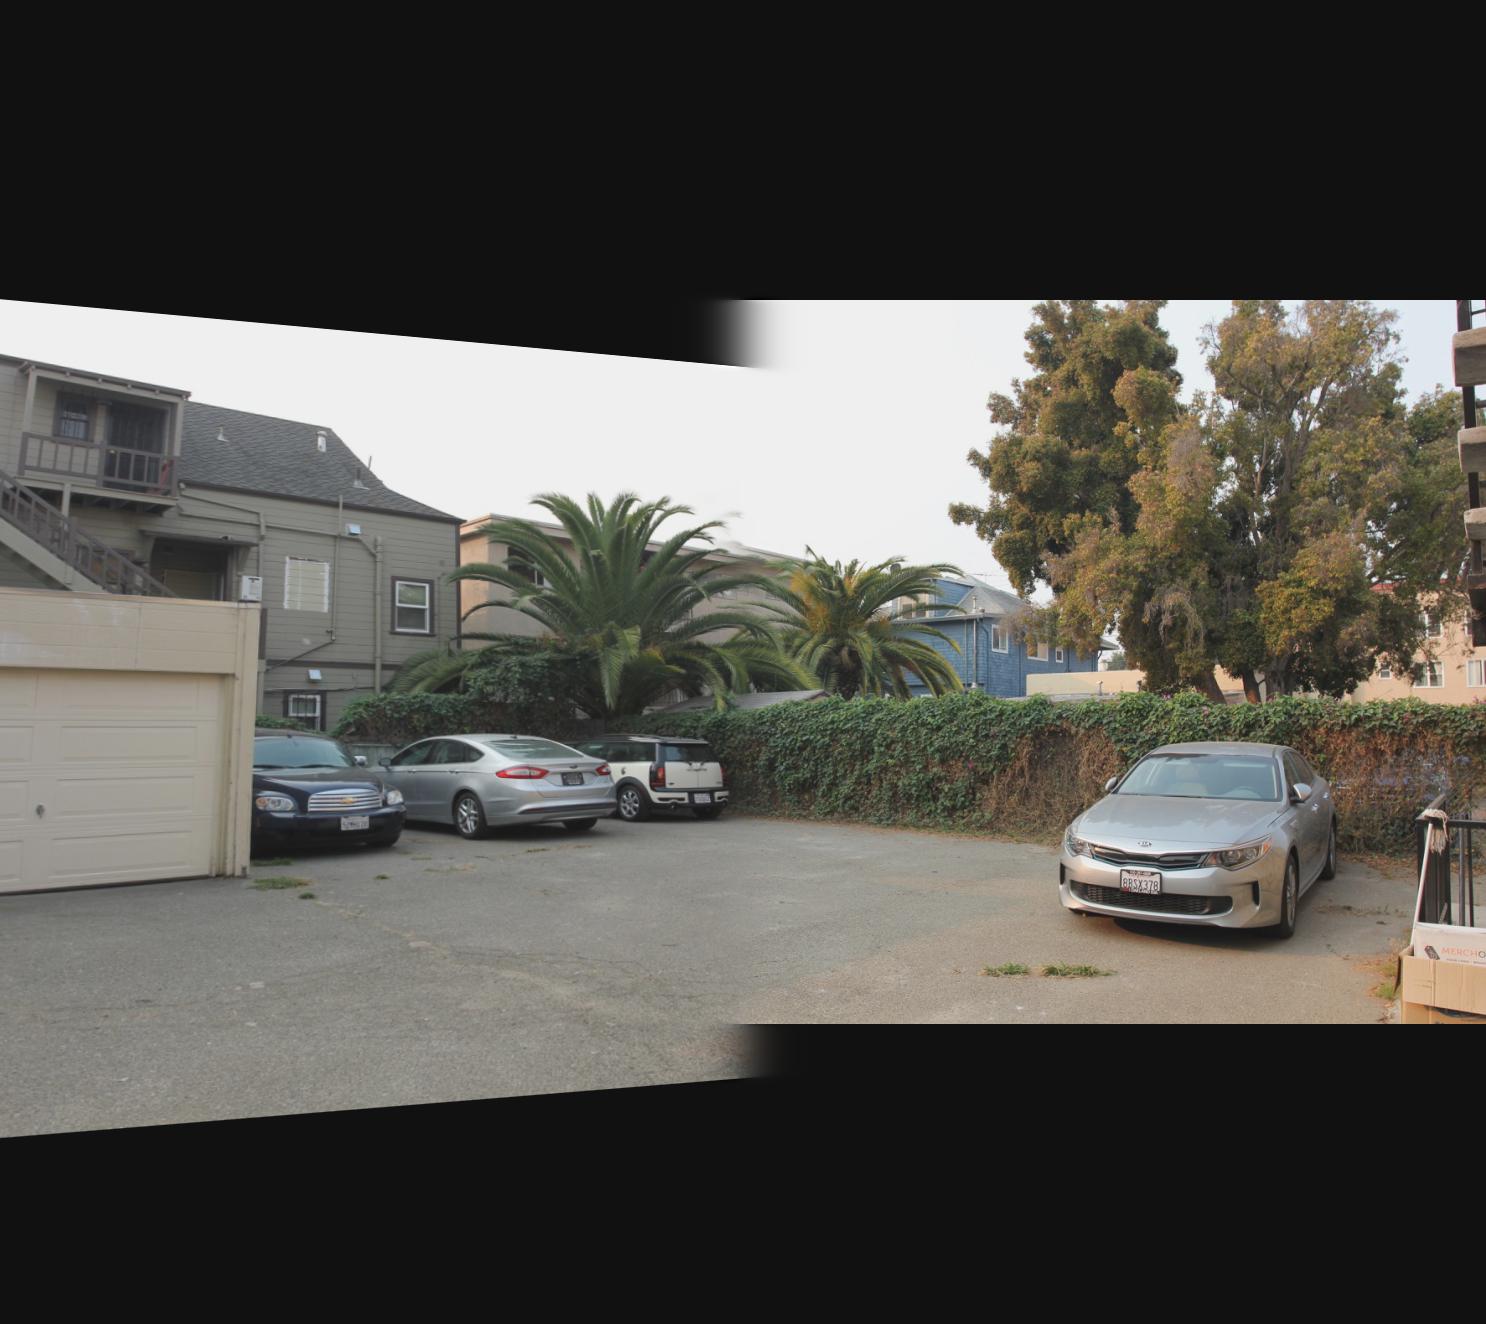
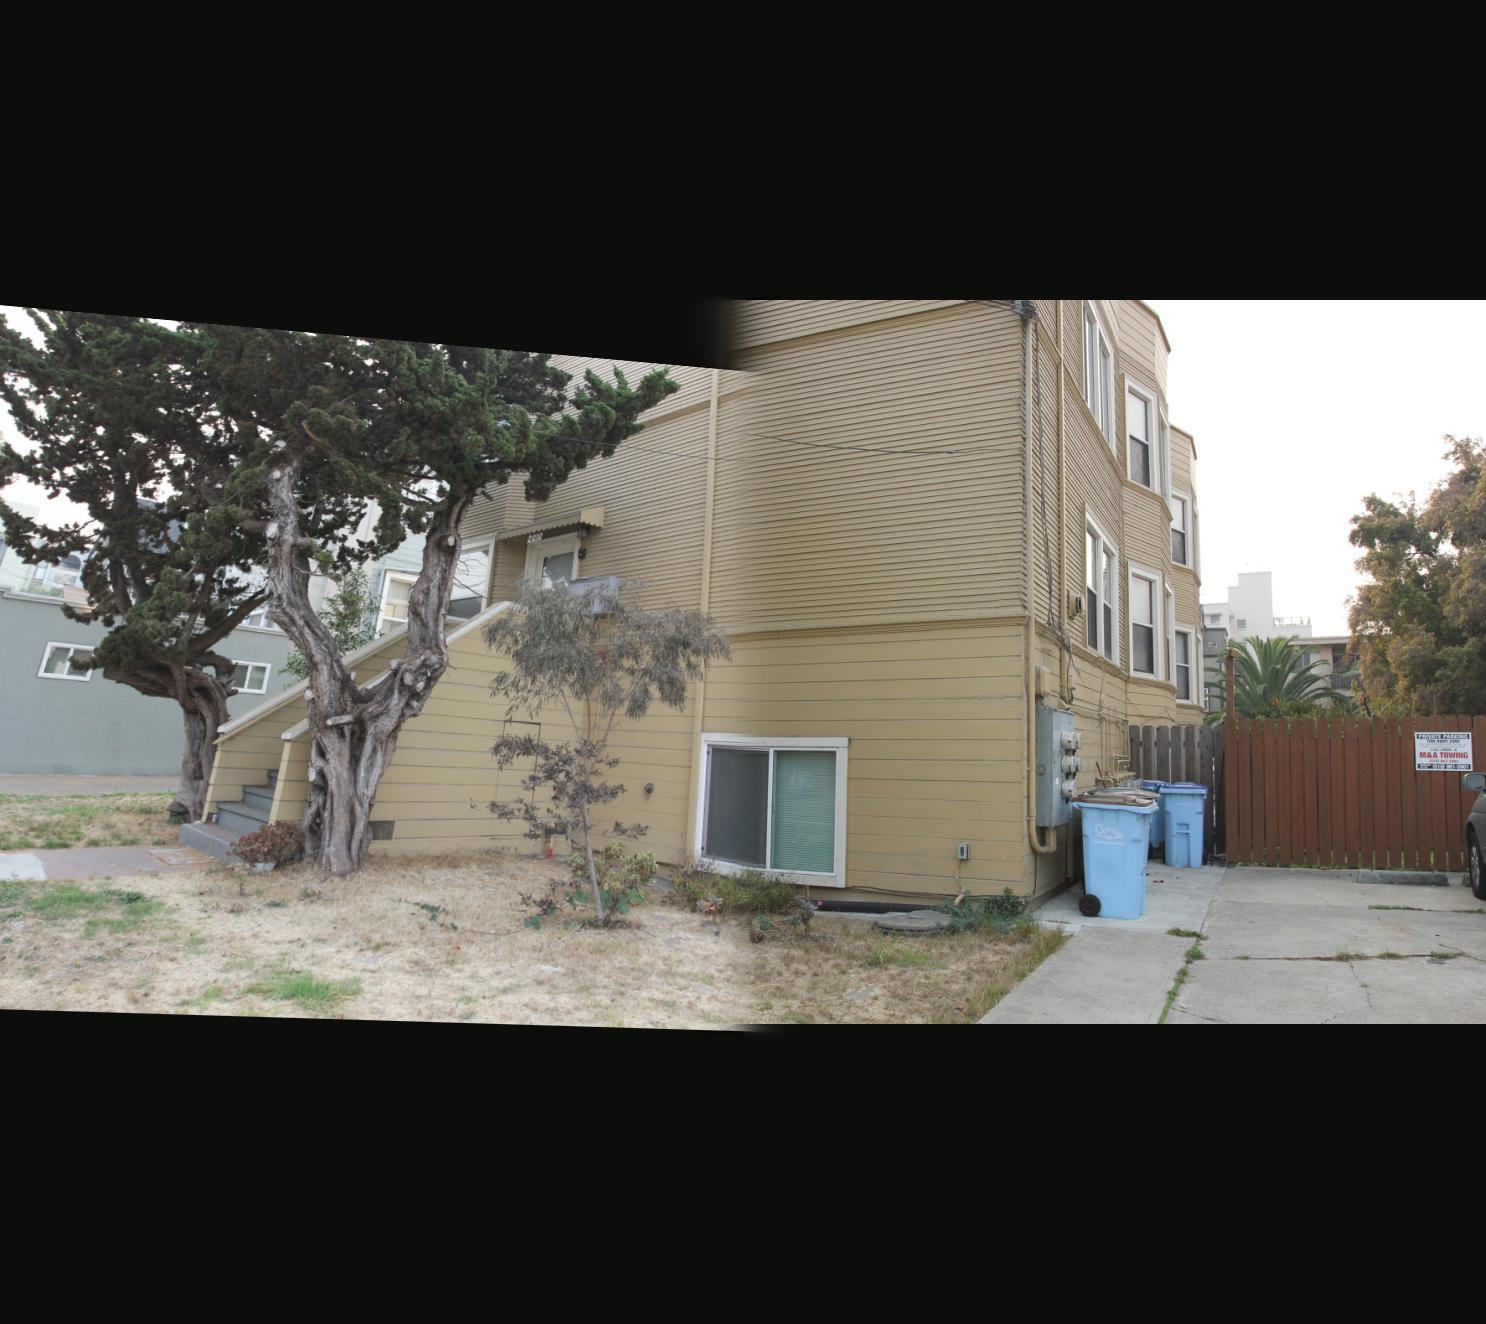
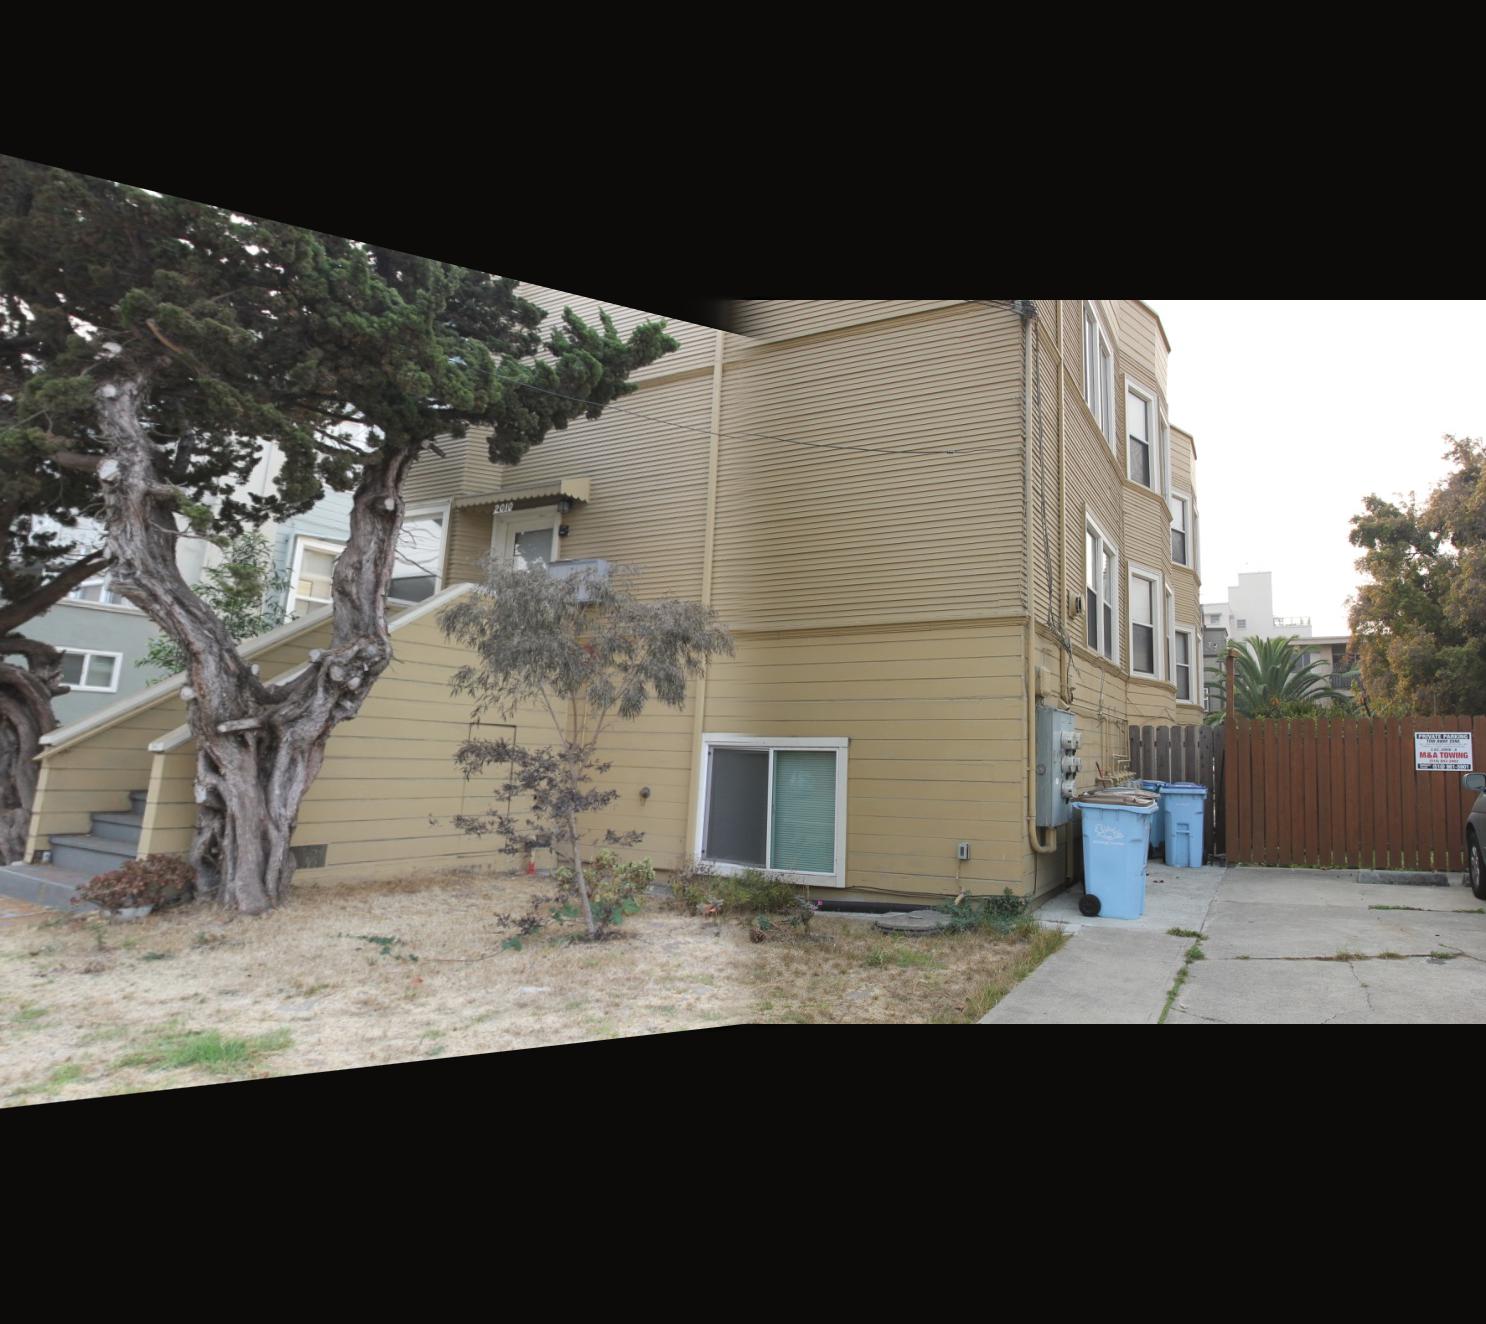
Another application is to create the panorama. The idea, as is introduced in the overview, is just to do the similar image warping procedure with an extra step of stitching the images together using some blending techniques. Here I used multiresolution blending with gaussian and laplacian stacks we did last time to make a smooth blend of the two images for each set. For the following results, I used two images for each set and mapped one of the two in each set onto the planar surface of the other; the number of corresponding point pairs I used is 8 for each set:
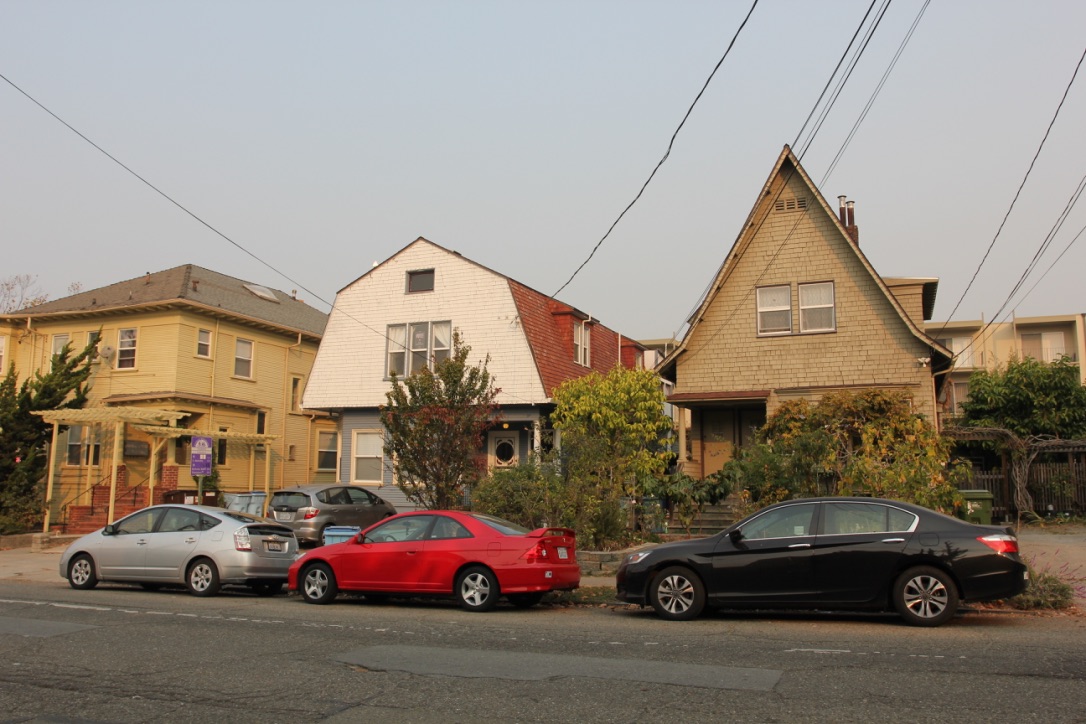
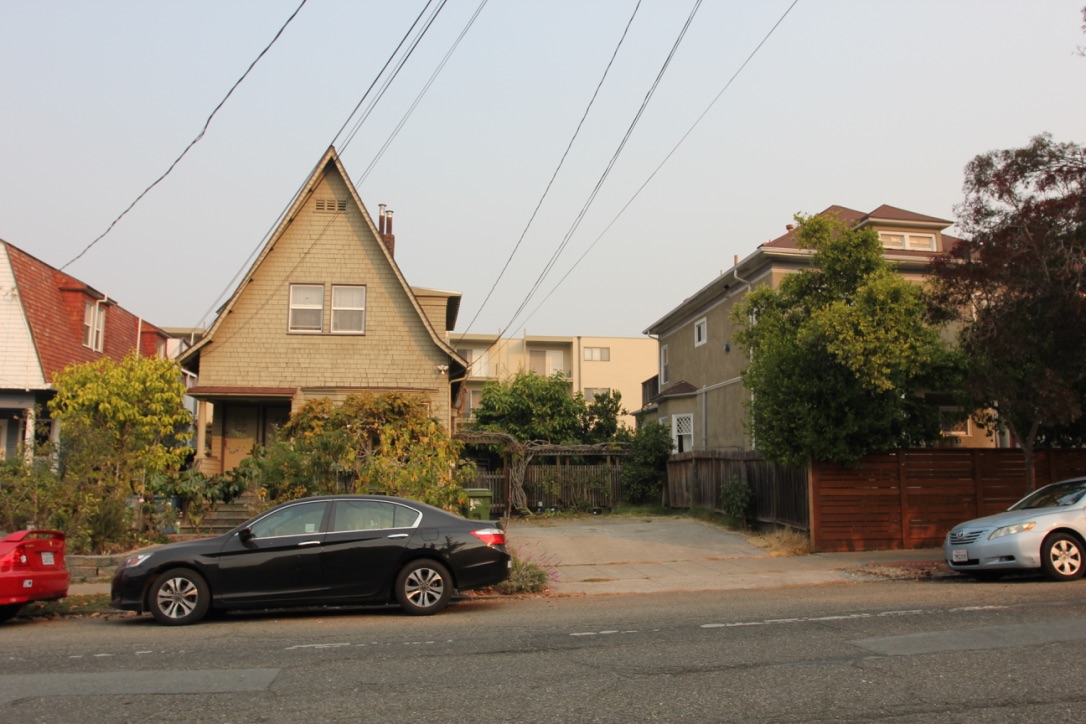
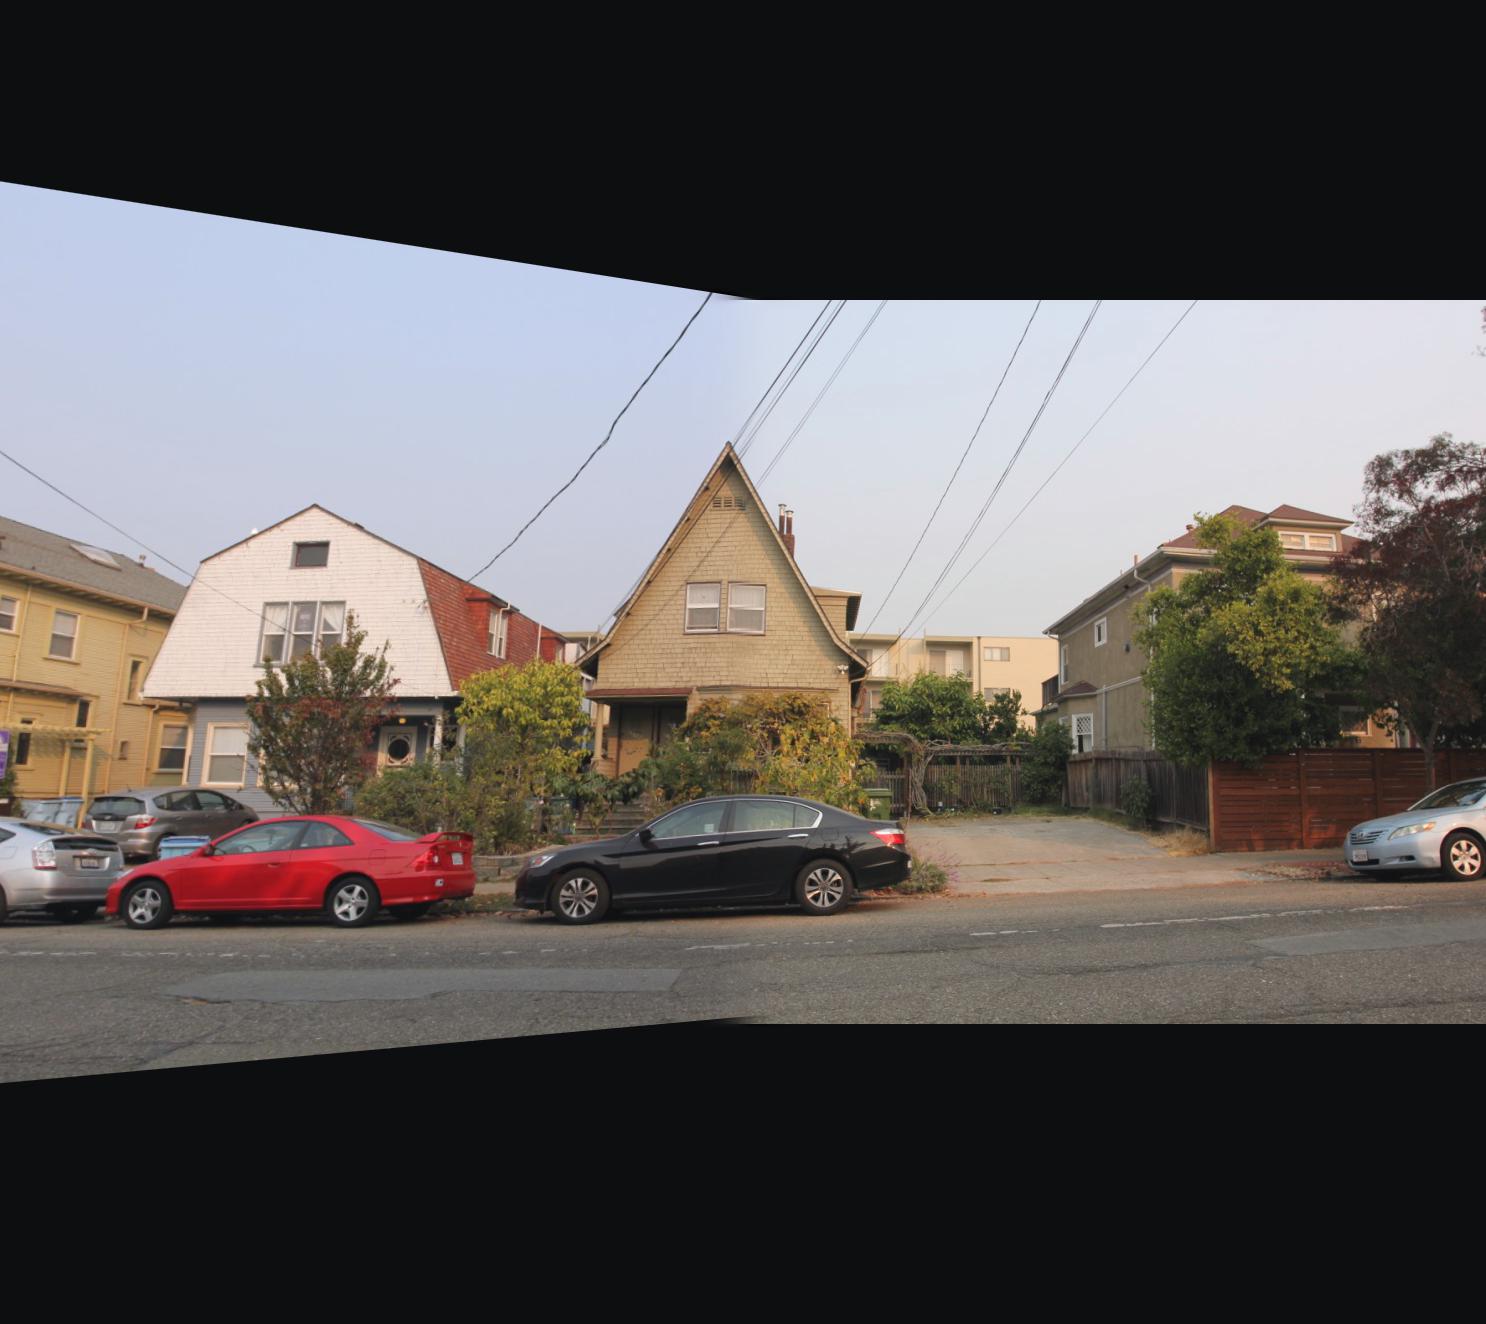
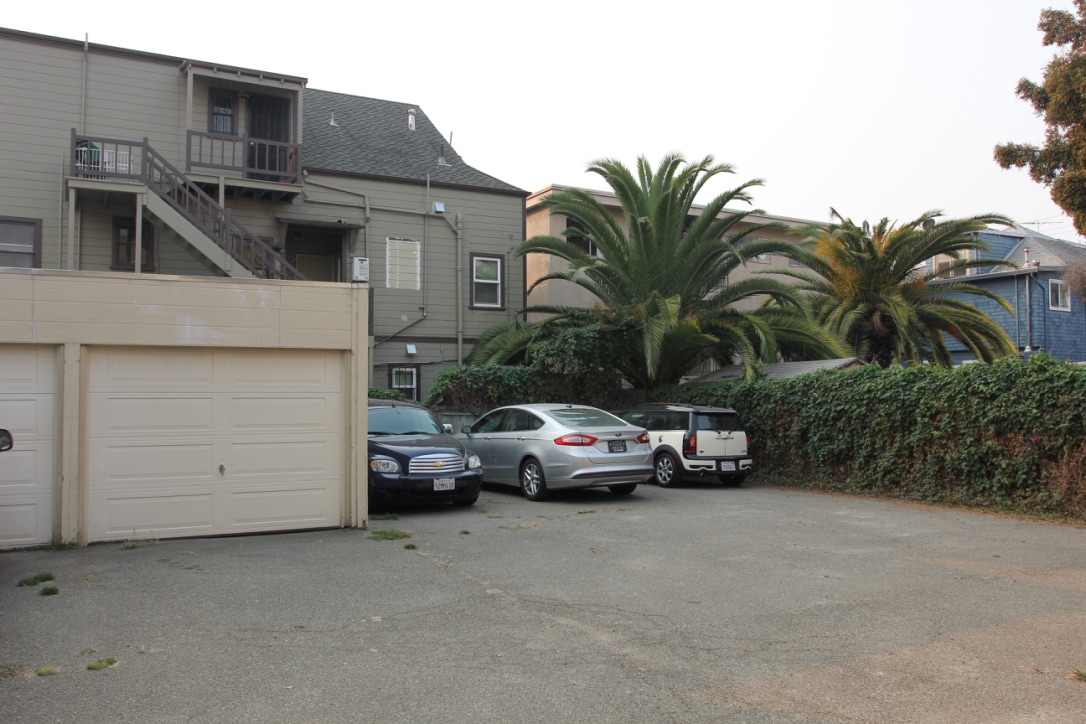
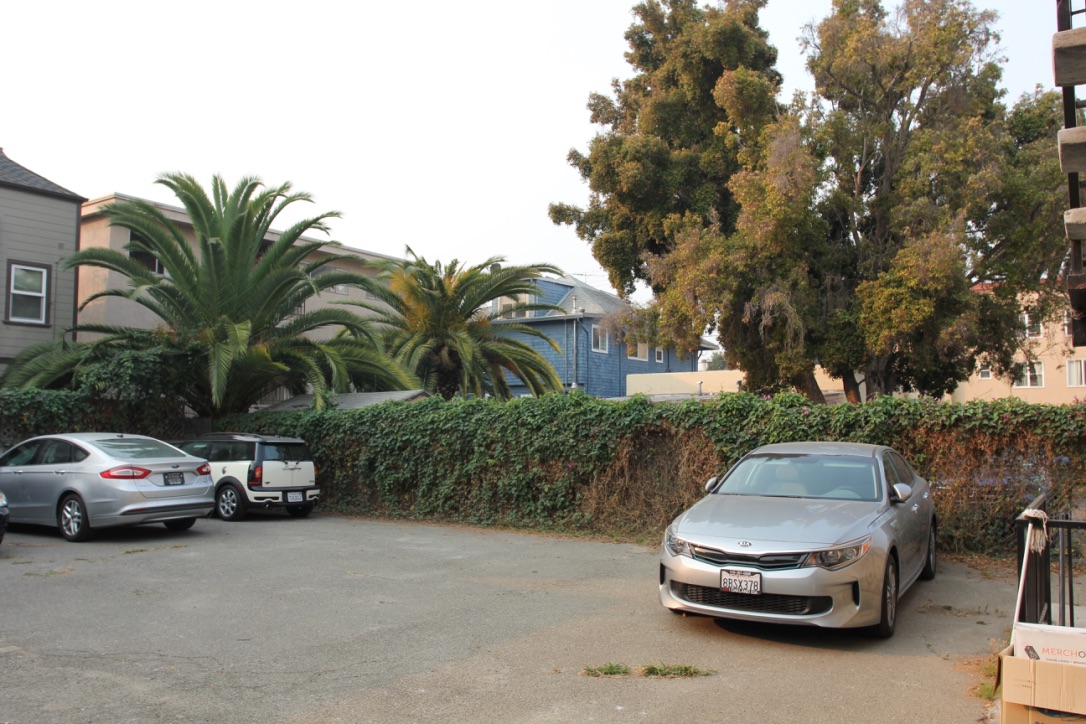
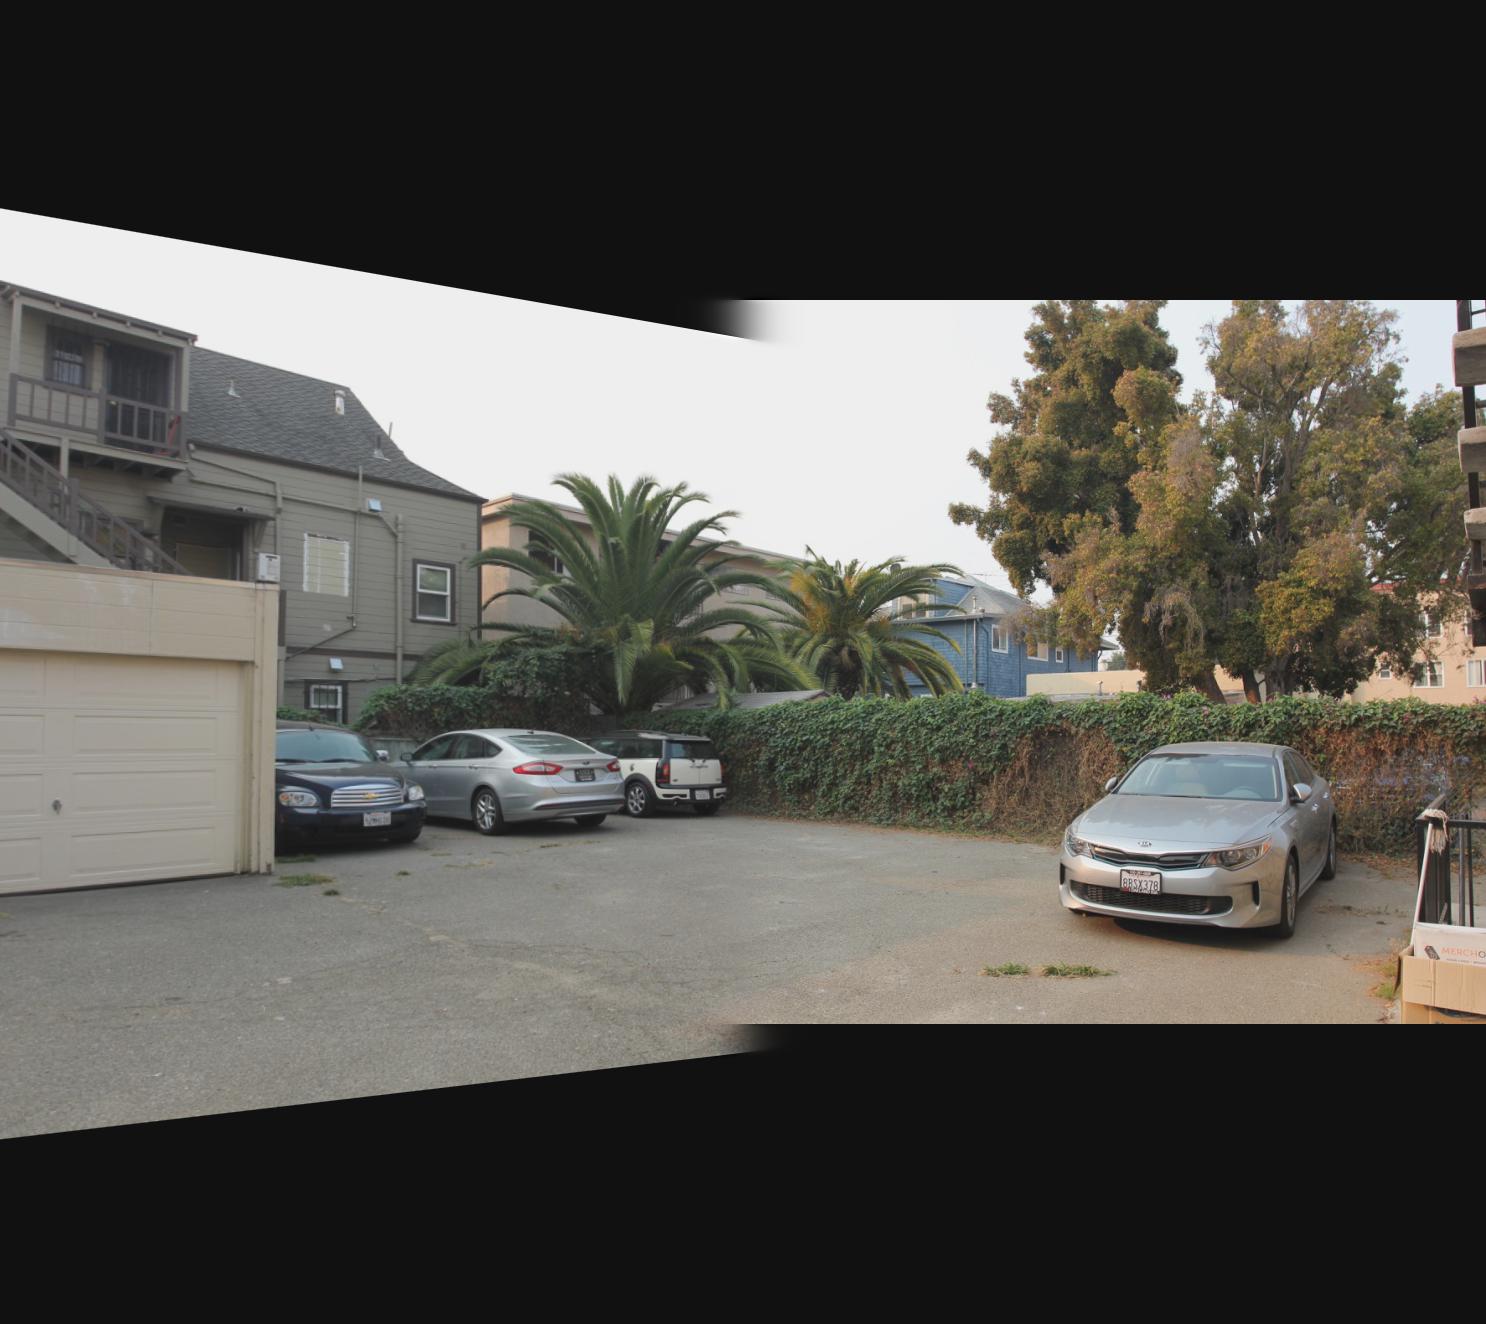
Note that the third set (the front of my house) of images have slightly different brightness and thus have more obvious stitching than the other two. Thus having a unchanging camera setting when taking the pictures is important:
Harris Corners Detector
Now as promised, let's explore how we can automate the last photo "stitching" process. The first step is to make use of the Harris Corner Detection method, which is an algorithm that finds corners in an image (corners being defined as points whose local neighborhoods have multiple edge directions and thus would create significant SSD result value change if shifted). I borrowed and modified the harris functions given by the kind staff member which basically uses skimage.feature library's corner_harris and corner_peaks functions. Here are results of using corner detector on the first set of my images:
Adaptive Non-Maximal Suppression (ANMS)
As you probably have already noticed, the Harris Corner Detector gives us a lot of corner points where we don't hope to use them all, since it is costly to compute and we really don't need that much information from all those interest points. At the same time, we also hope the chosen points to be evenly distributed spatially. Thus, we now use a method called ANMS (paper), which pick points with the largest values of minimum suppression radius (r) according to this equation:

Where I is the set of all interest points we found and c_robust is a constant that I set to 0.9. By keeping the best 500 points, we get the following results with a much cleaner selected sets of points in both images:
Feature Descriptor Extraction
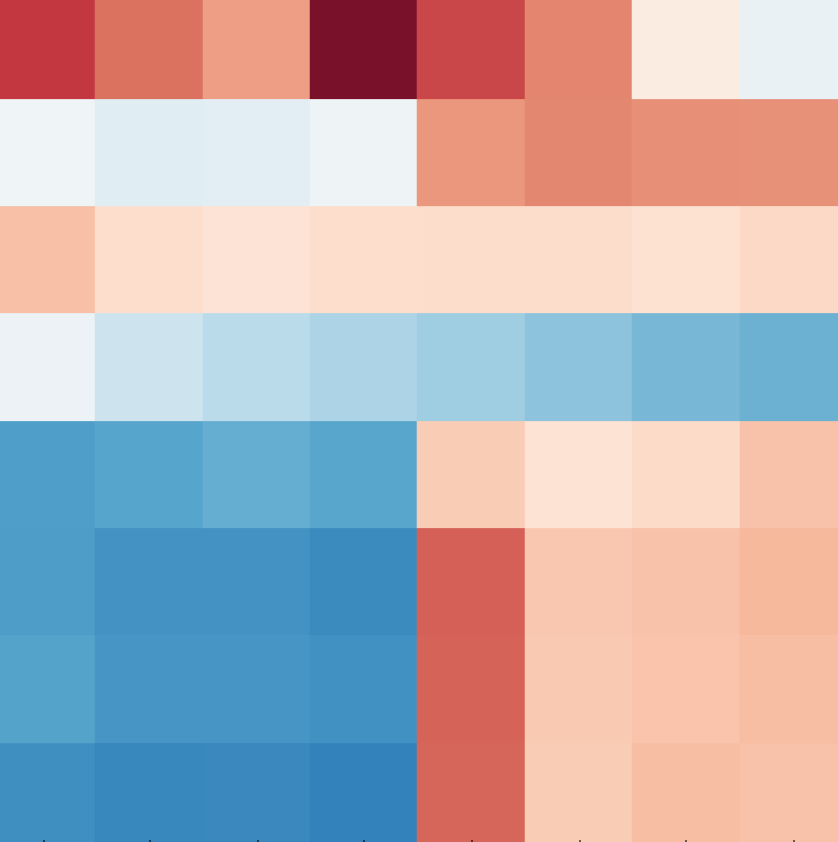
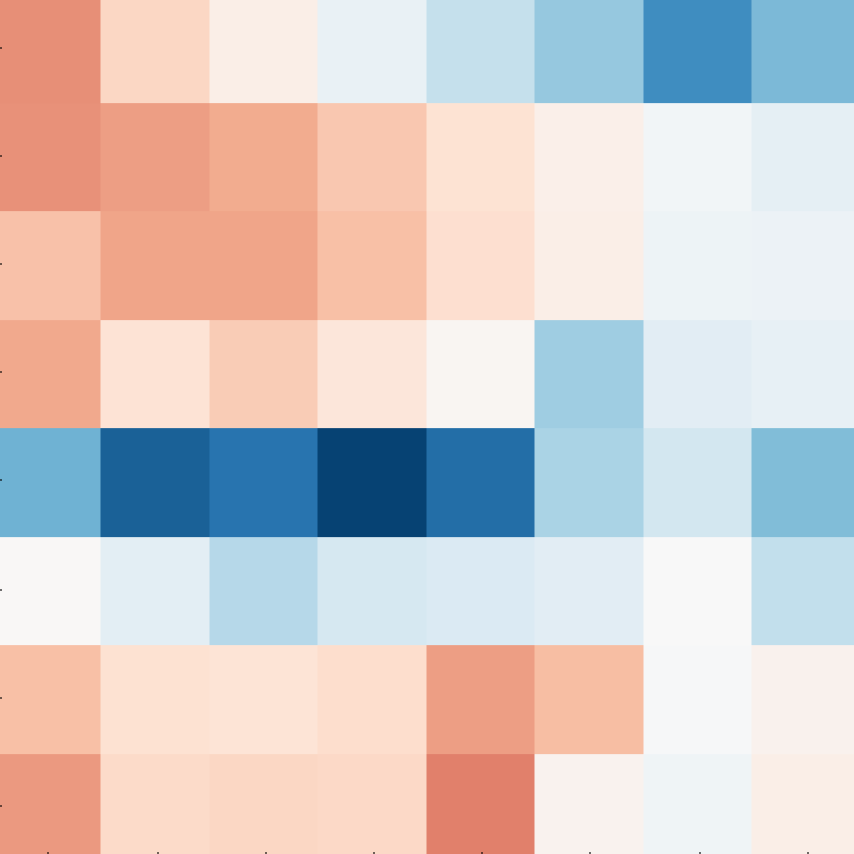
The next step is to extract a feature descriptor for each of the interest point. My method is to create a 40x40 patch centered at each point, use a small-sigma-ed gaussian filter over it and downsample it to 8x8 to eliminate high frequency signals. Then we bias/gain normalize these patches by subtracting the mean and divide the result by the standard deviation, which makes the features invariant to affine changes. Below are some of the example down-sampled feature descriptors extracted:

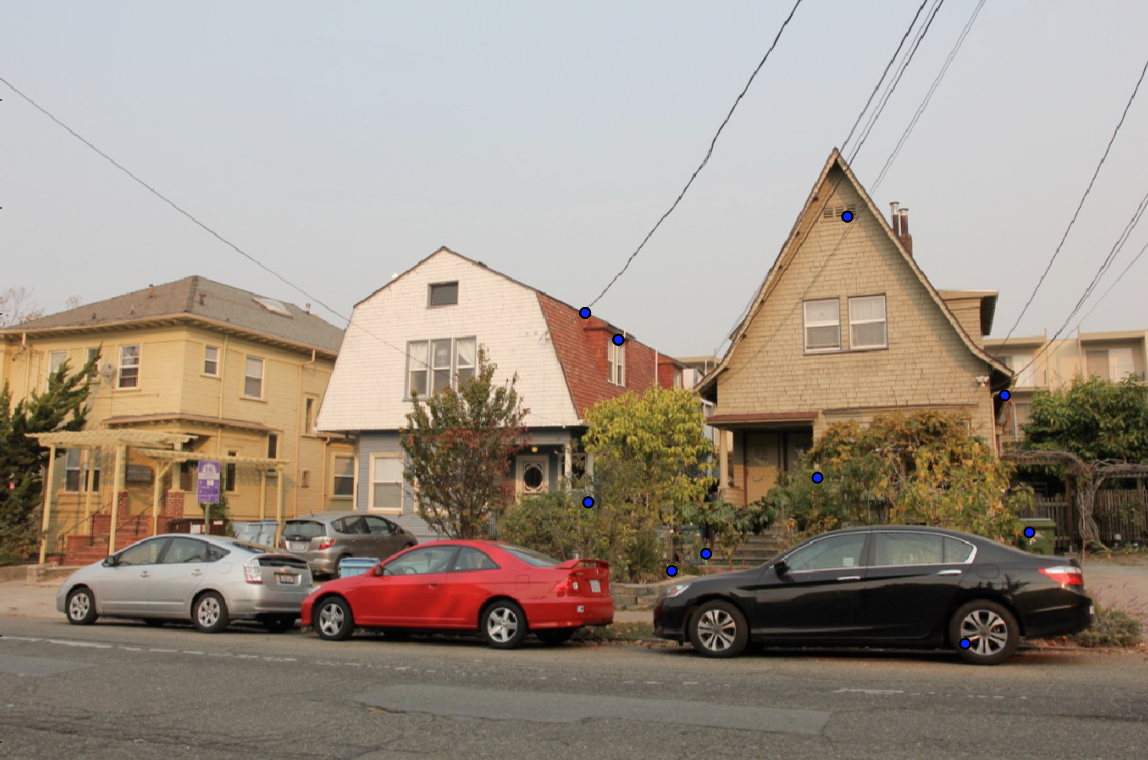
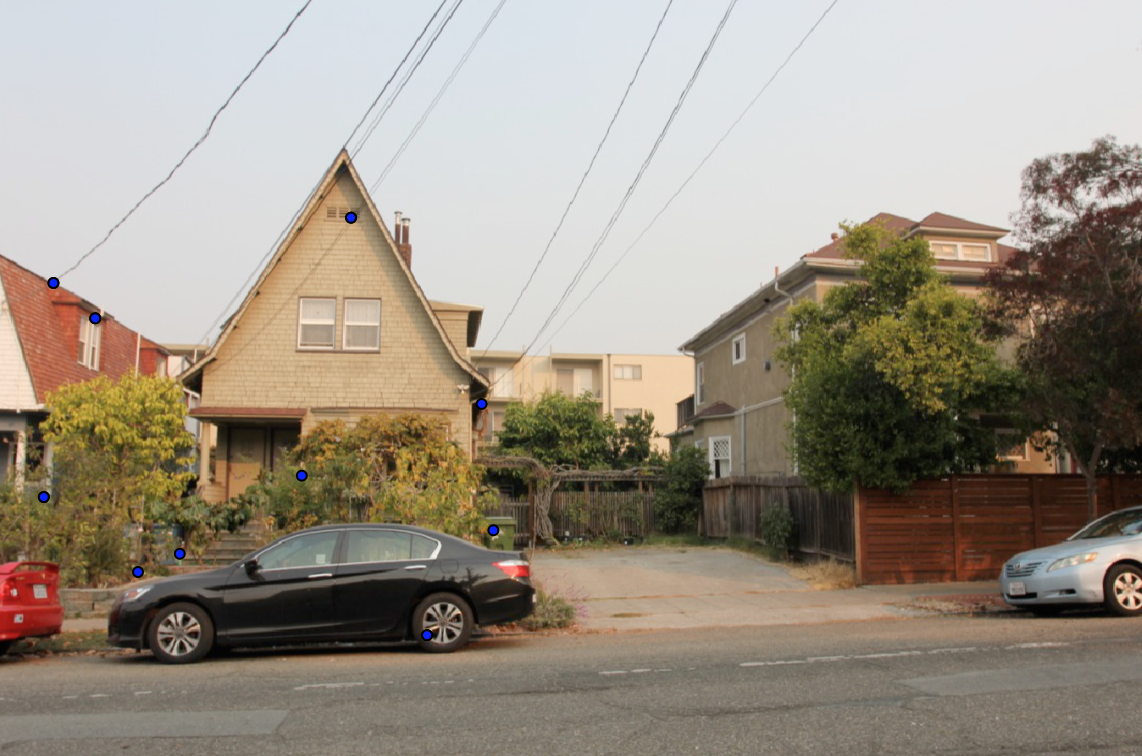
Matching Features
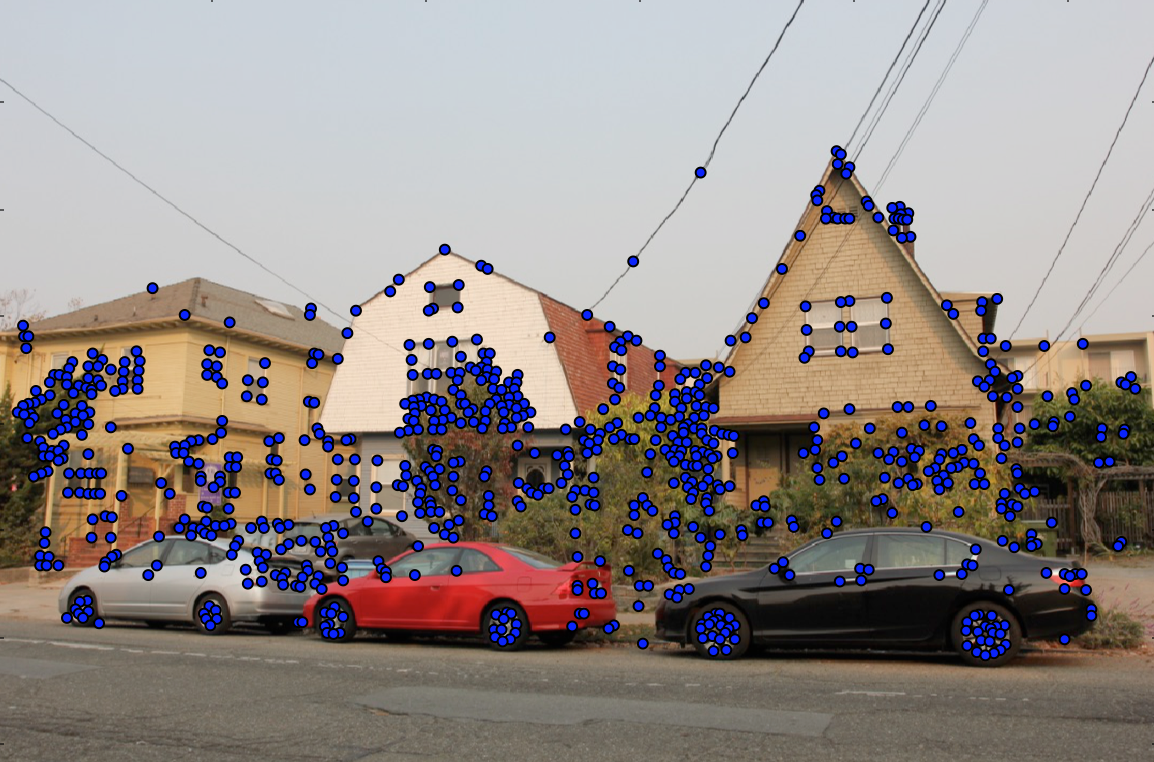
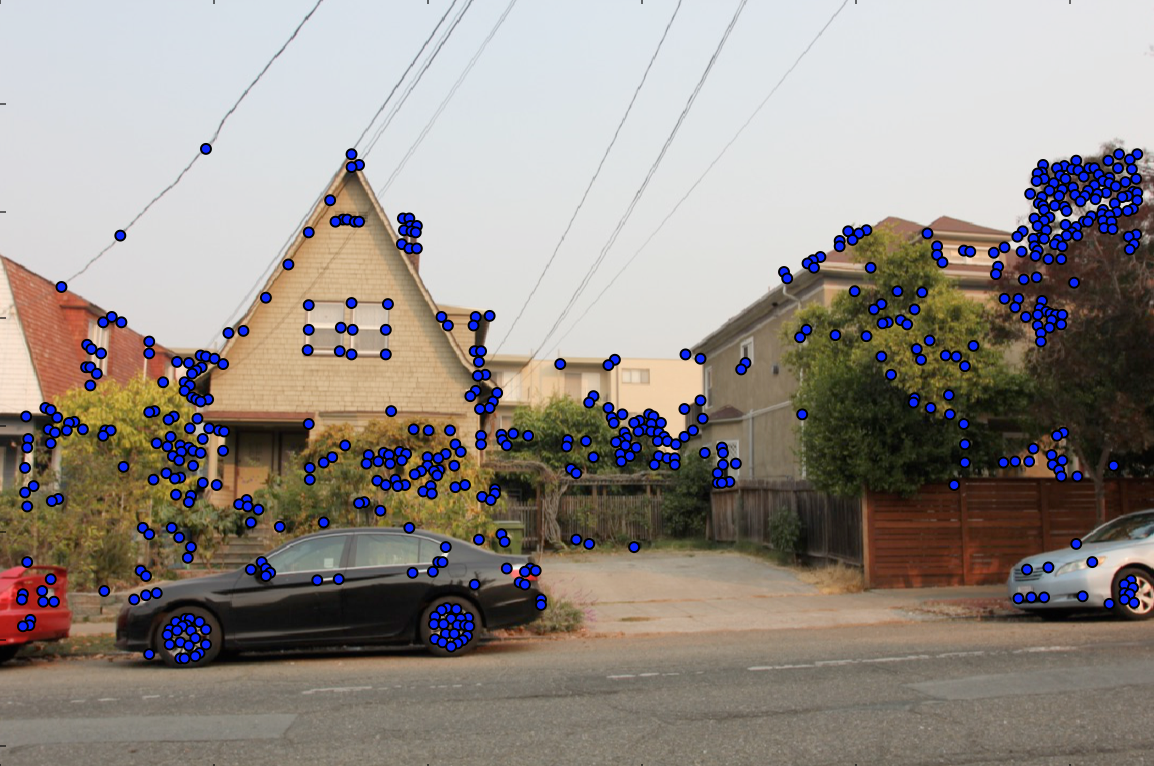
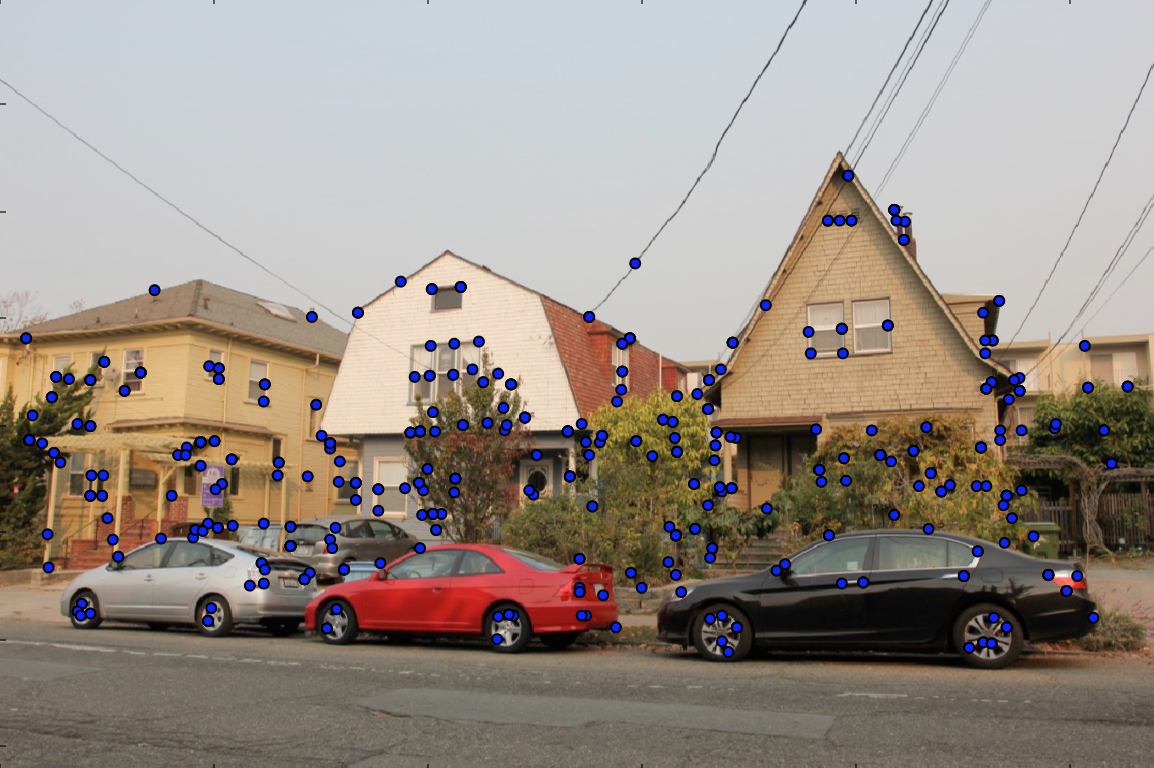
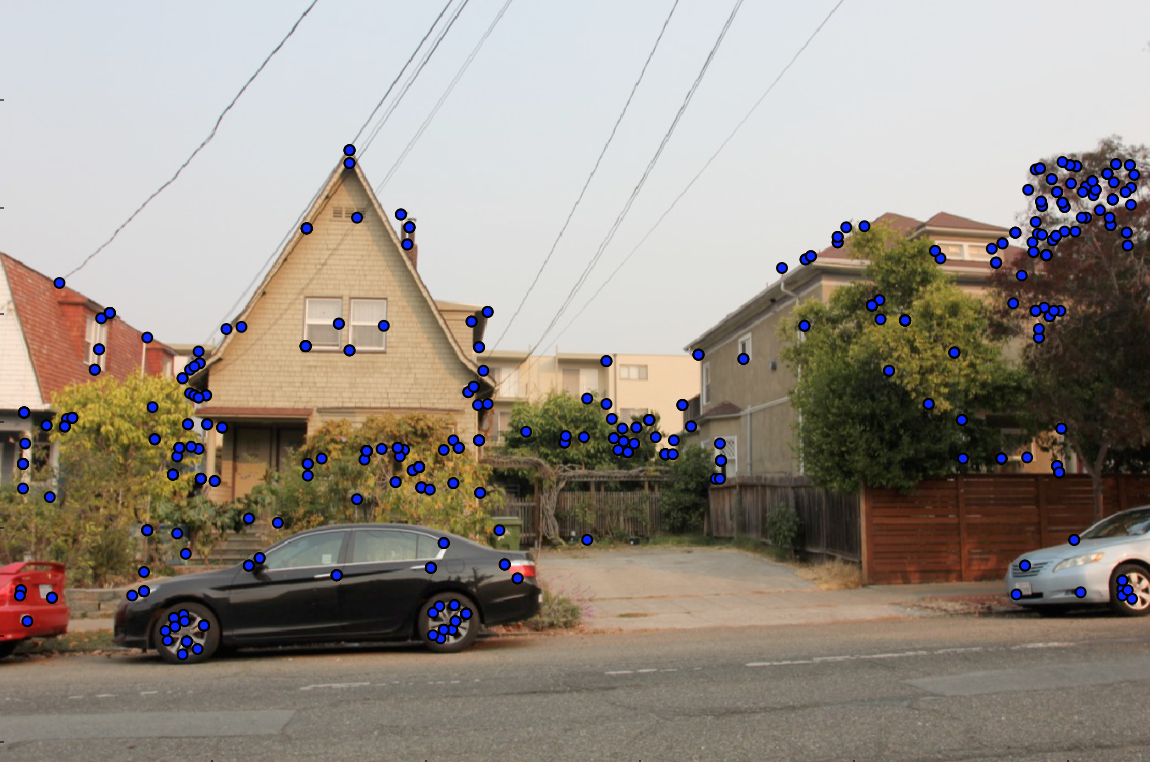
With the feature descriptors extracted, we can proceed to match them in order to create correspondances between sets of points for two images. The general idea is to use the distance from every feature in the first image ot every feature in the second image and apply a ratio test, where the ratio is defined by the distance to the 1-nearest neighbor (best) and 2-nearest neighbor (second-best). If this ratio is less than a threshold value, the match is considered a valid one and we repeat this process. Here I used ratio = 0.5 and the resulting matched features displayed in each of the images (Please look carefully at the images; the blue dots are not as obvious):
RANSAC and Result Comparison
Now what if there are repetitive or similar features or any other match that creates a non-ideal outlier? An important idea introduced here is RANSAC, or Random Sample Concensus, which chooses four matched points at random at each iteration and compute the homography H. Then we warp all matched points in the first image using H and compute the euclidian distance as an error. We then look for inliners, which are points whose error value is less than a threshold. Repeat this in an iteration and keep the largest set of inliners as the actual matched features in the end, and we are able to get pretty good auto-stitching results. Here I used 2000 iterations for each set of images and a threshold value of 100 (which could be variant according to different images); comparing the results from previously when we defined correspondances manually (left) and now automatically (right):
Reflections
The idea of keeping the same POV and use homography and warping to create rectified images and panoramas is pretty cool. However, one thing to notice is to have the same camera settings when taking the same set of images (besides having the same POV, which is the most important thing). Also, automatic stitching for images can save a lot of time and create in general better results than manually selecting correspondance points.
Credits
Inspiration taken from friends, past projects, python libraries, papers and other online resources.