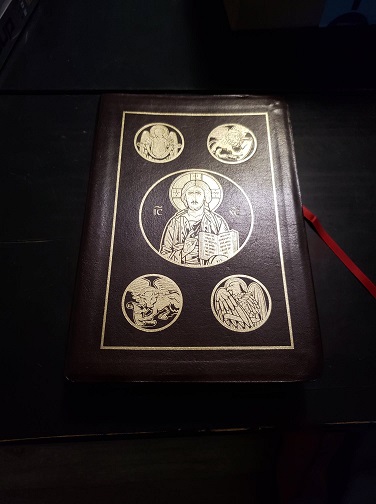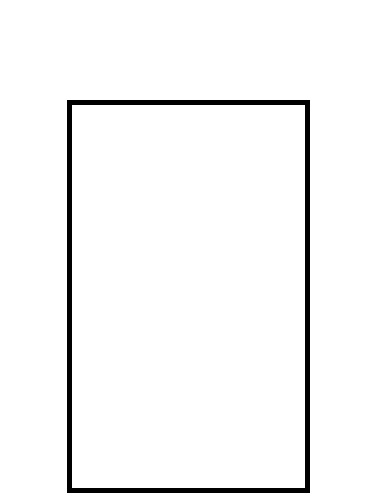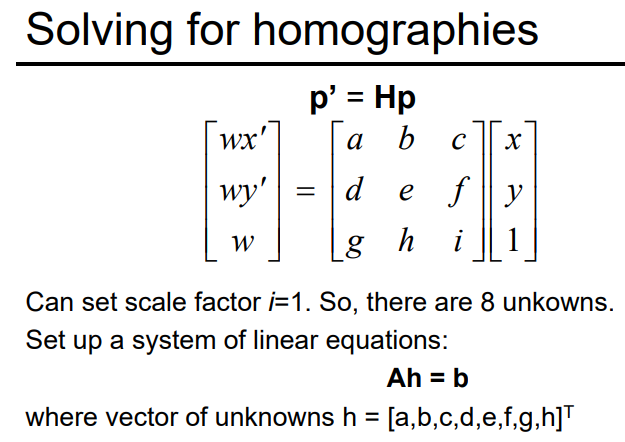
I solved for Homographies by first defining correspondences on each image, then solving for the homography between the two.
Here are some outputs of my homography function! Both the source image and the projection have been provided. The correspondences were defined as the corners of the book (im1) and of the rectangle (im2).
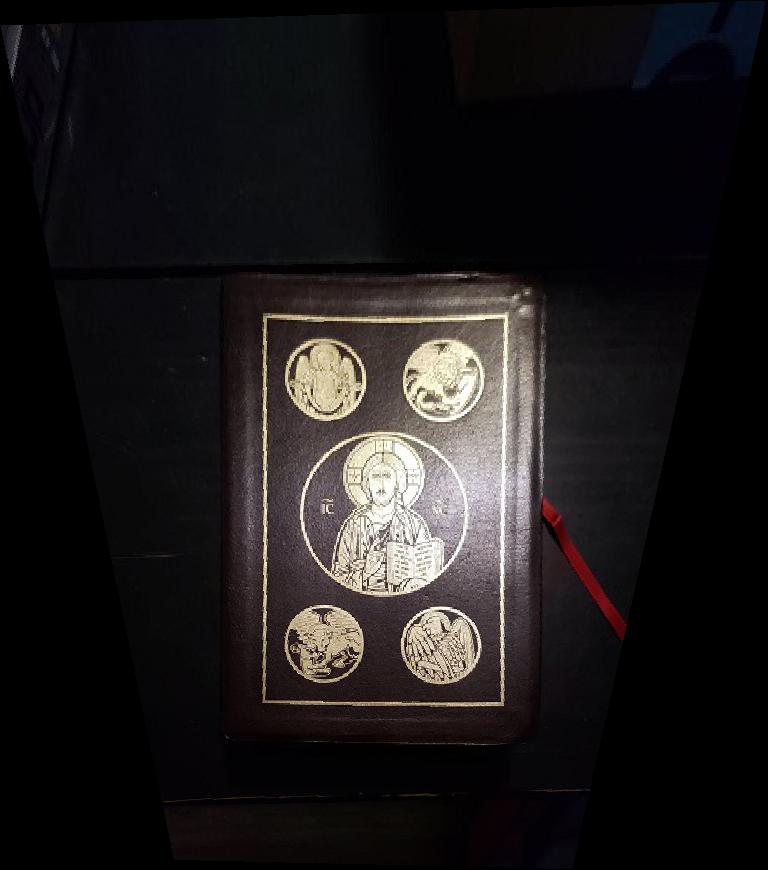
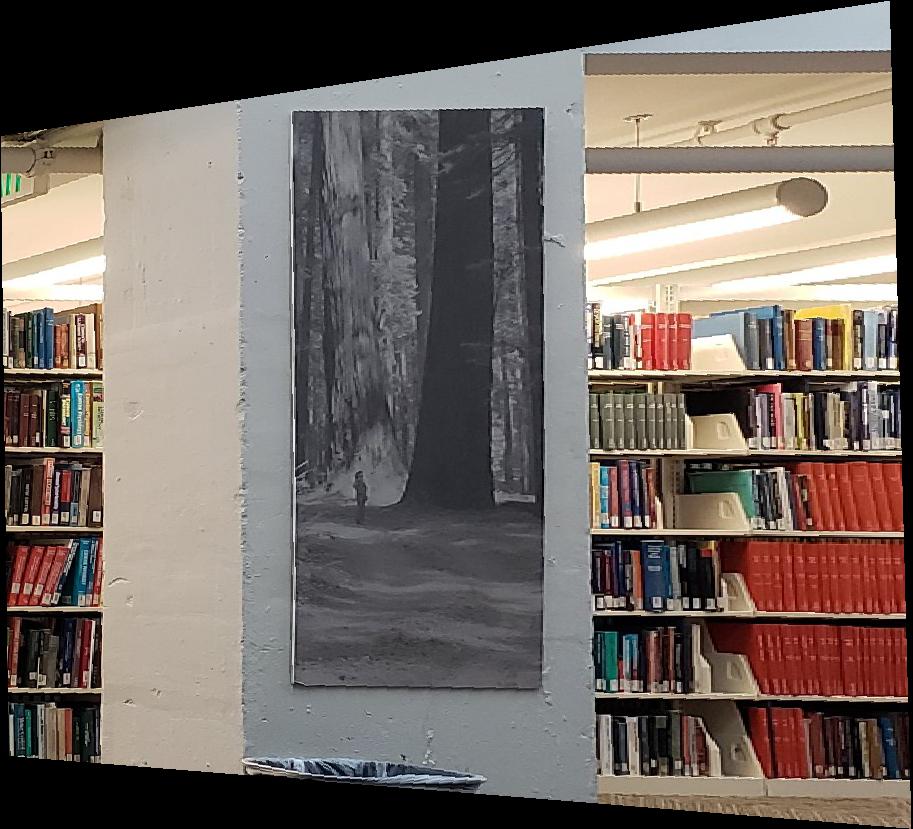
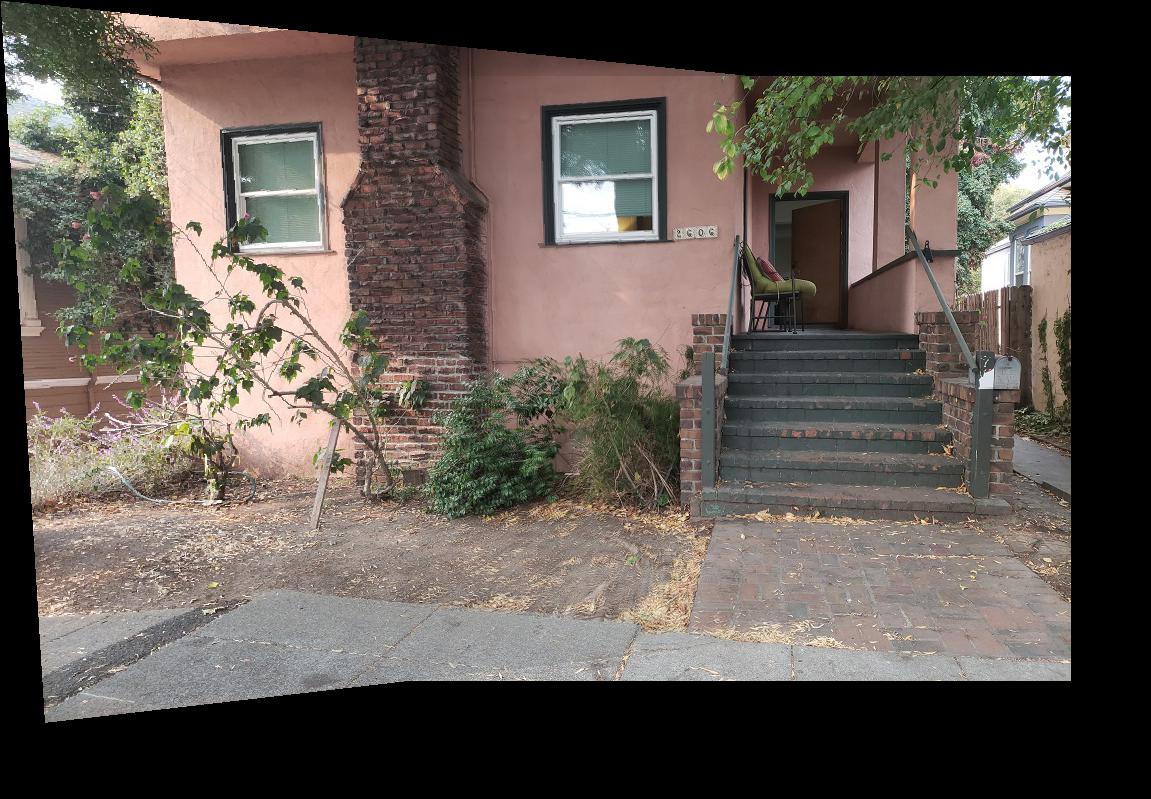
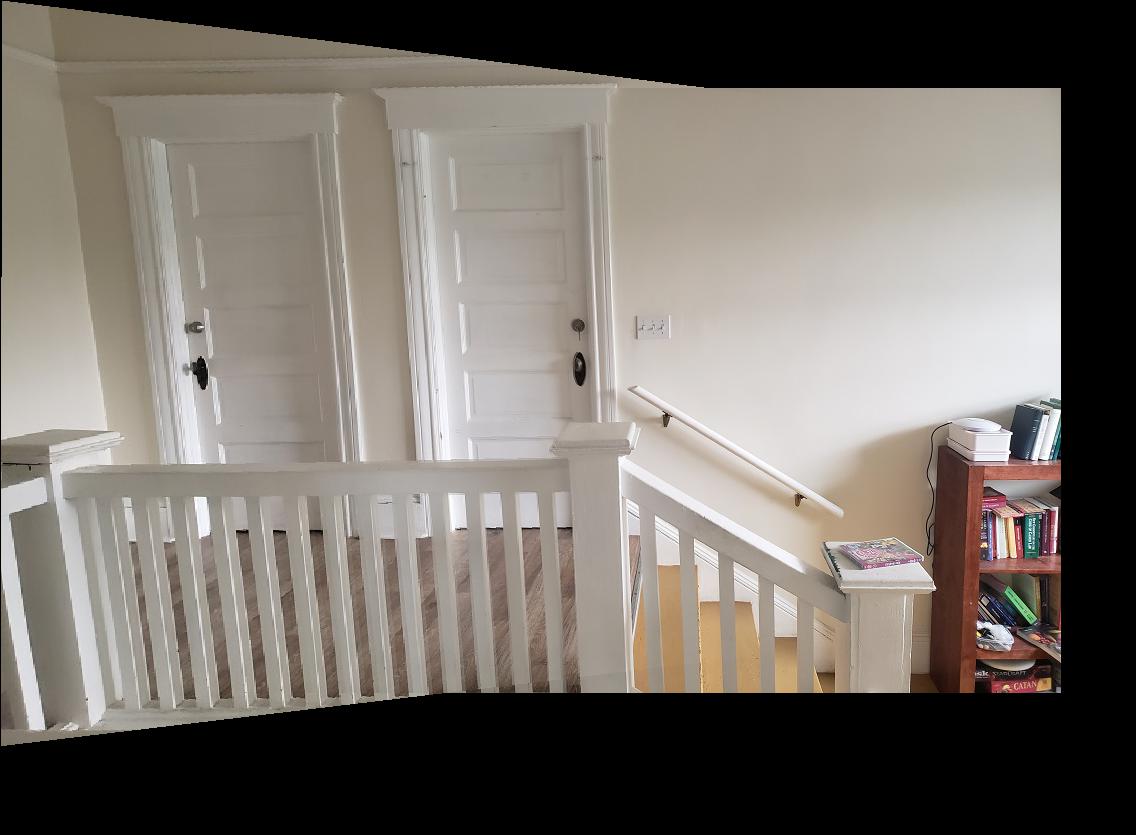
I just happened to be working on my project in VLSB when I wanted a better look at that painting in the main room...
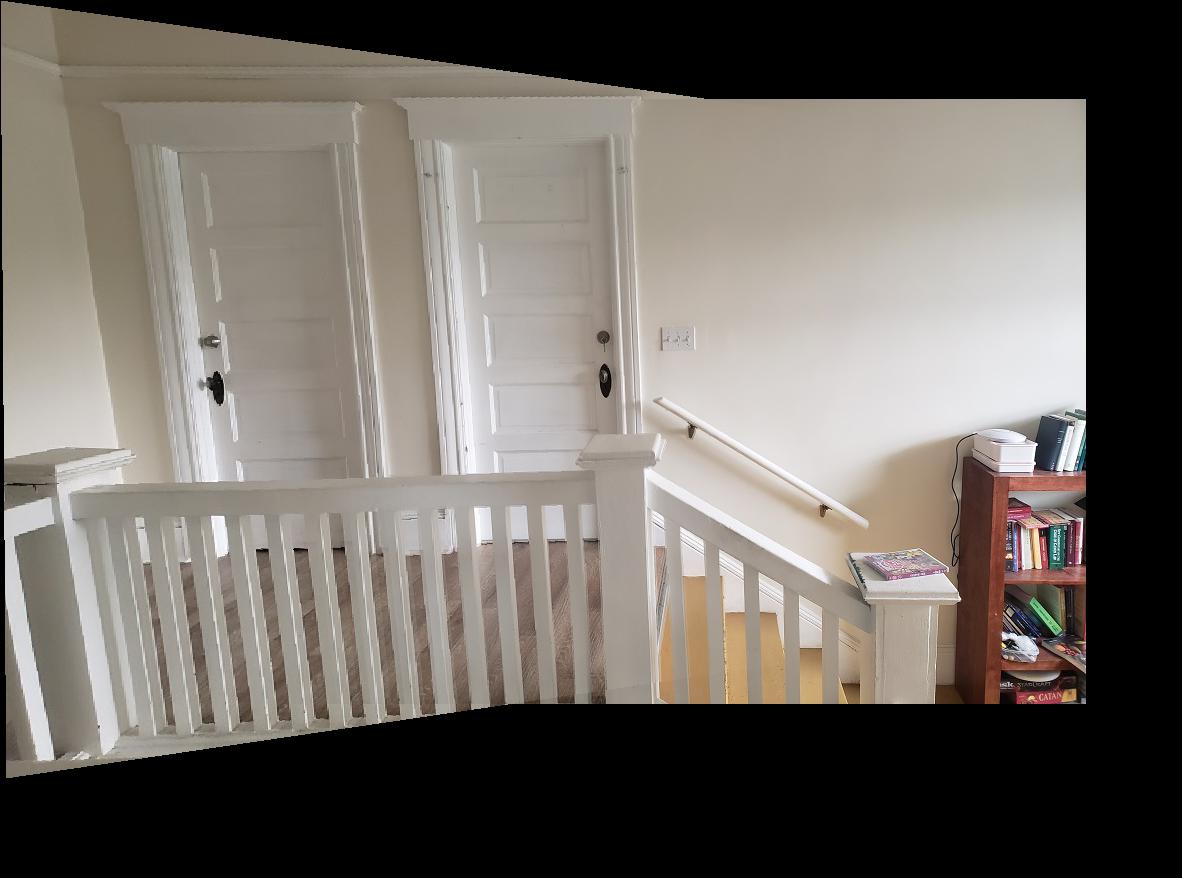
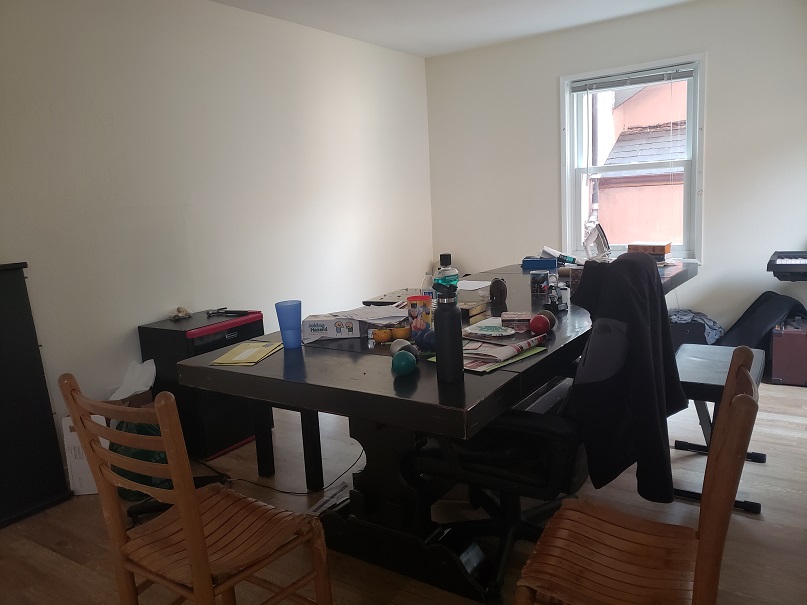
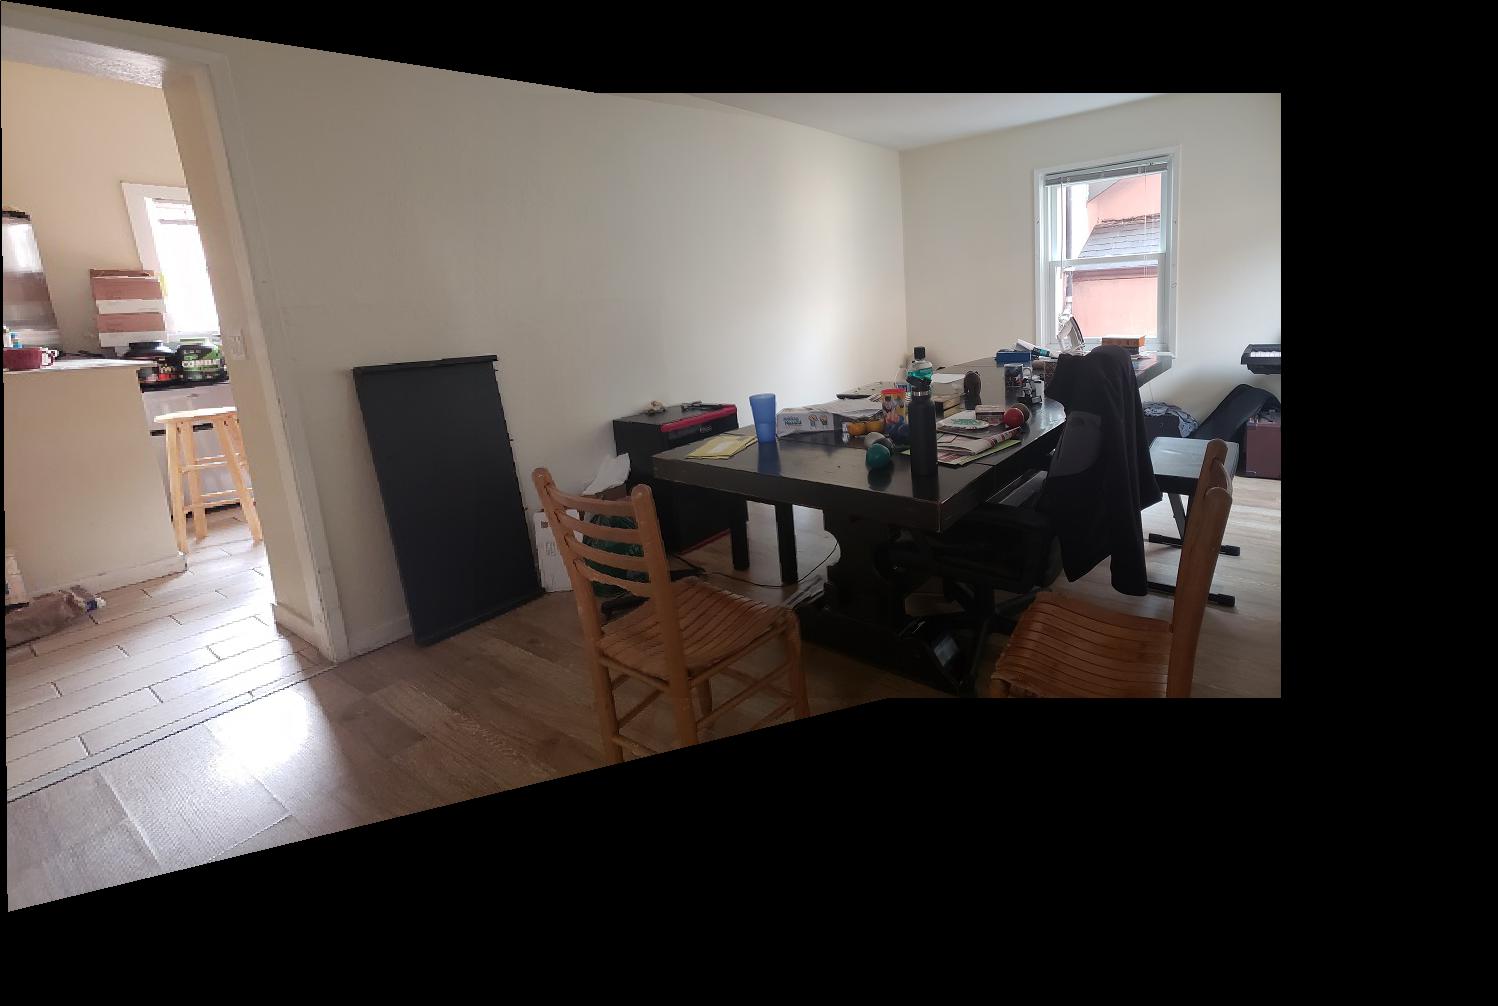
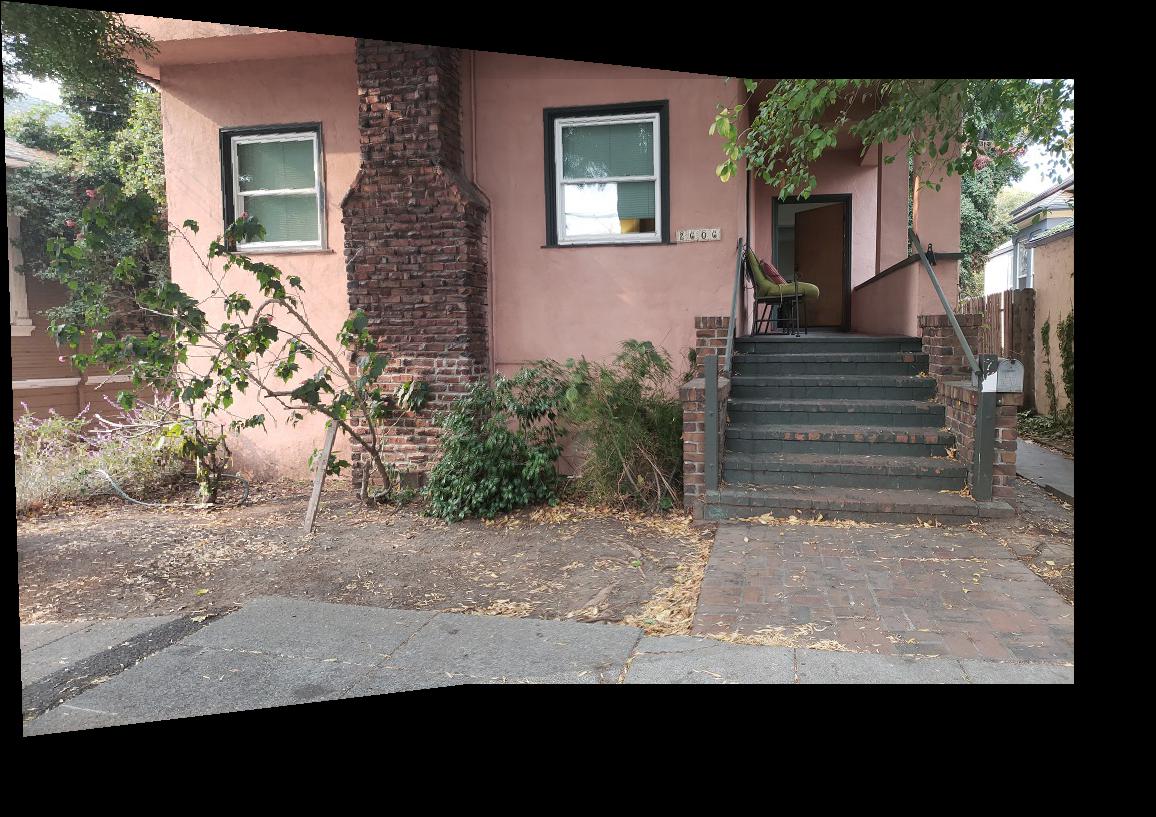
Here is a panorama of some room!
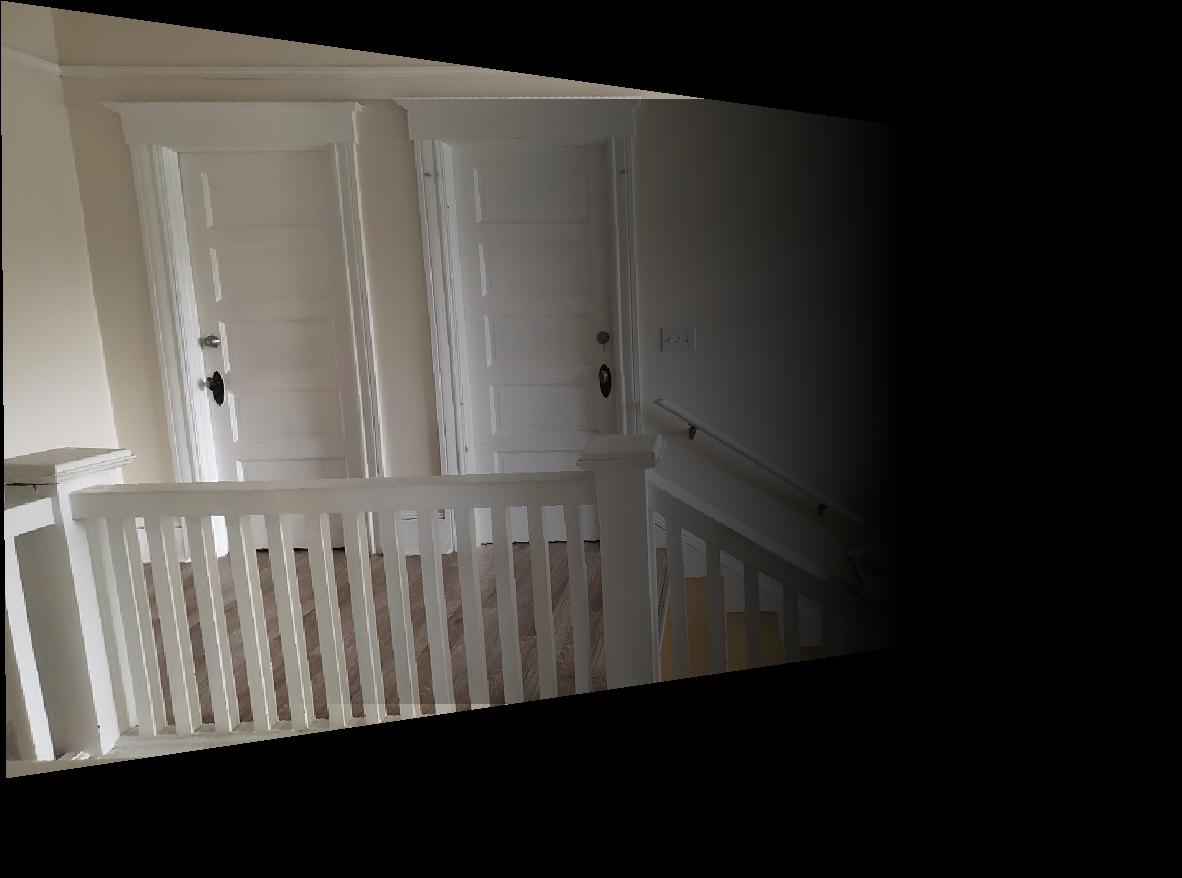
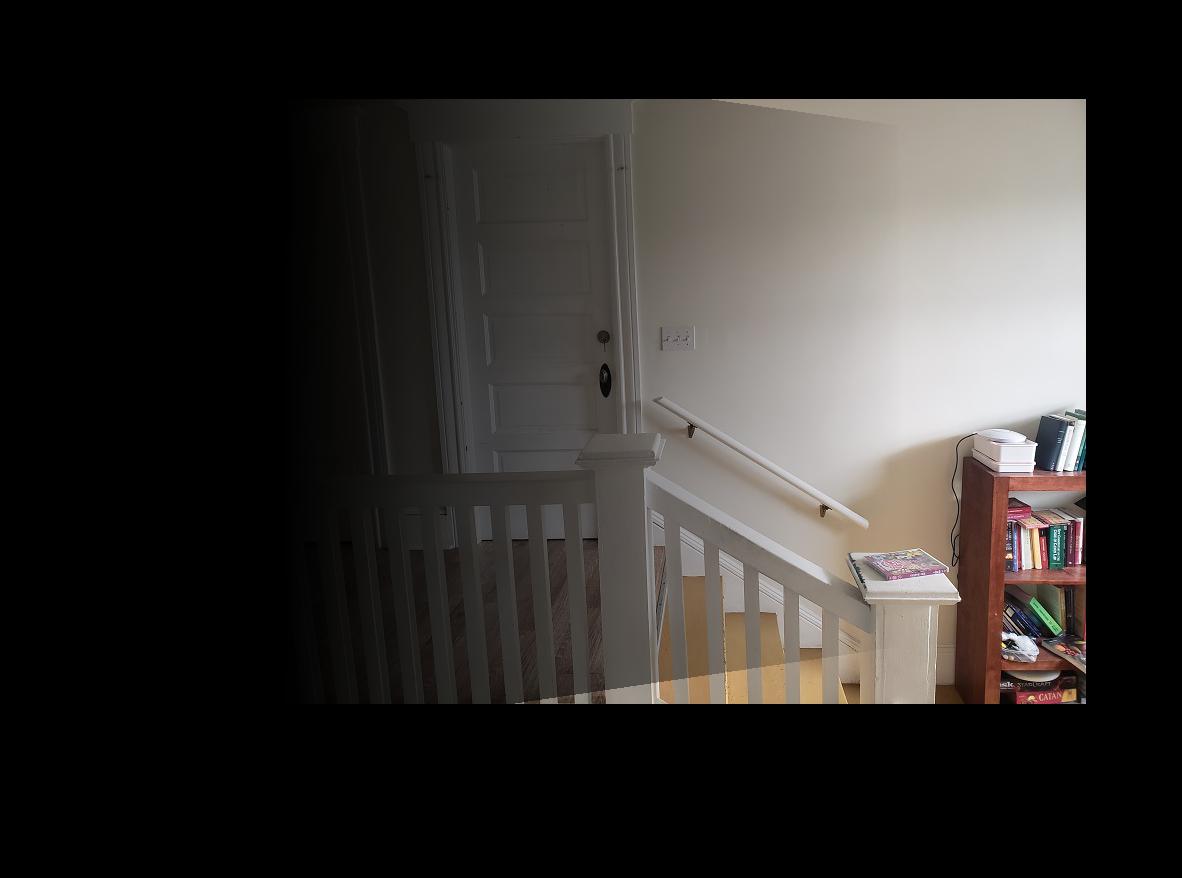
Example of my linear blending algorithm. My approach was to gradually blend only the parts of the image that had overlap. So starting from one side of the image to the other, my image gets gradually less bright depending on which side of the panorama the image is going to be on.
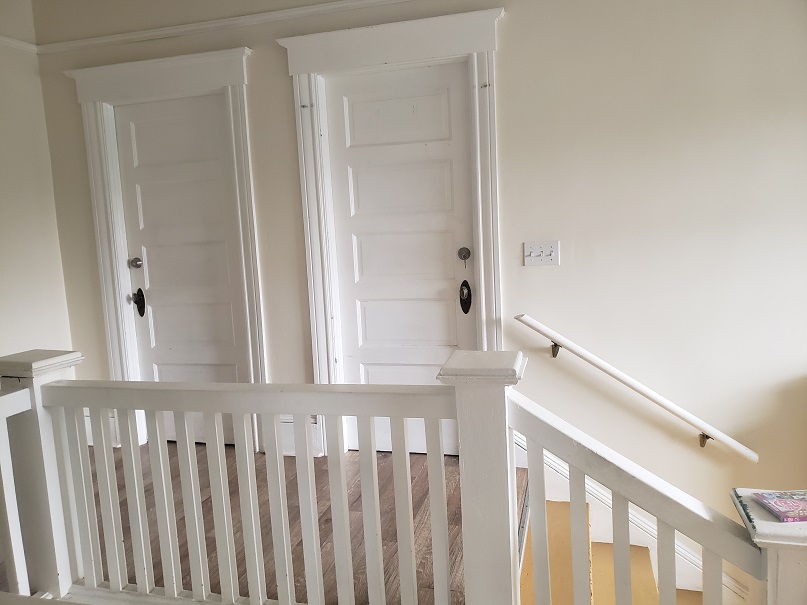
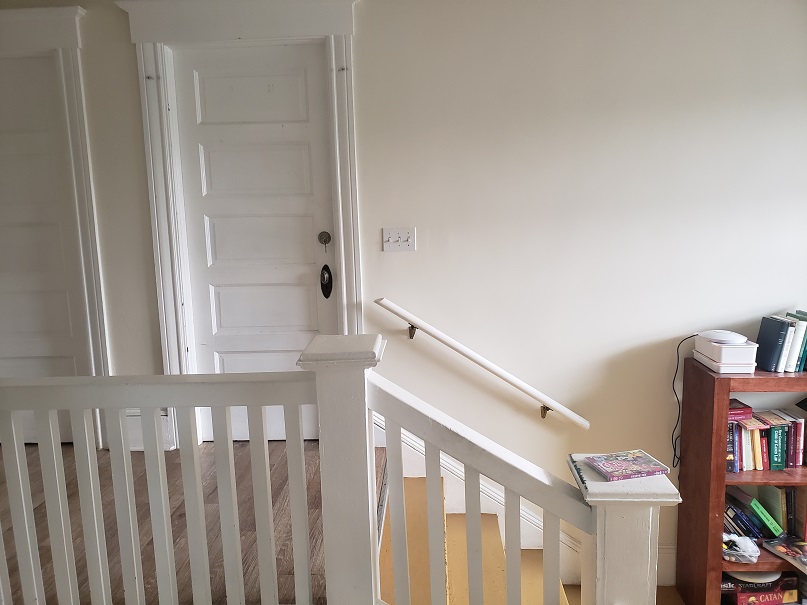
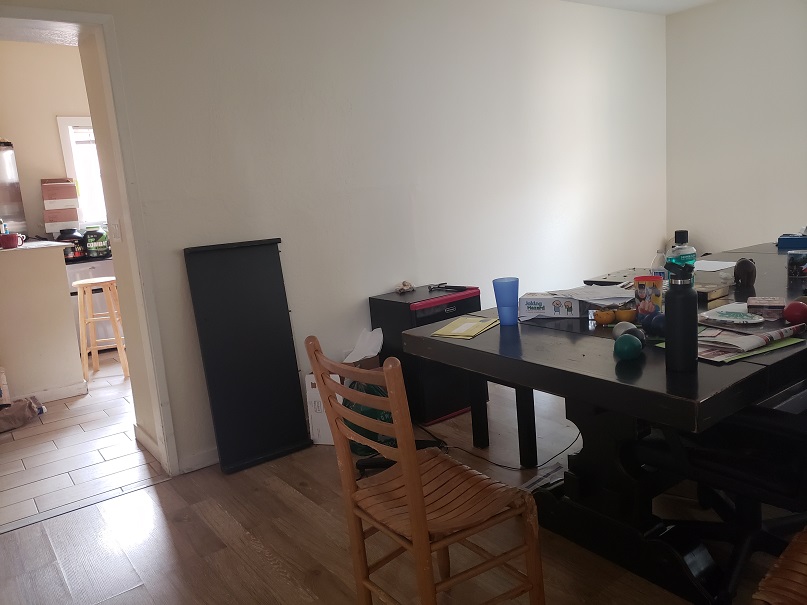
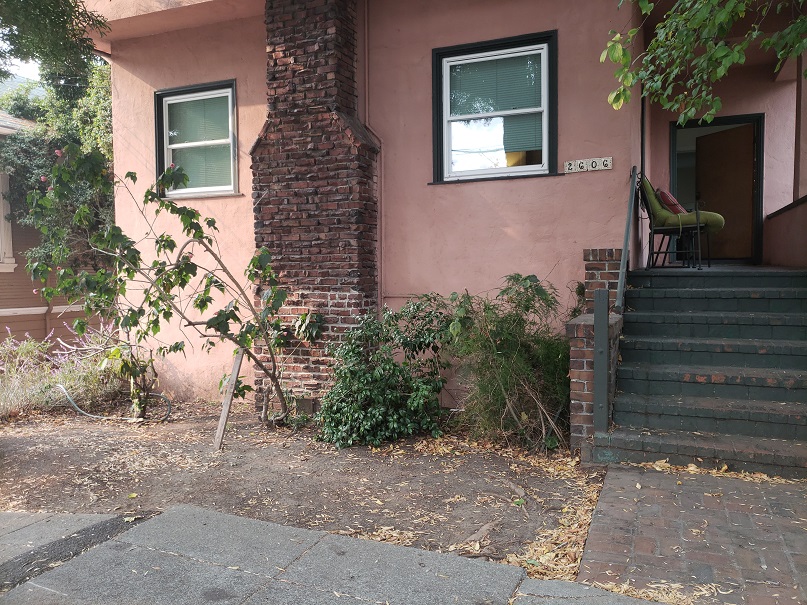
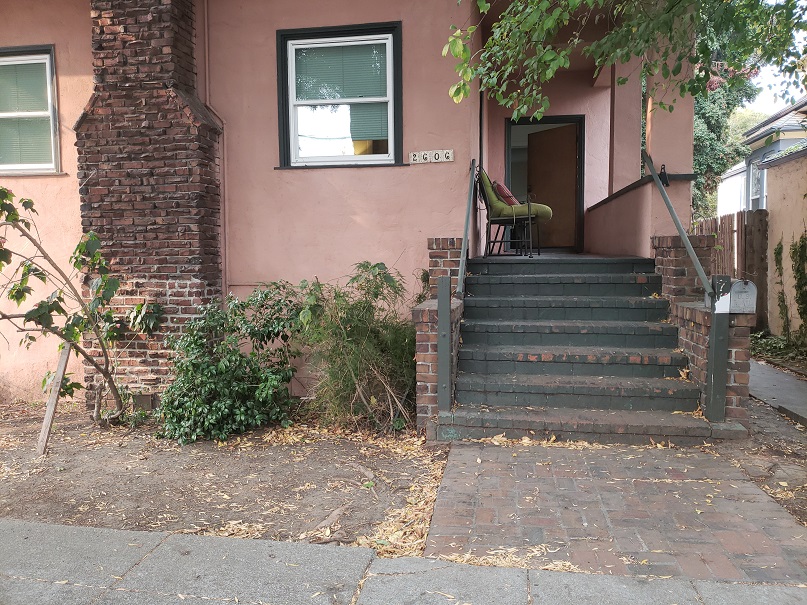
More examples...
Foliage was really hard for me to properly align, but I tried my best!
It’s really hard to find good correspondences! But this was a really cool and quite simple algorithm when properly implemented. Was able to produce panoramas very quickly once the code was fully working!
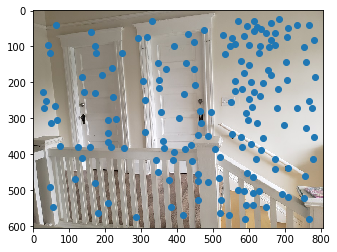
Using the Provided Code from harris.py and a min_distance = 10, I found the proper corners of an image.
Following the paper, I then implemented the adaptive non-maximal suppression algorithm using a coefficient value of 0.9 and took the top 500 points.
By extracting a 40x40 patch around each point and downsampling it to an 8x8 patch to smooth out high frequencies we can then match the points using a nearest-neighbors search. The provided dist2 method was helpful in finding the distance between two points. The paper recommended using a threshold value of around 0.67, though I experimented with values for each image and found a slightly lower value to be better.
Then I chose a the correspondence sets of 4 random points and computed a homography between the two. Using SSD from project one, I was able to compute the SSD between the Homography applied to one set of points and the other set of points. I iterated this process around 1000 times per set of images and kept track of the points that had the highest SSD values on average. Using a high threshold (varied between picture) I was able to extract a good set of correspondences between the two images.
We now have the best matches!!!!!
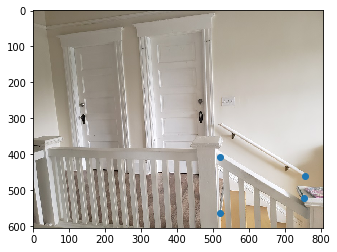
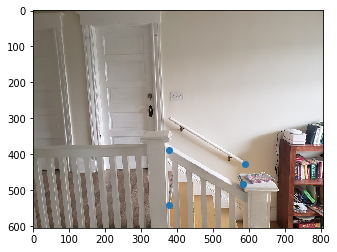
(left is the hand picked correspondences, right is the results from the automatic stitching)
They look pretty good! The auto-stitching was generally better at finding correspondences than I was!
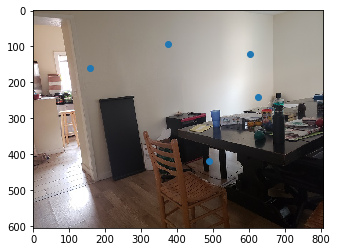
what happened here?????
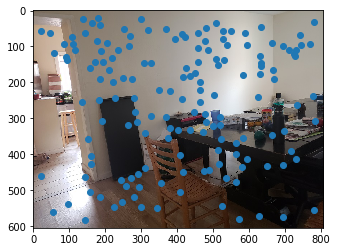
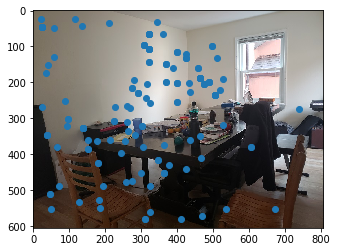
Above is the output from manual correspondences
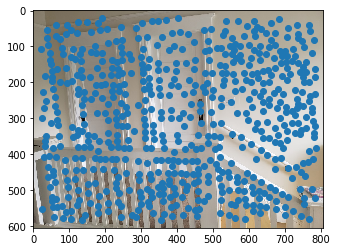
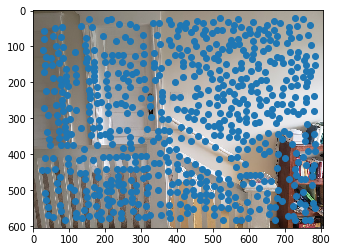
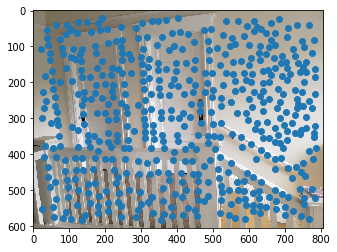
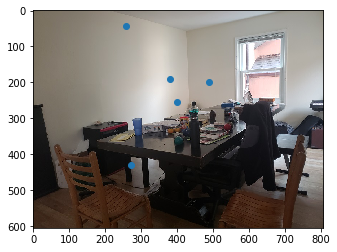
Above are the points found at various points in the automatic stitching algorithm.
Why I think it failed….As you can see there were a lot of points, especially along the white wall, that were counted as corners even though they were clearly not corners. These points were often feature matched to other points along the white wall because they just looked so similar. It also did not help that things that would have been good corners such as the black board prominent in the left image, and the window prominent in the right image, were only prominent in on of the images. This turned out to be very problematic in running the algorithm as even after fine tuning the parameters, and increasing the amount of RANSAC iterations, I was unable to get the algorithm to output “good” correspondences.
Lots! The process was actually a lot simpler than I thought it was going to be when I first started. It was all a matter of getting some good potential corners, and filtering down the points, first by distance, and then by feature matching and homography estimates to produce the best correspondences! It was really cool to see my code do all the hard-work (I really thought finding my own correspondences was very tedious,