CS 194-26 Project 6A: Image Warping and Mosaicing AND 6B: Autostitching (See 6B below)
Name: Andrew Oeung
Instructional Account: cs194-26-adz
Objective:
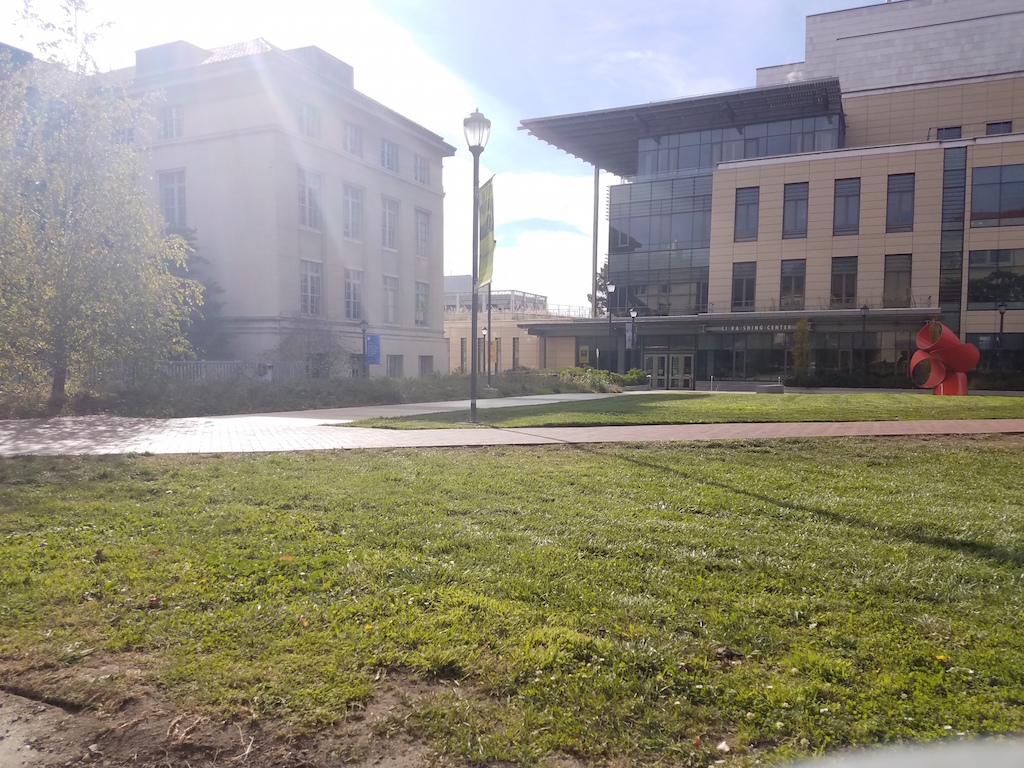
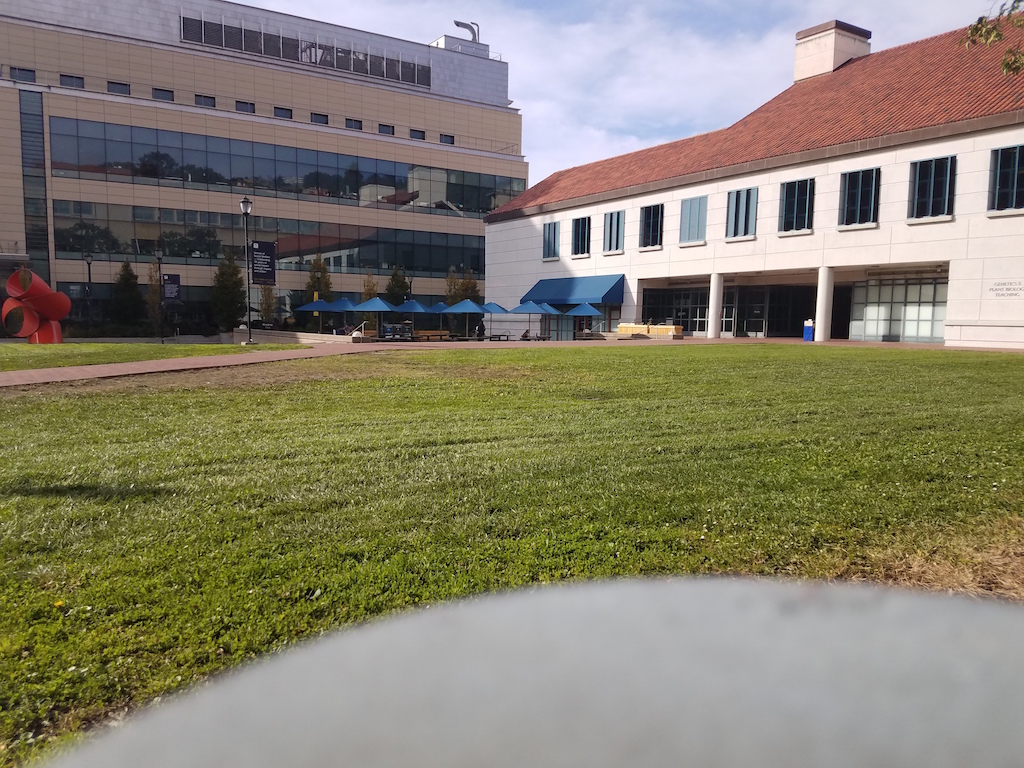
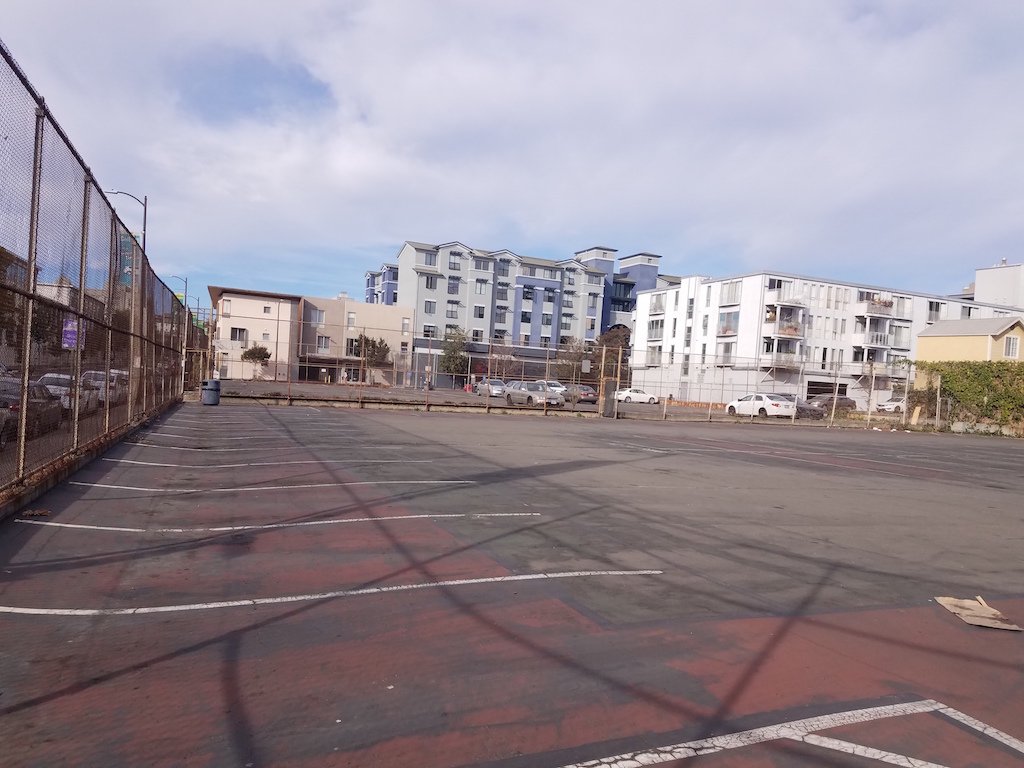
This project focuses on shooting overlapping photos and creating an image mosaic from them by projective warping them and blending them together. Cameras generally suffer from a small field of view, and the idea of an image mosaic is to force these image sets onto the same plane to create a mosaic that can capture a larger field of view. I will mainly use images that I took at the Berkeley campus for image rectification and mosaic blending. Here are some examples.
|
|
|
Recovering Homography:
We can use least squares to find the 3x3 matrix with 8 degrees of freedom that has the transformation parameters between two images. This will be critical to discover relationships between image pairs. I will create 25 correspondence pairs between a pair of images so that we will have an overdetermined system of equations. The reason we need this transformation matrix is so that we can take an image and warp it to a different plane. Using point correspondences, I find H from p' = H*p, where p' and p are my corresponding coordinates from the two images. I can solve this by setting up a least squares equation:
A =
[x1 y1 1 0 0 0 -x1x2 -y1x2]
[0 0 0 x1 y1 1 -x1y2 -y1y2]
x =
[a b c d e f g h]
b =
[x2 y2]
Where x1, y1 are my points from correspondence #1 in image 1 and x2, y2 are my points from correspondence #1 in image 2. Then I solve for a, b, c, d, e, f, g, h. If I have more than one correspondence, then I just append rows to A and elements to b as appropriate.
Image Rectification:
Once we find the 3x3 matrix from the previous part, we can use the matrix with inverse warping to get each warped pixel from its corresponding pixel in the first image, or forward warping to send each pixel to its warped pixel location. Here, I'll rectify my mousepad and laptop so that the point of view of the image will be straight down at the two objects.
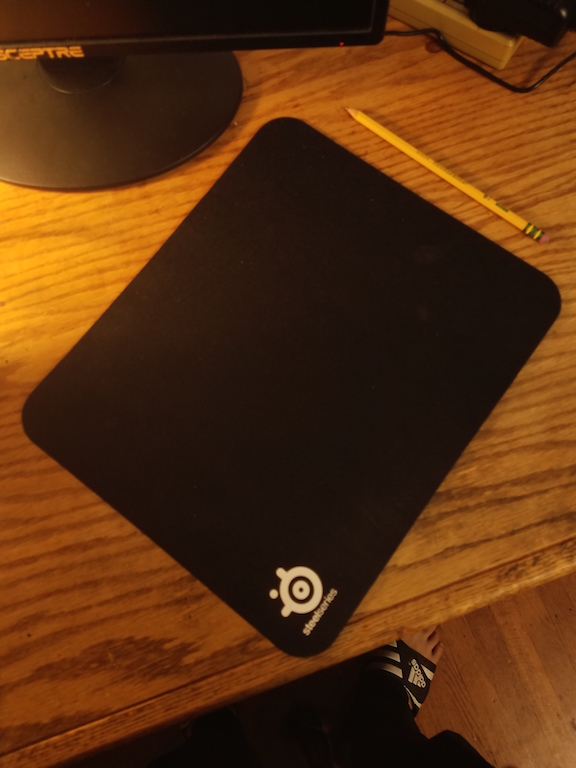
Image 1 |
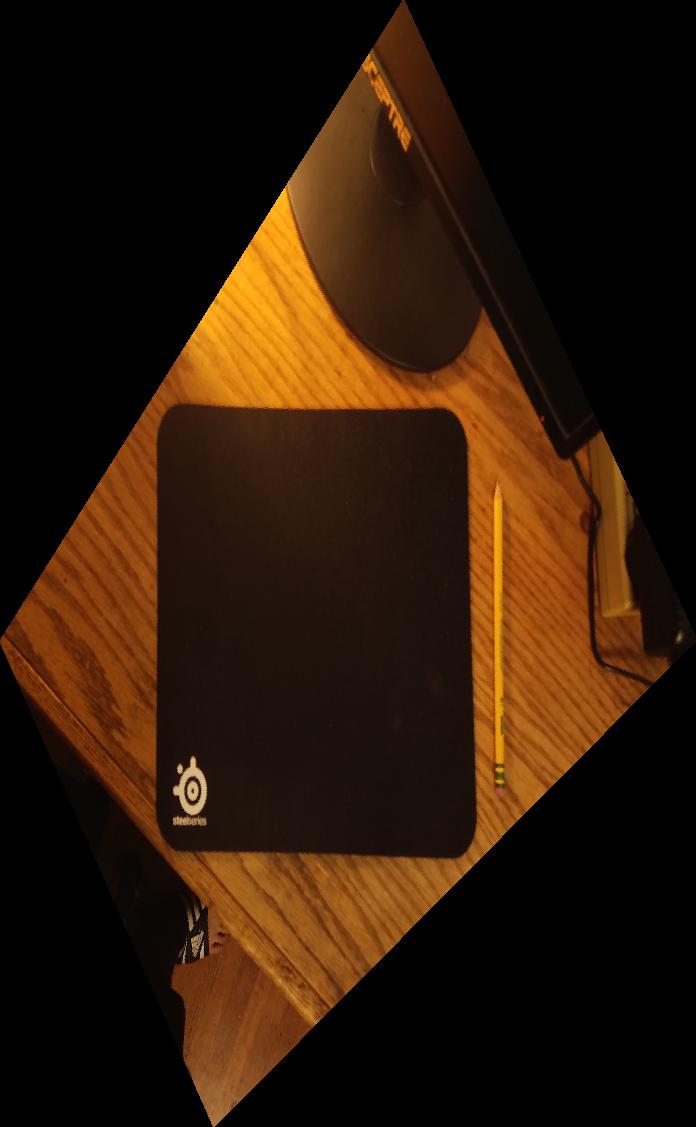
Image 1, rectified |
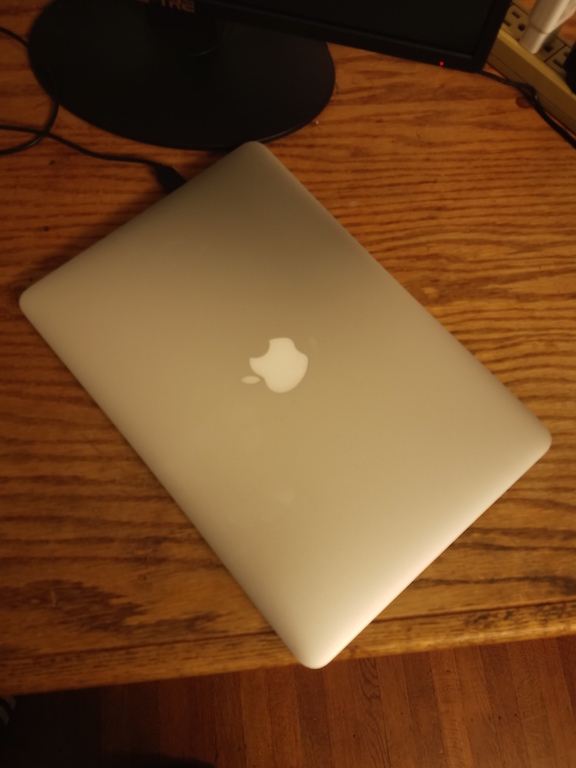
Image 2 |
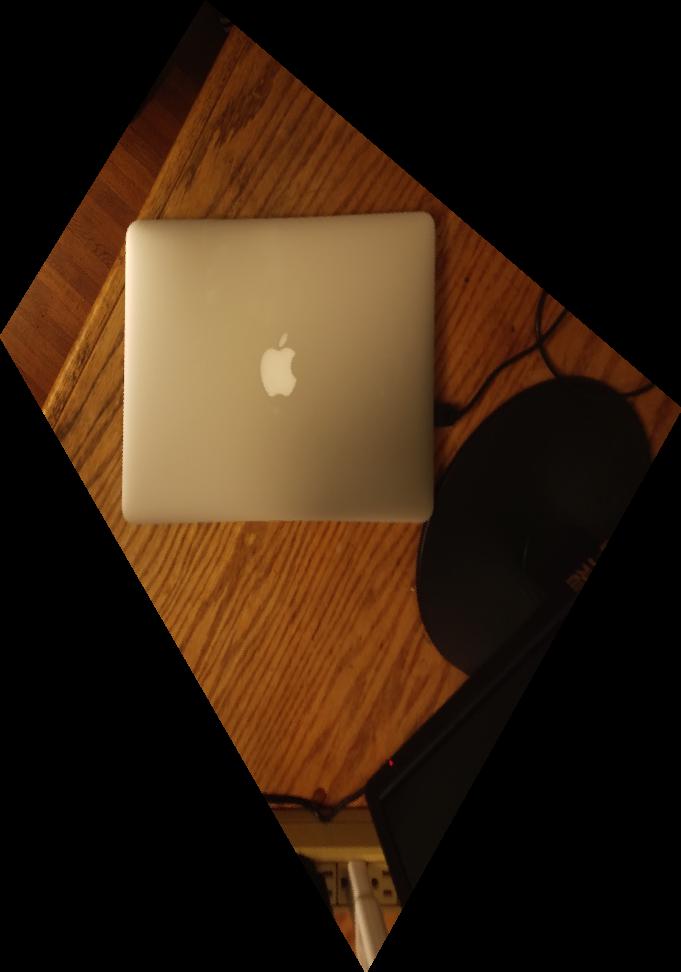
Image 2, rectified |
Mosaic Blending:
Now, we can perform a blended mosaic by using the previous techniques. We simply have to warp images with a projective transformation onto the same plane and stitch the overlapping portions together to form a combined image. We rectify the first image to the plane of the second image via correspondence points, then we do inverse warping to create the new image. We can use blending via weighted averaging or Laplacian pyramids to making the transition between images more seamless. Here, I chose to use weighted averaging. I created a distance matrix, where 1 is the "true center" and it decays as the matrix decays outward. Then I would append this to my images as their alpha values. The only issue was that a matrix of shape r, c only had a true center when r and c were both odd. When r or c was even, or when r and c were both even, I had to designate multiple centers. Here are some examples of the distance matrix:
r = 3, c = 3
| 0 | 0.29289322 | 0 |
| 0.29289322 | 1 | 0.29289322 |
| 0 | 0.29289322 | 0 |
r = 3, c = 4
| 0 | 0.29289322 | 0.29289322 | 0 |
| 0.29289322 | 1 | 1 | 0.29289322 |
| 0 | 0.29289322 | 0.29289322 | 0 |
| 0 | 0.29289322 | 0 |
| 0.29289322 | 1 | 0.29289322 |
| 0.29289322 | 1 | 0.29289322 |
| 0 | 0.29289322 | 0 |
r = 4, c = 4
| 0 | 0.29289322 | 0.29289322 | 0 |
| 0.29289322 | 1 | 1 | 0.29289322 |
| 0.29289322 | 1 | 1 | 0.29289322 |
| 0 | 0.29289322 | 0.29289322 | 0 |
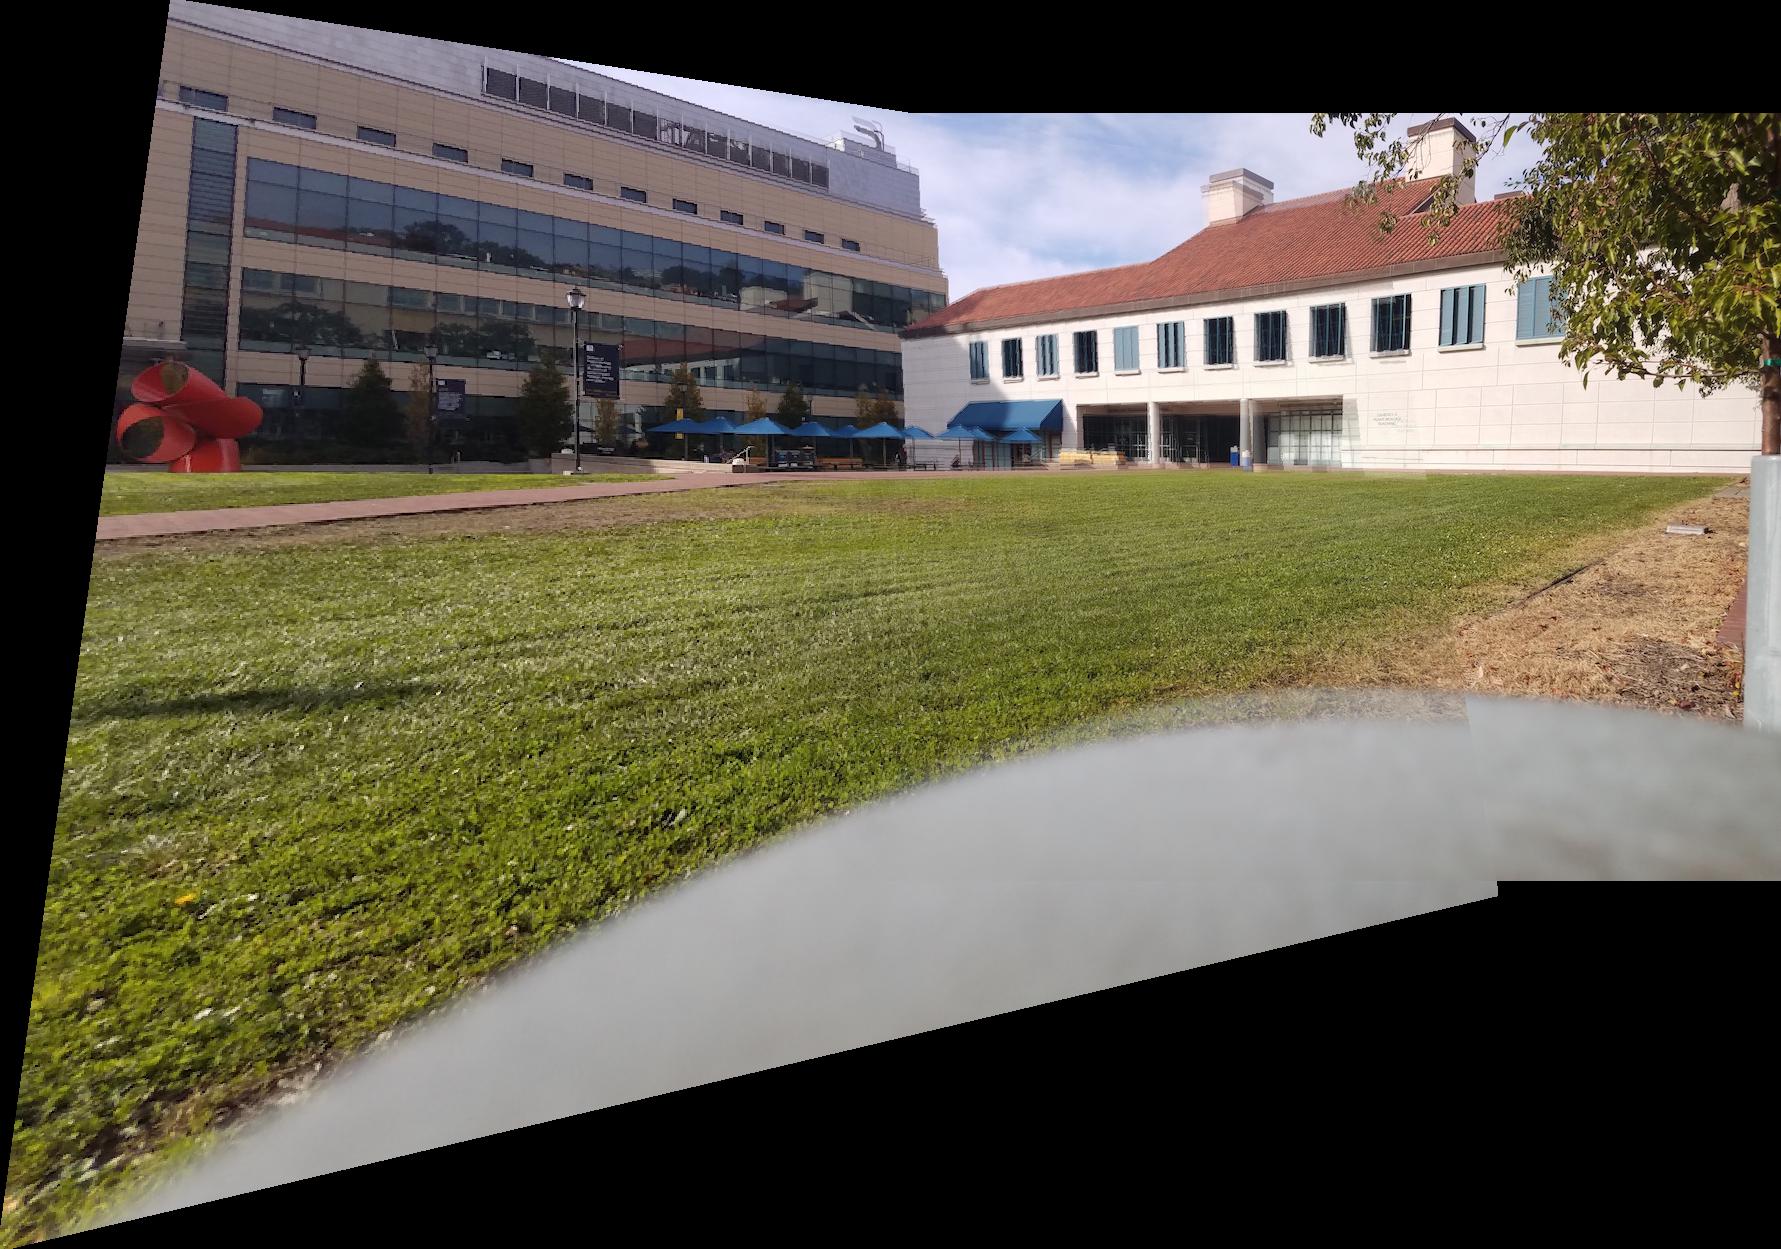
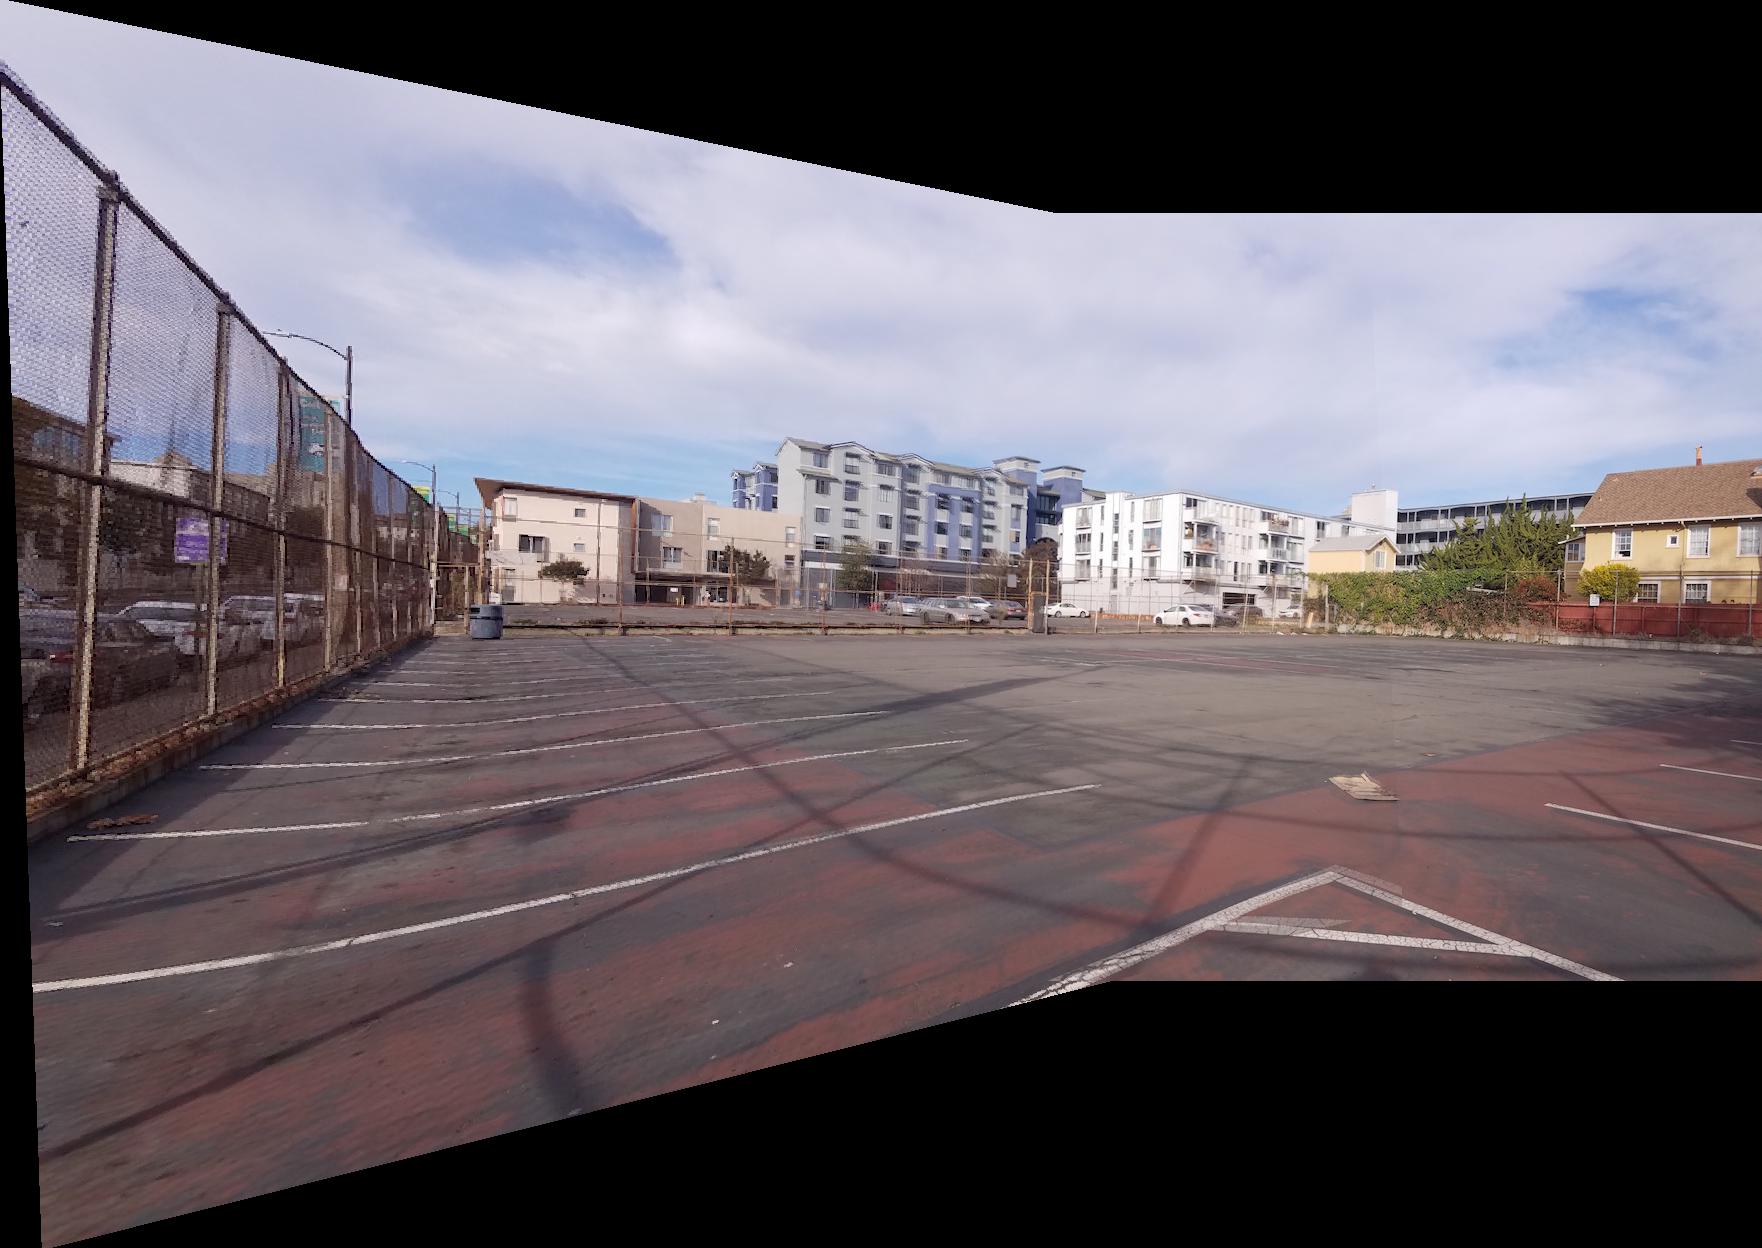
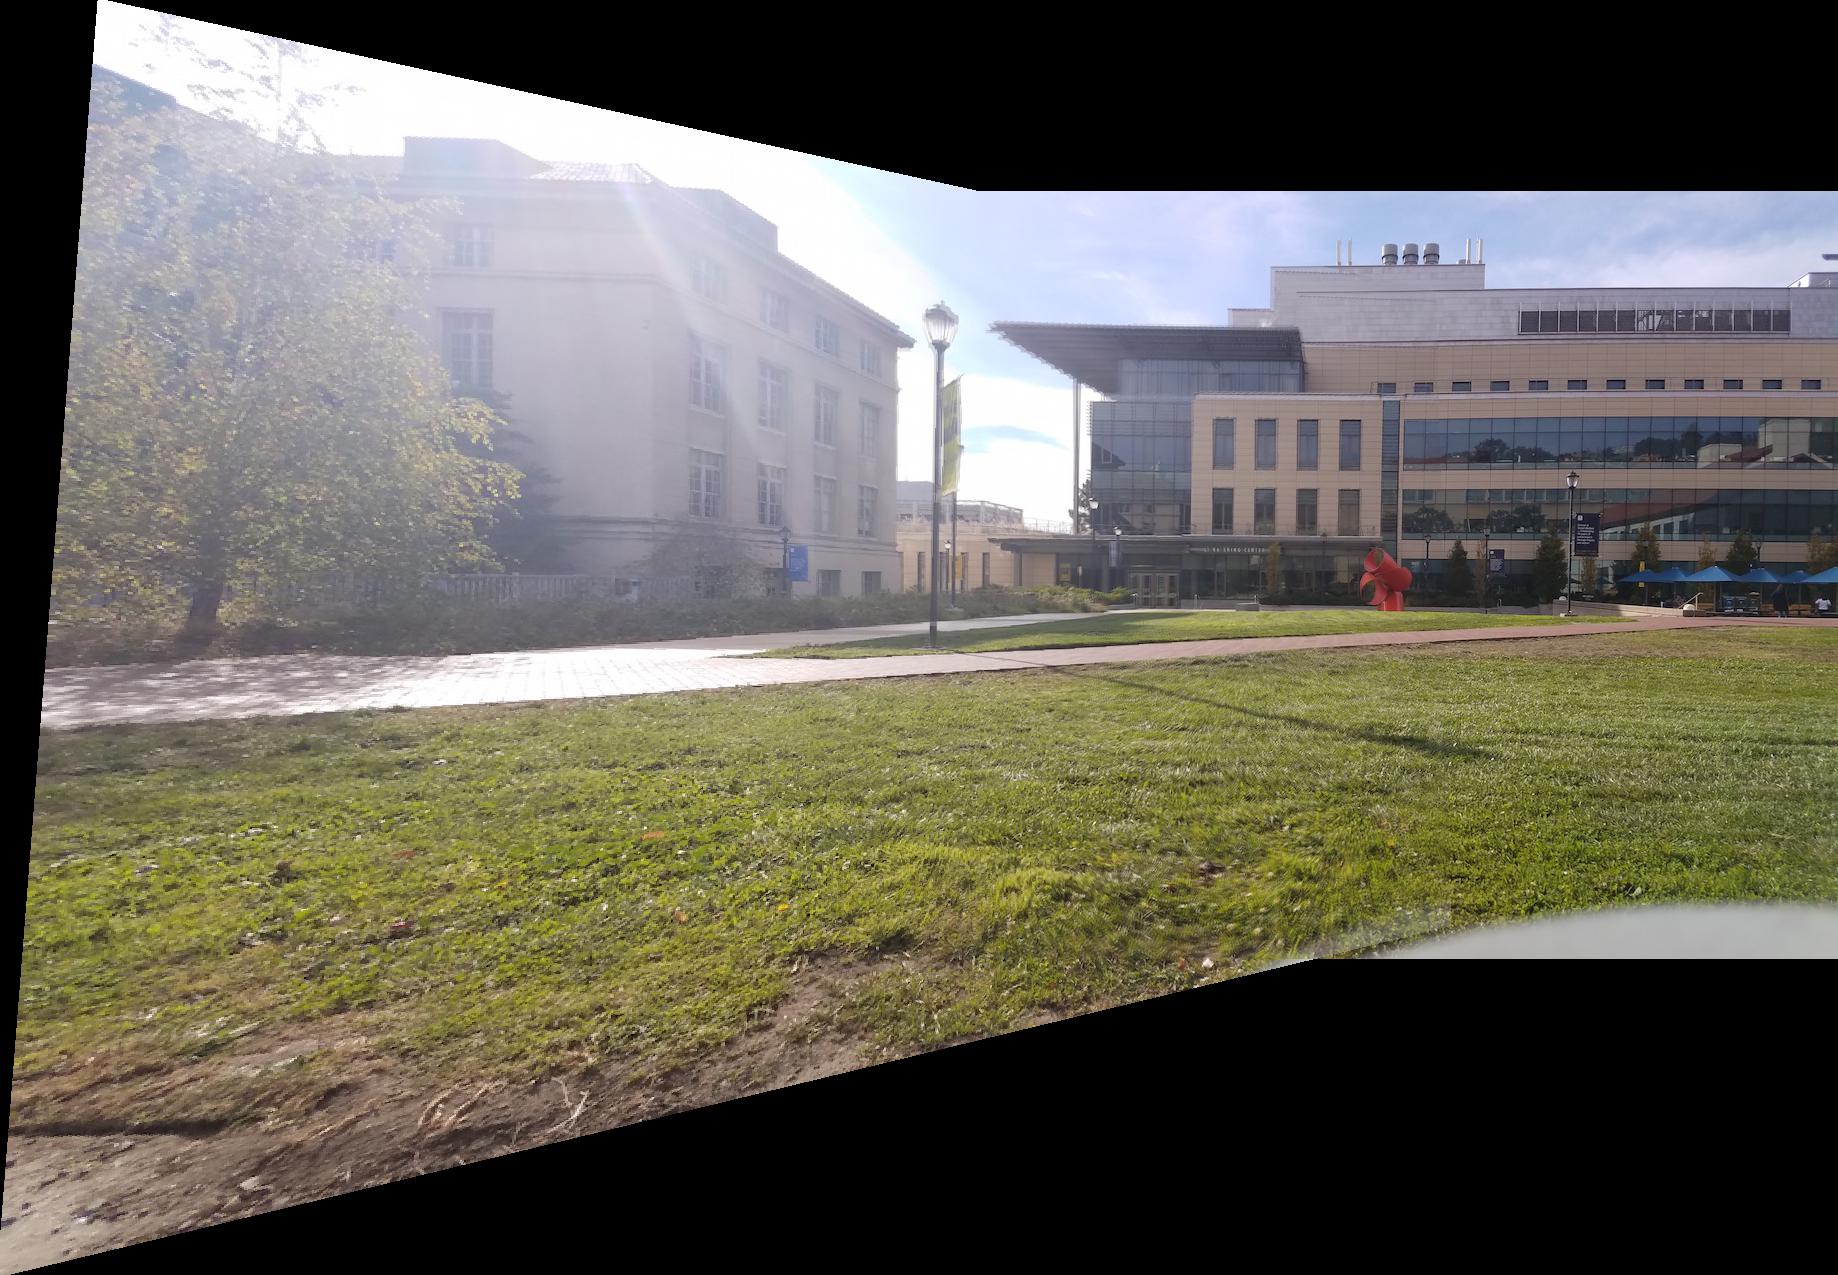
Mosaic examples are below. Even this weighted averaging approach has some artifacts, particularly in the 2nd blending example. However, I think it worked out pretty well for my 1st and 3rd examples. If I just overwrote one picture with another, it would lead to a serious vertical seam. But with weighted averaging, the seam is much more subtle.
|
Image 1 |
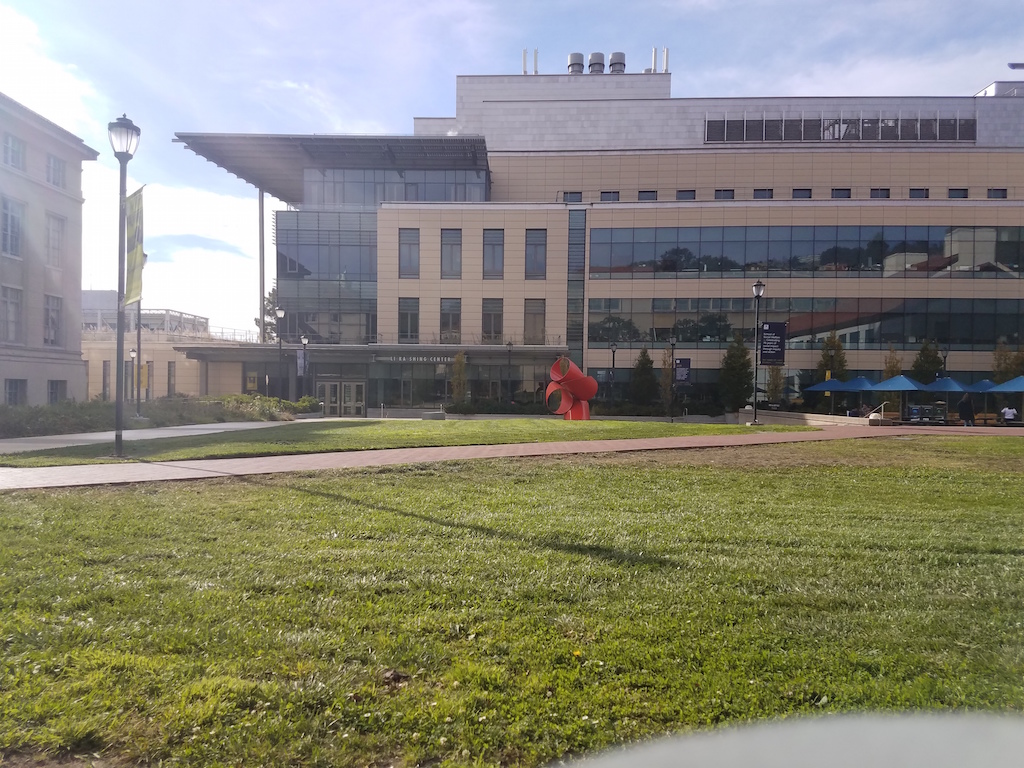
Image 2 |
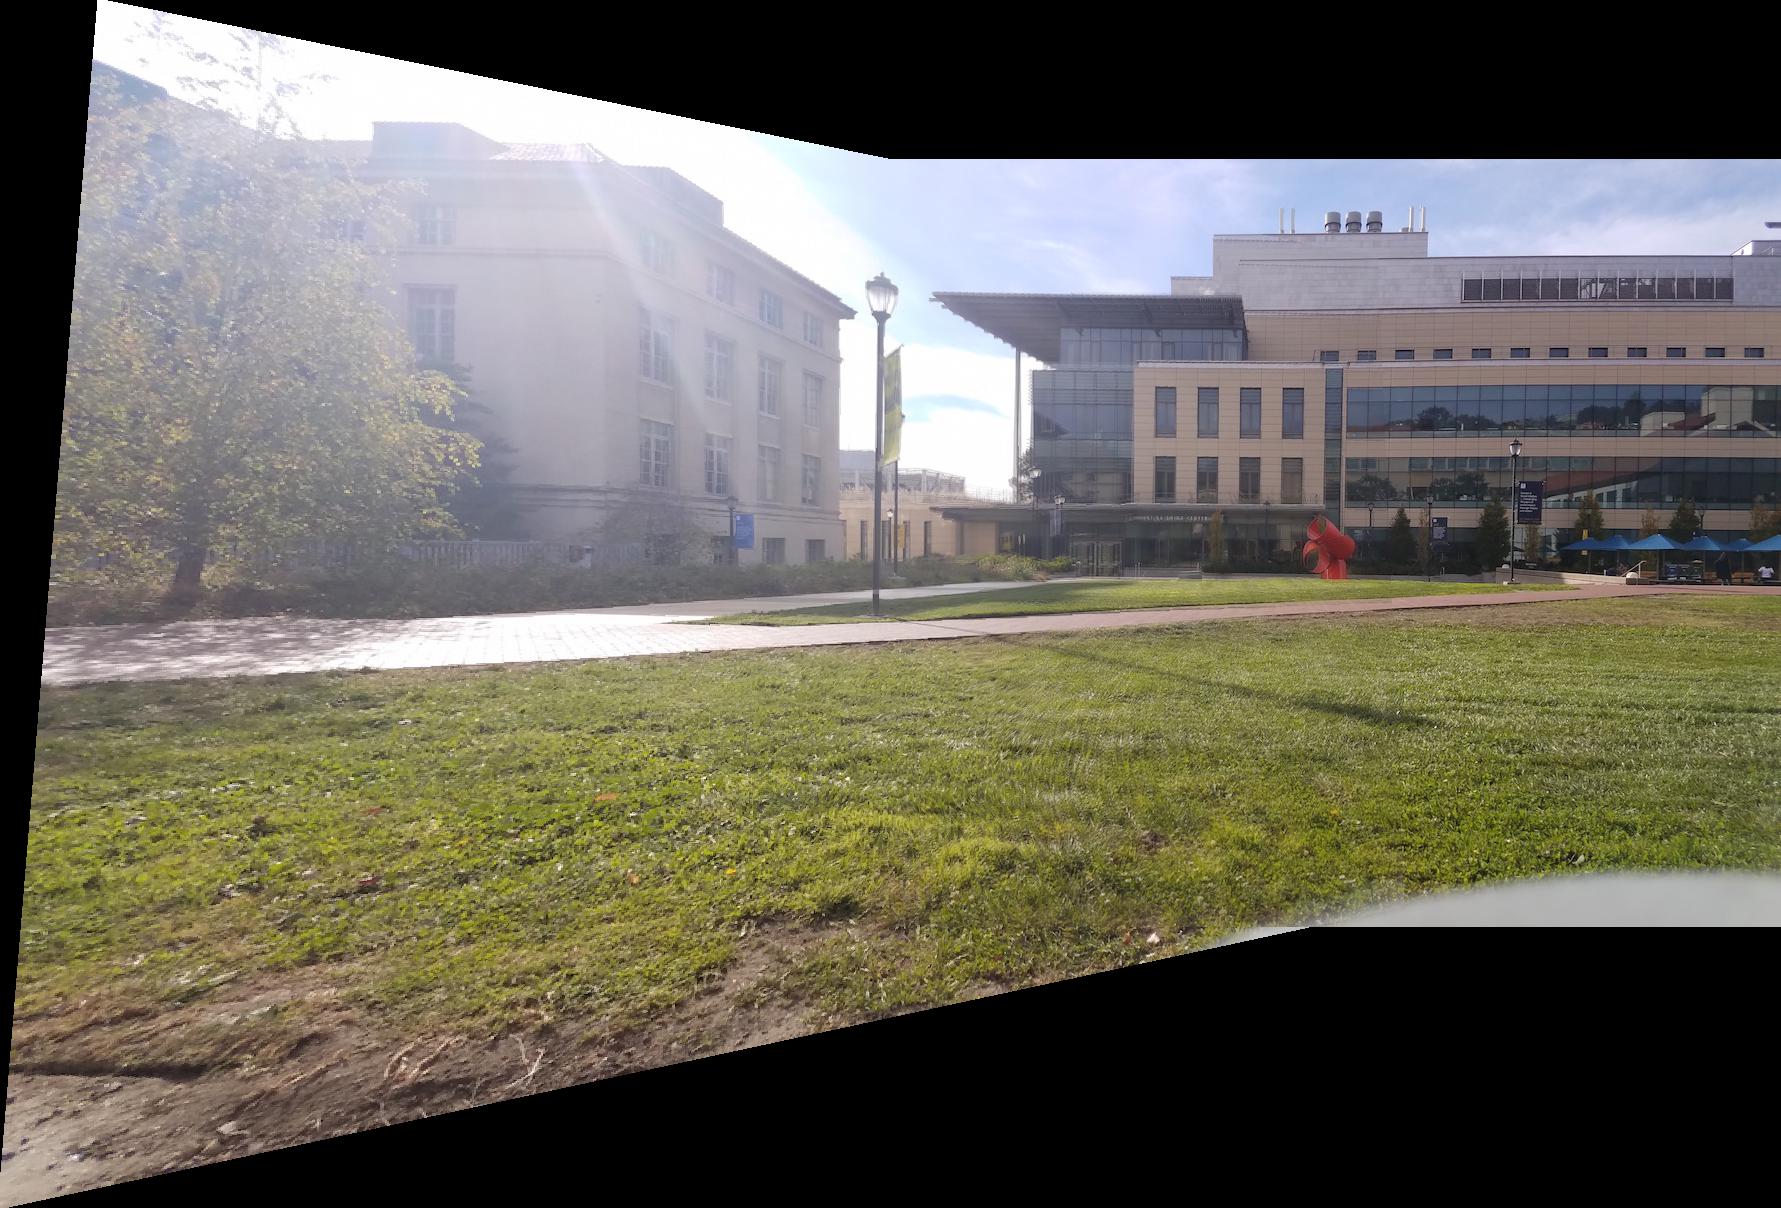
1 & 2 blended |
|
Image 3 |
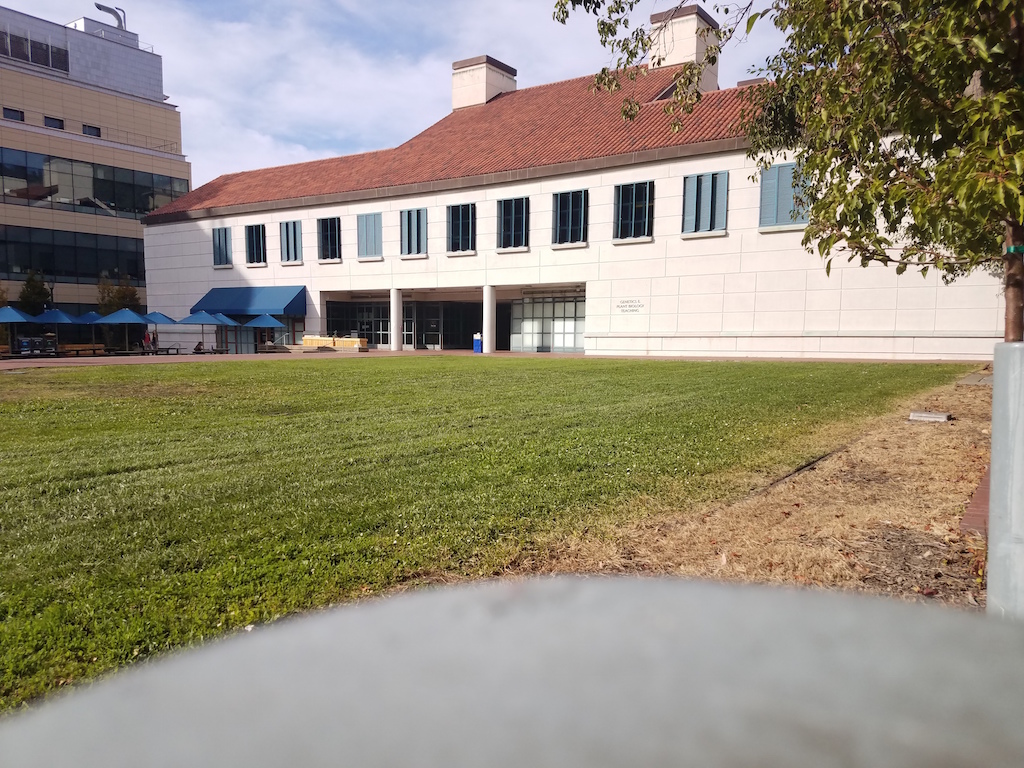
Image 4 |
3 & 4 blended |
|
Image 5 |
Image 6 |
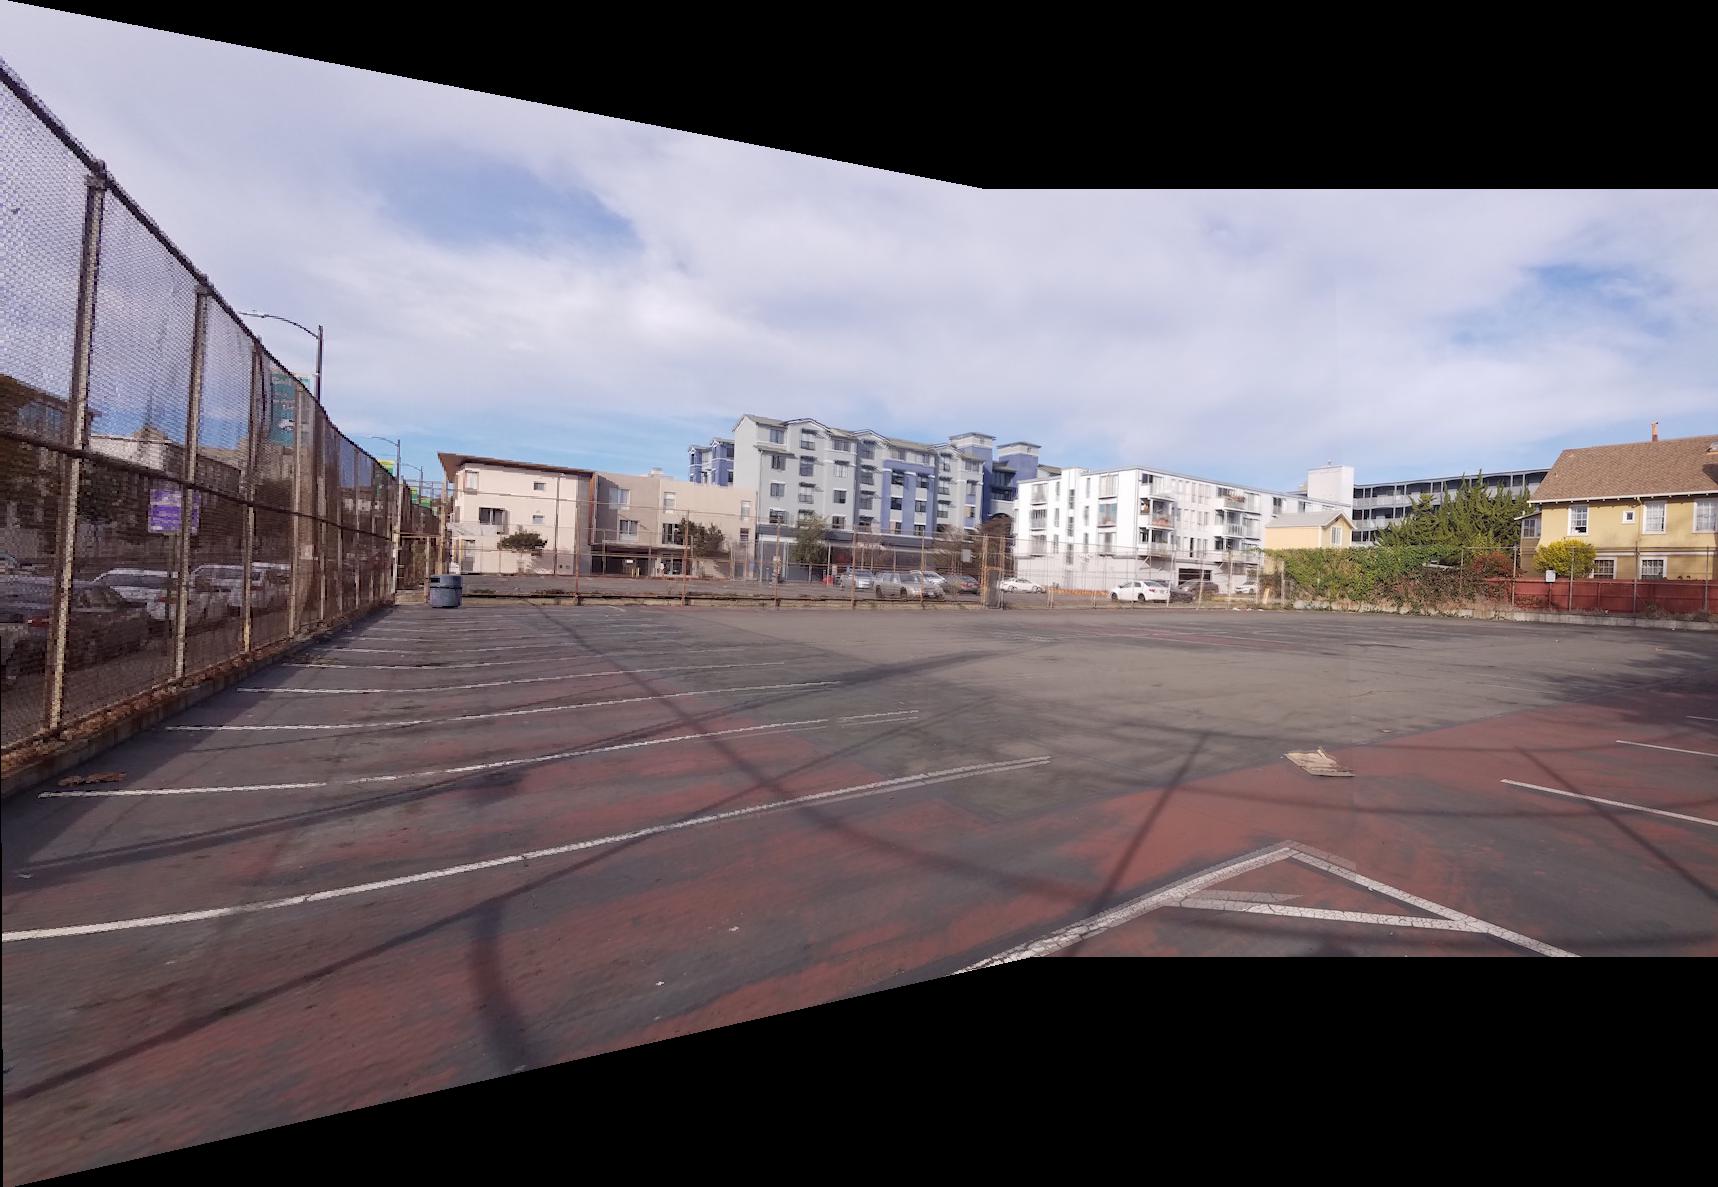
5 & 6 blended |
Summary/Reflection:
This project was fairly unique, and shows me that I have a long way to go when it comes to understanding photography. I've never even played around with the panoramic capabilities of my camera, so seeing this in action was a new experience for me. The coolest thing I learned from this project was that spherical panoramas were possible. I've never seen one before in my life until I saw it in lecture firsthand. Also, I realized it was important to take photos without people, otherwise they would ruin my photos. Good thing I took a lot of photos for this project!
Project 6B: Feature Matching for Autostitching
In this part, we'll be using a combination of techniques that will automatically detect corner features, build matching feature descriptors for the two images that we wish to blend, and then use RANSAC to compute a homography.
Harris Interest Point Detector:
We'll use the provided code to find harris interest points. These corners are good feature points that are easily found through monitoring image gradients. These will be critical for constructing our homography.
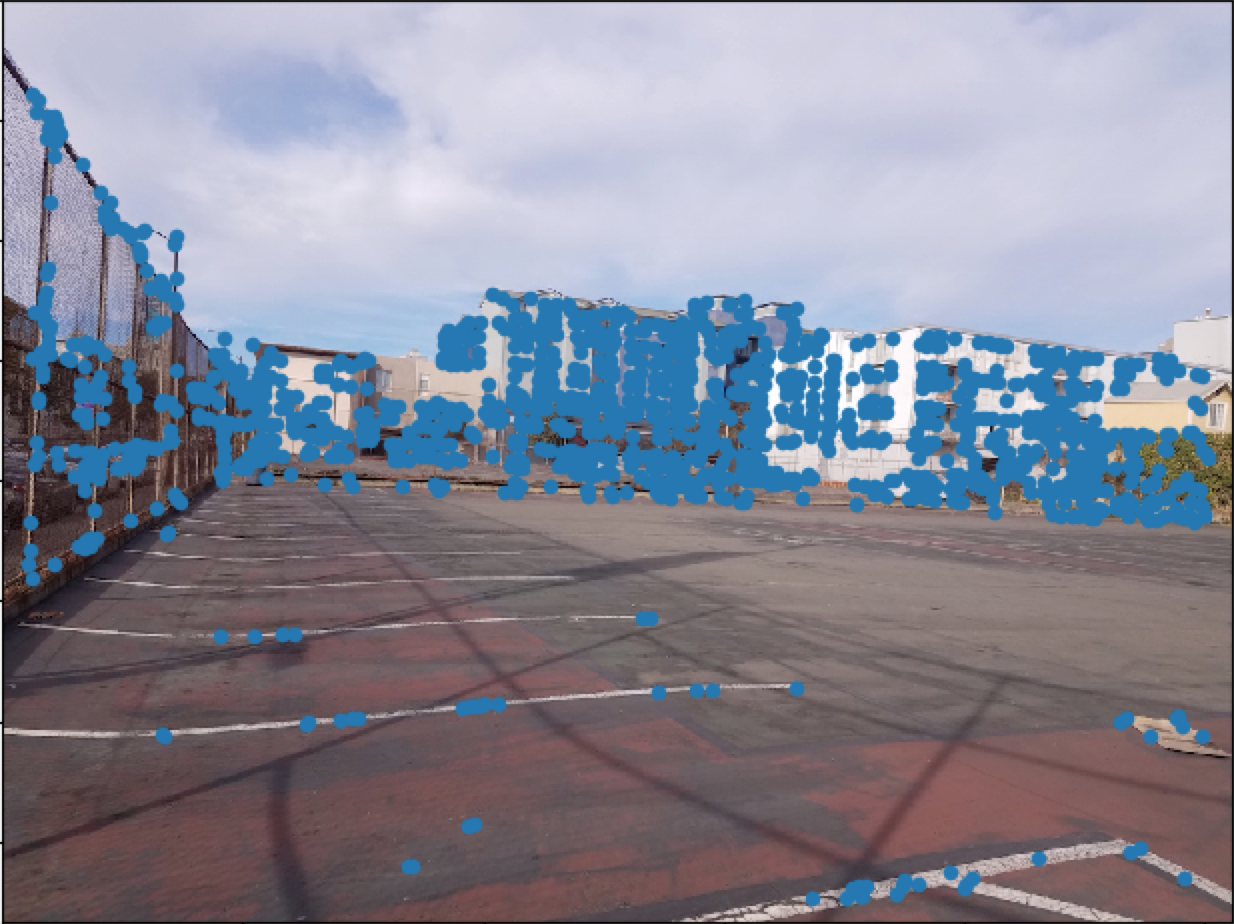
Image 1 |

Image 2 |
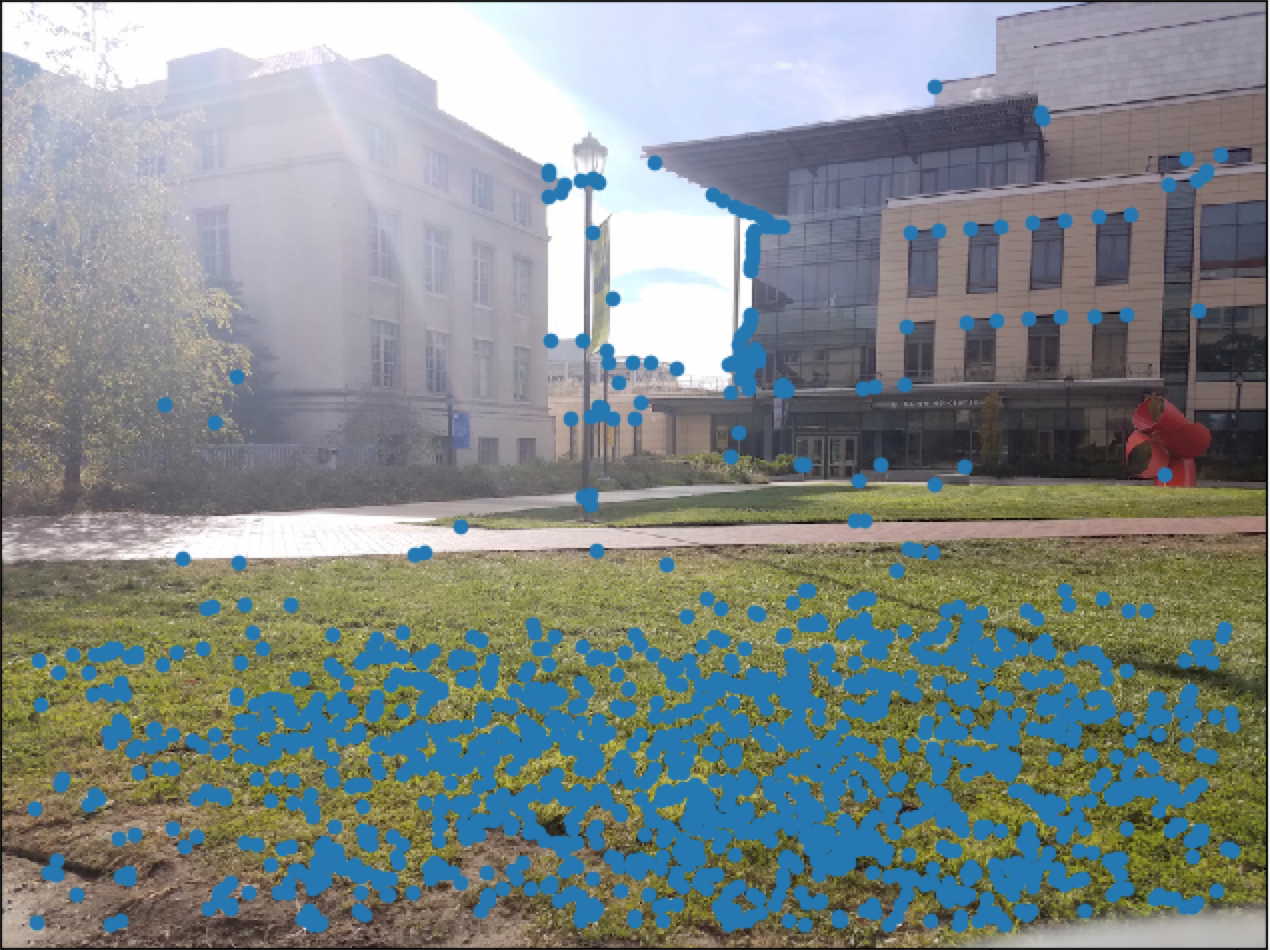
Image 3 |
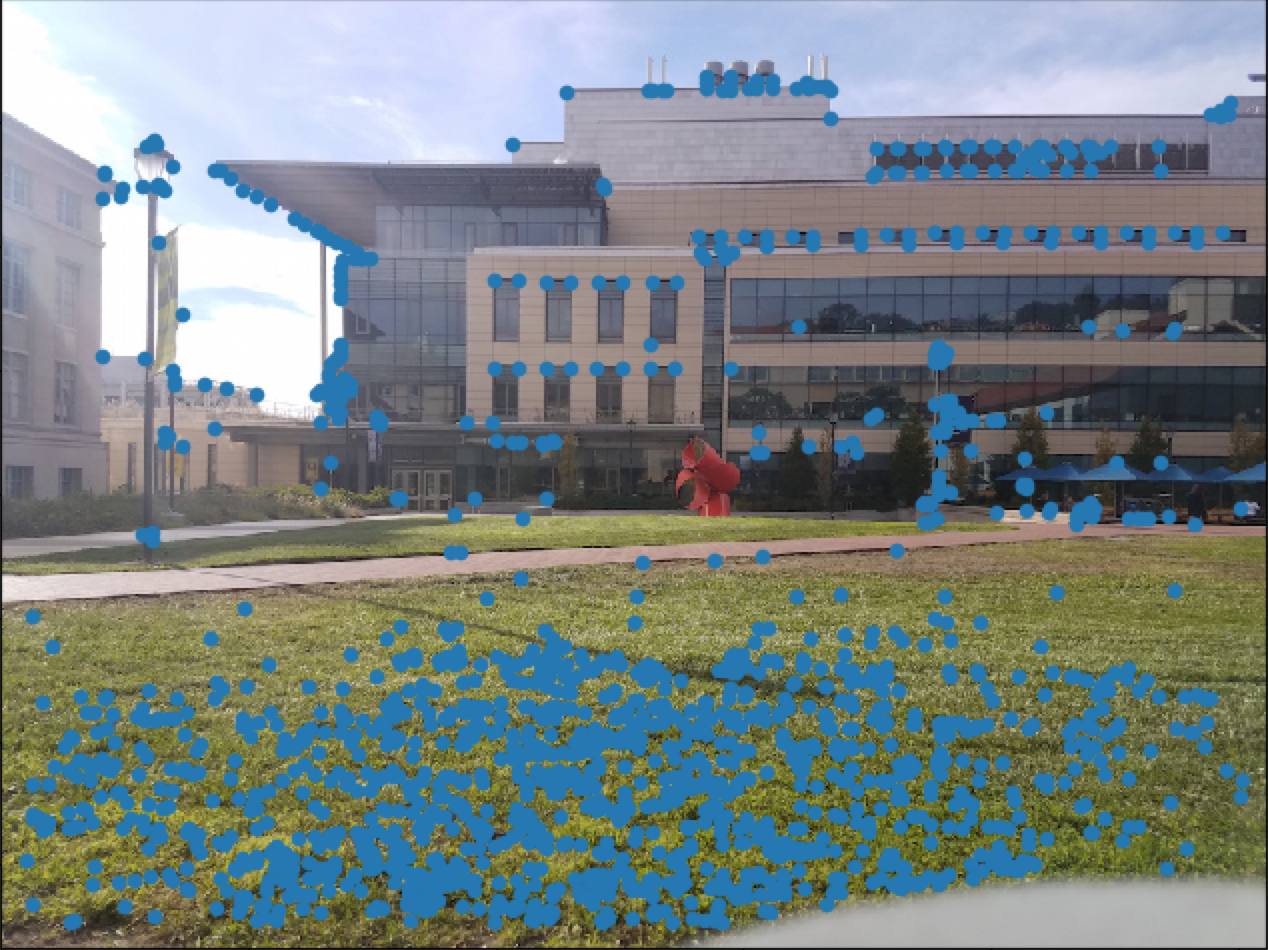
Image 4 |
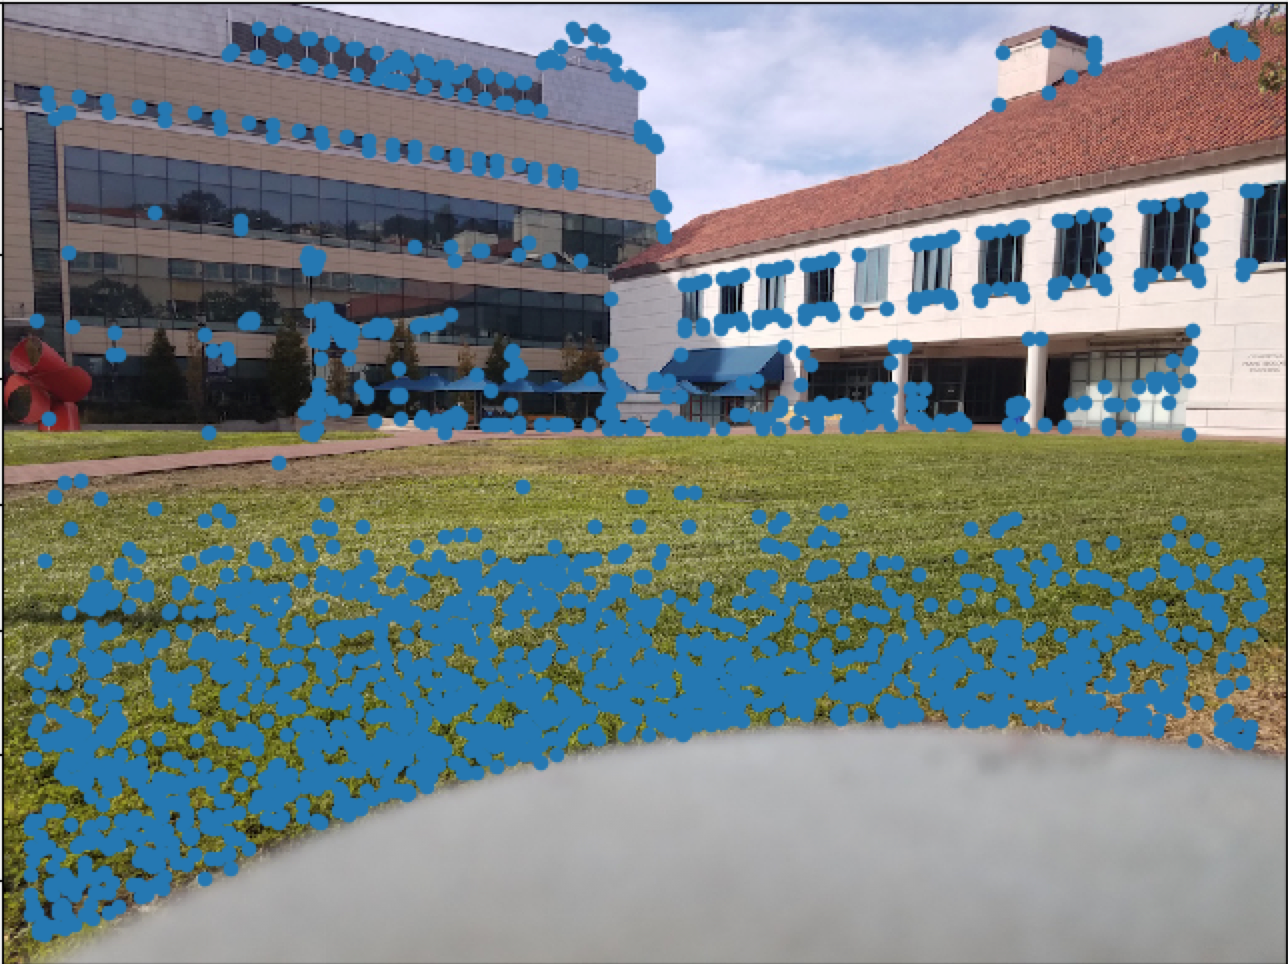
Image 5 |
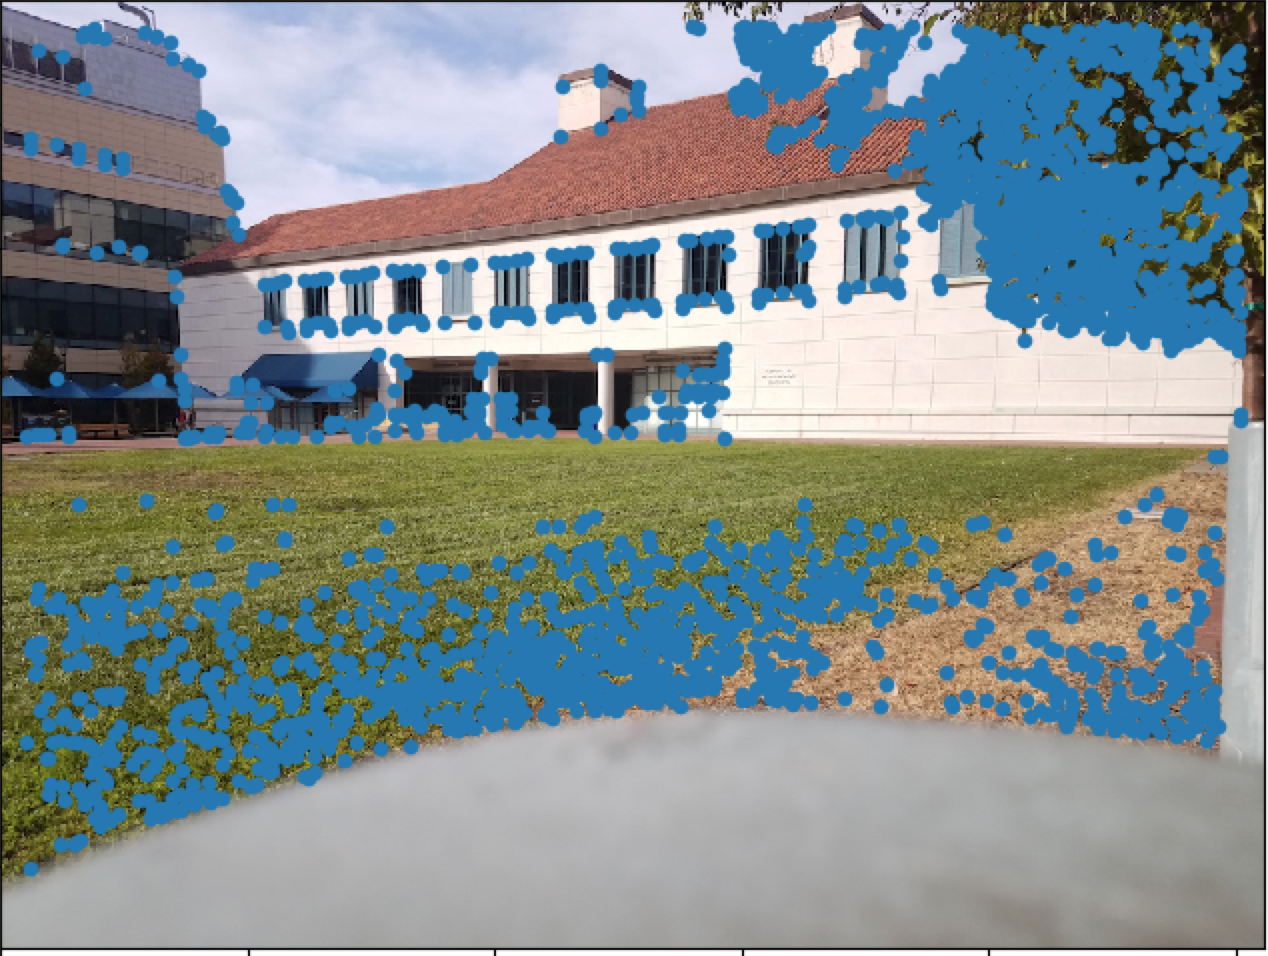
Image 6 |
Adaptive Non-Maximal Suppression
There are a ton of points found from the harris interest point detector, so we want to narrow down our interest point space. Points that are packed tightly together will also lead to a bad homography matrix. For each coordinate, we find its local maximum radius by finding the minimum distance where its intensity is lower than a certain threshold multiplied by another interest point's intensity. Then we just take the 300 points with the largest local maximum radius. As you can see, the images below will have the interest points spaced out much more evenly in comparison to the previous images.
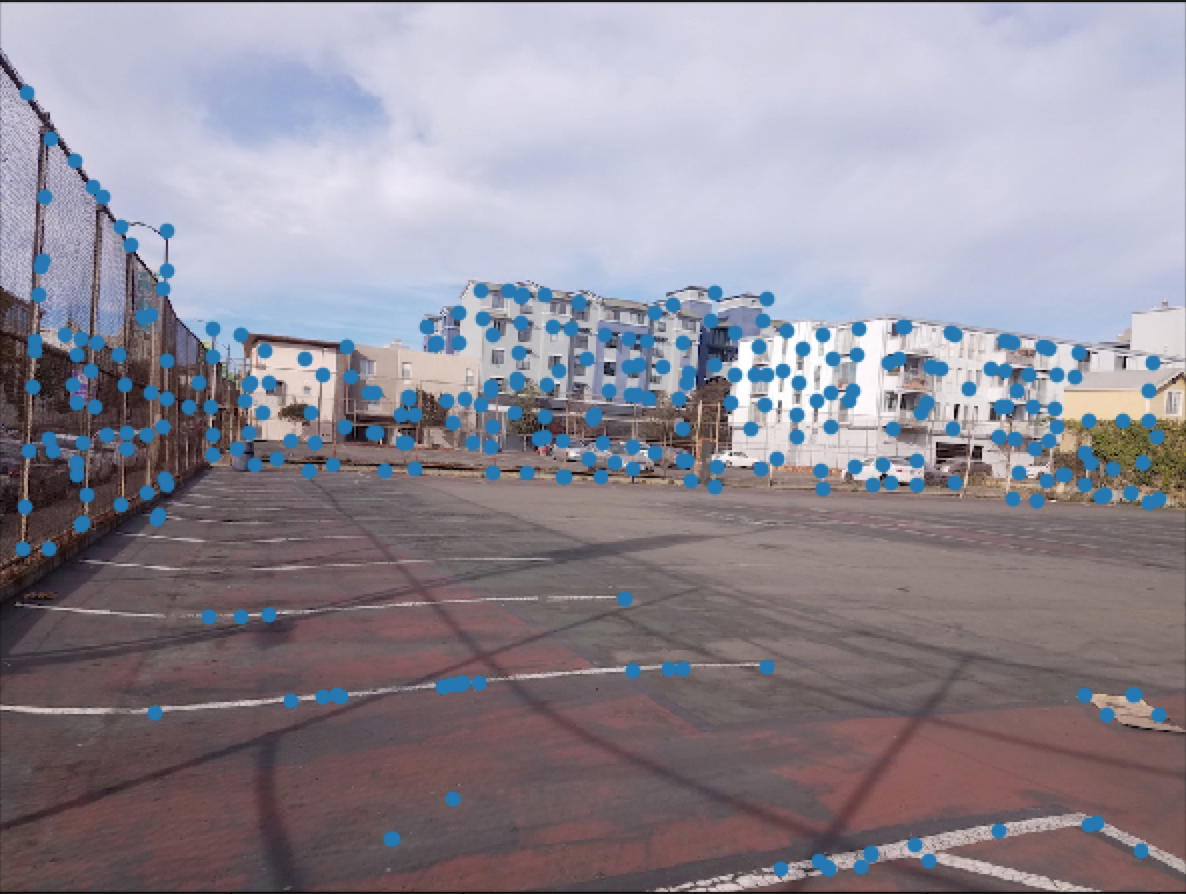
New Image 1 |
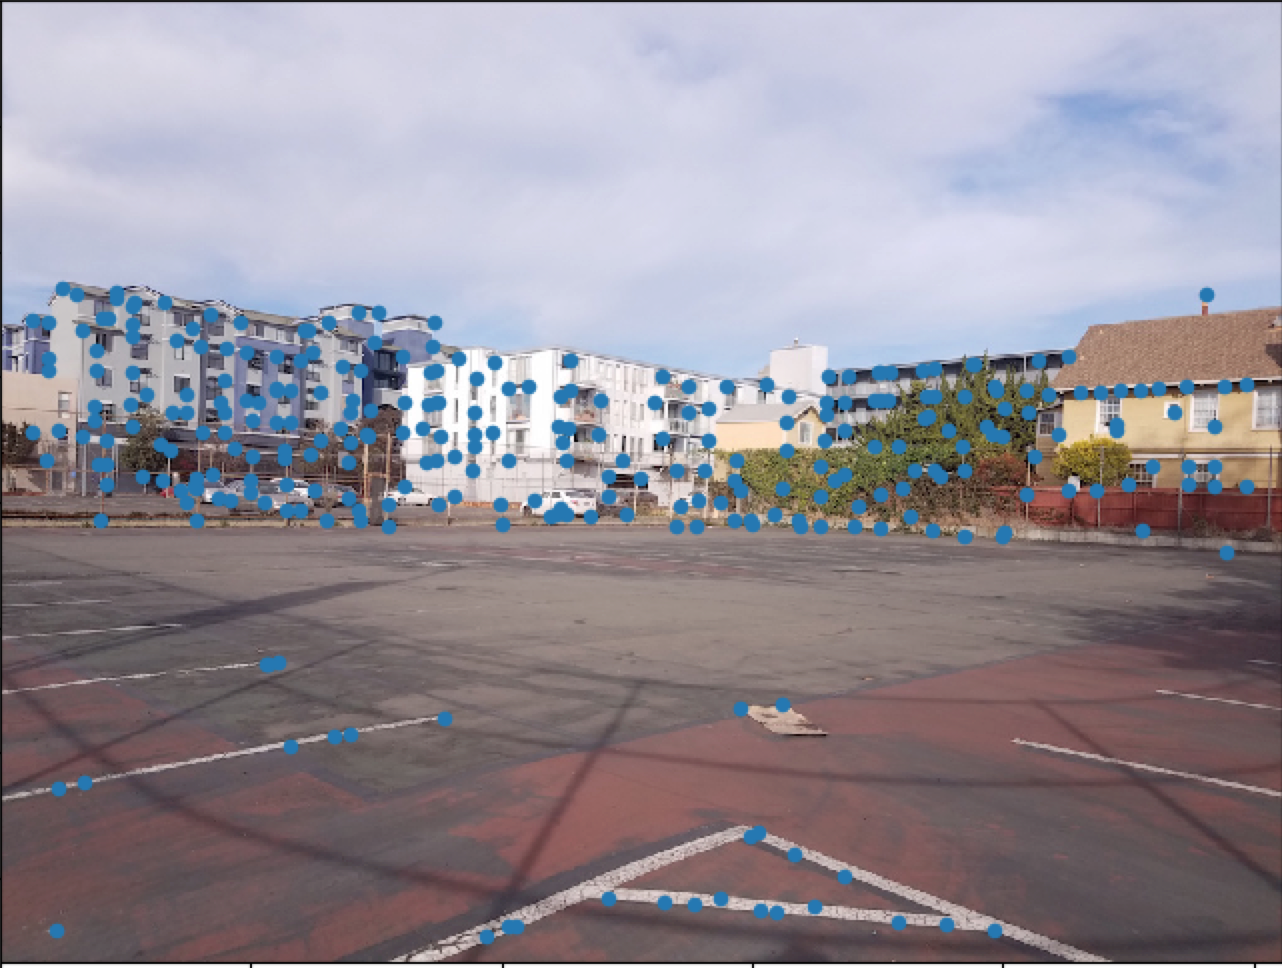
New Image 2 |
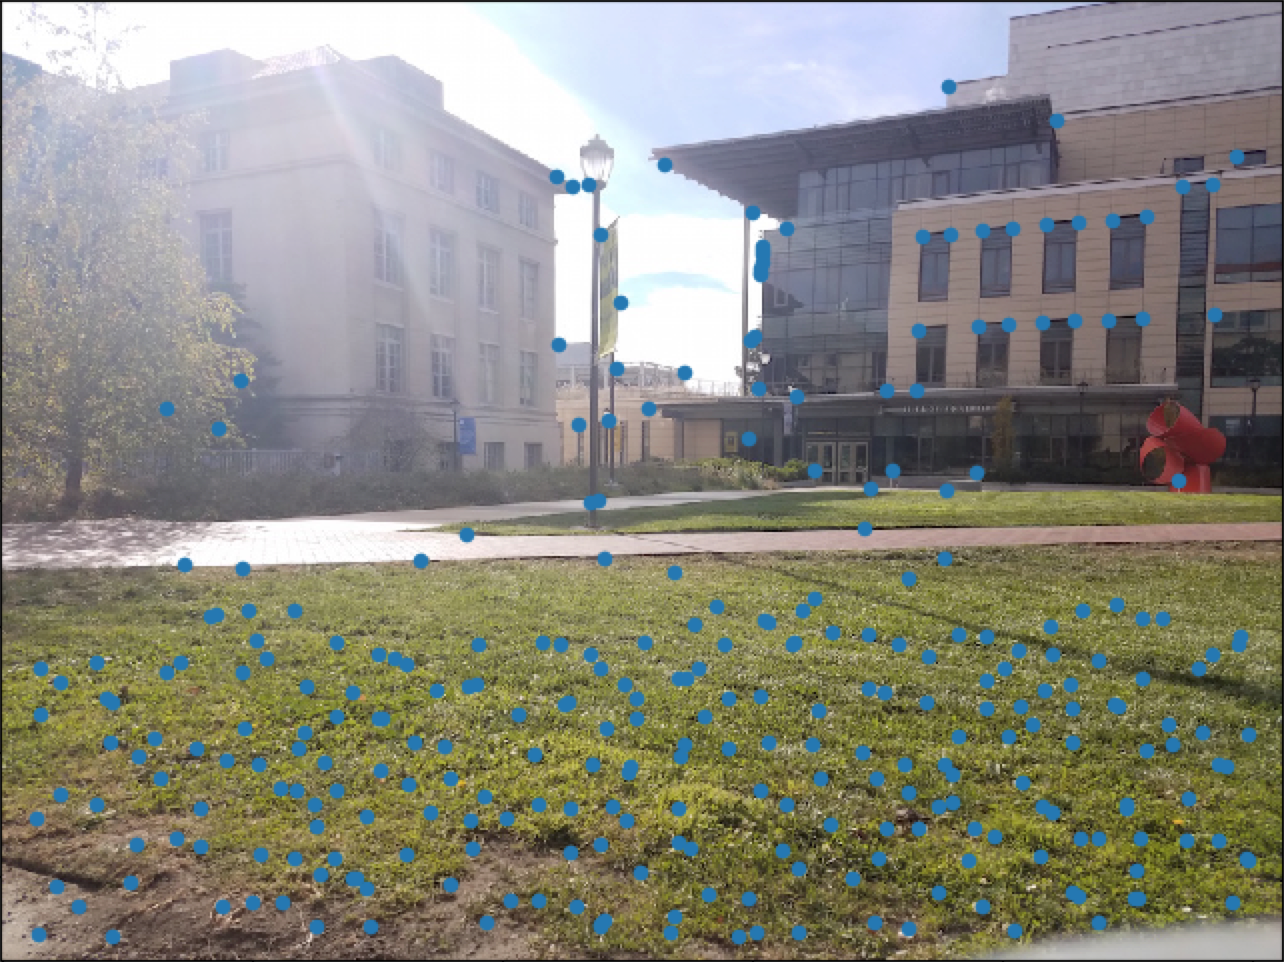
New Image 3 |
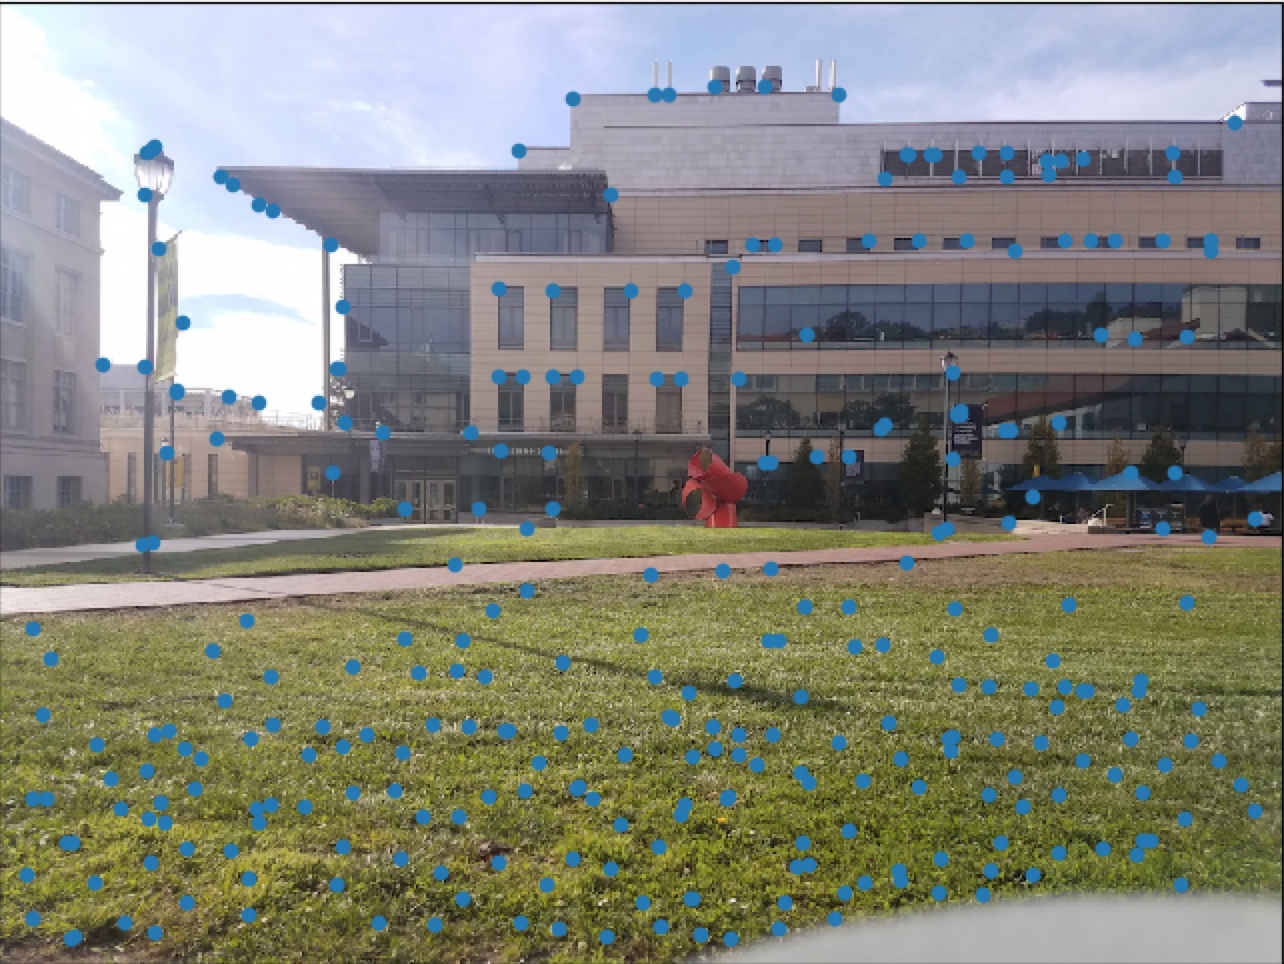
New Image 4 |
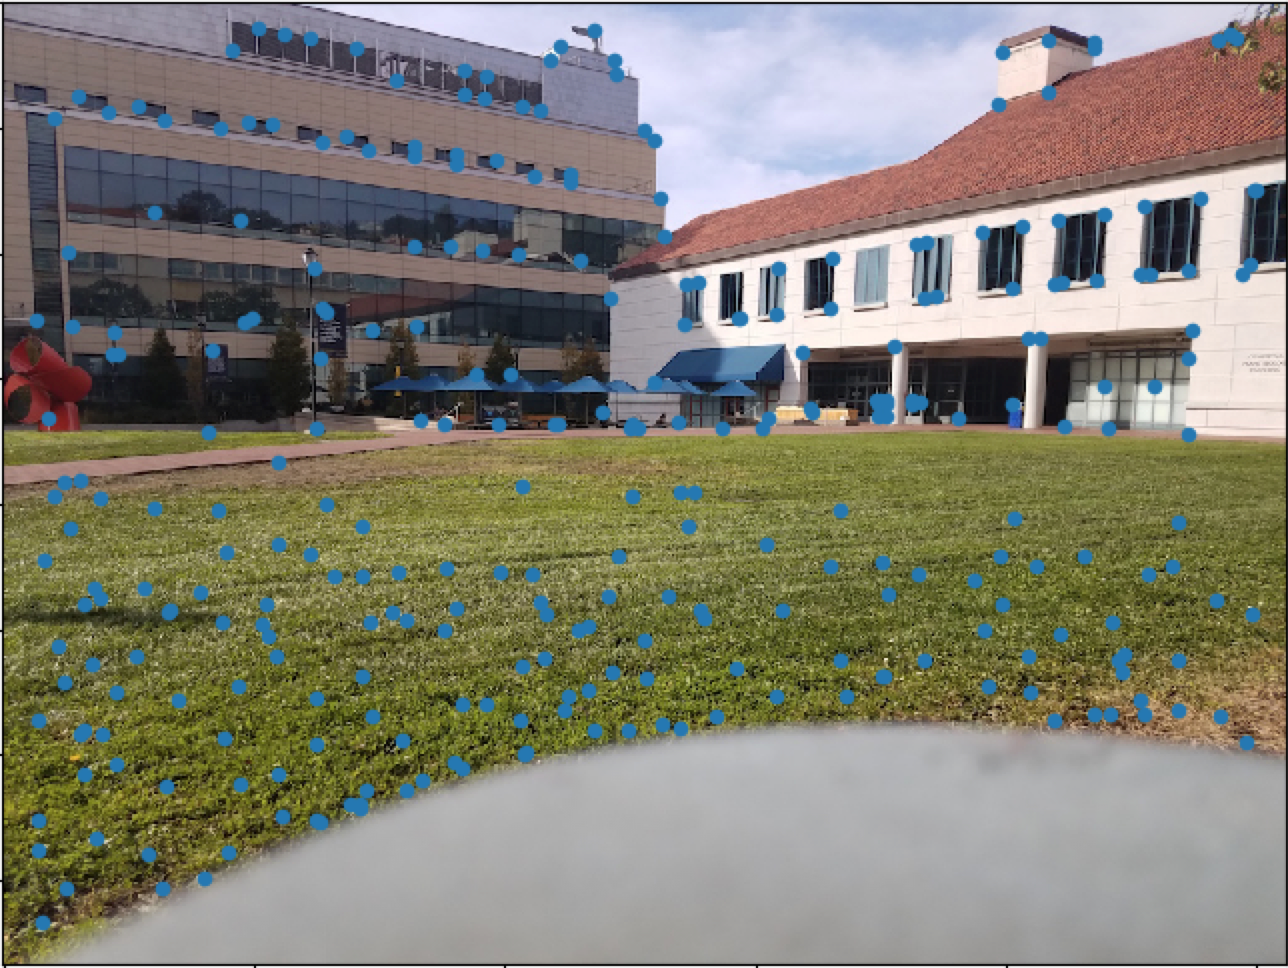
New Image 5 |
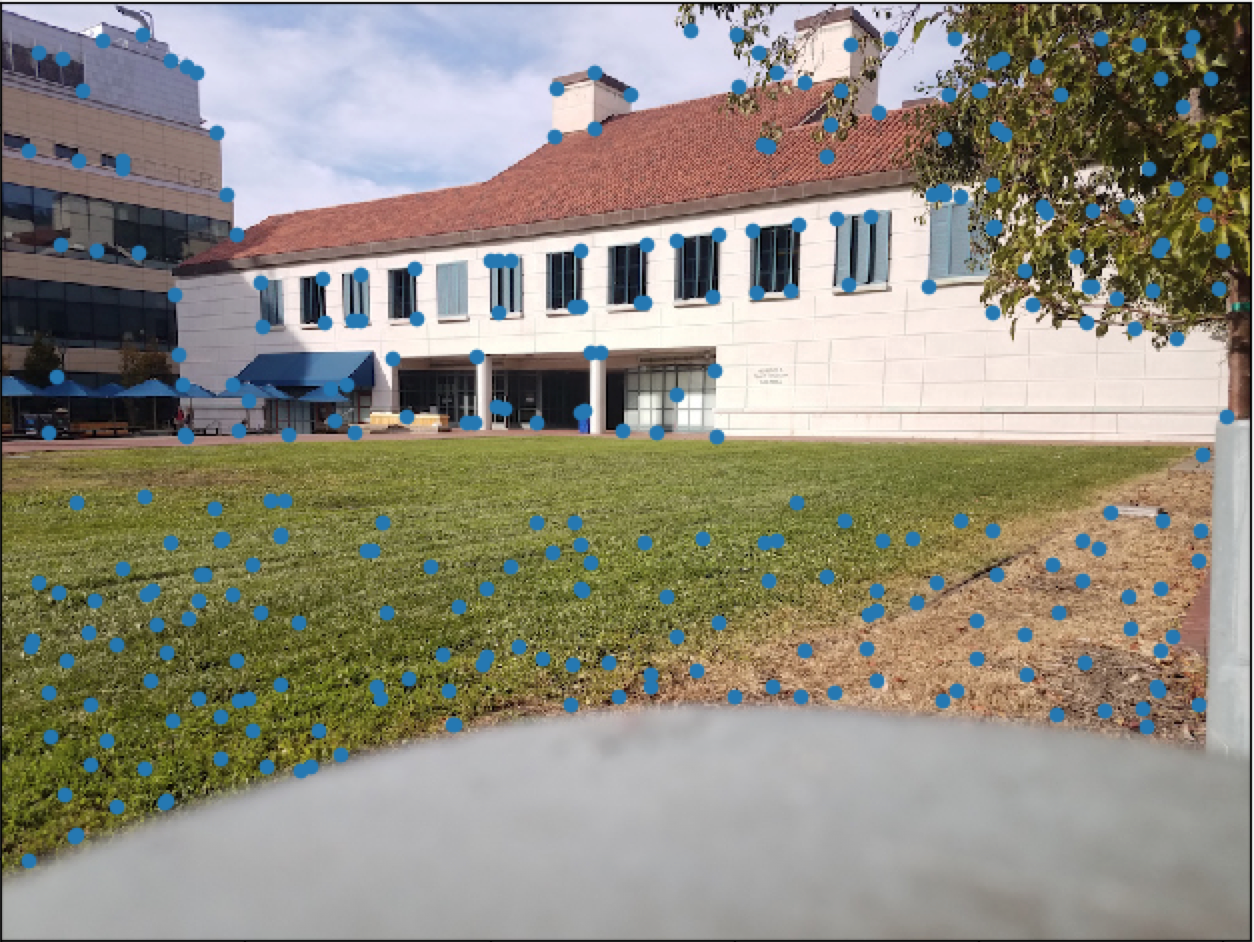
New Image 6 |
Feature Descriptors:
Now that we've narrowed down the number of interest points to a reasonable amount, we can create feature descriptors around the Harris points. For each Harris point, we construct a feature descriptor. These feature descriptors will be 40x40 windows surrounding the Harris point. Then, we use a gaussian filter on each feature descriptor and subsample it to an 8x8 window. This will create a window that preserves low frequencies around the interest point. After that, we simply normalize the feature descriptors because different images might have differing intensities but maintain a similar pattern.
Feature Matching:
Now, how should we match these feature descriptors? We will use SSD to compute the distance between every possible pair of feature descriptors. Afterwards, we will only accept descriptors where the ratio of the nearest neighbor to the 2nd nearest neighbor is less than 0.2. That is, (1-NN / 2-NN) < 0.2. We will only take correspondences that have matching feature descriptors.
RANSAC:
We will run RANSAC on our interest points to find the best four correspondences to transform our image. RANSAC involves choosing four random coordinate pairs, computing the homography matrix, and counting the number of inliers for that particular homography. We repeat this for many iterations until we find the best possible homography matrix. Then we recalculate H with all the inliers and warp the image. We also blend the image using weighted averaging. It's the same technique that I used in the first part of the project. Here are the results. I show the manually created image first, then the automatically created image.
|
Manual Blend, Image 1 |
Automatic Blend, Image 1 |
|
Manual Blend, Image 2 |
Automatic Blend, Image 2 |
|
Manual Blend, Image 3 |

Automatic Blend, Image 3 |
What I Learned/Conclusion:
It was really neat seeing that it was possible to automatically generate mosaics. In fact, it was shocking to see that the finished products were actually better than the manual mosaics that I created. This was discouraging, since I spent so much time clicking points to generate correspondences between images. I guess human error is a lot more subtle than I thought.