Overview
Fundamentally, this project relied on using homography warps to stitch multiple images together. The algorithm was determined by the following steps:- Taking a set of images without any translational shifts
- Defining Point Correspondences between images
- Computing A Homography between two images
- Applying the homography using an inverse warp to generate a shifted image
- Combining the shifted image with another image to generate a stitched panorama
- Use the Harris Corner Detector to identify a large set of corners within an image
- Apply the Adaptive Non-Maximal Suppression Algorithm to select distributed points
- Extract feature descriptors from the selected corners
- Use the feature descriptors to correspond points between images
- Use RANSAC to create a more robust homography estimate
Homography Detection
We use the following homography computation algorithm
to evaluate the homographies between our sets
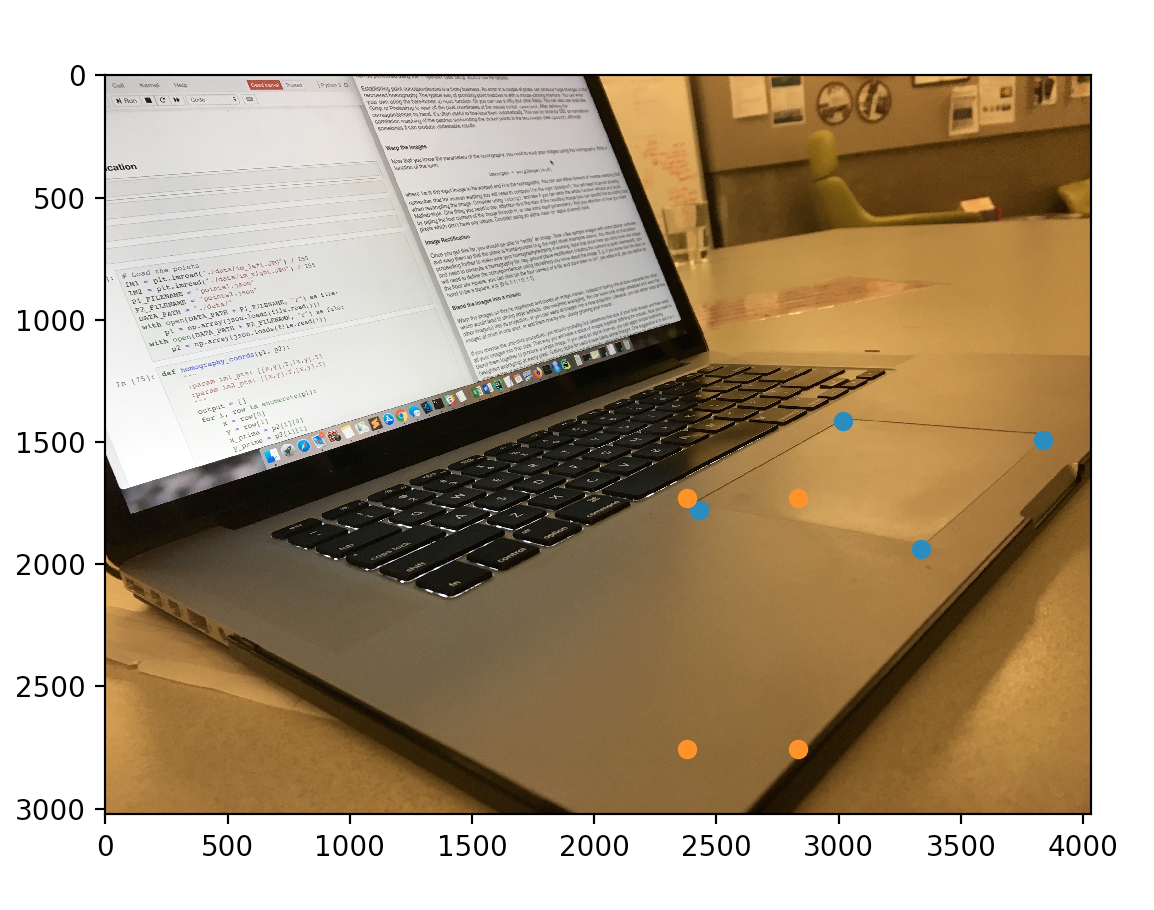
The starting and ending coordinates were defined as such:
|
|
Rectification and Warping
In order to rectify an image, we simply defined a set of points on the surface of the image and a set of points we wished to map this surface into. We then used inverse warping to apply a homography matrix onto each point.
|
|
|

|
|
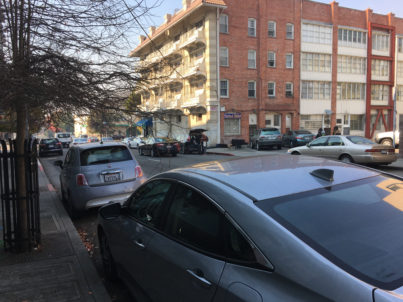
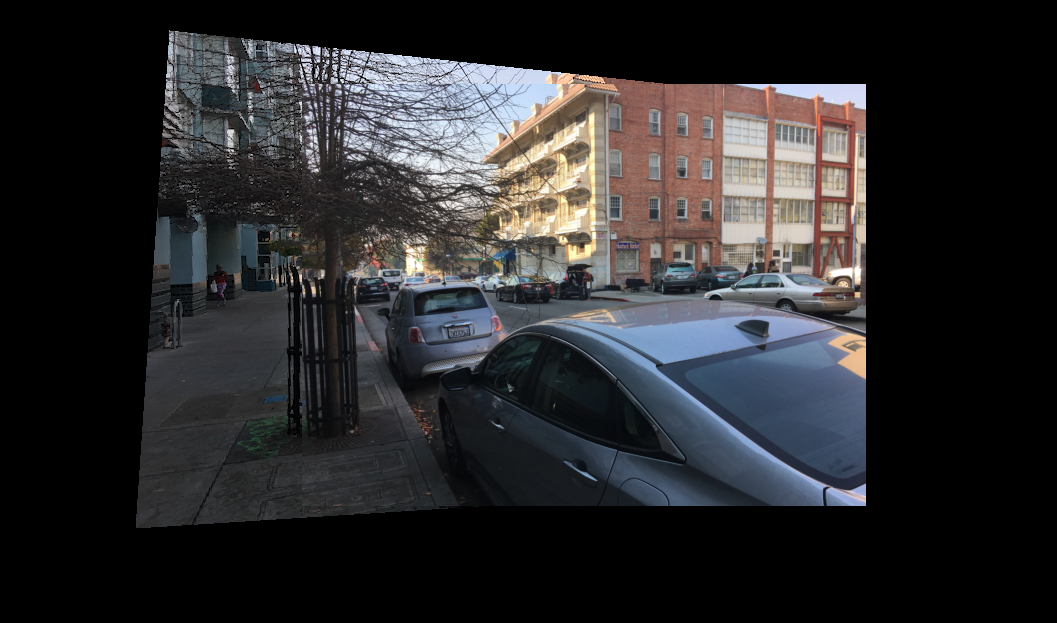
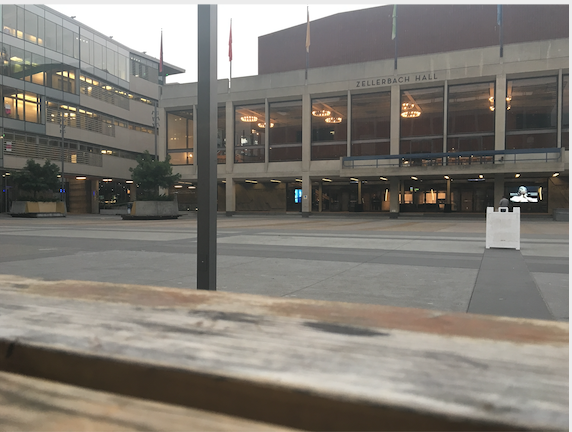
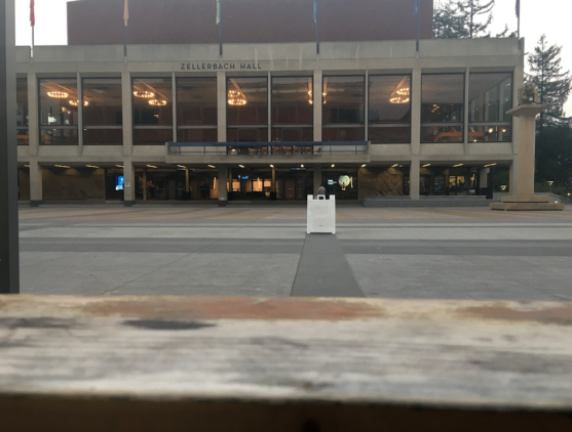
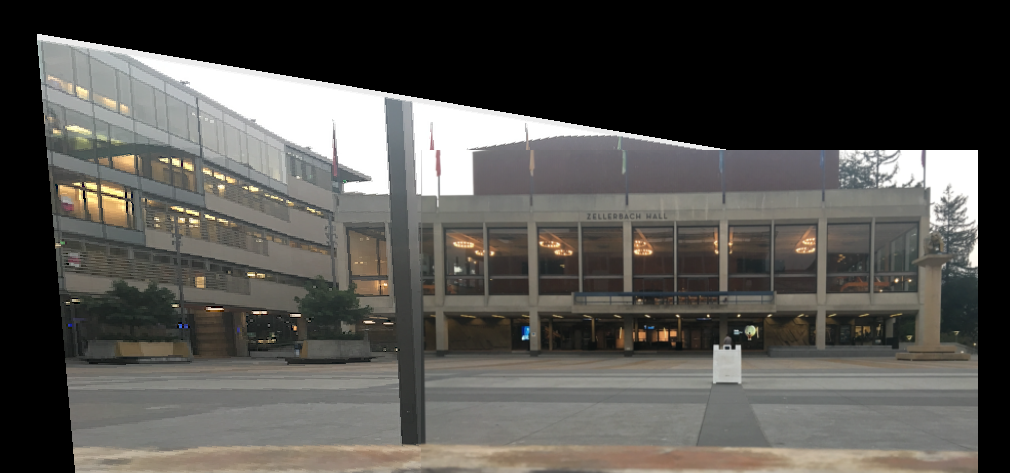
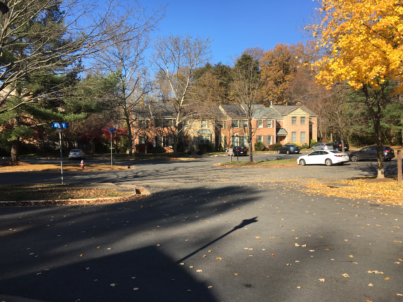
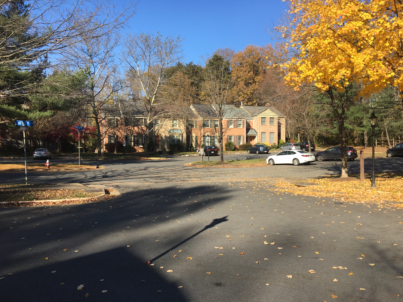
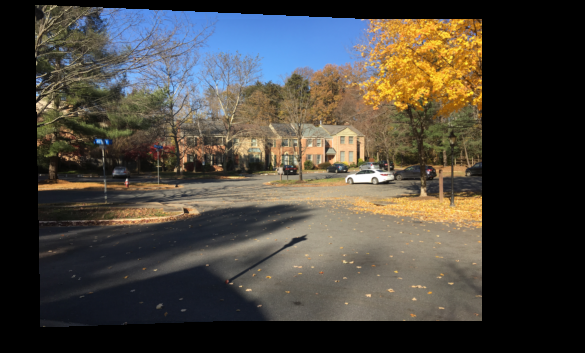
Manual Image Stitching
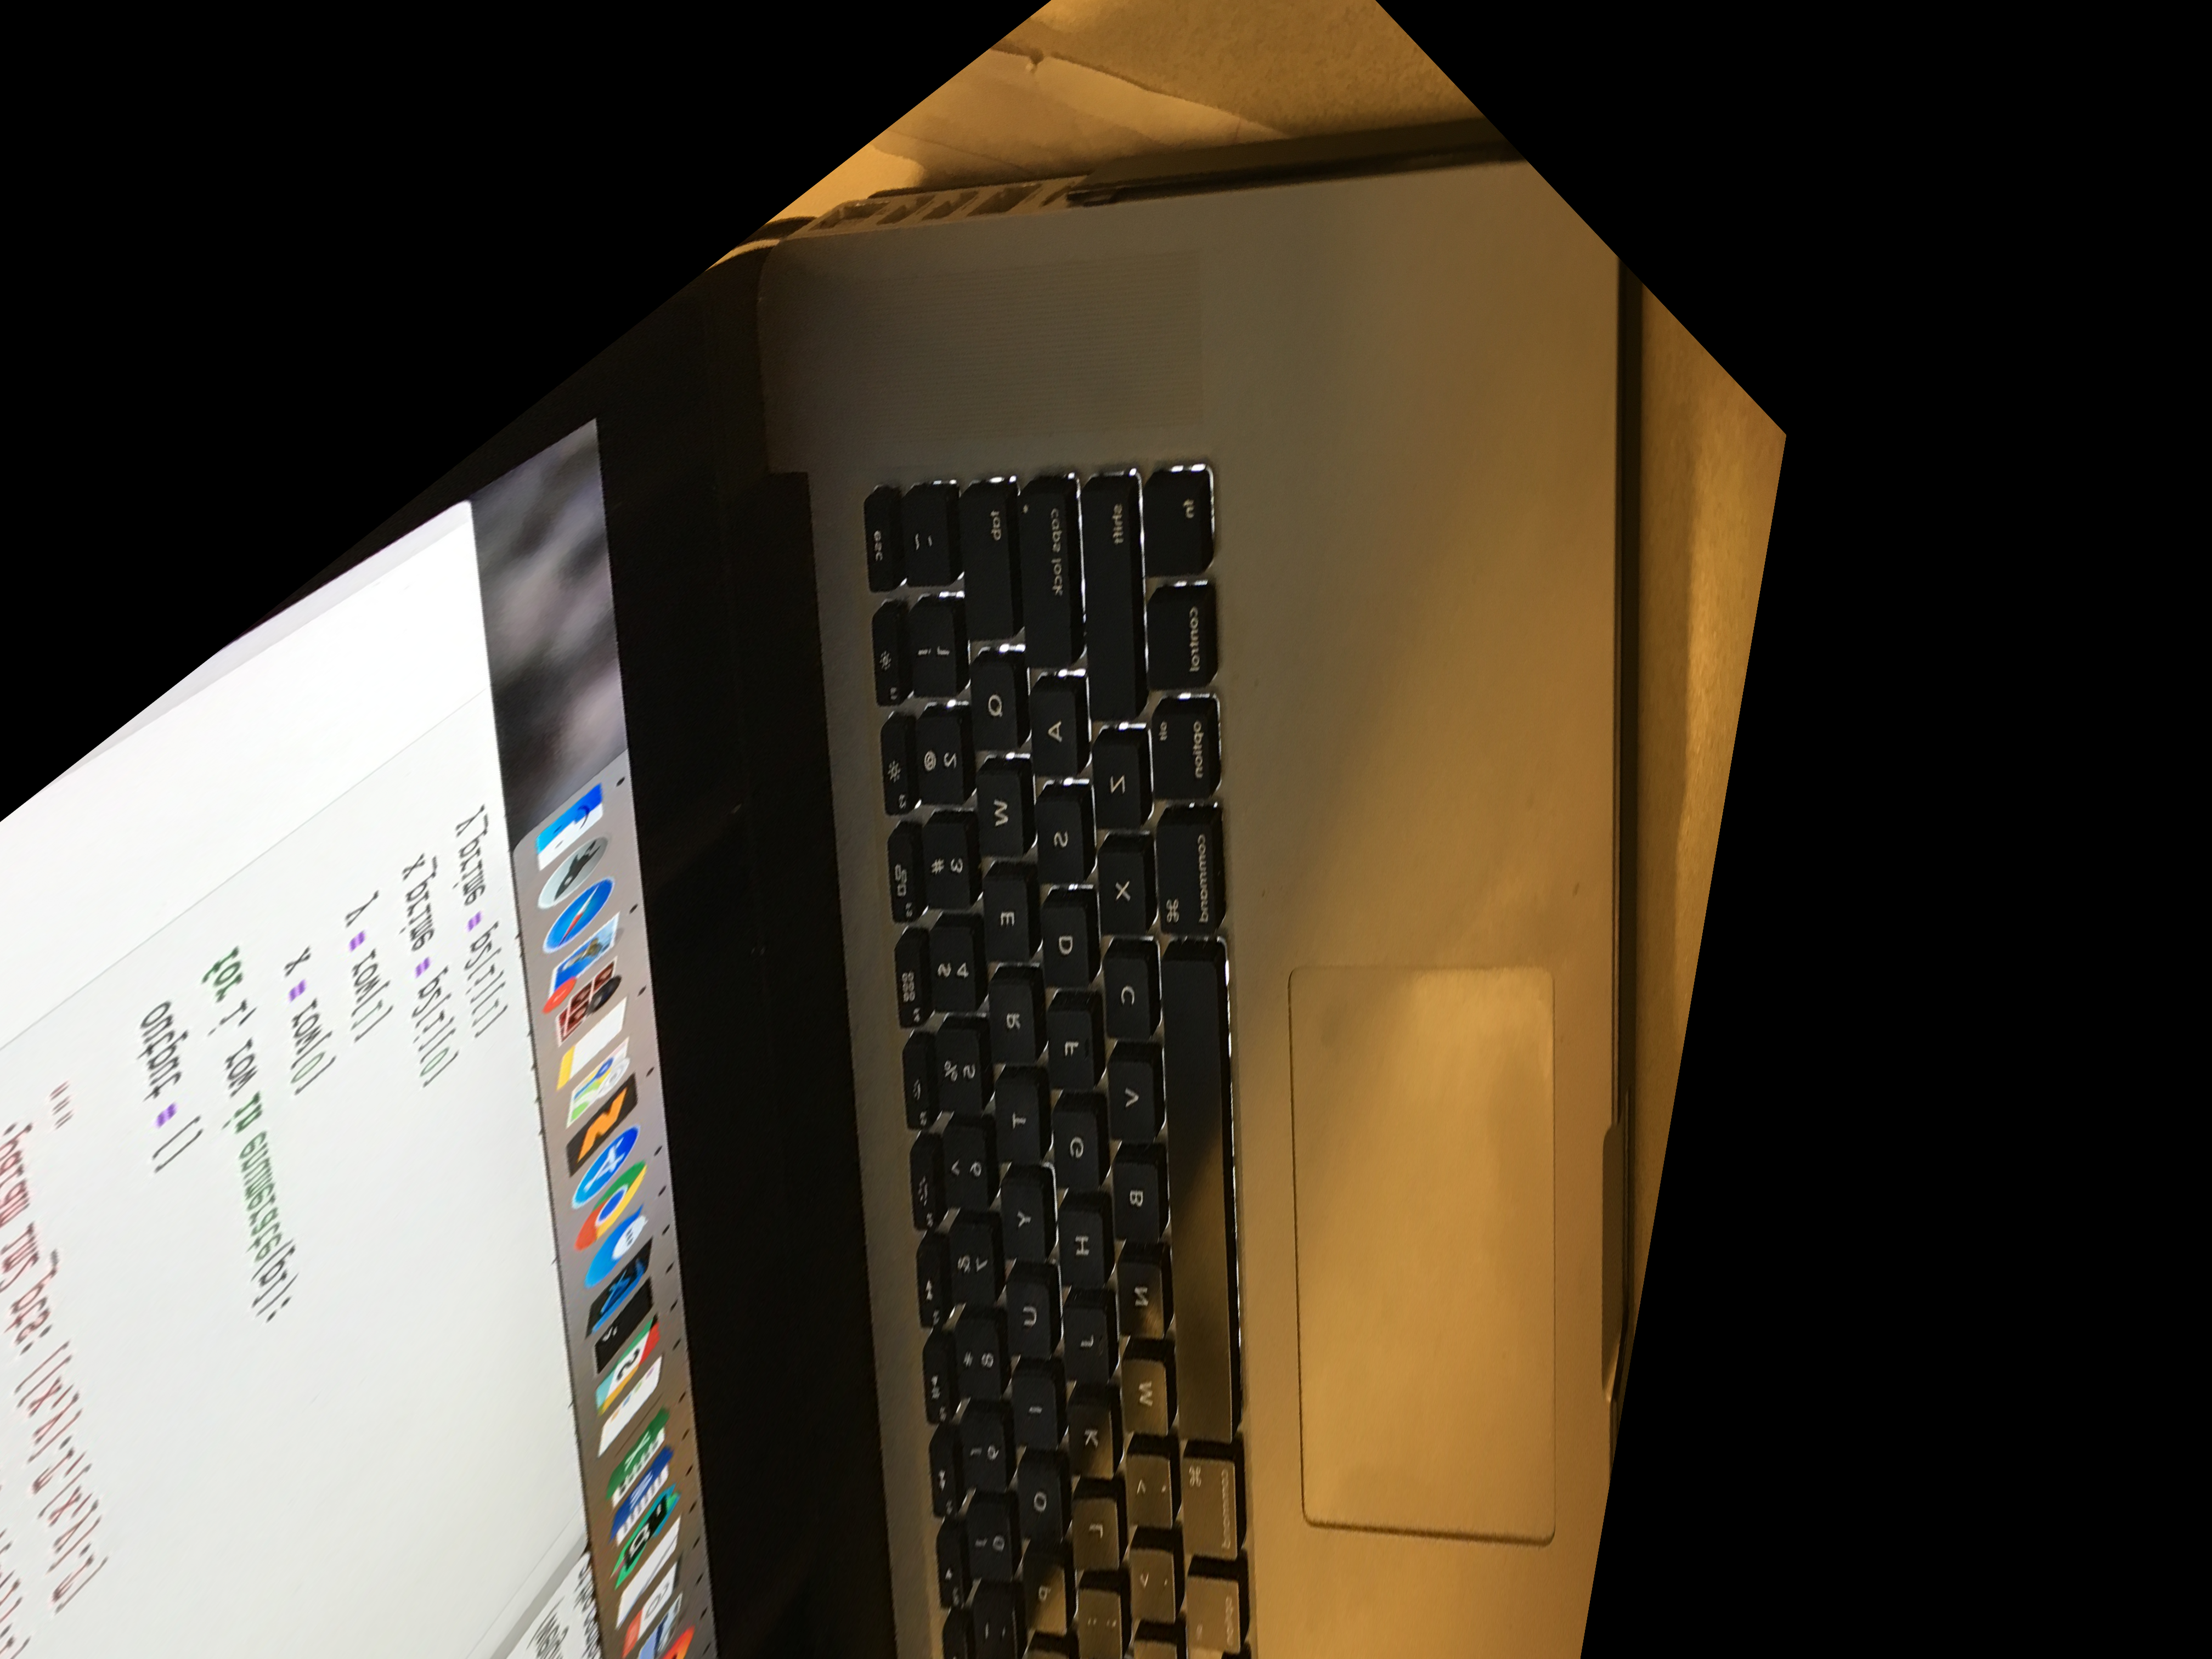
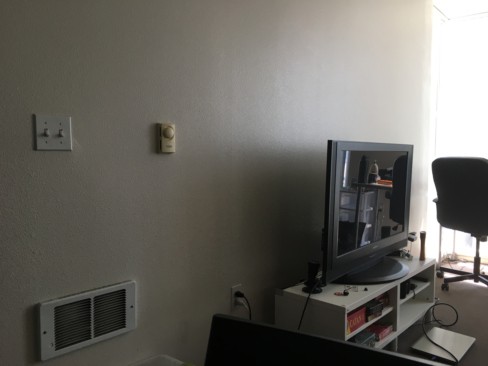
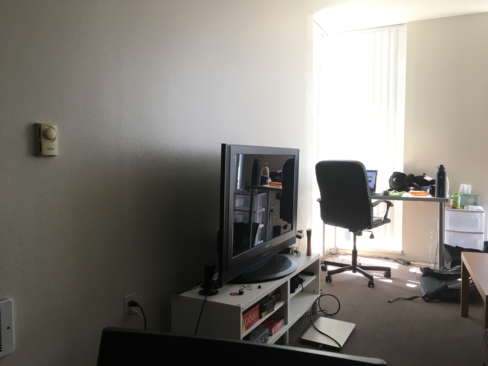
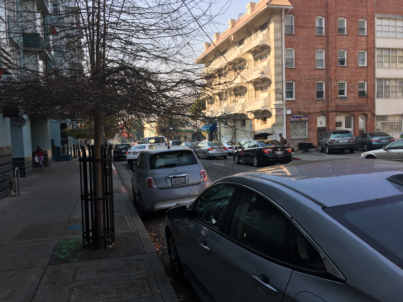
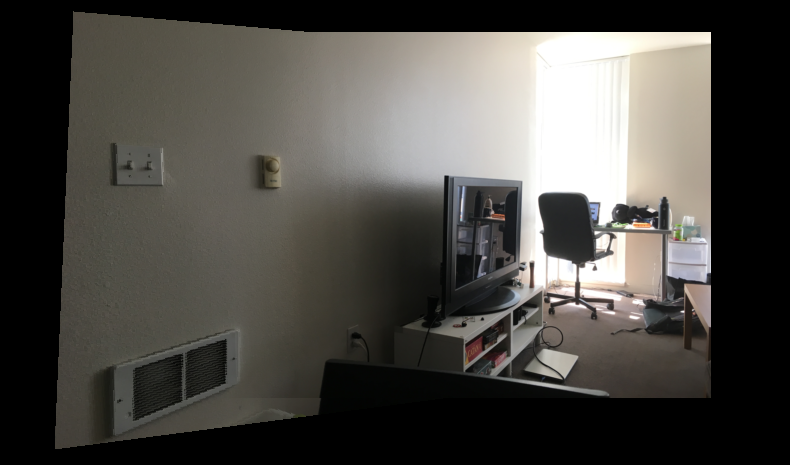
Once one of the images were rectified we could stitch it together with the other images of a panorama to create a smooth mosaic of the combined images. The following are the resulting panoramas created using several separate images. Care was taken not to translate the camera along any other axis in order to ensure images were purely rotational shifts of each other.
|
|

|
|
|
|
|
|
|
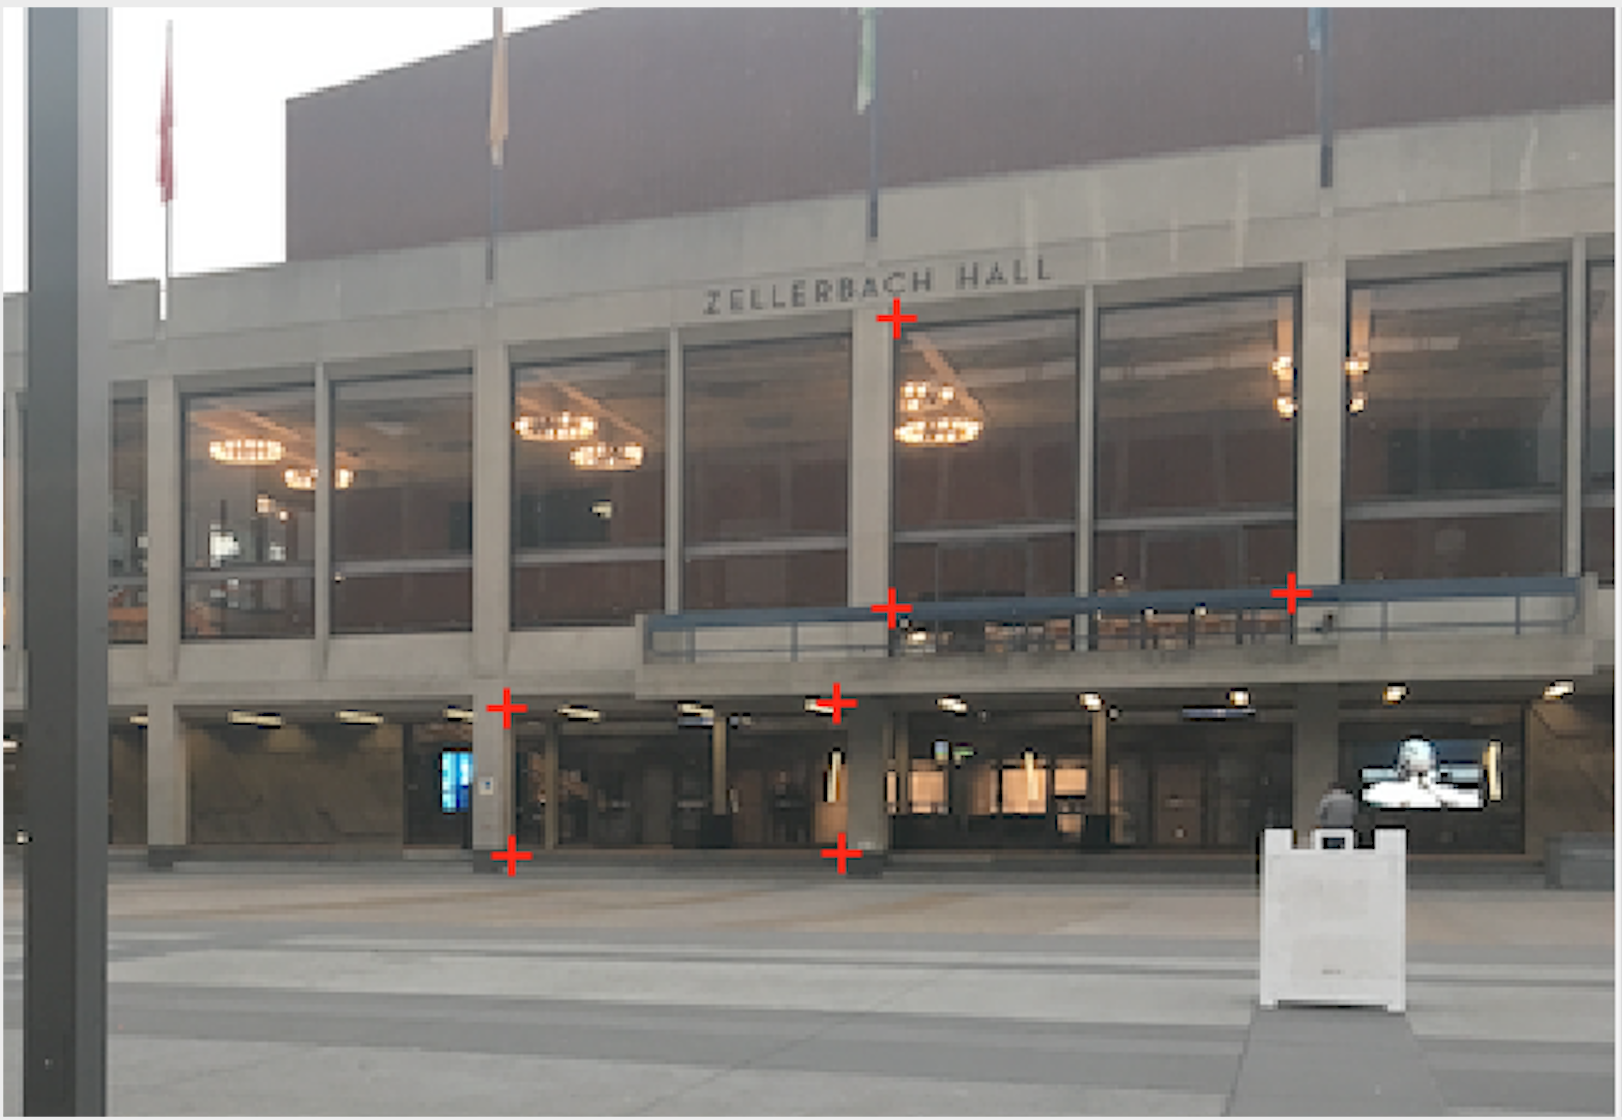
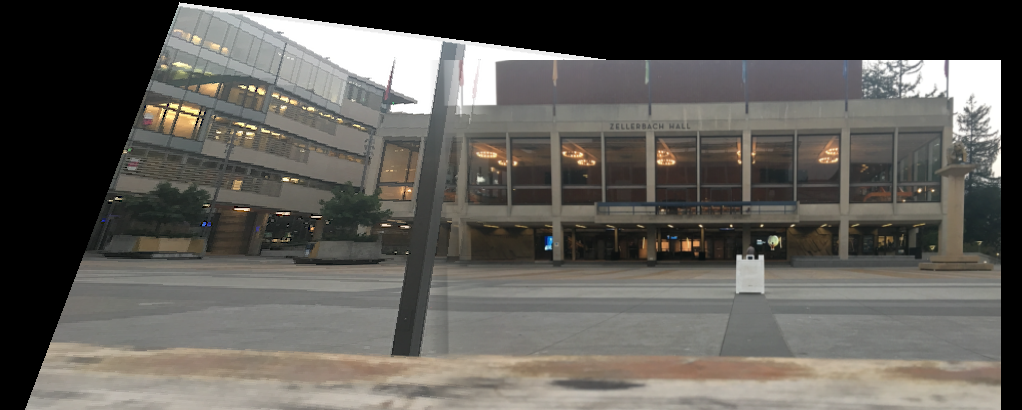
Note that in the final stitch of zellerbach though the homographies did align most of the image, only 8 points were selected to compute homographies and thus there remain artifacts in the final image. In order to stitch the images together, we used a Gaussian blending technique. A mask was generated with ones on one side of the divide and zeros on the other and the images were blended together by using
(1-g_r) * side_1 + (g_r) * side_2In the end it appeared that this Gaussian blending was not as effective as simple feathering so the the automated blends used featuring with a window of 60.
Automated Panorama Stitching
In order to automate feature selection from the set of images we implemented Harris Corner Detection, ANMS, and RANSAC. ANMS was used with a threshold value of 0.9 as described in the paper. We further used an acceptance threshold of 0.4 for feature matching and 0.55 for RANSAC. We used a feathering window of 60 and aligned based on an additional pass of corner detection and feature matching to determine the appropriate shifts. The following are some of the results.
Harris Corner Detector
We first used the harris corner detector to detect possible corners in the image
|
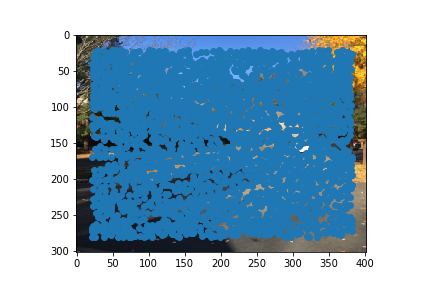
Adaptive Non-Maximal Suppression
We then implemented Non-Maximal Suppression from this paper in order to sparsify the set of candidate points. The following is the resulting image:
|
|
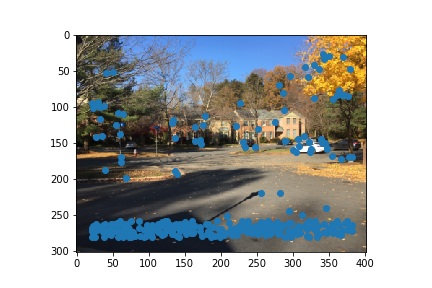
Feature Matching
We then identified target features from each corner outputted by ANMS by selecting a 40x40 pixel range and subsampling into an 8x8 square. We could then use L2 loss to determine the most similar elements. If
Dist(Nearest_Neighbor1) / Dist(Nearest_Neighbor2) < THRESHOLDThen we accepted this point into our output set. This filtered out the vast majority of outliers: The results of this processing are below.
|
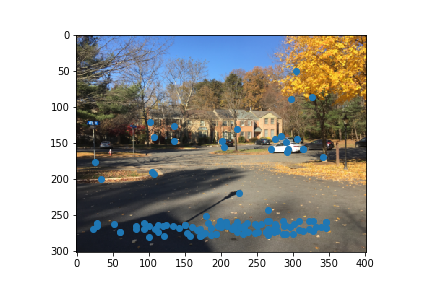
|
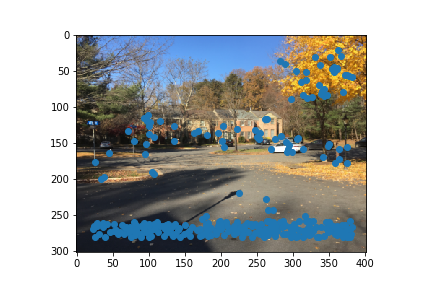
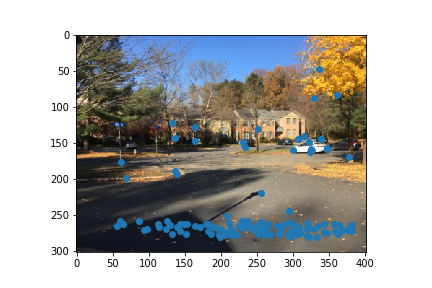
RANSAC
We then applied RANSAC, A robust homography determination tool in order to further filter out outliers from our set. The following is the result once RANSAC is applied to the data:
|
|
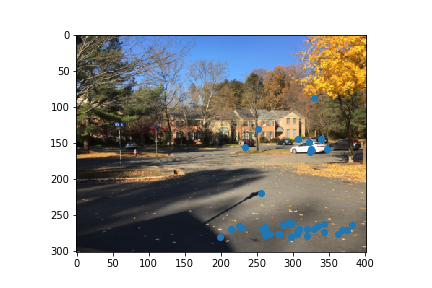
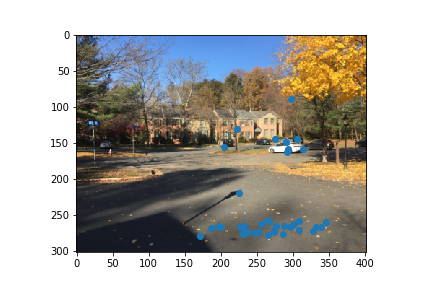
And Finally we can visualize these correspondences
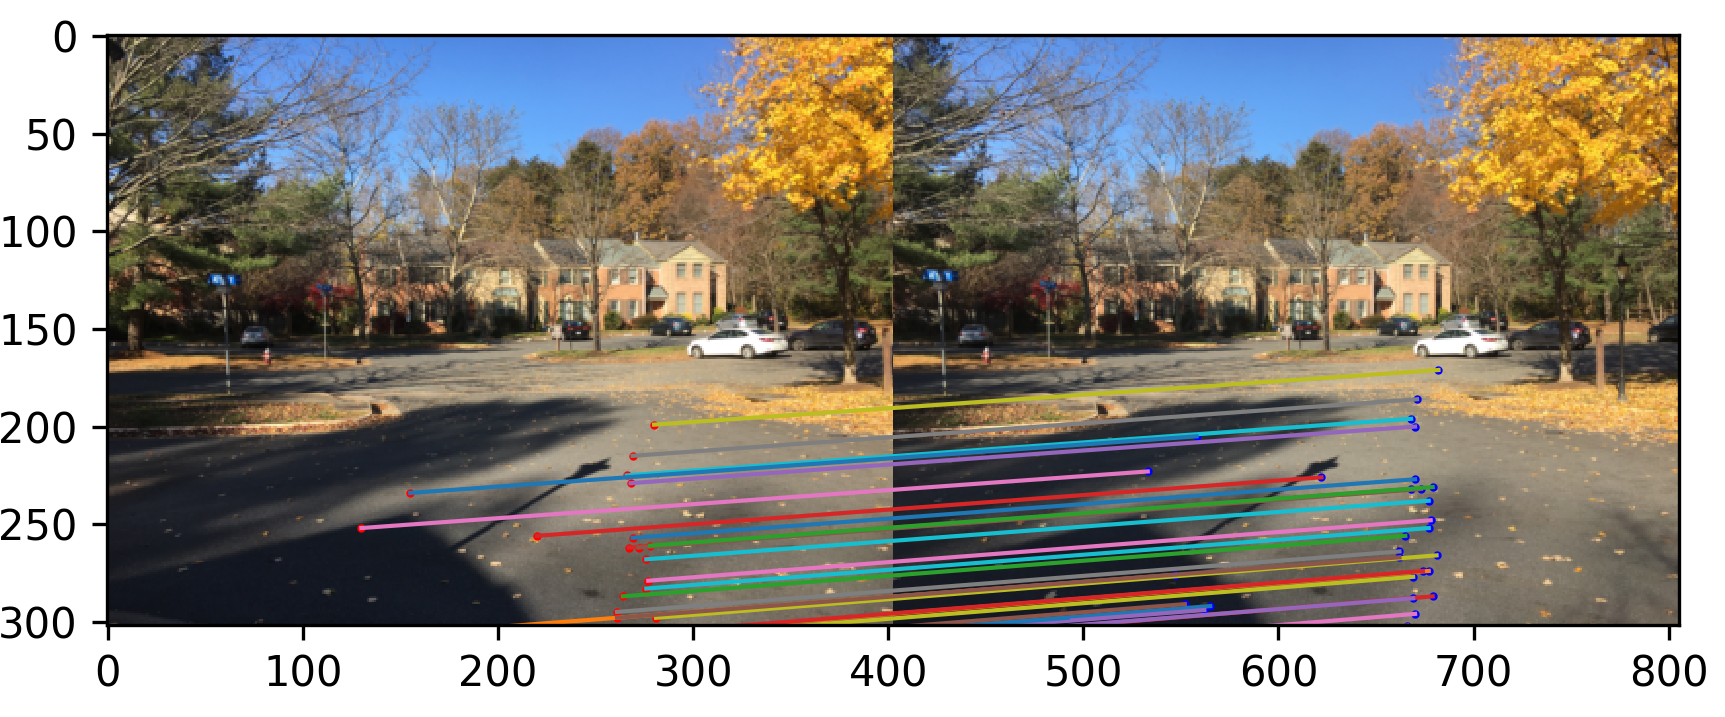
|
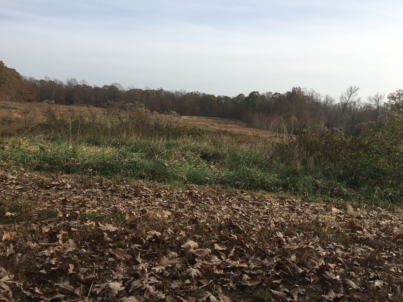
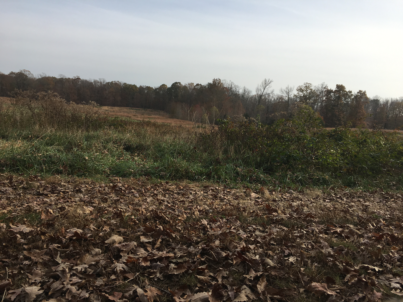
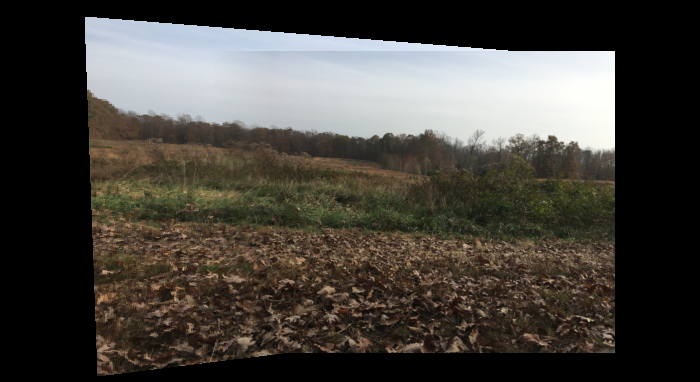
Some Extra Results
|
|
|
|
|
|
Comparing Manual Point Selection (Left) And Automated Selection (Right)
|
|
|
|
|
|
|
|

|
Overall it appears that with the exception of the Zellerbach hall image, the automated alignment tends to function much more effectively. It is possible that too many similar edges made it difficult to correctly match edges between the two warps in the Zellerbach image.
What I've Learned
Fundamentally, Panorama stitching relies heavily on establishing point correspondences and homographies between images. Once a homography is established it is fairly straightforward to take the image overlay it on a different image and find the optimal "fit" between those images. Homographies, however, tend to be relatively succeptible to improperly chosen points. The process is also heavily reliant on ensuring that the only shifts are rotational and not translational. While completing the project, I attempted the same stitching process with translated images ( where the targets of each image were not extremely far away) and the alignments almost never worked.