Original
Rectified
Alex Jiang
CS 194-26: Project 6
Image Warping and Mosaicing
Part A Overview
In this project, our overarching goal is to be able to stitch many different images together to create larger composite results, similar to a panoramic effect. Given the scope of the project itself, it is split into part A and part B; this portion, part A, focuses on our ability to warp individual images, and, in turn, warp one image to be merged with another. In other words, we are performing the preliminary steps to completing the larger project.
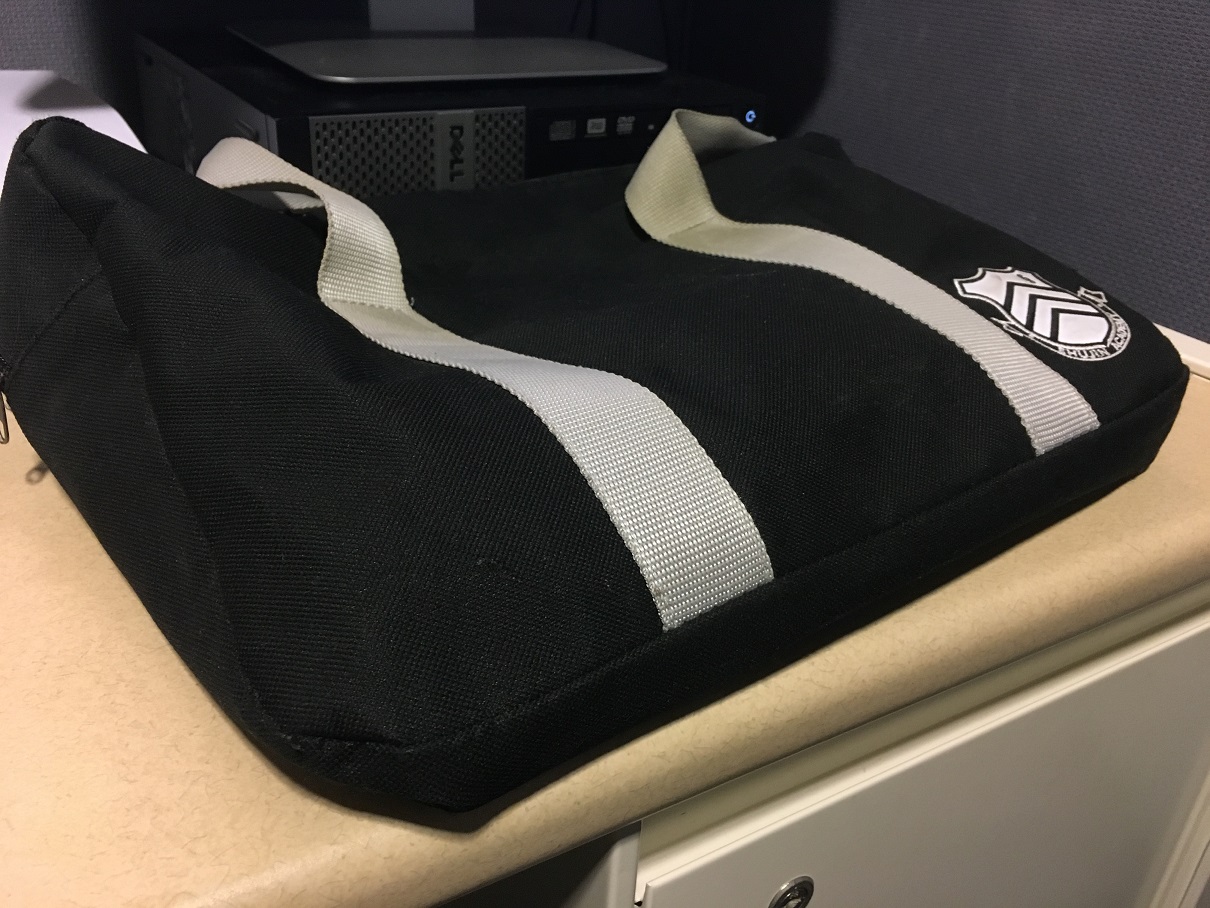
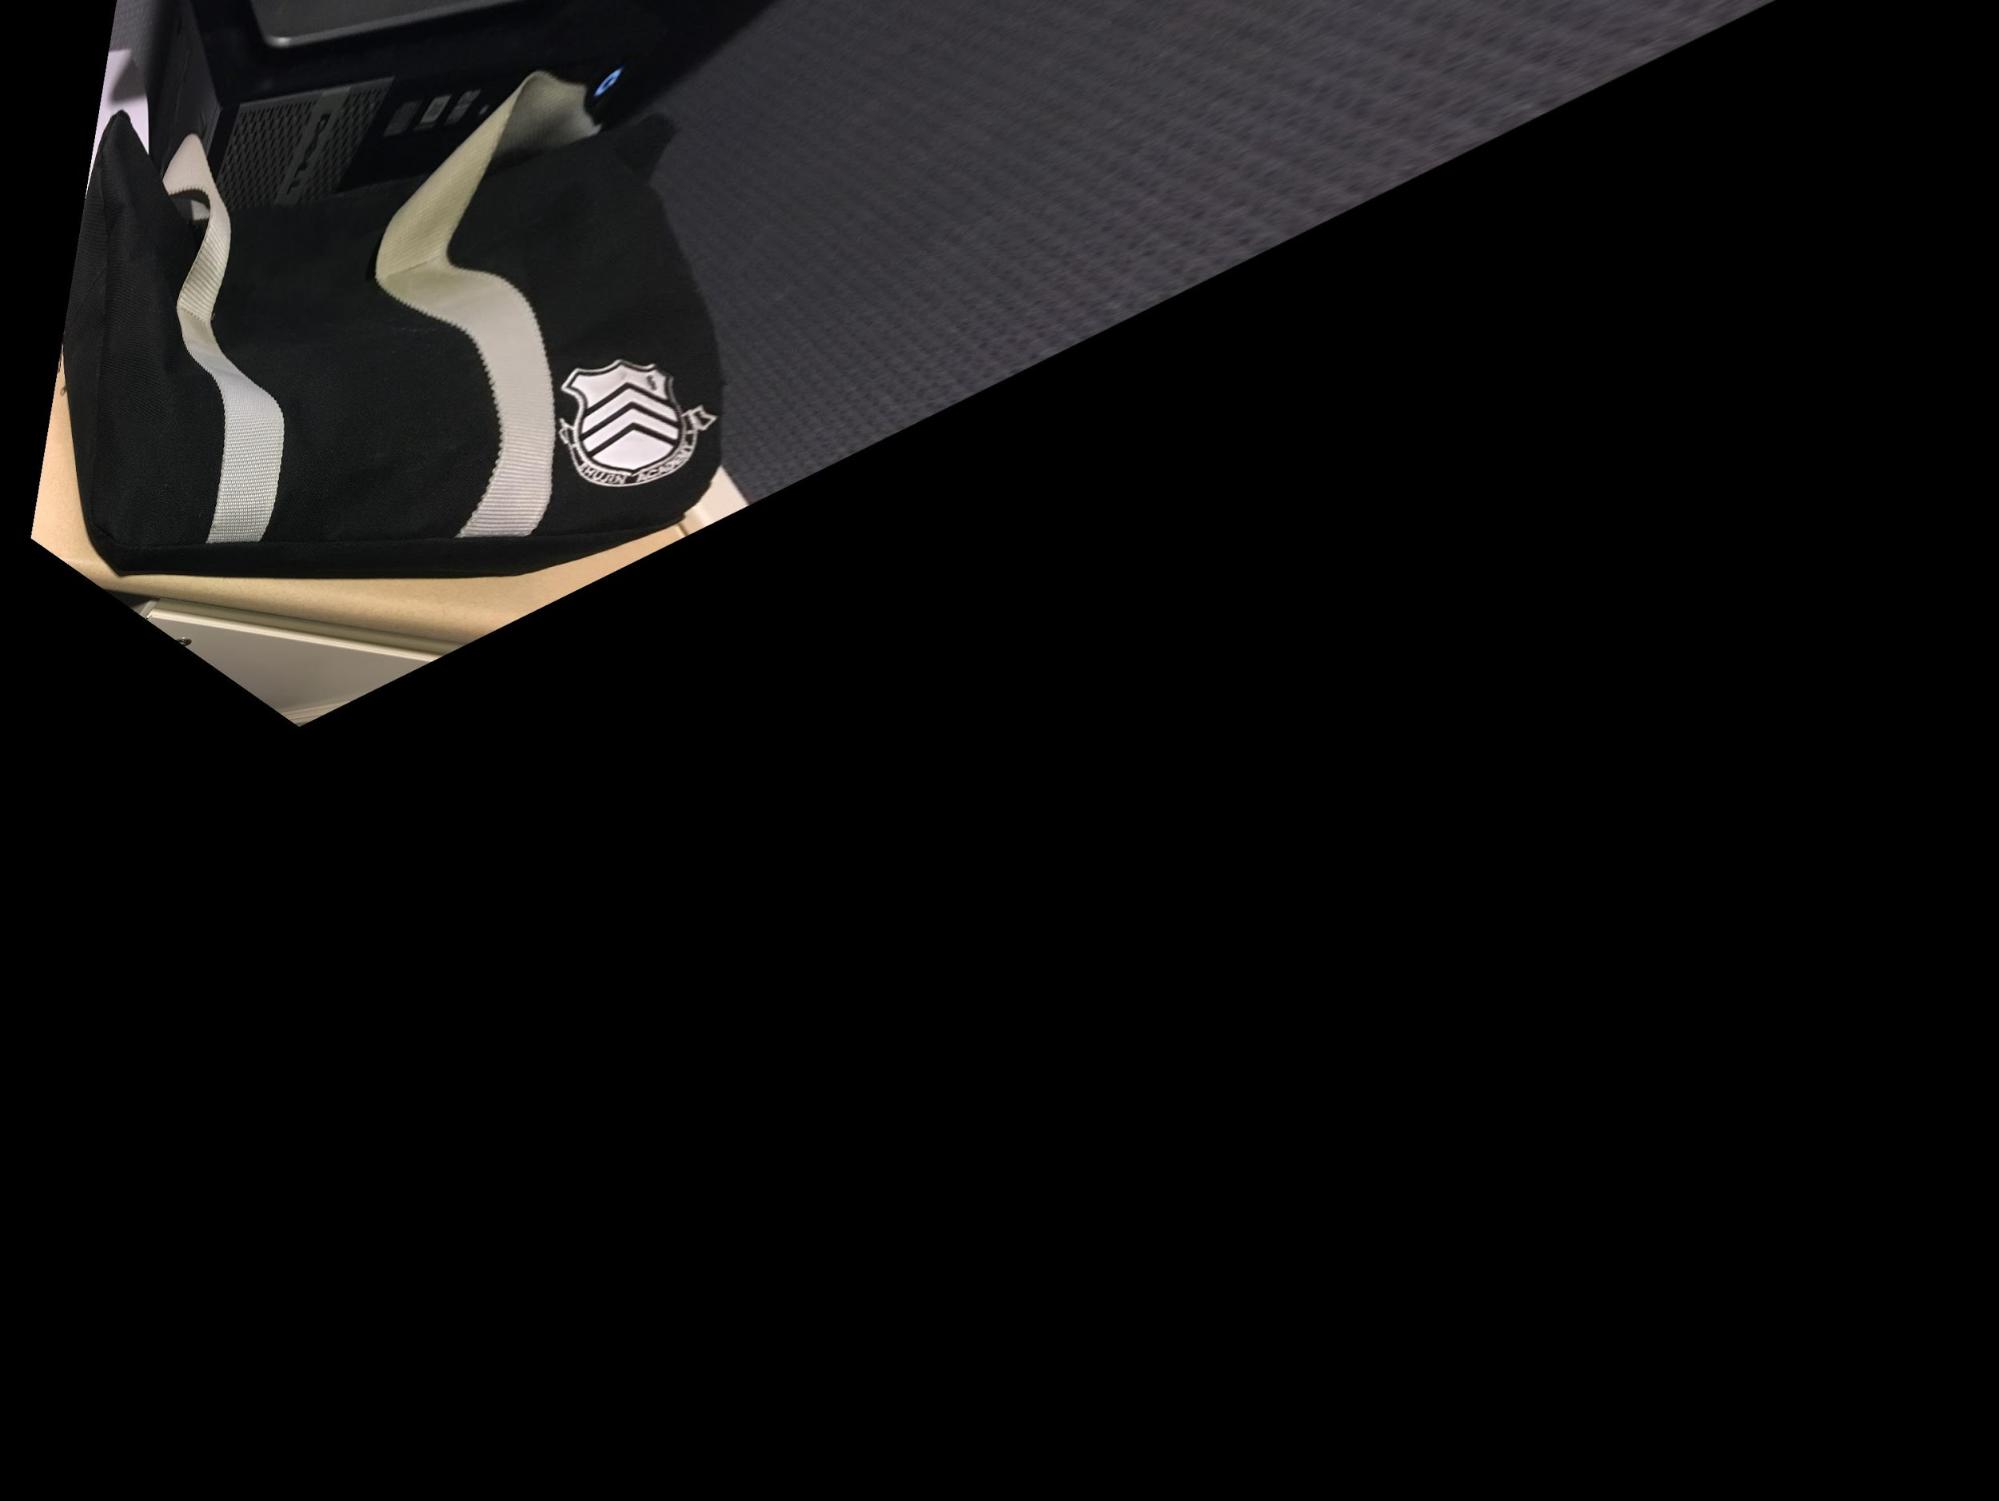
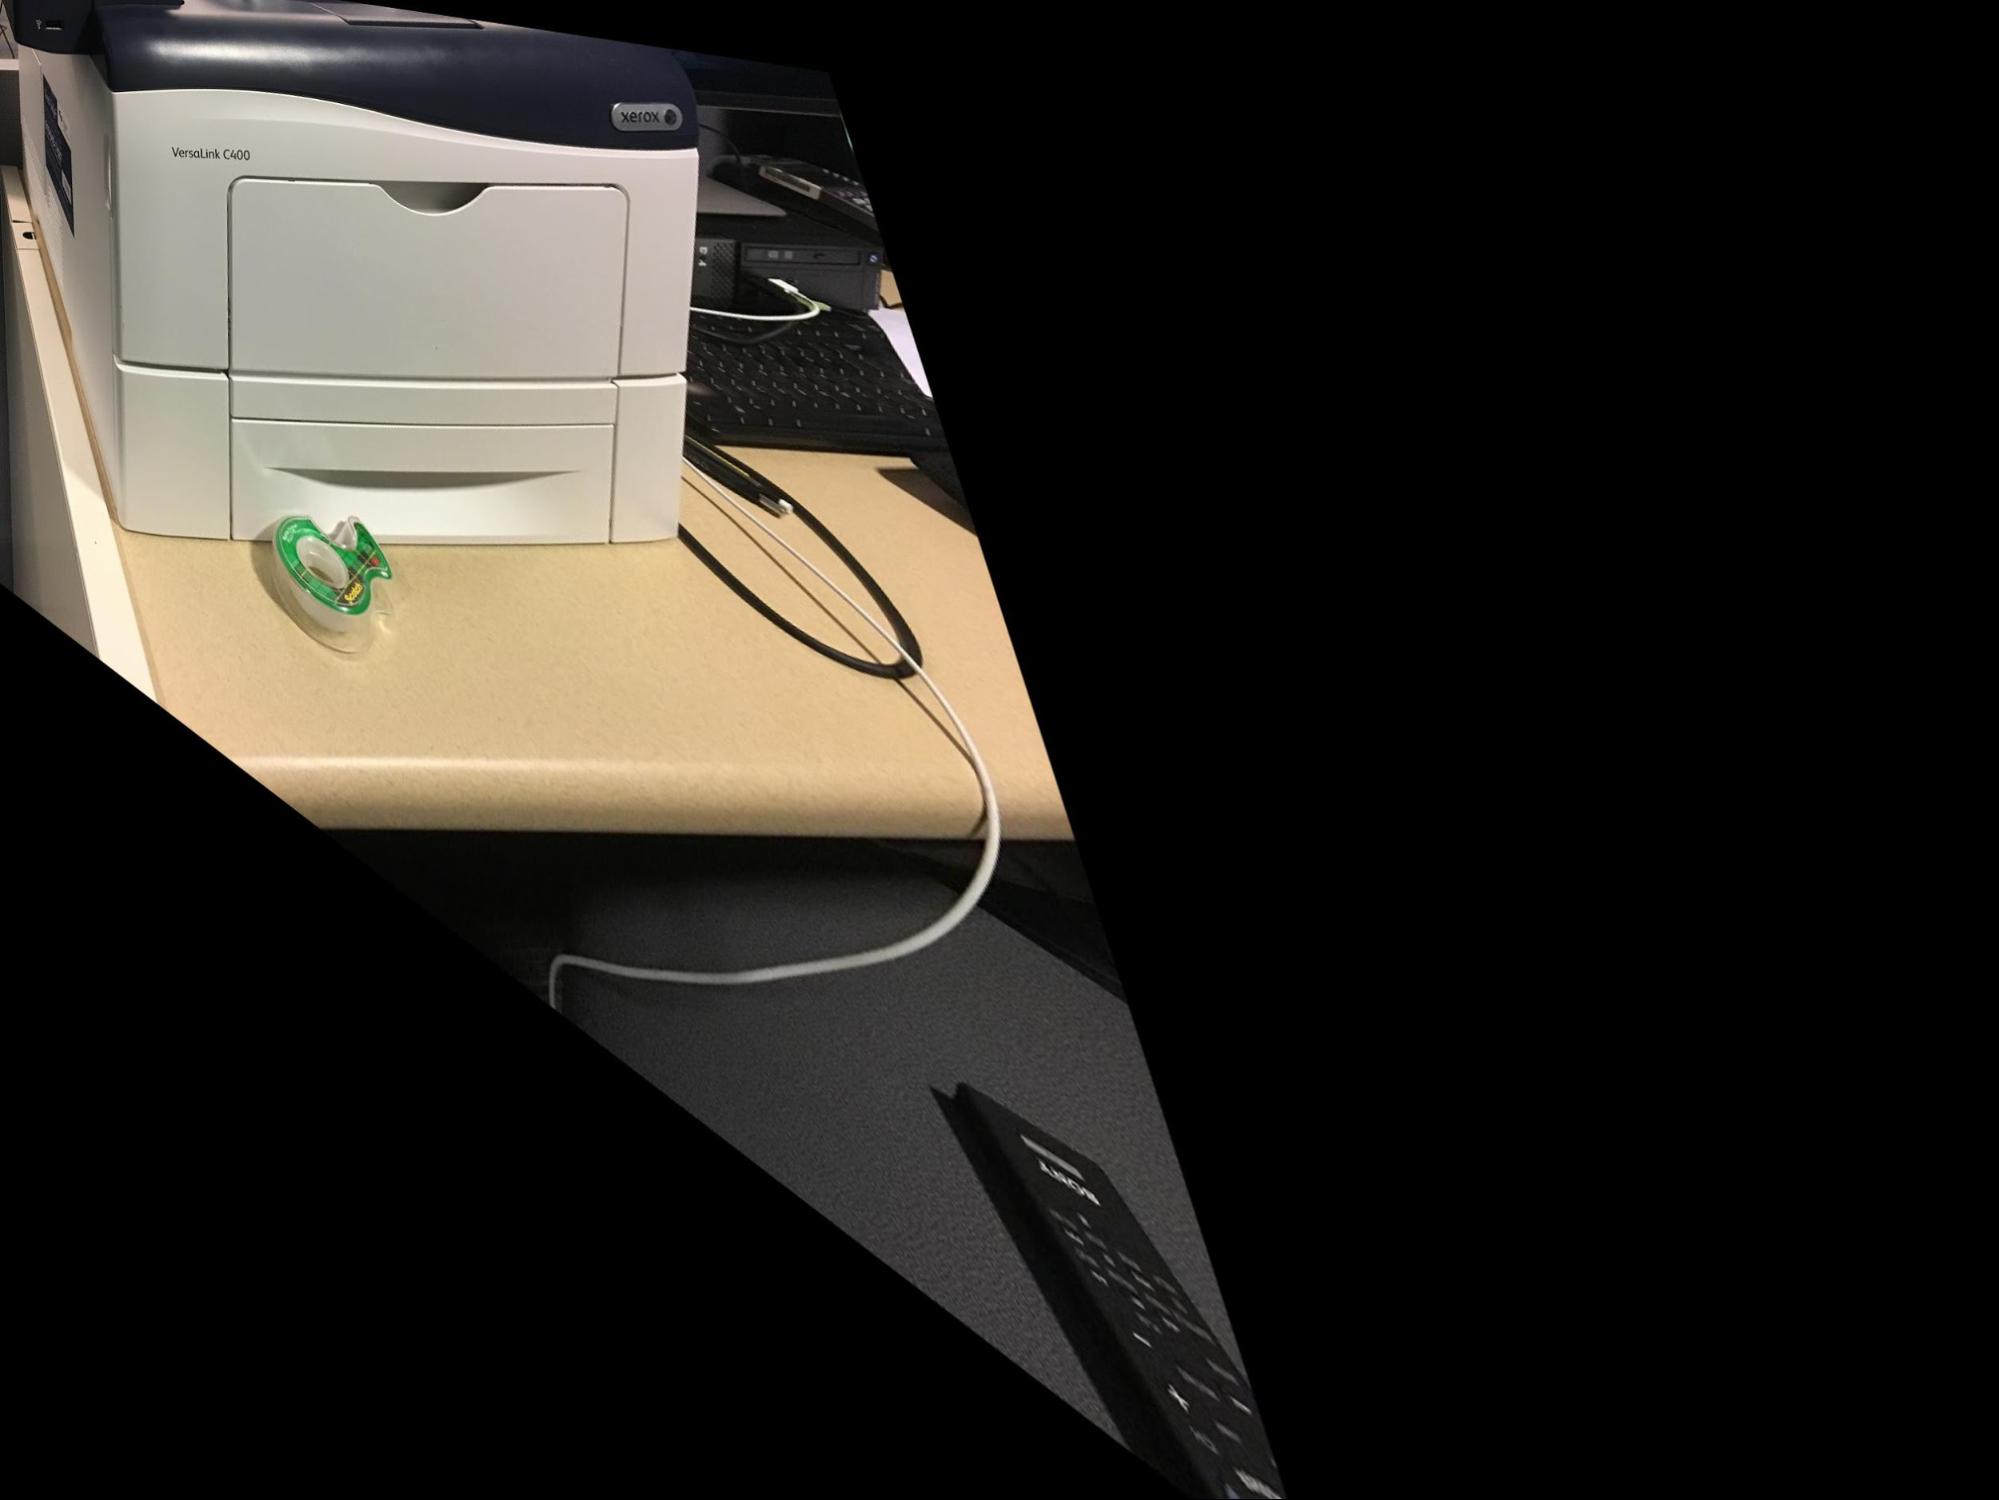
Part 1. - Rectifying
The first thing we do when trying to mosaic two images is warp one to match the overall perspective we’re trying to achieve. One way to test that our algorithm is working correctly is to try and “rectify” an individual image to a preset perspective; for example, taking an off-angle shot and converting it into a front-on direction. To do so, we select some correspondence points (typically corners of an object, etc.) and align them to a shape of our choosing, like a rectangle. We can see the results of our algorithm on some of these examples below:
Original | Rectified |
Original | Rectified |
Original | Rectified |
Part 2. - Mosaics
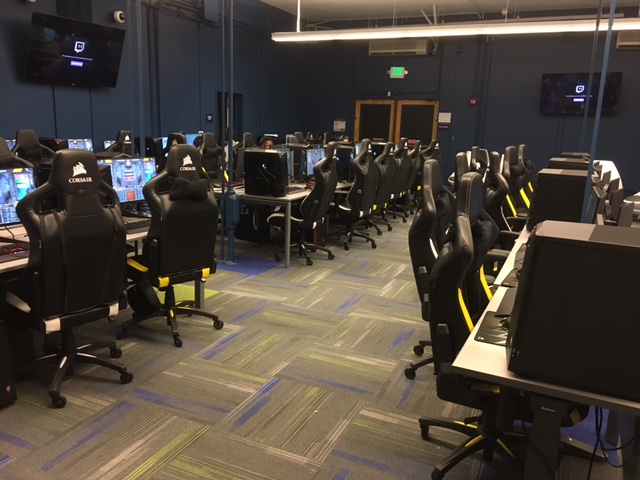
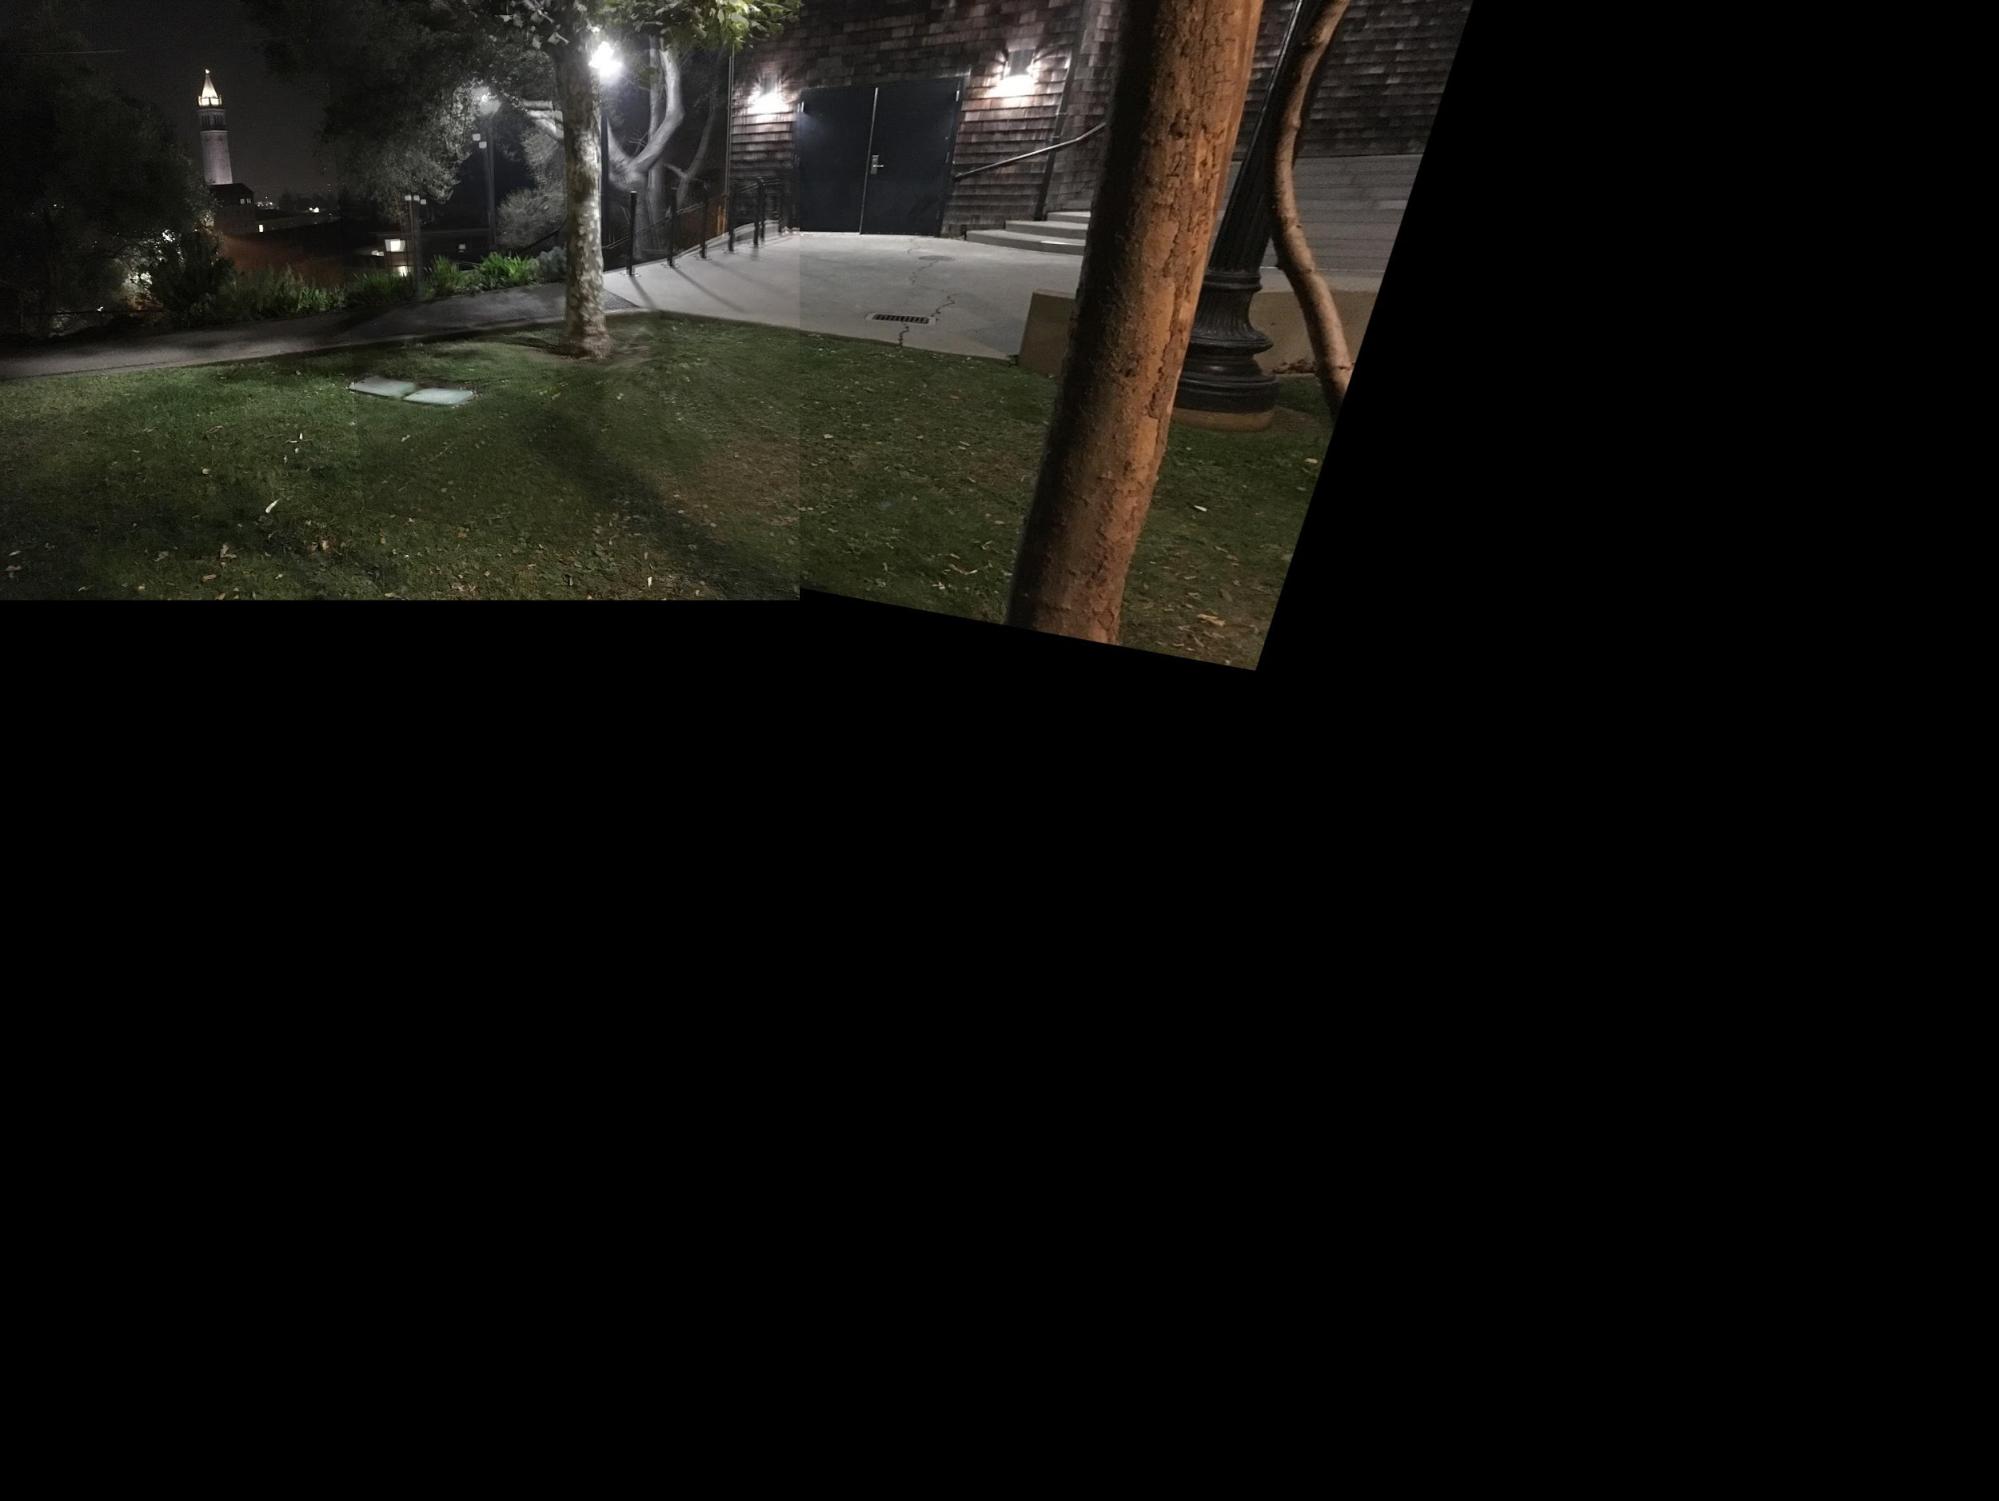
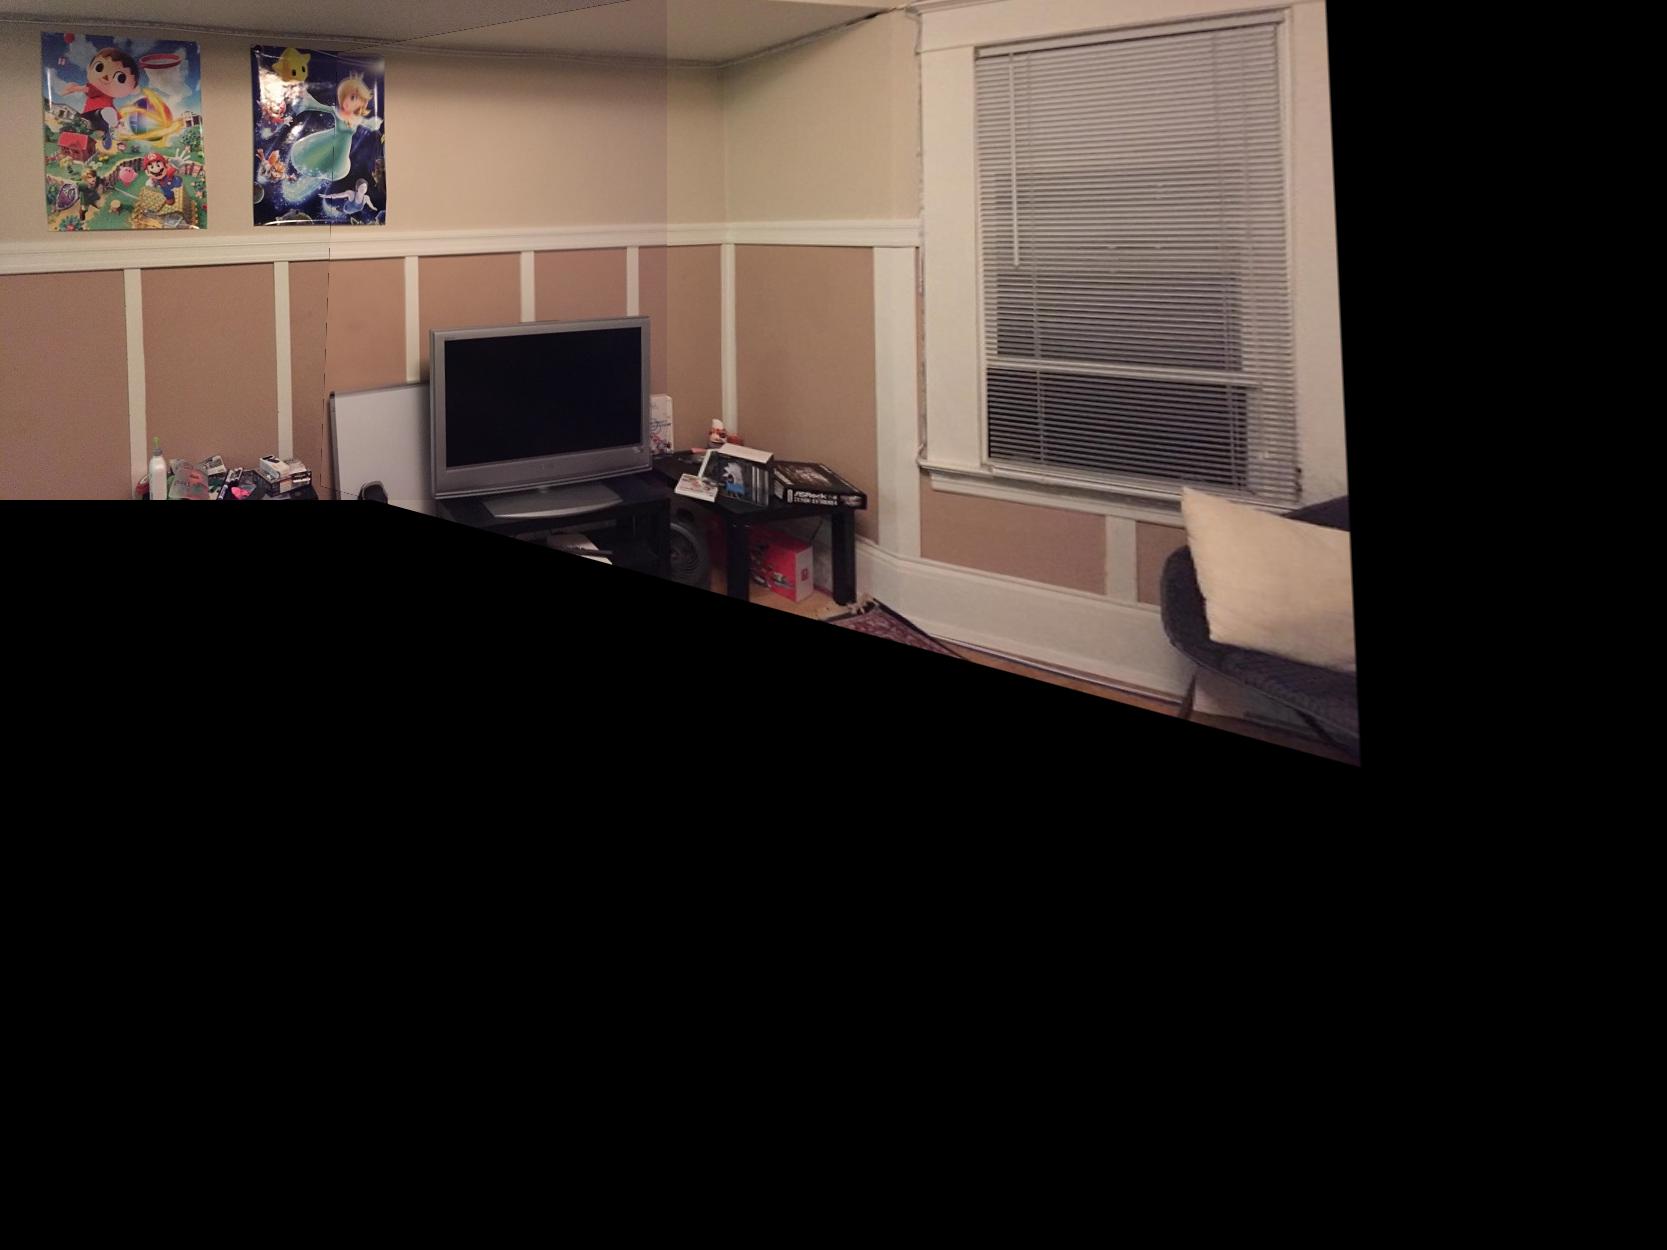
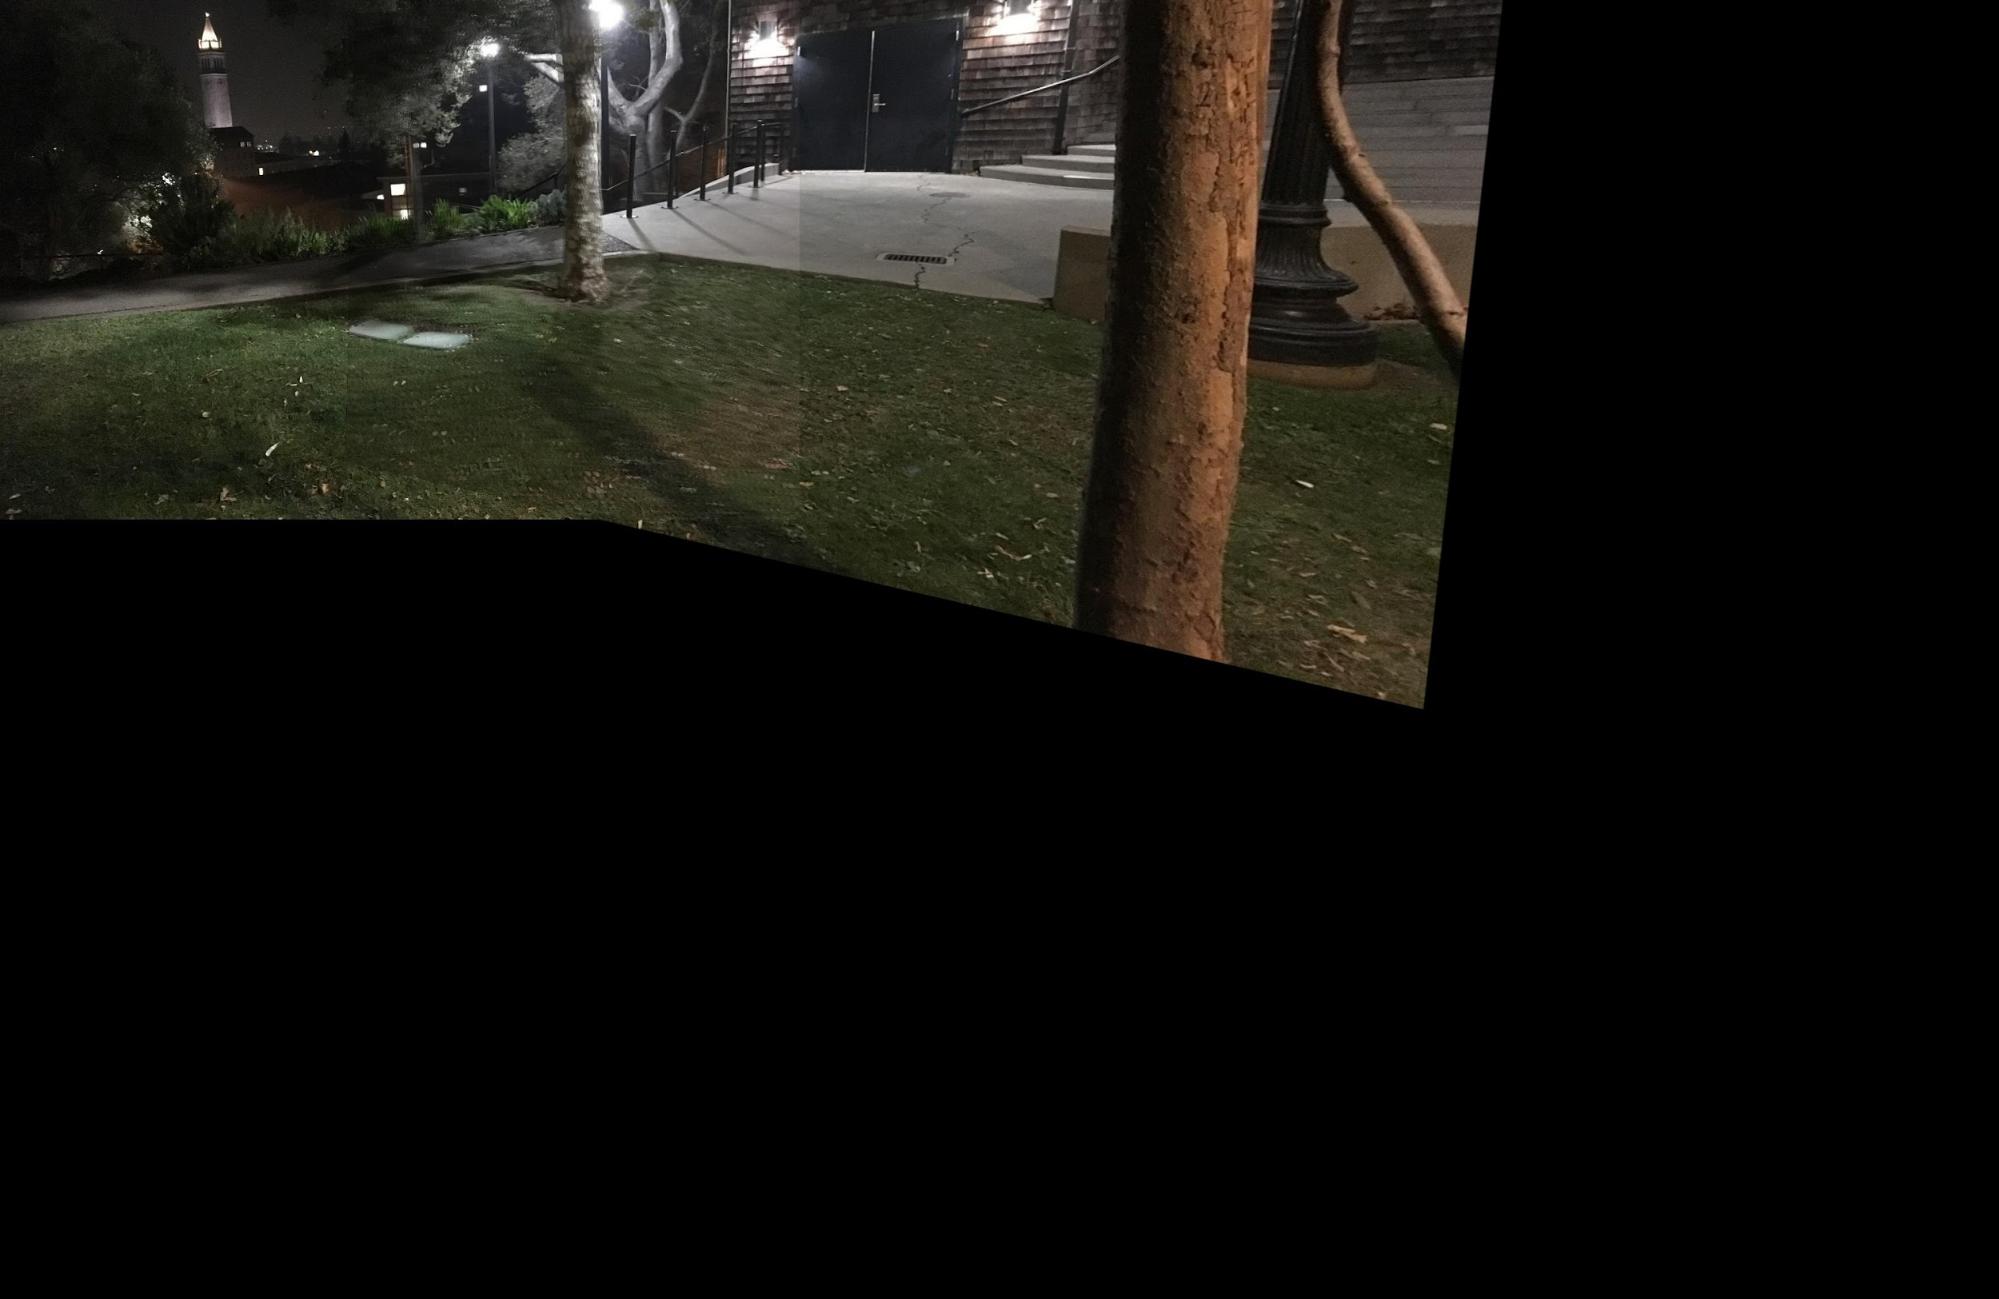
Now, we utilize our verified warping algorithm to align two images. First, we take one and designate it as our “anchor” of sorts; this one will remain unwarped and will set the perspective that the other will align to. When taking the pictures, it’s essential that there is some subject present in both images (so we have something to align according to); when taking this, I stood in one position, rotated partially so that something stayed in the frame, and took another. Similarly to the previous part, we designate correspondence points, one set for each image, and then warp the second image to match the first. We then overlay them on top of each other, to get some results like those shown below:
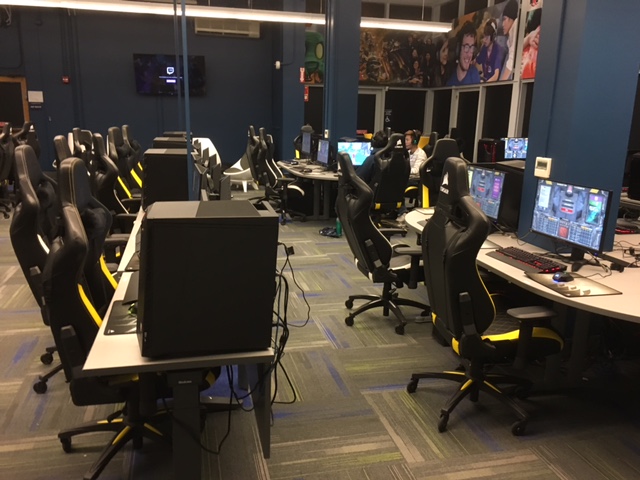
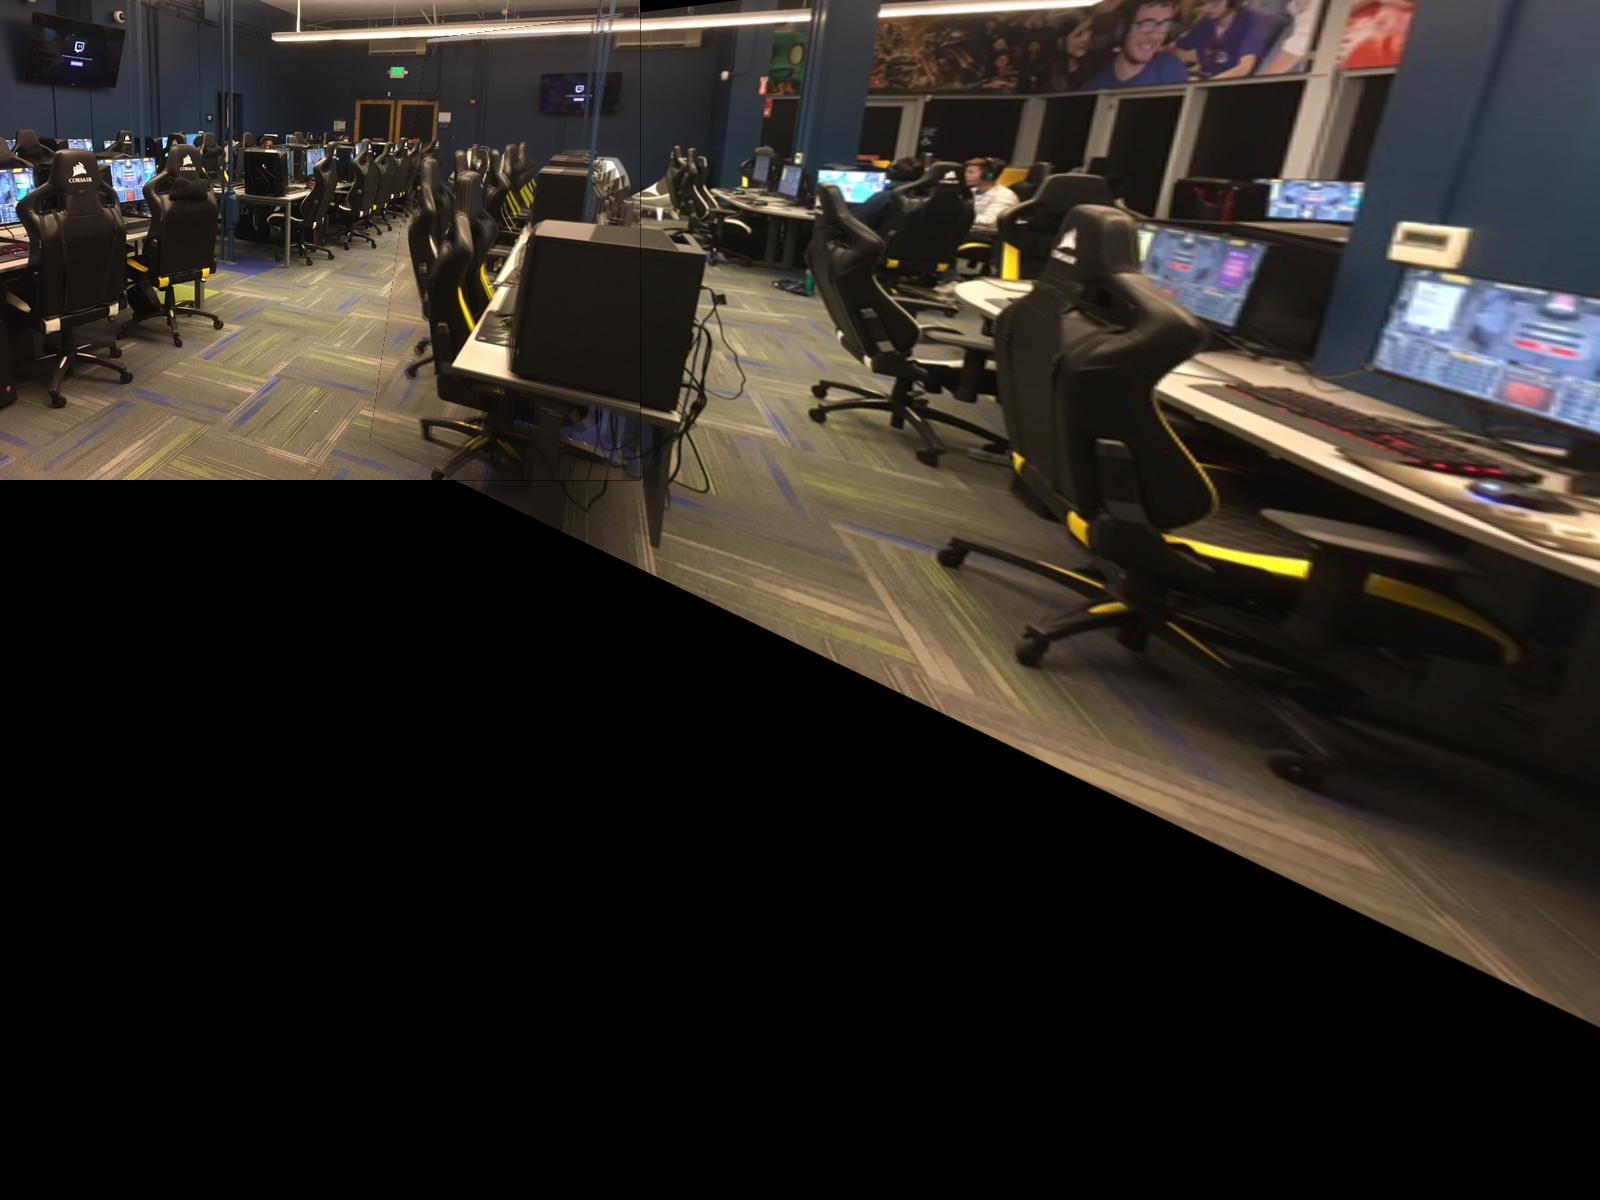
Cal eSports Community Center
Image 1 | Image 2 |
Mosaic | |
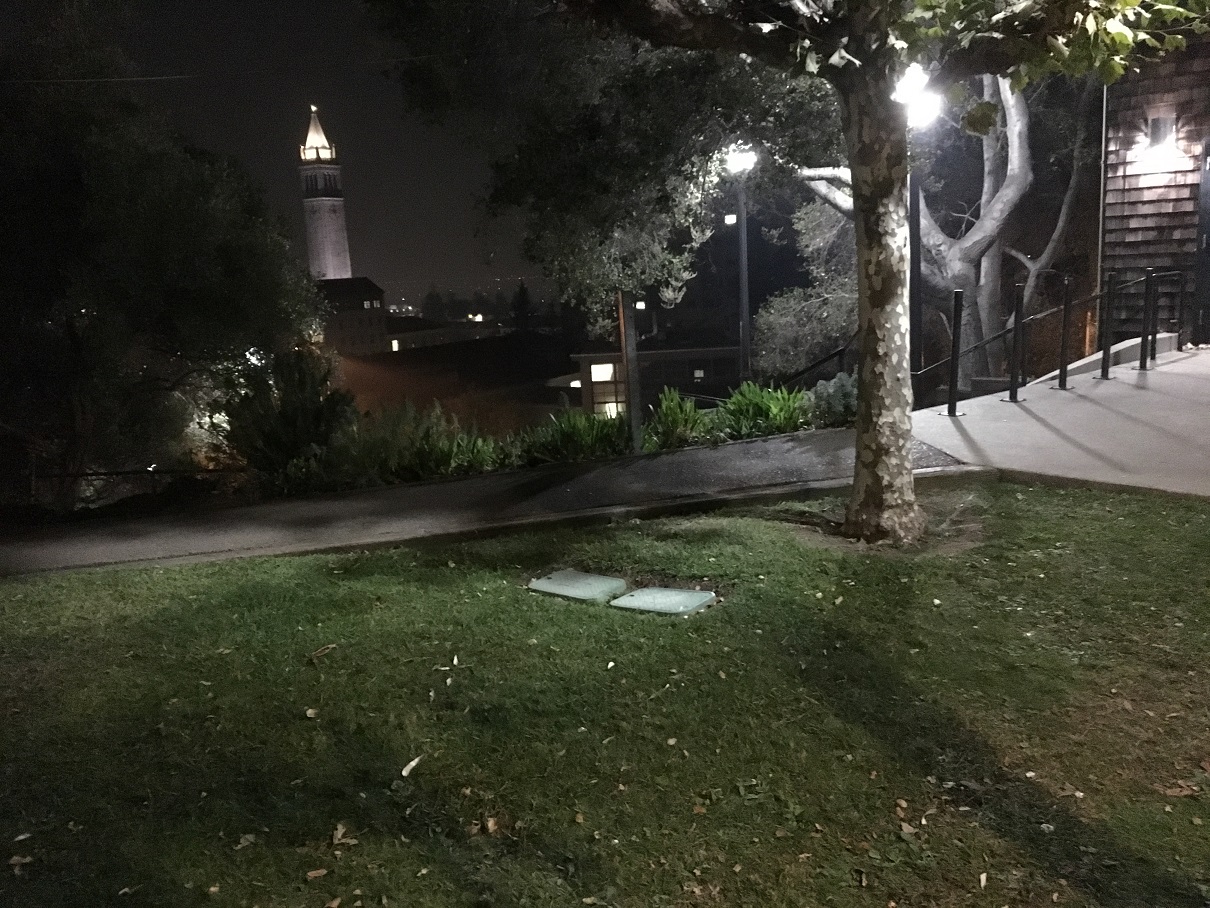
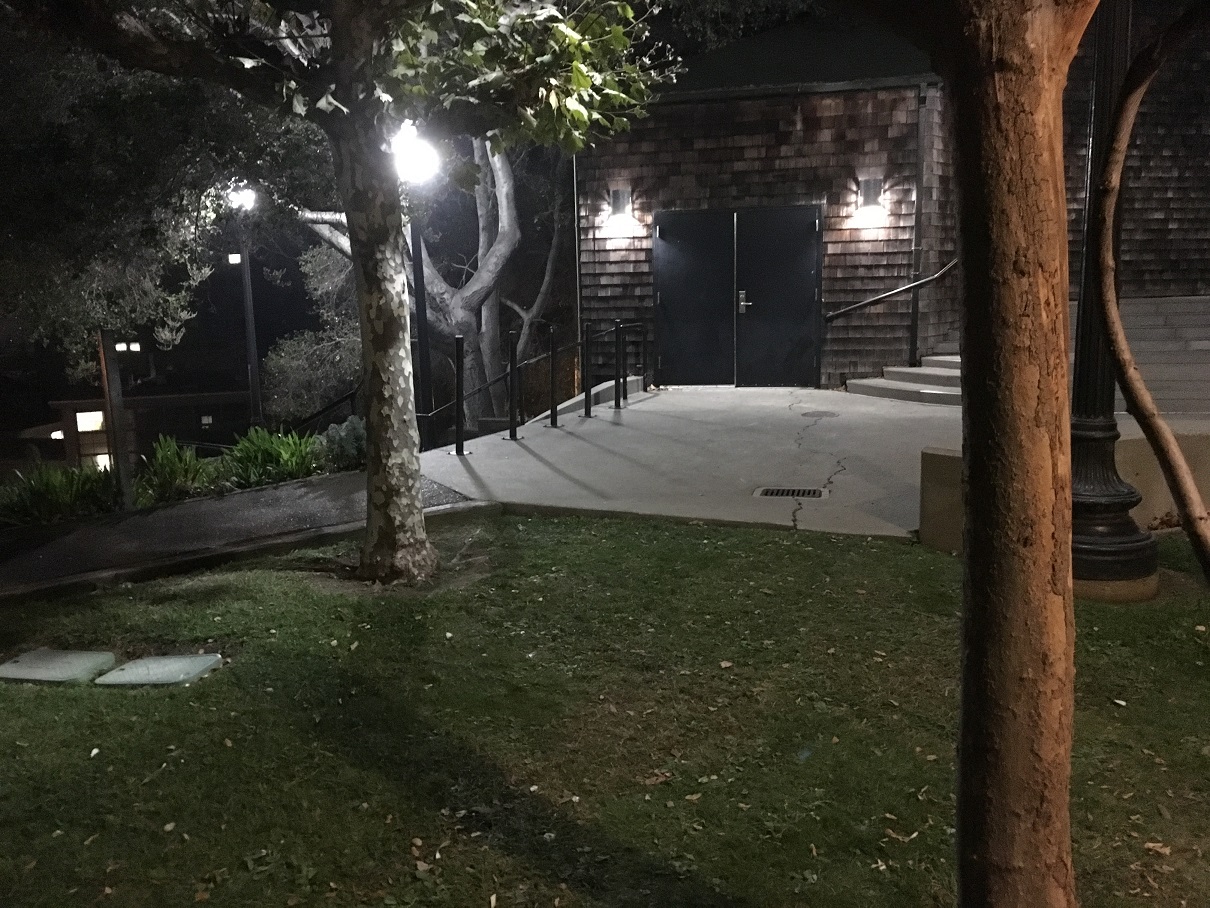
Foothill
Image 1 | Image 2 |
Mosaic | |
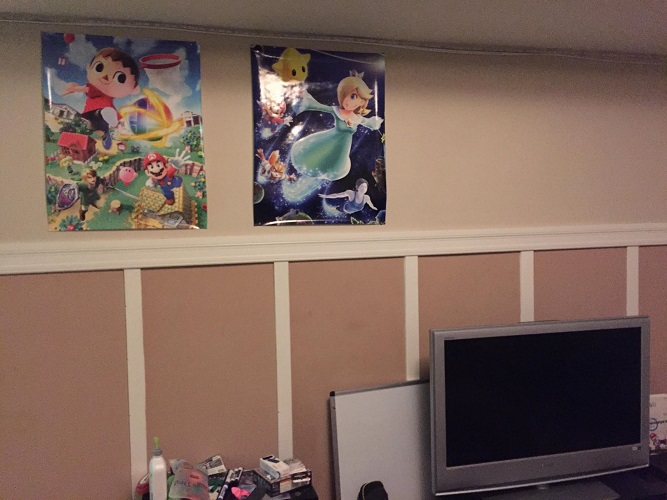
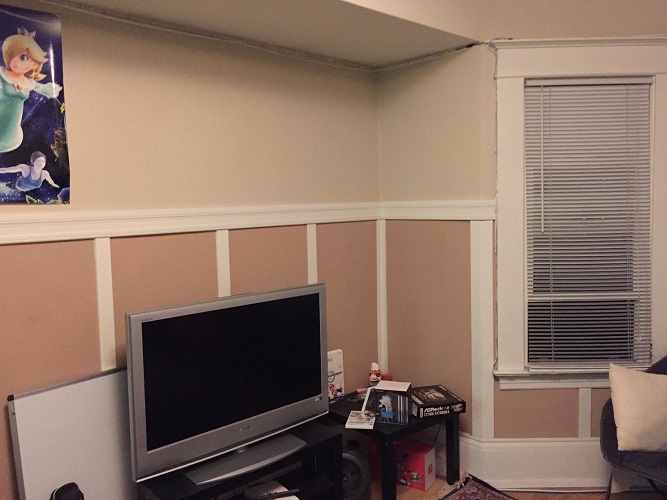
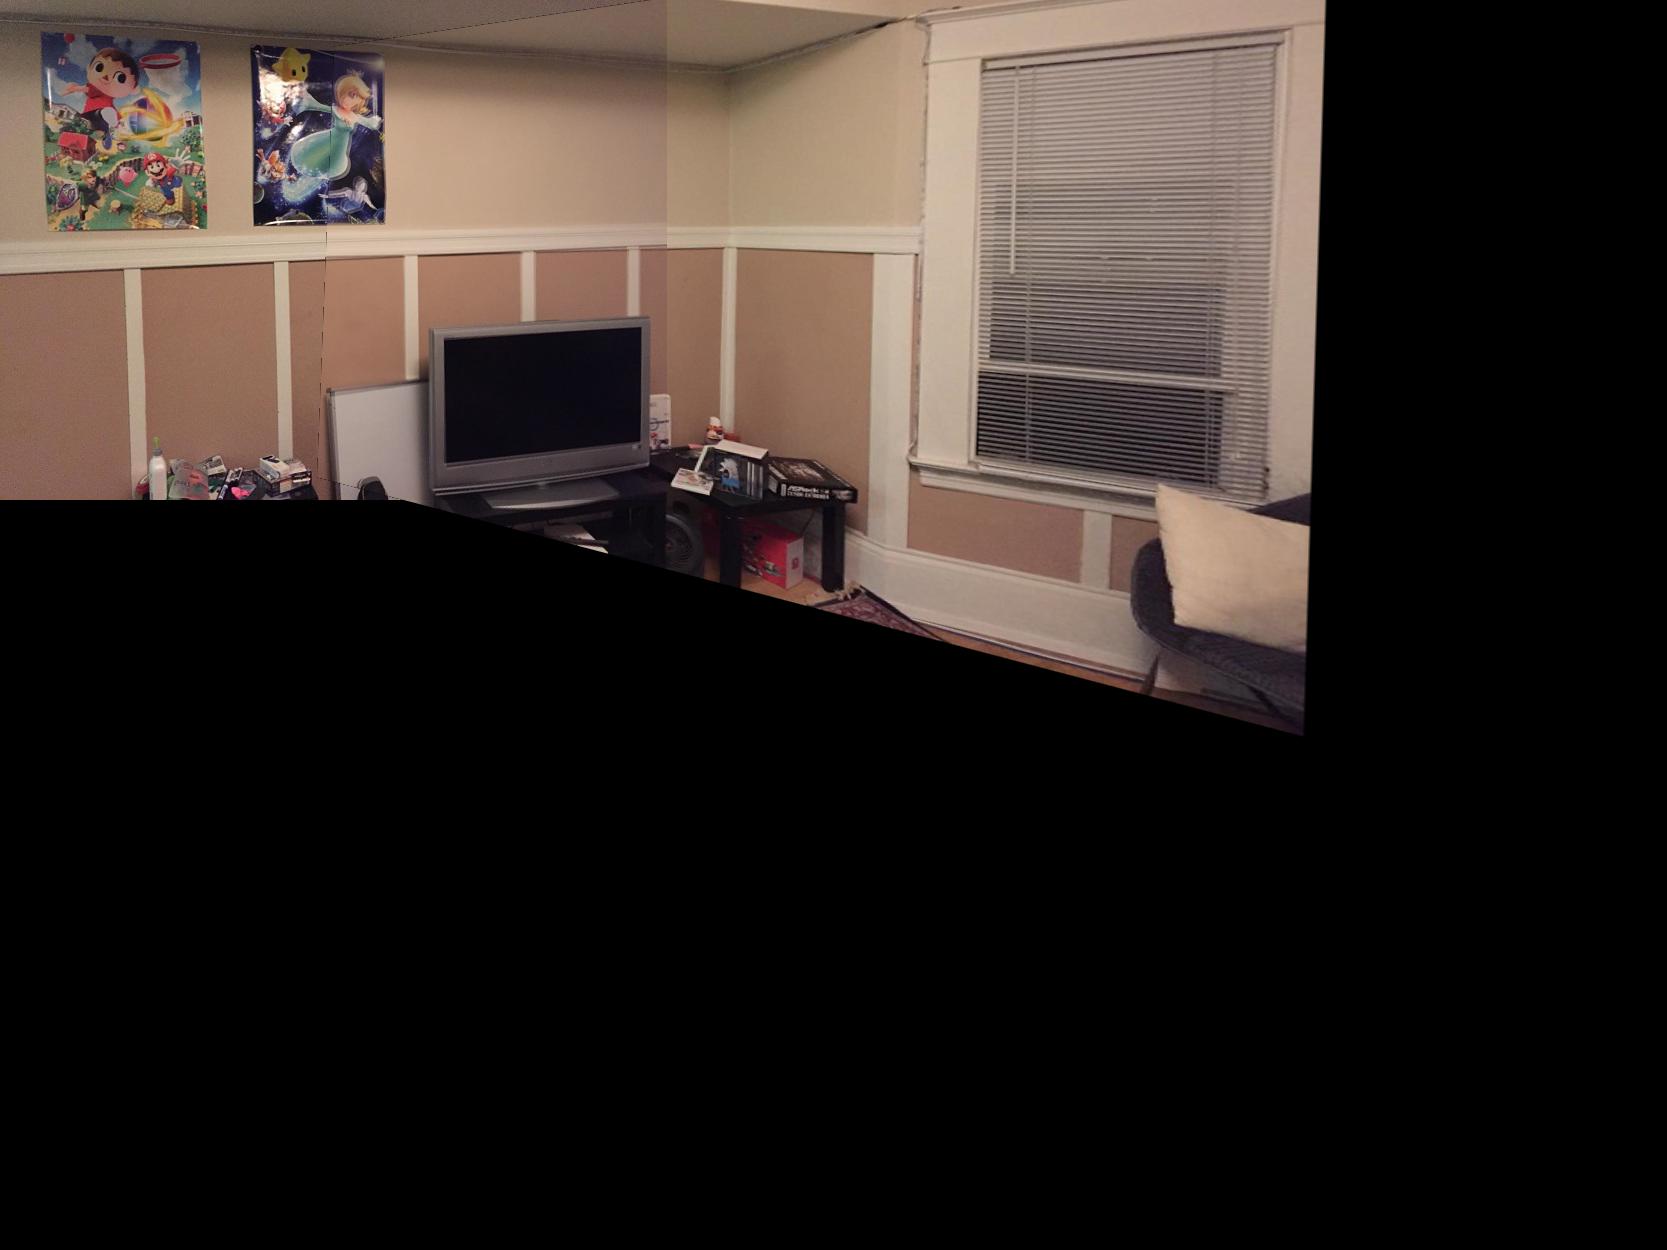
My Apartment
Image 1 | Image 2 |
Mosaic | |
Part A Conclusion
Although this part of the project could be considered somewhat of a warm-up in the grand scheme of things, it greatly reinforced my understanding of the core concepts and makes me a lot more confident moving forward with part B. My mosaics turned out pretty well, although the seams and overlap are discernable due to slight lighting differences in how the photos were taken. With a more precise photography setup, it would be a little cleaner, but overall I feel that I got what was intended out of this project. The algorithms I ended up having to implement weren’t overly complicated, but they definitely pushed me to exercise what I knew about image manipulation from the previous projects. Warping is a simple effect in concept, but the way it can shift perspective is surprisingly mesmerizing. The mosaicing seems arguably even more benign, but it actually looks really cool and my favorite part of doing this was definitely aligning the images and seeing how the correspondence points can affect my warping to create the final composite product.
Part B Overview
We quickly return to the same subjects in Part B, where we scrap the manual correspondence scheme and implement automatic stitching. To do so, we utilize the Harris corner detection algorithm, selecting points such that we can perform automatic feature matching; after doing that, we can continue as we’ve done previously to blend our images together and create out mosaics.
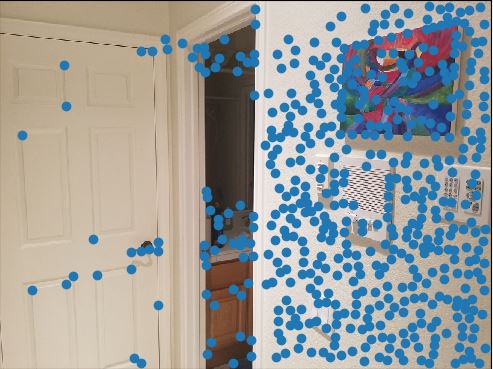
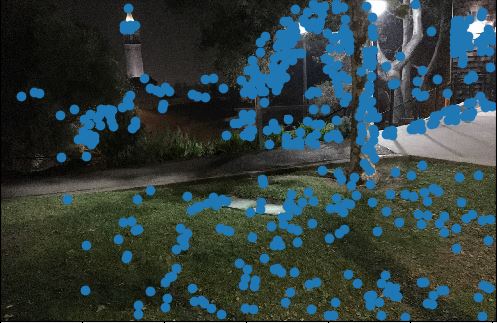
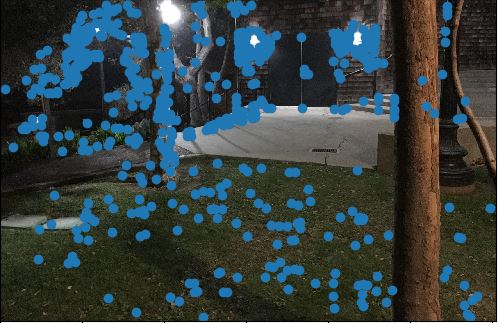
Part 1 - Harris Interest Point Detector
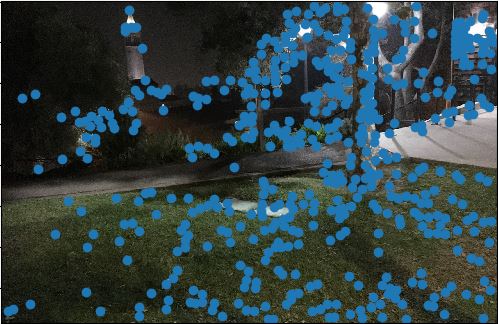
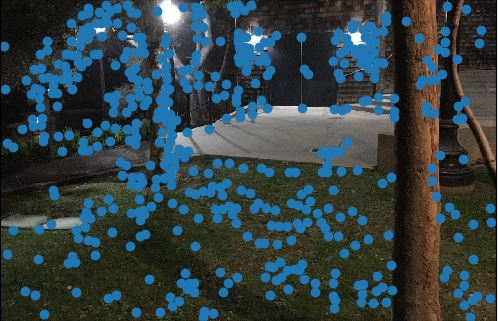
Here, we use the provided skeleton code to detect Harris interest points; in other words, the points that the algorithm detects to be “corners.” This provides a solid basis for us to later narrow down and work off of to identify features. Using two of the image sets from before and one new one for variety’s sake, our initial Harris corner overlays are as follows:
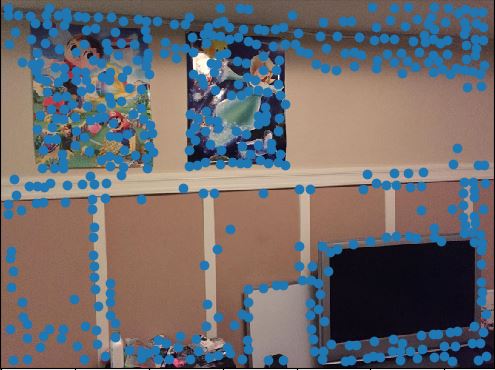
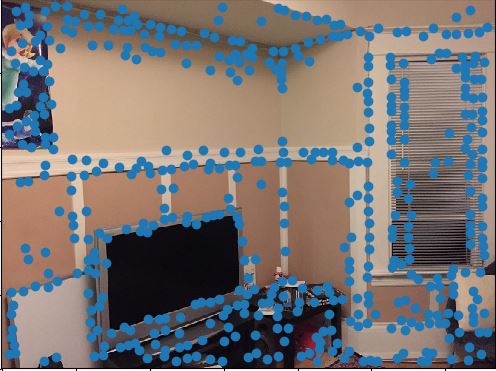
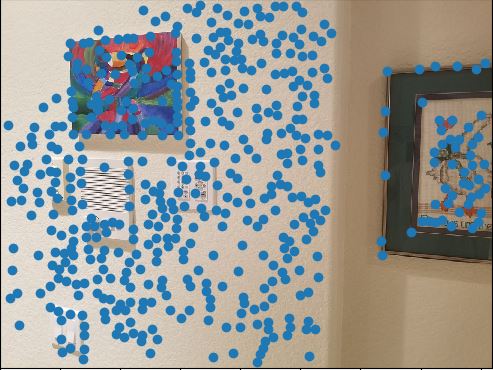
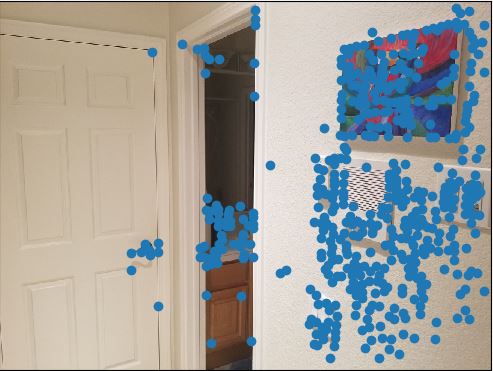
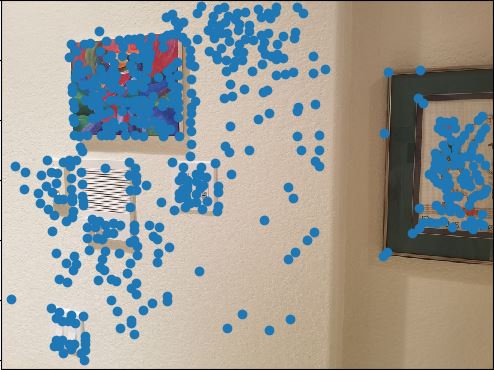
Part 2 - Adaptive Non-Maximal Suppression
Since there’s too many points to work with in too many different areas of the image, we use Adaptive Non-Maximal Suppression (ANMS) to lessen the workload. To do so, we take each our initial points are compare them to their neighbors, emphasizing those that are local maxima. In doing so, we lower the amount of computation that we have to do. In my implementation, since some of the images rely on very specific detail (particularly the poster and the TV), I left some clumps of points so that, in later steps, more fine-tuning can be done while the larger-scale feature matching is already complete. The results of ANMS on the images are as follows:
Finishing Up - Feature Matching and RANSAC
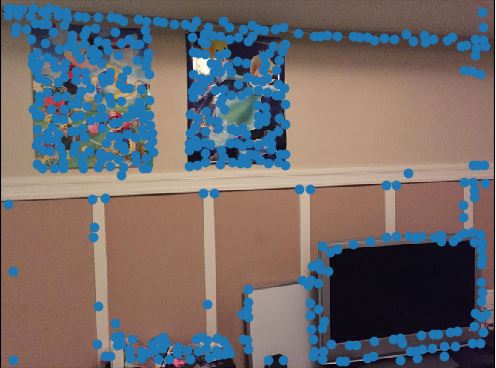
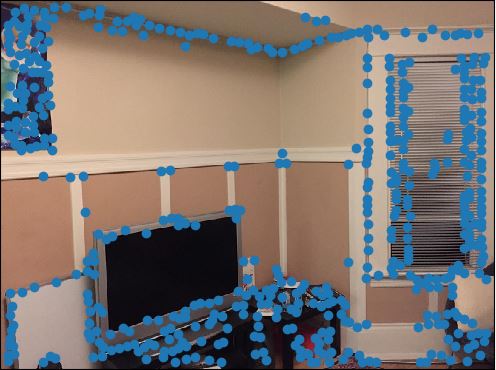
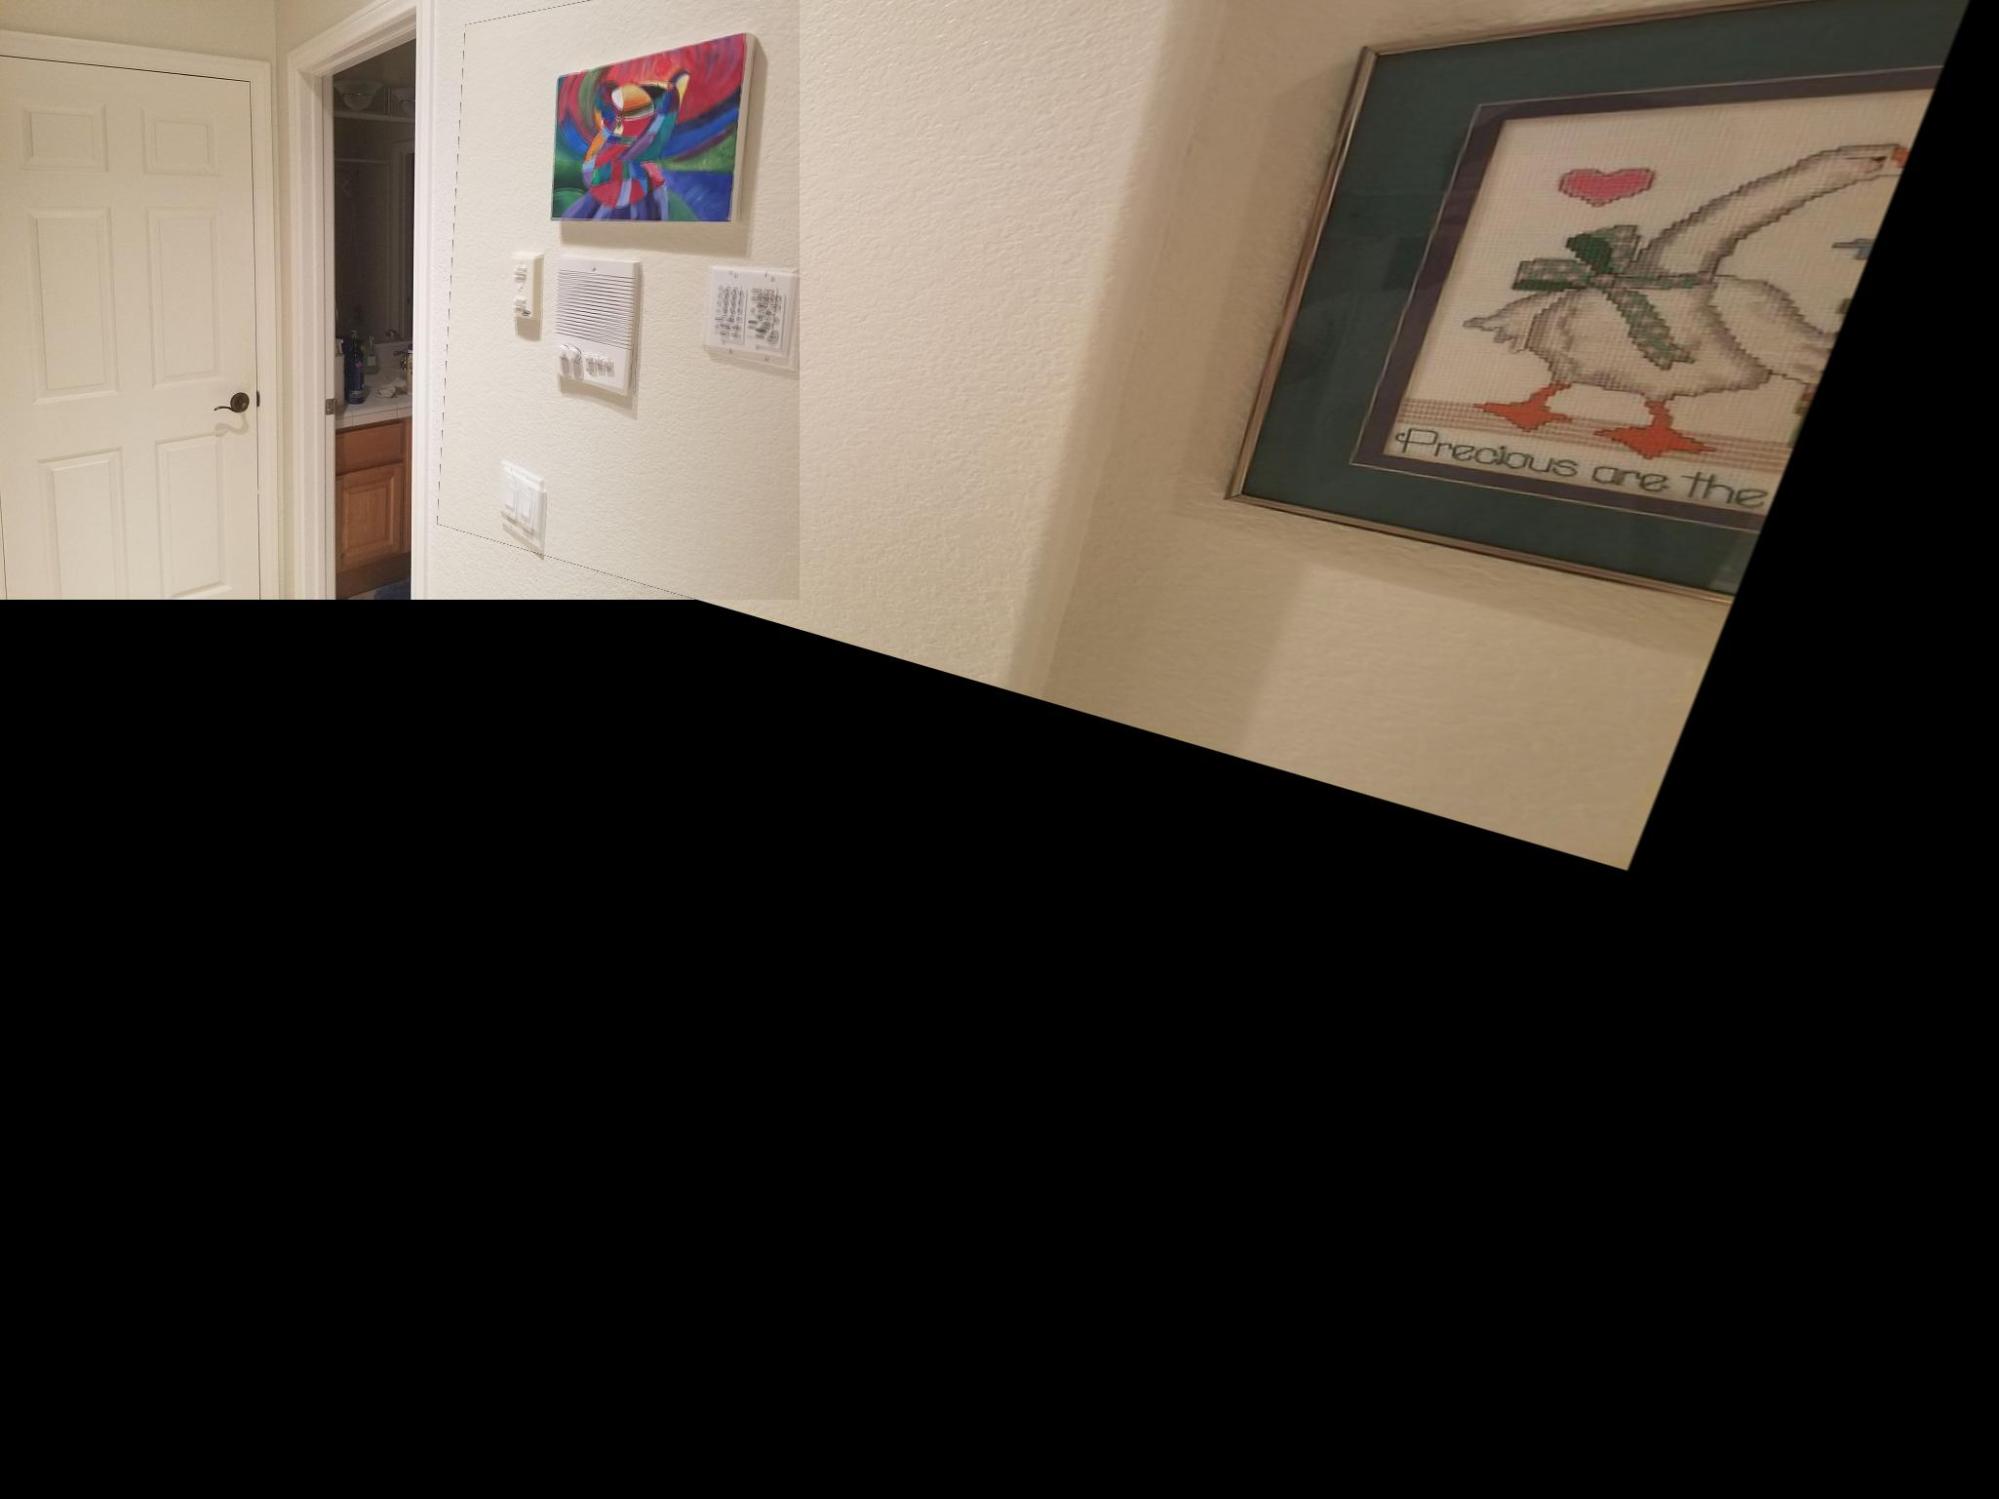
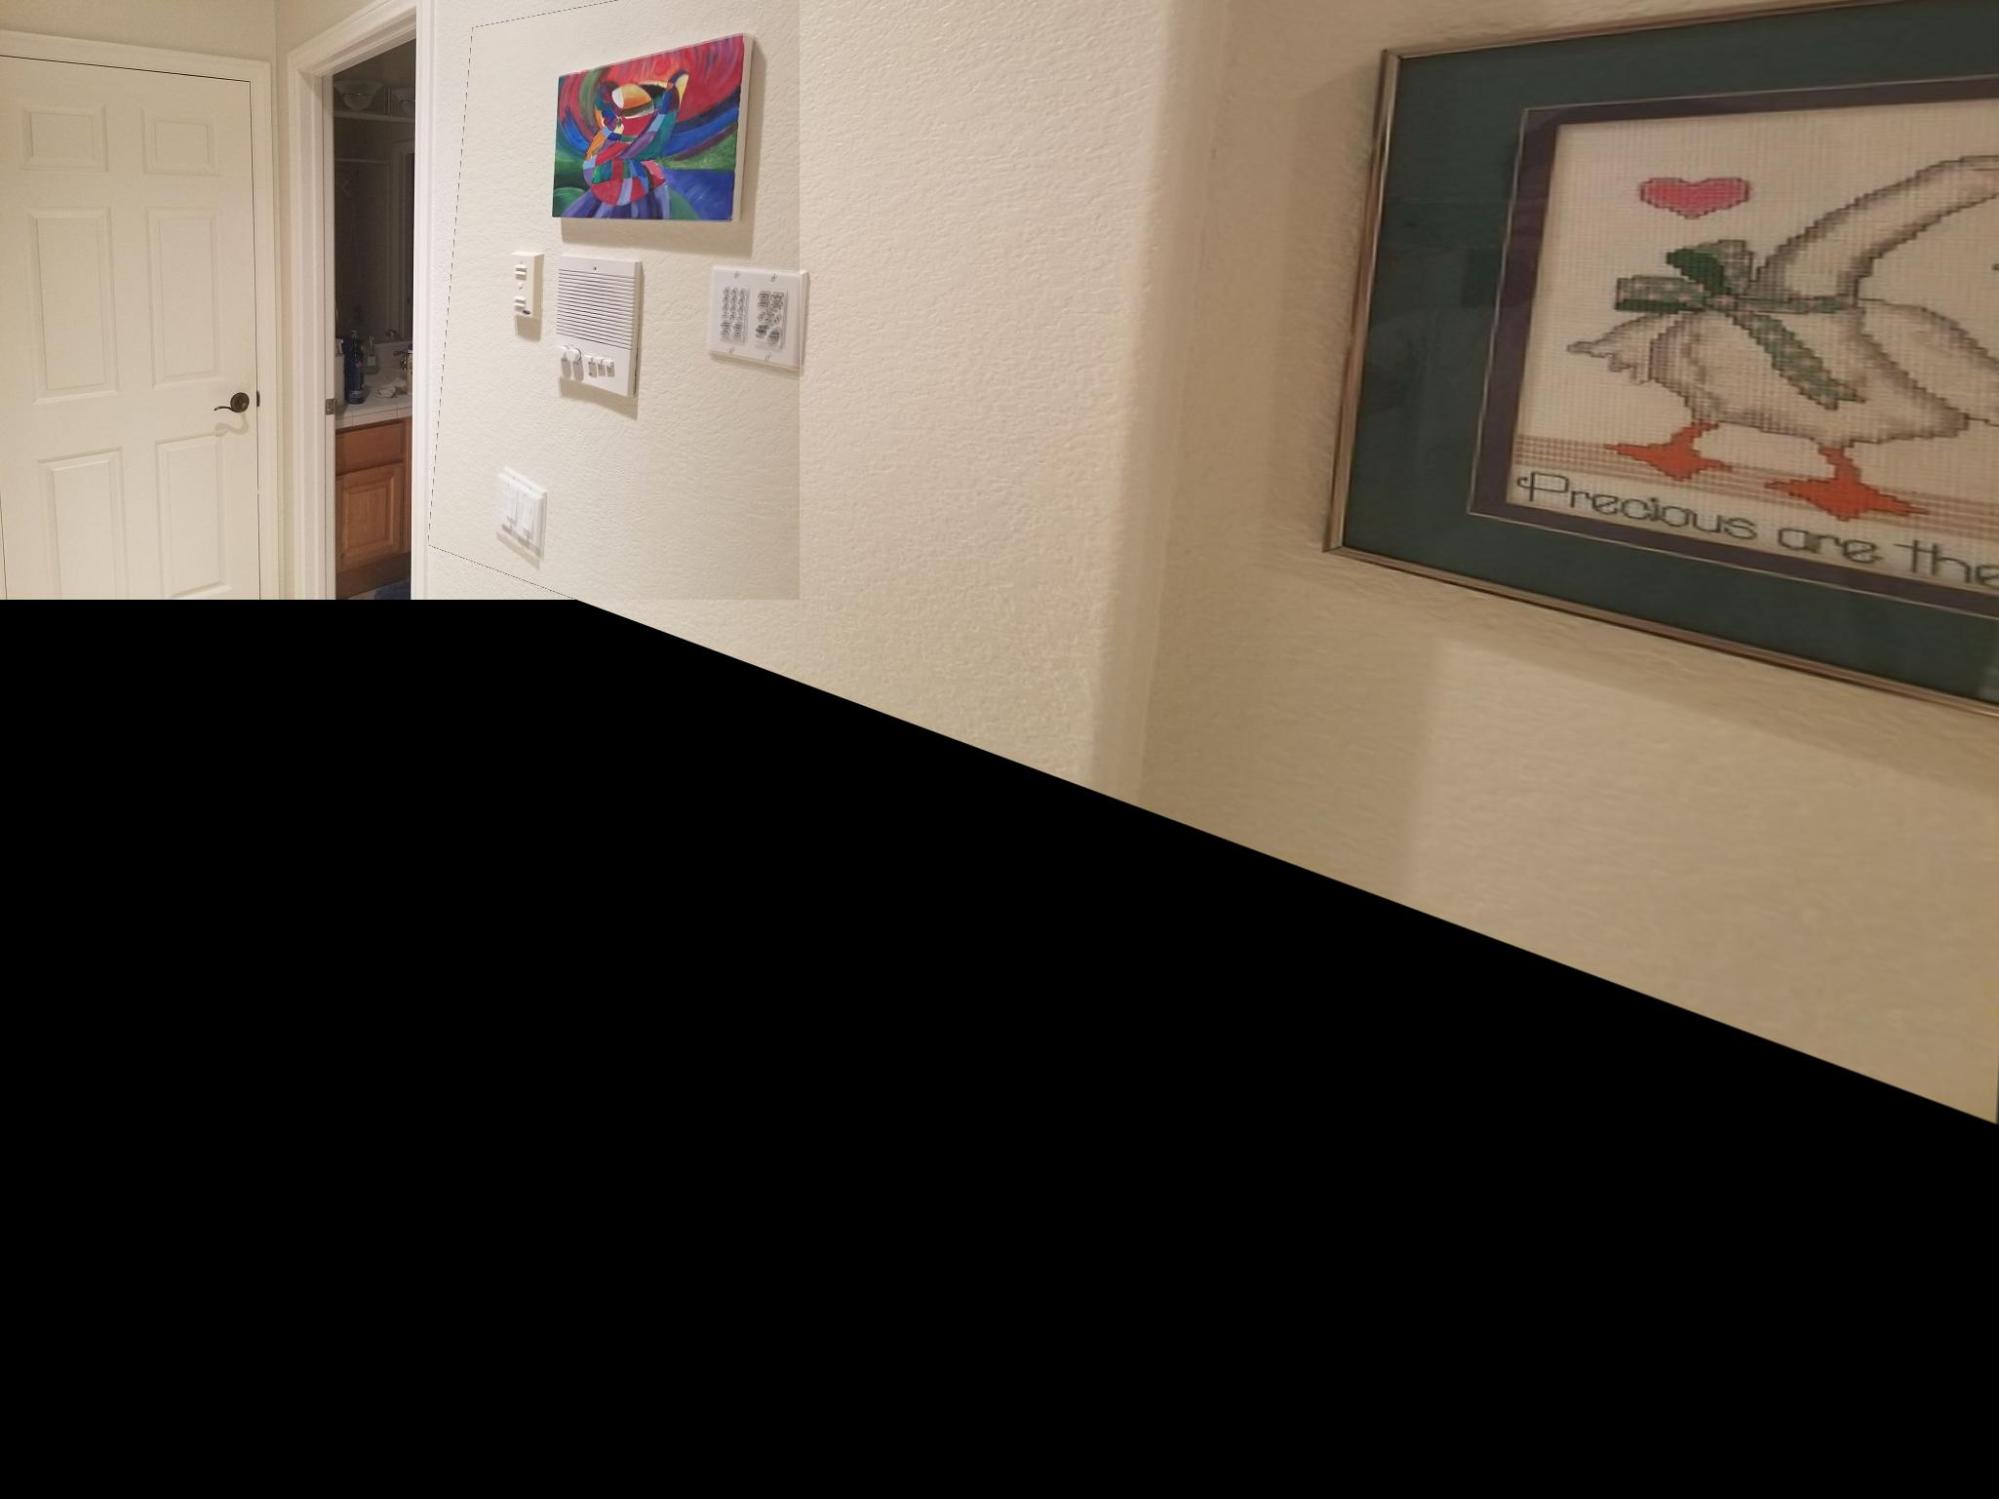
We proceed by extracting descriptors, and using them to match features accordingly. Essentially, for each of the features that correspond to each other, we create a distance relationship (from how far they moved from one image to the other), creating a comparison ratio in relation to its neighbors. If the ratio is too volatile, it can be considered an outlier and scrapped. We finish up with RANSAC, which is a random-sampling algorithm that takes a random set of points (as long as there are at least 4 total, which we easily satisfy), computers a homography using its selection, and sees how it does. We calculate squared error intuitively with our result, repeating as many times as we want; in practice I did at least a few-hundred iterations each runthrough, but it's just a matter of time. The more iterations there are, the more consistent the results will be. Finally, we warp and stitch our images just like in part A, and we’re done! For comparison, manual is on left, and automatic is on right.
Conclusion
Overall, I learned a lot from this part of the project in particular, as it built on skills we had just recently practiced in the previous part and emphasized a new focus we hadn’t done much of: automation. For even the Poisson Blending exercise, which I had the most fun with previously, a lot of the work was done manually. In today’s day and age, do-it-all tools are becoming more and more popular, and working with visual recognition to not have to manually pick points is very eye-opening. It also emphasizes the importance of minute adjustment, as it took a while to nail down the ANMS algorithm to not be too selective, nor too forgiving. I did also notice far more flaws with how I took the pictures then I originally did; since the algorithm is built to be proper down to minute details, it is now that I can easily see where exactly some minute details went wrong in the image-taking process, be it camera settings or even just slightly awkward rotations. You can note some subtle blurs, but that’s almost entirely caused by camera imperfections, which is basically just a bummer in the end.