CS194-26 Project6
IMAGE WARPING and MOSAICING
Yao Fu, cs194-26-aen
Fall 2018

Part1: Overview
In this project, we want to apply image warping to do image mosaicing, and here is a brief introduction of the algorithm that we will use.
1. Take several photos (>= 2) from the same point of view but with different view directions
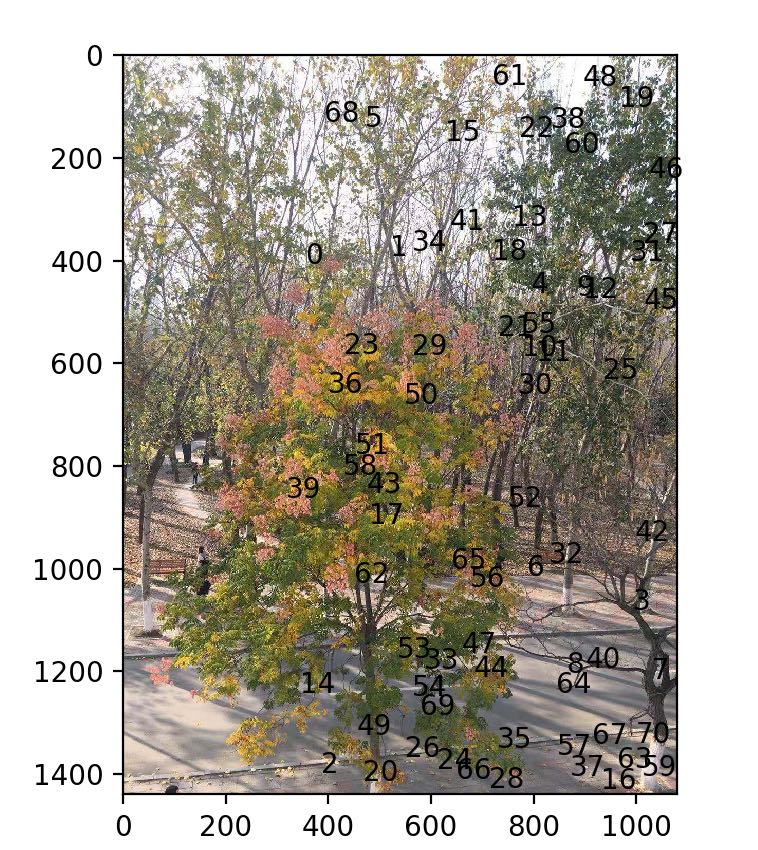
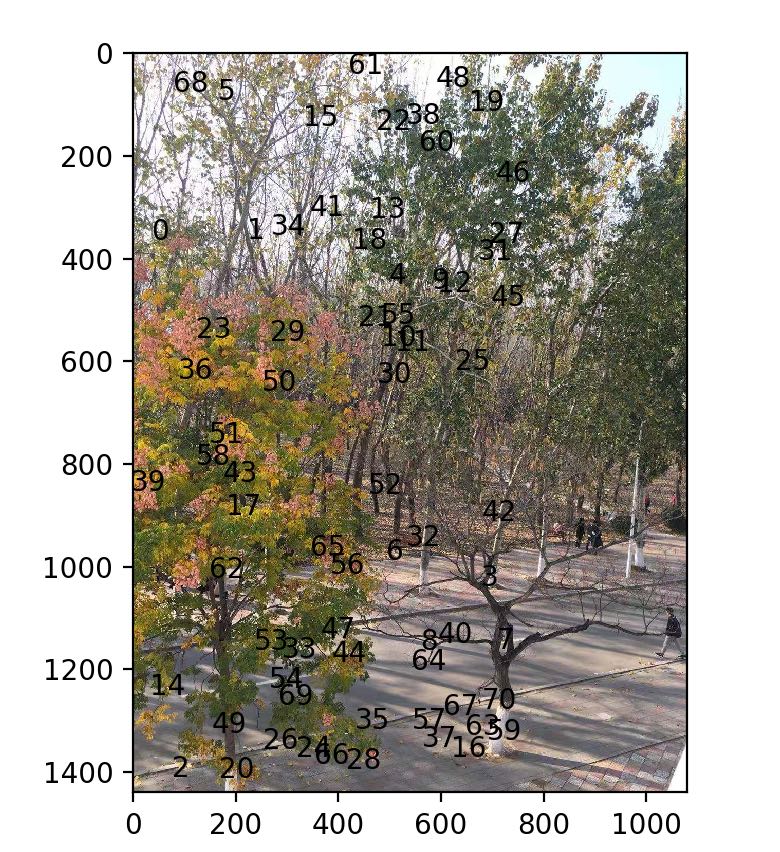
2. Manually find and record the corresponding points between two photos
3. Compute the homography matrix
4. Apply image warping using the matrix we get from step3 to warp one of the image
5. Blend the warped image with the other image, which is not warped.
6. Continue doing the above steps for the rest of the photos.
Recover Homographies
In this step, we want to compute the matrix of homography, which is of the form of the left most matrix below.
It has 8 degrees of freedom and we can get it as long as we provide 4 corresponding points. However, adding more points and solving the linear system of the form below using least squares give us more accurate results. For every pair of corresponding points, add two more rows to A and two more entries for b.
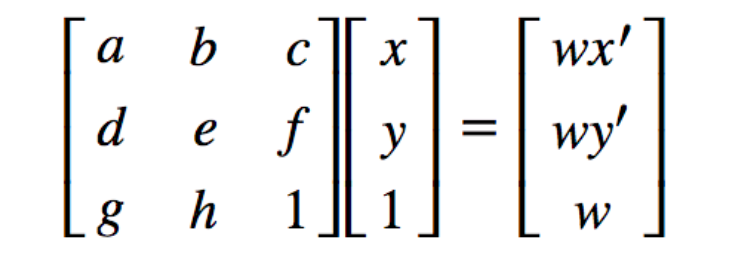
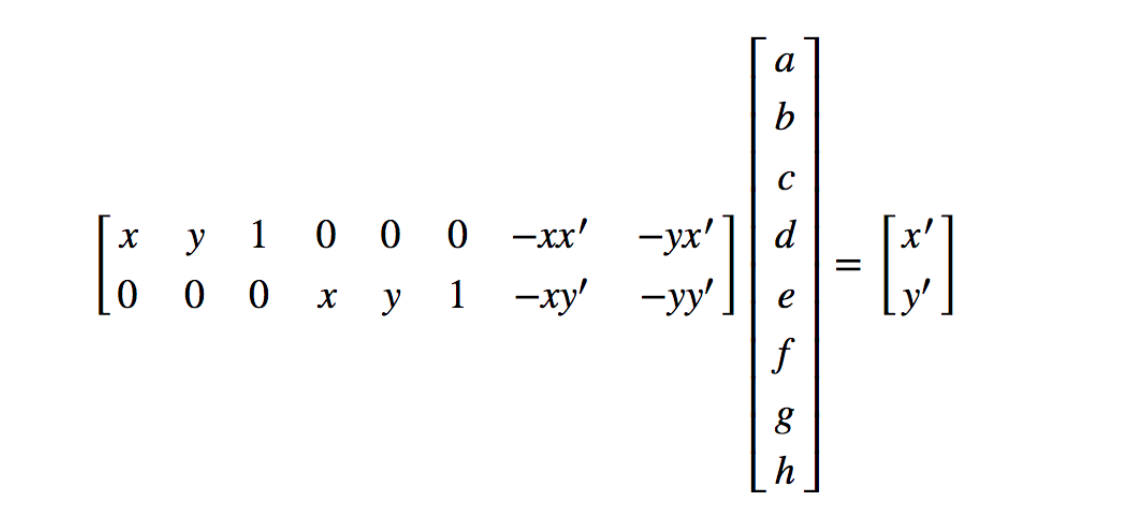
Image Rectification
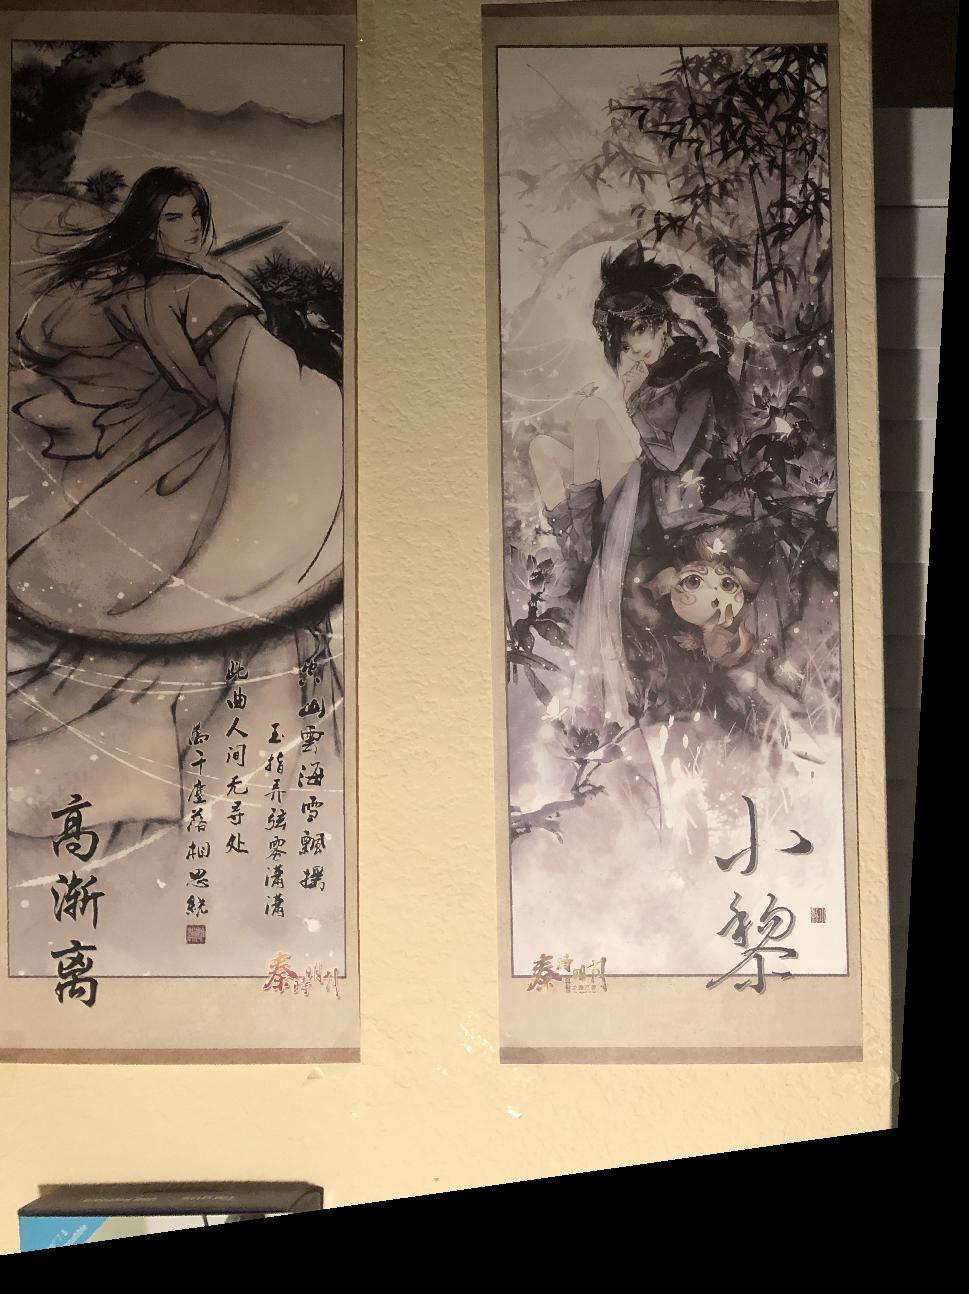
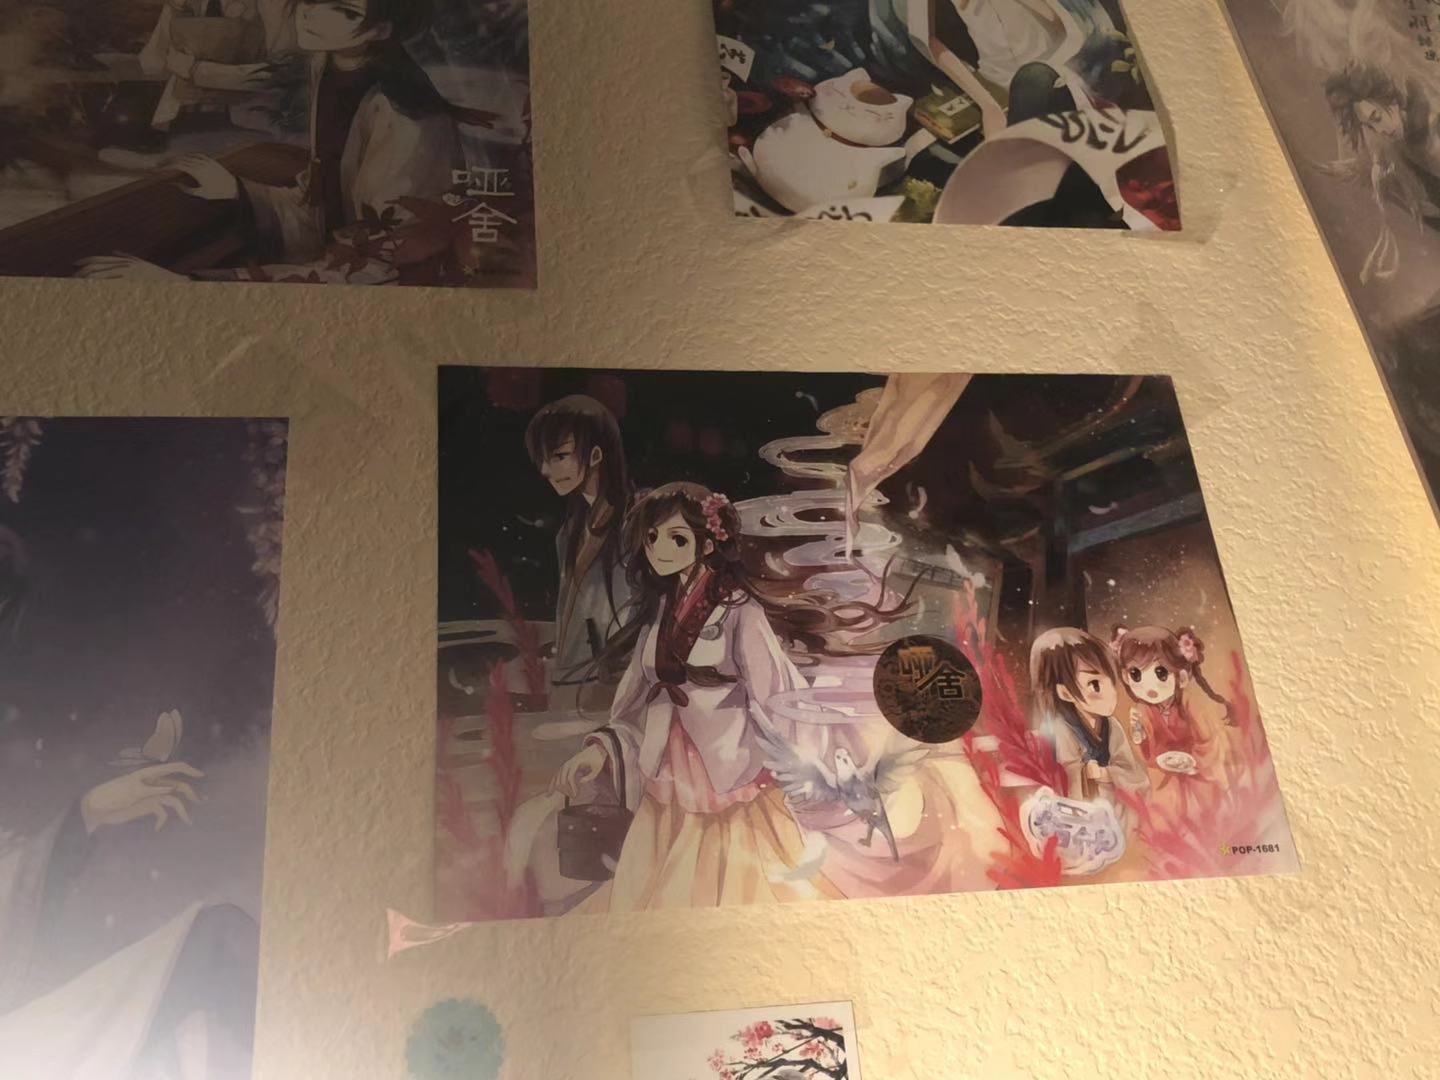
After we get the homography matrix, we can check whether we did right in this step. Now, we want to use the matrix to rectify an image. I took two images of the posters in my room, and want to warp them so that they are frontal-parallel. In order to define the correspondence, I download some images that have the same size with the posters to use. Here are some results:
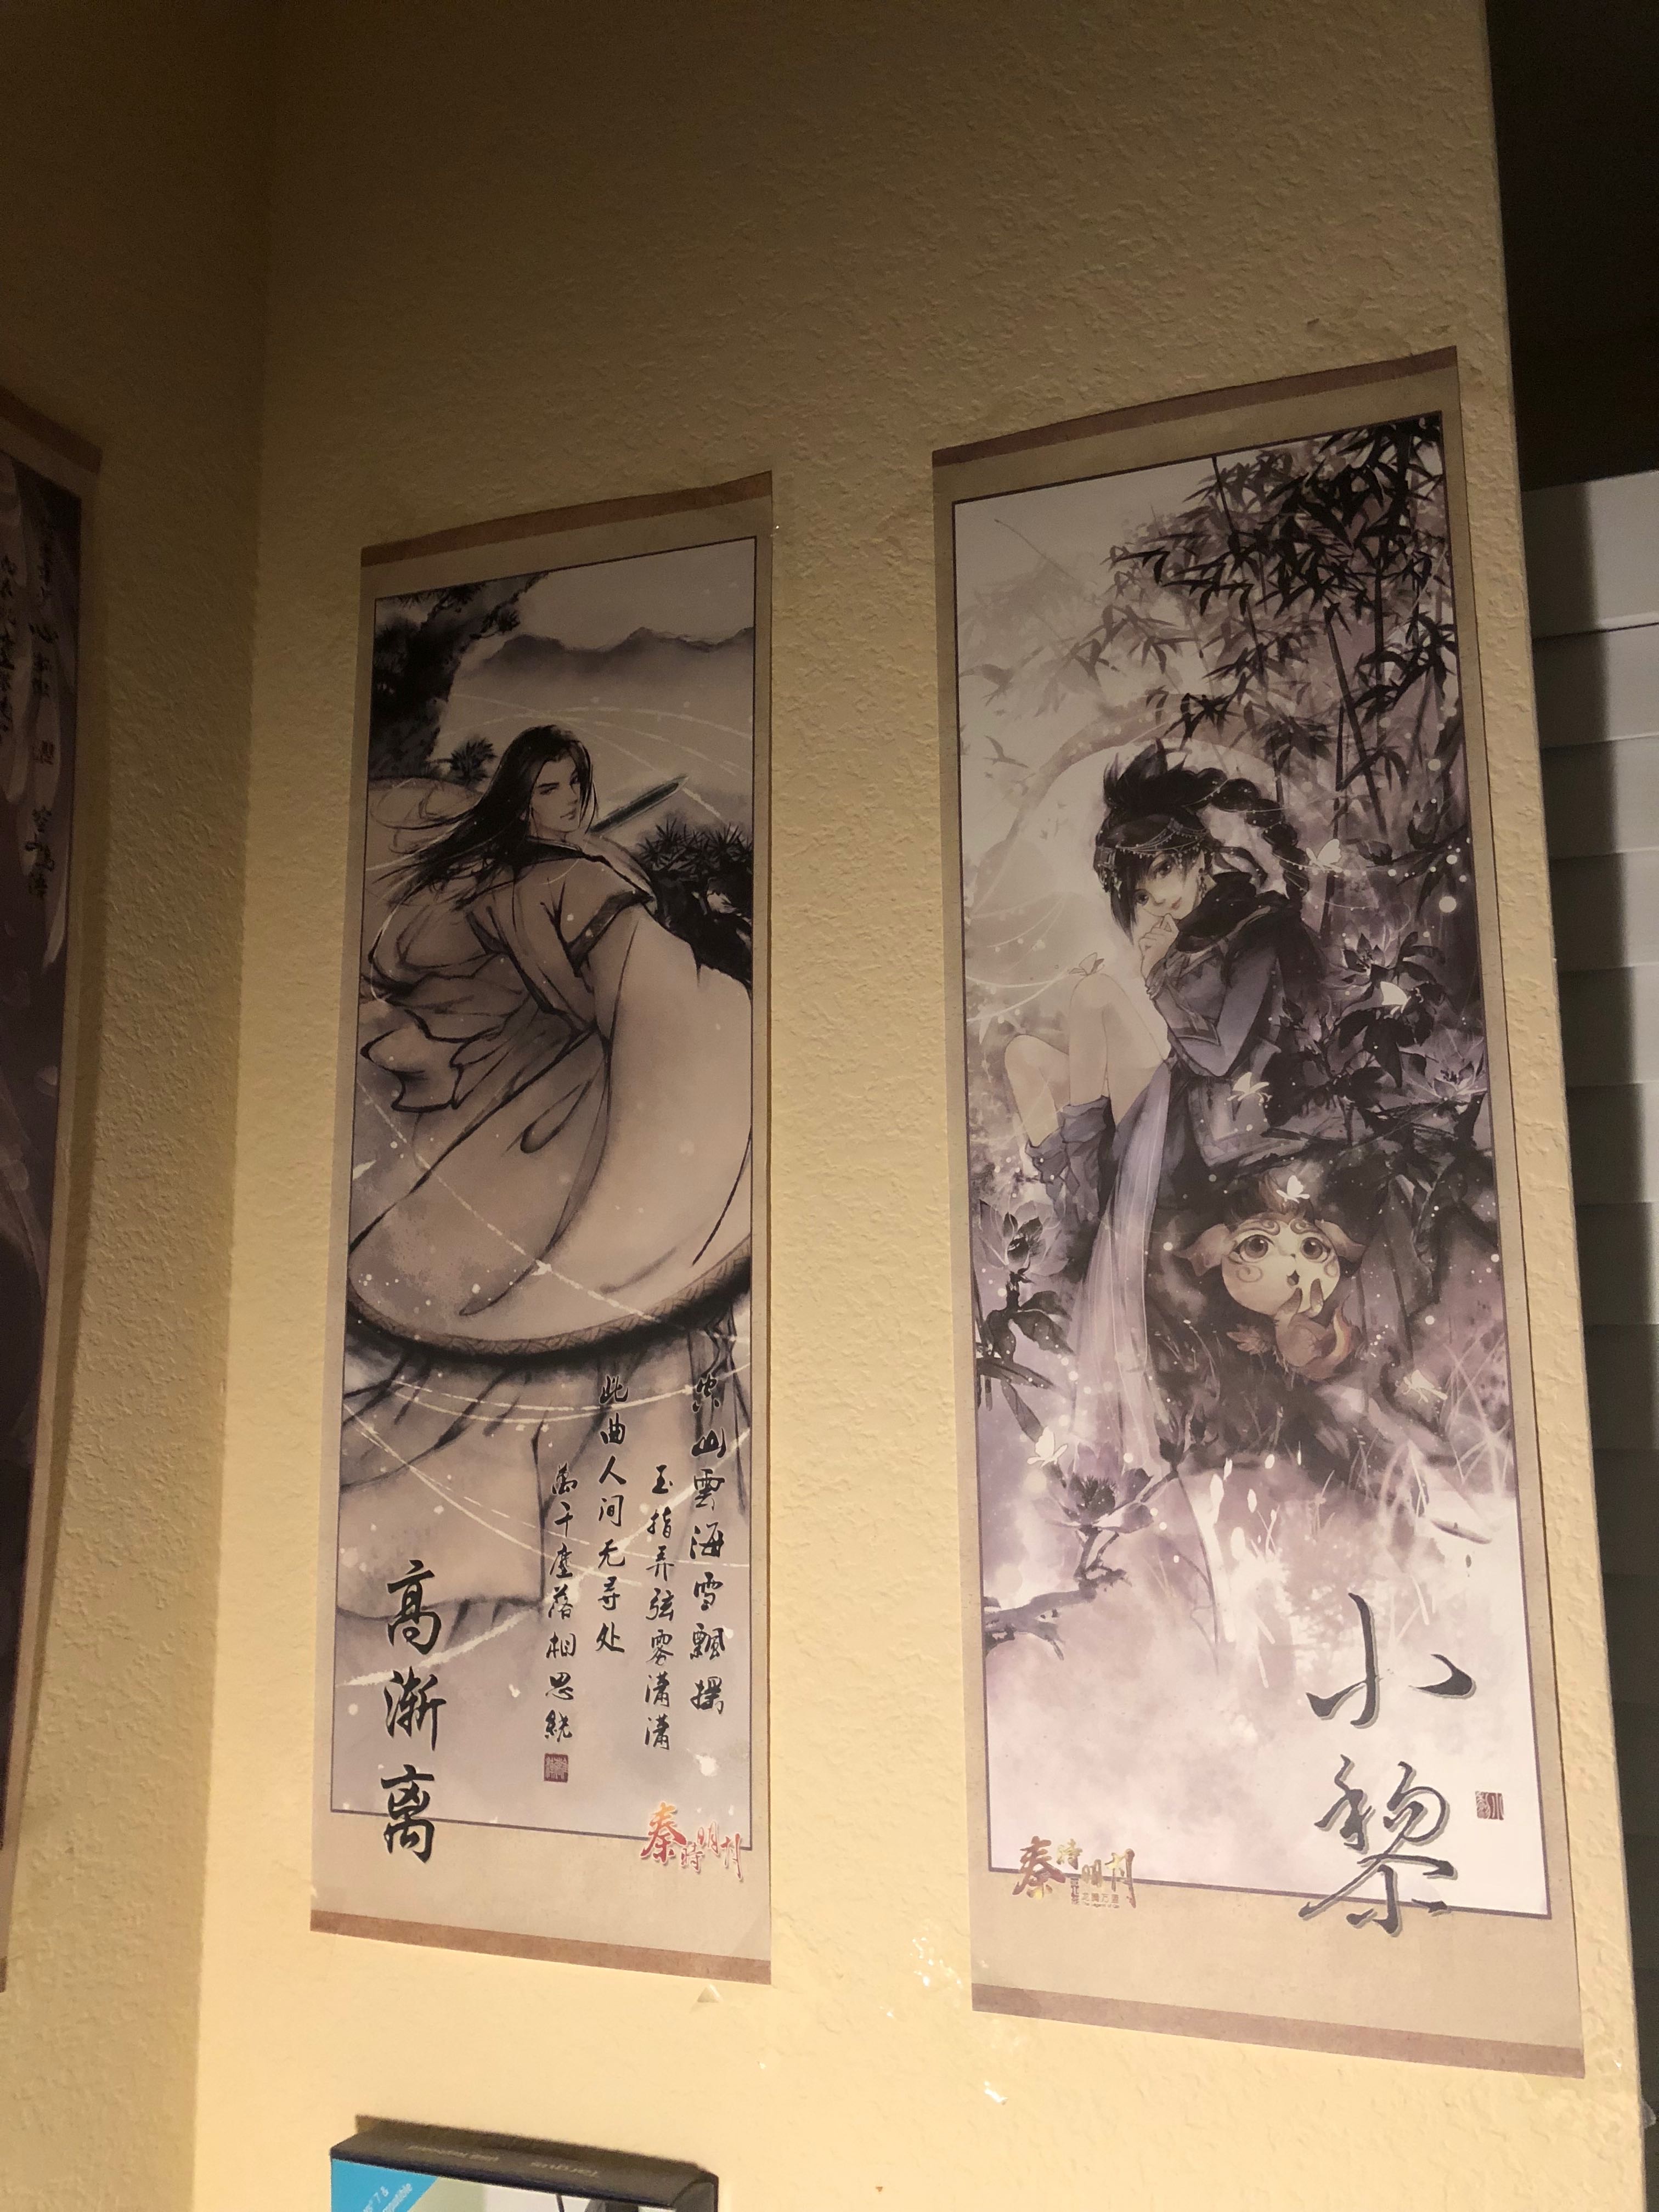
Original posters
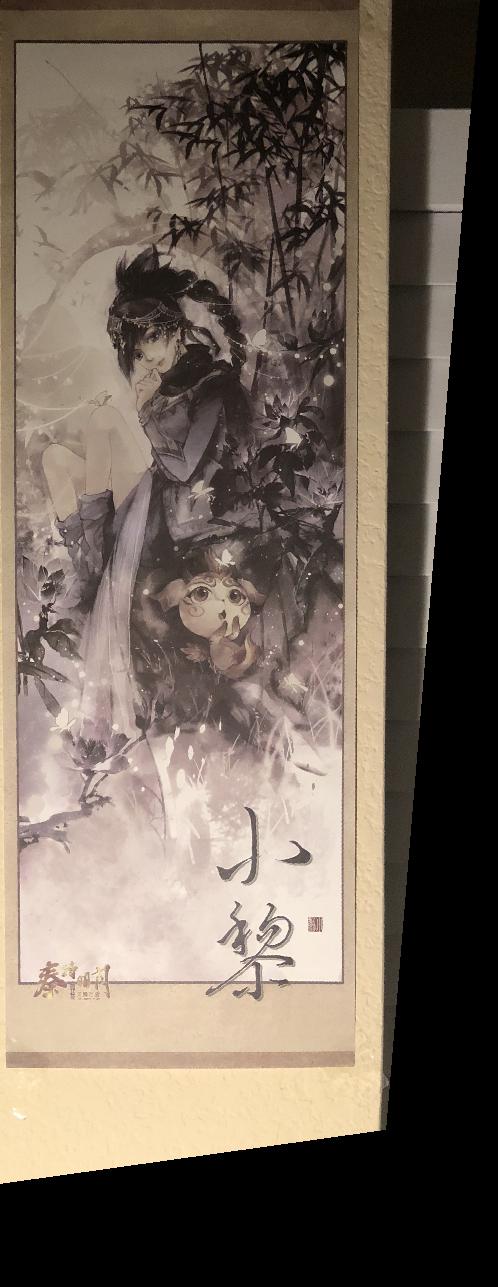
Rectified poster(right)
Rectified poster(left)
Original poster
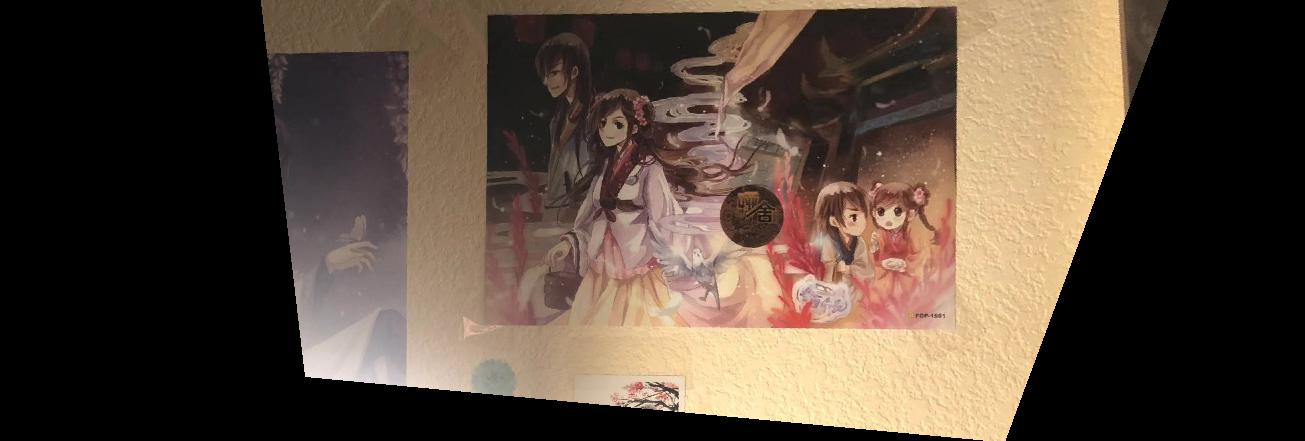
Rectified poster
Blend the images into a mosaic
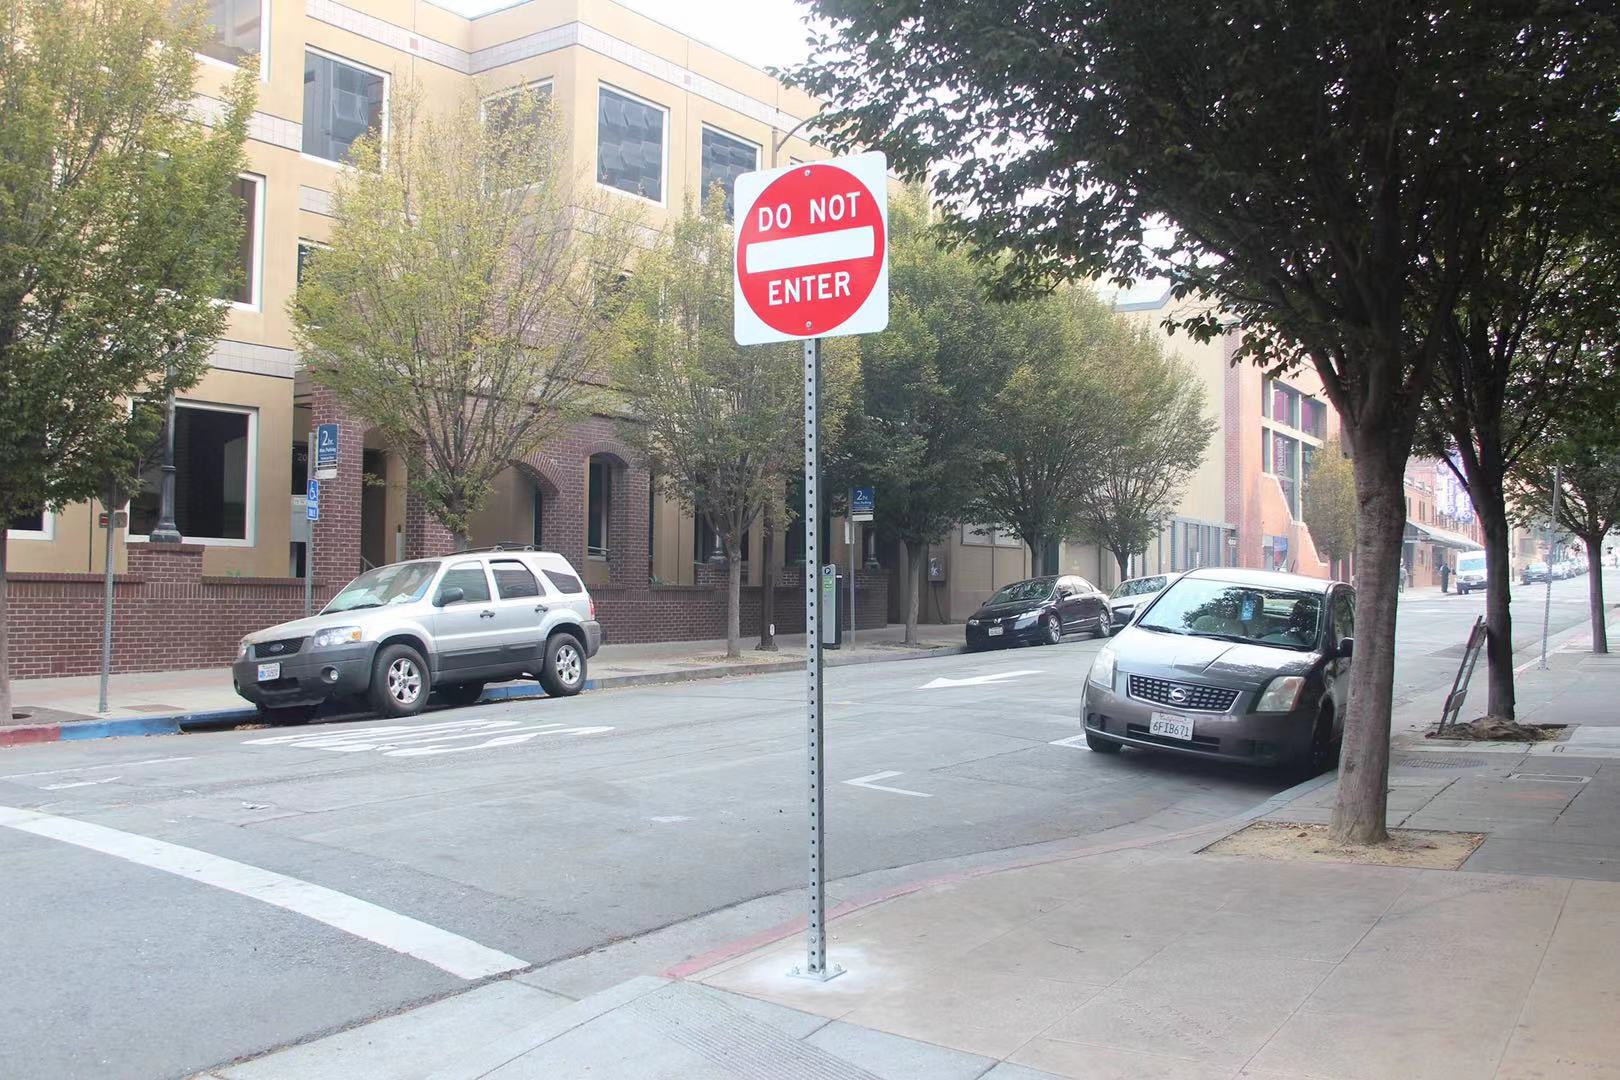
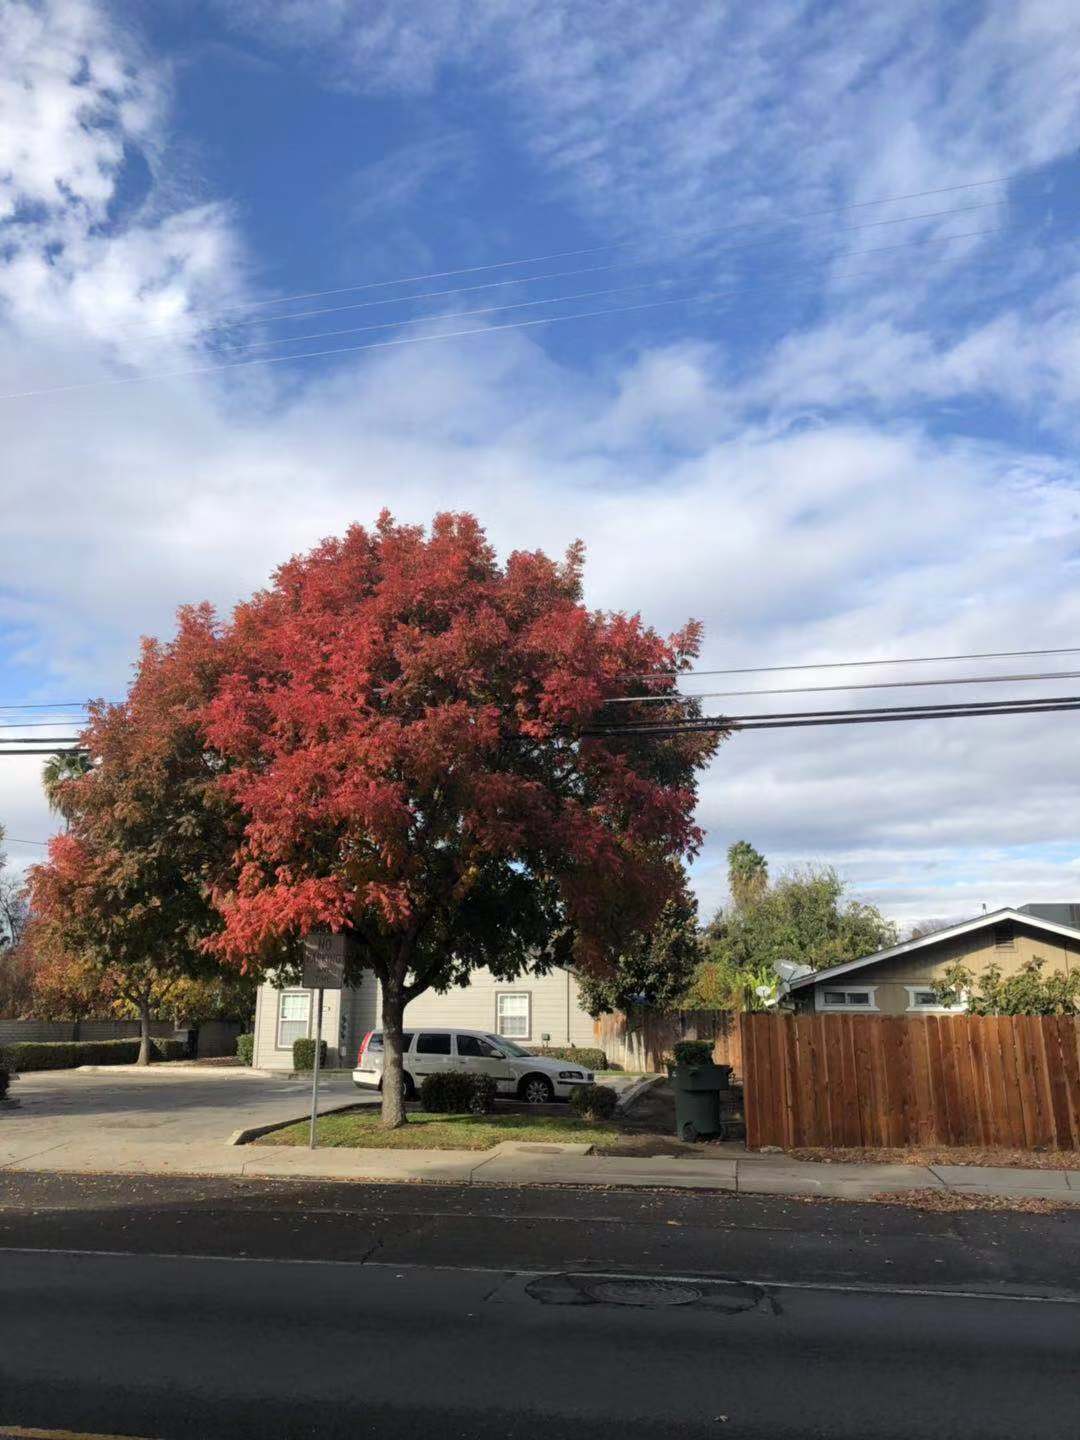
After we check that our warpImage(im,H) function is right, we can move on to the final step. Here are photos I took:
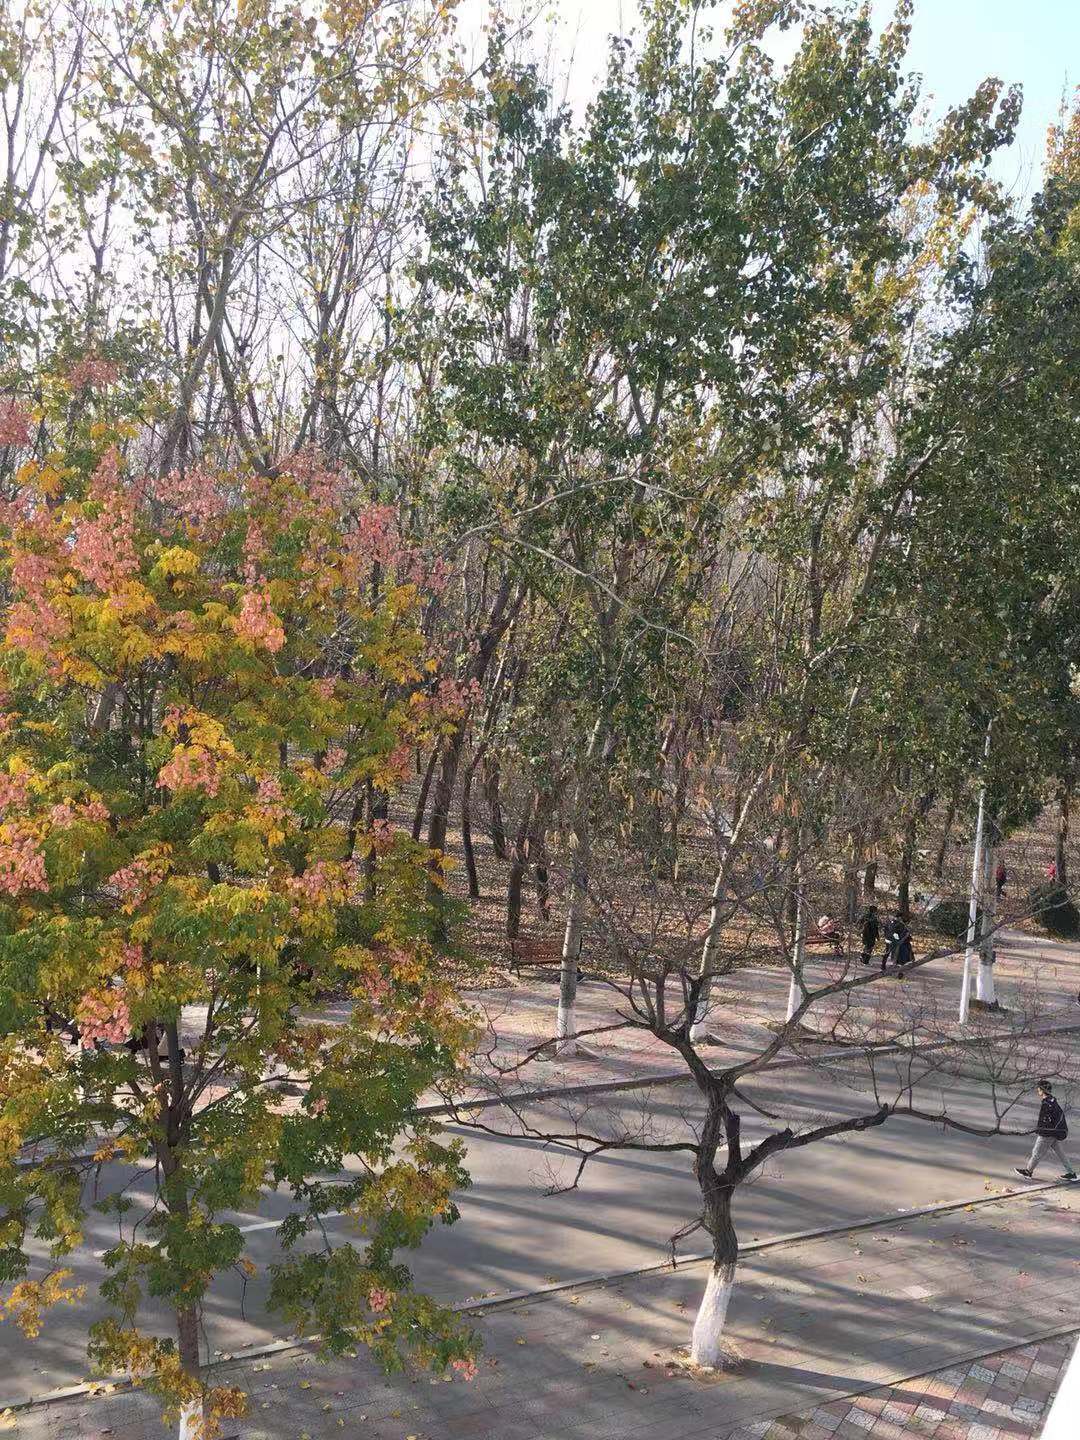
A
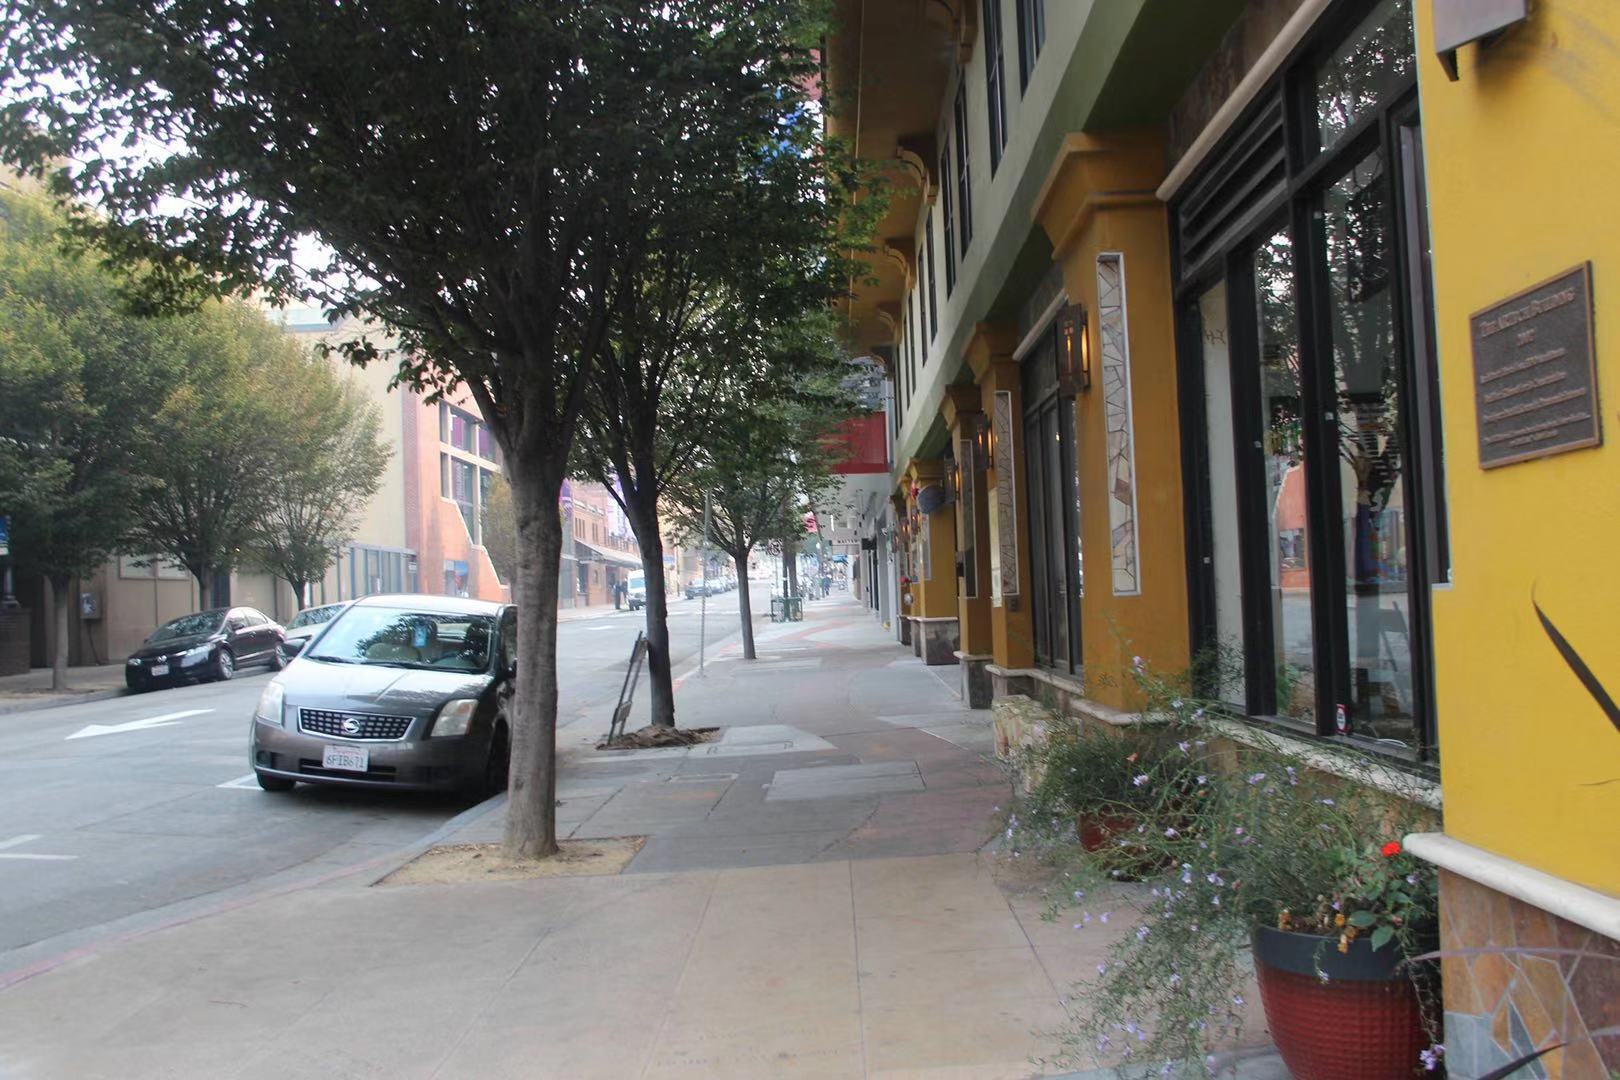
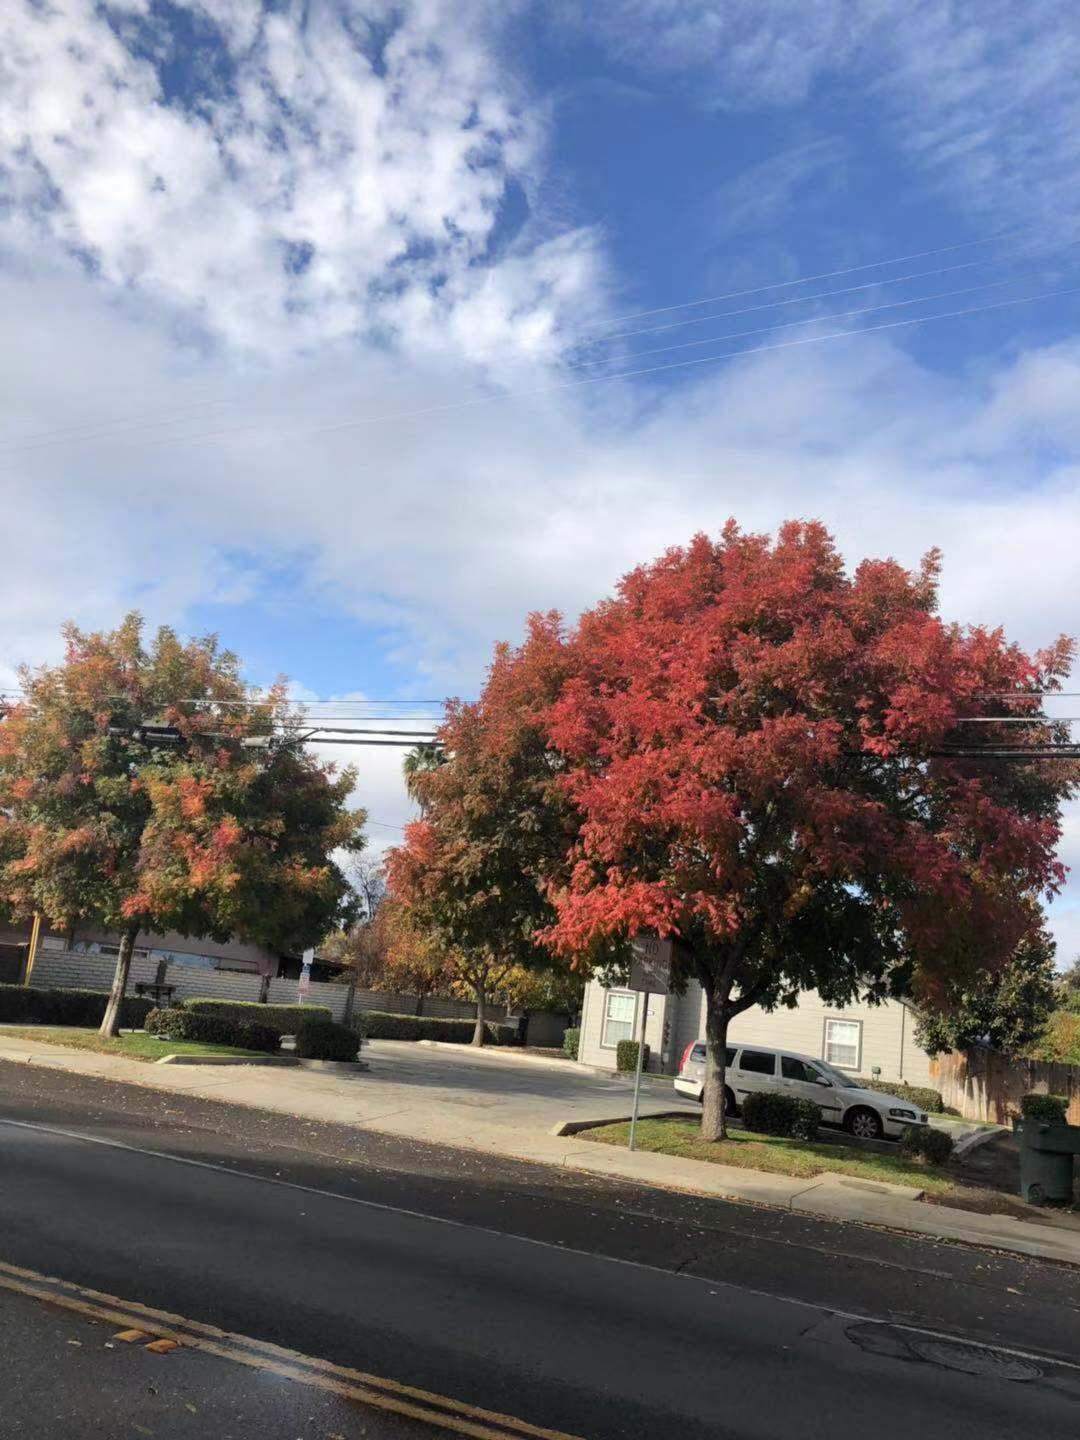
B
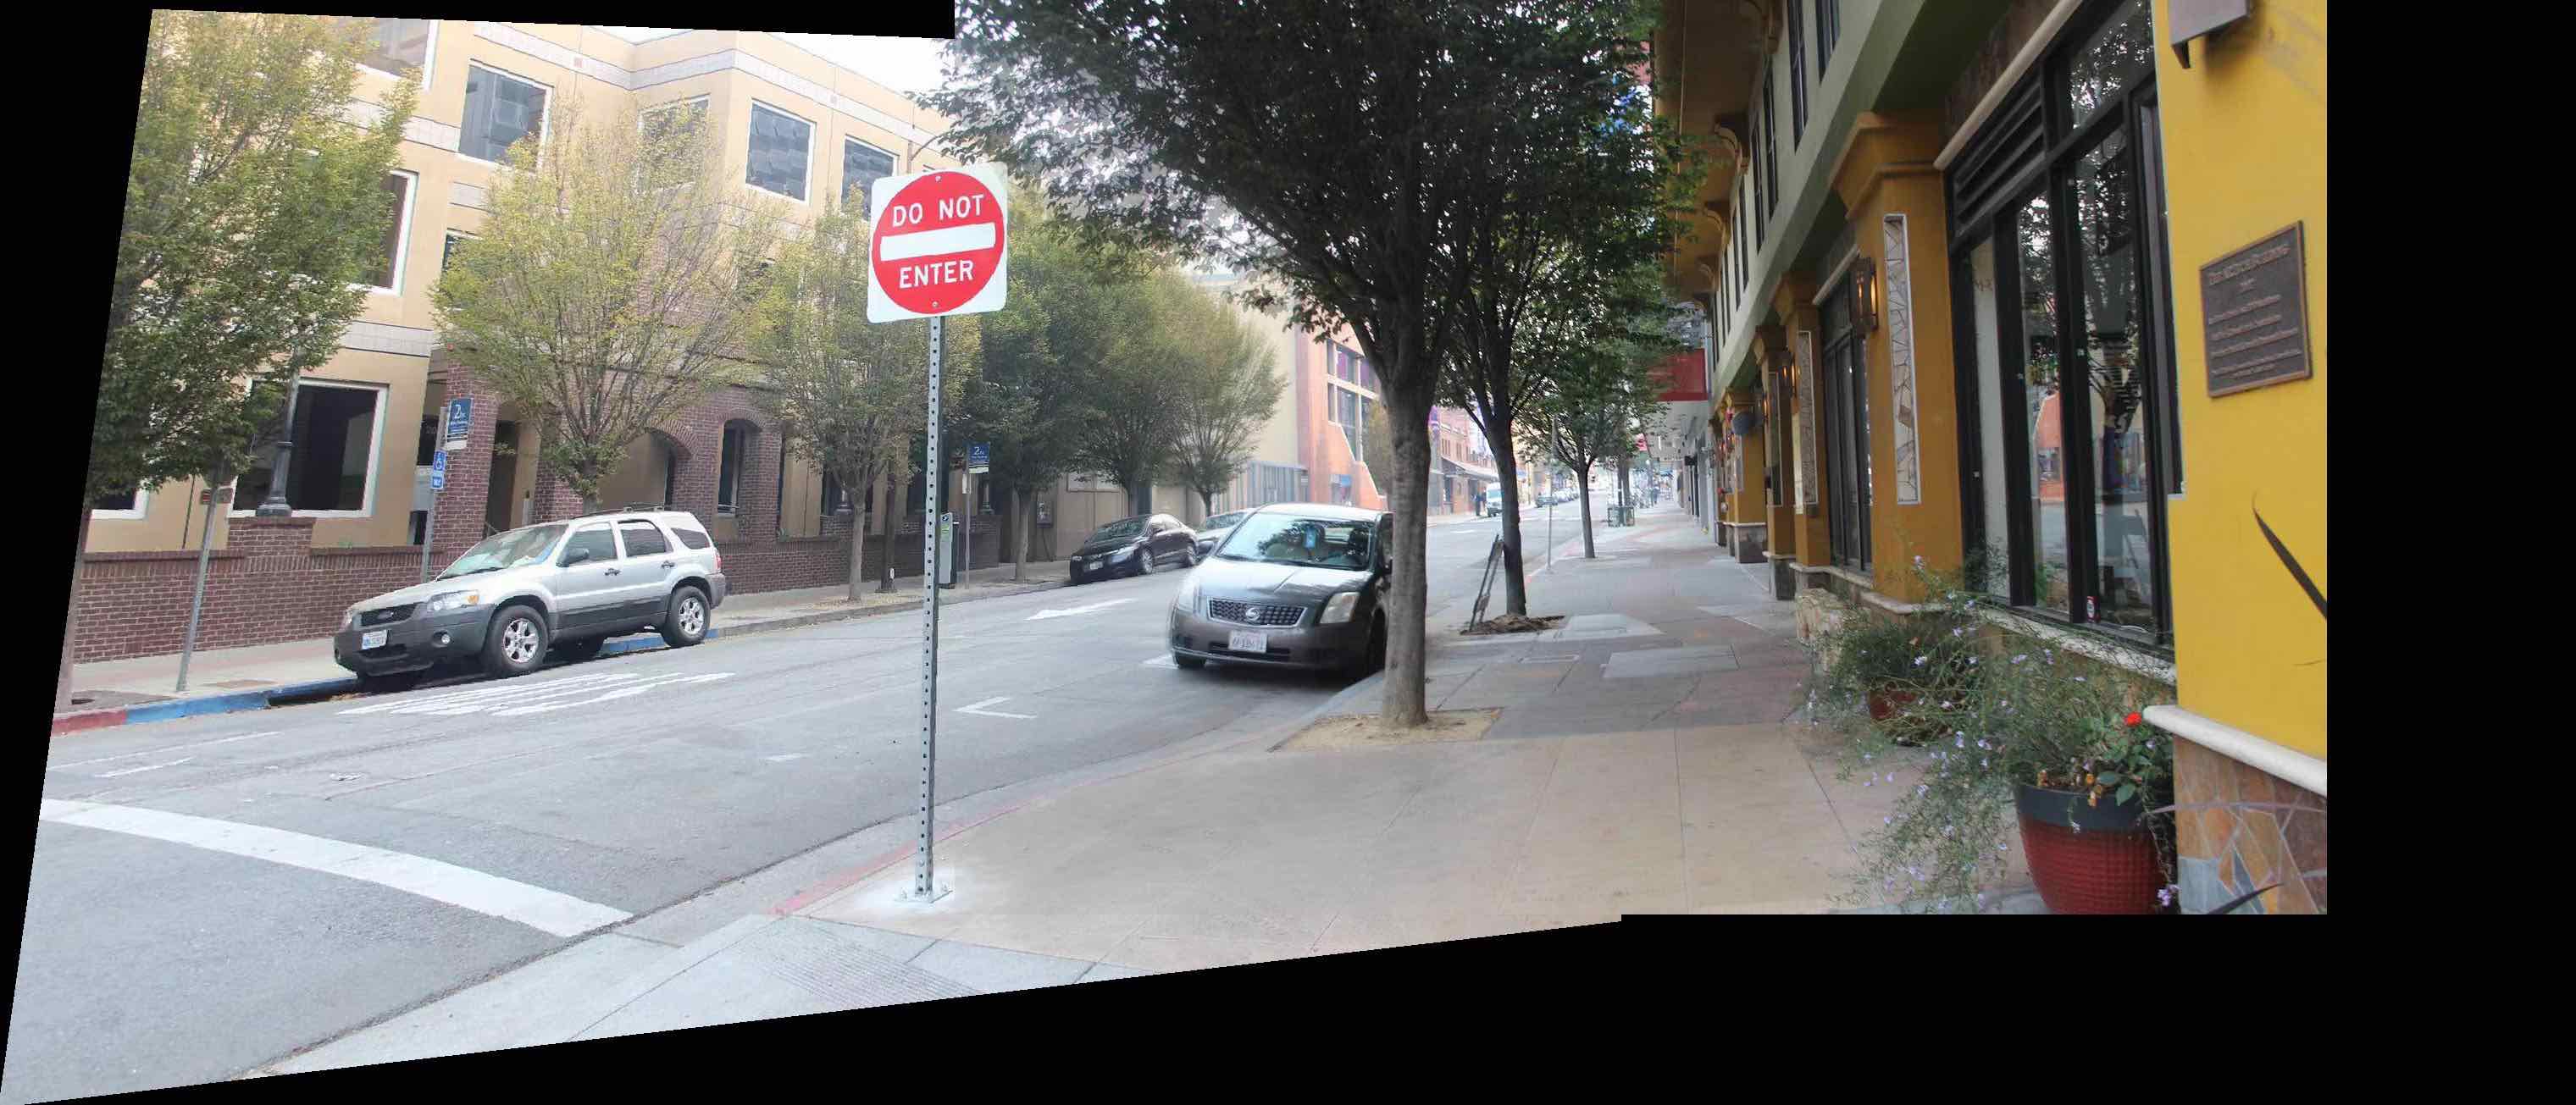
First, we define the correspondence between A and B by alternatively clicking on the corresponding points and record them. We leave B unwarped and blend the warped A to B. First, I tried naive bending, using np.maximum to blend them. We can see that that the output for this step is OK, the line is not very noticeable.
However, in this case, the output is not satisfying at all, the border of image B is very clear.

A
B
Thus, I tried some new blending method. Firstly, I average all the pixels in the common part, the result is a lot better than the last one, but the left border is still a little bit clear.
Then I tried using Laplacian pyramid. (It's so slow...) and the result is not good at all, there must be something I did wrong.

Then I decided to move on to weighted average. Basically, if a point in the common area is closer to image A, then image A has larger weight than B and vice versa. The result is good except that at the border, there are some dark spots, which is strange.
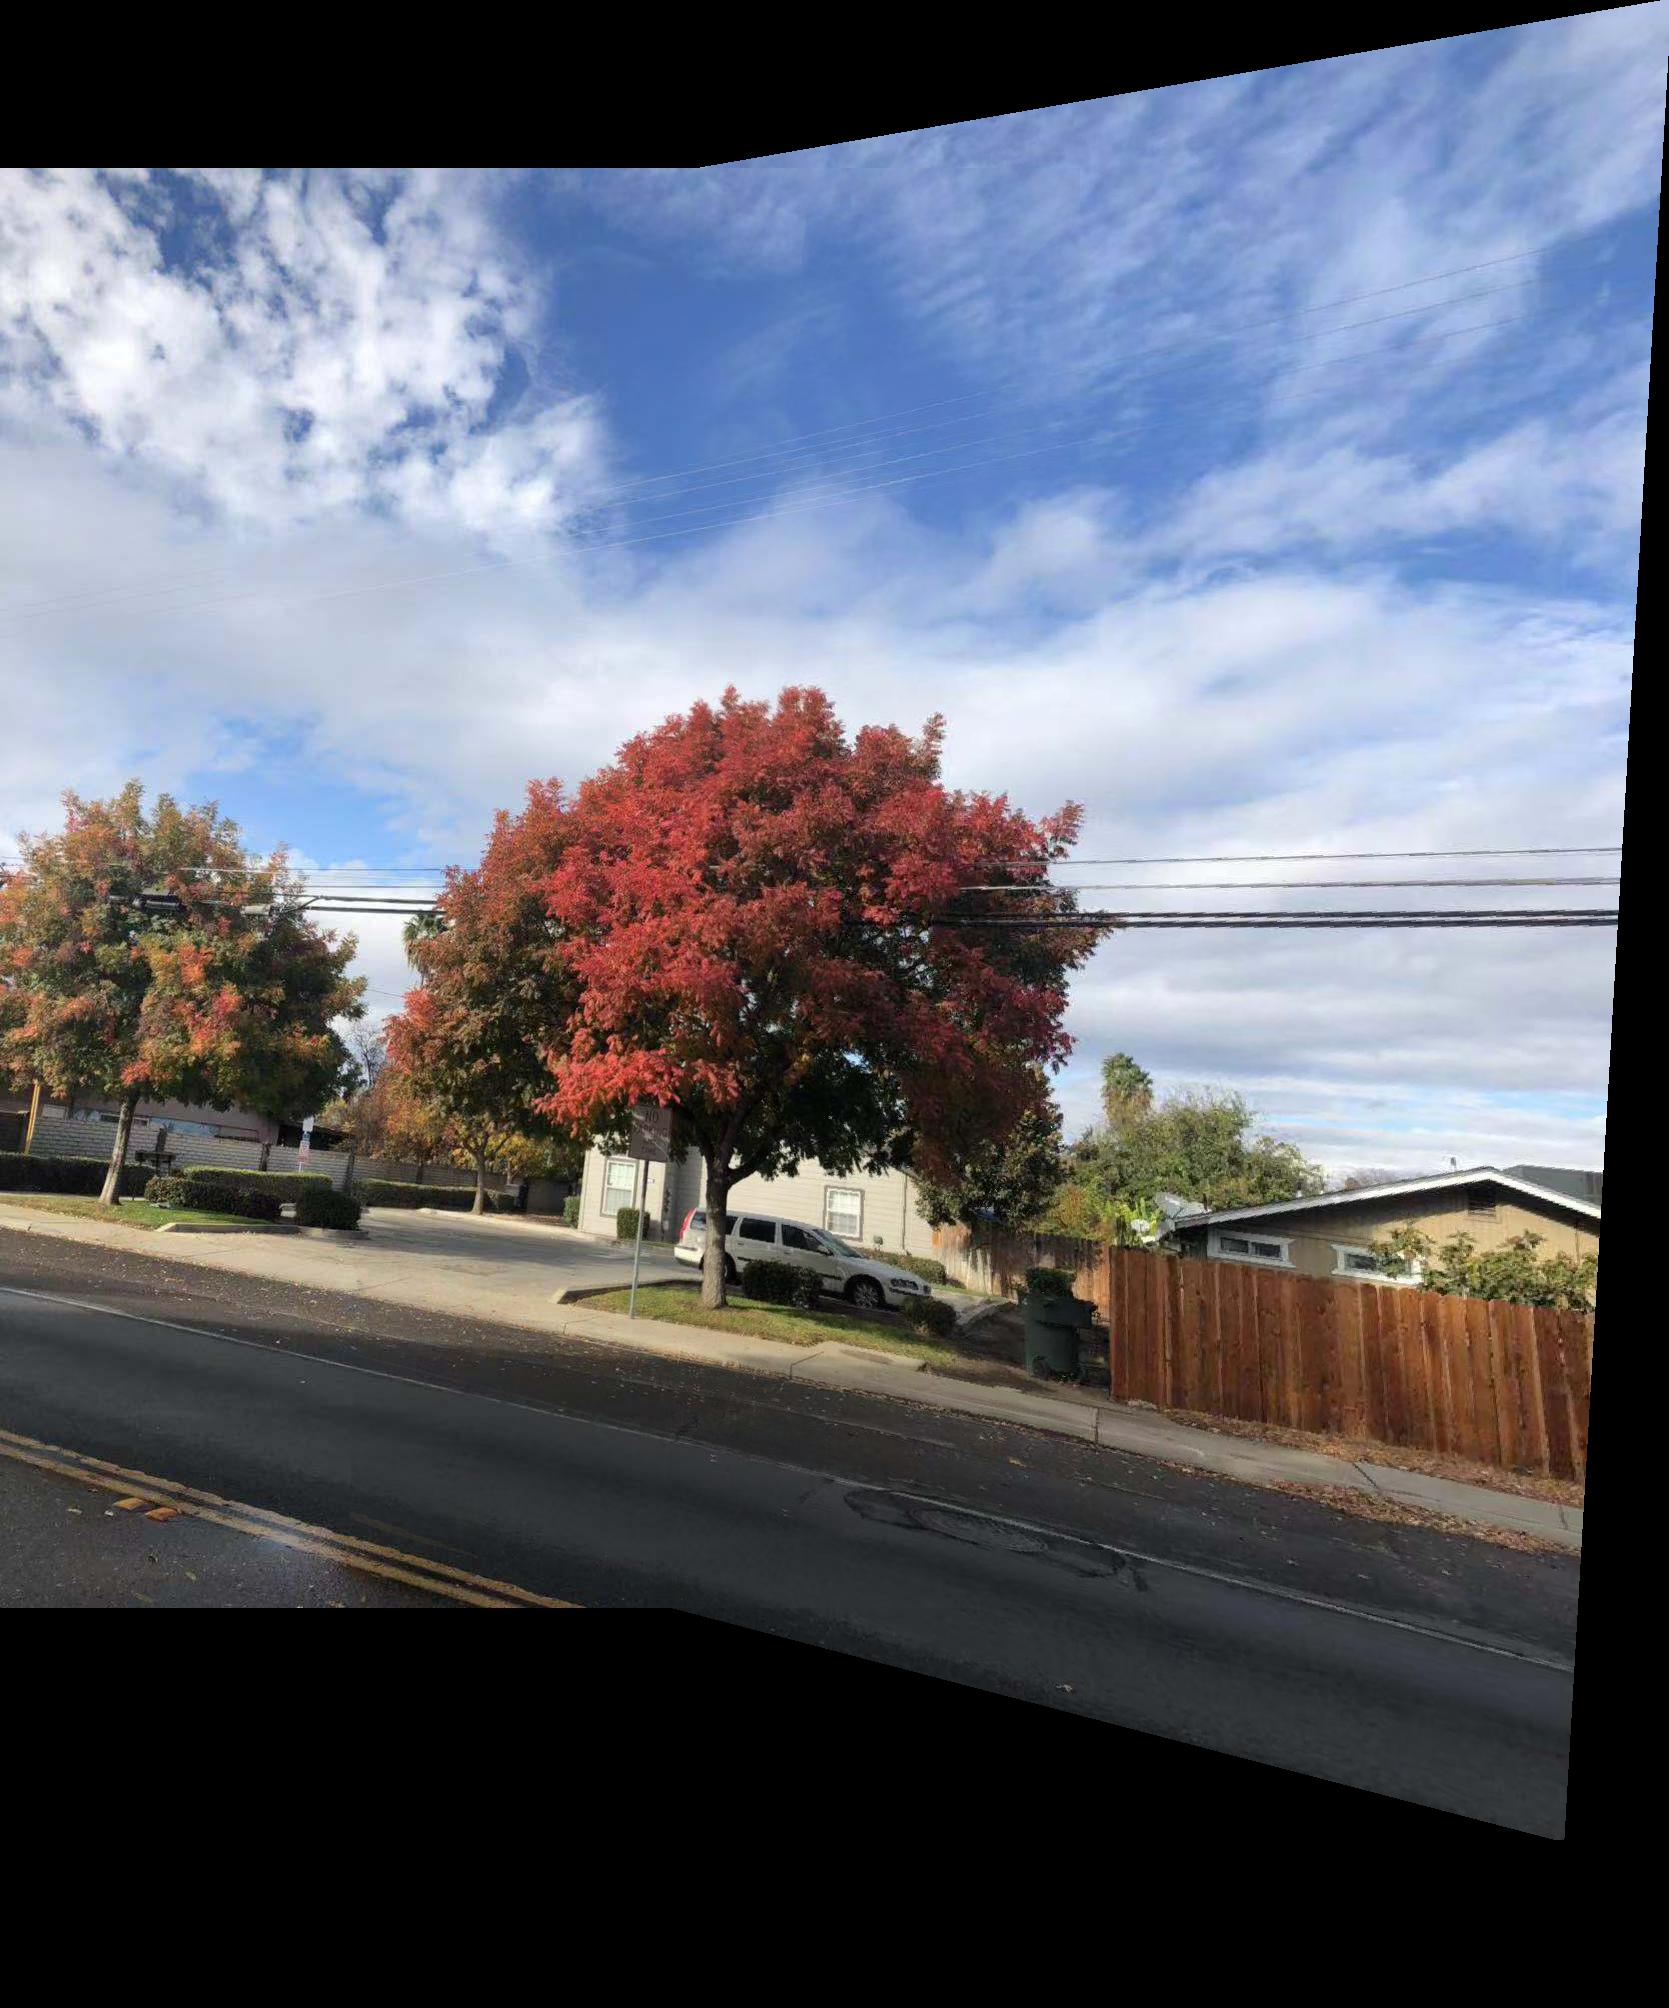
Then I figured out that the it was because I first saved two images before blending them together, which caused precision loss. I also adjust the weights of each image, and the result is shown below.
Final result
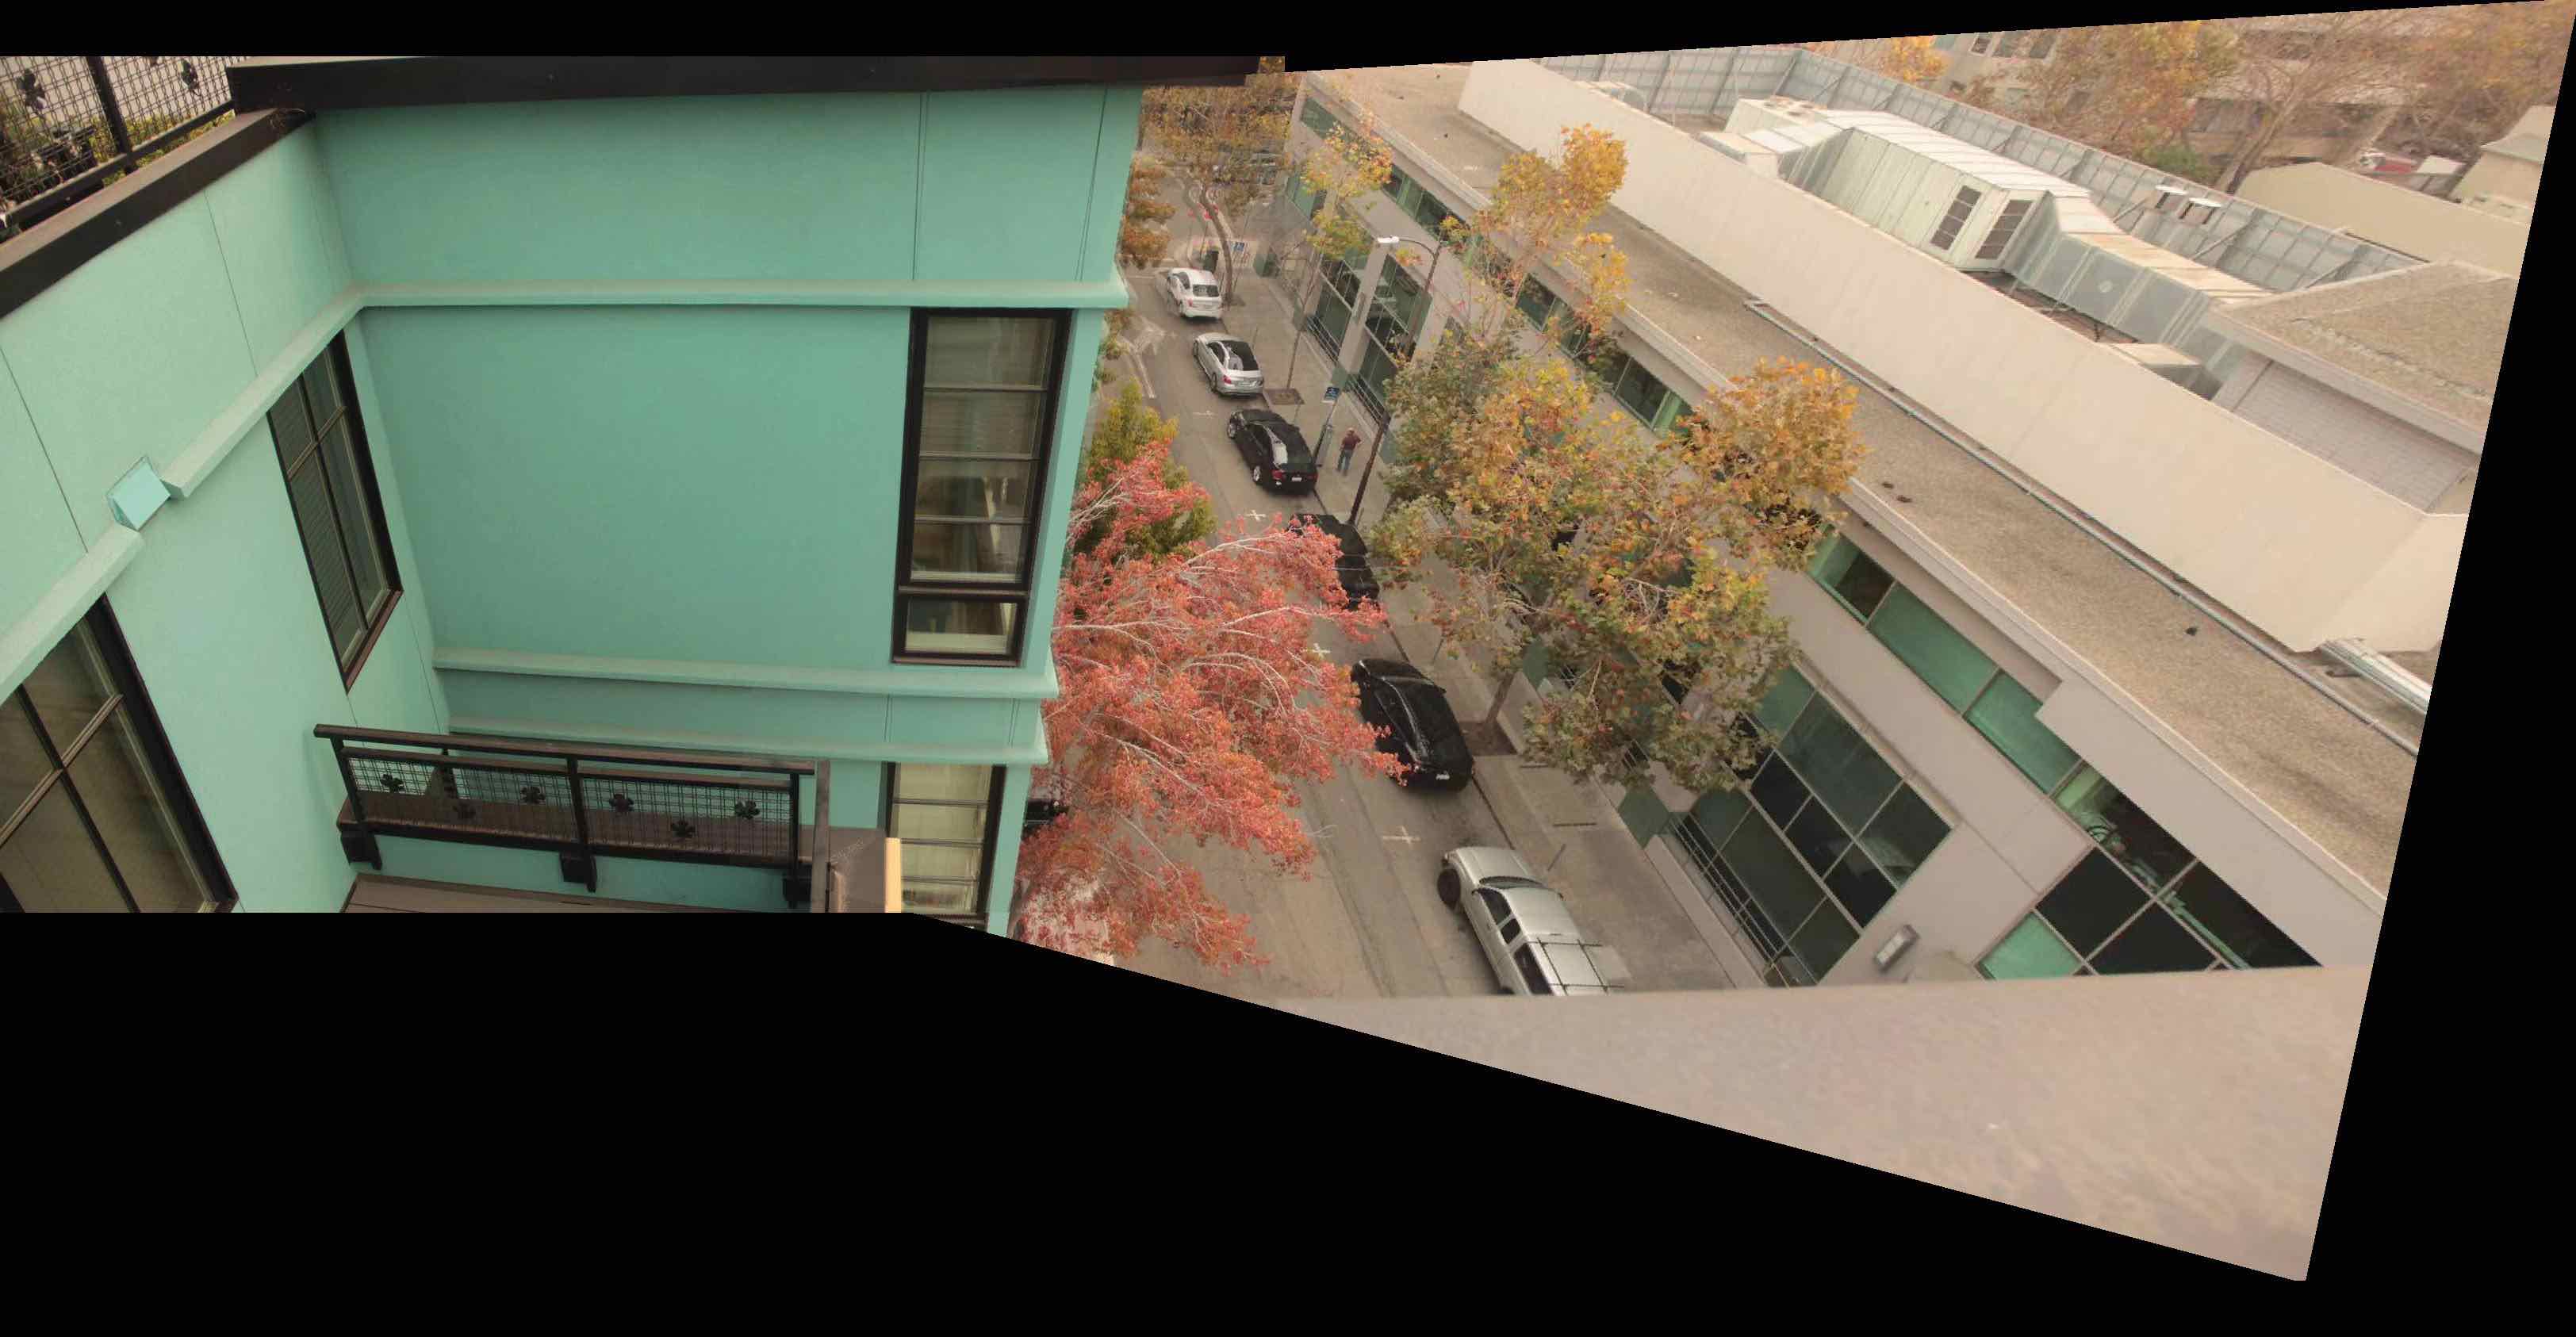
More examples
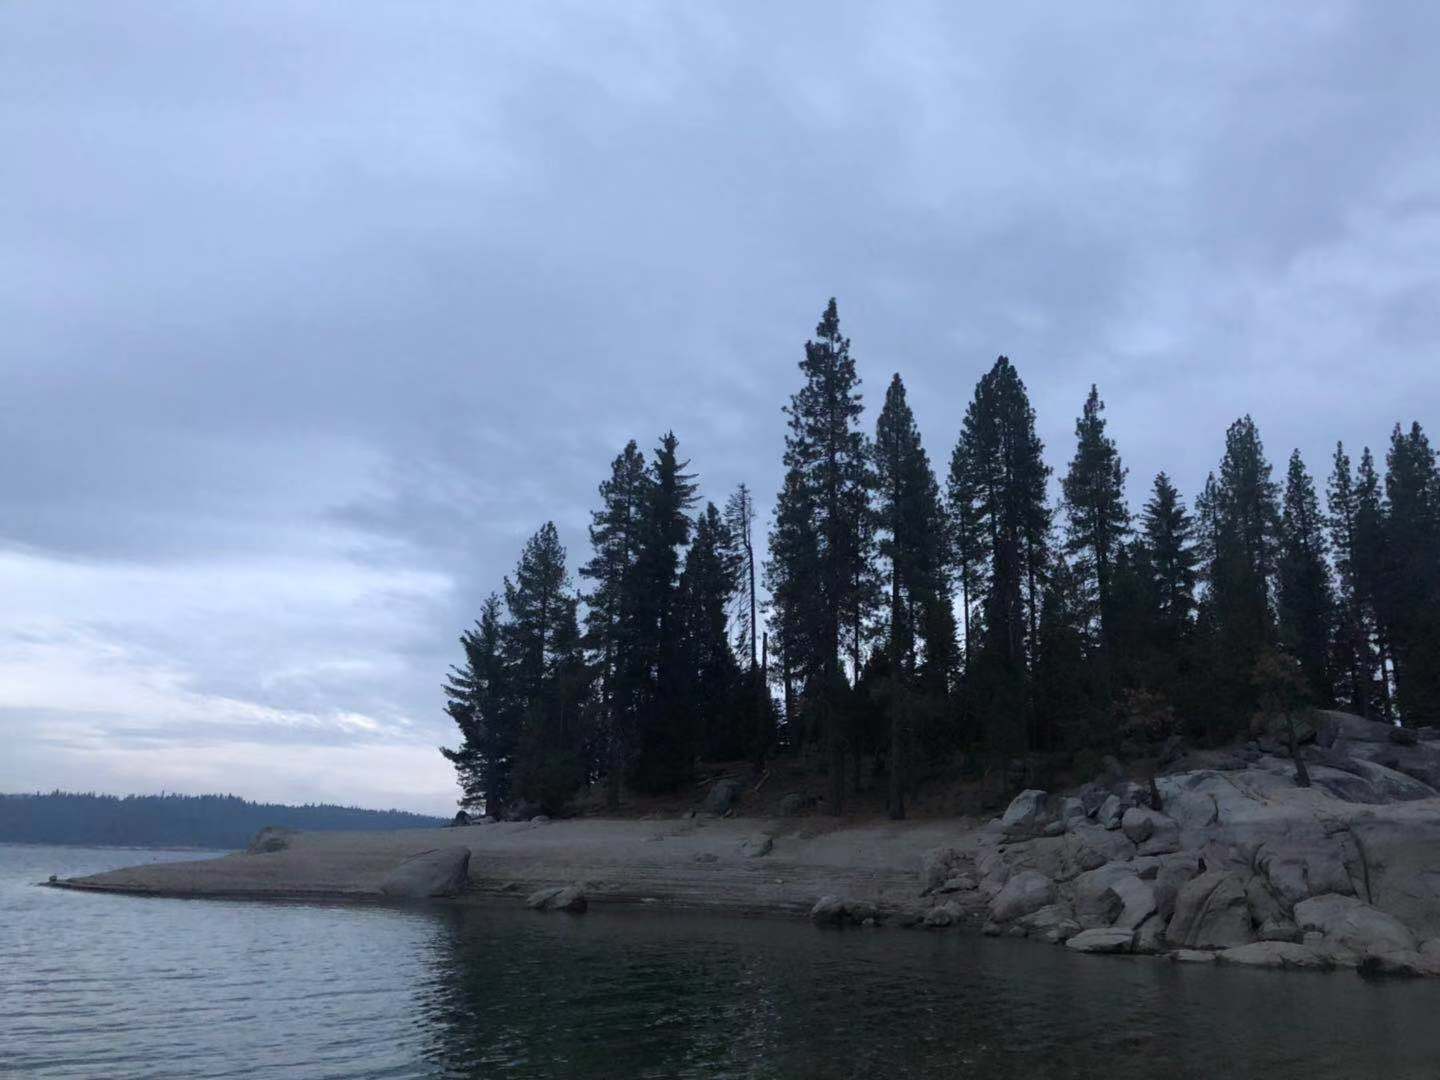
A
B
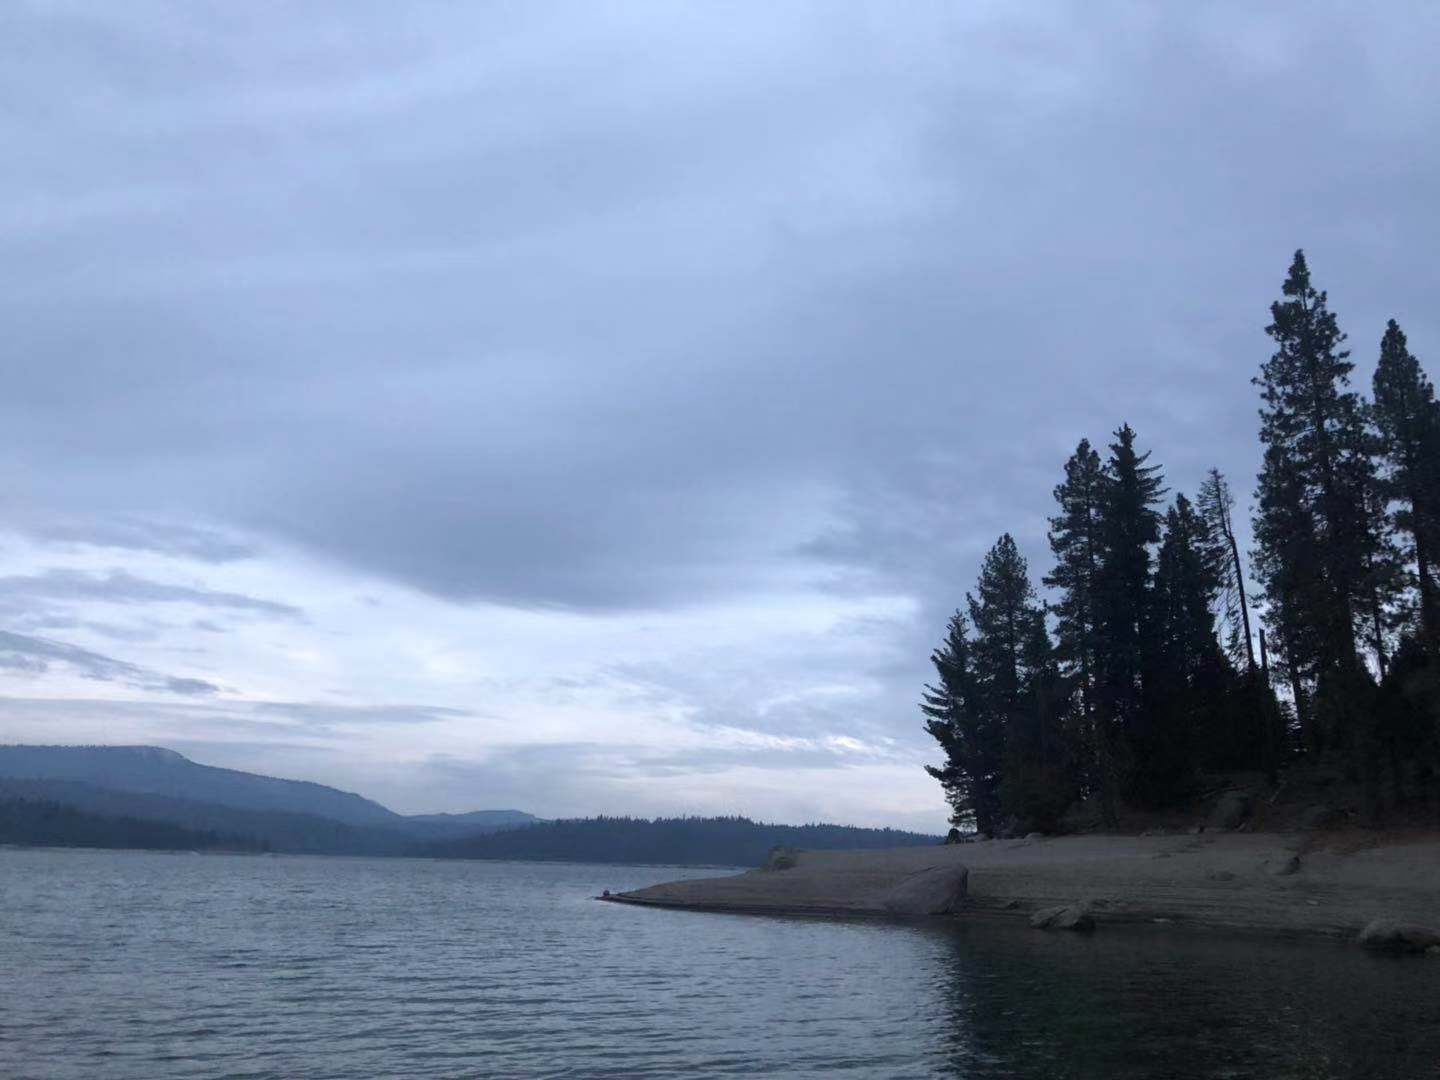
A
B
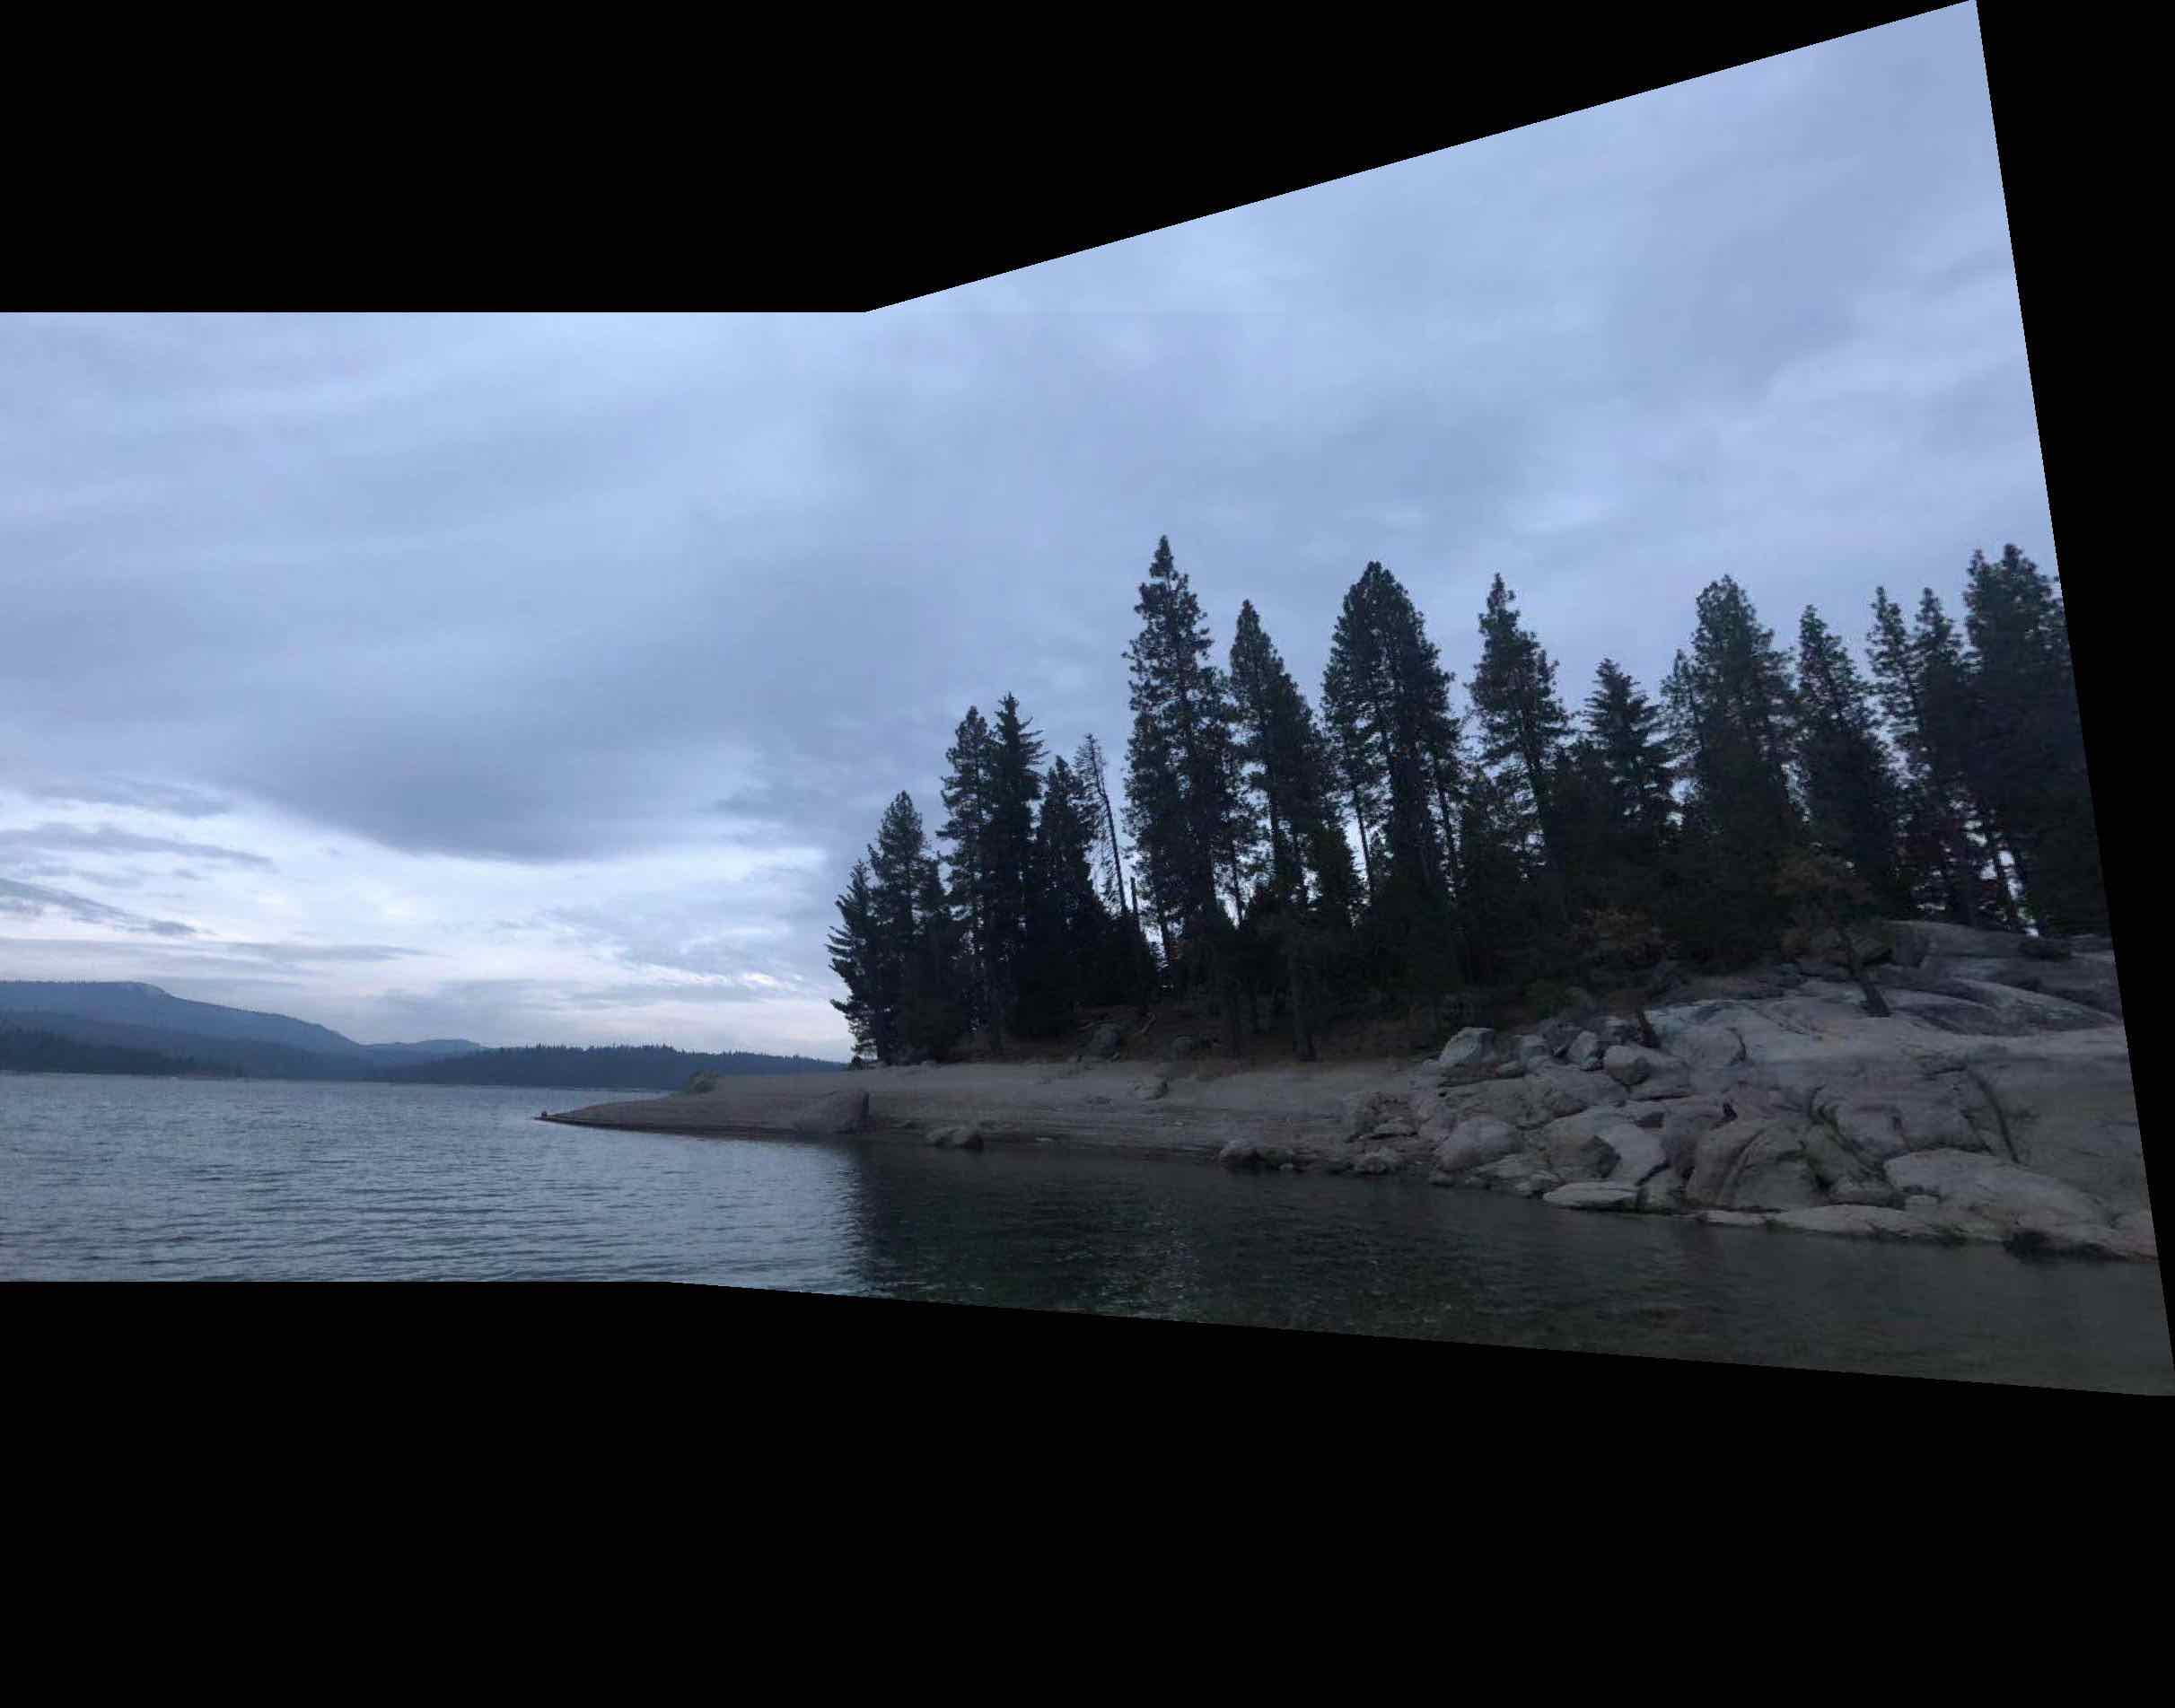
Result
Result
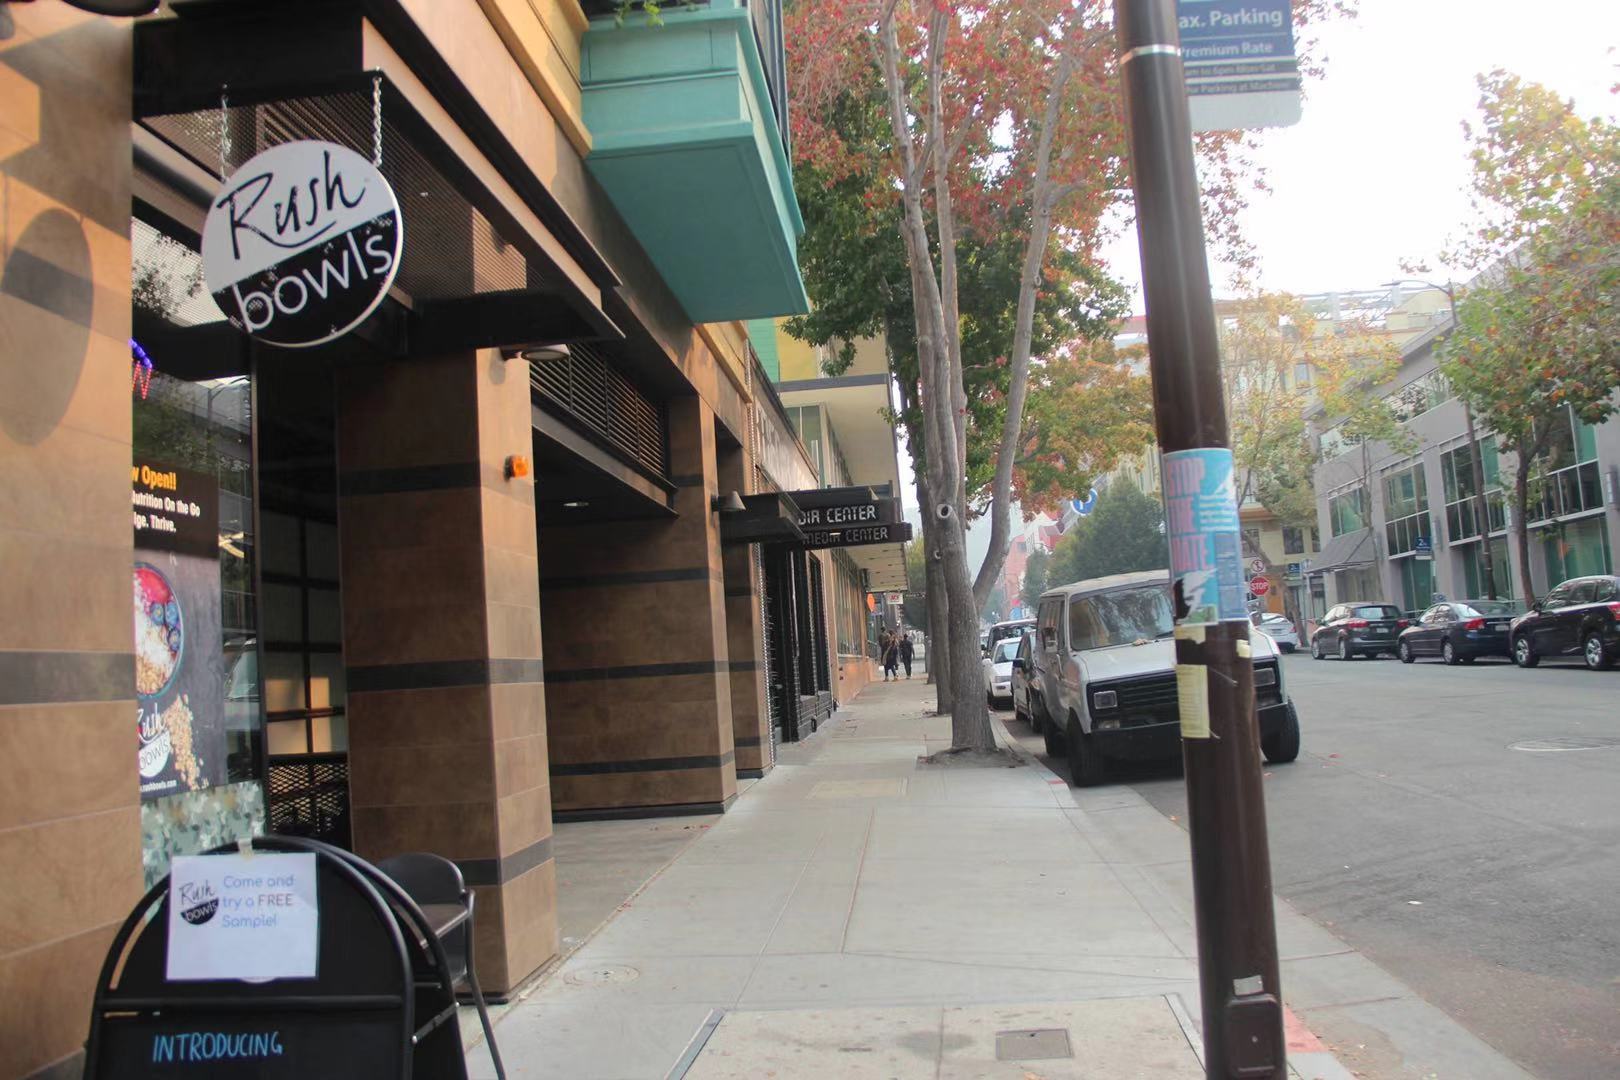
A Failure Case : A car fails to align

What I've learned
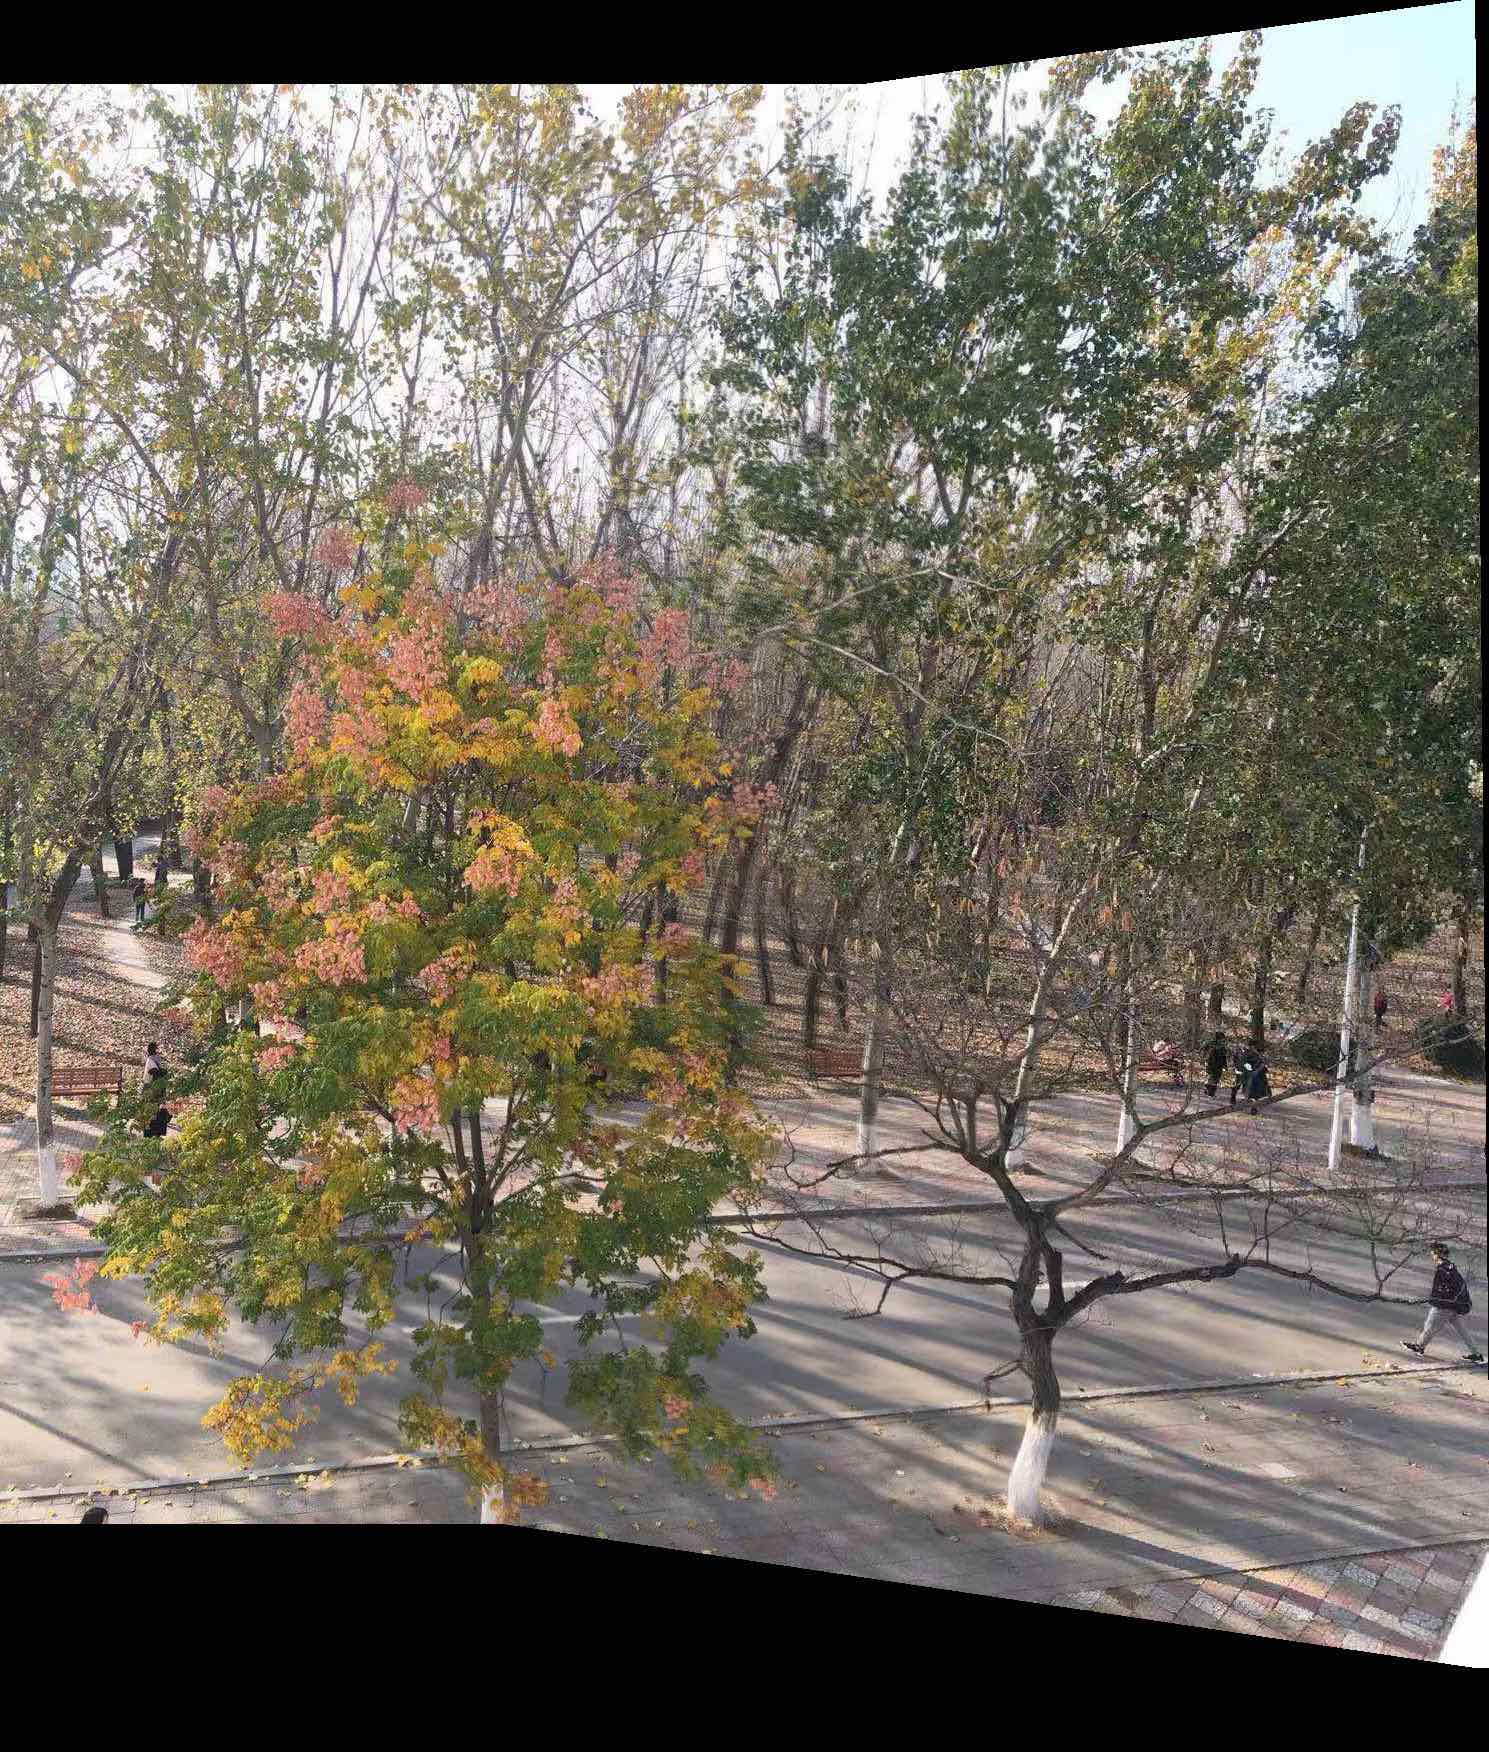
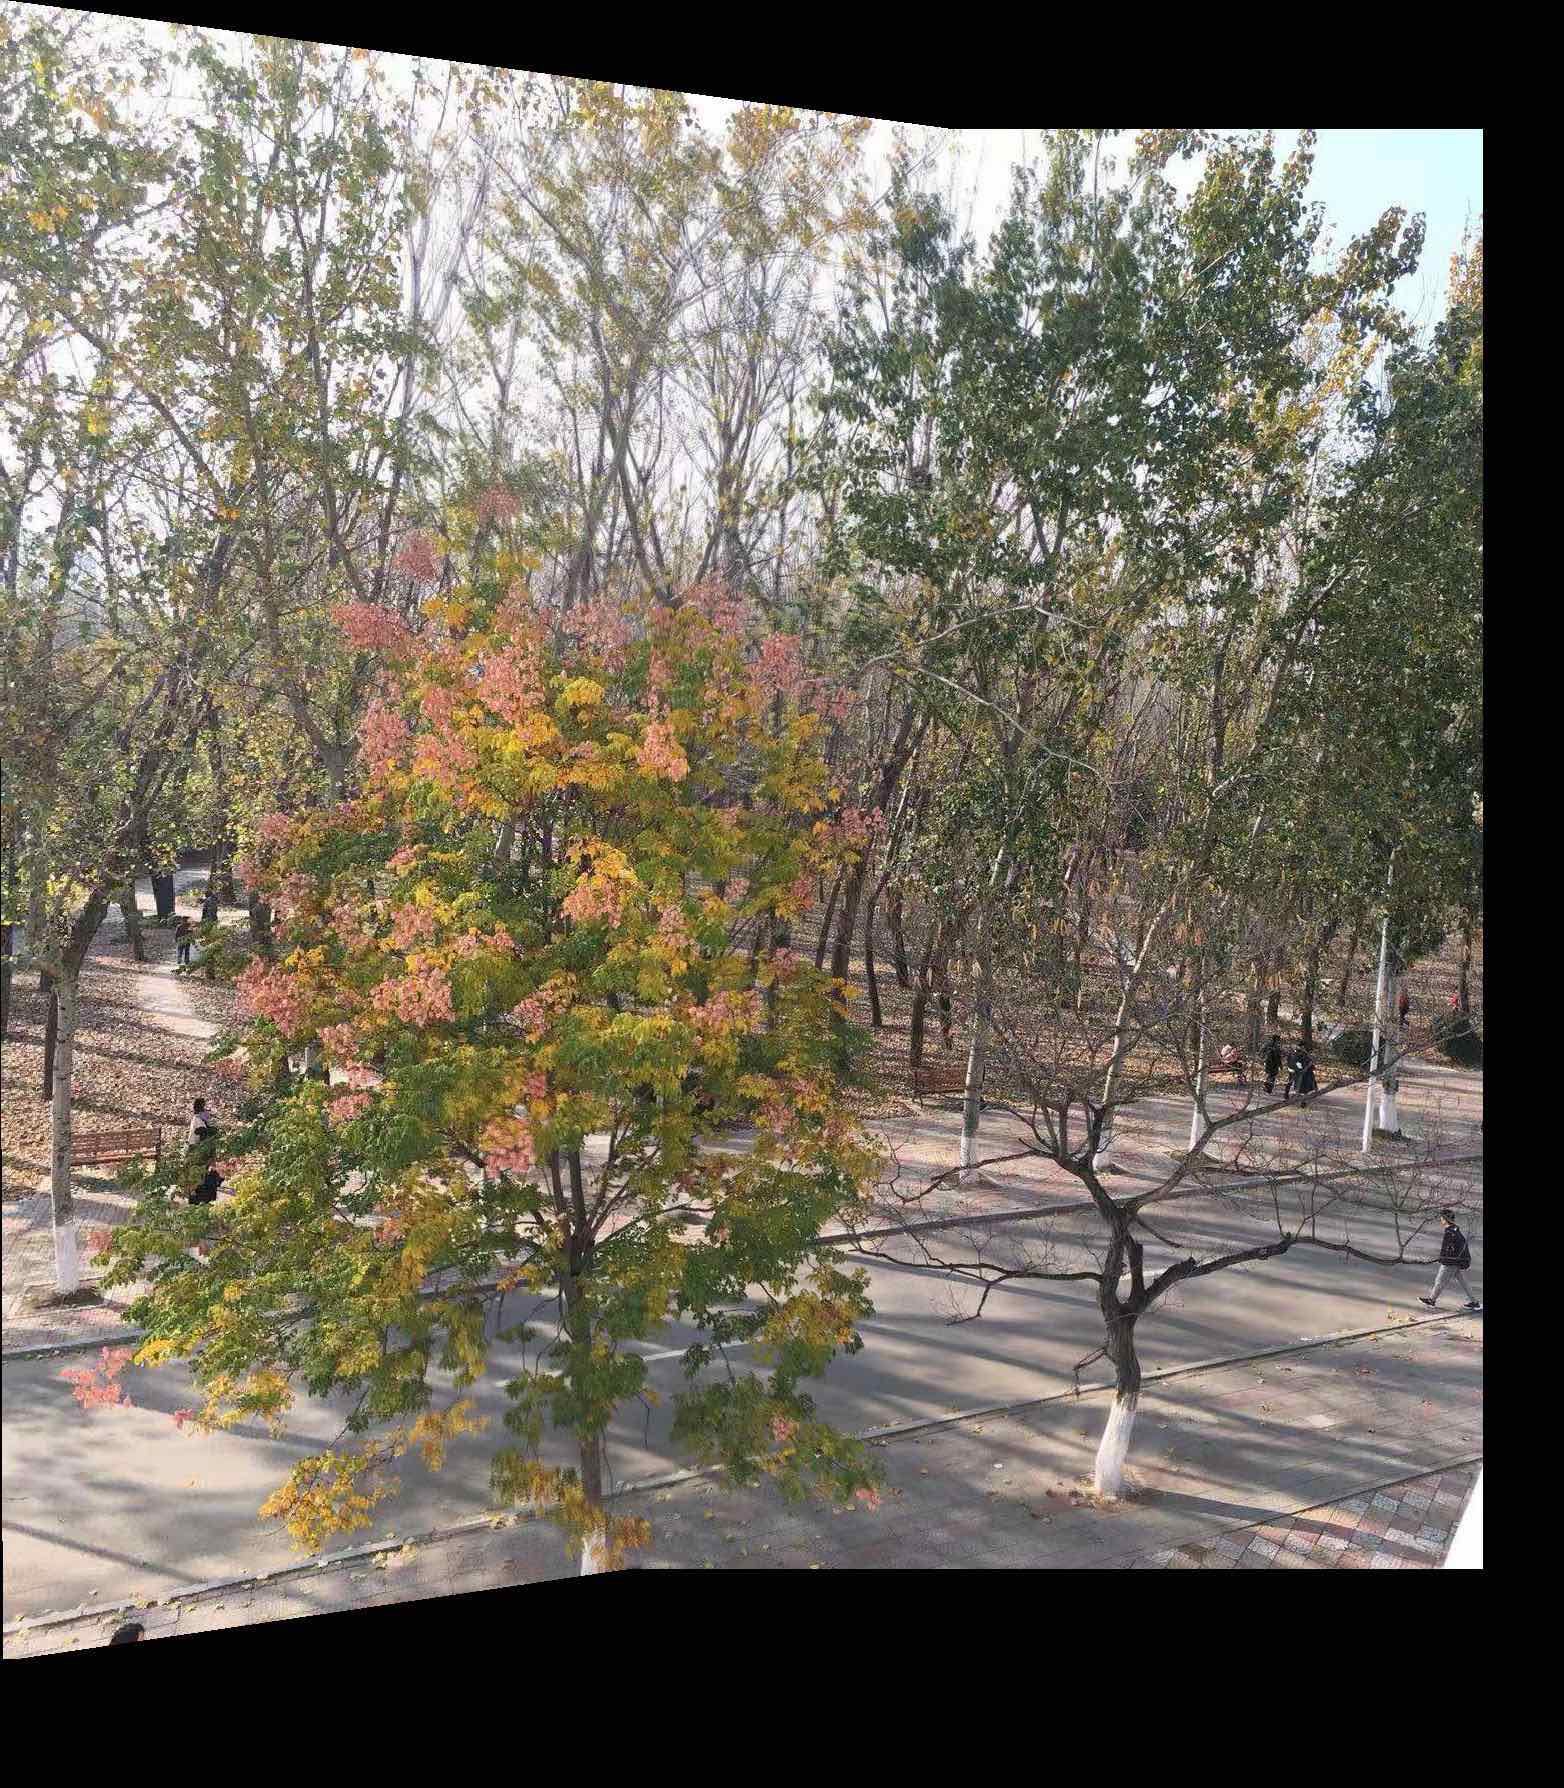
Now, I have a better understanding about homography and I felt great that I can “rectify” an image to its original shape. Also, finding numerous corresponding points is extremely tiring, especially when I tried to align all the trees, thus I've realized how autostitching is a great method and I’m really looking forward to part2 of this project.
Part2: Overview
In this part we will do autostitching.
Harris Interest Point Detector
I ran the starter code provided and here are the original image and results of Harris Detector.
Original A
Original B
Result A
Result B
Adaptive Non-Maximal Suppression
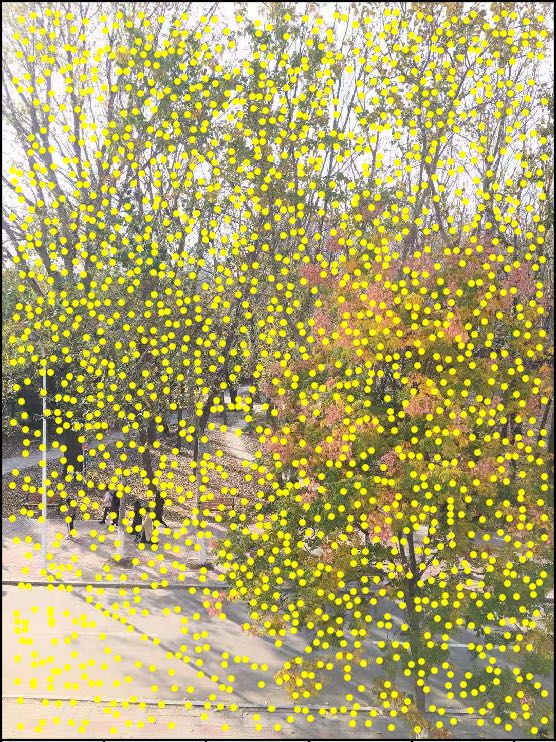
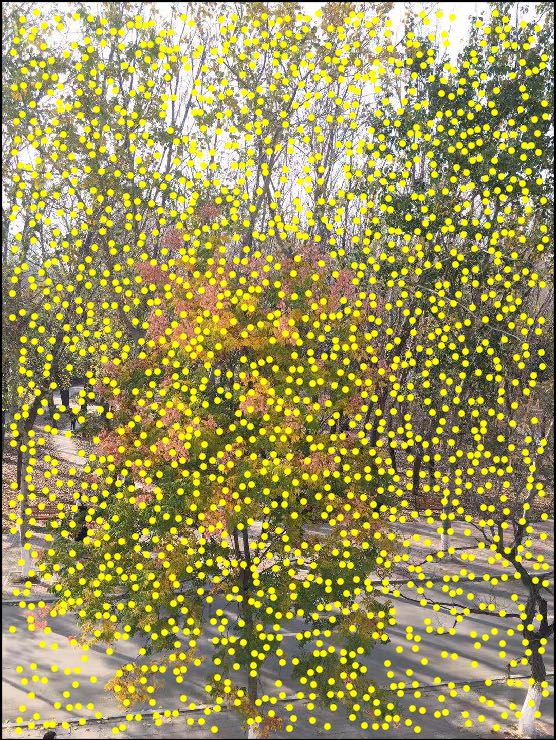
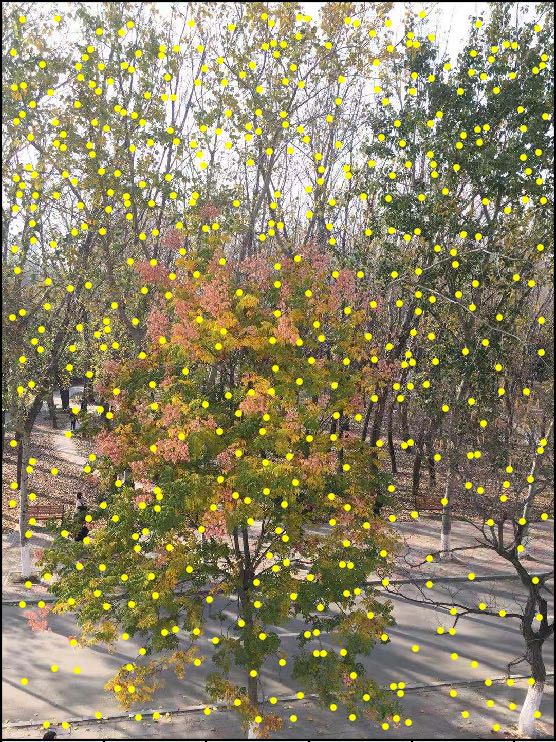
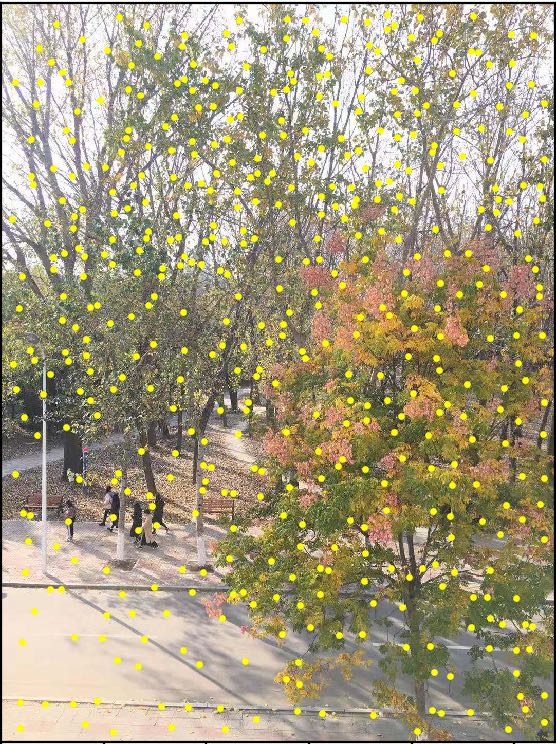
Simply running Harris Point Detector gives us way too many points and processing that many points is not efficient. Thus, we want to apply ANMS to reduce the number of corresponding we get. ANMS helps us to get the points that best describe the corners in the image and spread evenly across the source images. The basic idea is that for each point, we want to find the minimum radius to the next interest point such that the function below holds(c is a predefined constant):
After that, we choose the points with the largest radius. Here are the results:
Feature Descriptor extraction
In this step, we want to find the feature descriptor of each image. We looked at 40*40 patches and downsample them to 8*8 to eliminate the effect of noises. We also apply the bias/gain normalization to the patches.
Feature Matching
Here we want to find pairs of features that look similar and match them. We use Lowe's algorithm and apply the dist2 function in the starter code. We get a matrix which can map the SSD of one feature to another. 1-NN is the pair of features with the smallest SSD value and 2-NN is that of the second smallest. If 1-NN/2-NN is in a specific range, then we regard it as a good matching. Here are the results of this step, which is basically right.
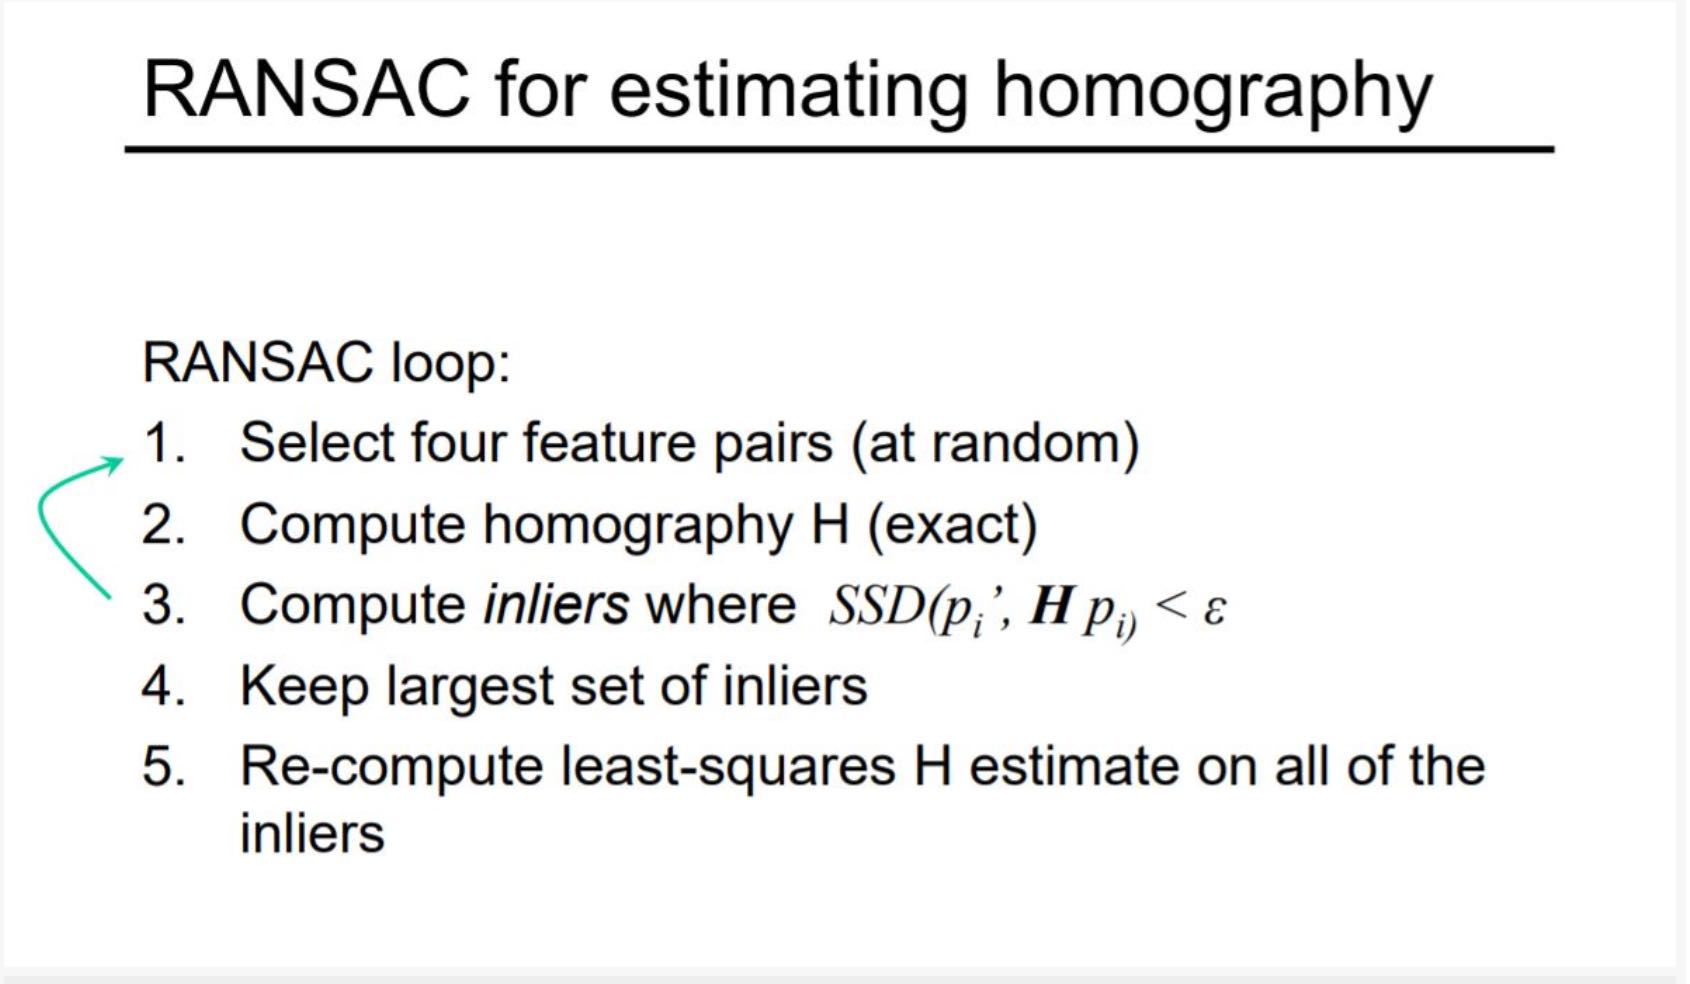
RANSAC
As some of the matchings we get from the last step is not always good, we apply the RANSAC method here to make the matching more correct. We iteratively randomly select four points that are matched and use the algorithm below to test if they are qualified. The algorithm generally converges to a satisfying homography.
Produce a Mosaic
After all the steps above, we can generate a mosaic using the similar method from part1. Here is a result and its corresponding manually stitched result.
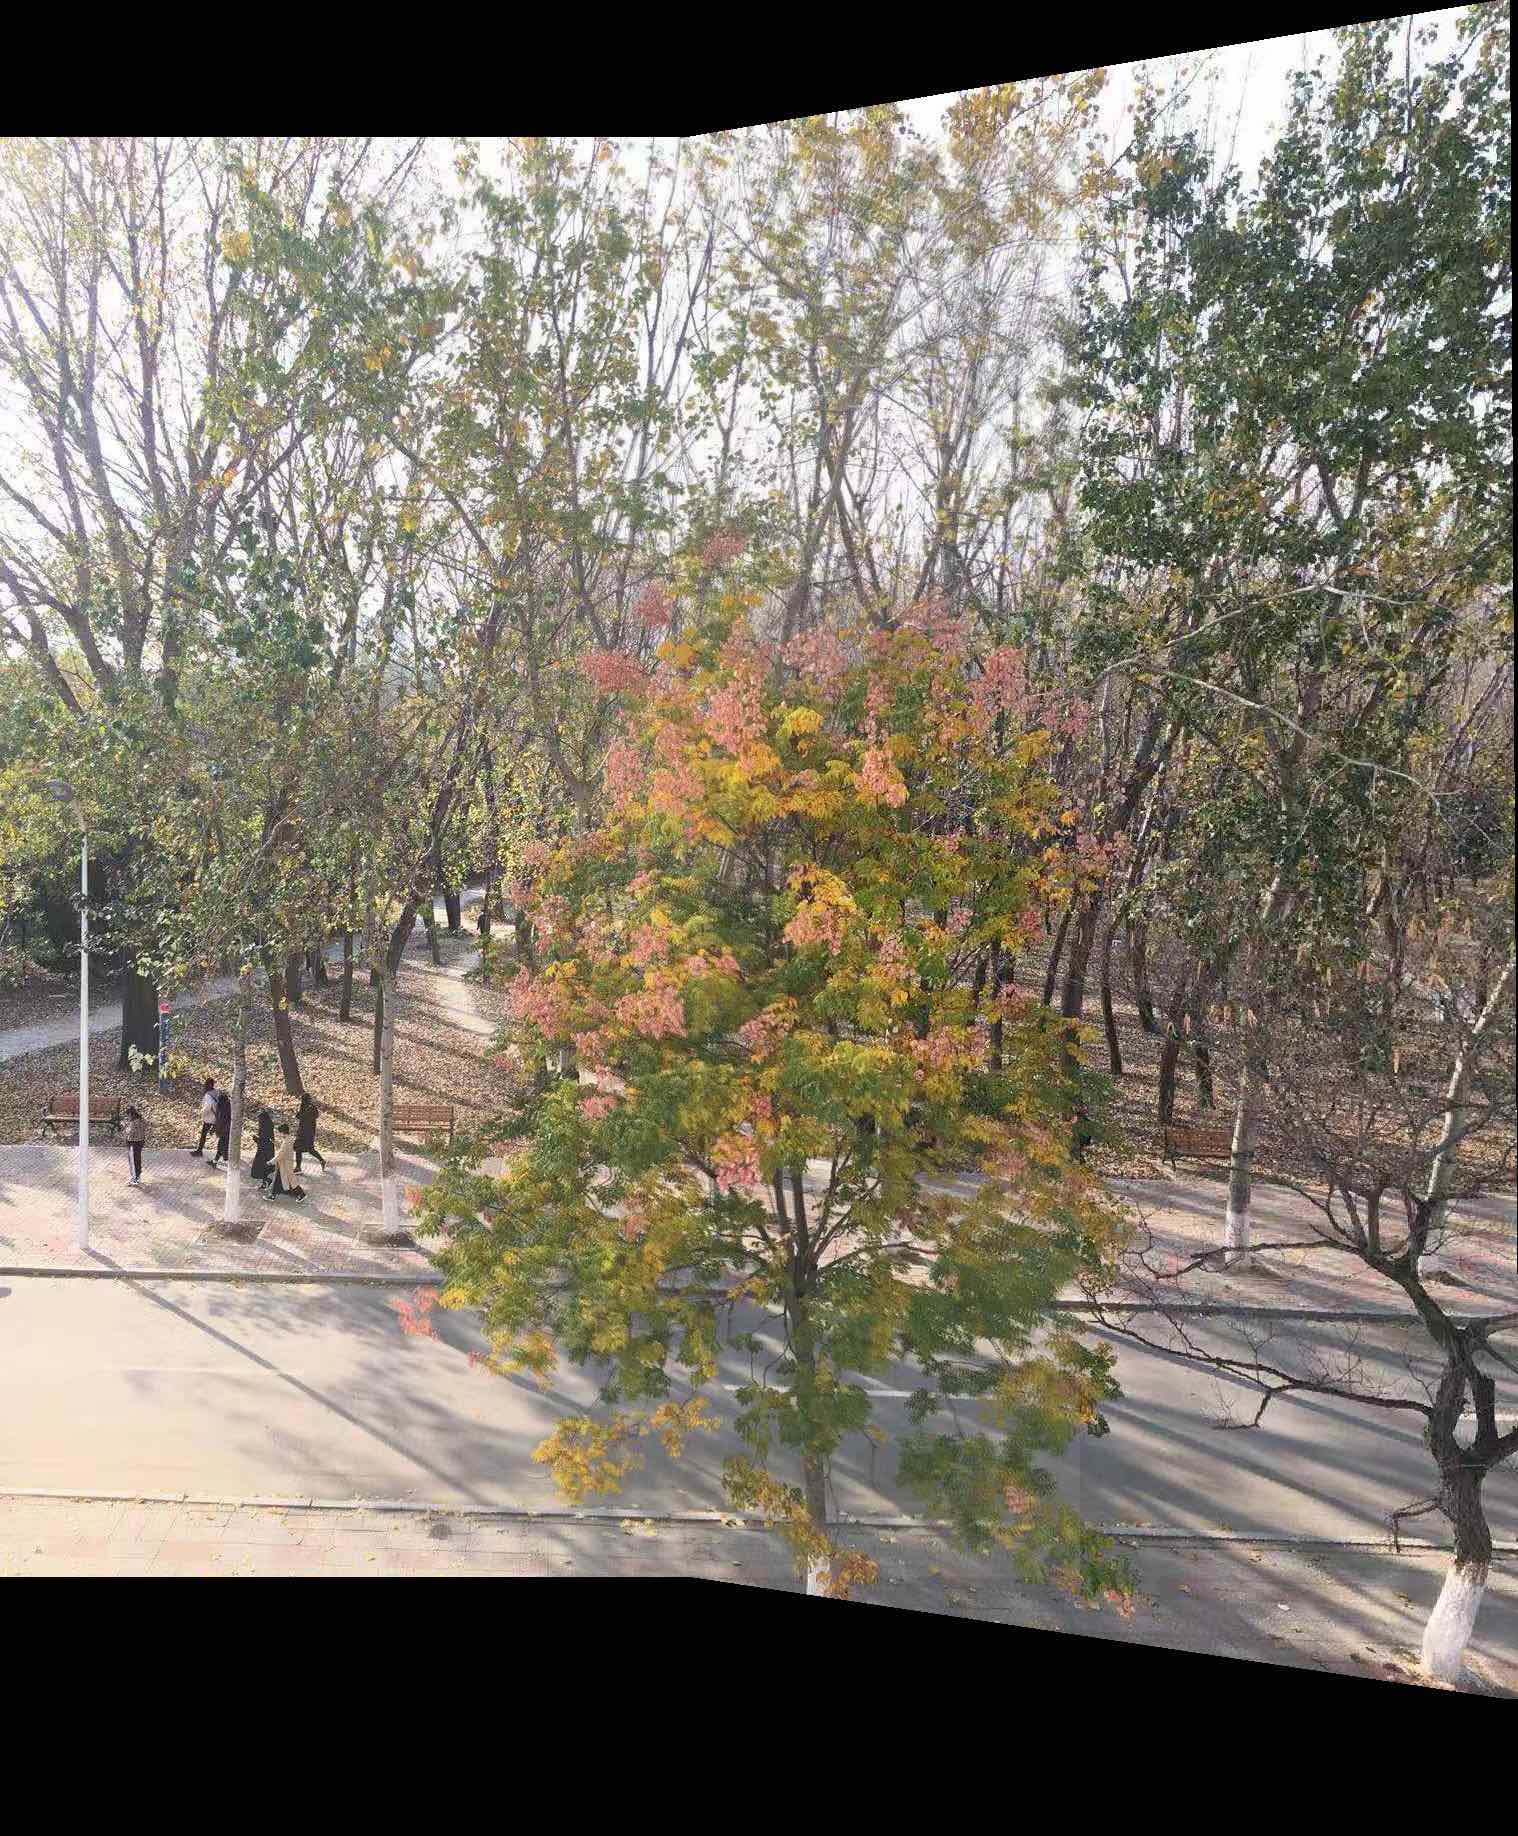
automatically stitched result
manually stitched result
We can see that the automatically generated result is slightly better because the computed corresponding points should be more accurate than those clicked by us manually.
More results
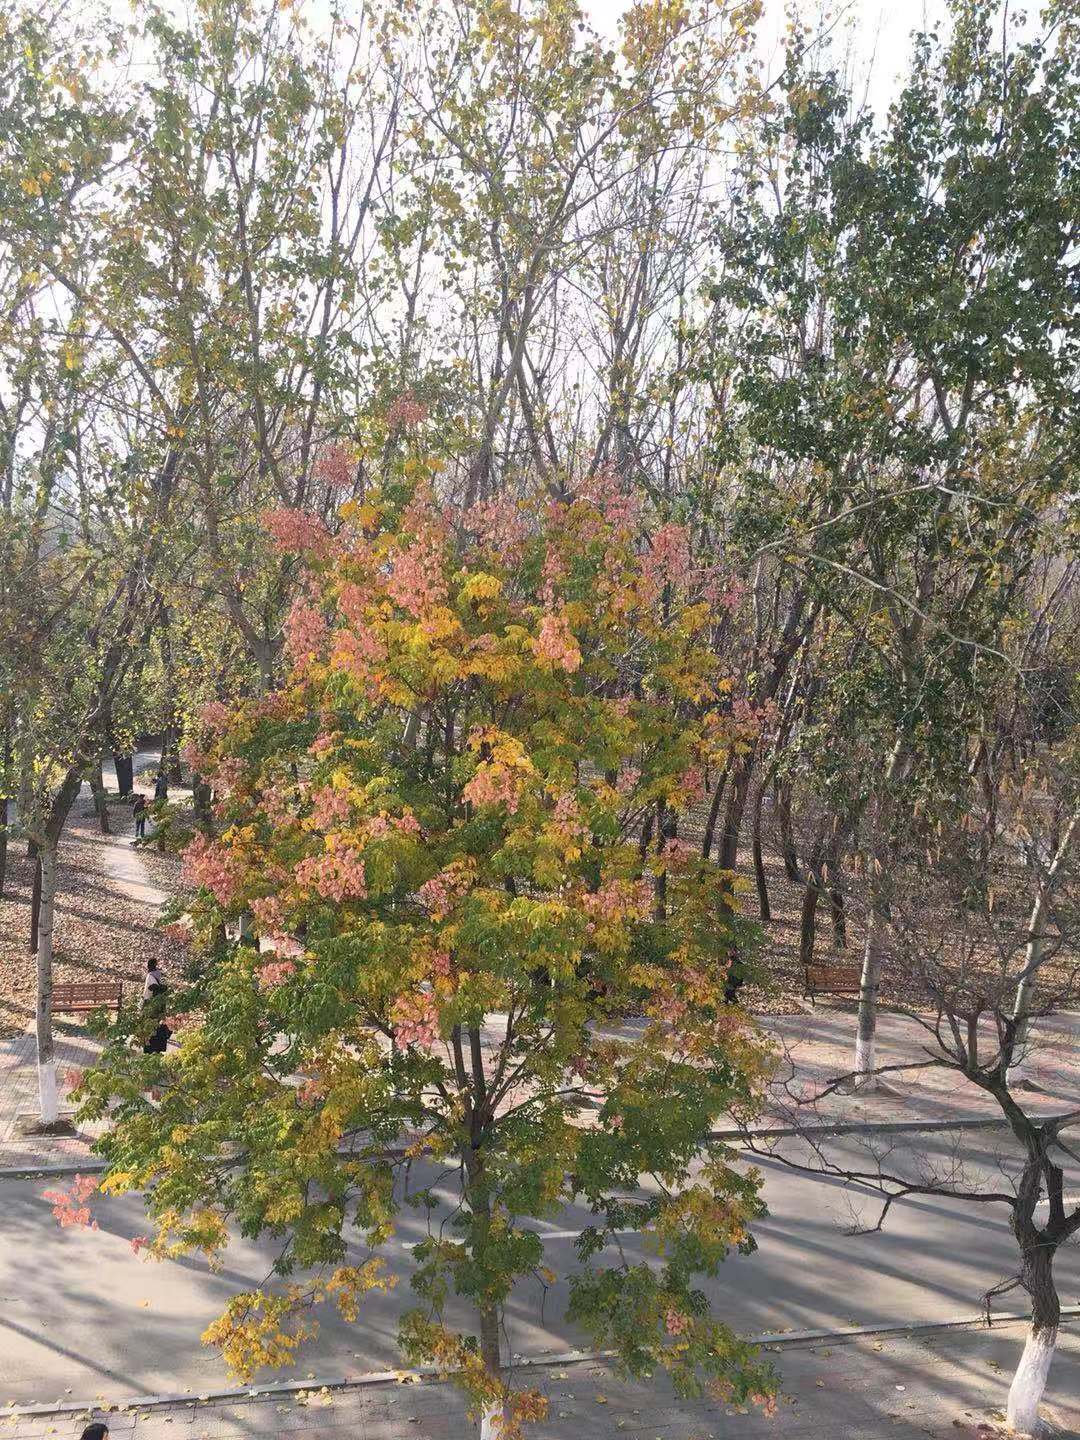
A
B
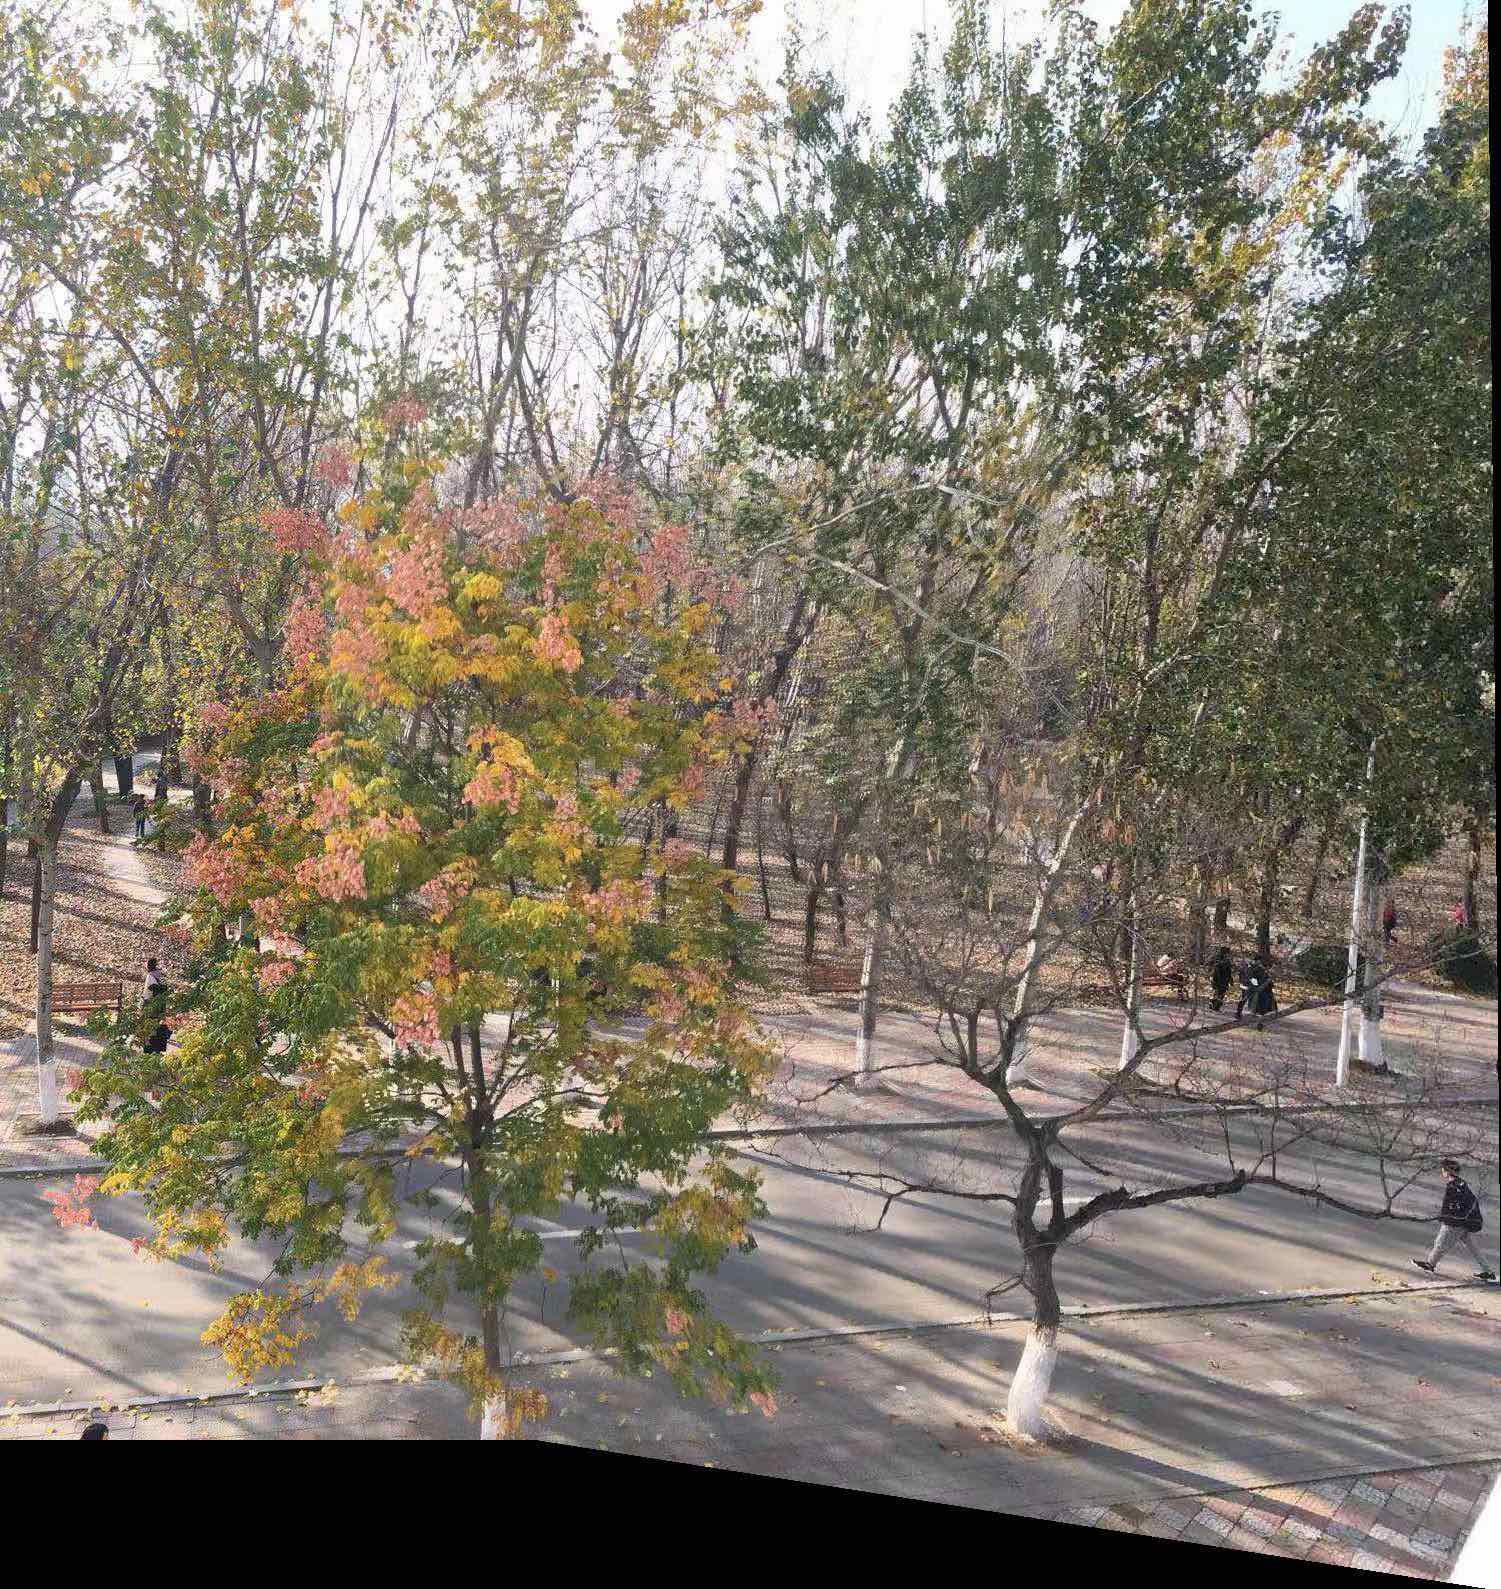
Result
A
B
Result
A
B
Result
What I've learned
The algorithm that impresses me most is RANSAC. In each iteration, it simply check several points but gradually converge to an optimal solution, which is very efficient.
Bells & Whistles
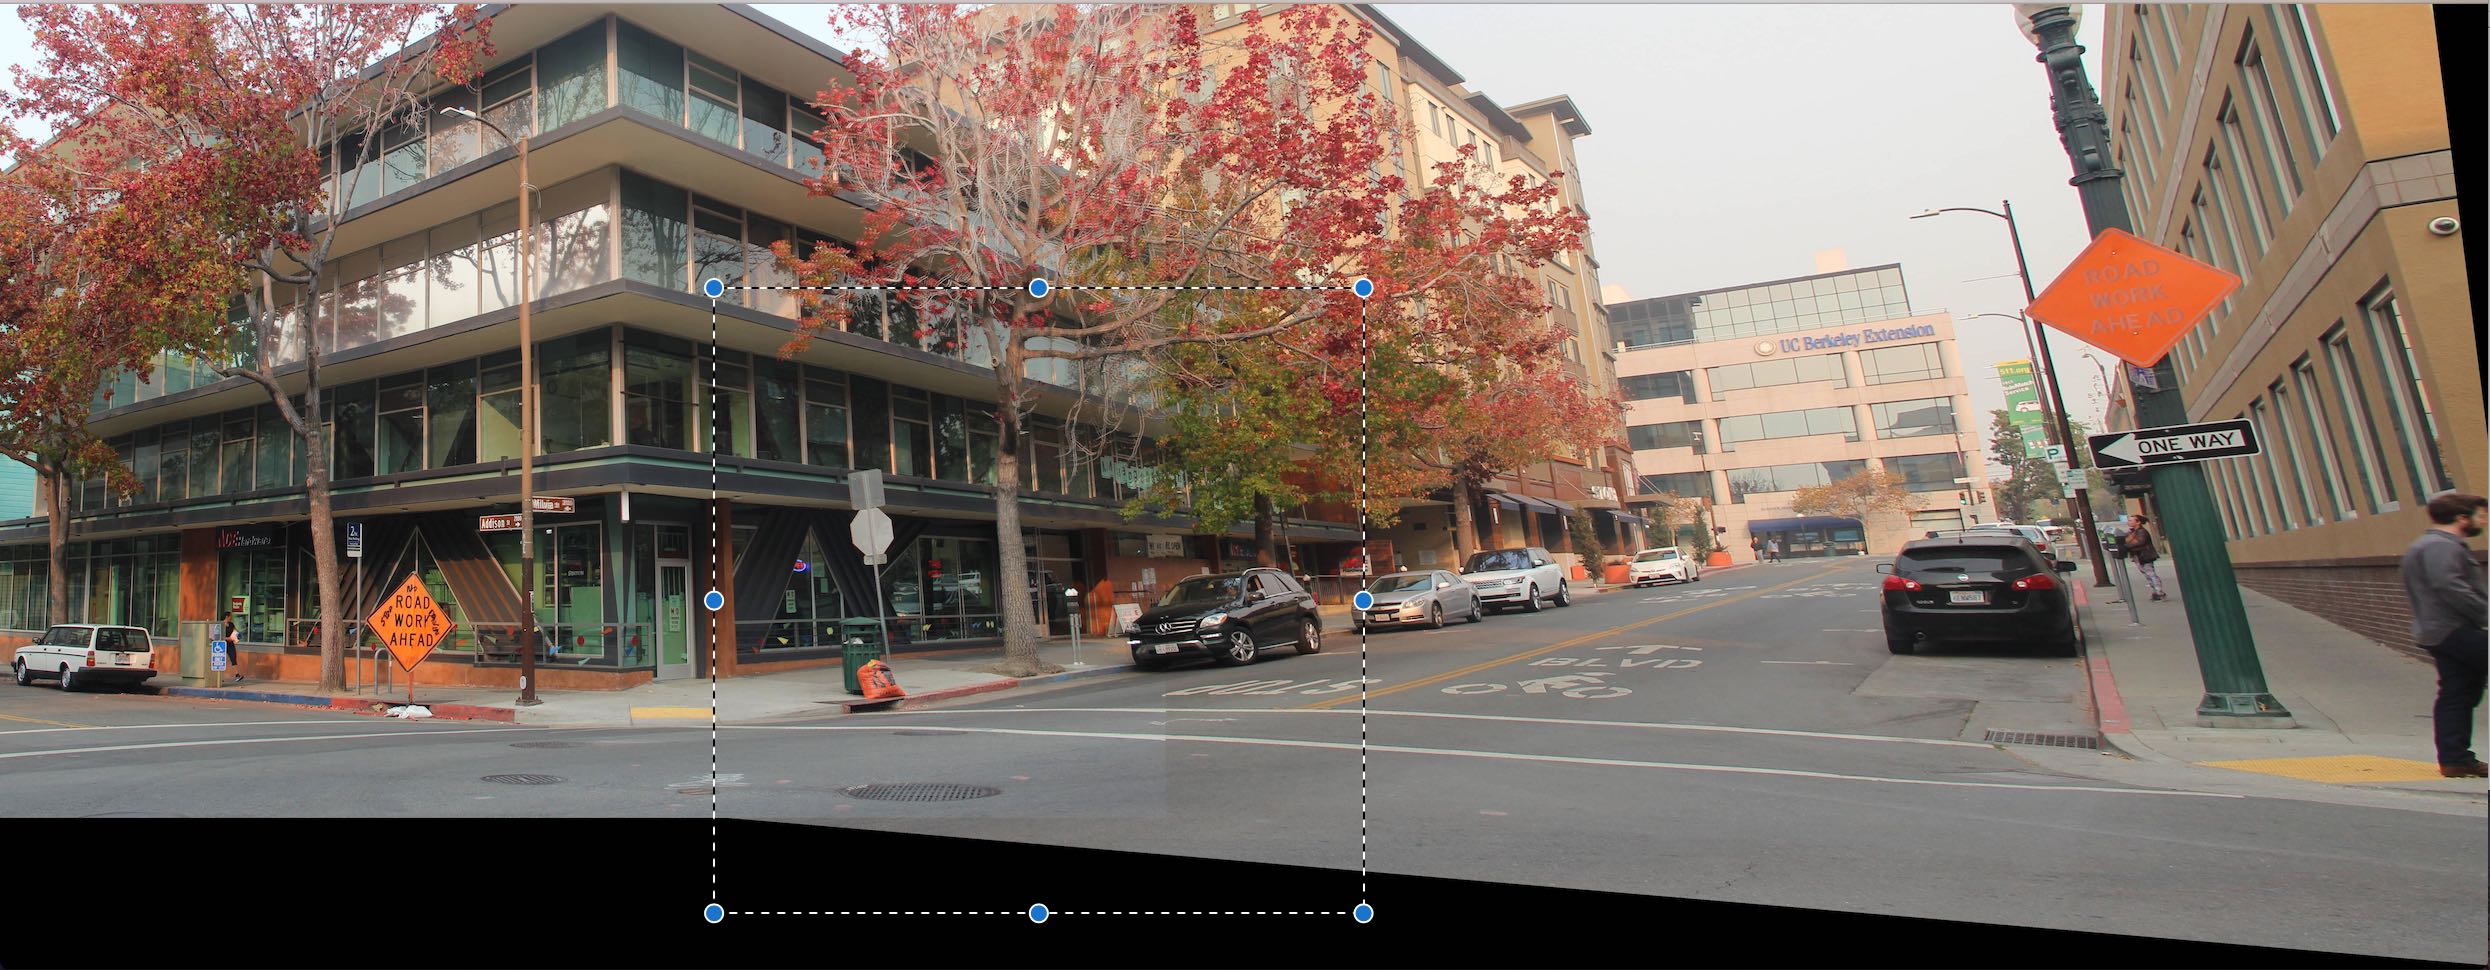
panorama recognition
The basic idea here is that given a set of images, we will look at each pair of them and use them to create proper panorama. We should look at every pair of images and see if we can find enough matchings between them. If yes, create a panorama. For example, given 3 images below, we get the panorama below.
Result
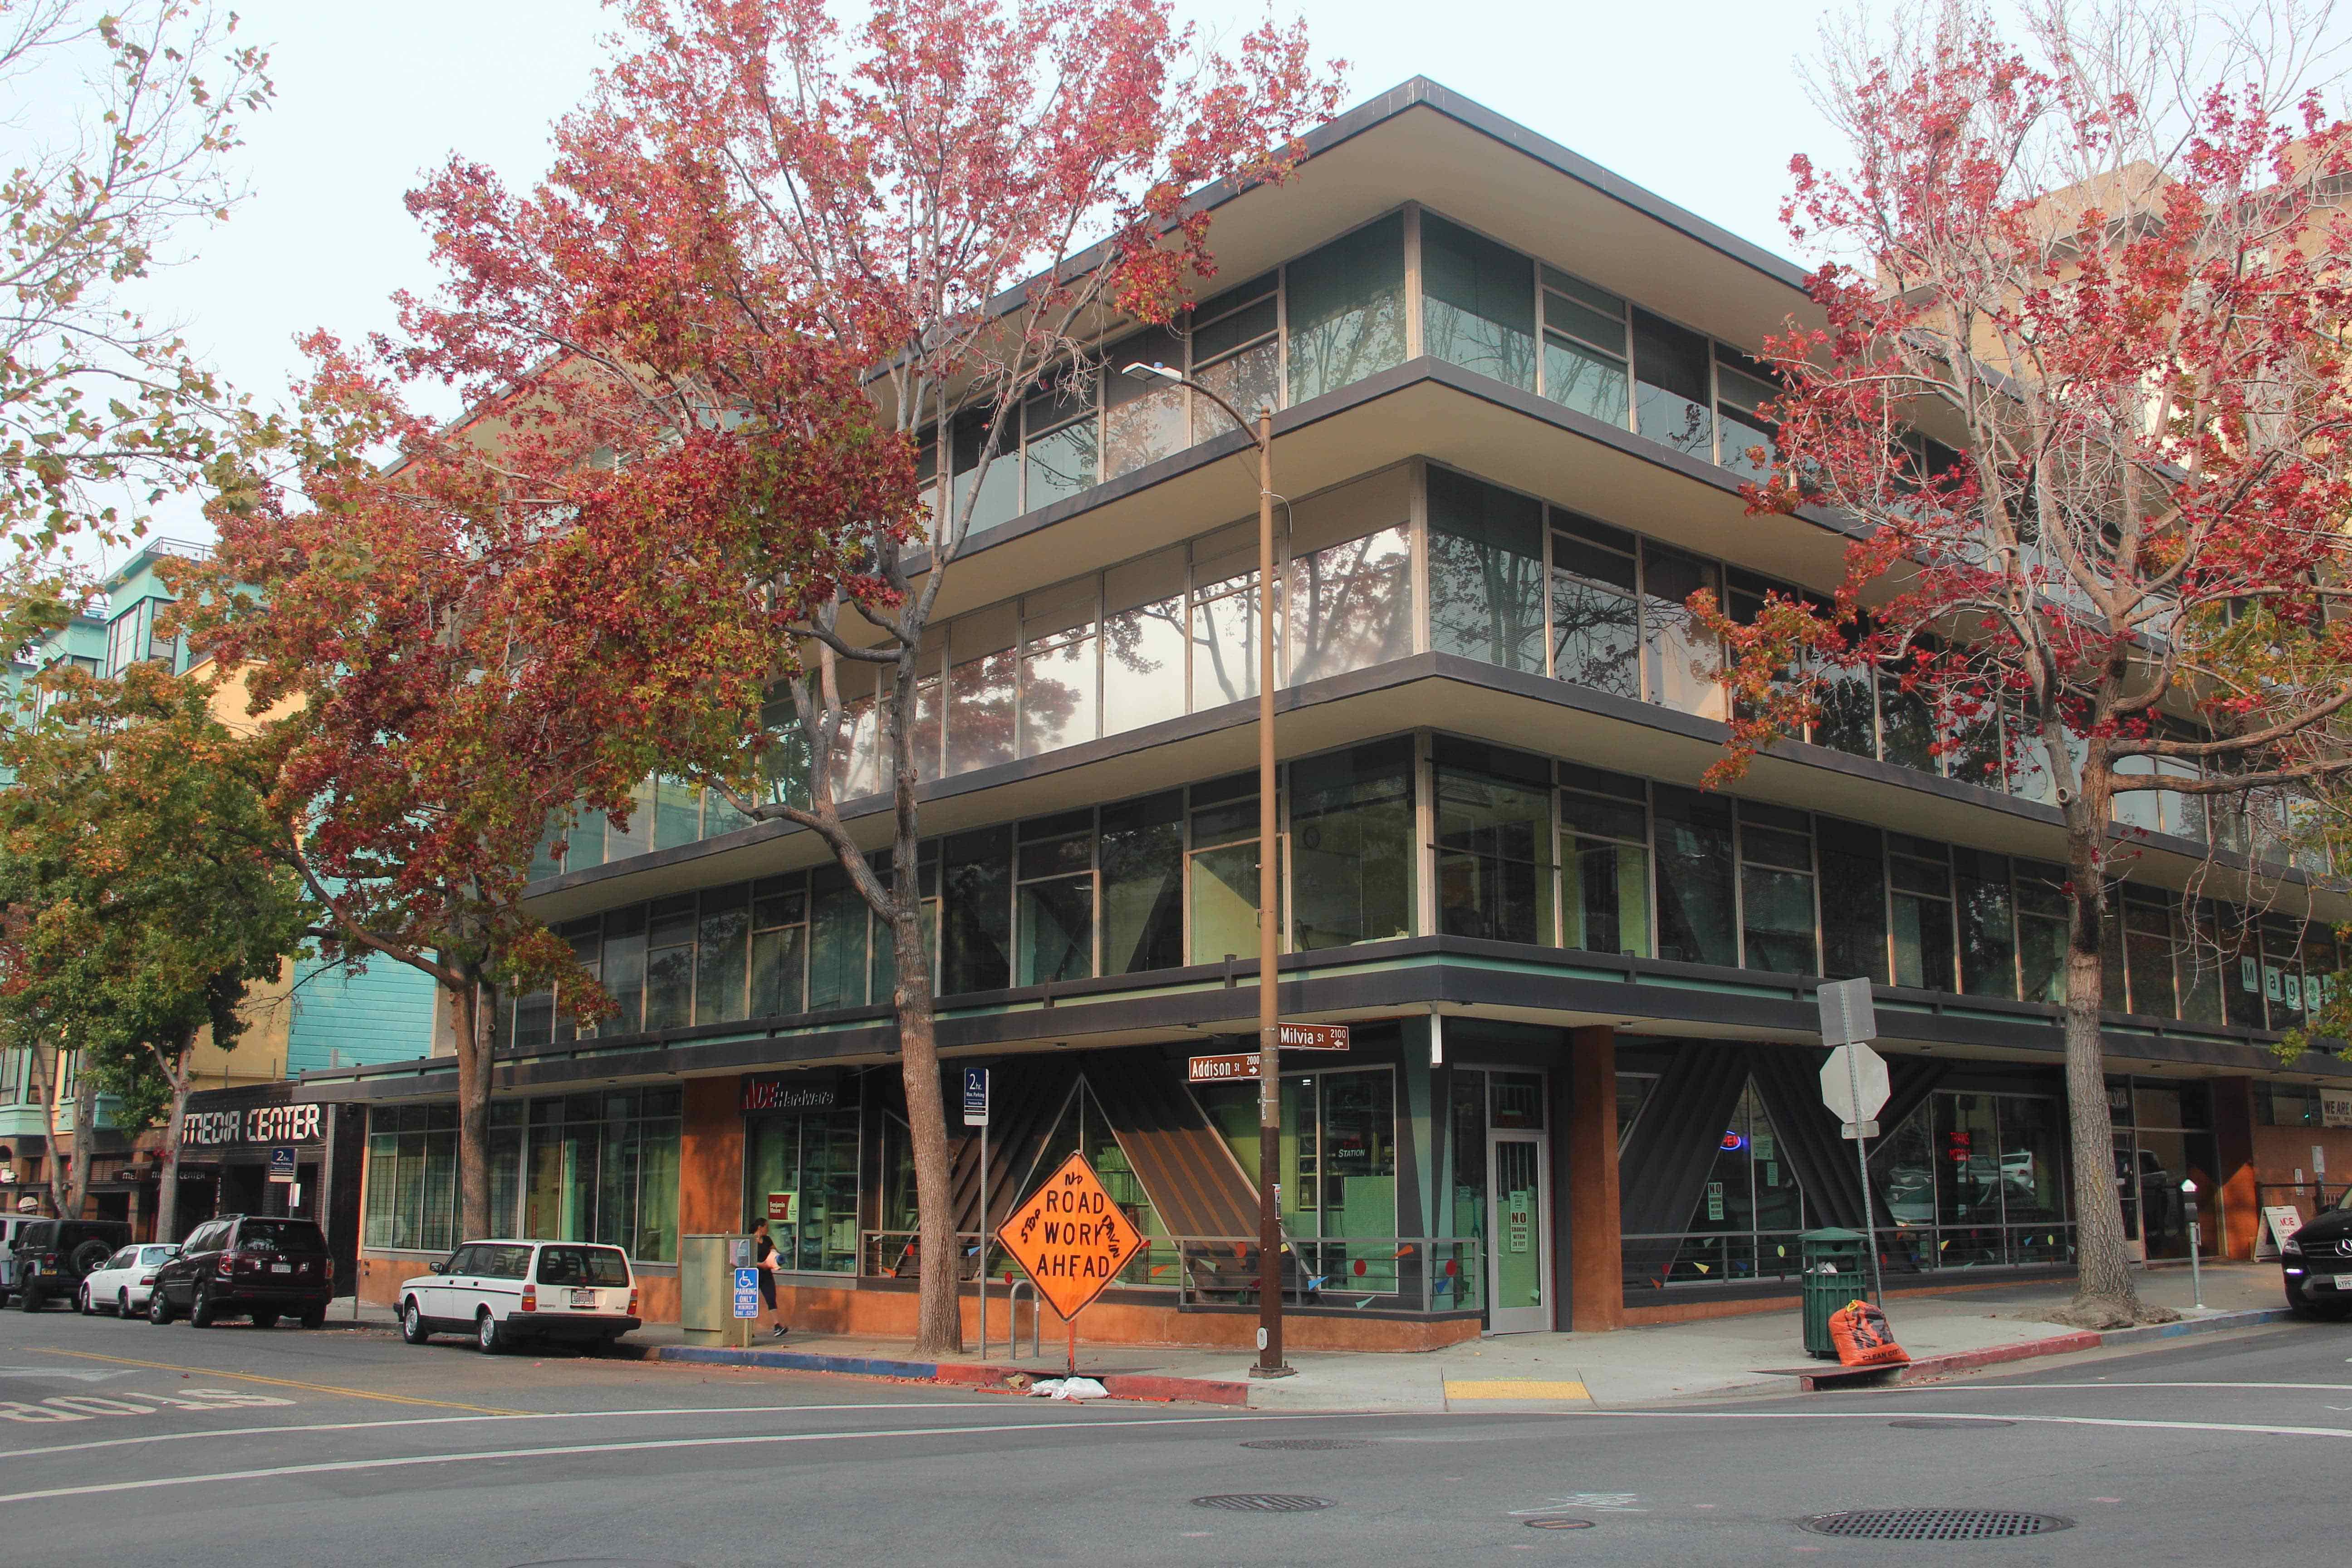
Source images
!Thank you!