Overview
In this project, we create image mosaics similar to a panorama. The way we did this was by taking multiple smaller photos of a scene, warping them into a single image, and stiching them together into a mosaic.
Shooting the Pictures
All photos were taken with an iPhone 7 during a trip to Lake Tahoe.
Recover Homographies
To recover homographies, we wanted to first calculate the transformation matrix H. In our case, we warped all our images to image 2, and so we had a unique matrix between image pairs (image1, image2) and (image3, image2). The way we dd this was by using the transformation function p' = Hp, and using 4 points that appeared in both images as our respective p values, and using least squares to solve for H. More specifically, the homography matrix we aim to solve for is this:

Warp the Images
To warp the images, we took our original image 1 and image 3 and warped them individually to align to image 2 with the H matrix that we computed previously. Here are our results in warping image 1 and image 3 to different perspectives.
 image 1 warp from a side view
 image 1 warp from a bottom view
 image 3 warp from a side view
Blend the images into a mosaic
With the warped images, we could combine them into a mosaic by overlaying them on top of each other and blending. Here are some images from Lake Tahoe.
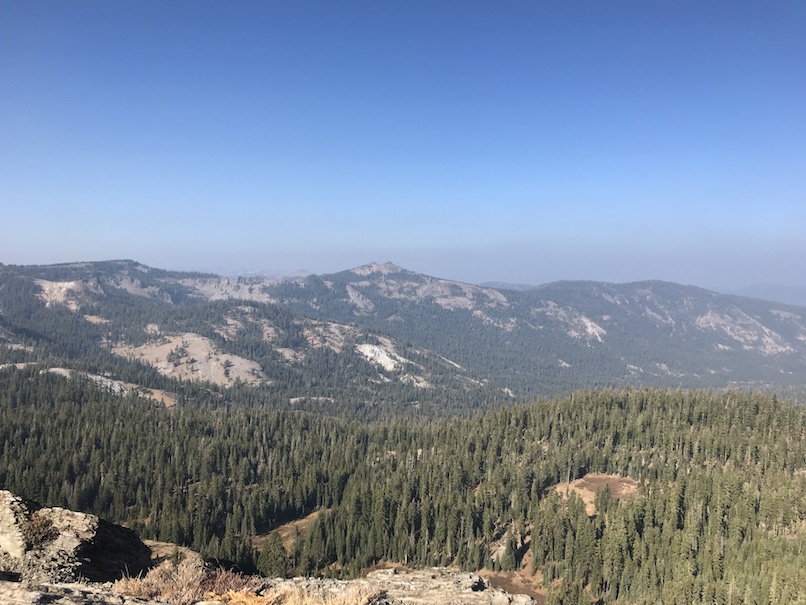 image 1
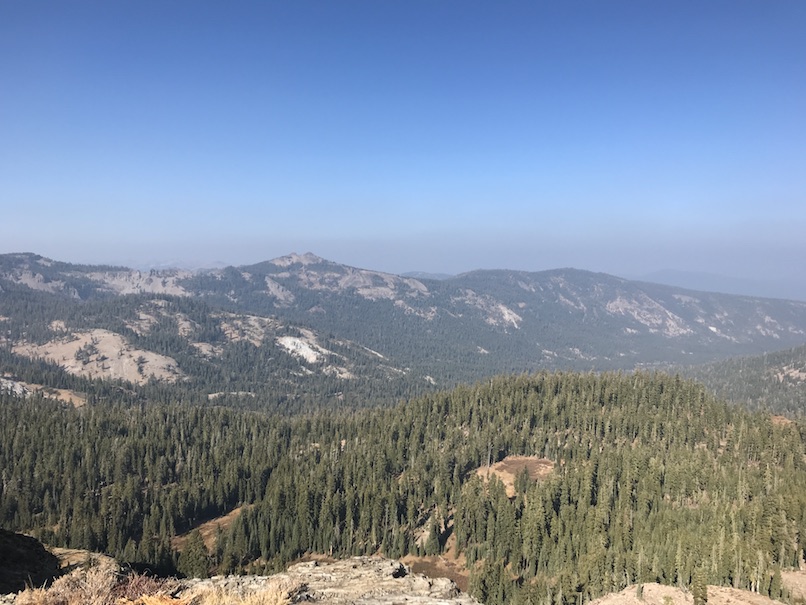 image 2
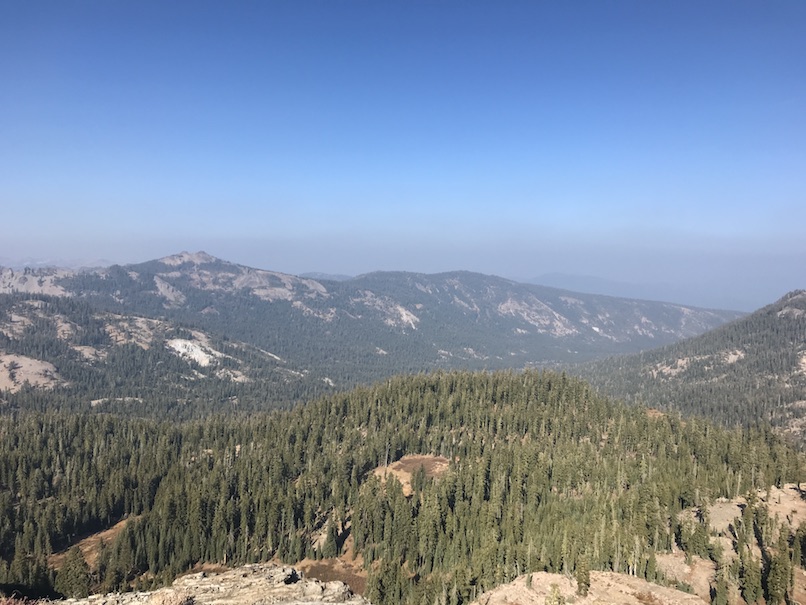 image 3
 mosiac
 image 1
 image 2
 mosiac
 image 1
 image 2
 mosiac
I learned in this project how to apply homographies to make an image mosiac, which was really interesting and made me really appreciate the creation of panoramas.


 auto
auto
 auto
auto
 image 1
 image 2
 mosiac