Part 1 & 2: Shooting Photos and Recovering Homographies
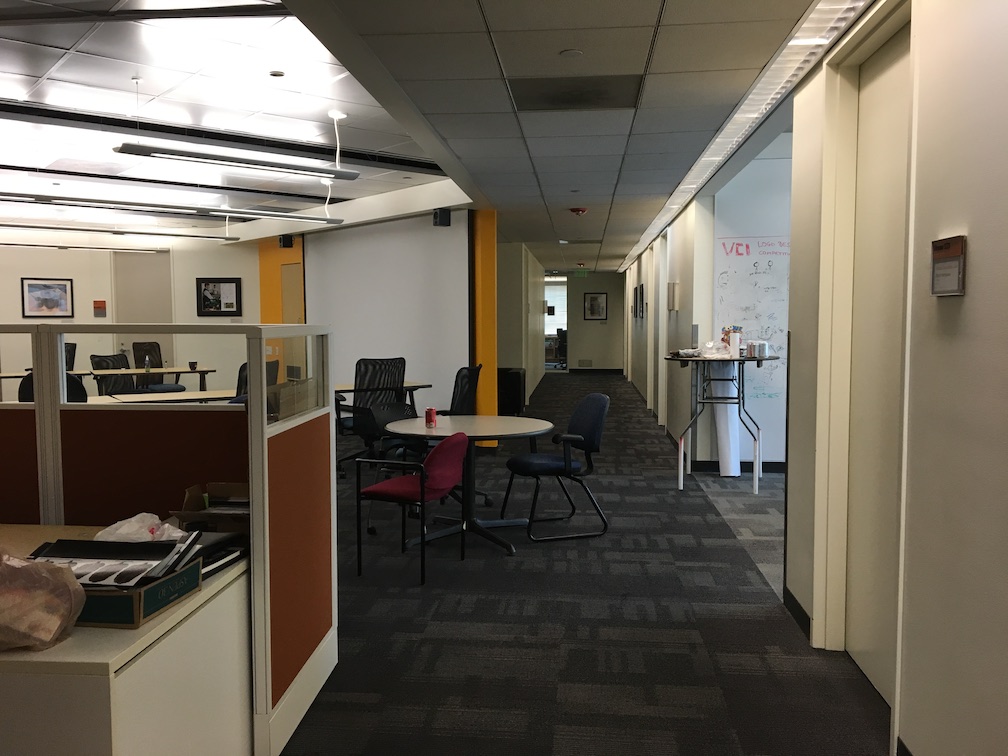
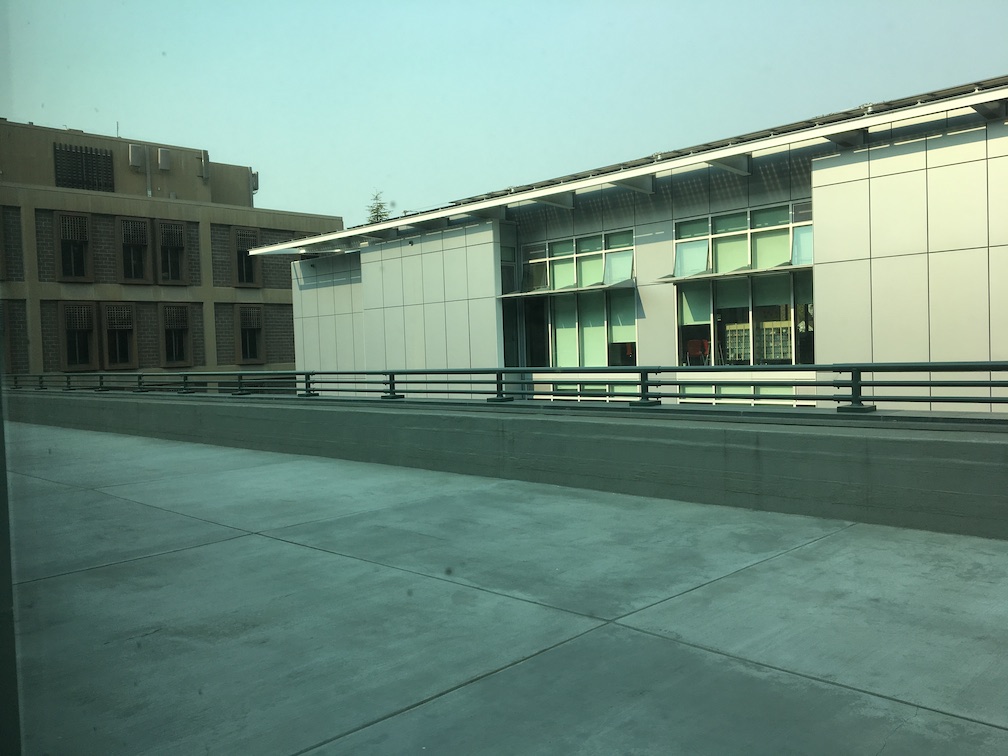
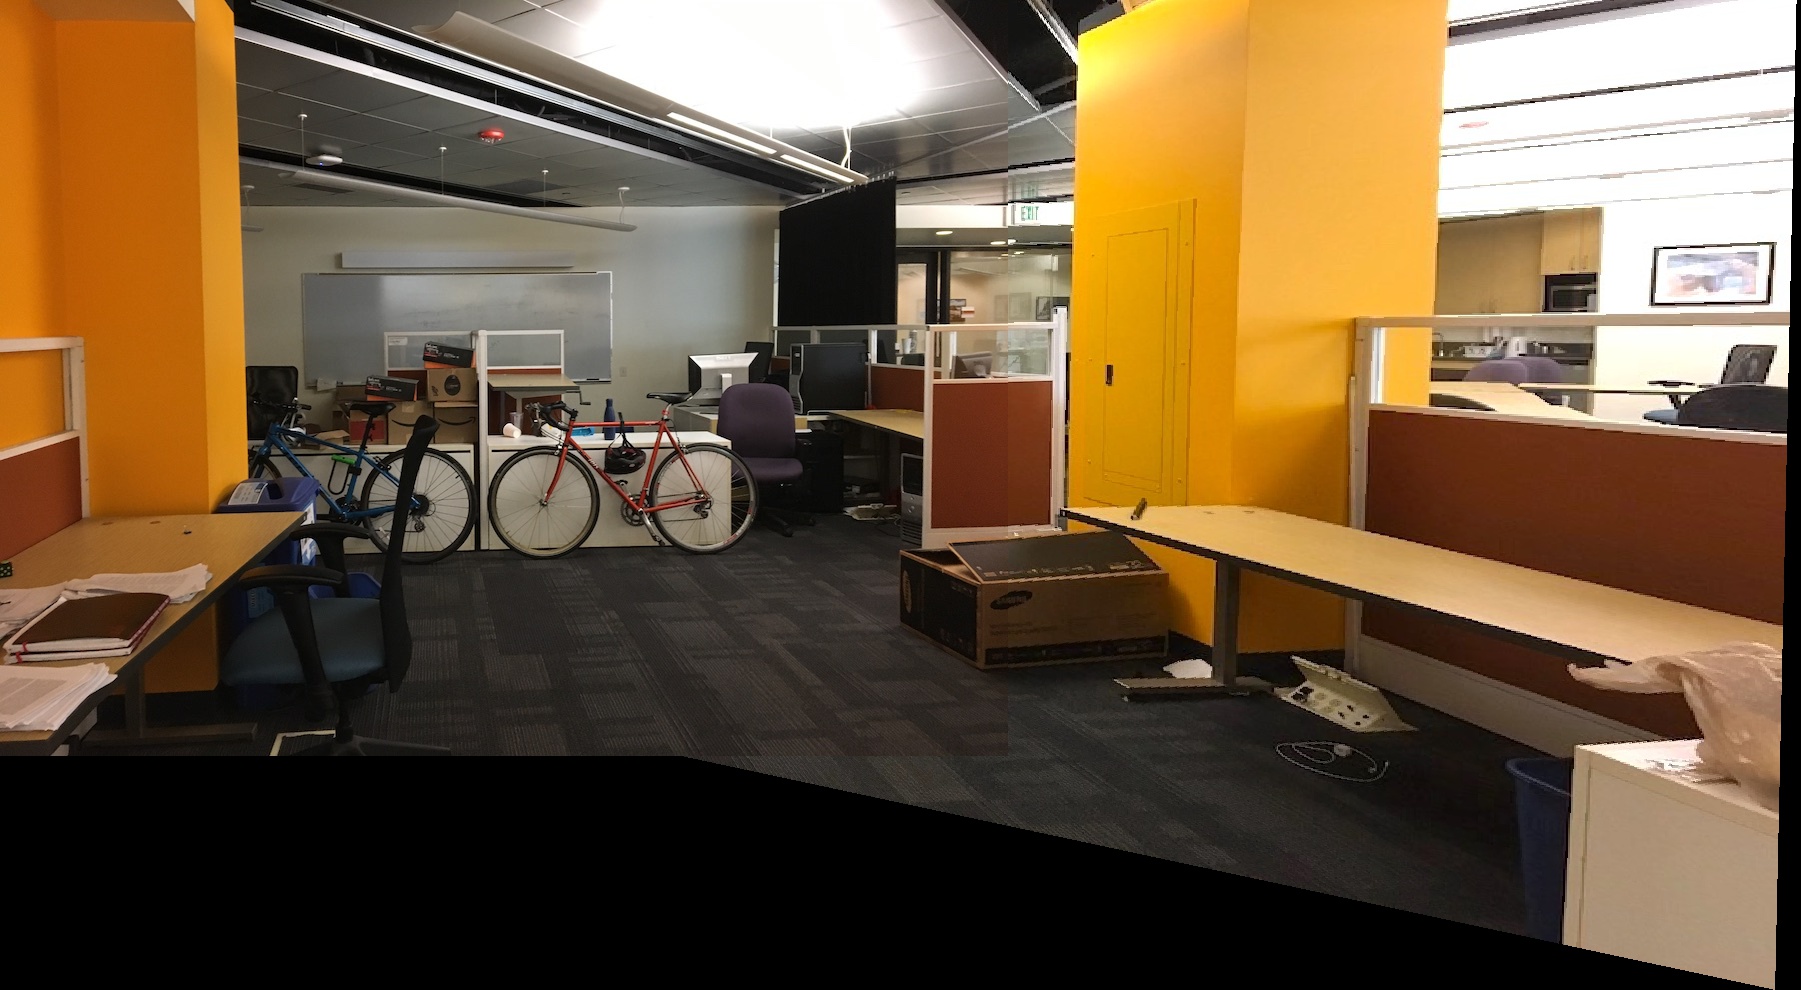
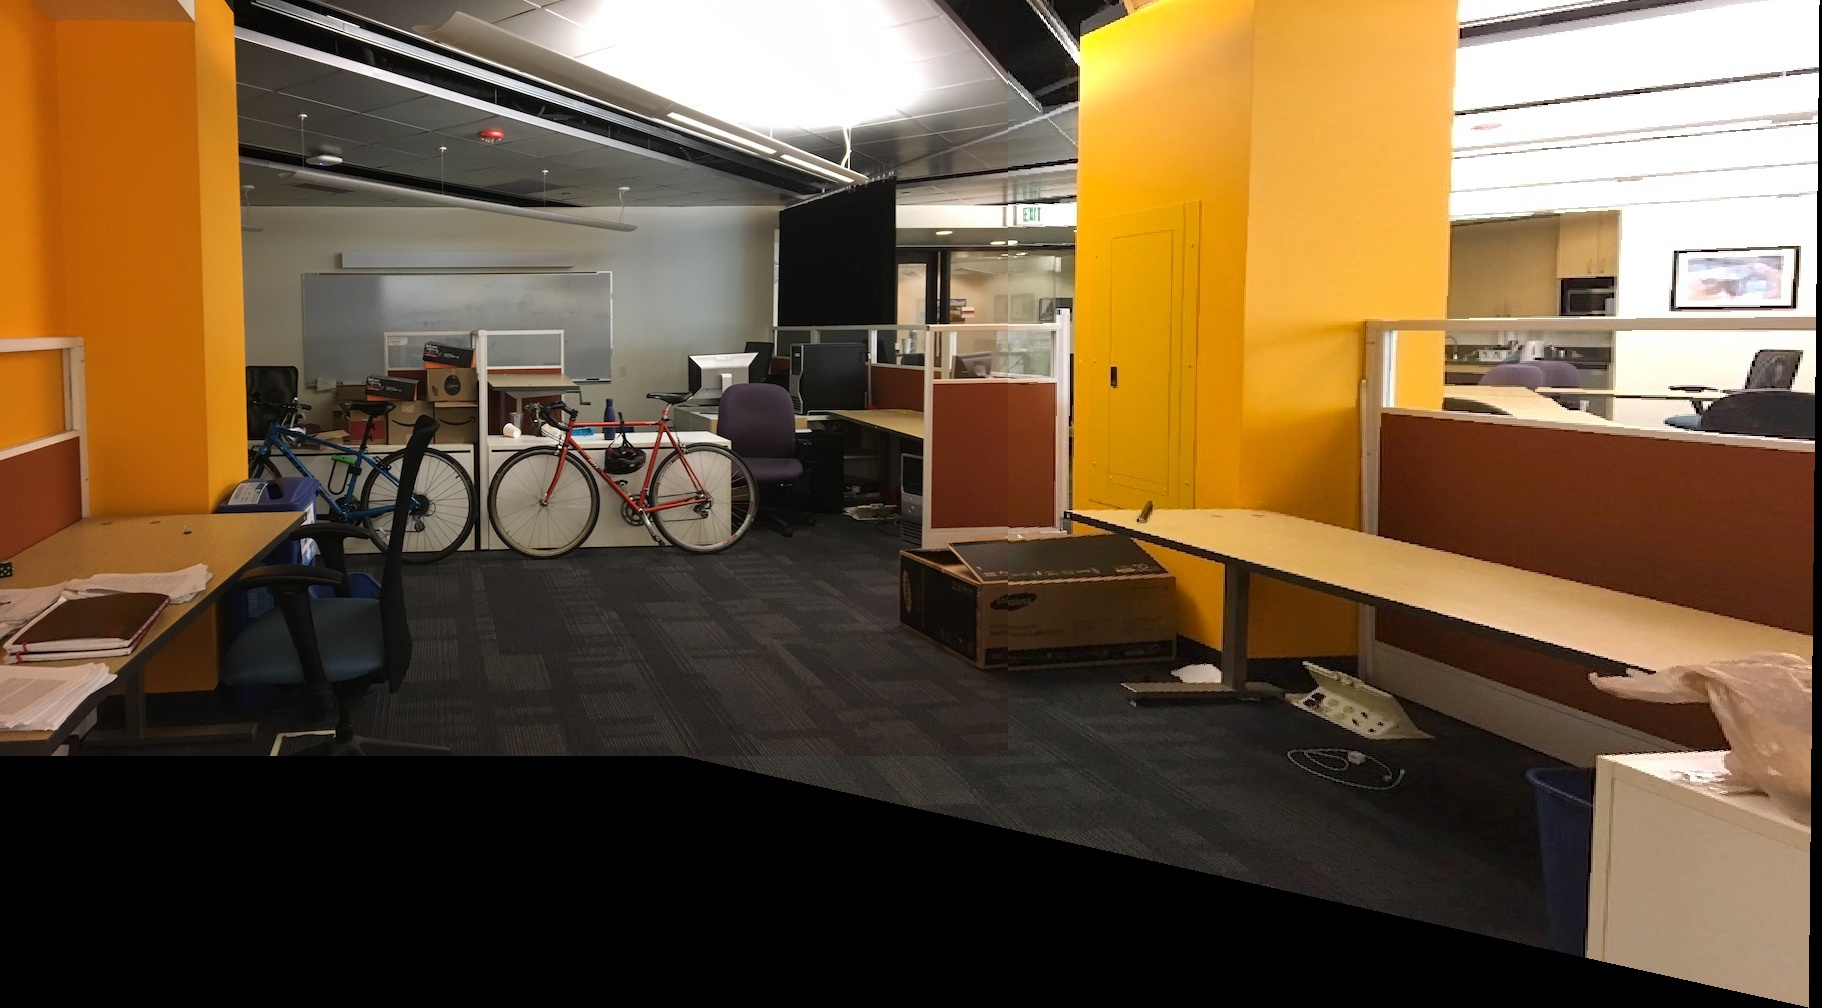
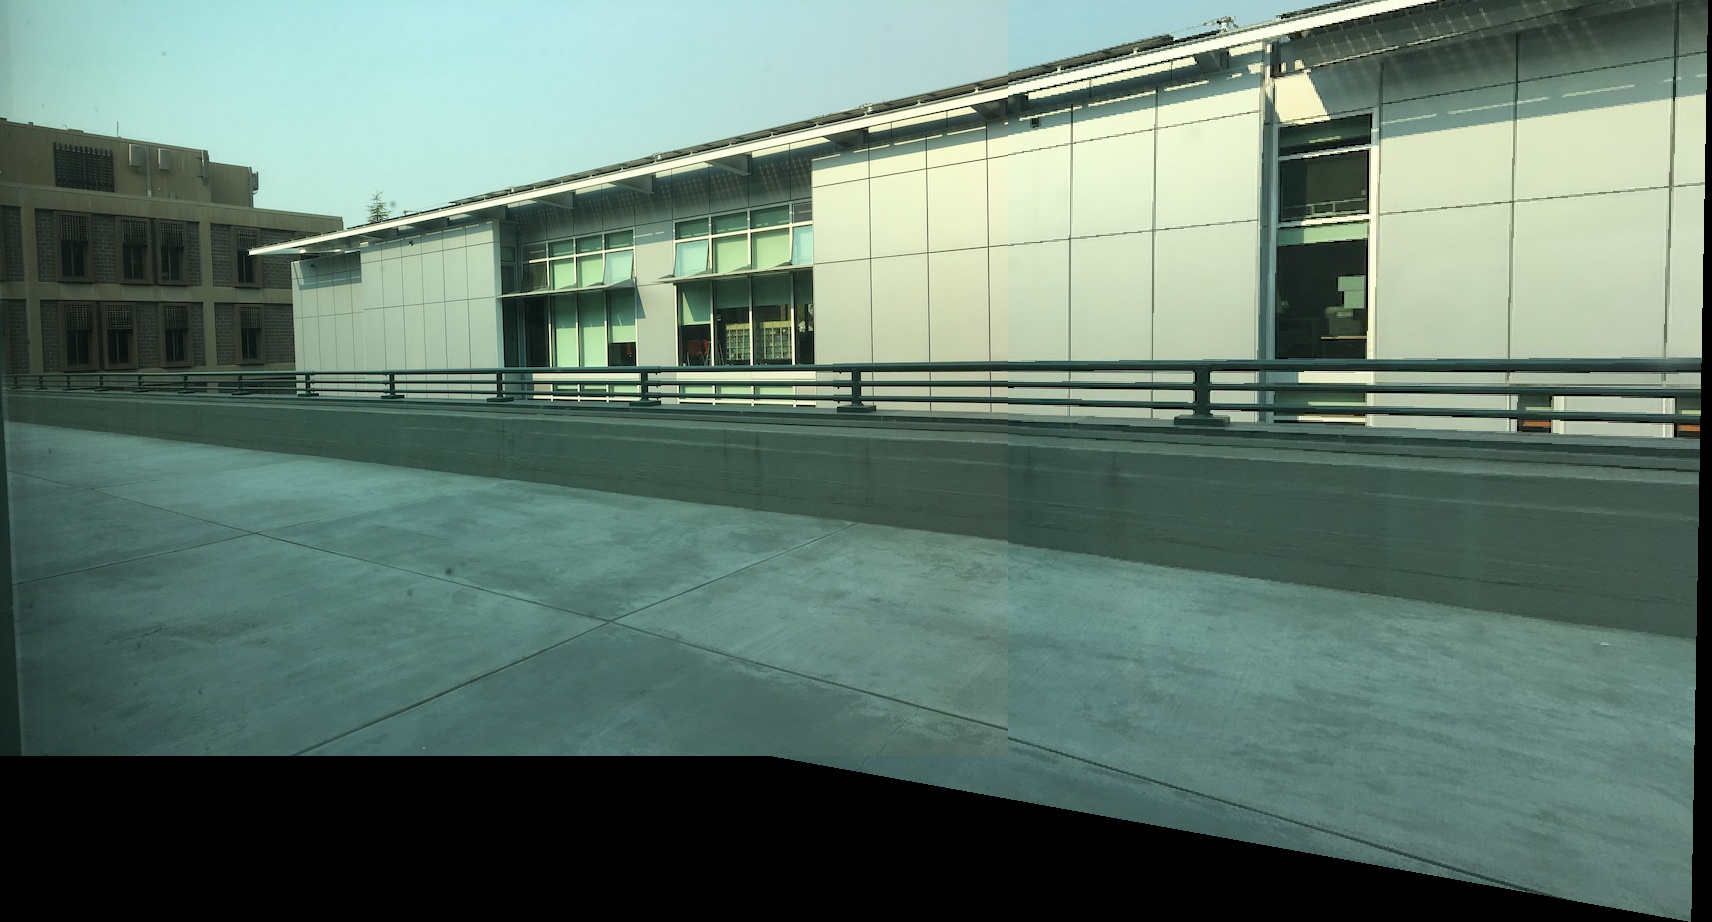
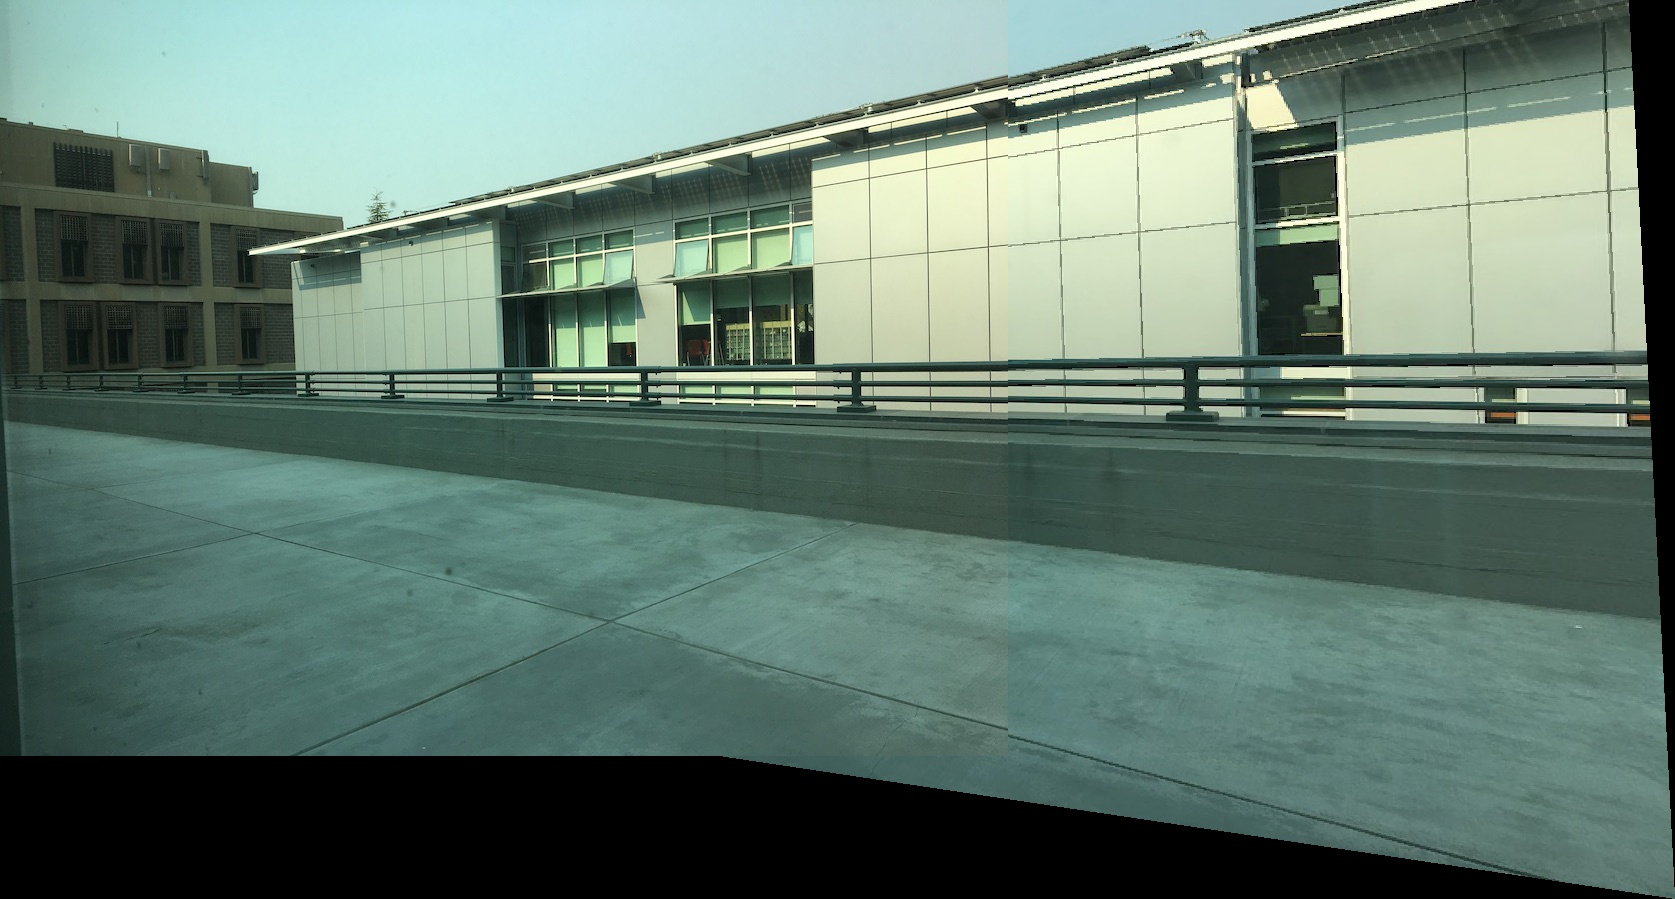
To begin creating our image warps and mosaics, we need to acquire some images! I took some pictures around Soda Hall, as well as outside of Algorithm Coffee on University Ave. For the pictures inside VCL and looking out at Jacobs, I forgot to heed the warning about locking AF/AE on iOS -- hence, you can see the lighting changes between the left image and the right image when they become mosaicked together.
However, I did make sure to not translate the camera while taking the photos -- since my scenes were not necessarily planar nor at distance infinity, a translation would have revealed too much depth in the scene, thus ruining the mosaic.
I used the same pictures for Project 6A as I did for 6B, so all of this still applies!
To recover homographies, we follow a similar method to in Project 4. Given an Image A, Pts A, Image B, and Pts B, we would like to compute a warp that allows us to (in my case) warp Image B "into" Image A. To do this, we can solve linear least squares between points A and B. I used the equations shown below:

New to this part of the project is how we acquire the points for Image A and Image B. In Project 4 (Face Morphing) as well as in Project 6A, we had to manually define these correspondance points. This means a lot of clicking! We'd like a way to find such points automatically. This is the focus of Project 6B, and will be discussed in the following section.
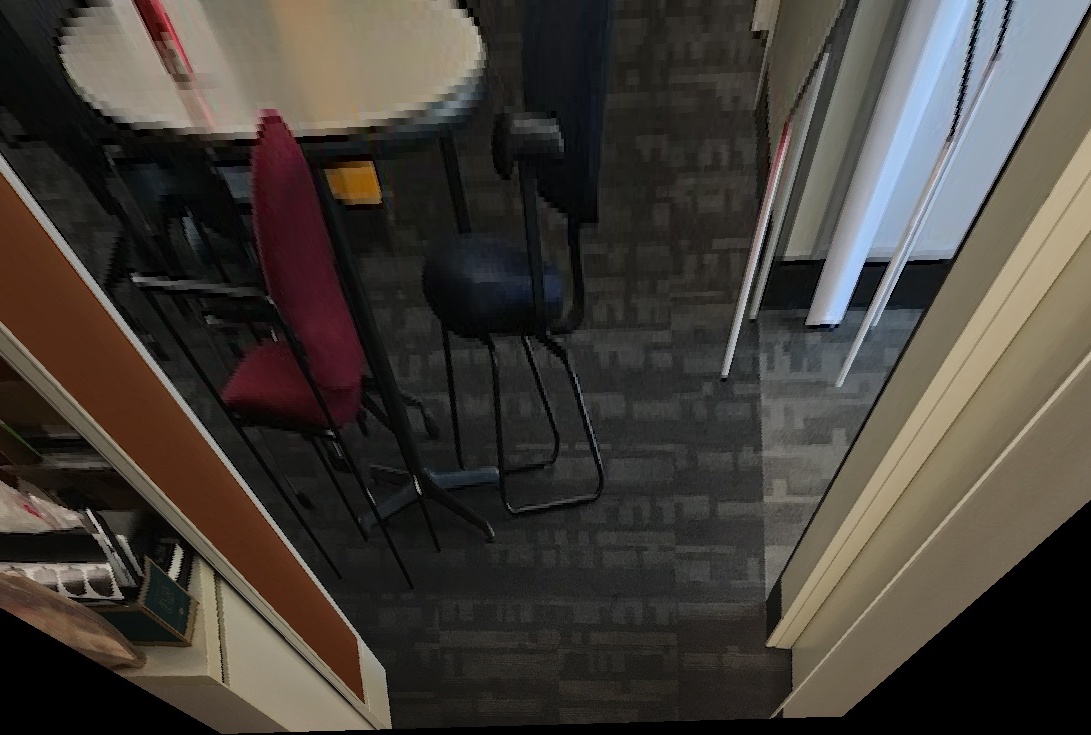
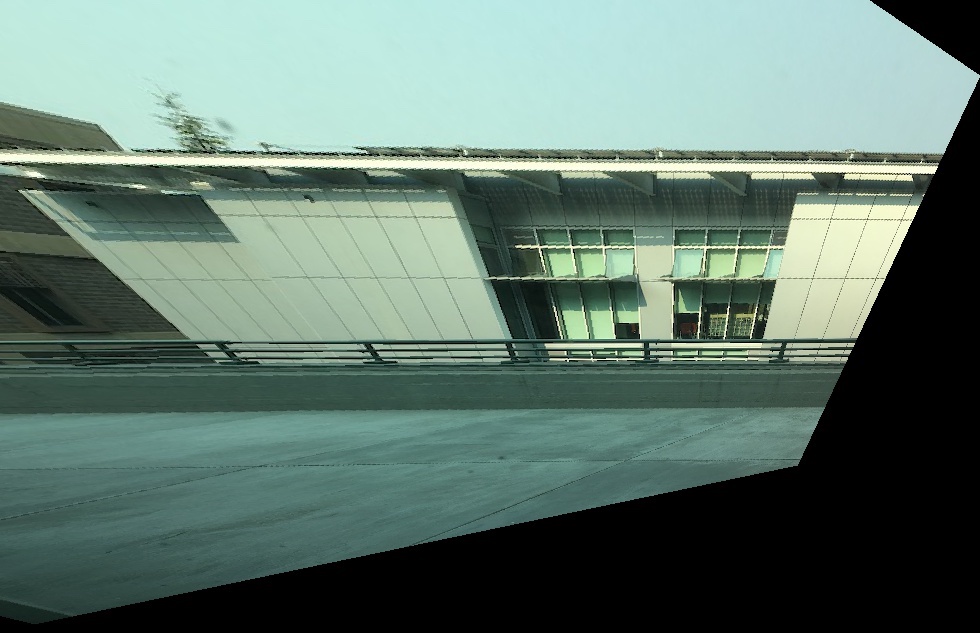
However, assuming we have some set of points in Image A, and some corresponding set of points in Image B, we'd like some way to confirm that our homography is accurate. Rectifying our images is a good sanity check for this! Rather than taking correspondance points from another photo, we take something that we know should be planar in our scene -- the wall, floor, etc -- but that has been tilted due to the angle the photo was taken at. Then, we can rectify it such that we are looking at the indicated plane head one. If we chose the floor, for example, we would then warp our image into one where we are looking directly down at the floor, rather than at some grazing angle.
I picked correspondance points of what should be a square/rectangle on the following original photos, then hand-defined rectangular coordinates to warp into.
Part 3: Automatically Finding Correspondance Points
First, we will follow steps from the paper 'Multi-Image Matching Using Multi-Scale Oriented Patches' by Brown et. al. The first step is to use a Harris corner detector to gather many potential "points of interest" from our image. The Harris corner detector yields points that have significant x and y gradients -- we call these "interest points", since the large gradients indicate that something "unique" is going on in that spot. For example, a plain flat wall should not "trigger" the detector, since there is not large changes in either x or y; this is also not a clear and unique point of interest.
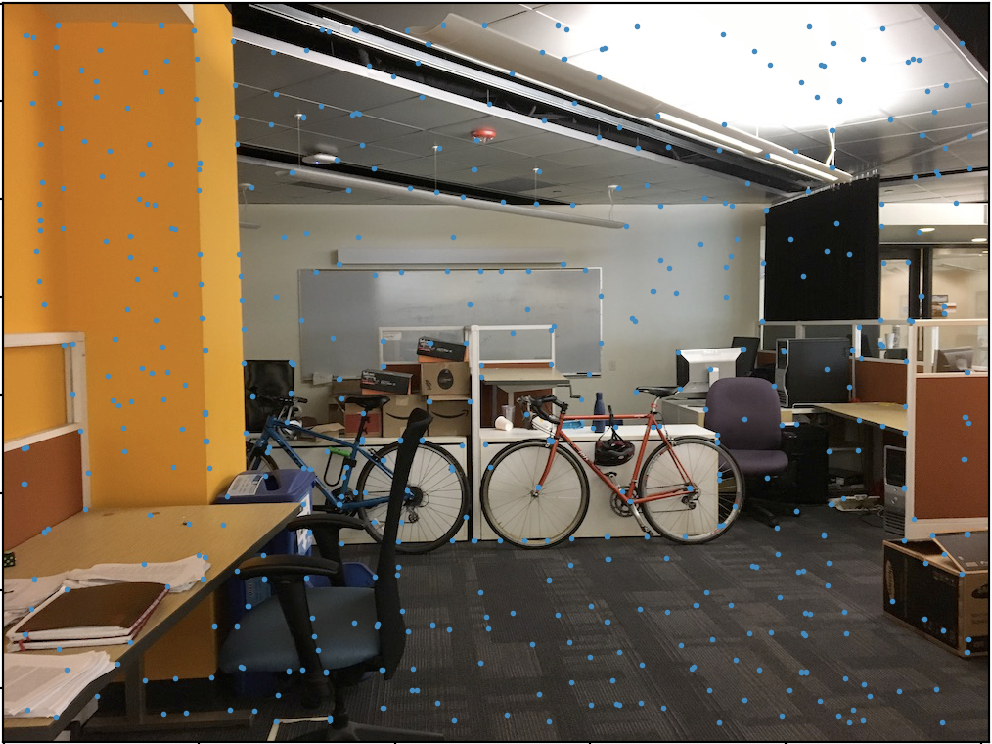
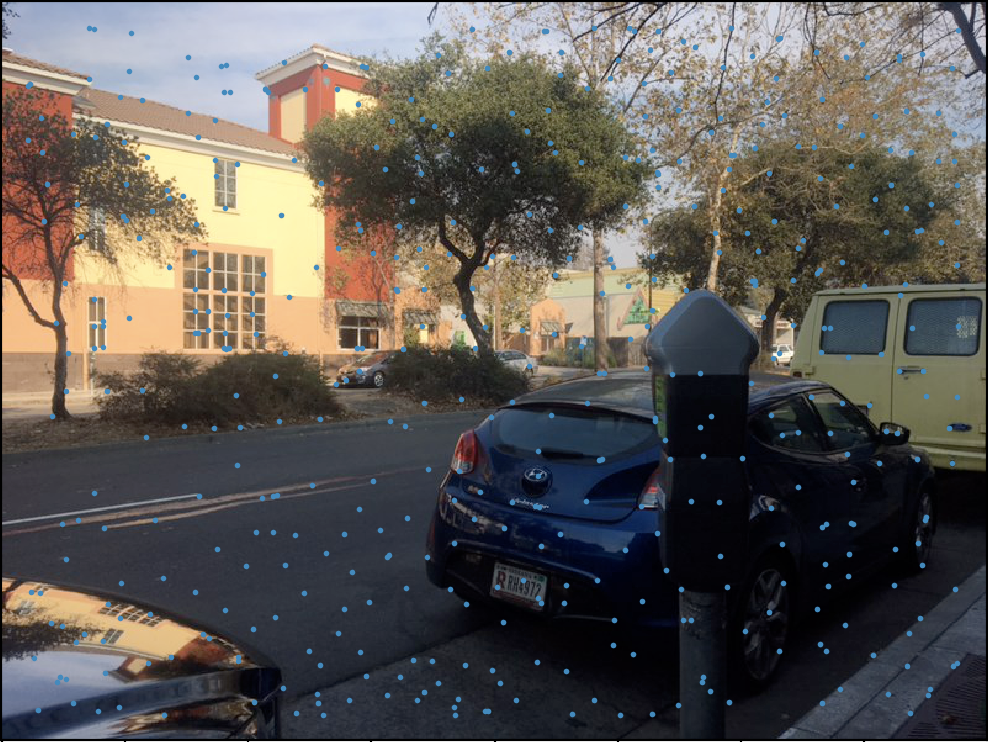
This method can yield many points of interest, so how do we figure out which ones to actually use? We might want to take the top N "strongest" corners, but this doesn't work out too well. See the following images, where N=500. Corners are marked with blue dots -- sorry for the poor contrast!
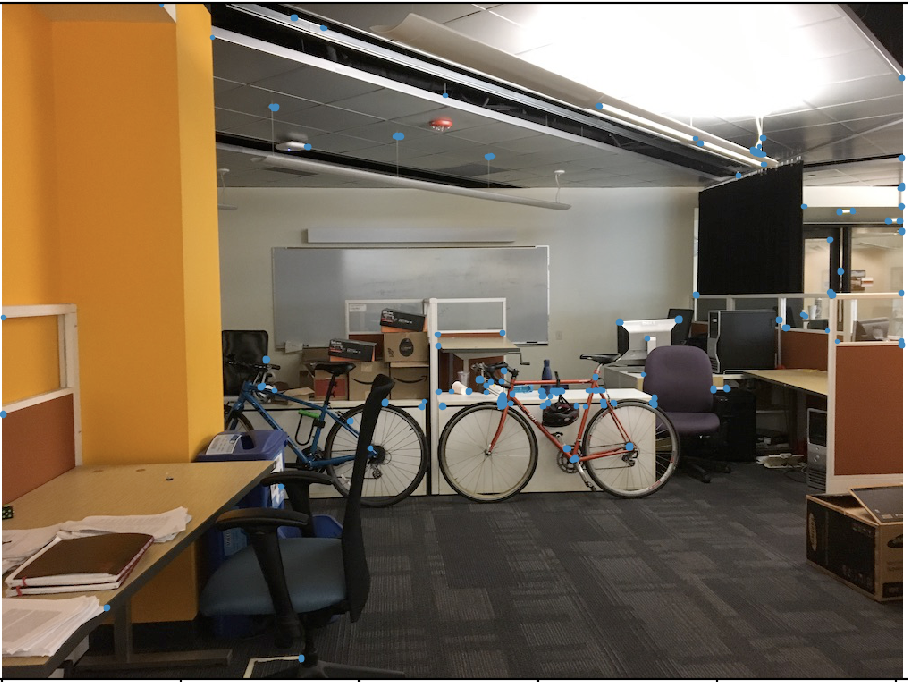

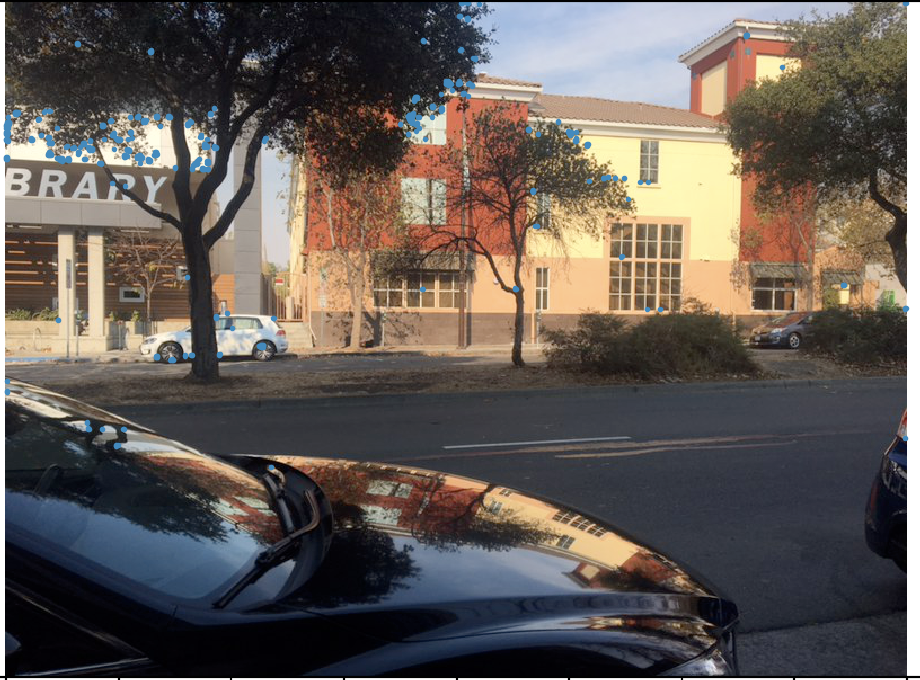
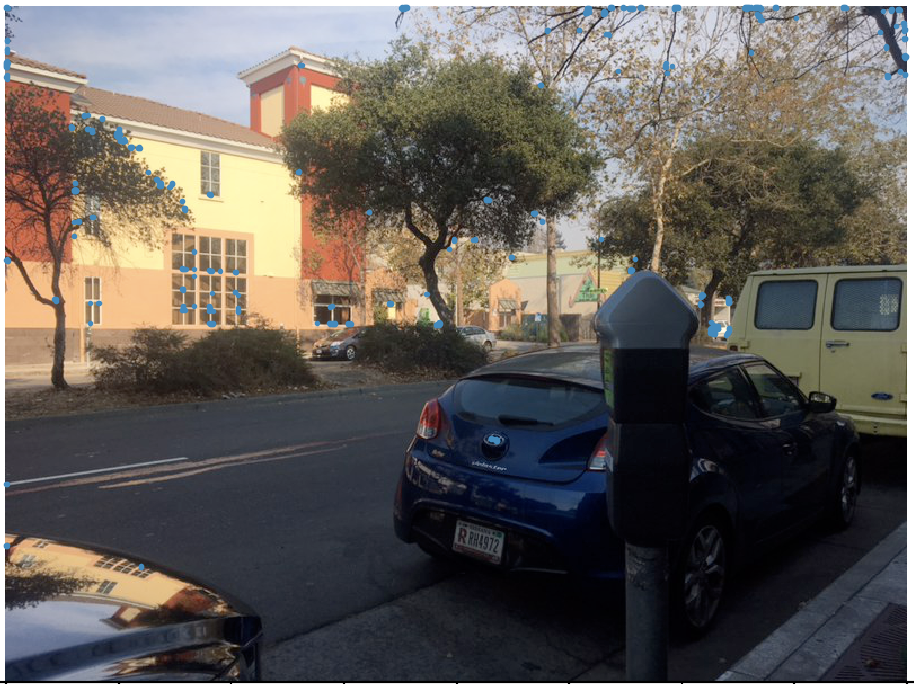
So, why doesn't this work well? Our corners are far too clustered! The "strongest" corners tend to cluster around the very corner-y locations, and this will yield poor homographies and warps. We'd like to find a way to distribute our interest points more evenly throughout the image.
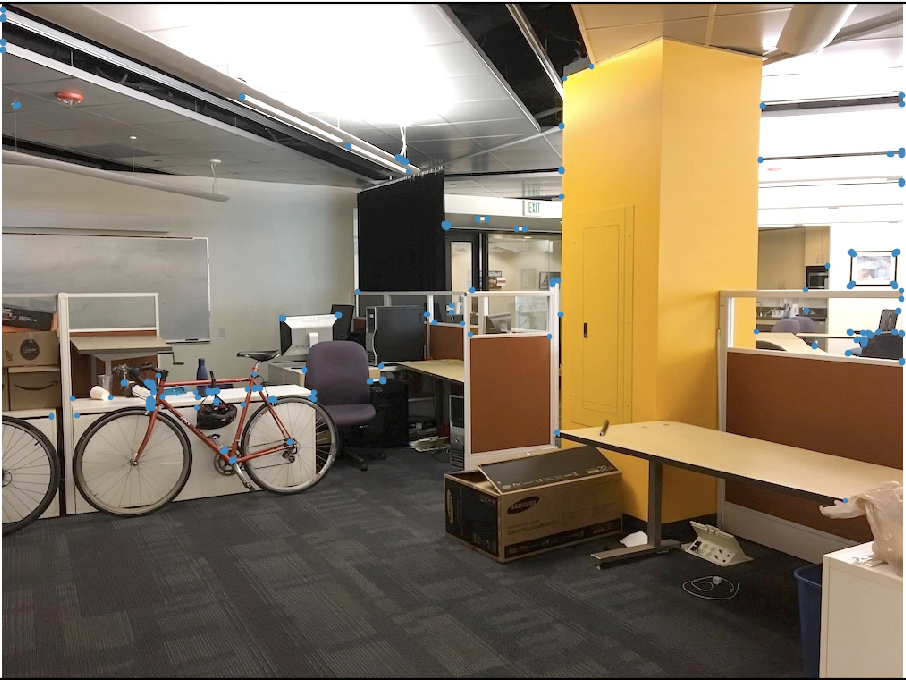
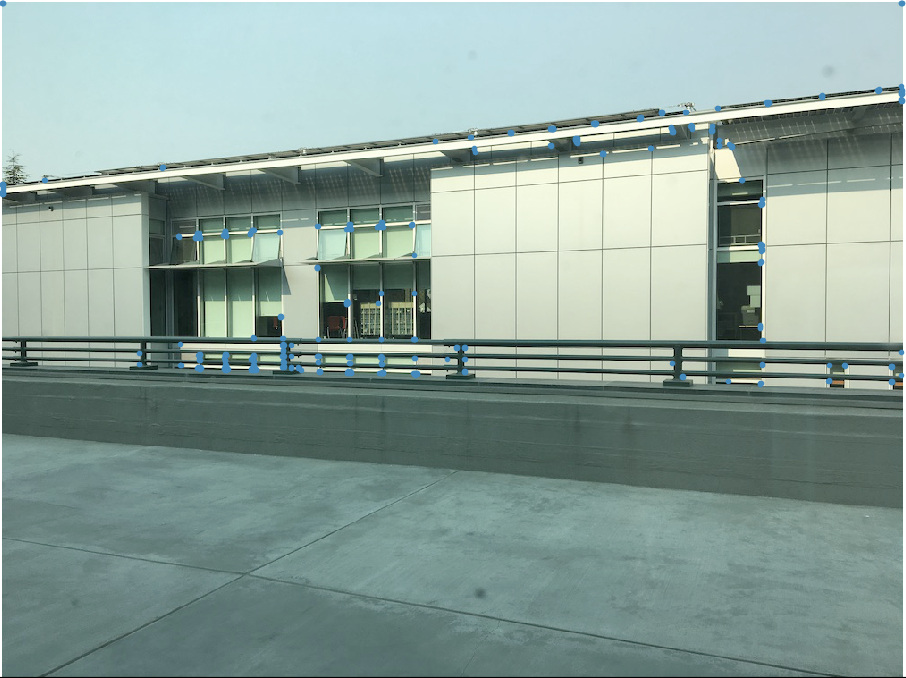
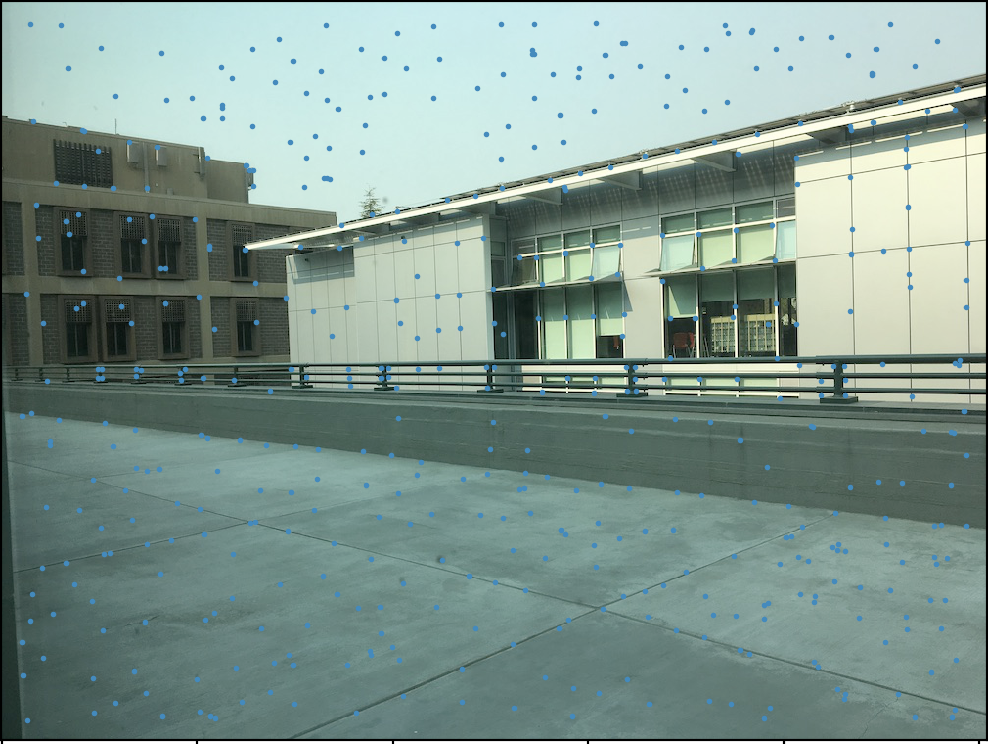
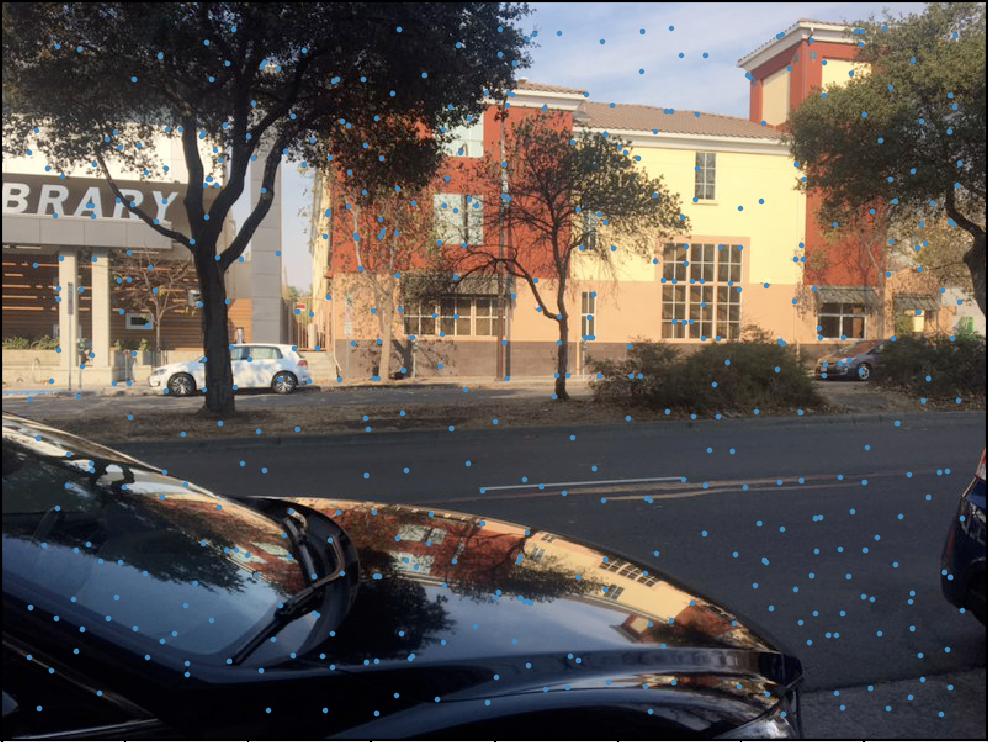
To accomplish this, we will use the method known as 'Adaptive Non-Maximal Suppression'. Basically, this involves picking the strongest interest point per each radius value. As the allowed radius shrinks from infinity to 0, we allow our interest points to be closer together. We also want to make sure that neighboring points are especially strong; thus a neighboring point j to point i must be significantly stronger to suppress point i. When we apply this method, we get much better results!


Finally, once we run the above steps on two images that we want to mosaic together, we'll have to figure out which interest points in Image A correspond to which points in Image B. To this end, we can extract features from the image patch around each interest point, and use a simple SSD calculation to match patches together.
For feature extraction, I took a 40x40 region surrounding the interest points, then downsampled these to 8x8. We would also like to standardize these patches to make them more robust to gain/noise. For feathre matching, we compare each feature in one image to every feature in the other image. We compute the best and second best matches, as well as the ratio between them. We want this ratio to be very small; if it's not, this implies that one feature matches two features in the other image approximately the same amount -- which means it's probably not a great match for either. This method yields matches such as the following.
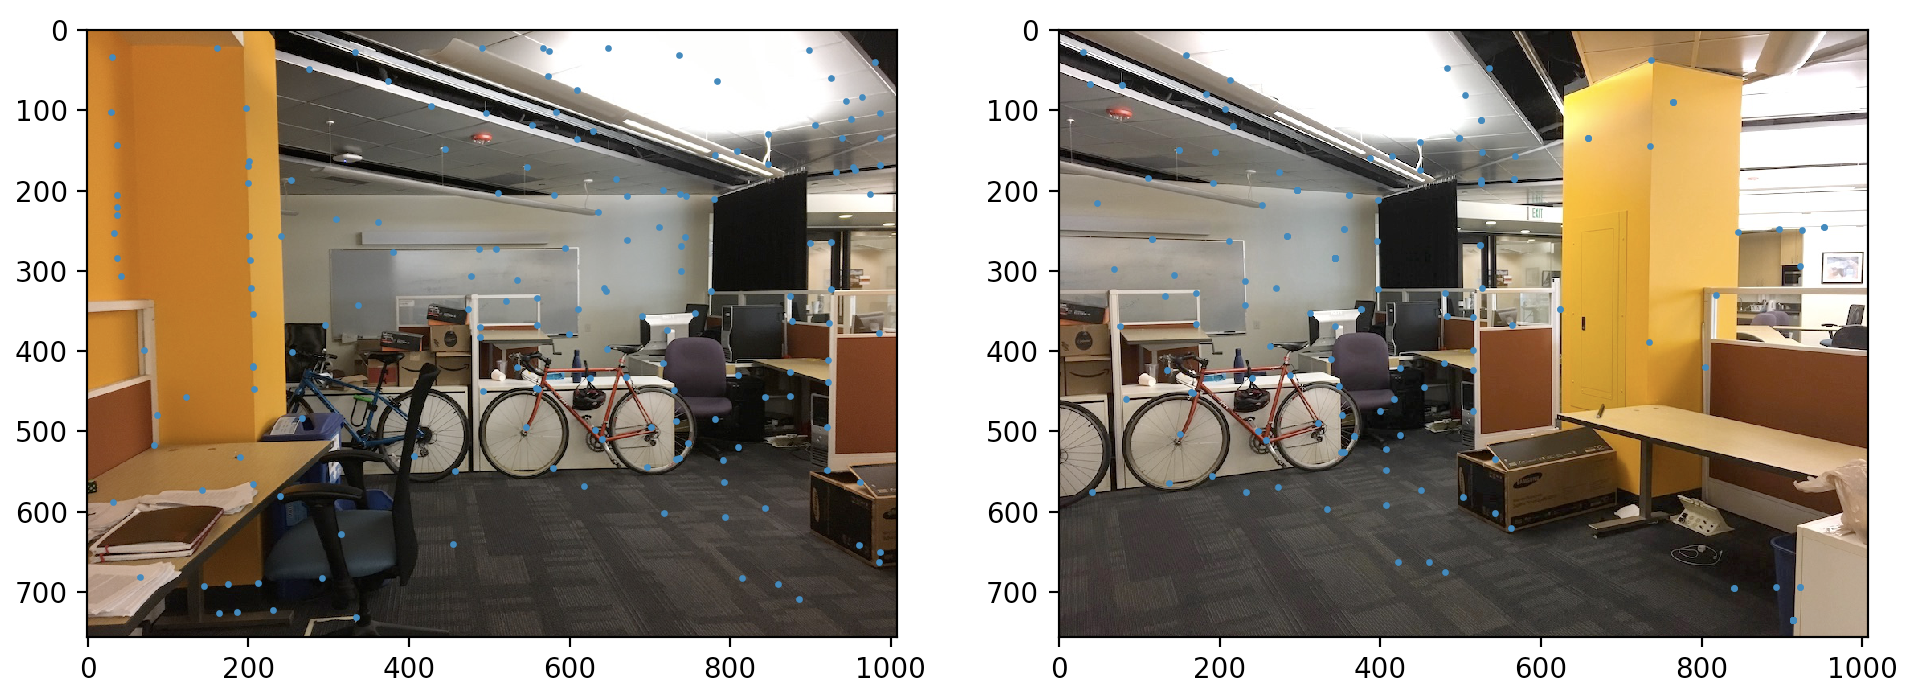
Note that this is still not the best we can do -- there are several points in the left image that don't correspond to anything in the right image! This brings us to RANSAC.
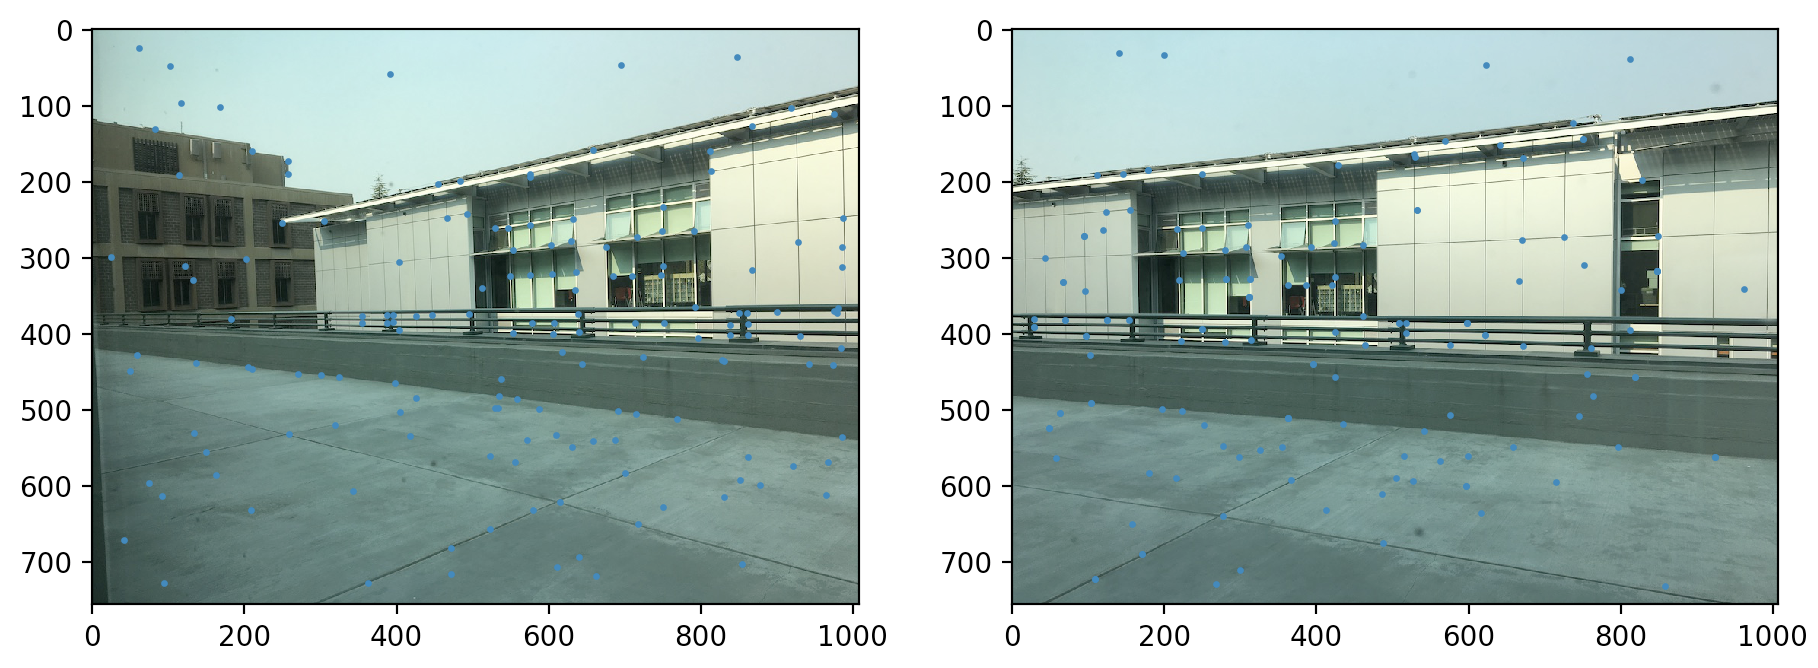
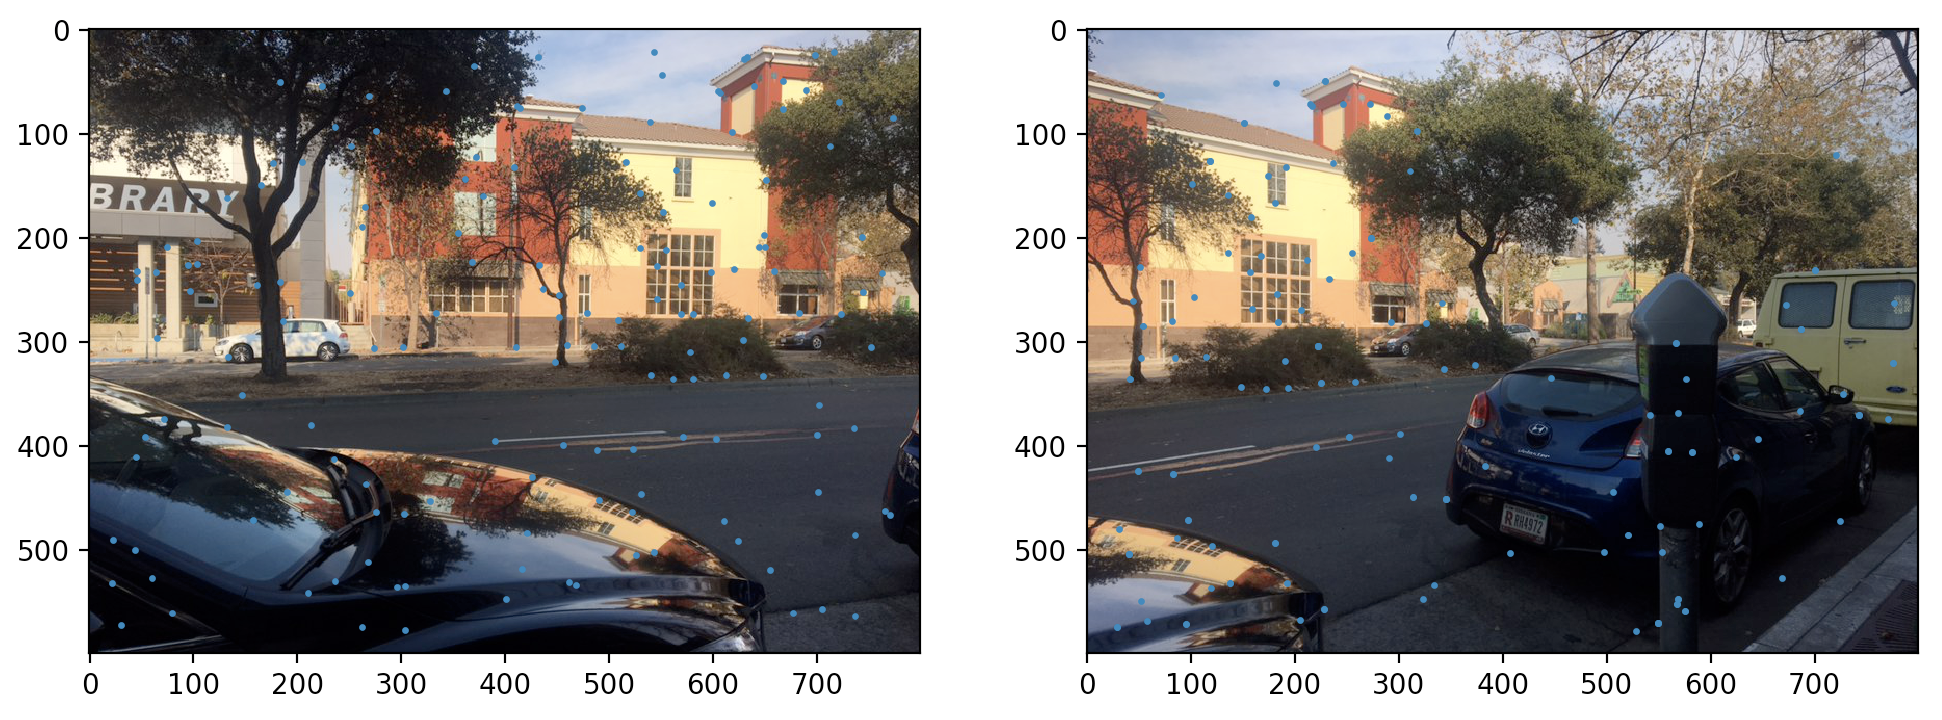
RANSAC, or RANdom SAmple Consensus, allows us to find the largest set of "inliers" -- points that "agree" with each other on their transformation. The method is relativey straightforward -- given a large set of points from ANMS, we randomly select 4 points, and use these points to compute a homography. We use the same computeH function from Project 6A! Once we have this homography, we apply it to ALL points in Image A, which should then yield corresponding points in Image B. We see how many of these are actually close to the points in Image B (using SSD, or your favorite distance function), and store the largest number we can find as our "best set of inliers". We can loop this process some large number of times (500), then compute a "true H matrix" based on the set of inliers. Then, we can just use that H to warp our image, exactly as in Part A -- all without clicking our image even once!
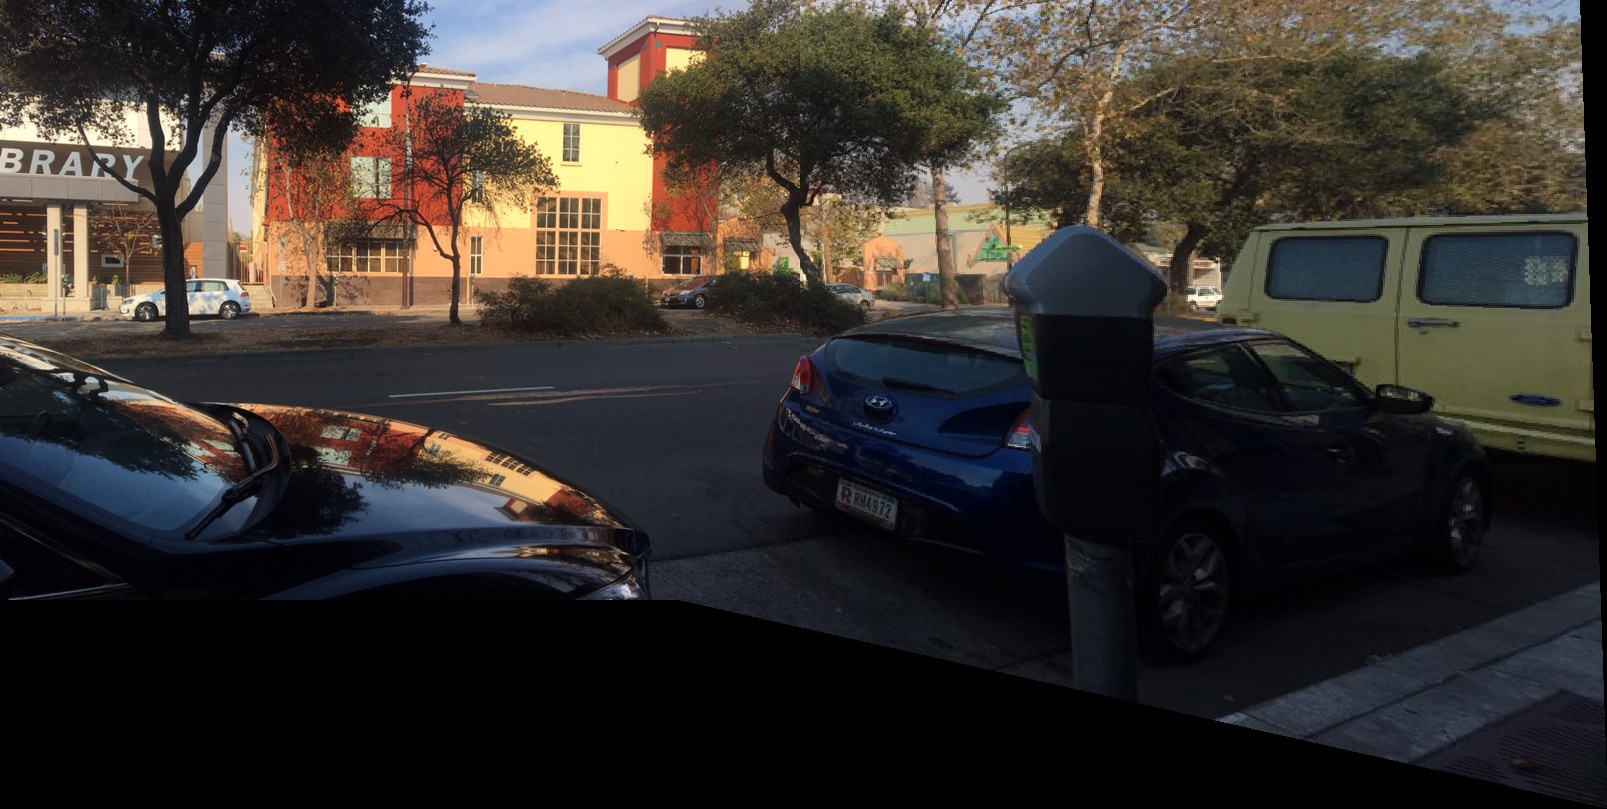
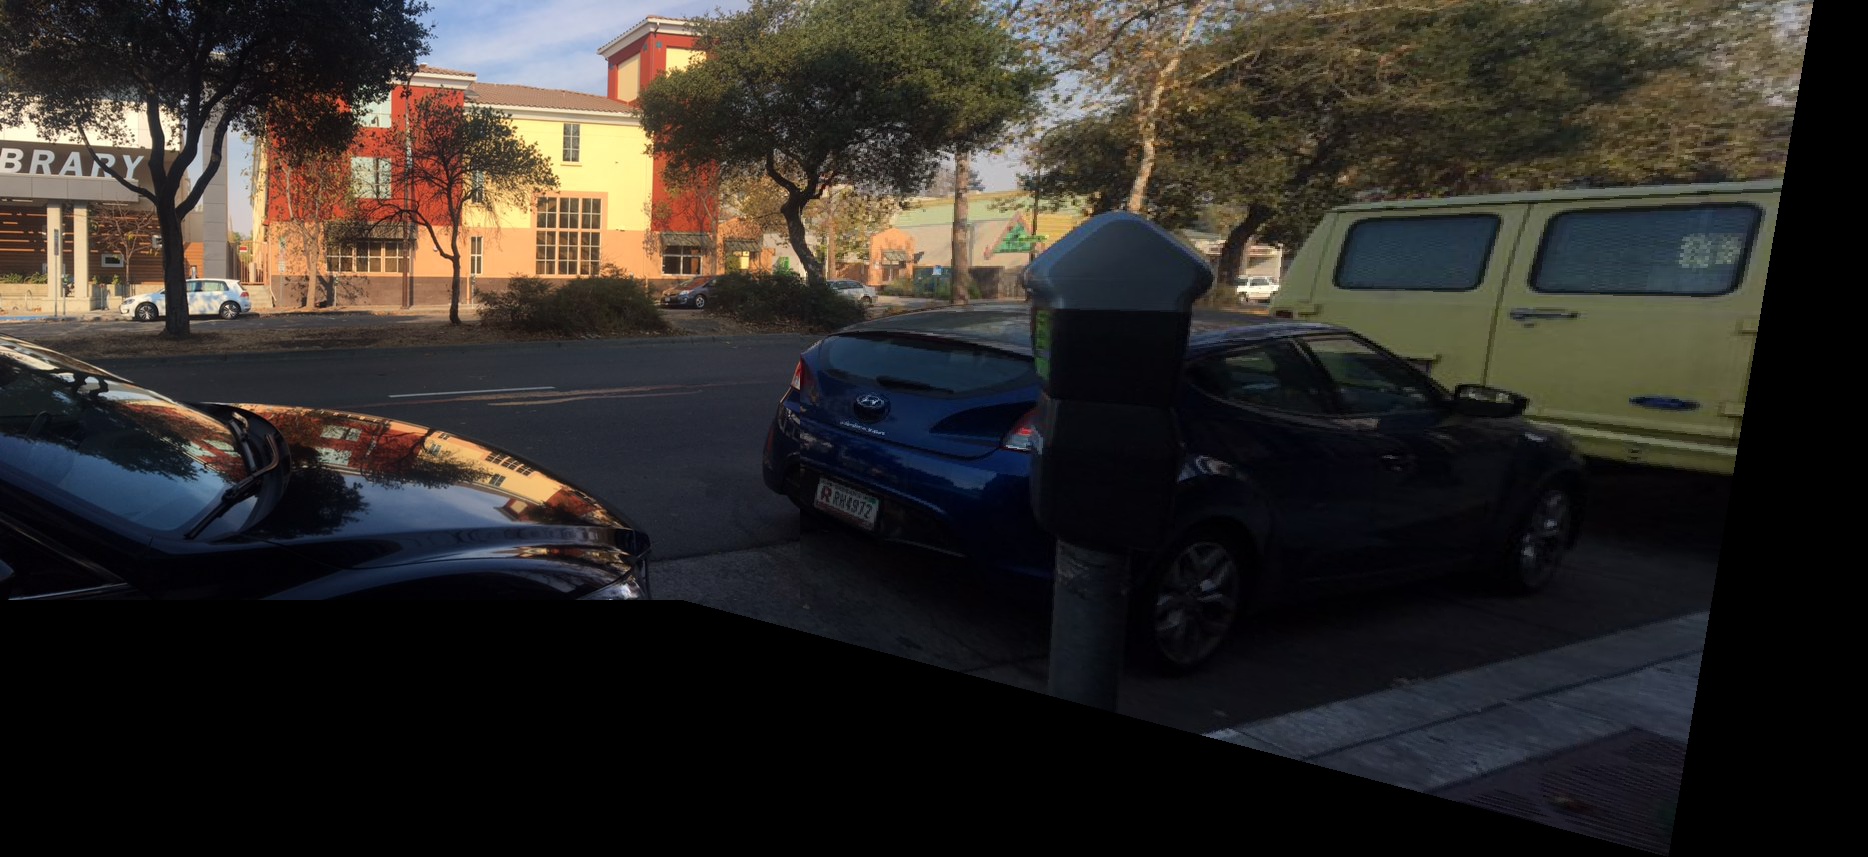
Here are the results, side by side. I still did not implement any kind of blending when it comes to actually mosaicking the image together, so some strong edge artifacts may be present. :(
Final Thoughts and Lessons Learned
I honestly did not think this project was interesting while I was doing this, but while writing up the report, it suddenly hit me how cool the entire process was -- None of the code I wrote was particularly difficult, yet the results are quite interesting and compelling. For example, the Harris corner detector, Adaptive Non-Maximal Supression, and RANSAC are all pretty straightforward and simple concepts, but they are actually quite powerful.
Even parts from Project 6A, such as rectifying the iamges, are incredibly cool -- it looks like we are creating entirely new views, but all the data already exists in a single image. Amazing!