Project 6A: Image Warping and Mosaicing
Louise Feng, cs194-26-afj
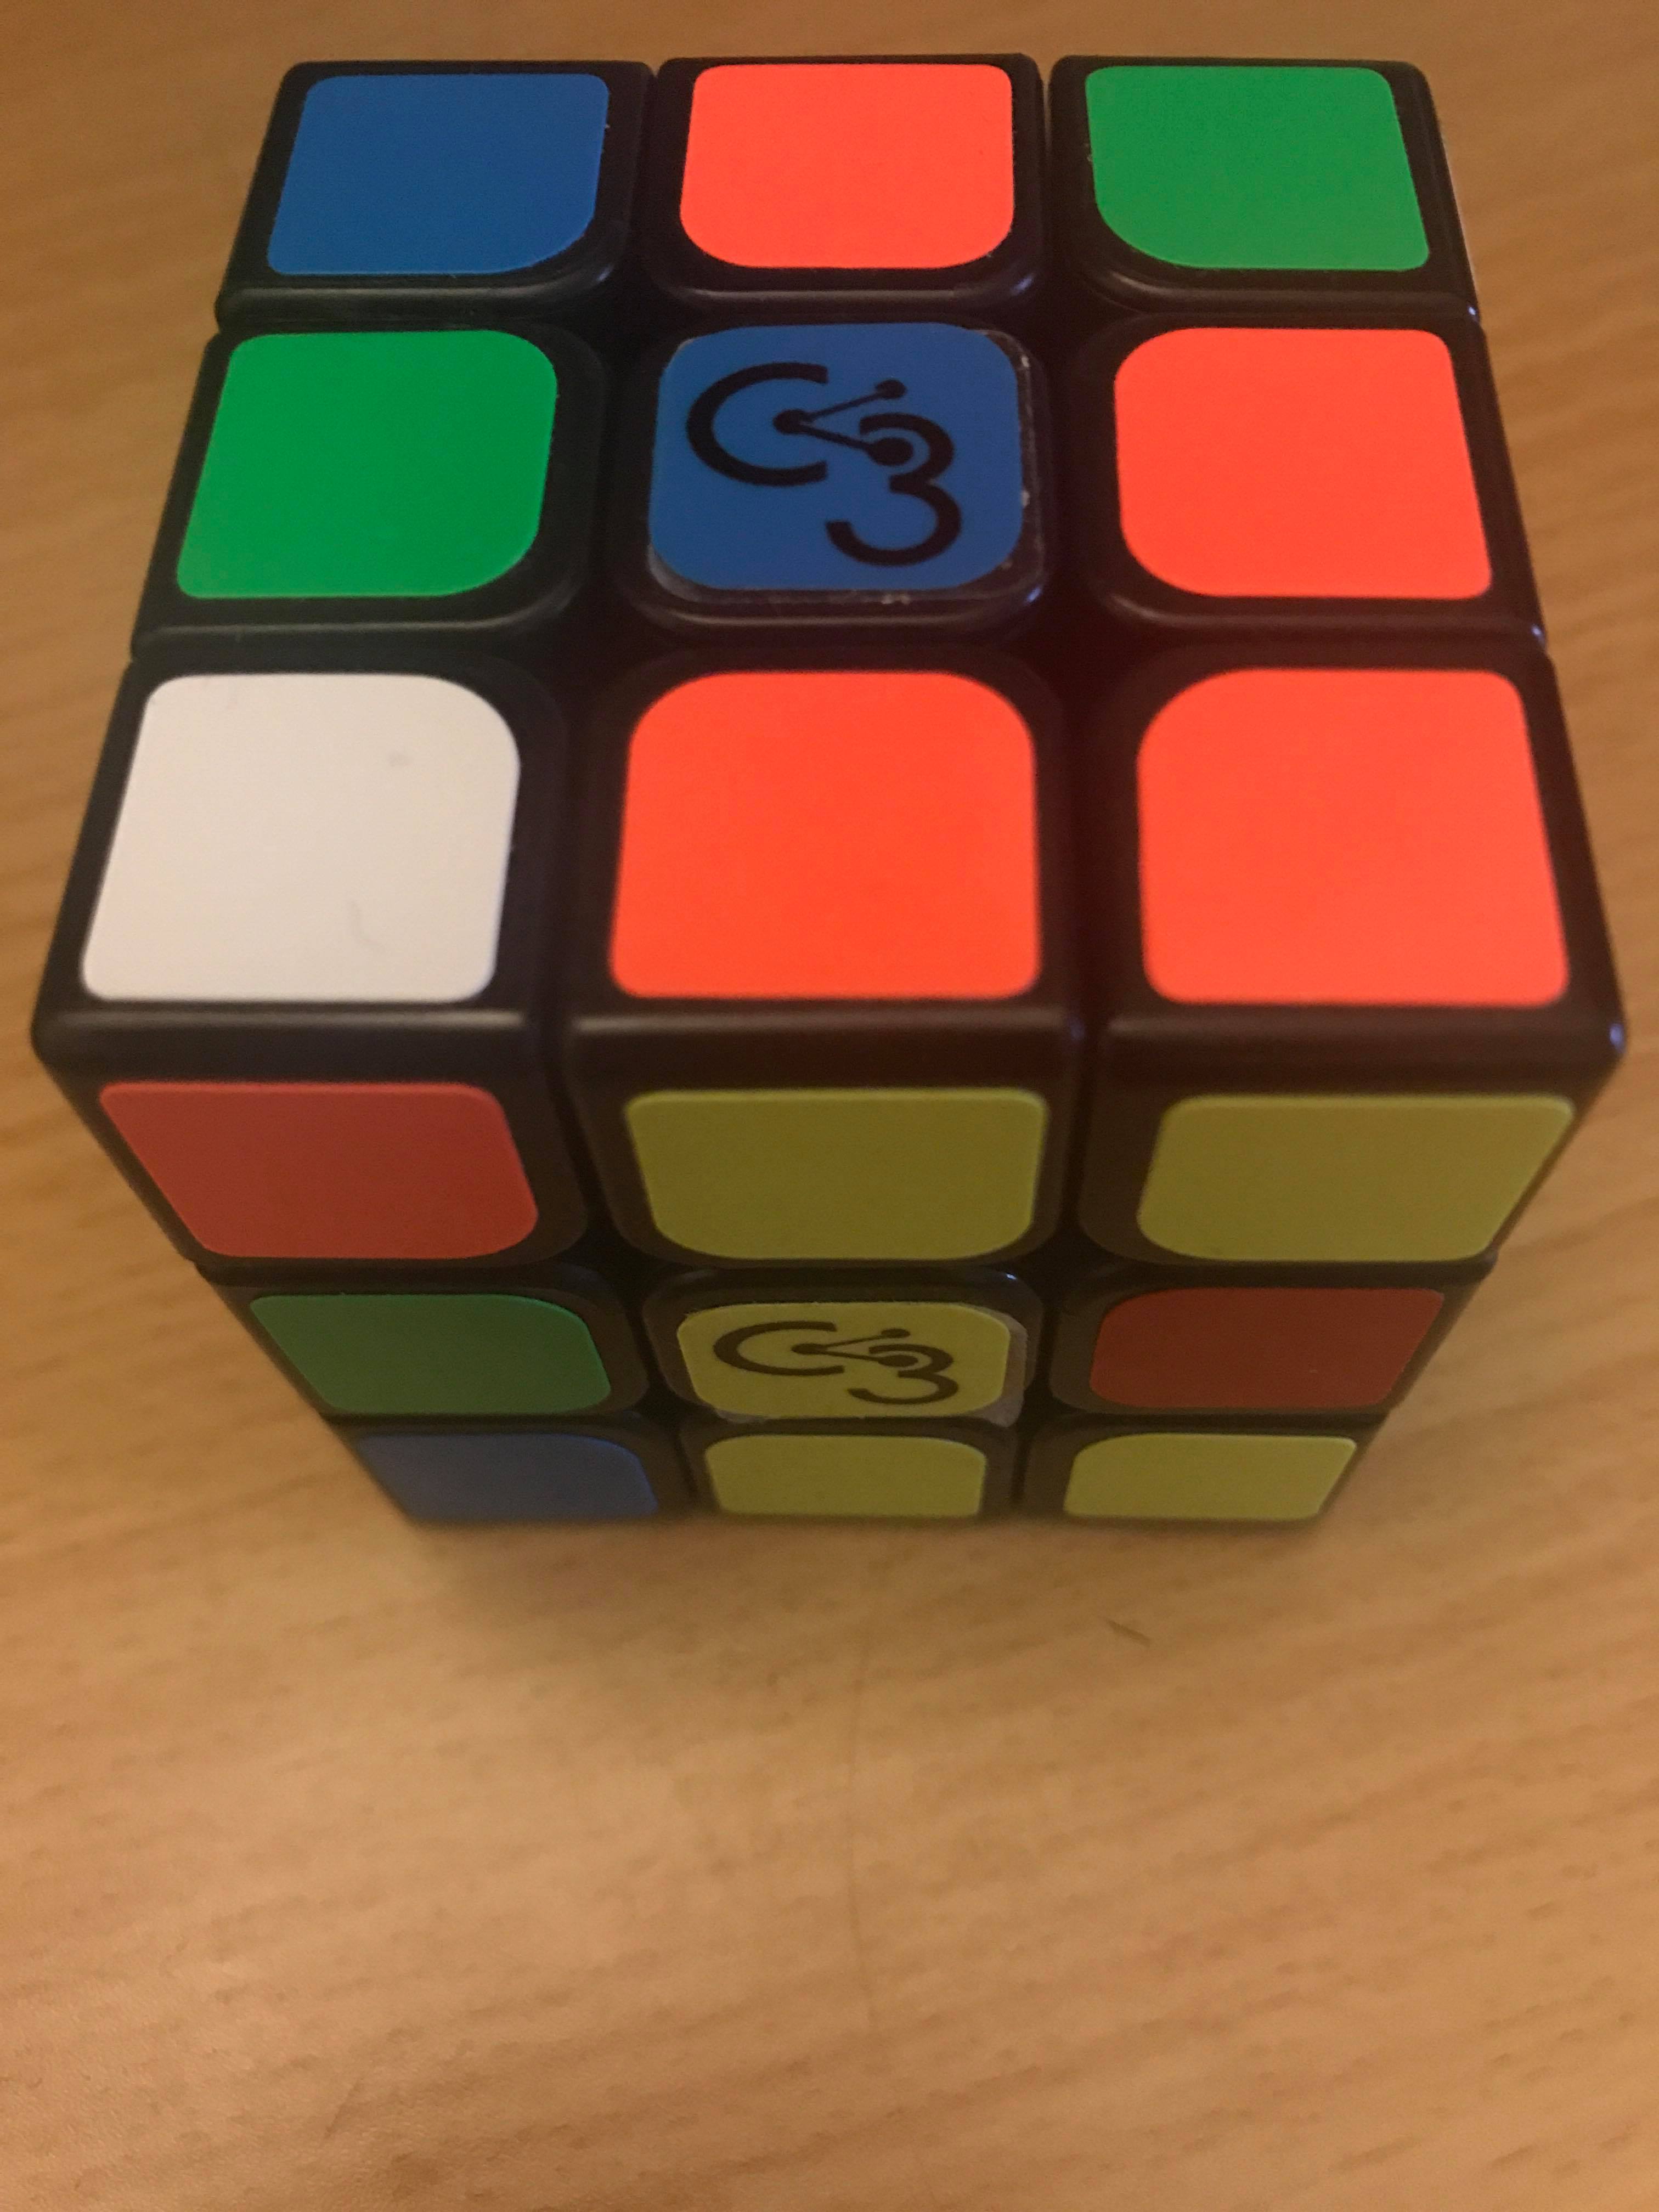
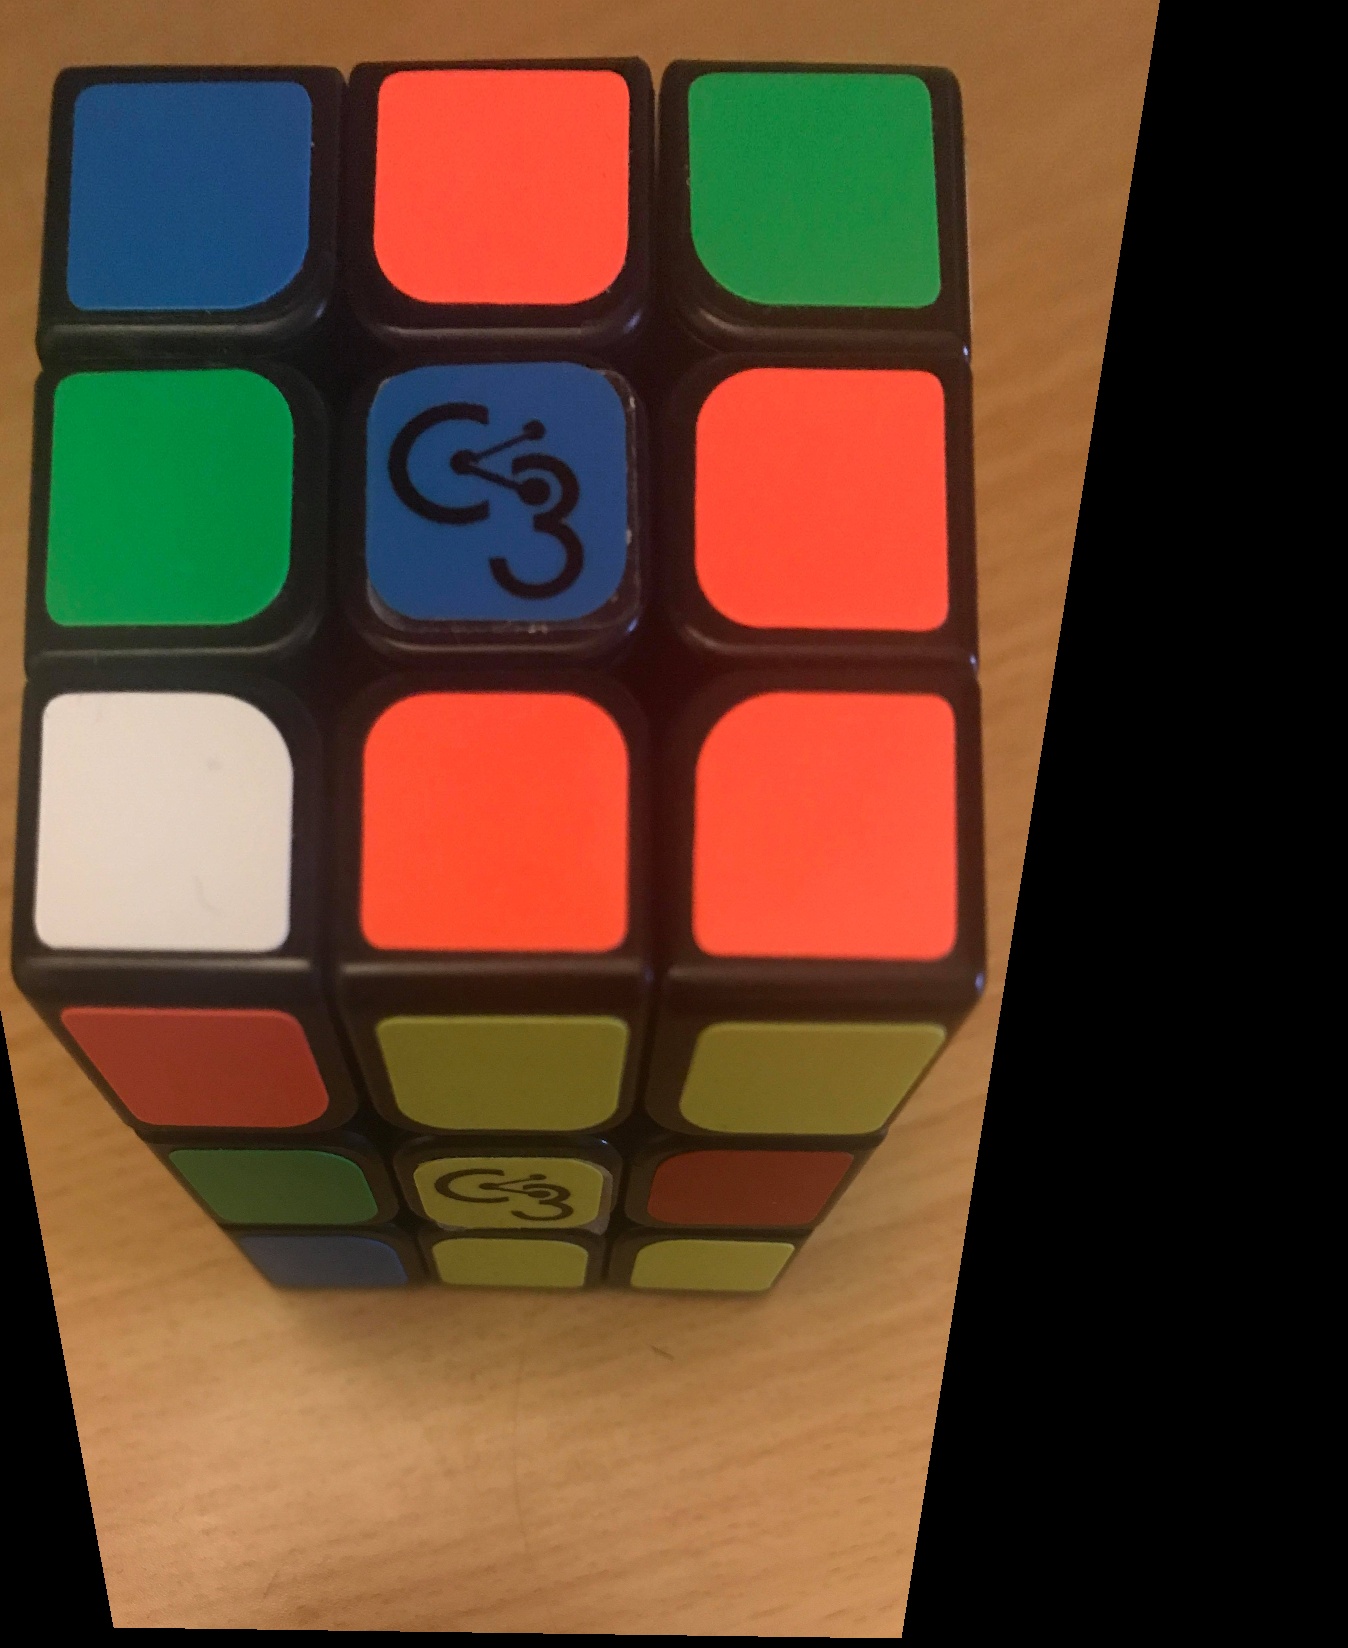
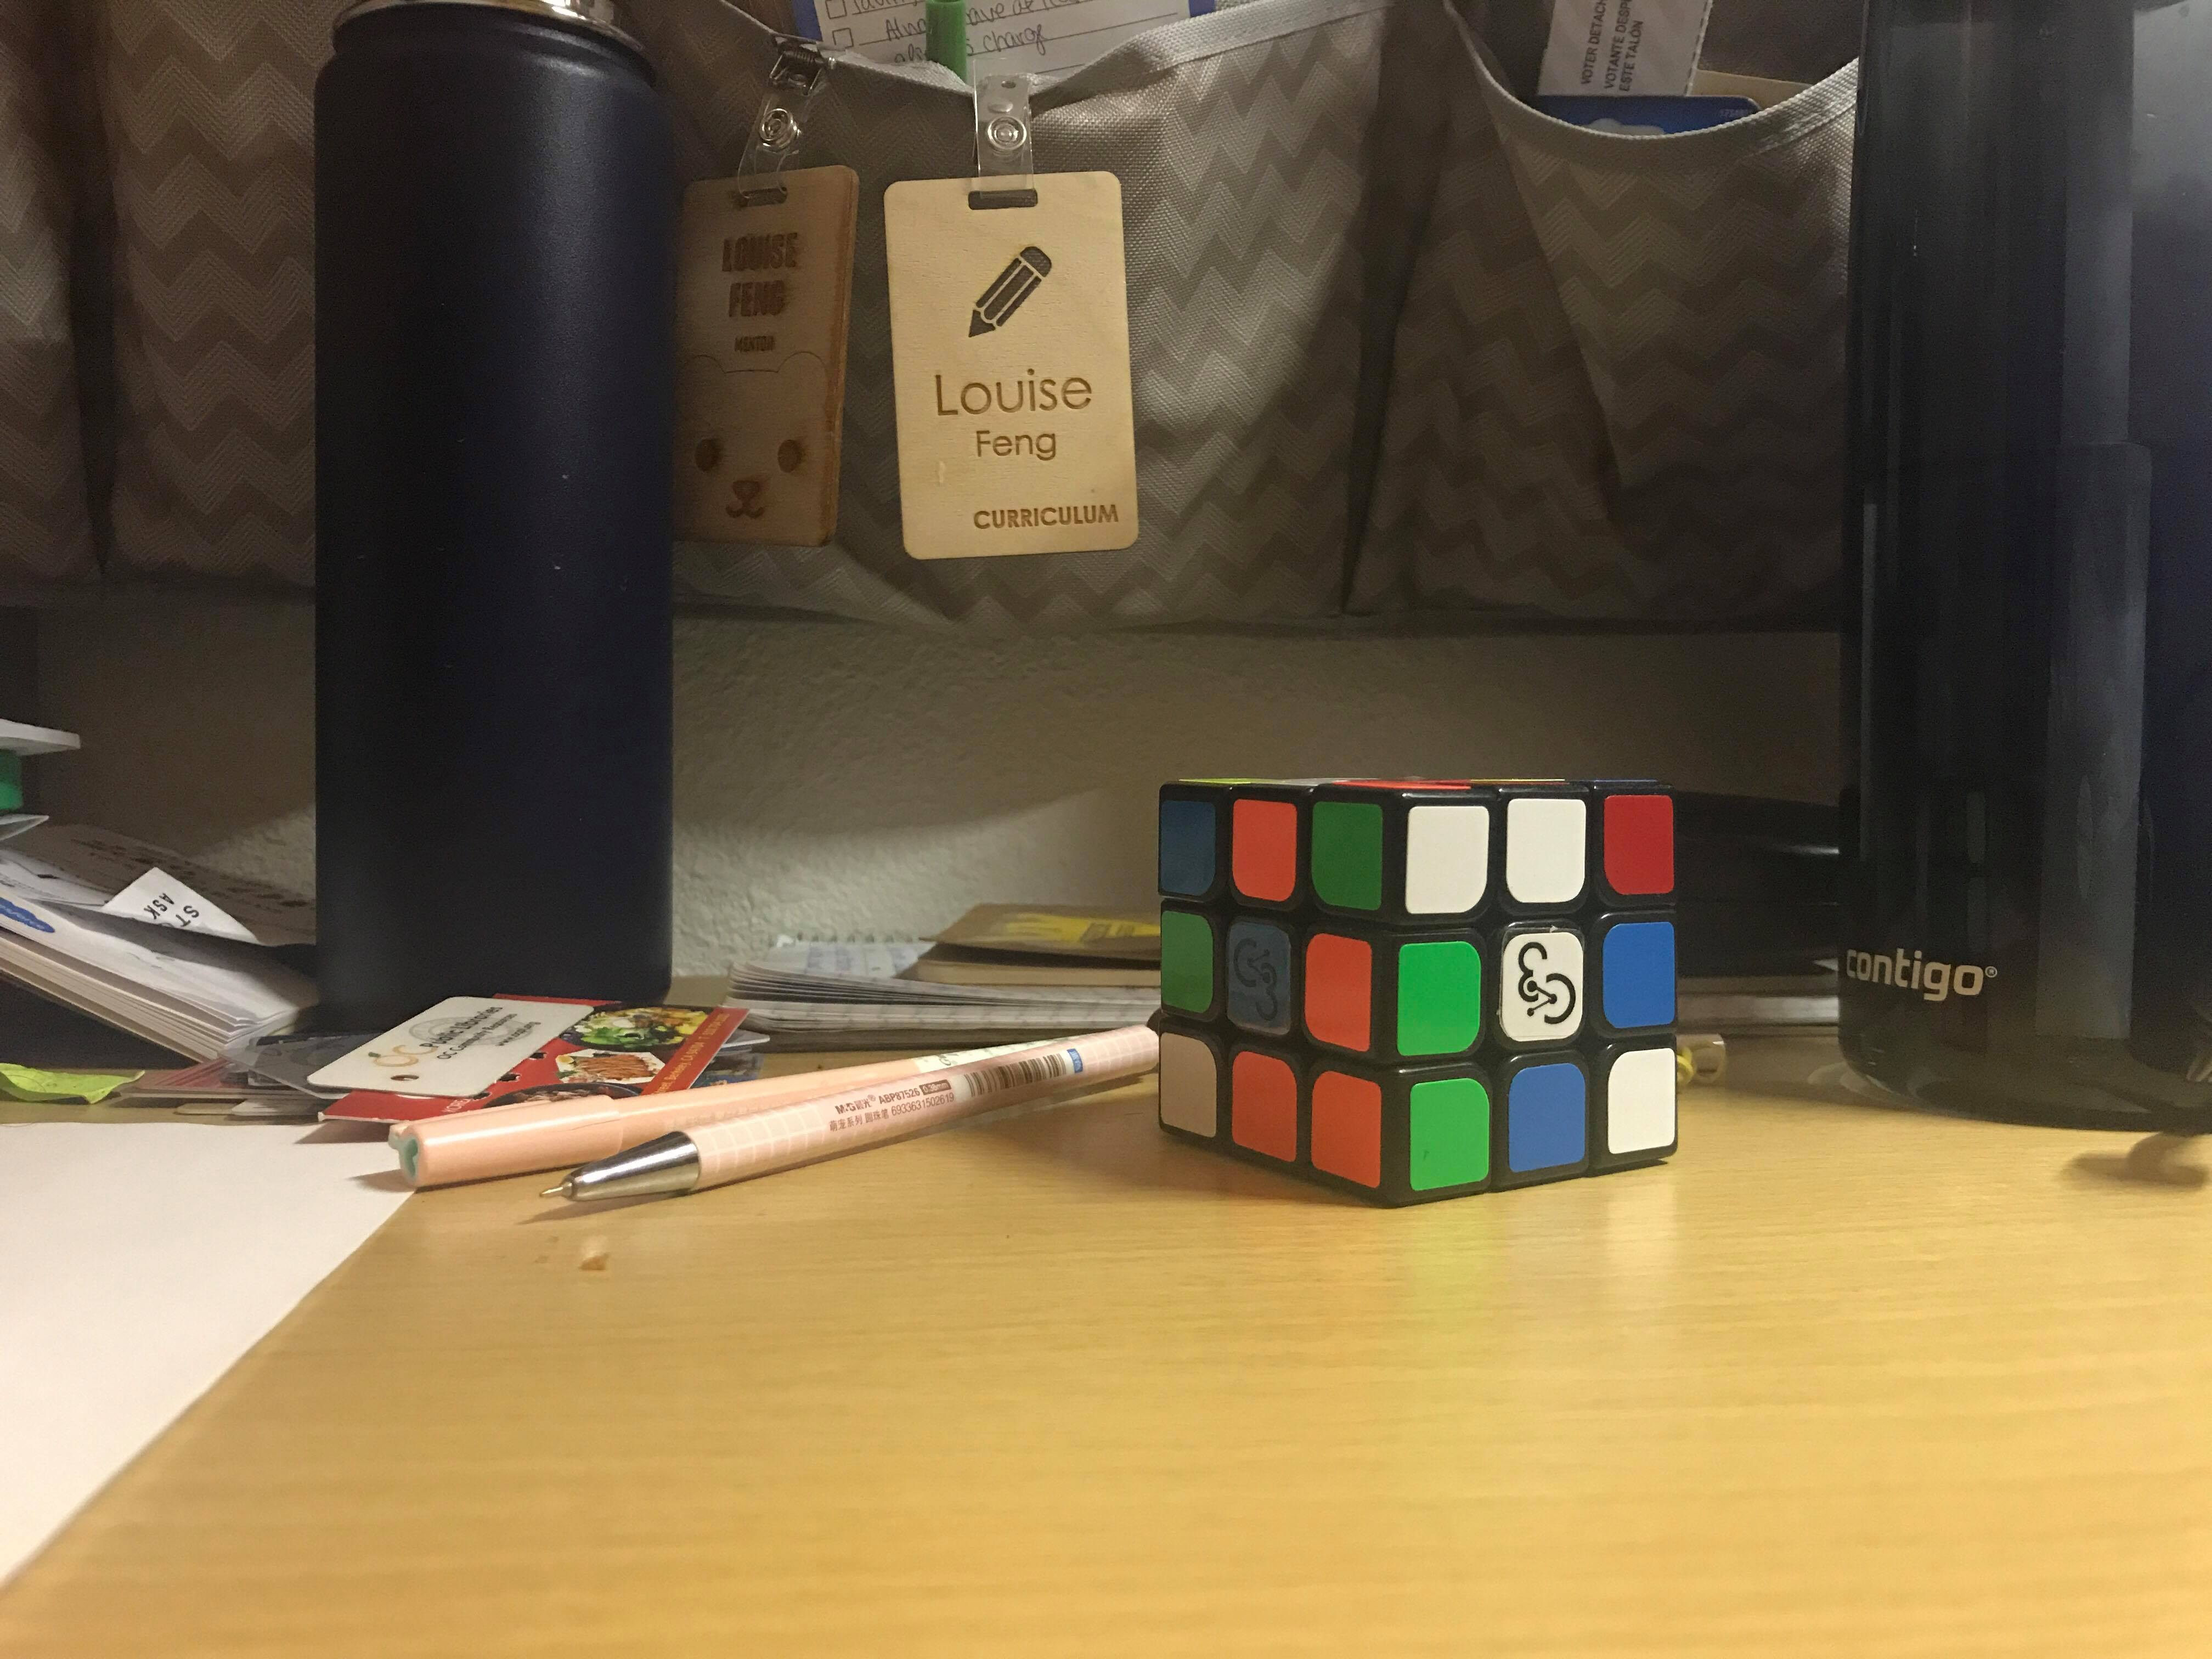
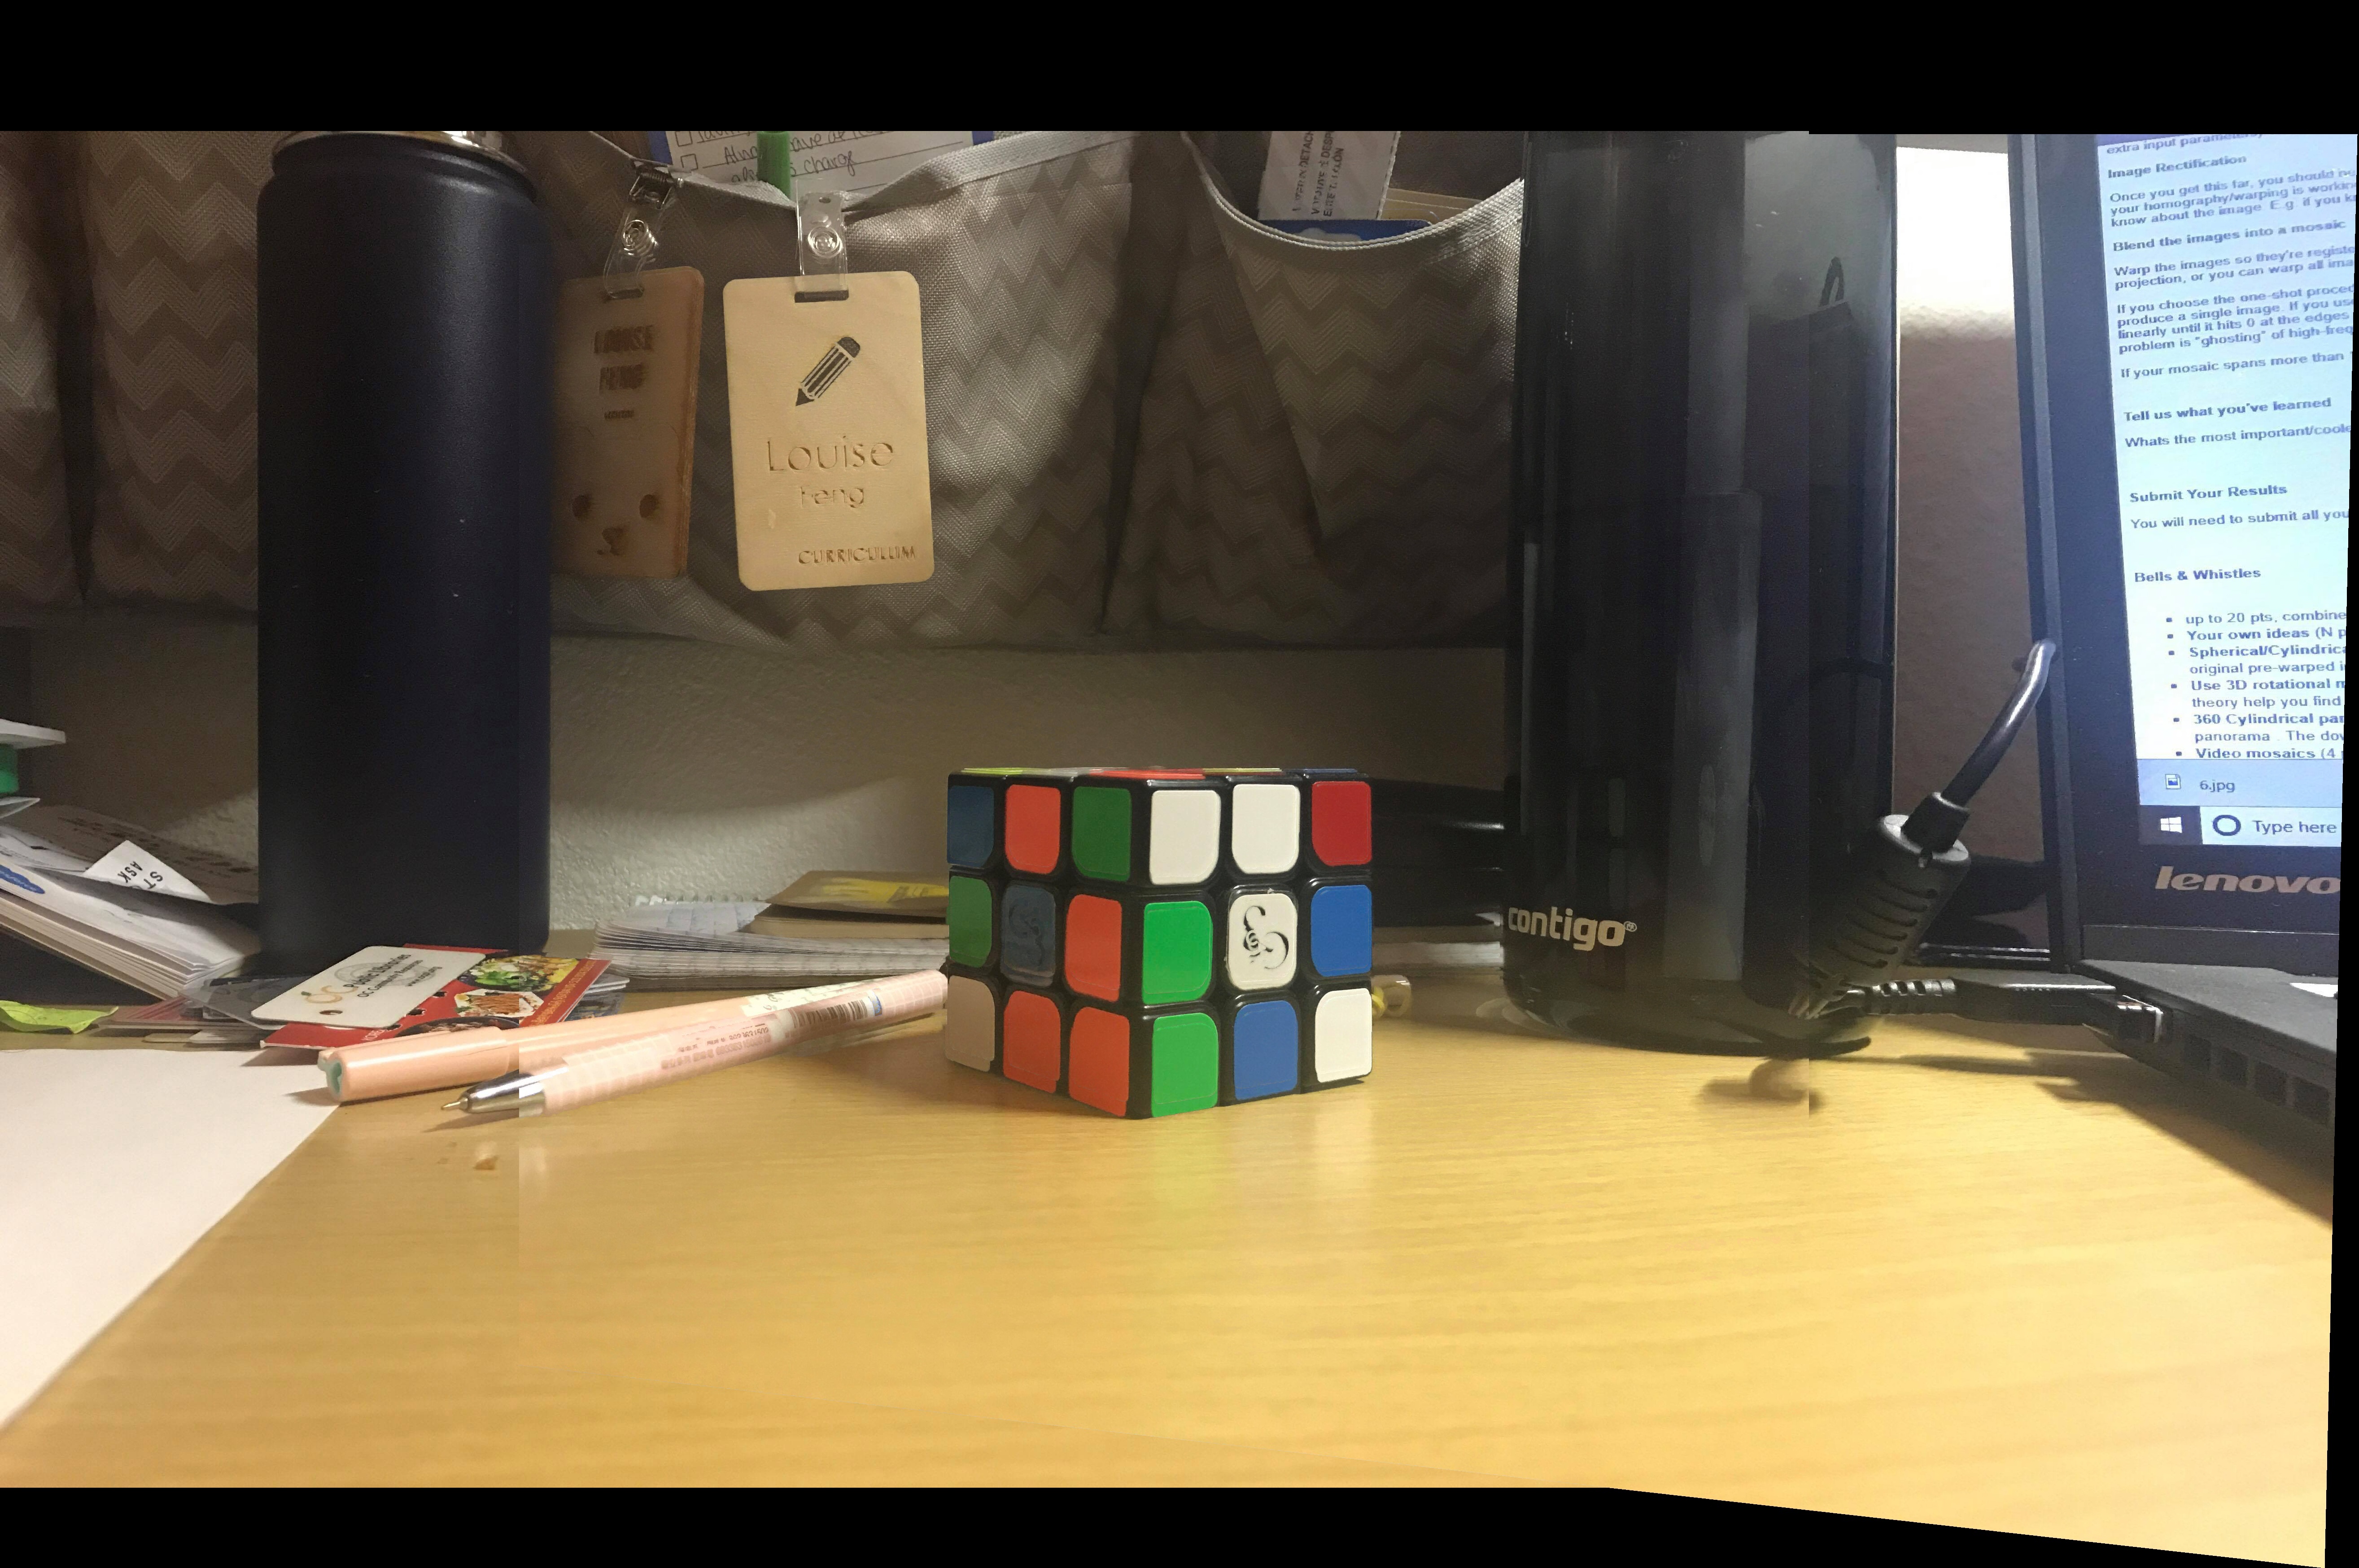
Rectifying
we 'rectify' an image by making it front-facing. This can be done by
recovering the homography between the images by focusing on correspondence
points. In my case, I picked out parts of my source images I kew were
supposed to be squares and mapped them to 4 points forming a square.
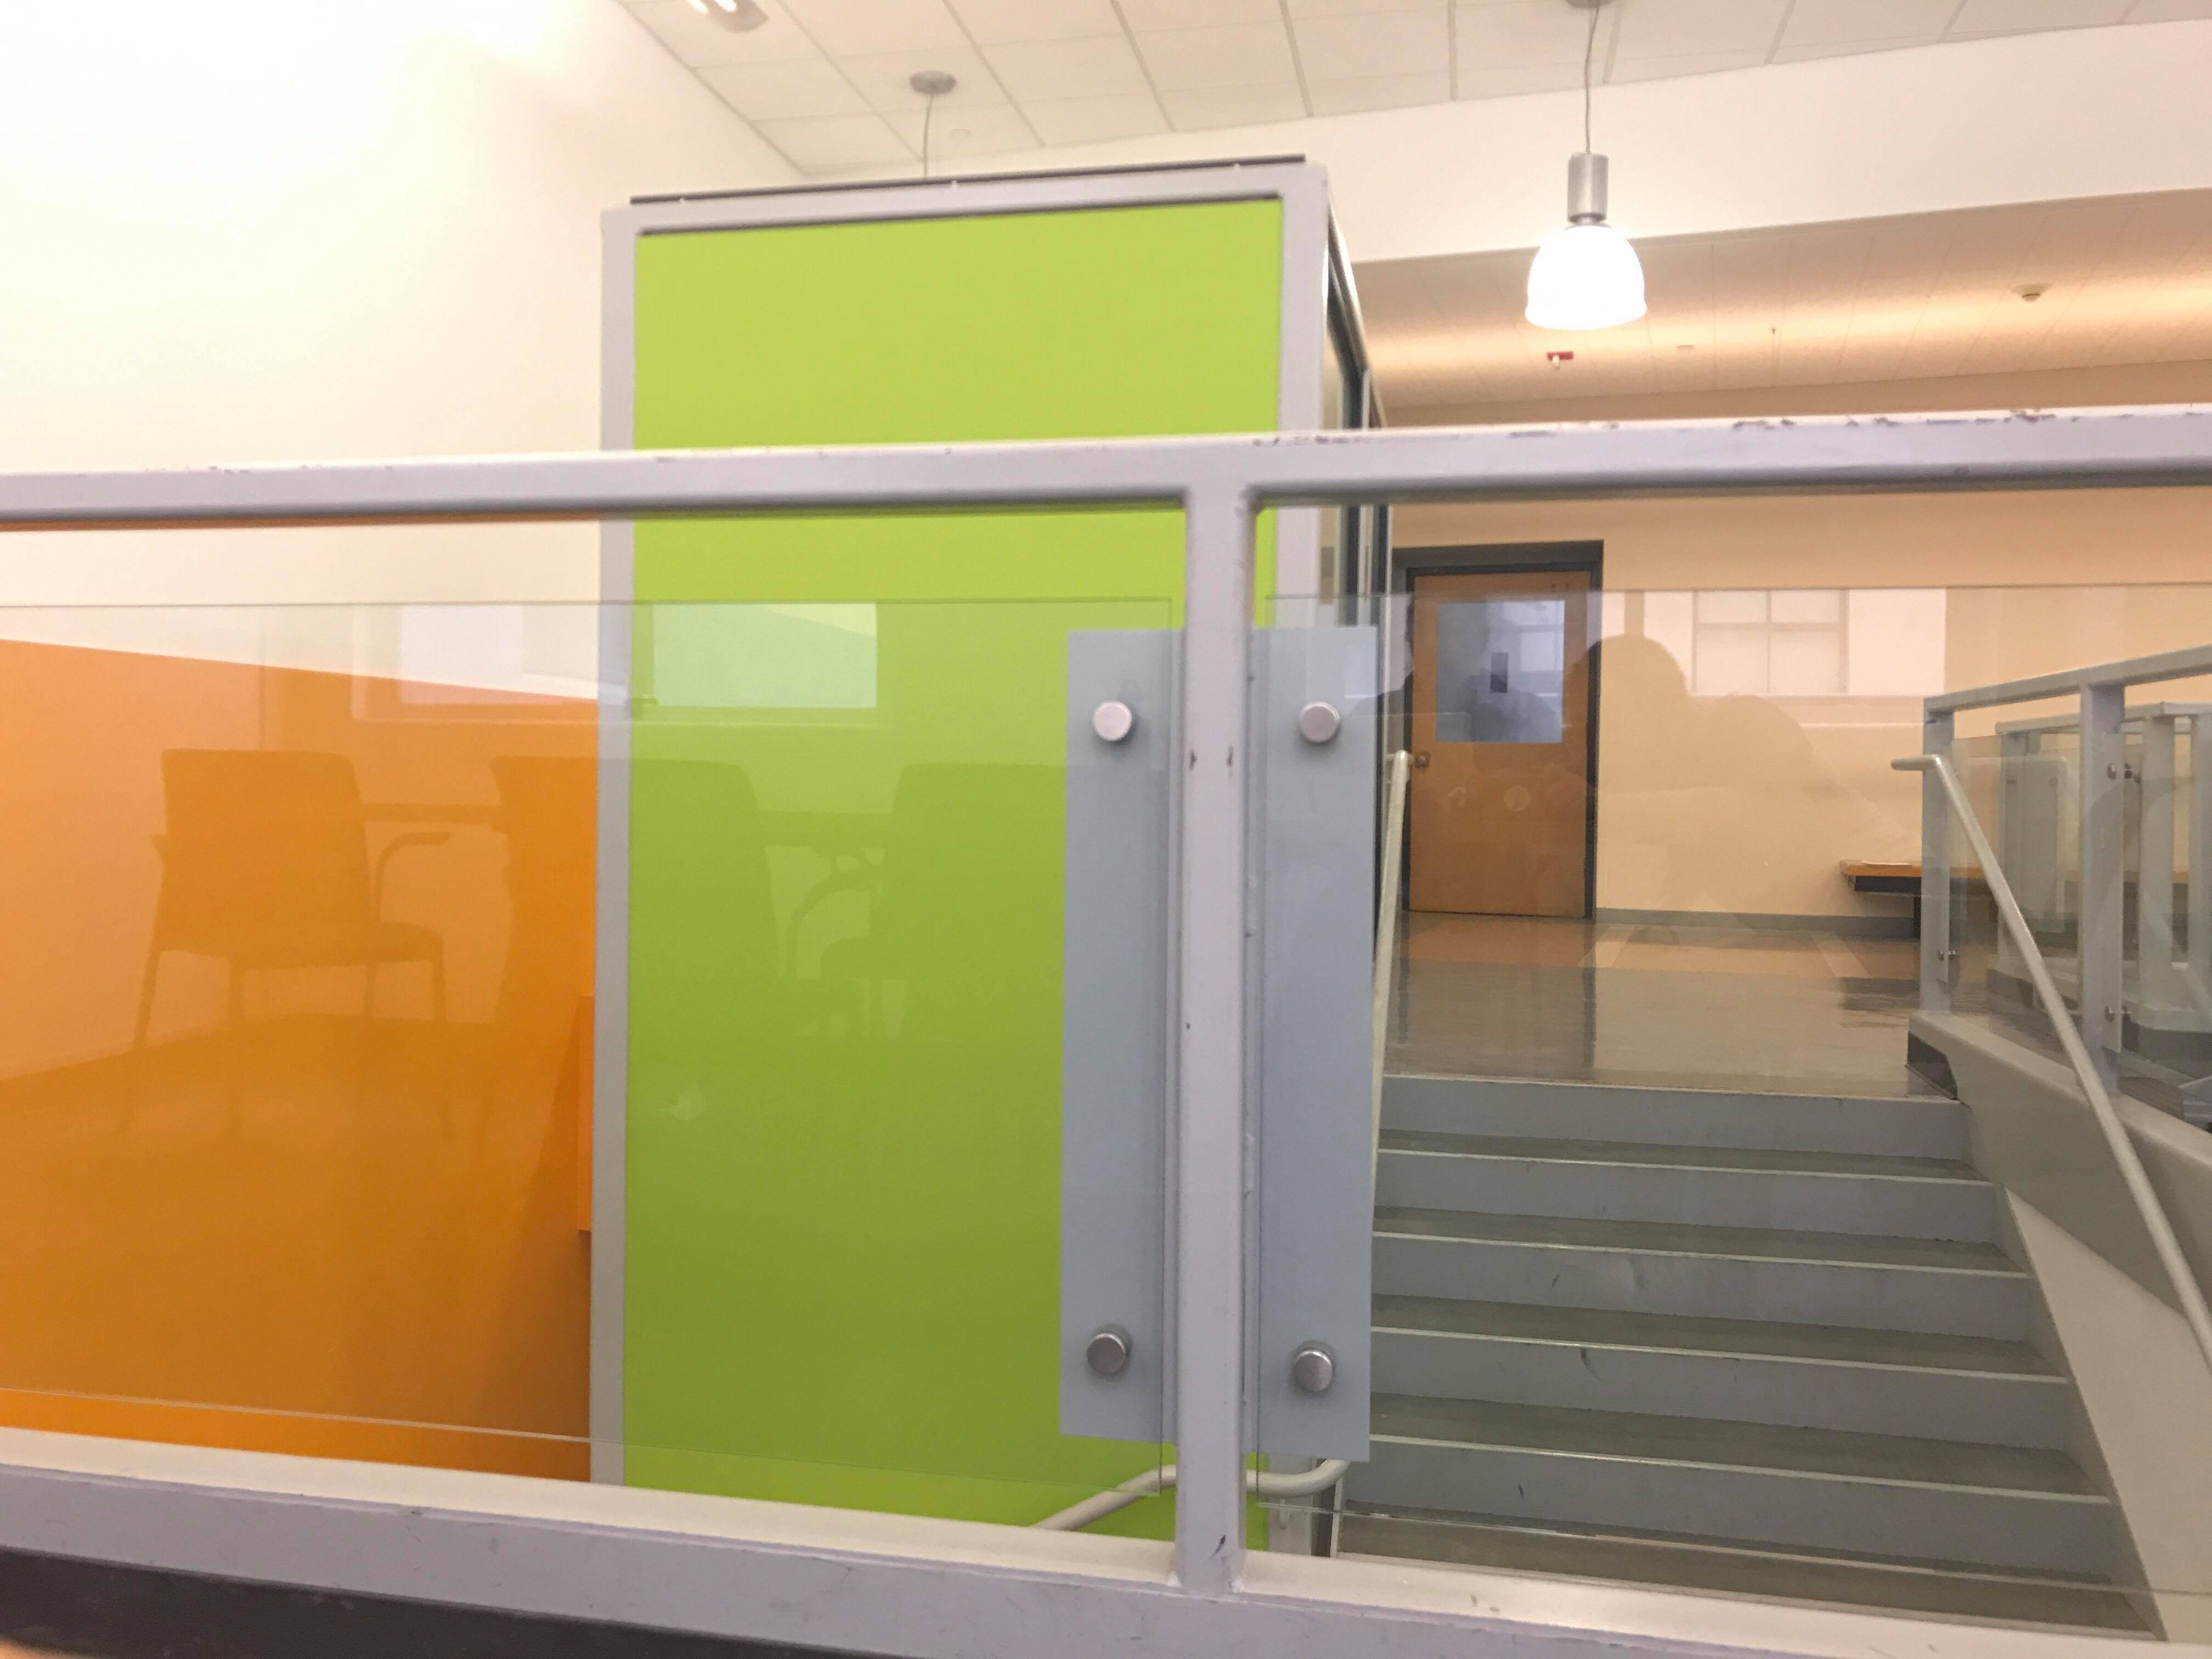
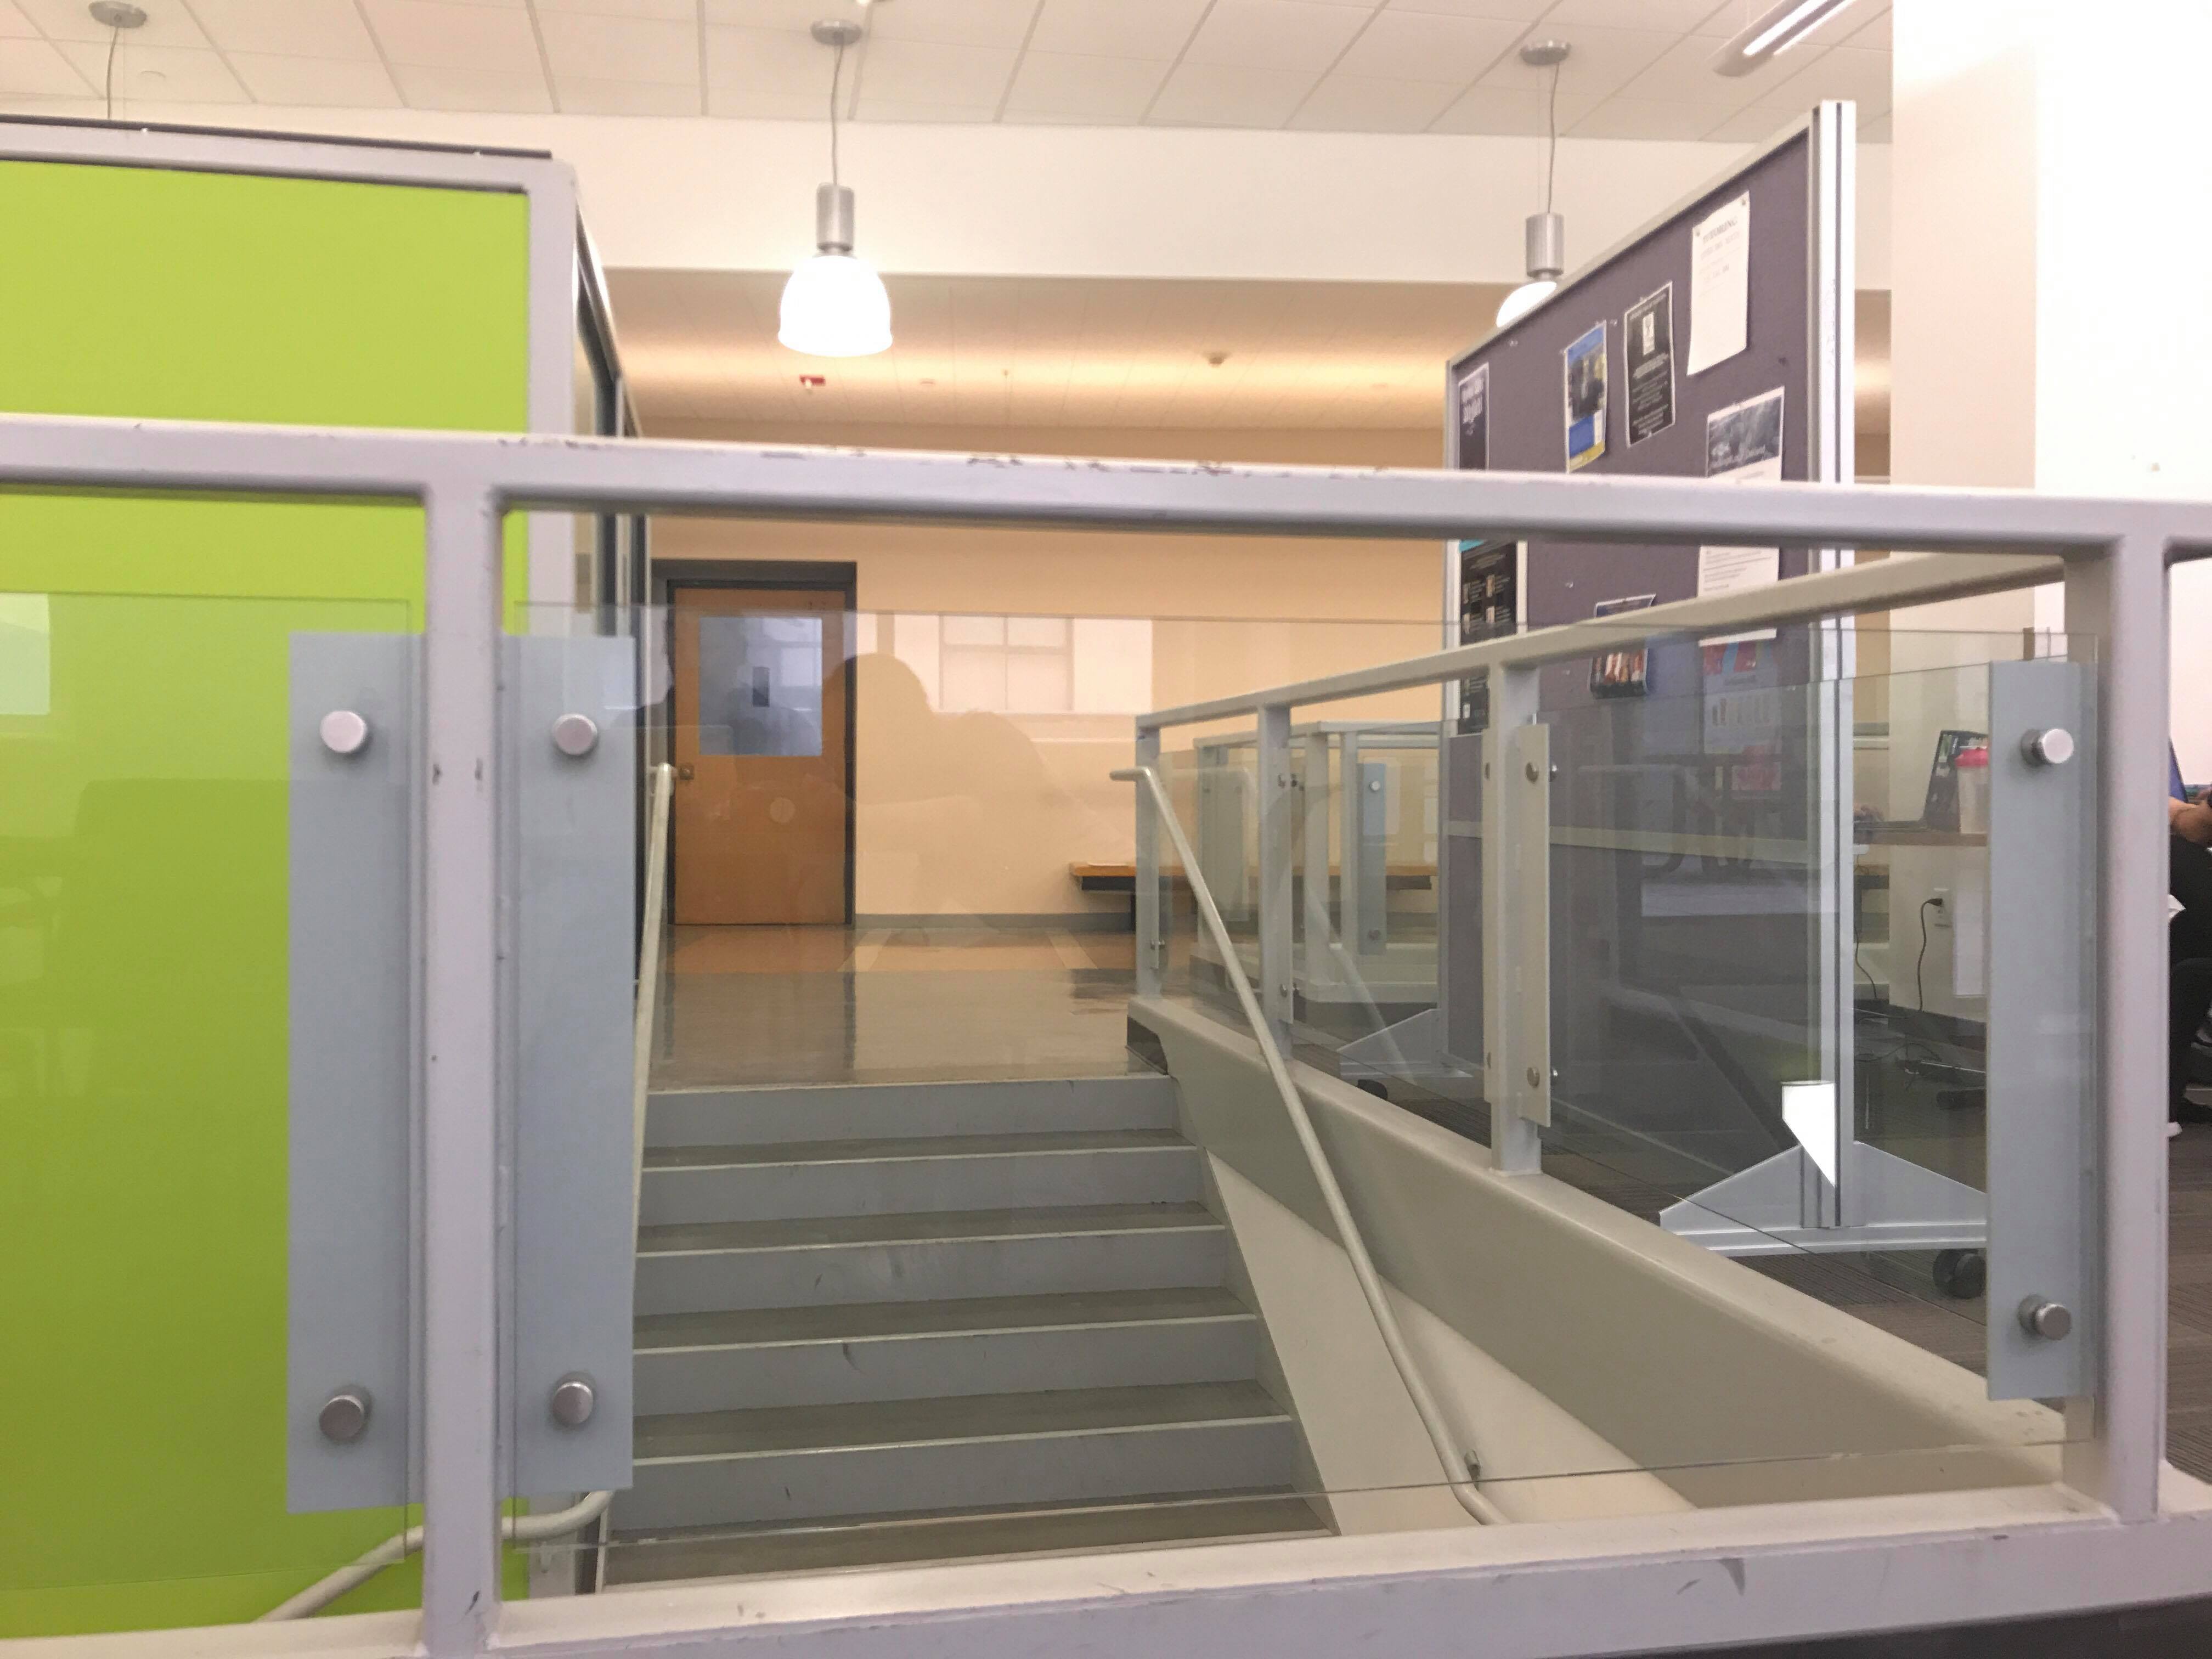
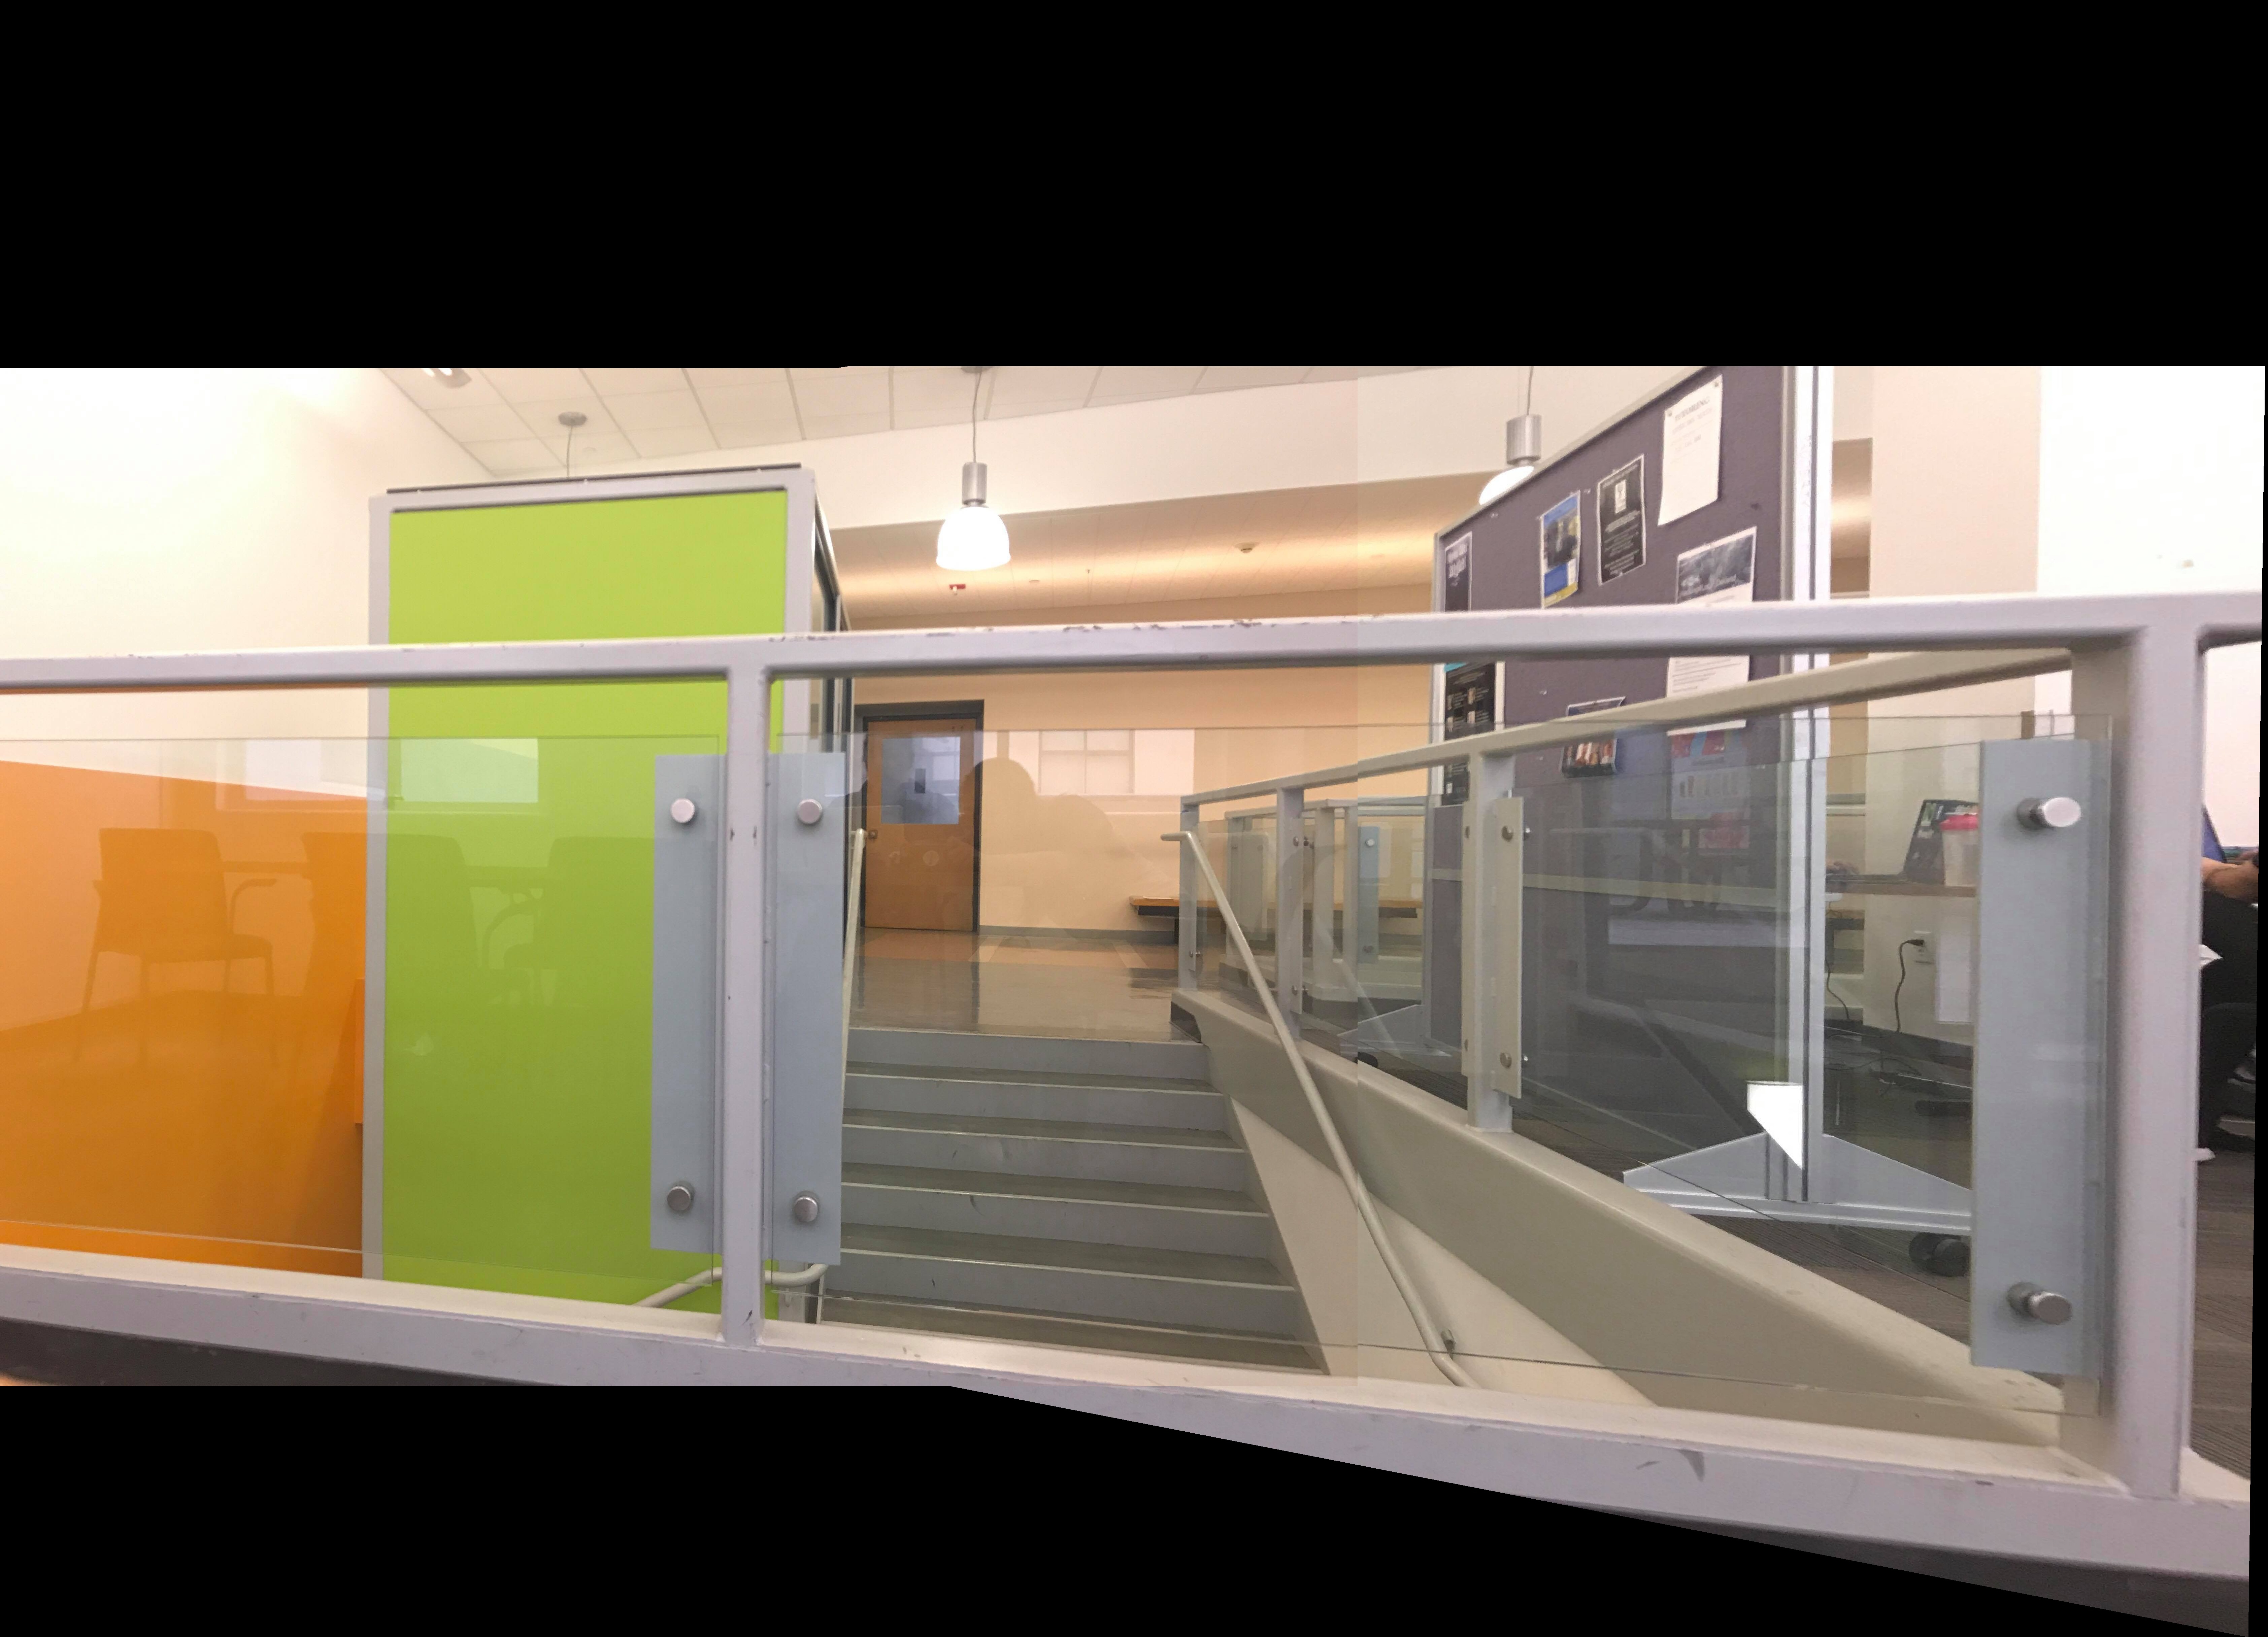
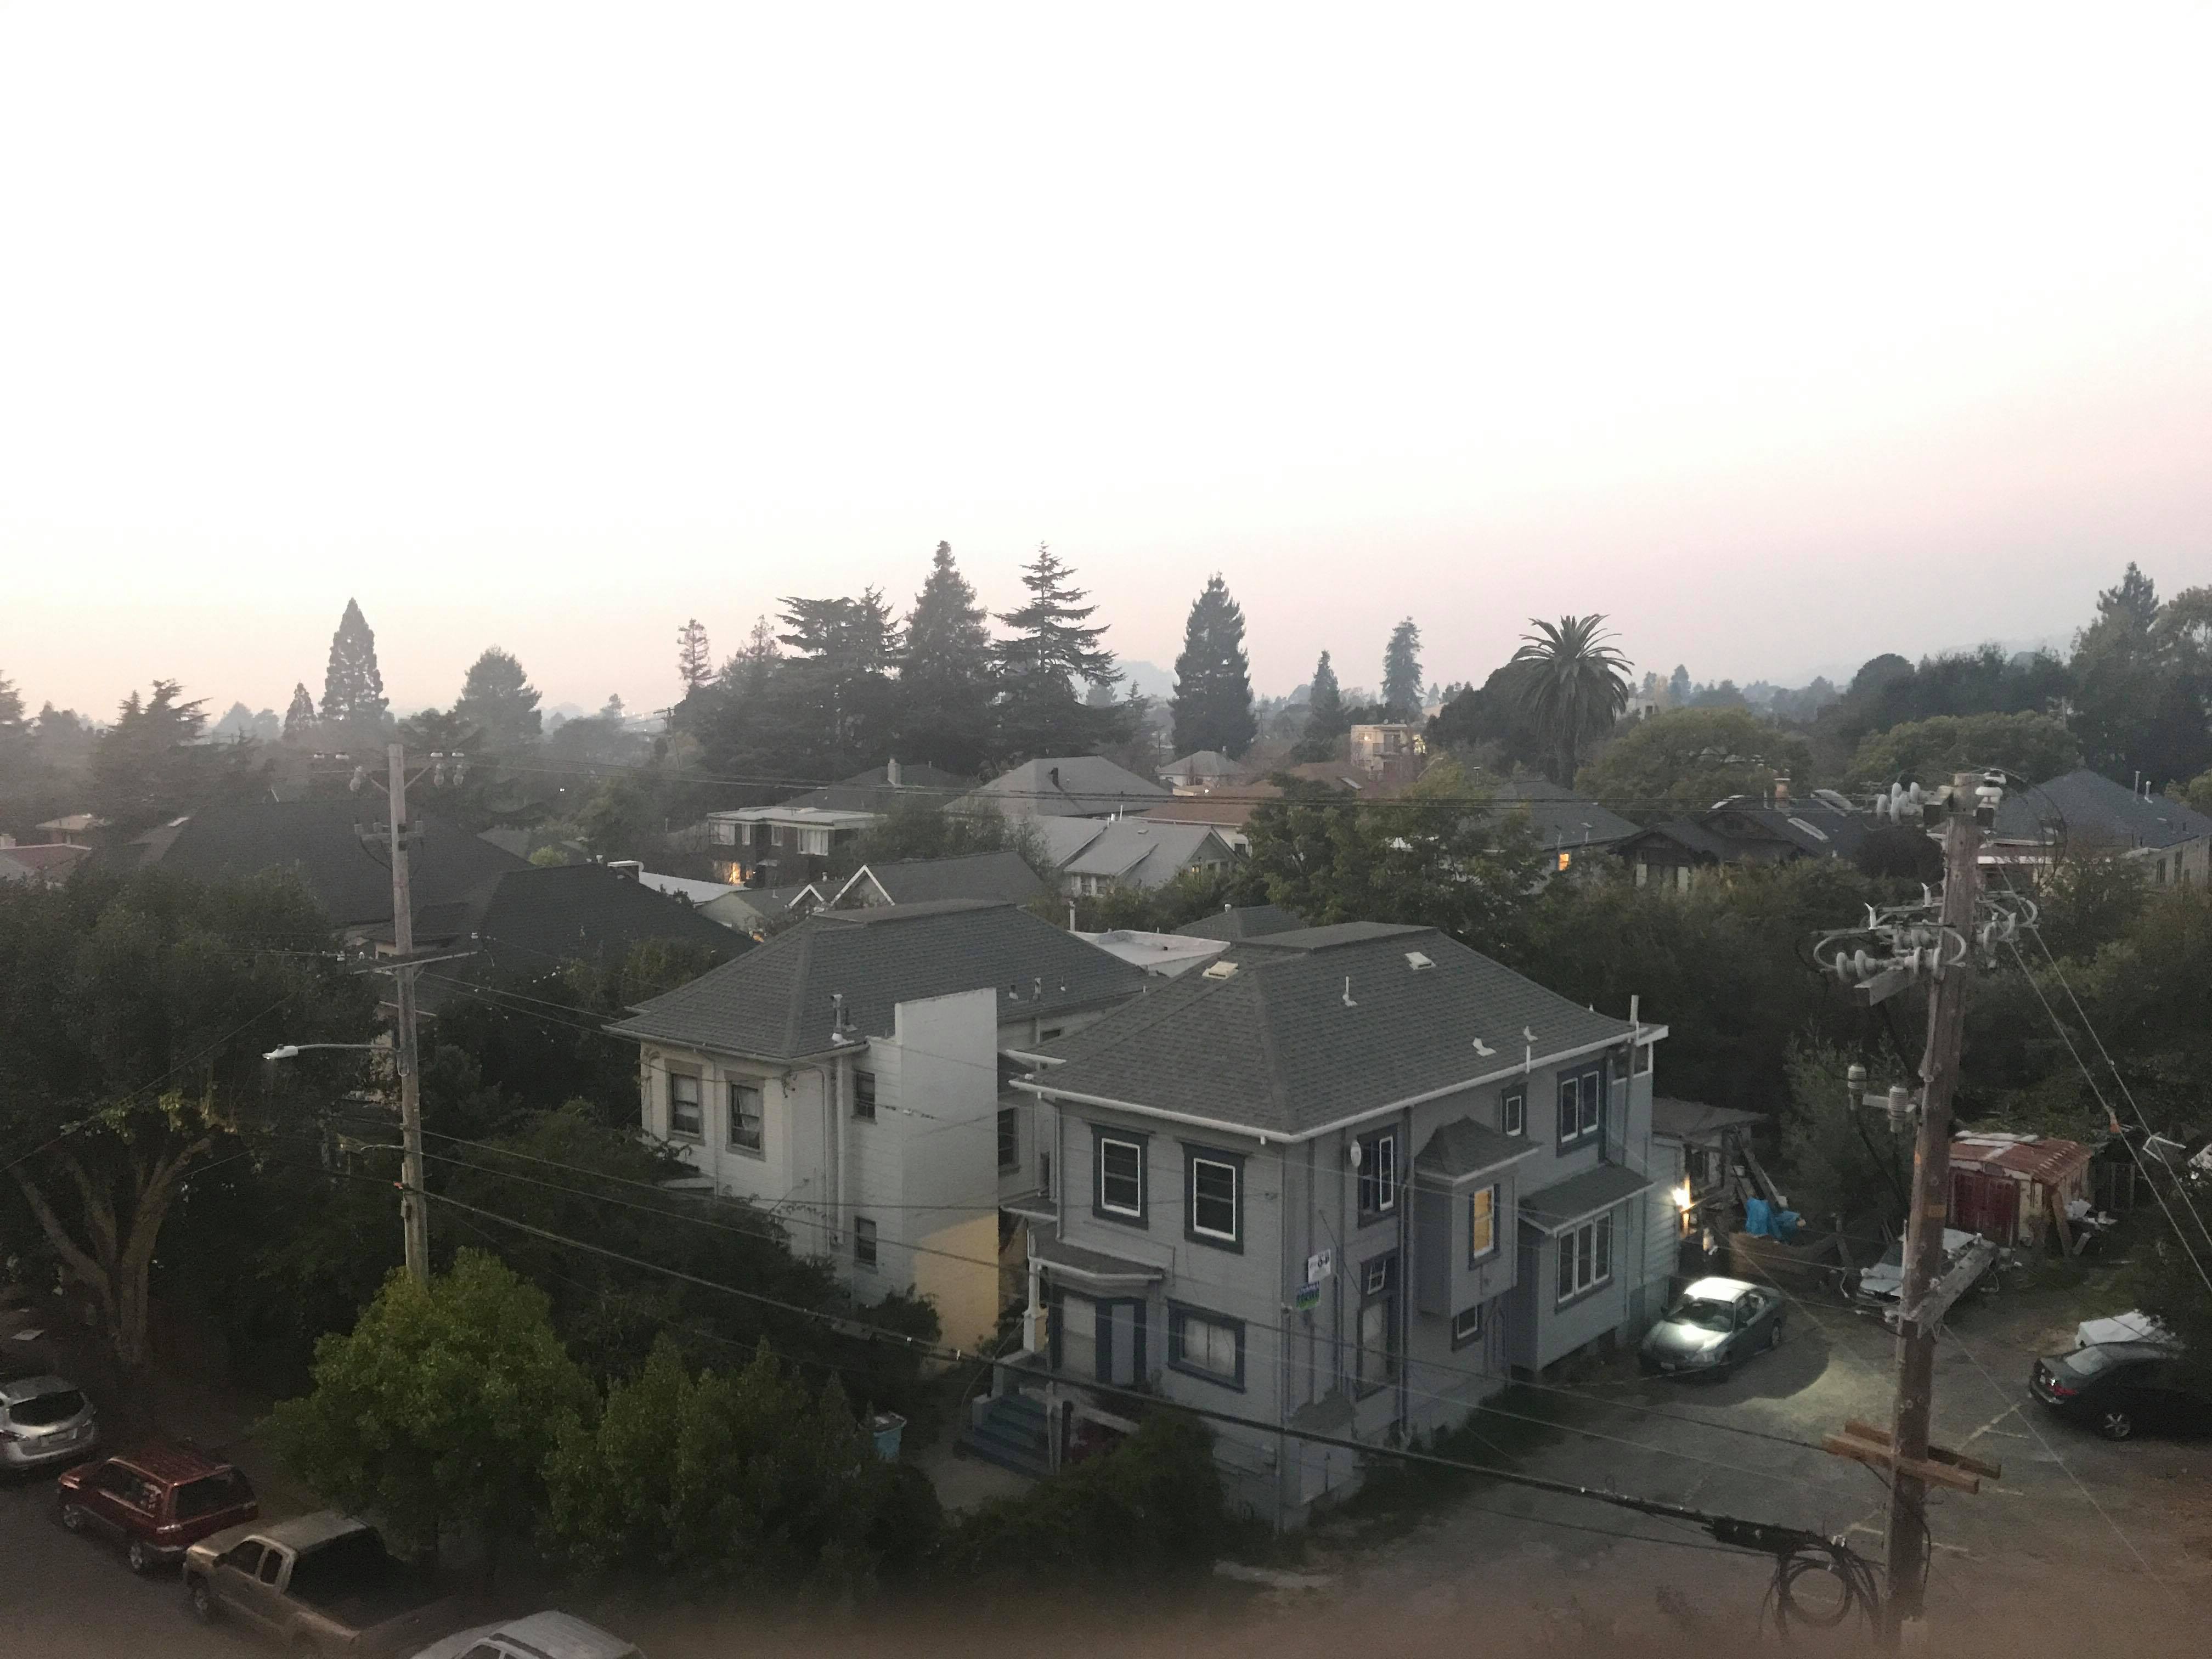
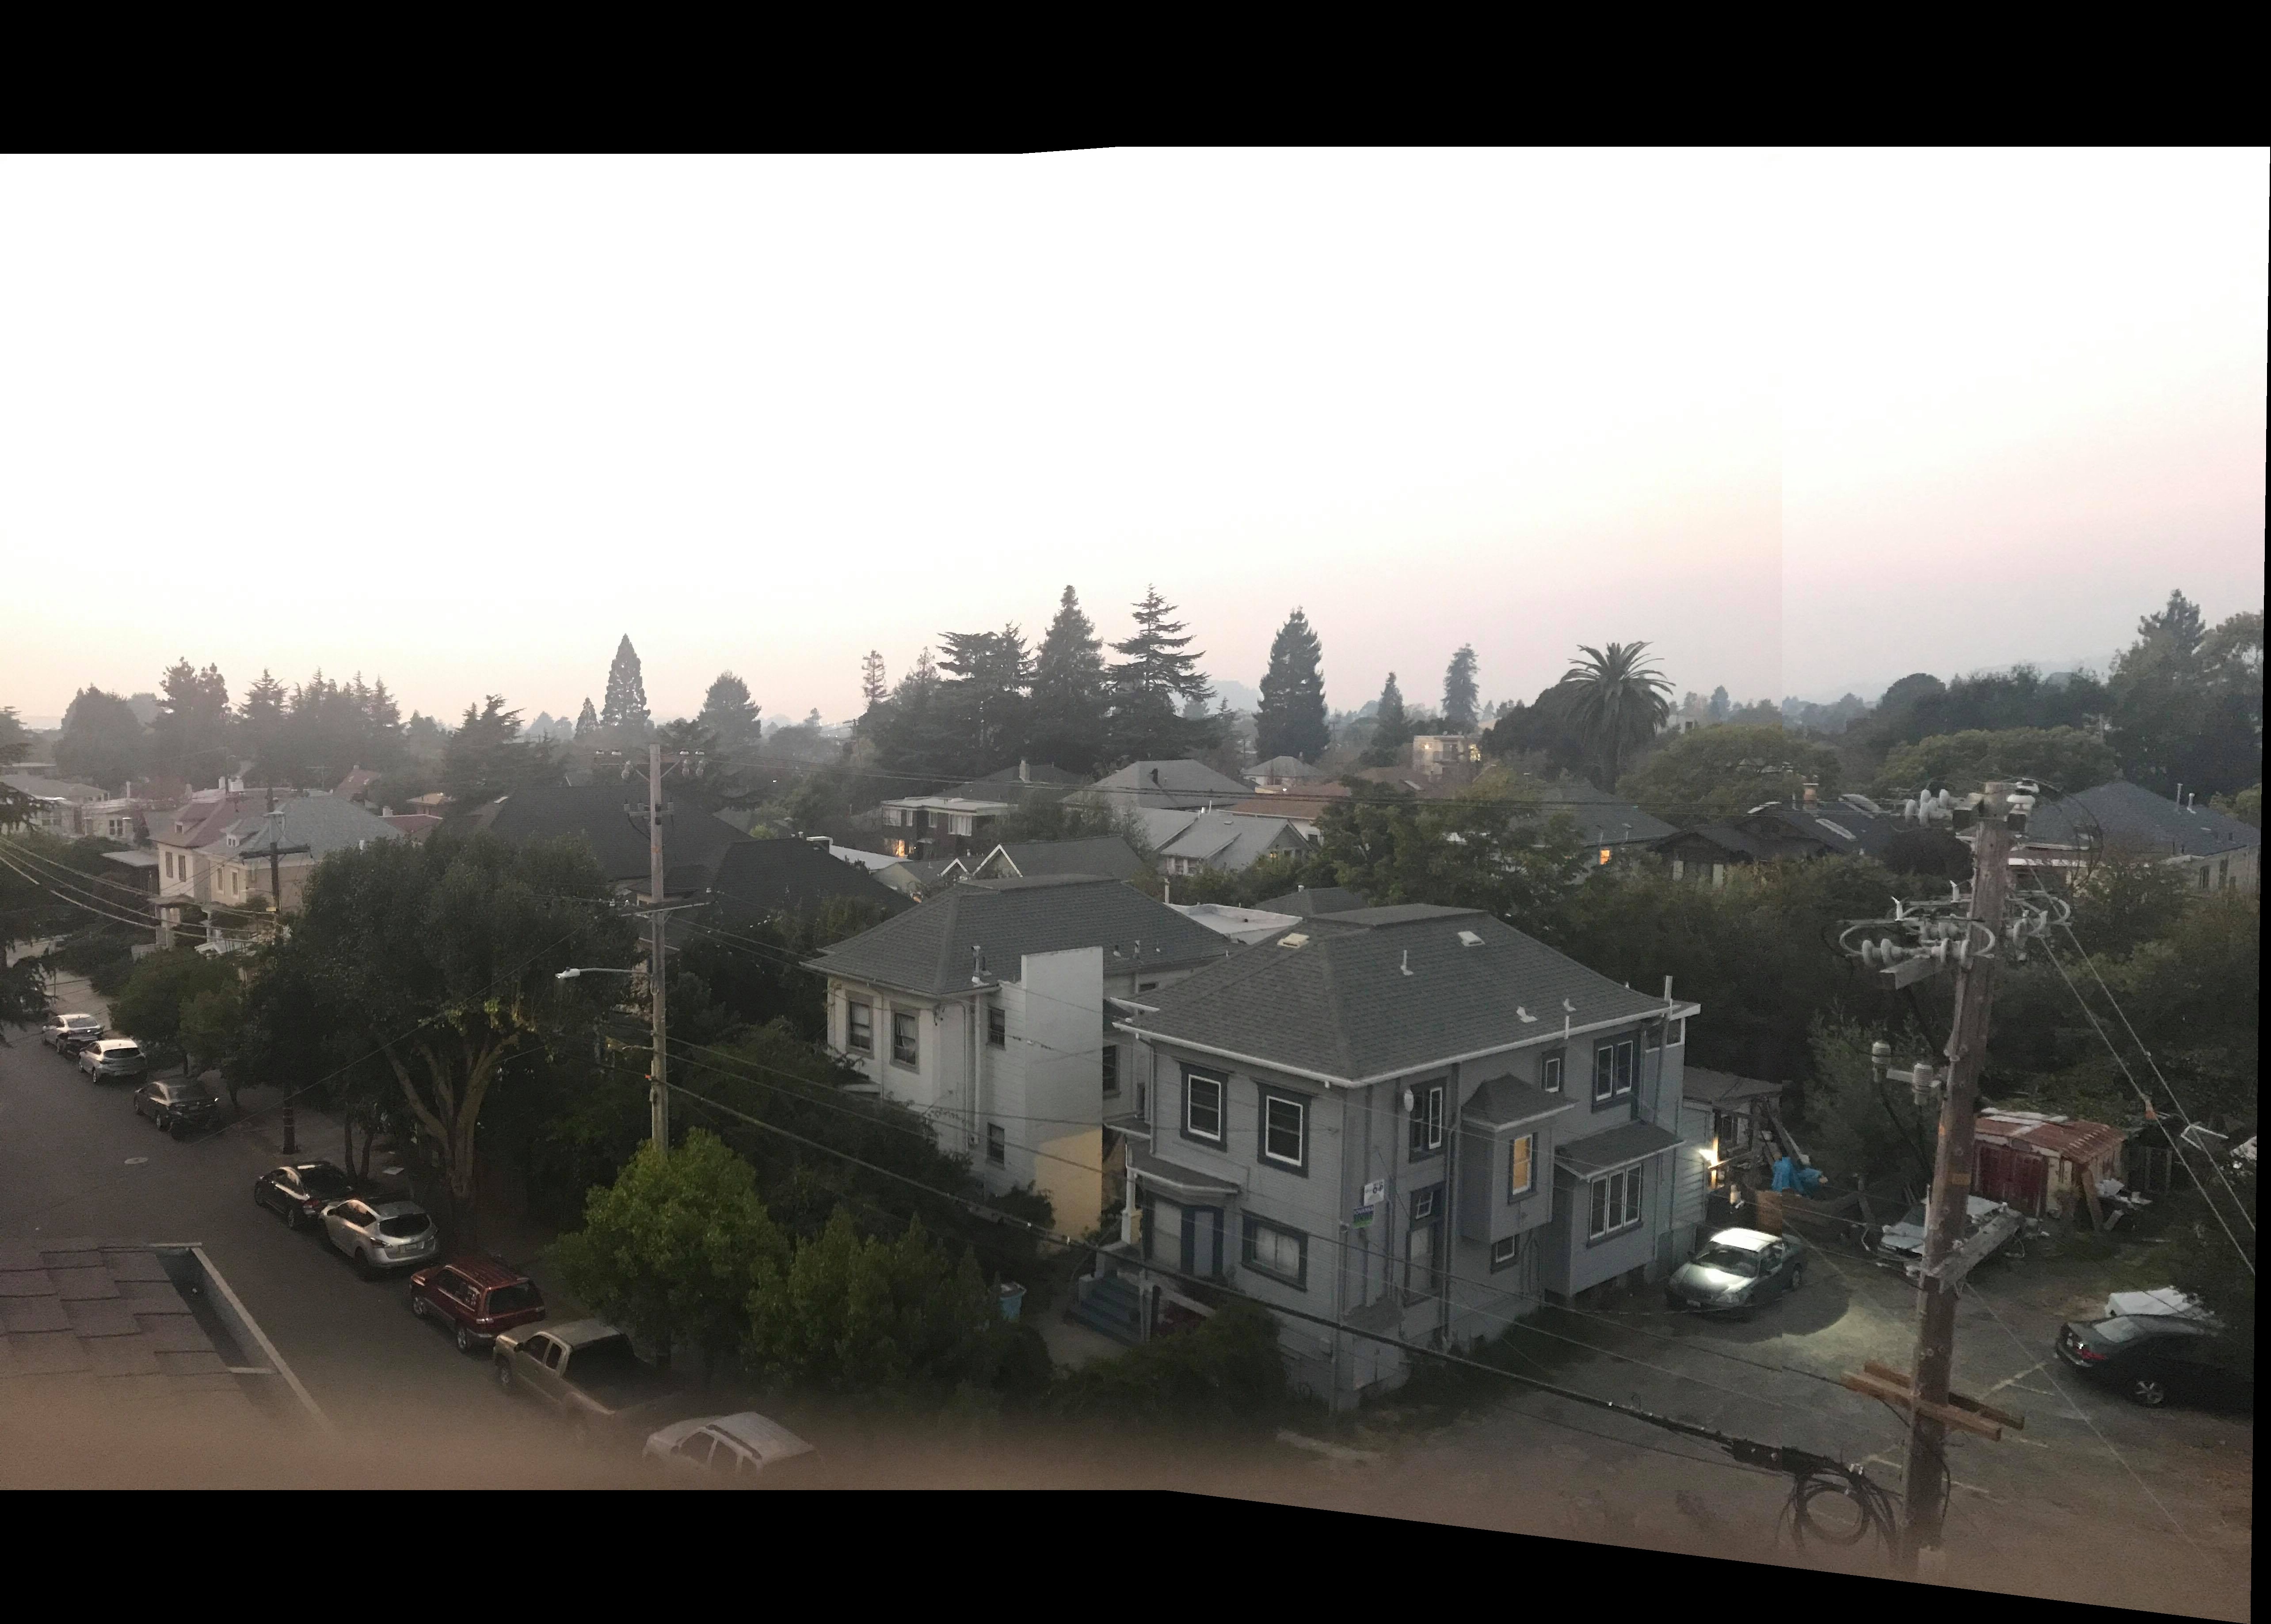
Warping
Given 2 pictures, we can use correspondence points to recover a homography
which can then be used to warp an image into the same perspective as the
other
Summary
The power of homographies is so interesting. I never would have thought to
re-angle any picture, or that I even had the capability of doing so. The fact
that we can accomplish this by playing around a bit with some linear algebra
is pretty awesome.
Project 6B: Feature Mapping and Autostitching
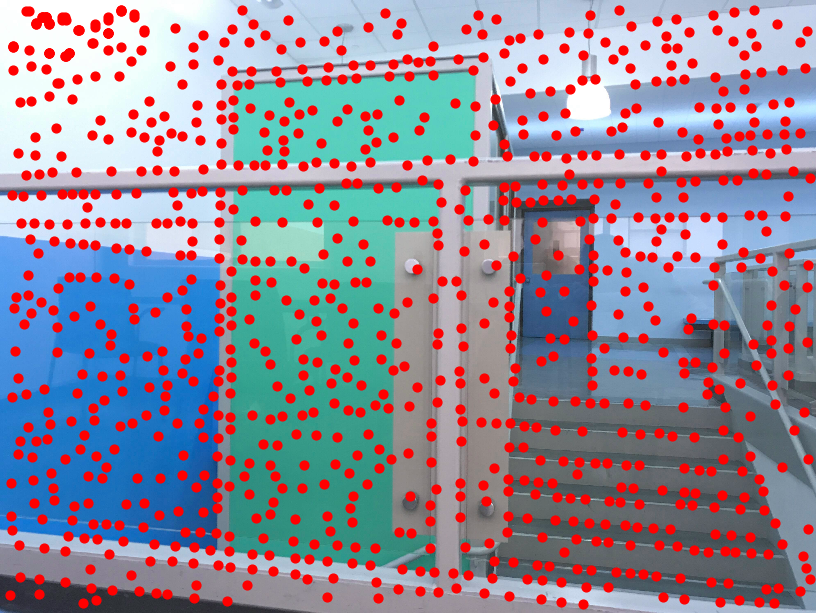
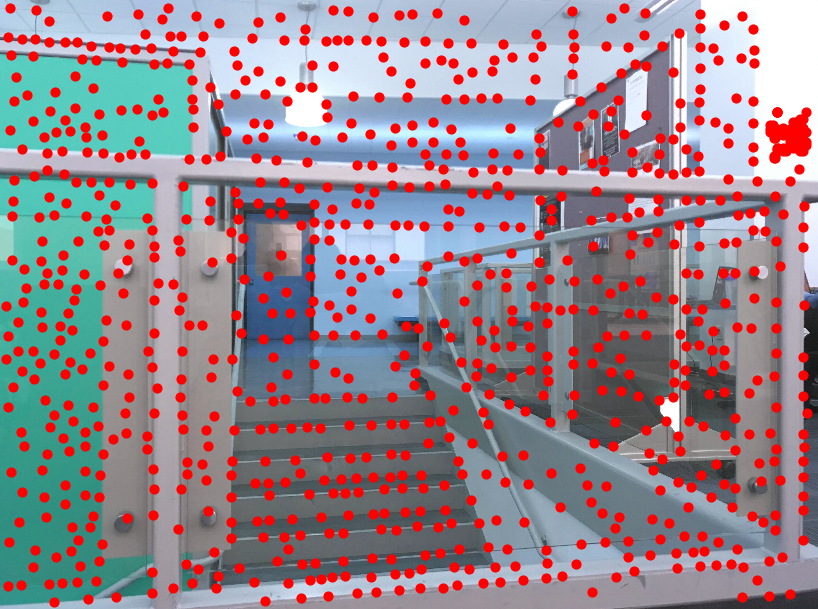
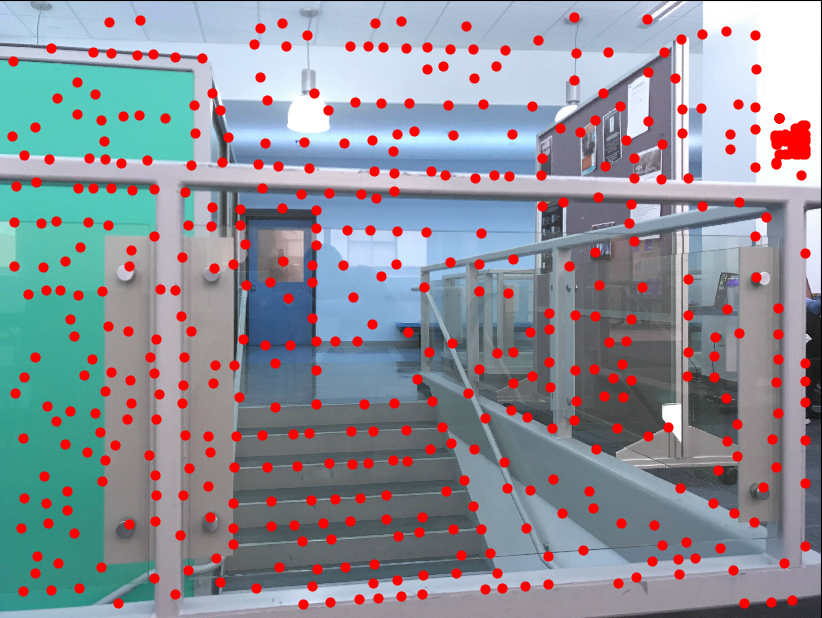
Detecting Corner Features
For each of the 2 input images, we use the Harris Interest Point Detector to
find points that we can use as correspondence points later to construct a
homography (we'll get rid of many of them before that). Clearly, as is, There
are A LOT of interest points.
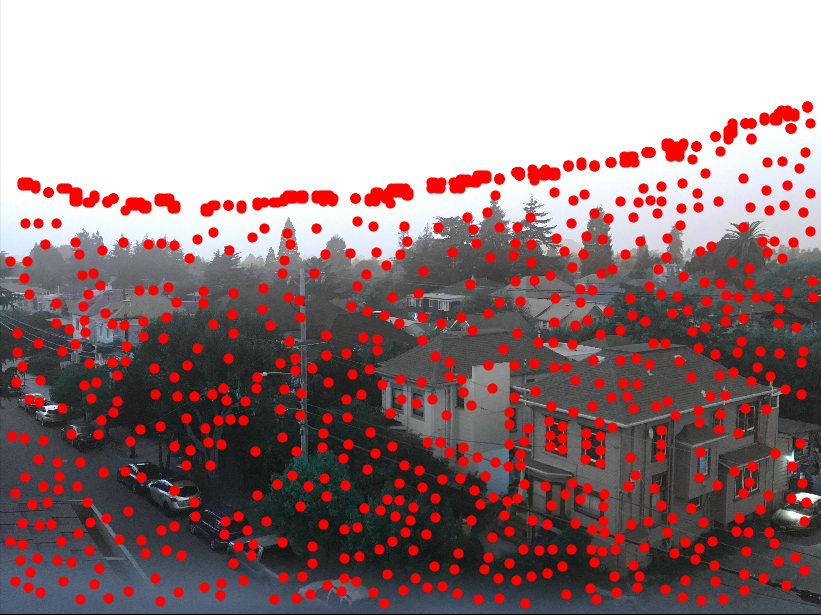
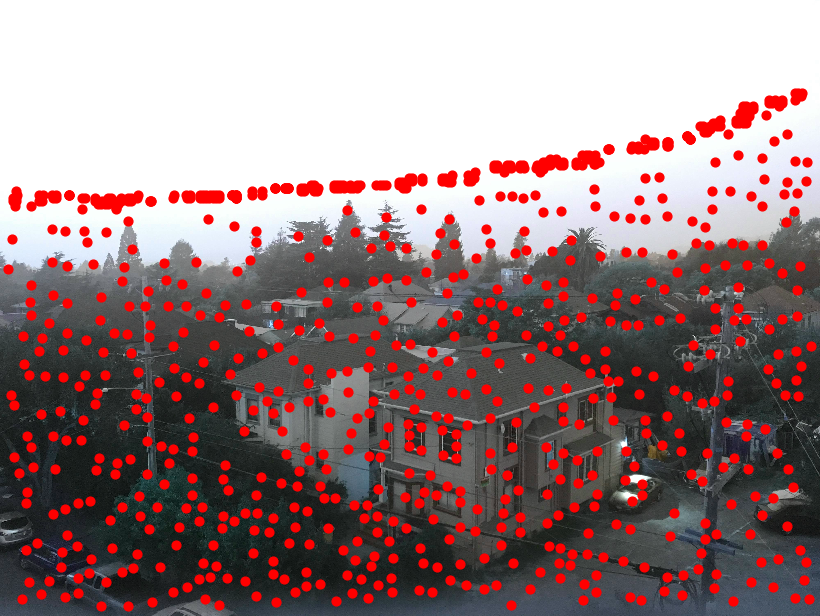
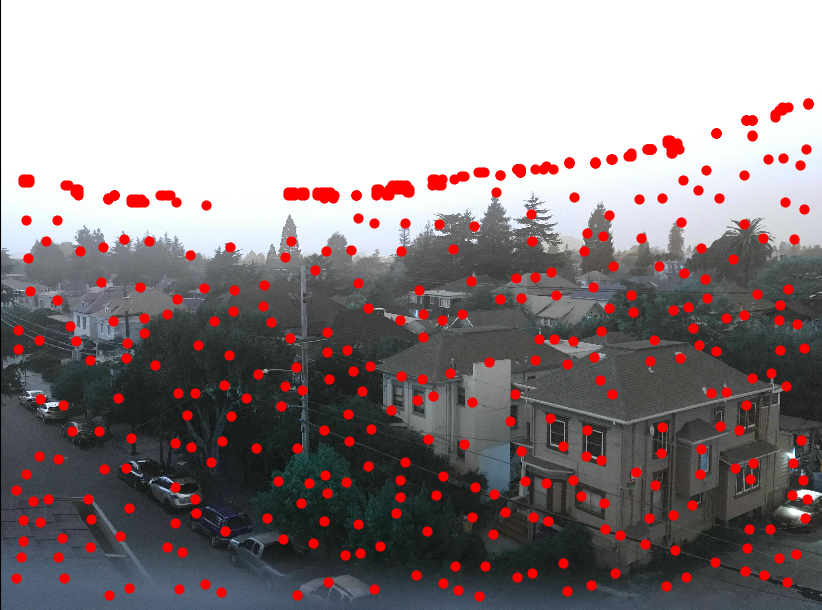
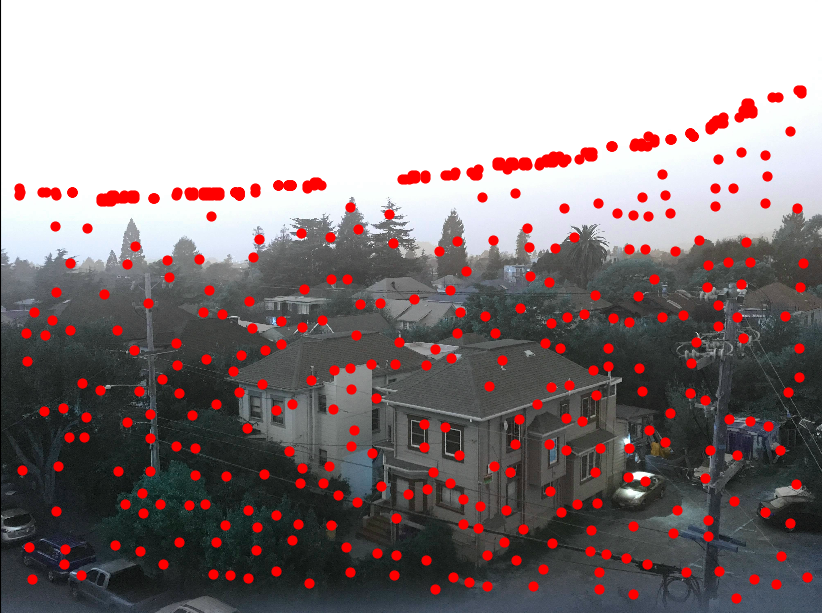
Adaptive Non-Maximal Suppression
To avoid the expensive cost of computing a homography using all of the
interest points seen above, we use ANMS. using the Harris points we found,
we loop at every point and compare with other points to find the min distance
to a neighbor of comparable intensity. We pick points by these distances, such
that the chosen points are the one with the largest suppression radius as
specified by the equation at the end of page 2 in the “Multi-Image Matching
using Multi-Scale Oriented Patches” by Brown et al paper. The points are now
limited at 500, and more evenly spaced.
Feature Matching
We create feature descriptors from each point that came out of ANMS. each
descriptor is an 8x8 grid sampled every 5 points across the 40x40
neighborhood of the point. We bias/gain-normalize the descriptors by
subtracting the mean, then dividing by the standard deviation. We match
the features by using the distance between each of the features. Each is
matched with their nearest neighbor, and is only selected if the ratios of
nearest neighbor to second nearest neighbor is below a threshold (I used 0.6).
RANSAC
We use RANSAC, or random sample concensus, to find the best homography matrix.
Over a given number of tries (500), we use 4 of the matches we have and
calculate a homography. We score it by the error between the points
transformed with the homography and the actual corresponding points in the
other image. This helps us differentiate between inliear and outliers - we
want to maximize the number of inliers (must be within a threshold distance
from the actual point). We keep the result of the best iteration. Now that we
have a homography matrix, we can continue on as in part A of this project and
warp and blend the 2 images.
What I Learned
One of the harder parts of the project was just being able to read through
the paper and process the information in it - definitely a newer skill to me.
I also realized how simple but effective RANSAC is, that feature matching
isn't necessarily as easy as it sounds, and that choosing smart features
is super important.