For this project we warped multiple photos together to create our own mosaic or panarama
First we computed a homography matrix that we could use to figure out how to warp an images to another. Below shows how we computed the homography matrix
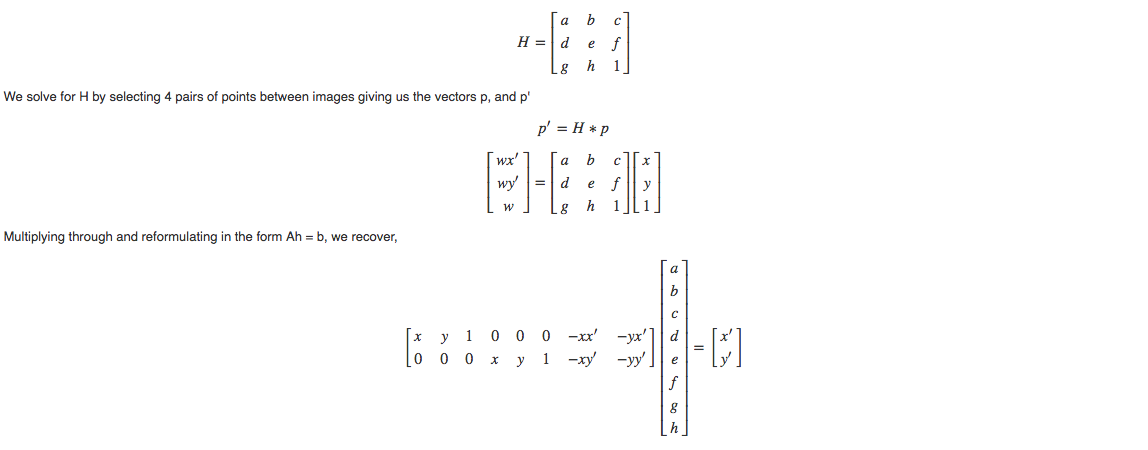
Input Image #1 - Warping Entire Mural to Square (Online)
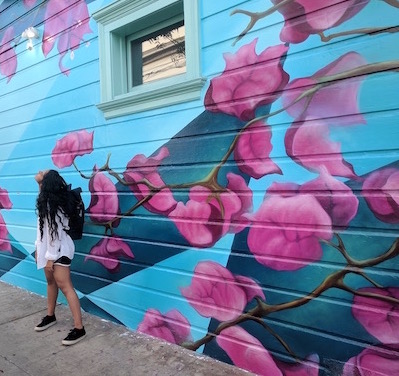
Rectified Image #1: Wapring the window to a square
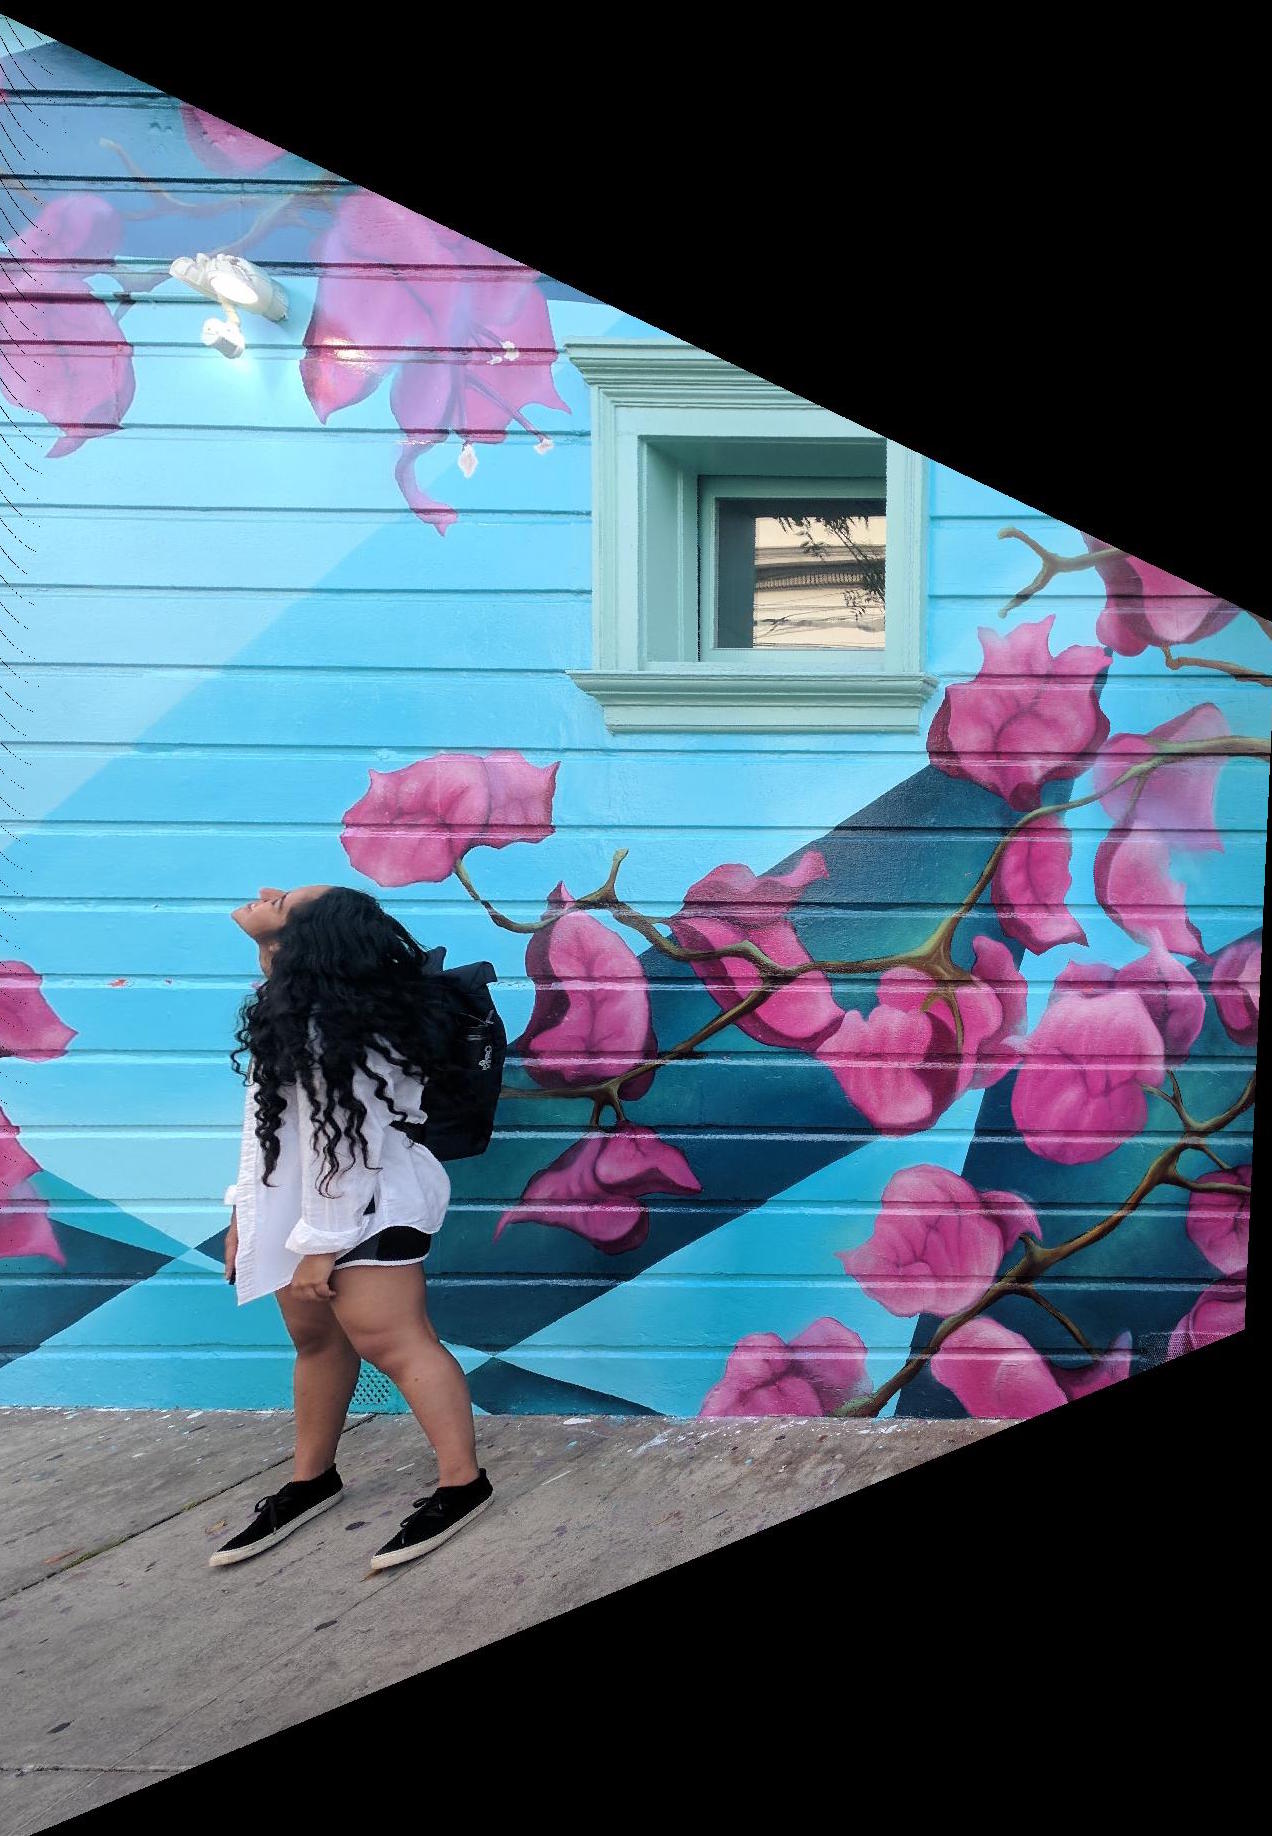
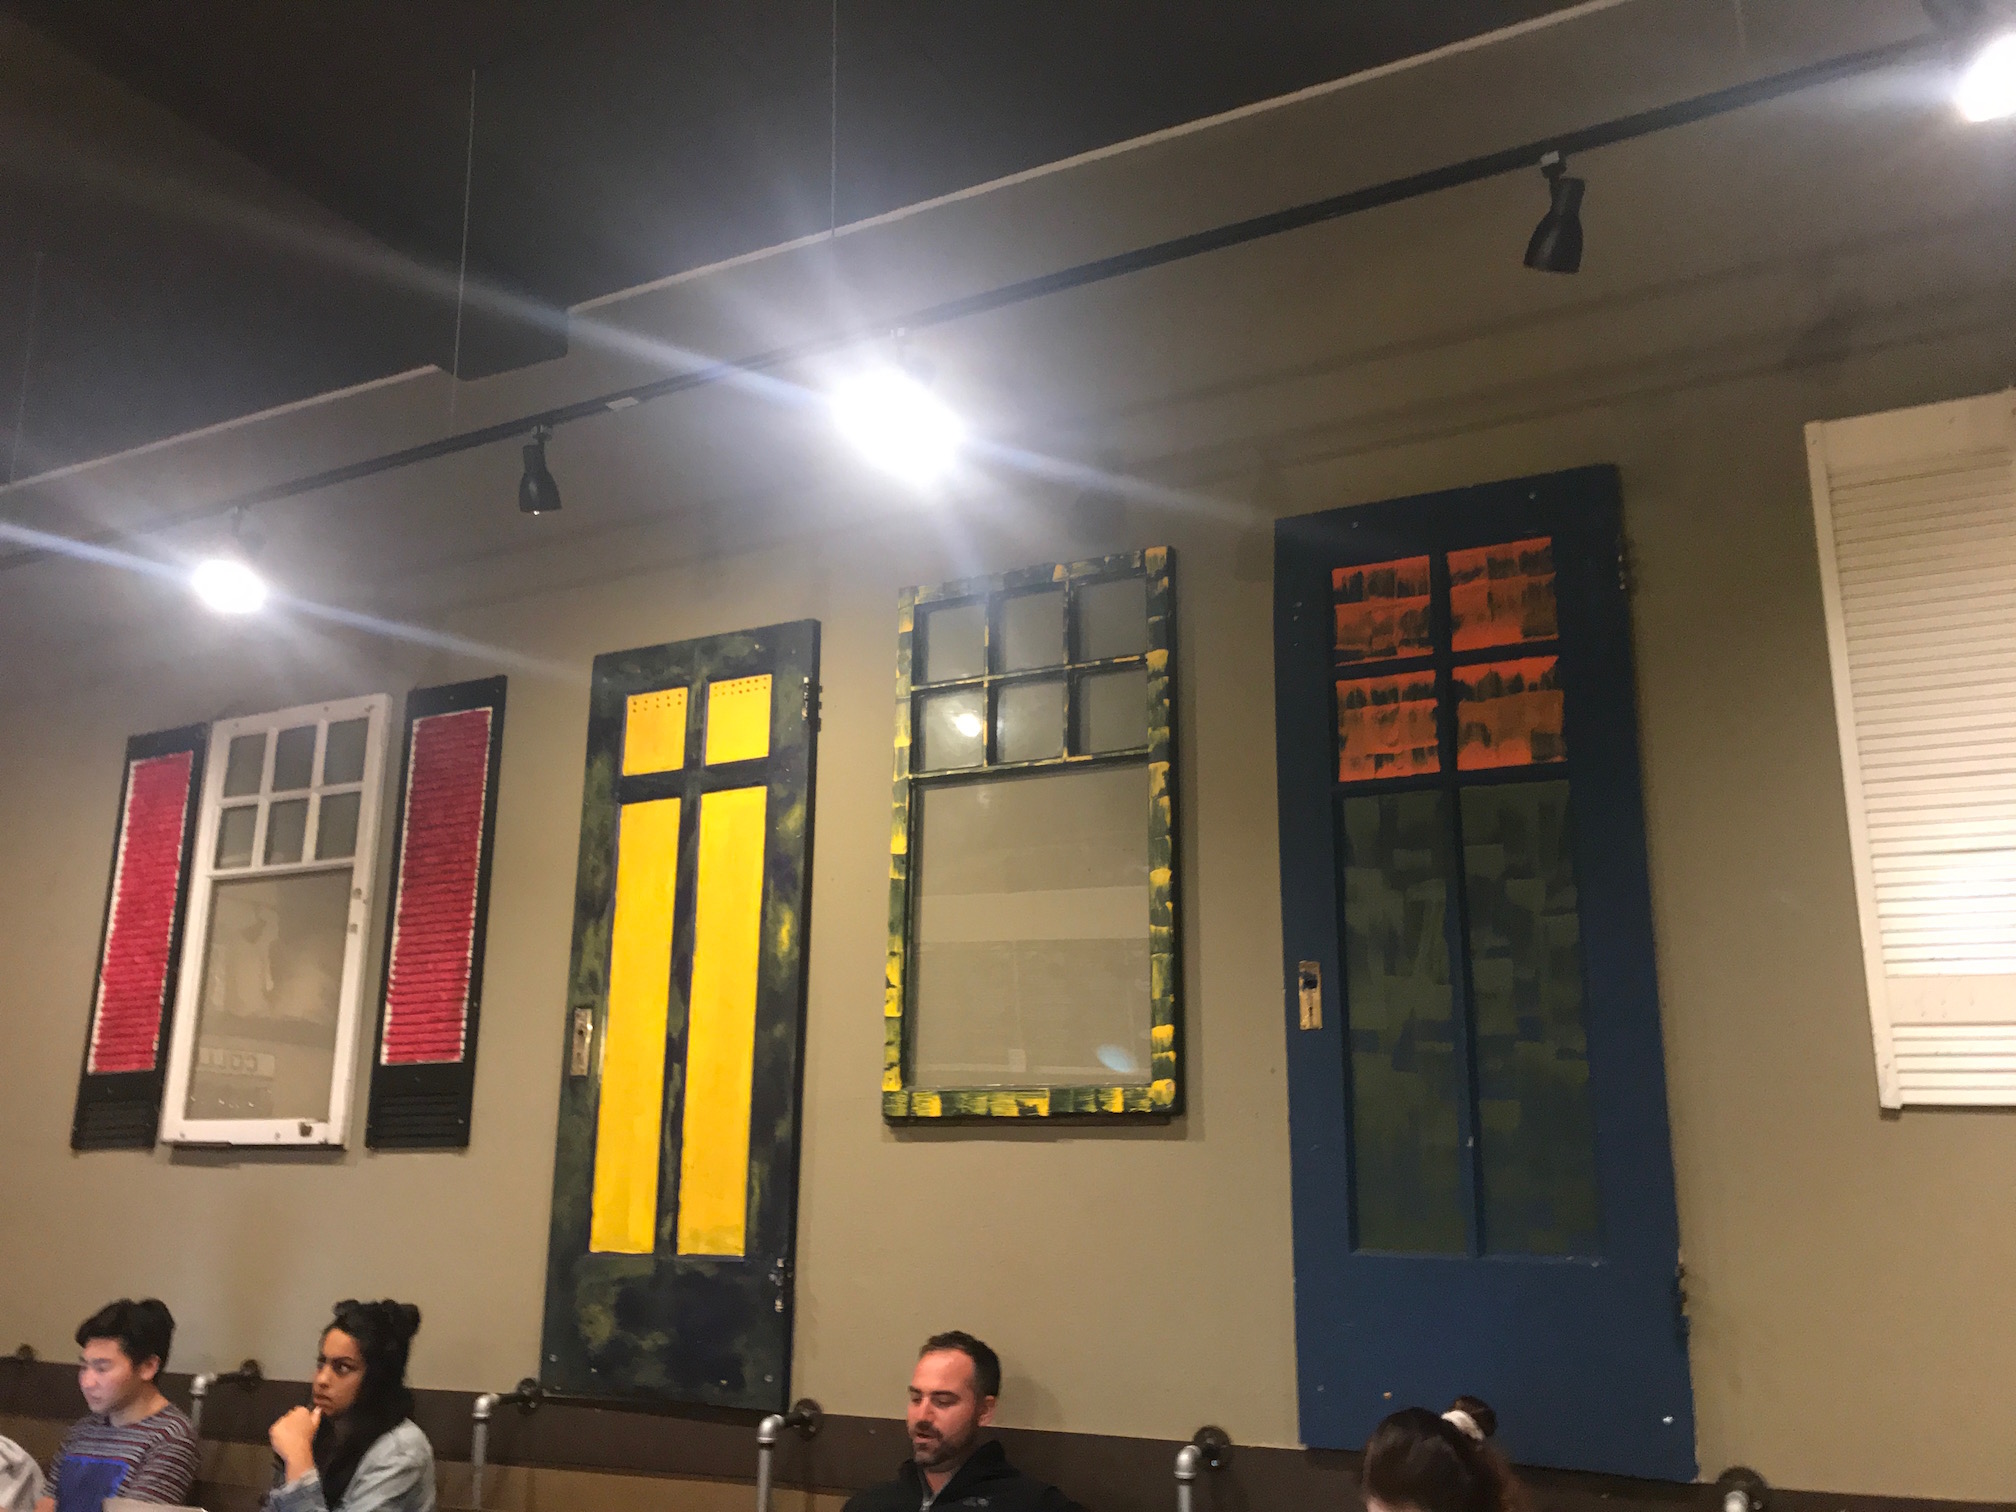
Input Image #2 - A beautiful living room (oh wait its mine)
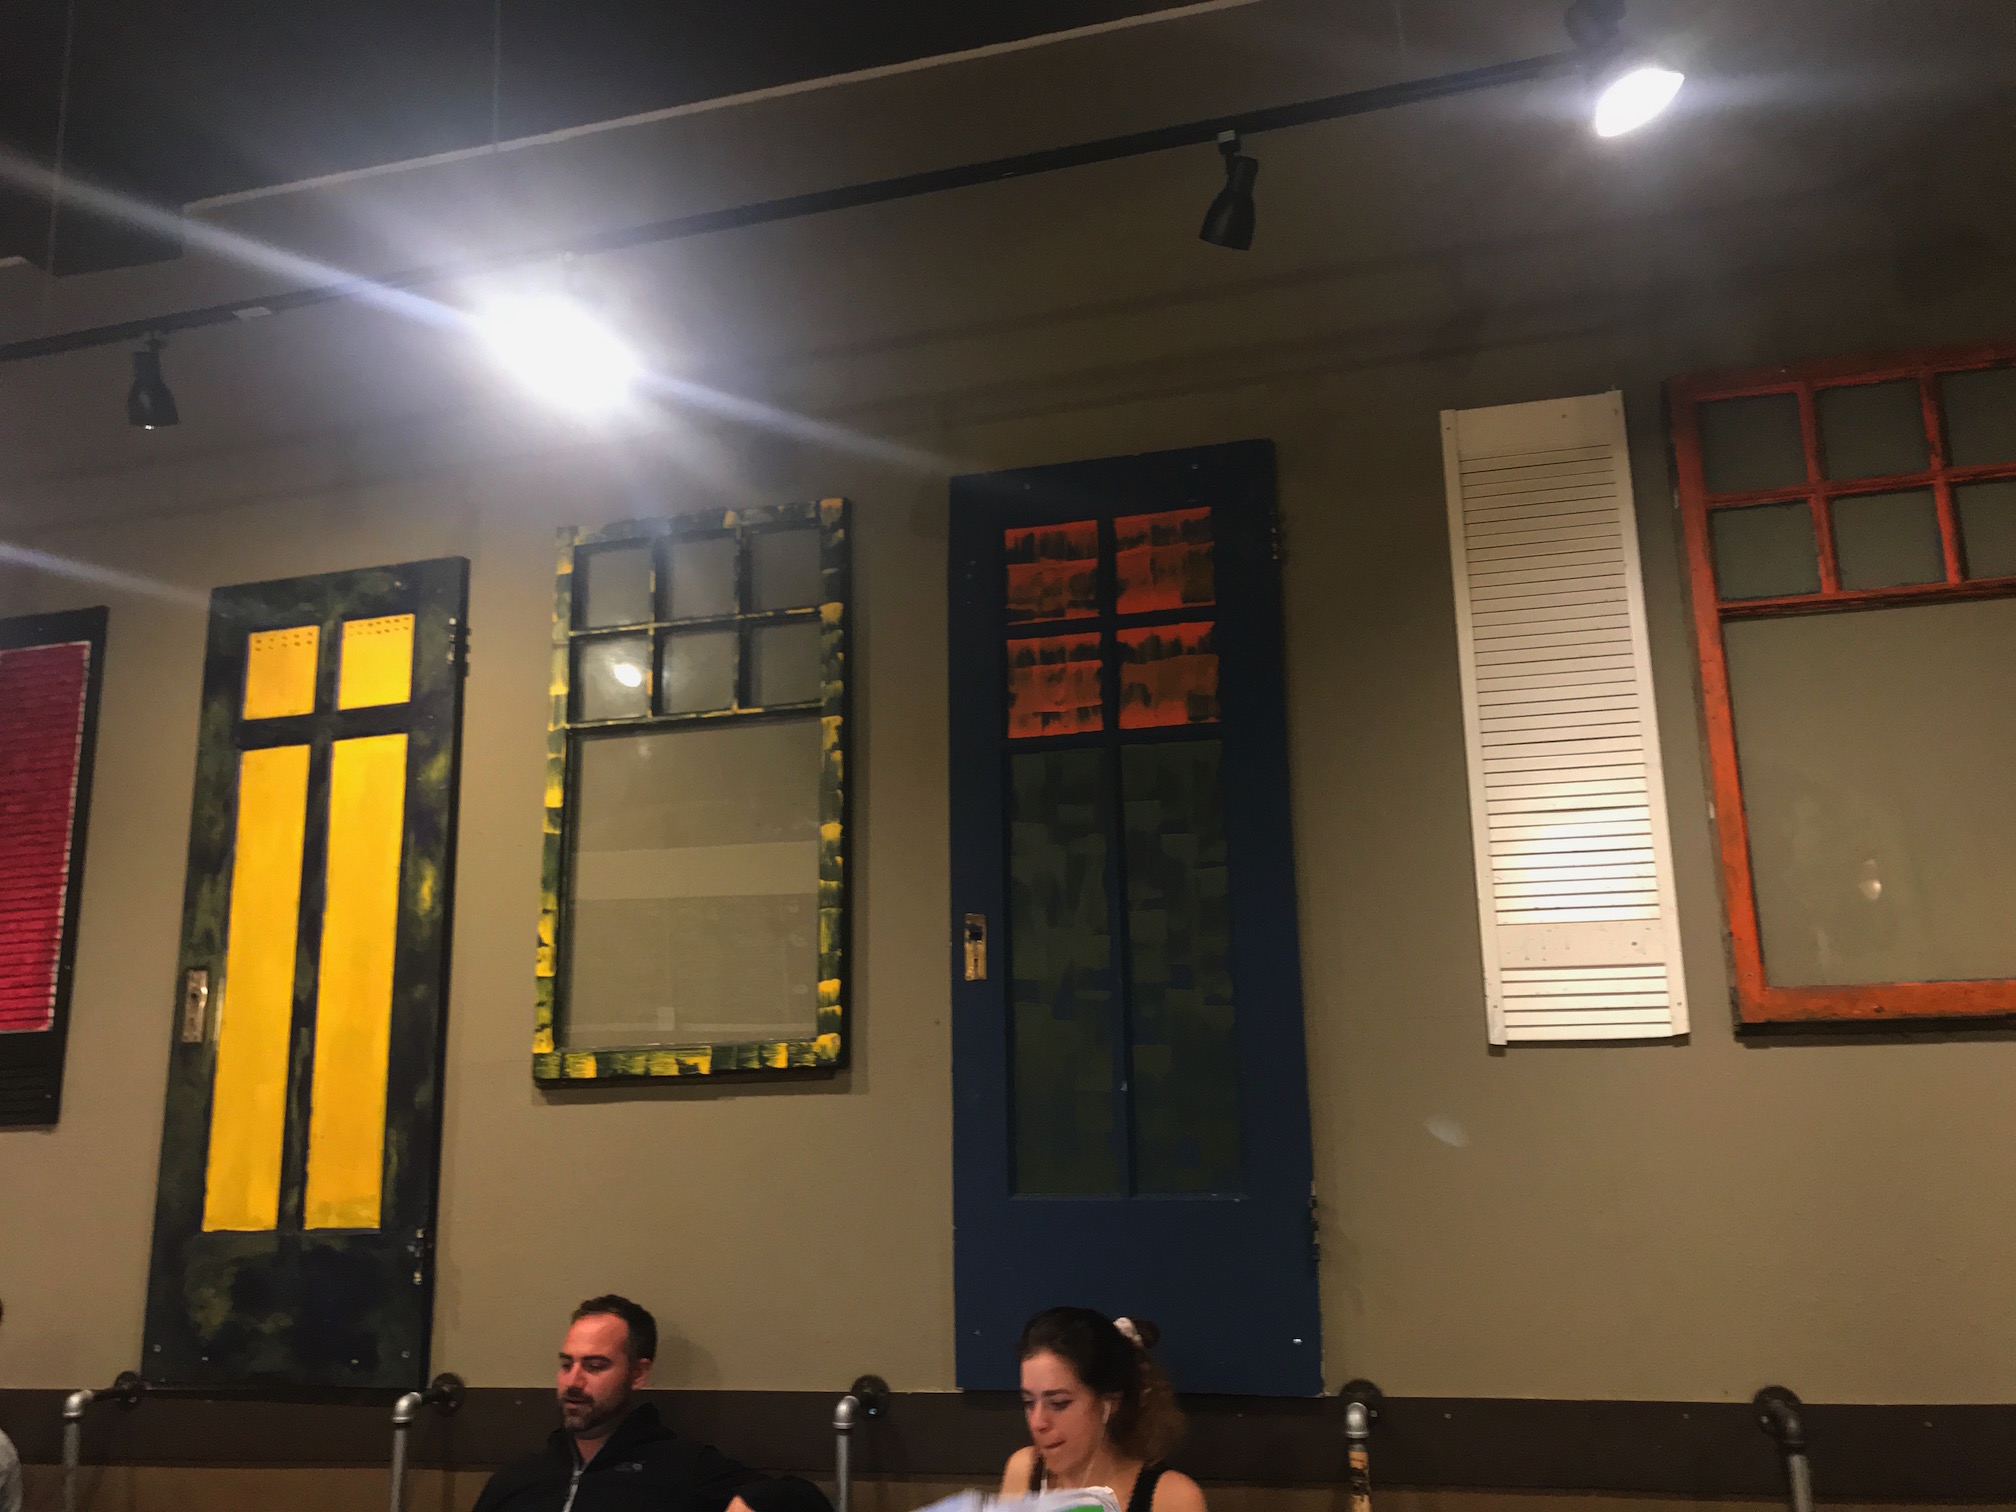
Rectified Image #2: Let's make the right most window to a square

To create a mosaic image, we are essentially trying to match two images together. We first identify key points both images share, then compute their homography and then we choose to warp one of the images to the other and then overlay then. During the process of overlaying we also compute a "shift" factor to ensure no images are warped outside the bounds of our available plotting area.
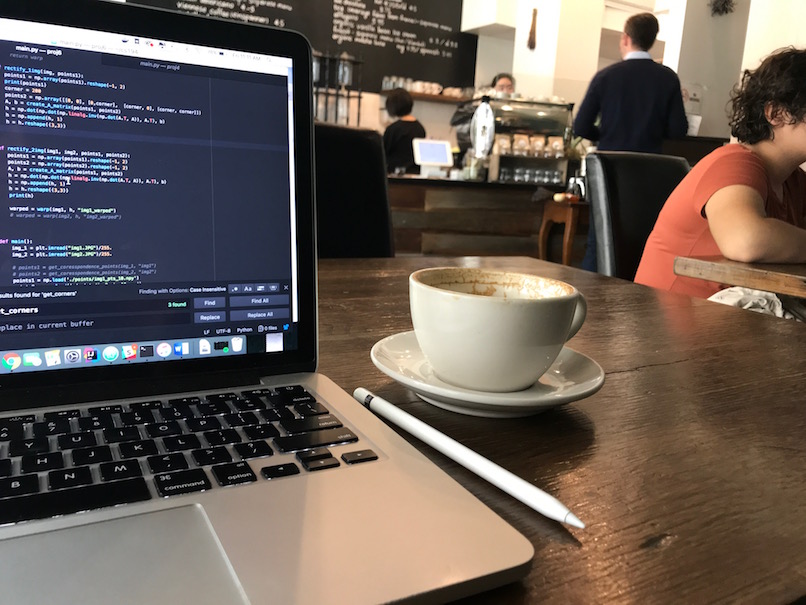
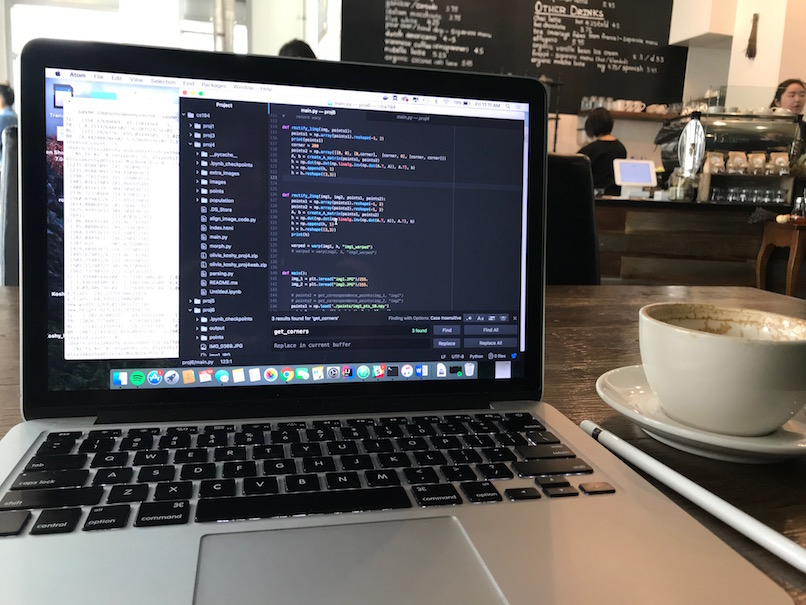
Input Image #1 (At a Coffee Shop)
Input Image #2b (Camera)
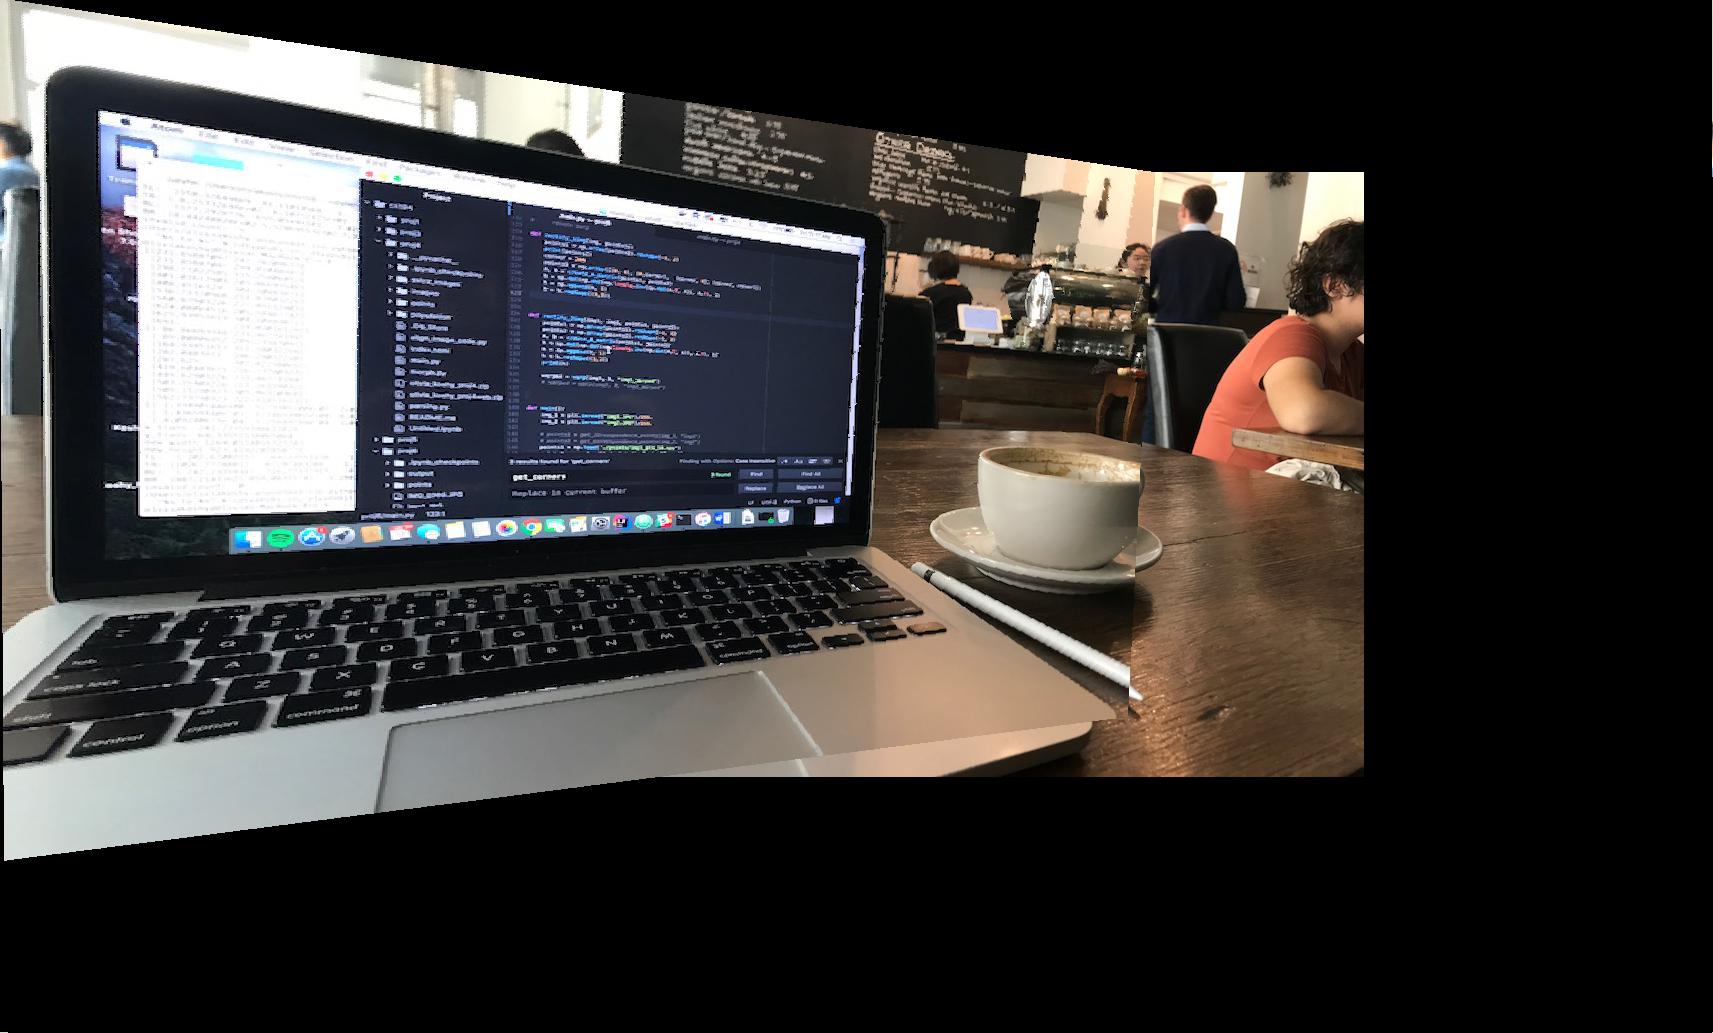
Mosaic Image #1
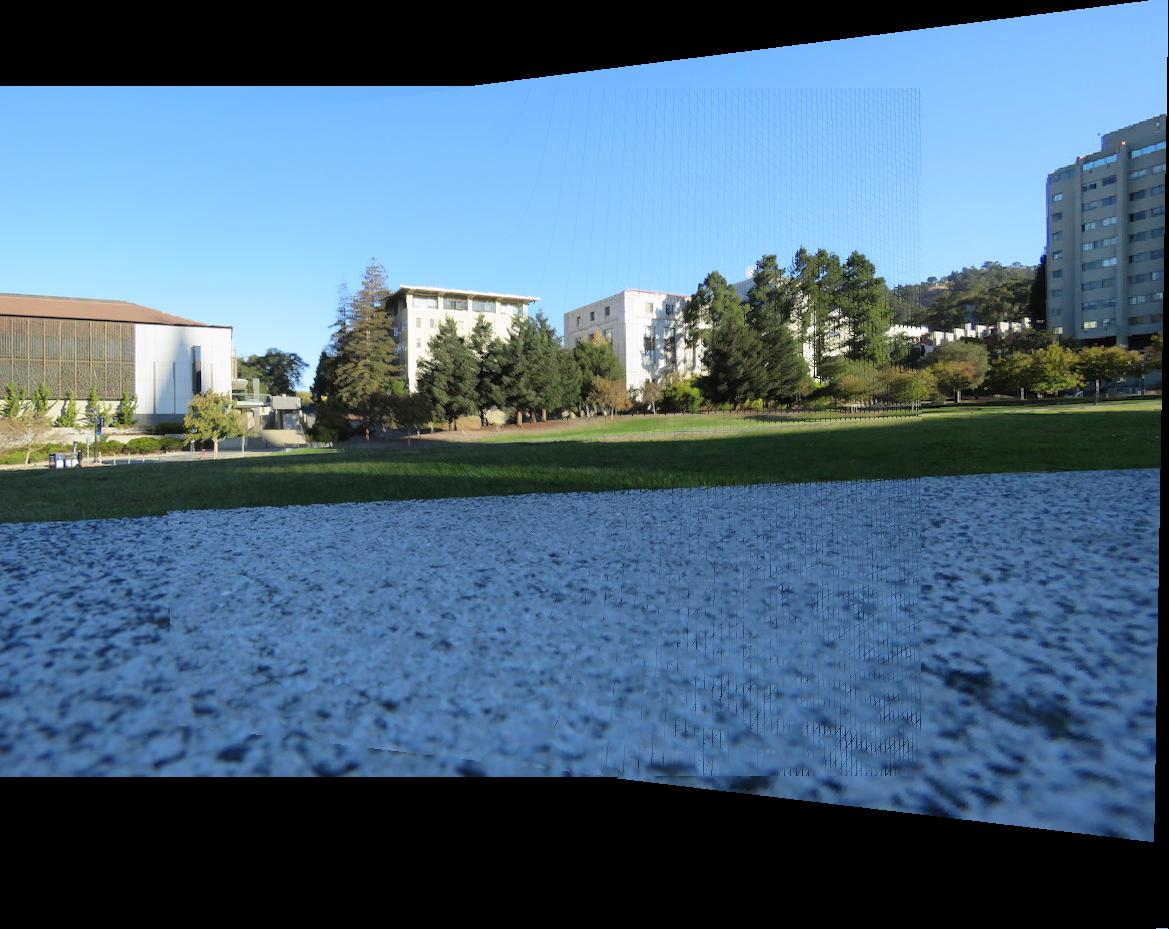
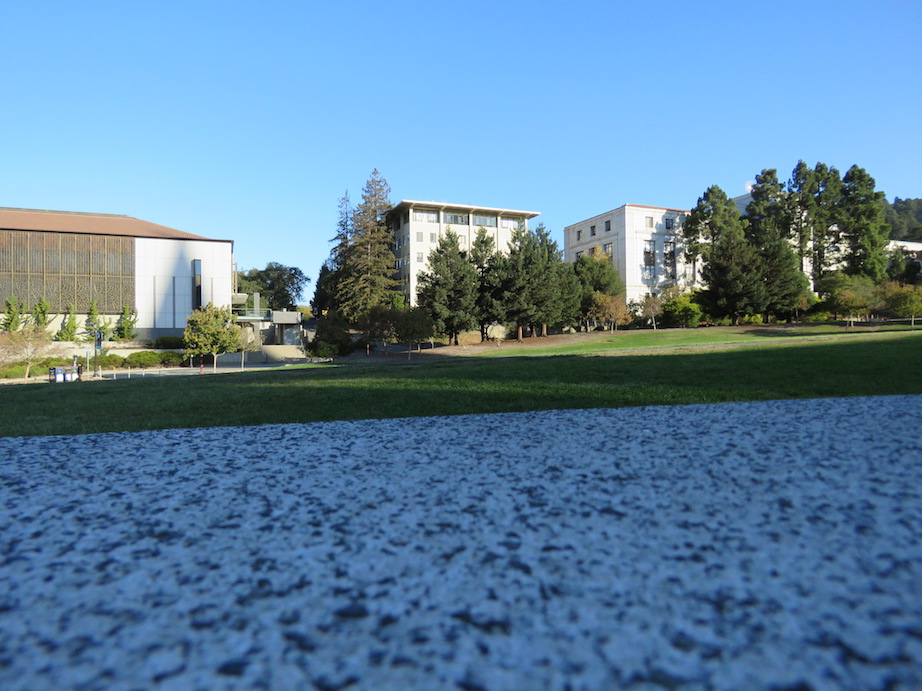
Input Image #1 (At another coffee shop)
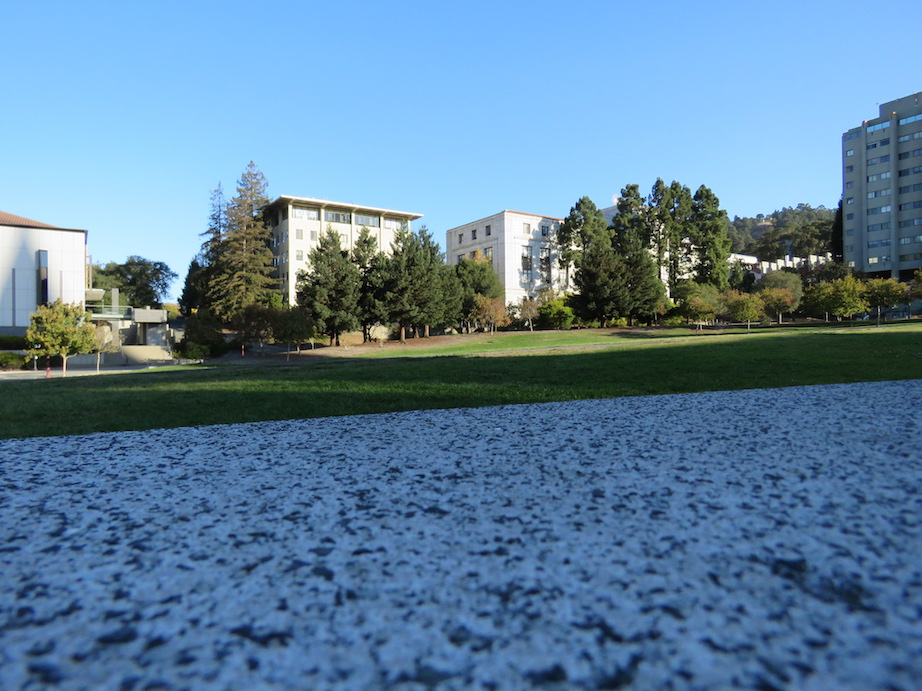
Input Image #2
Mosaic Image #2
Input Image #1C (Not at another Coffee shop)
Input Image #2C
Mosaic Image #3
For this project we tried to make the process automatic such that no human is needed to pick "feature points" between the two images and rather they're automatically generated.
The first part of this was detecting "corners", to do tihs we could use the provided code from harris.py to get our initial features, although it usually returned way too many points often times very close to one another. So then we also used implements Adaptive Non-Maximal Suppression that allowed points to be a bit more spaced out.
Harris Corners points
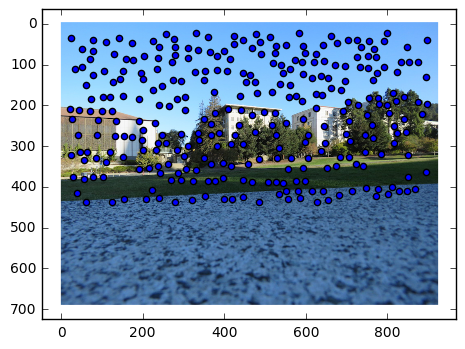
ANMS Corner points

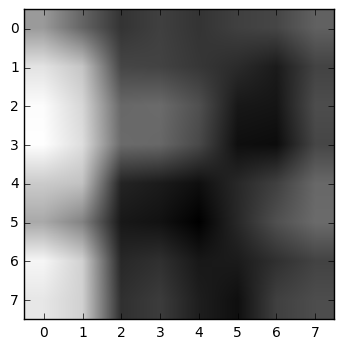
After choosing points, we created these points into features by taking a patch around each point and blurring (to prevent aliasing) and downsampling and then finally flattening to a length 64 feature vetor.
Example of a feature
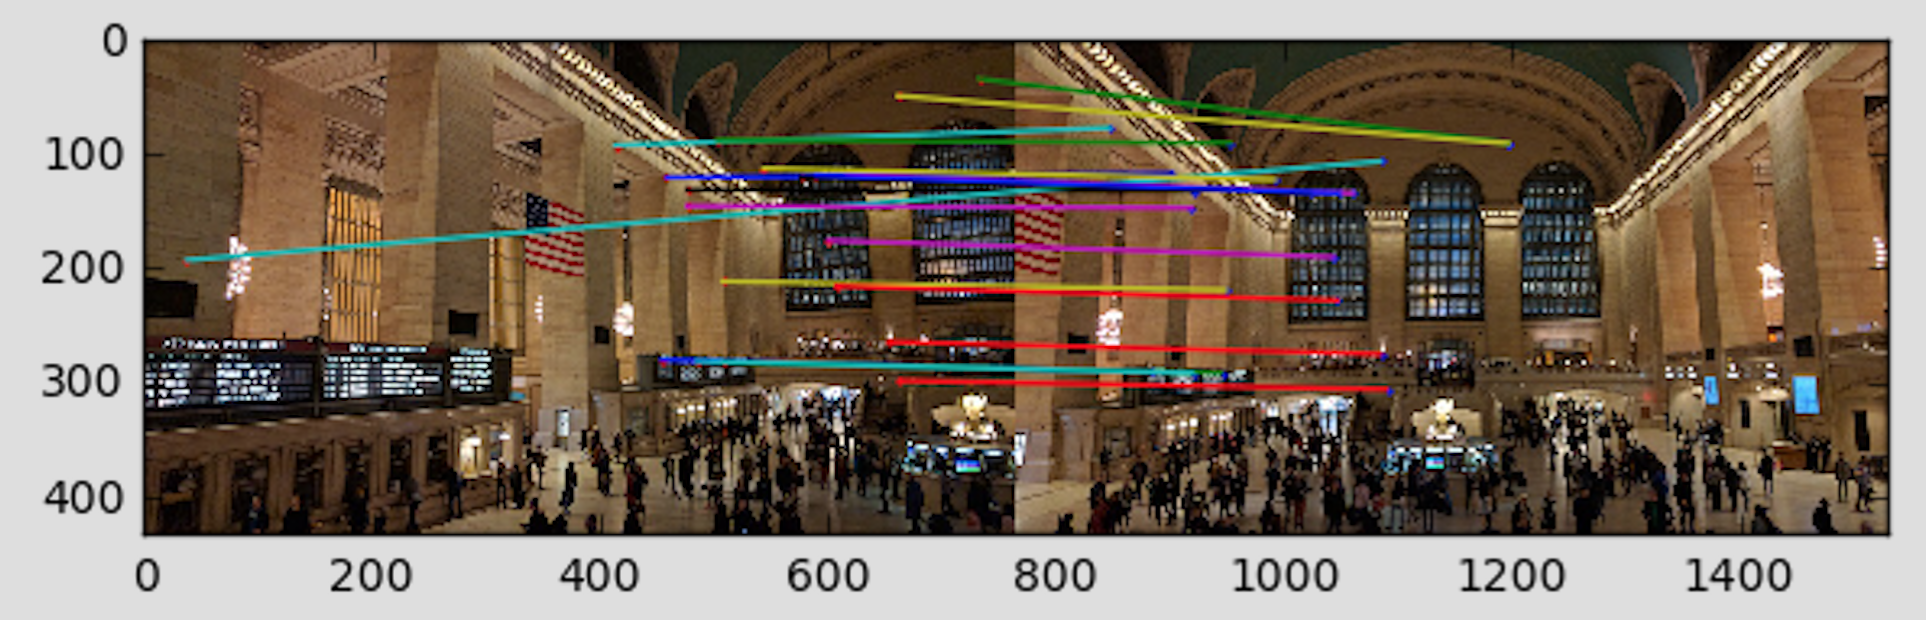
We then watch to find features that match in our image, so we implemented a feature matching. We thresholded each match by the ration of the dist of NN1 and dist of NN2. We could then also try and visualize what our feature point correspondance looks like!
Example of feature correspondance
We then implemented RANSAC to try and find the points that would get us our "best" homography such that we'd get beautifully aligned images like below!
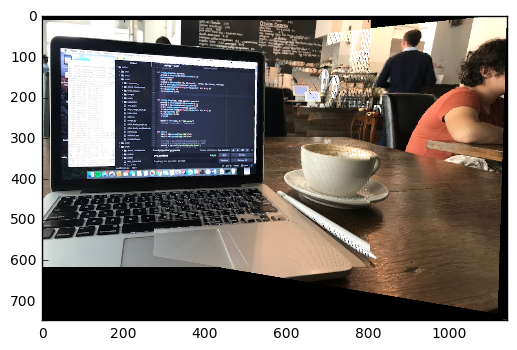
Mosaic Automatic Coffee Shop Scene
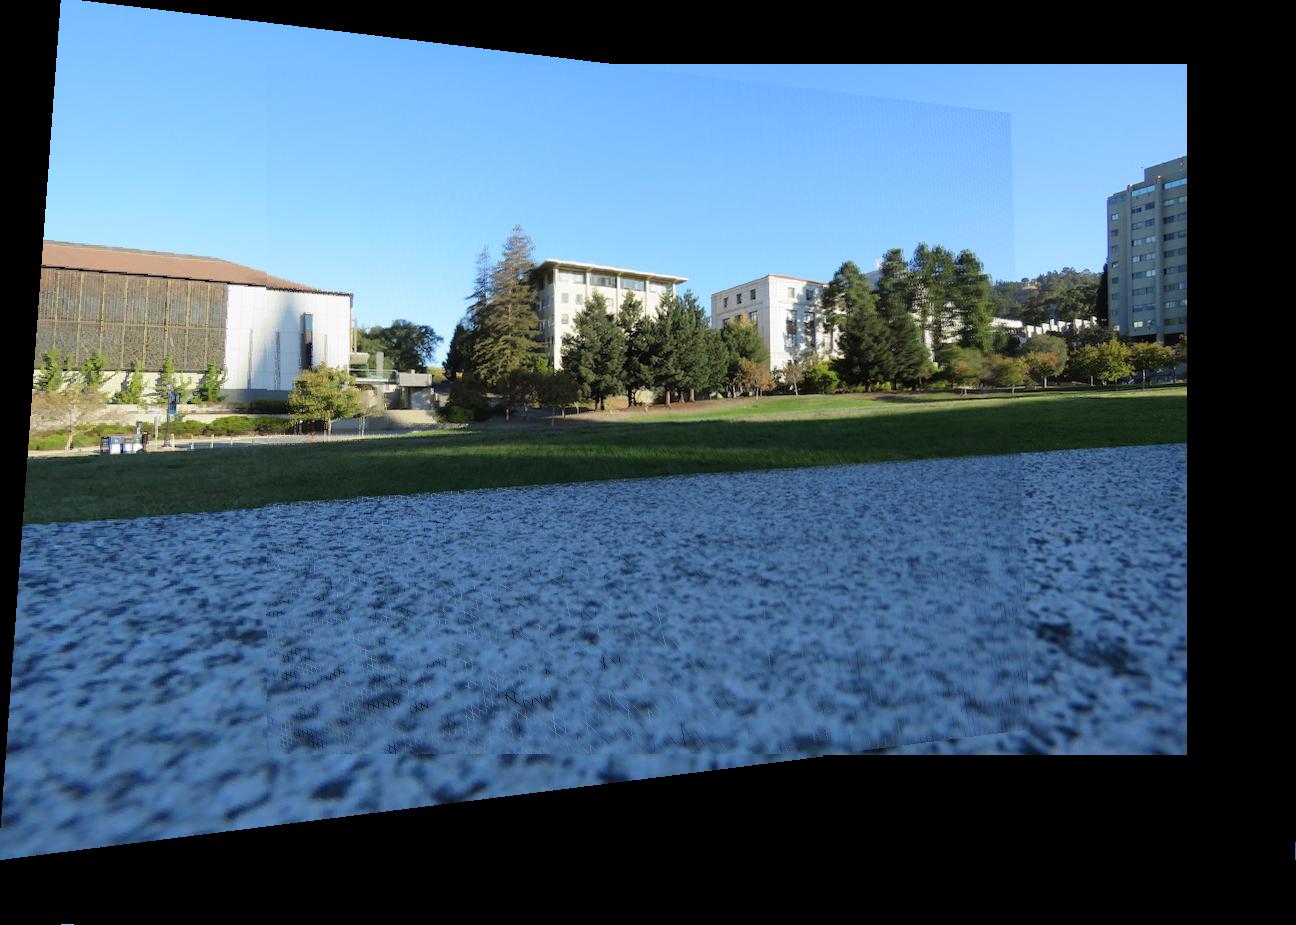
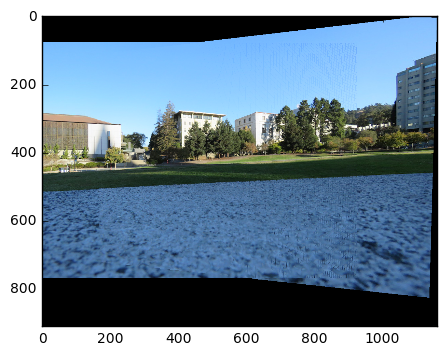
Mosaic Automatic Glade
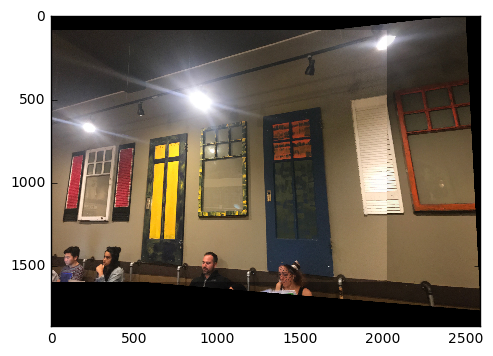
Sacks Automatic Mosaic
I learned that some relatively simple algorithms could do really well, possibly as good as humans detecting key points which was cool! I also learned (or I have learned through out this class) that working with matrices and image data is really freaking hard since it's always to easy to get indices messed up and you should frequently be trying to test your code/visualize so you understand how you're doing.