Overview
This project introduces us to image mosaicing, which allows us to stitch together two or more photoes of the same scene taken from varying angles. This creates an effect similar to the panorama camera feature on today's smartphones.
Calculating Homographies
Given an image and a set of reference points, we want to calculate the proper warping matrix to warp an image into a desired angle. To do so we create a 3x3 homography matrix, H to warp source points p to a set of destination points p'. We generate this matrix by setting up a system of 8 equations:
We can then apply this matrix to any set of points p in the image to warp it to its new position p':
There is no easy way to visualize the results of this step. alone (aside from possibly showing some example H matrices I generated). However, this step is very crucial in being able to complete the rest of the project
Image Rectification
Image rectification is a type of image transformation that takes a photo of a scene and warps the image so it looks like the photo was taken from a different angle.
In order rectify an image, we take two sets of 4 reference points: 1 set to outline a specific object in the image we want to use as a reference when warping, and another set to define the perspective of the warped image. The reference object works best when it is rectangular, so we can define the object's 4 corners. We then use those points to generate a homography matrix which we will use to warp each pixel in the image to the target perspective. The results of some morphs are below
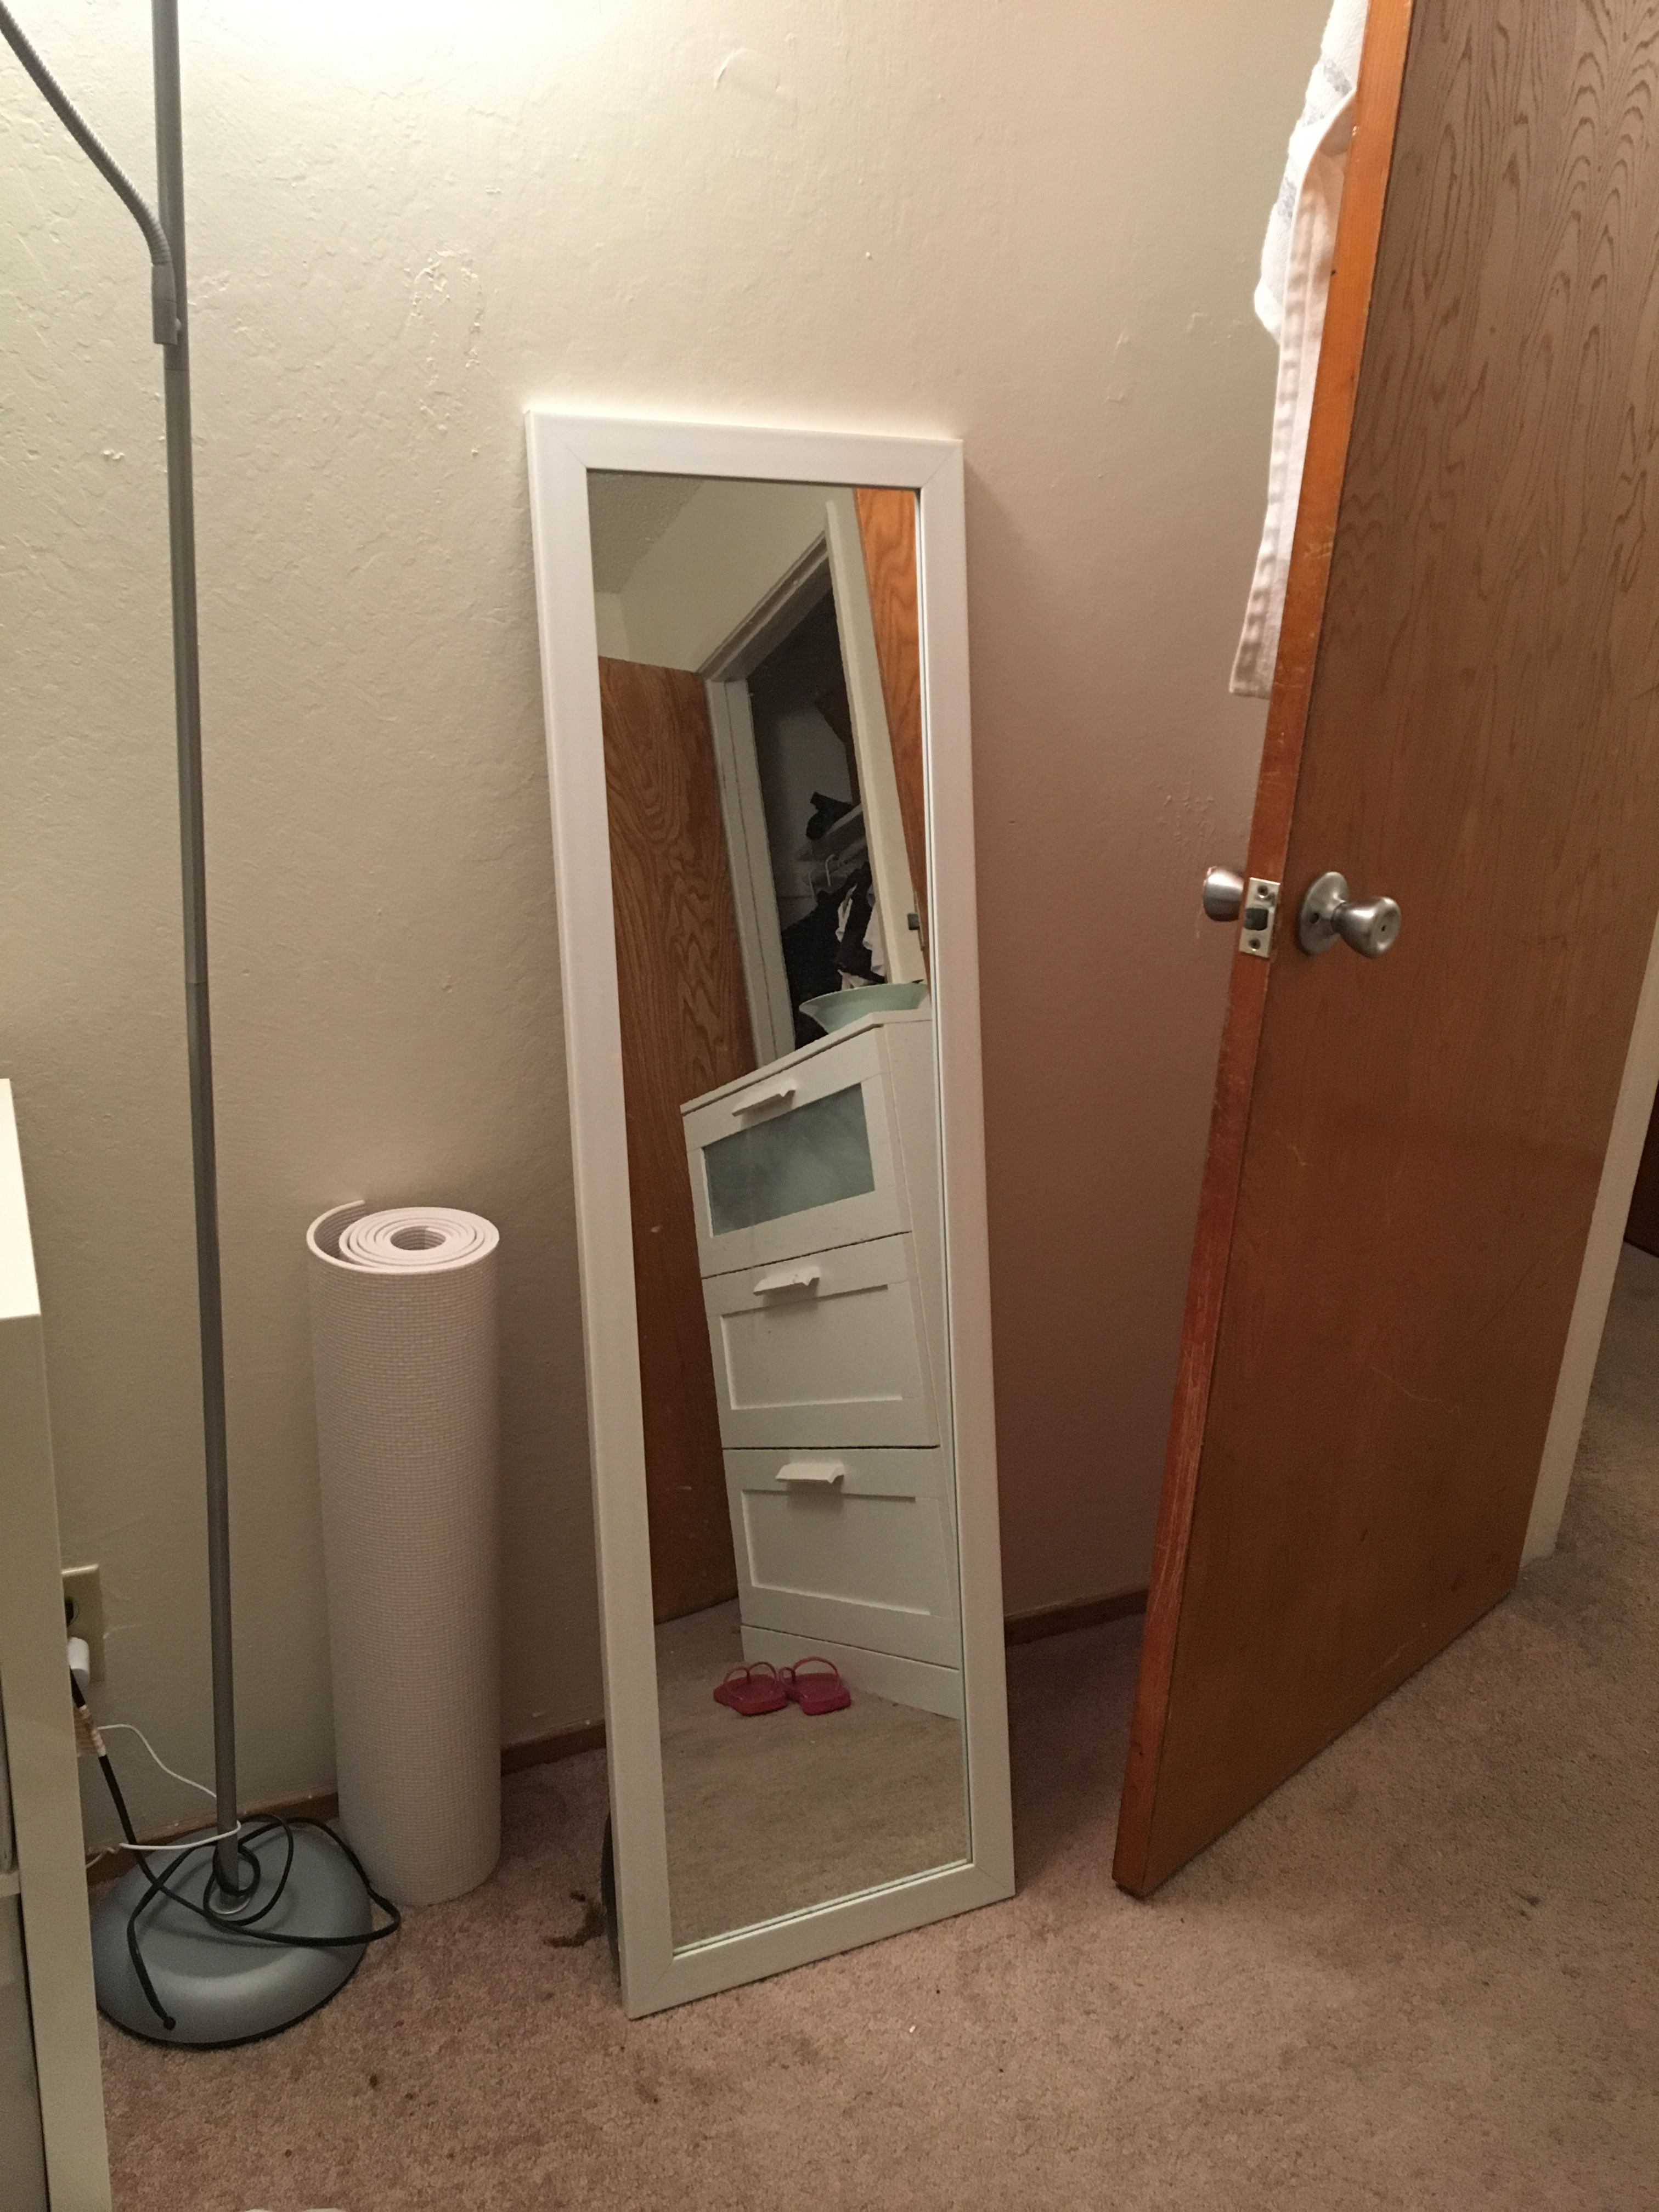 My friend's room
|
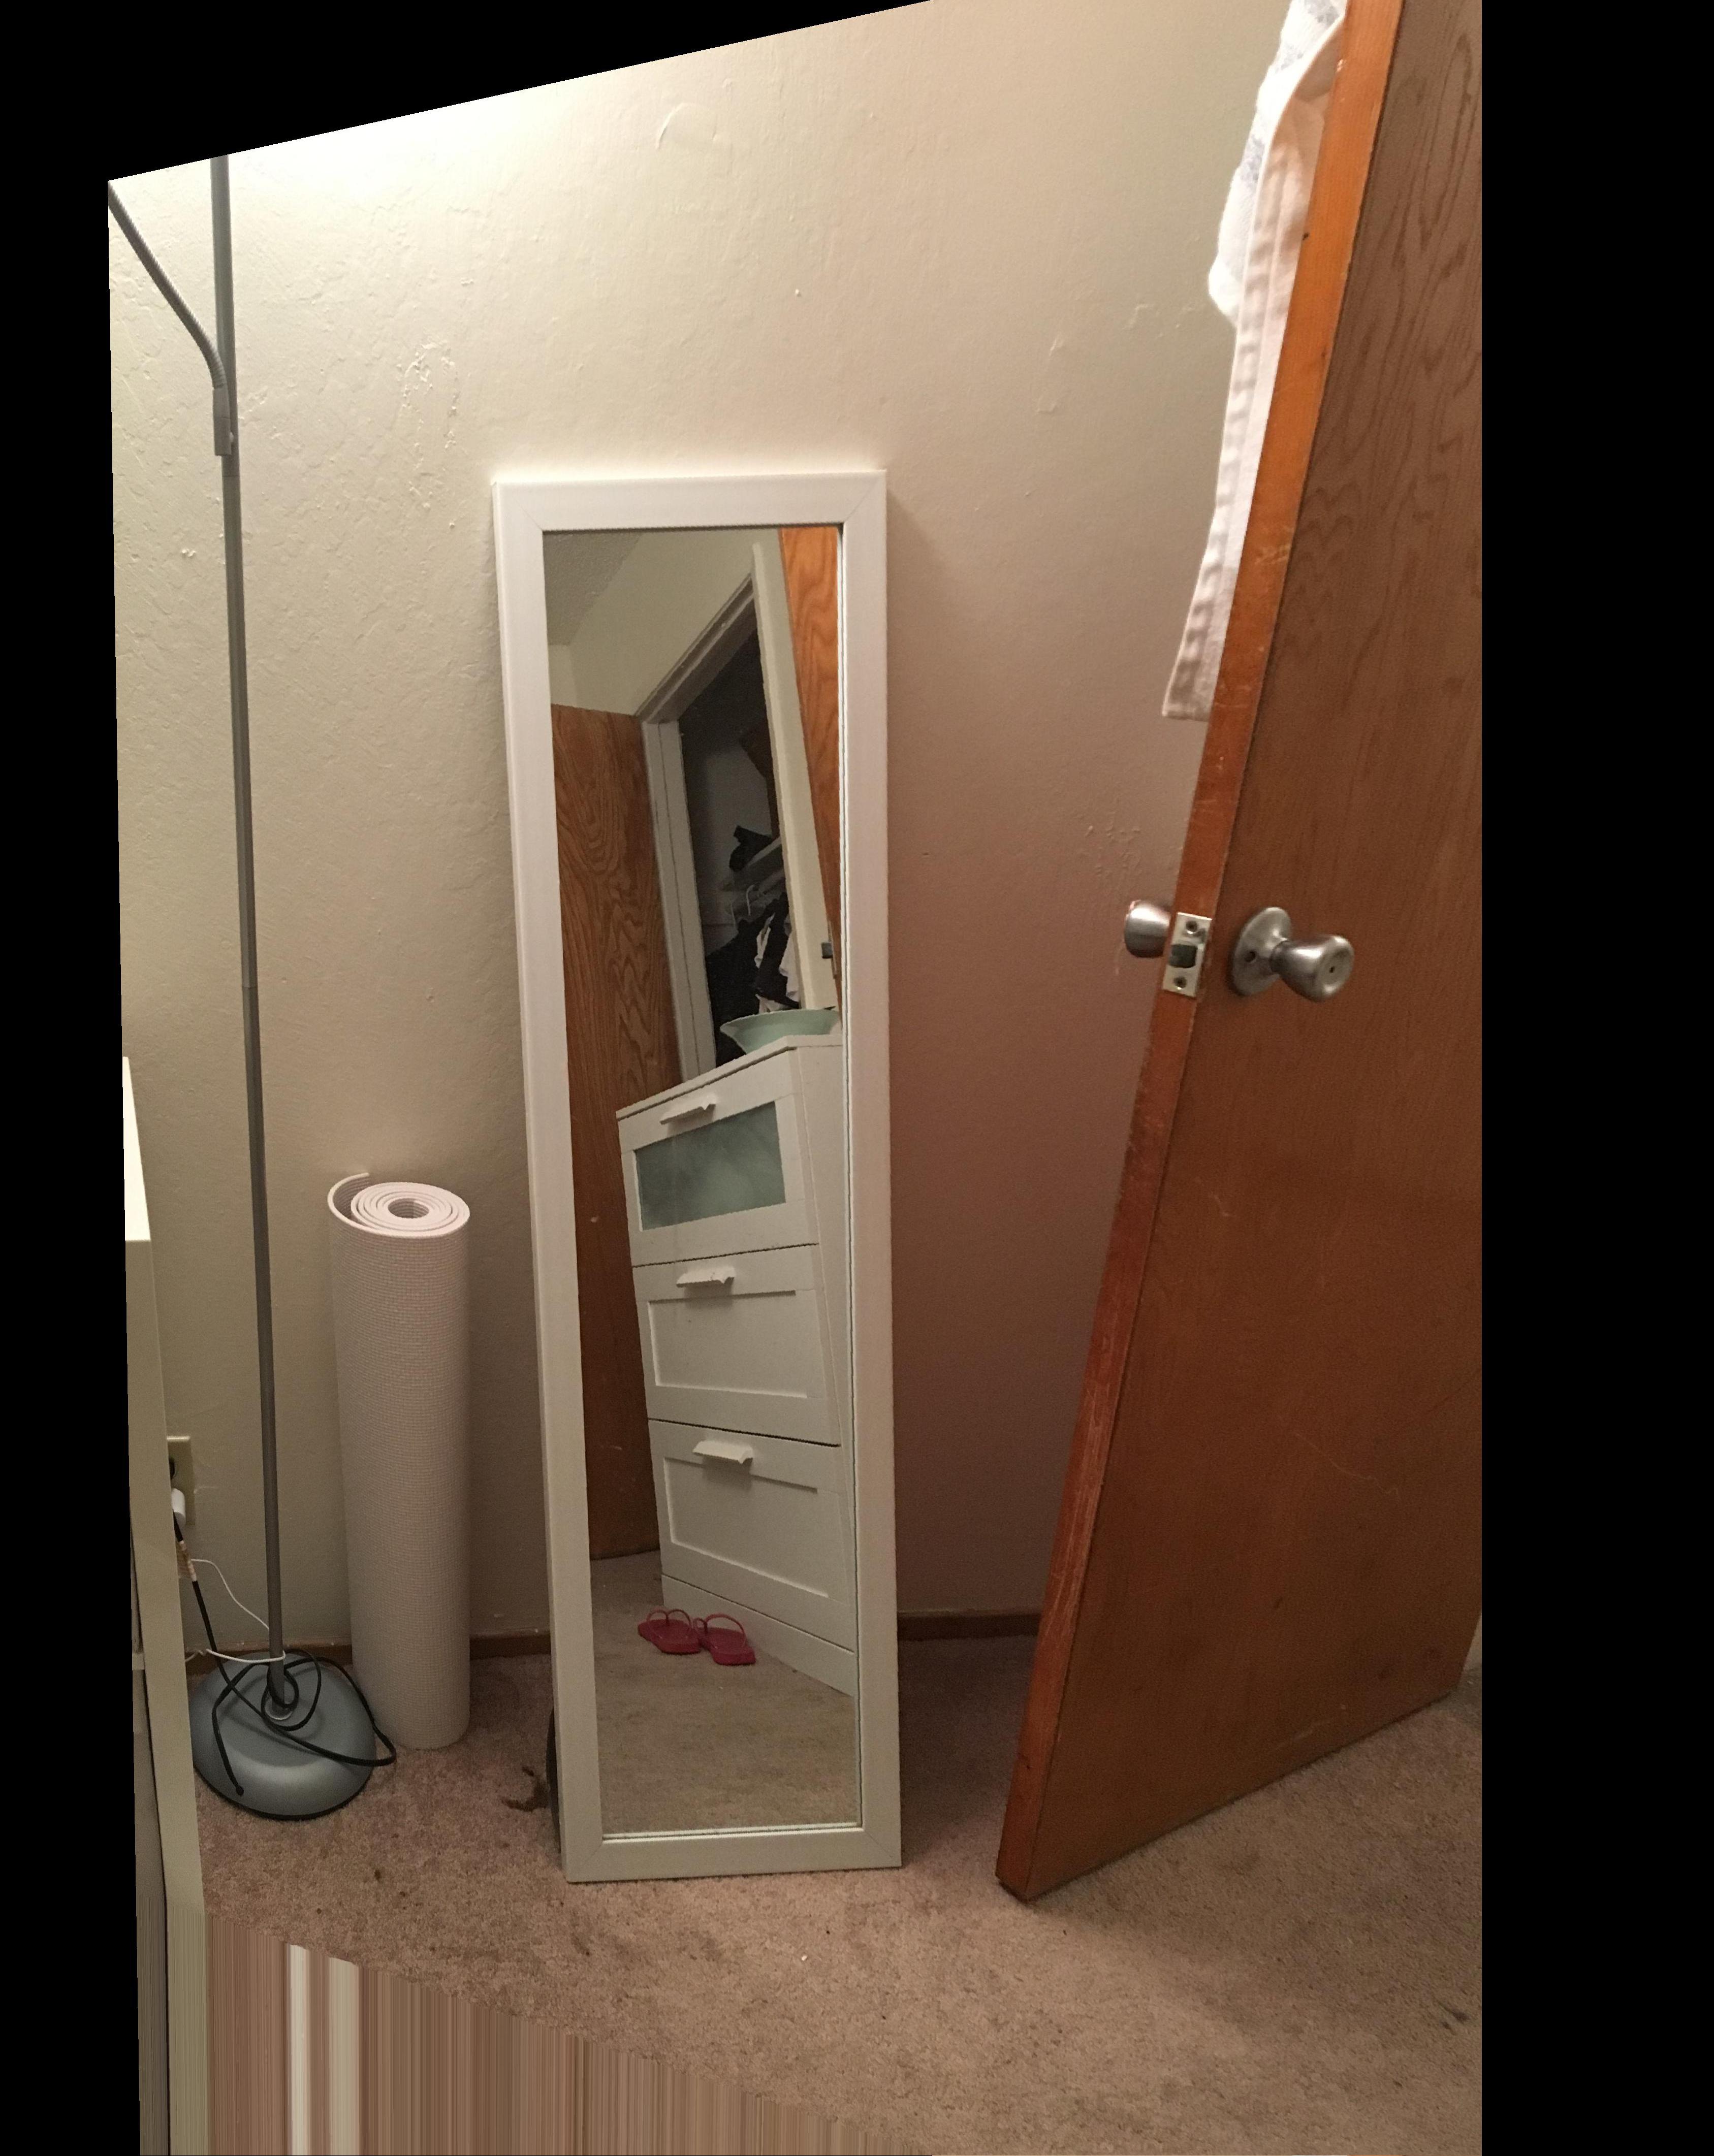 Rectified
|
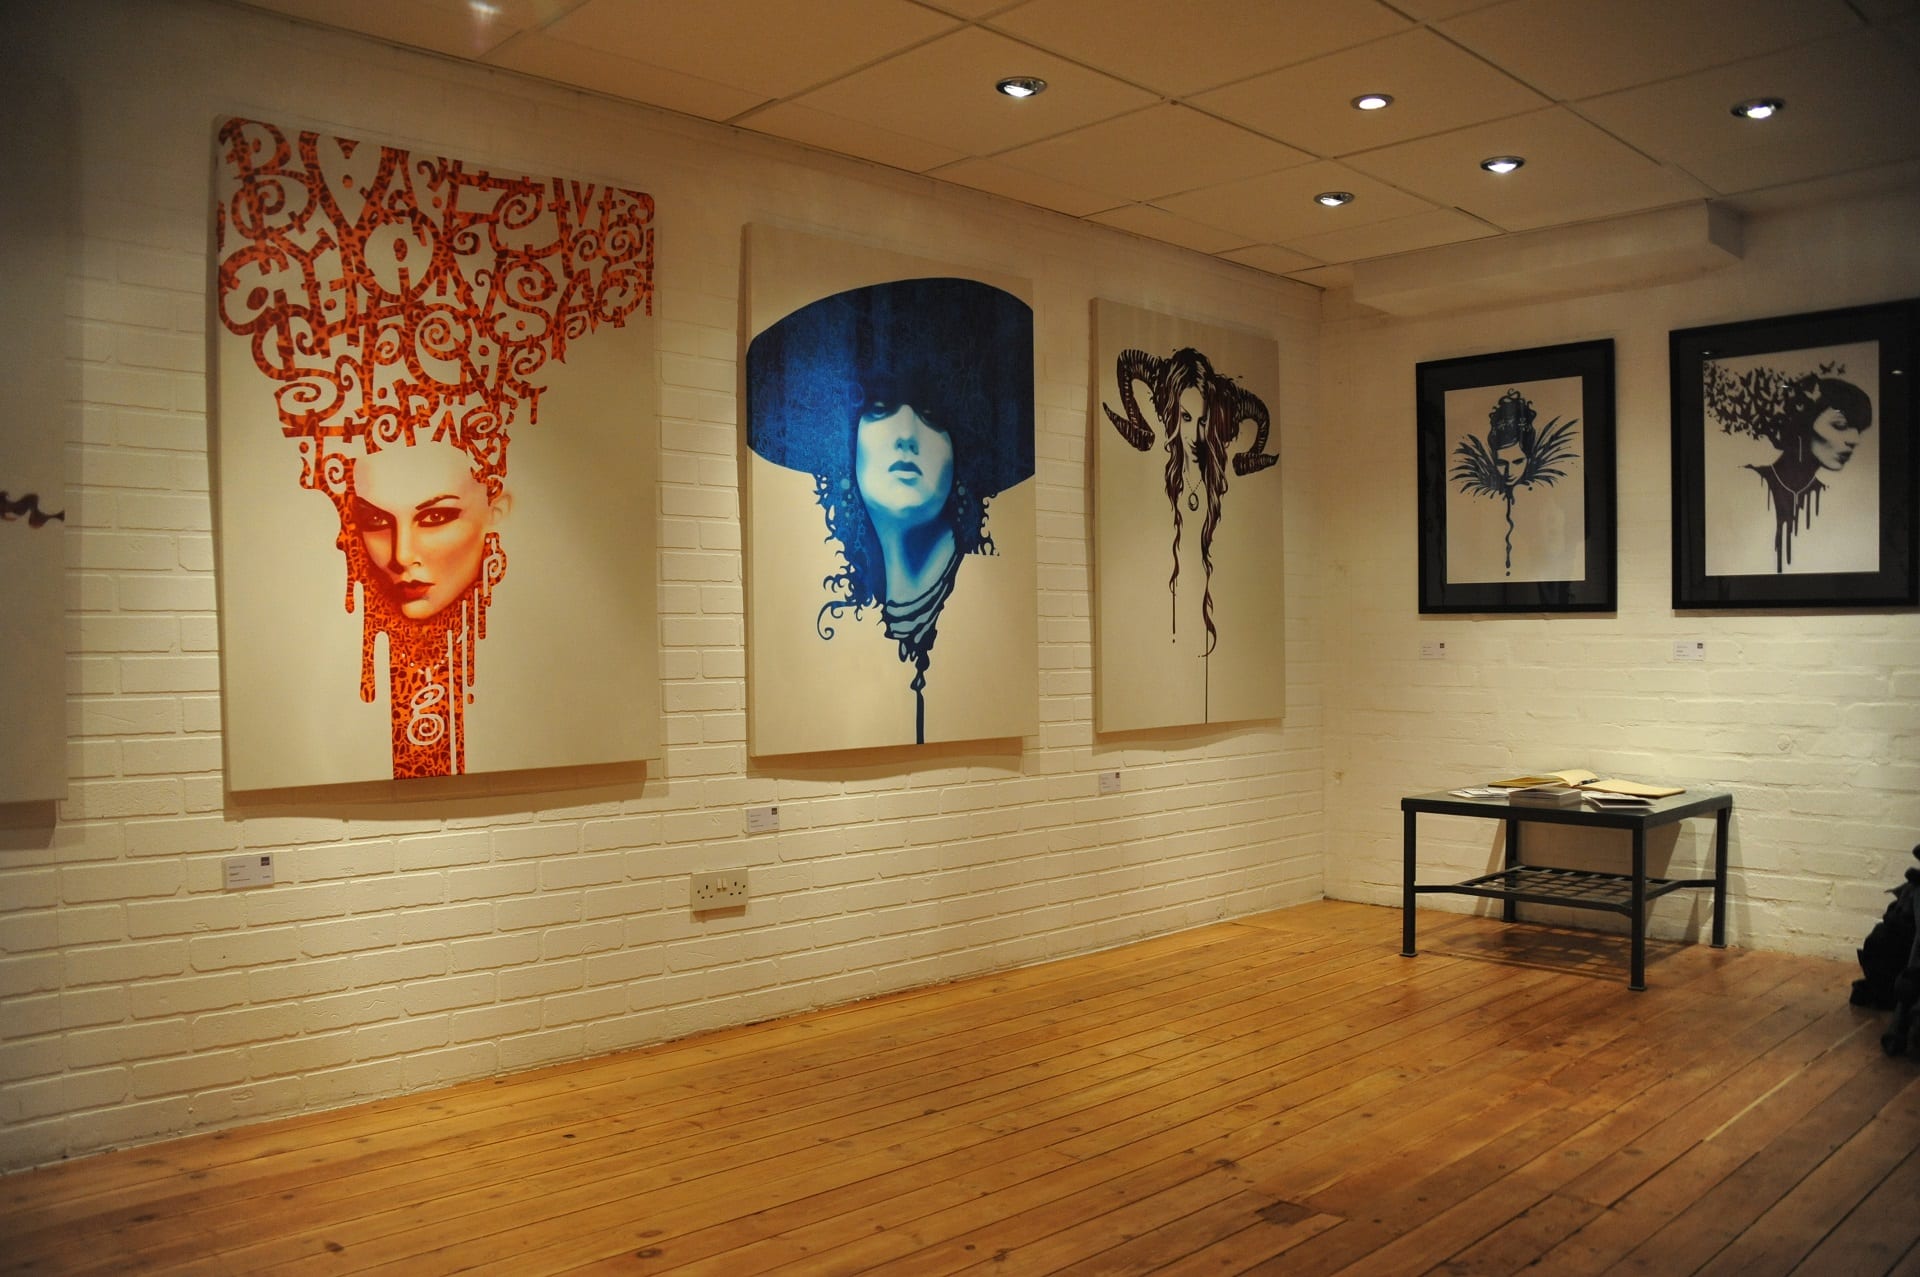 An art gallery
|
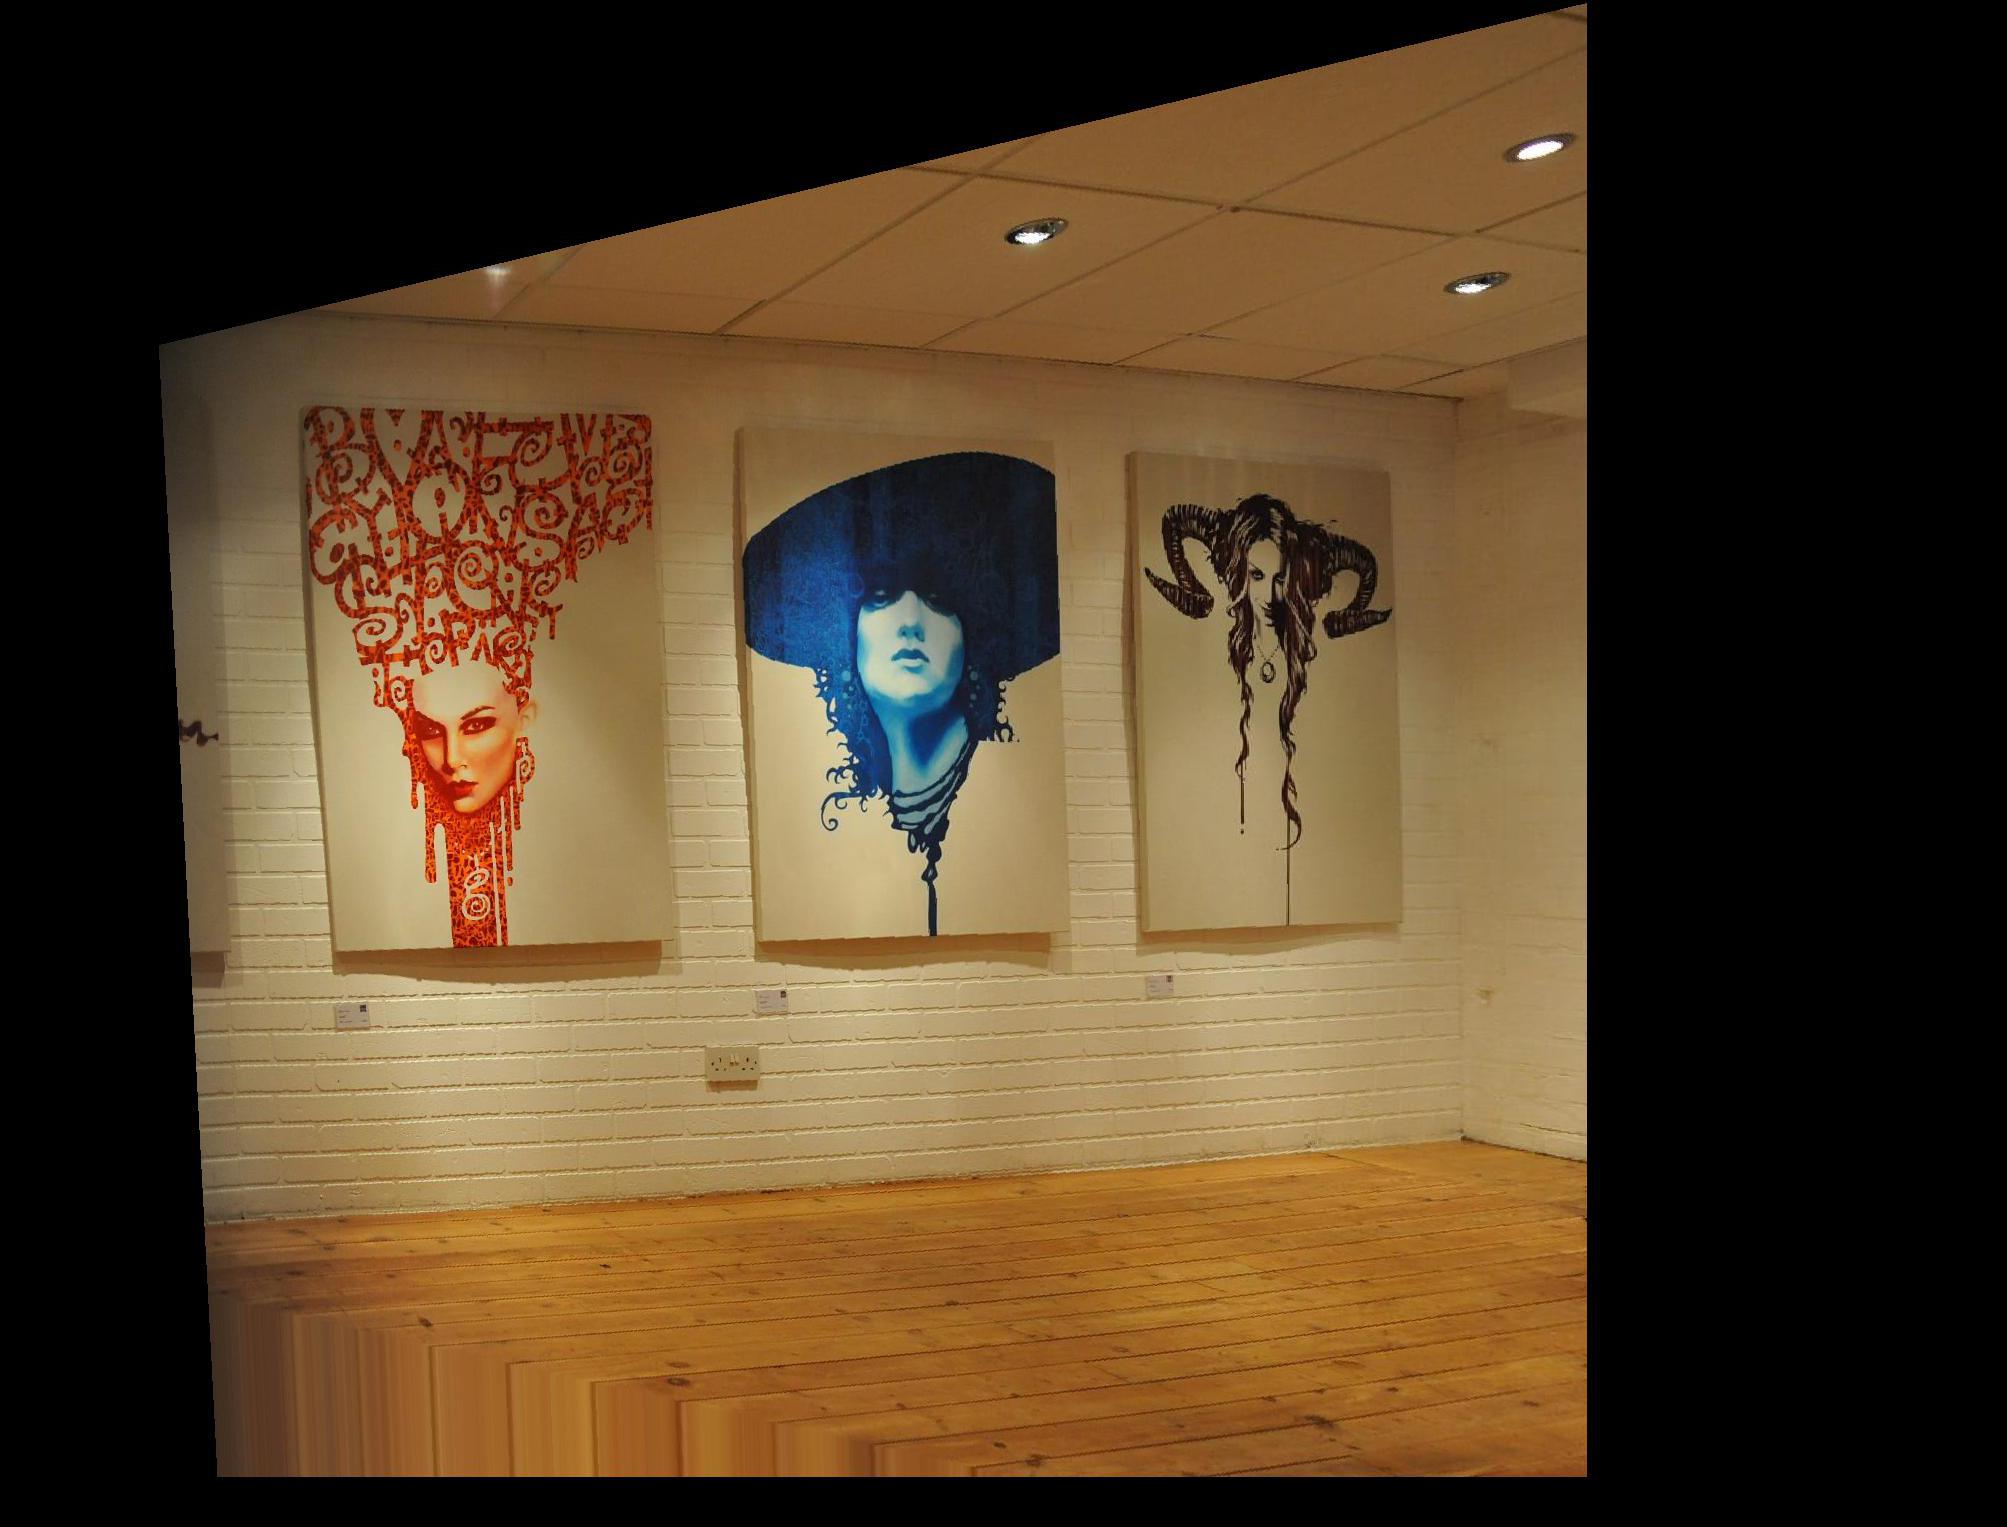 Rectified
|
Mosaic Construction
By using the image rectification results from the previous part, we can create mosaics, creating a panorama-like effect with multiple pictures taken at various angles. To do this, we take two photos of the same scene at slightly different perspectives. Then, using the rectifying process from earlier, we warp one image into the perspective of the other. Finally, we blend the two images together.
Blending the images took a lot of work, but ultimately I used alpha blending to blur the edges of the photos. For some of them you can see artifacts of edges (which I tried to crop out for aesthetics) but for the most part they look pretty good.
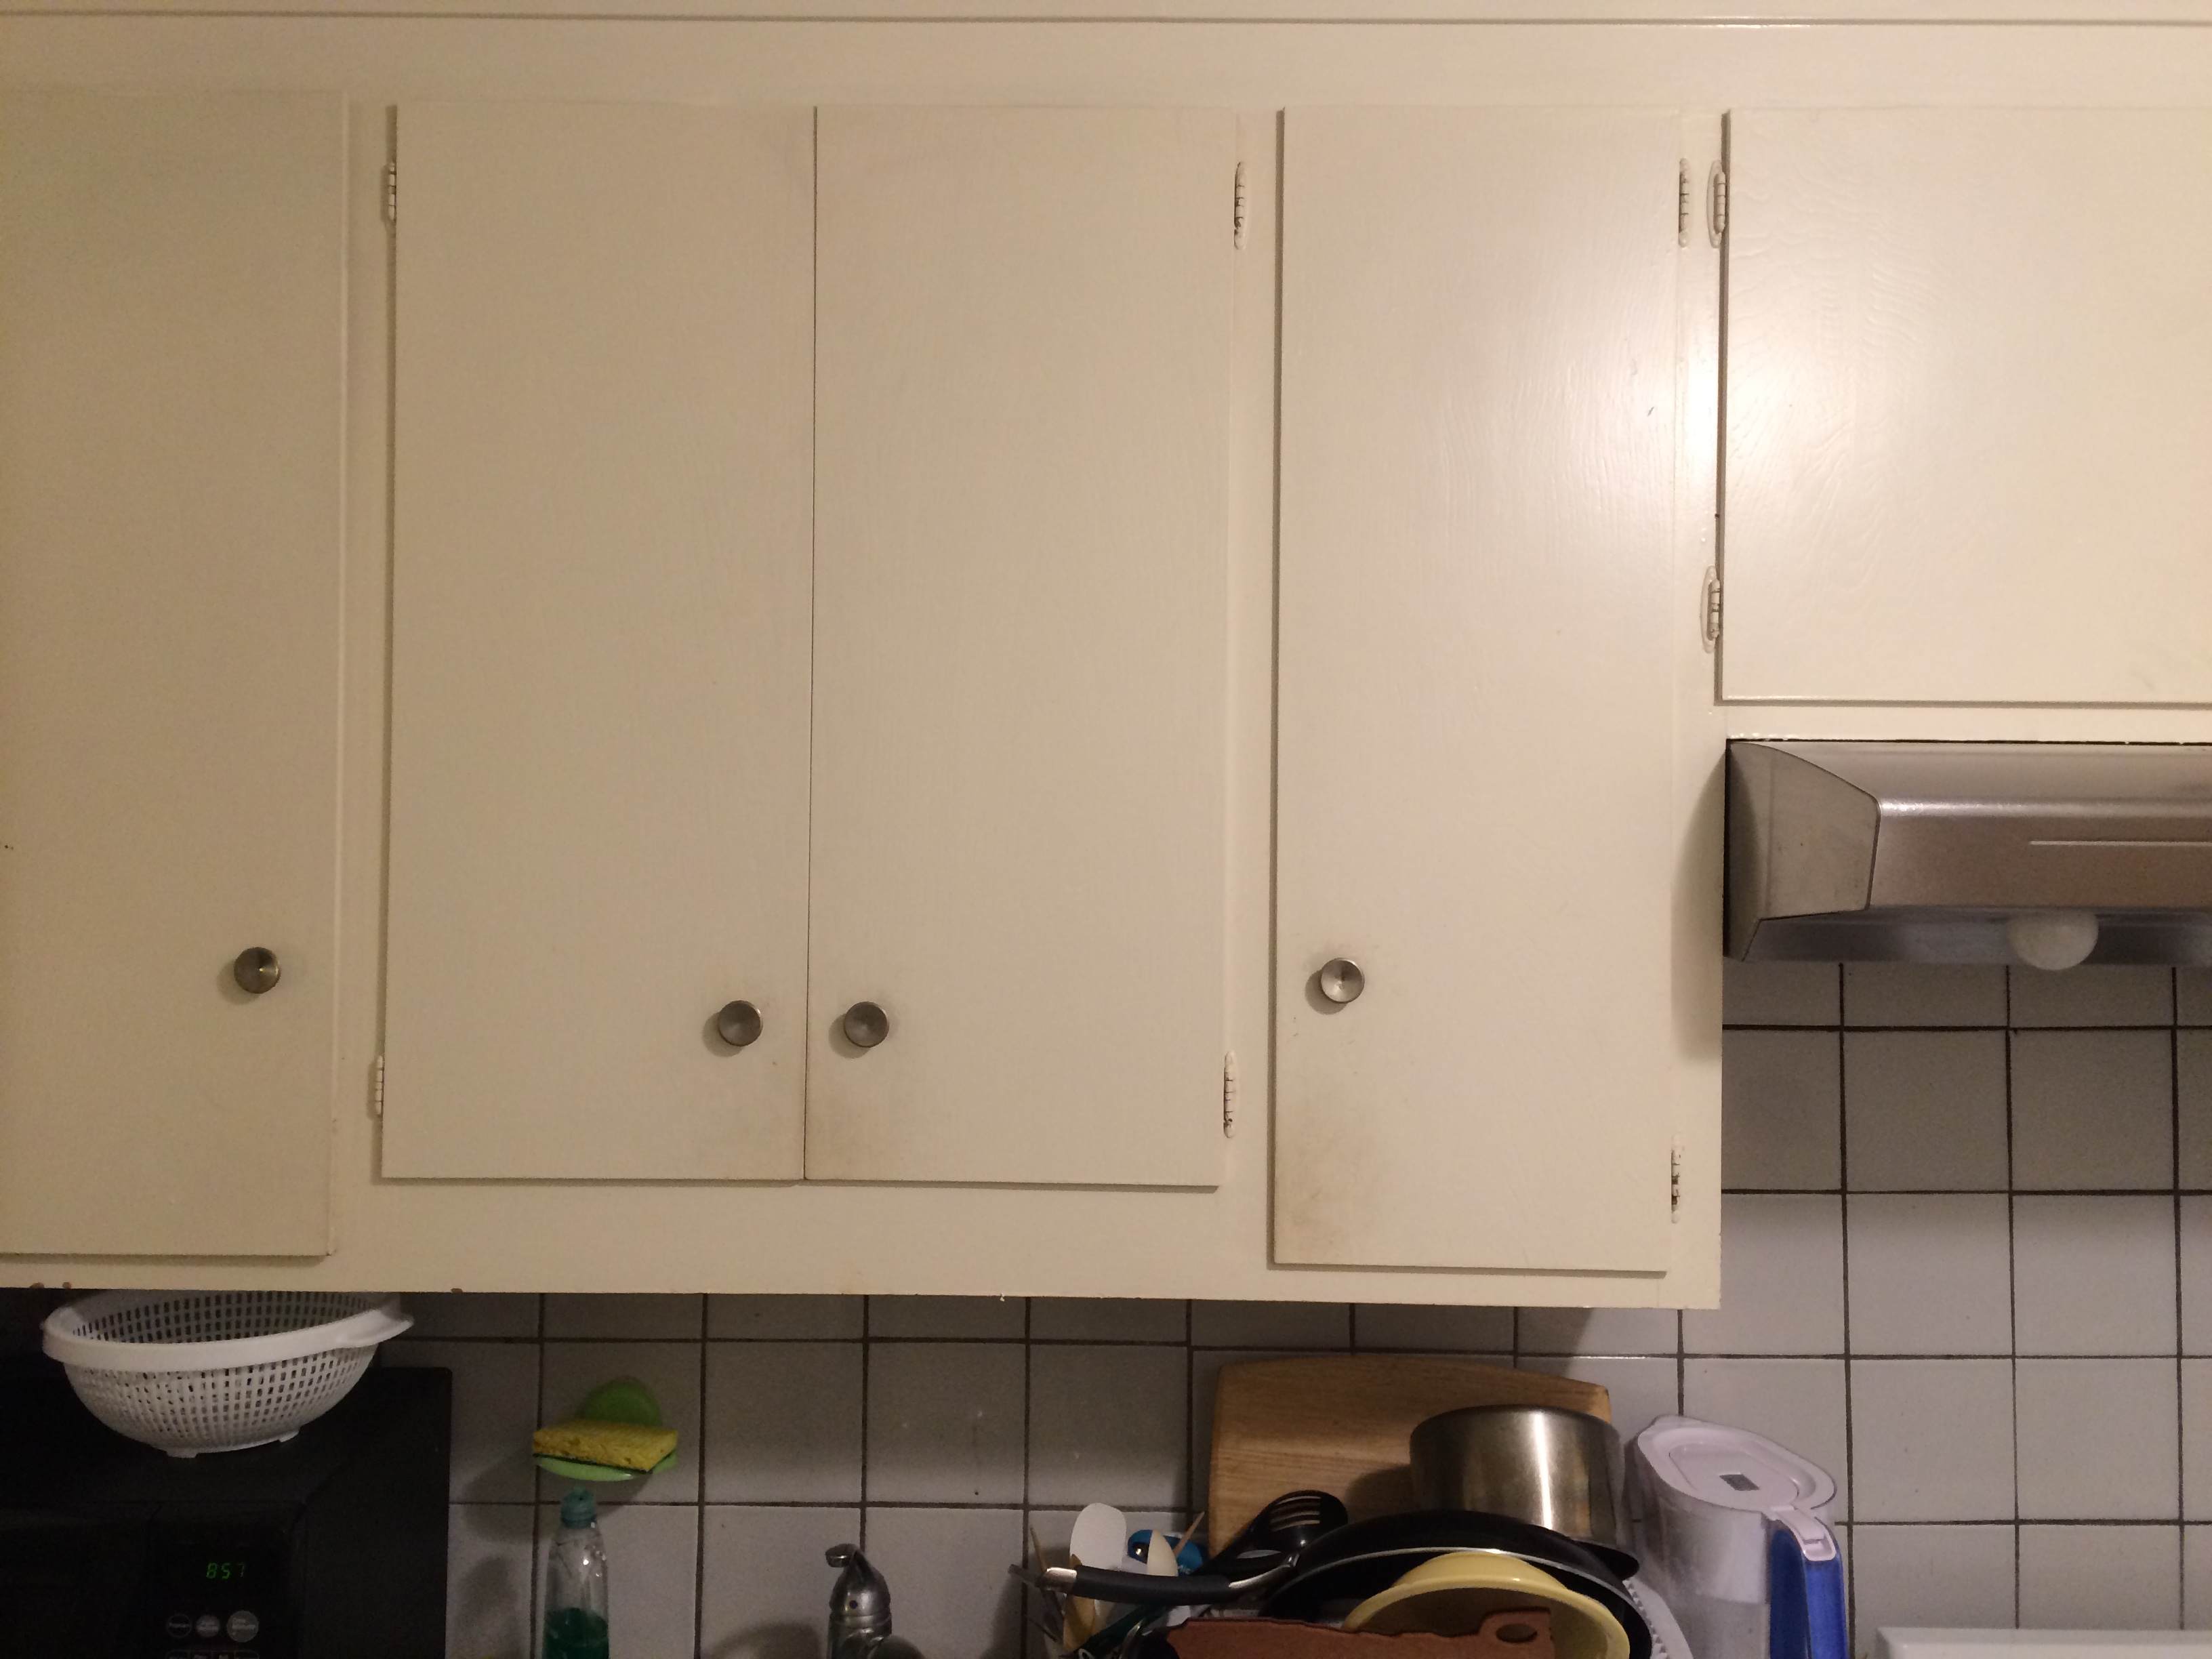 Kitchen-Left
|
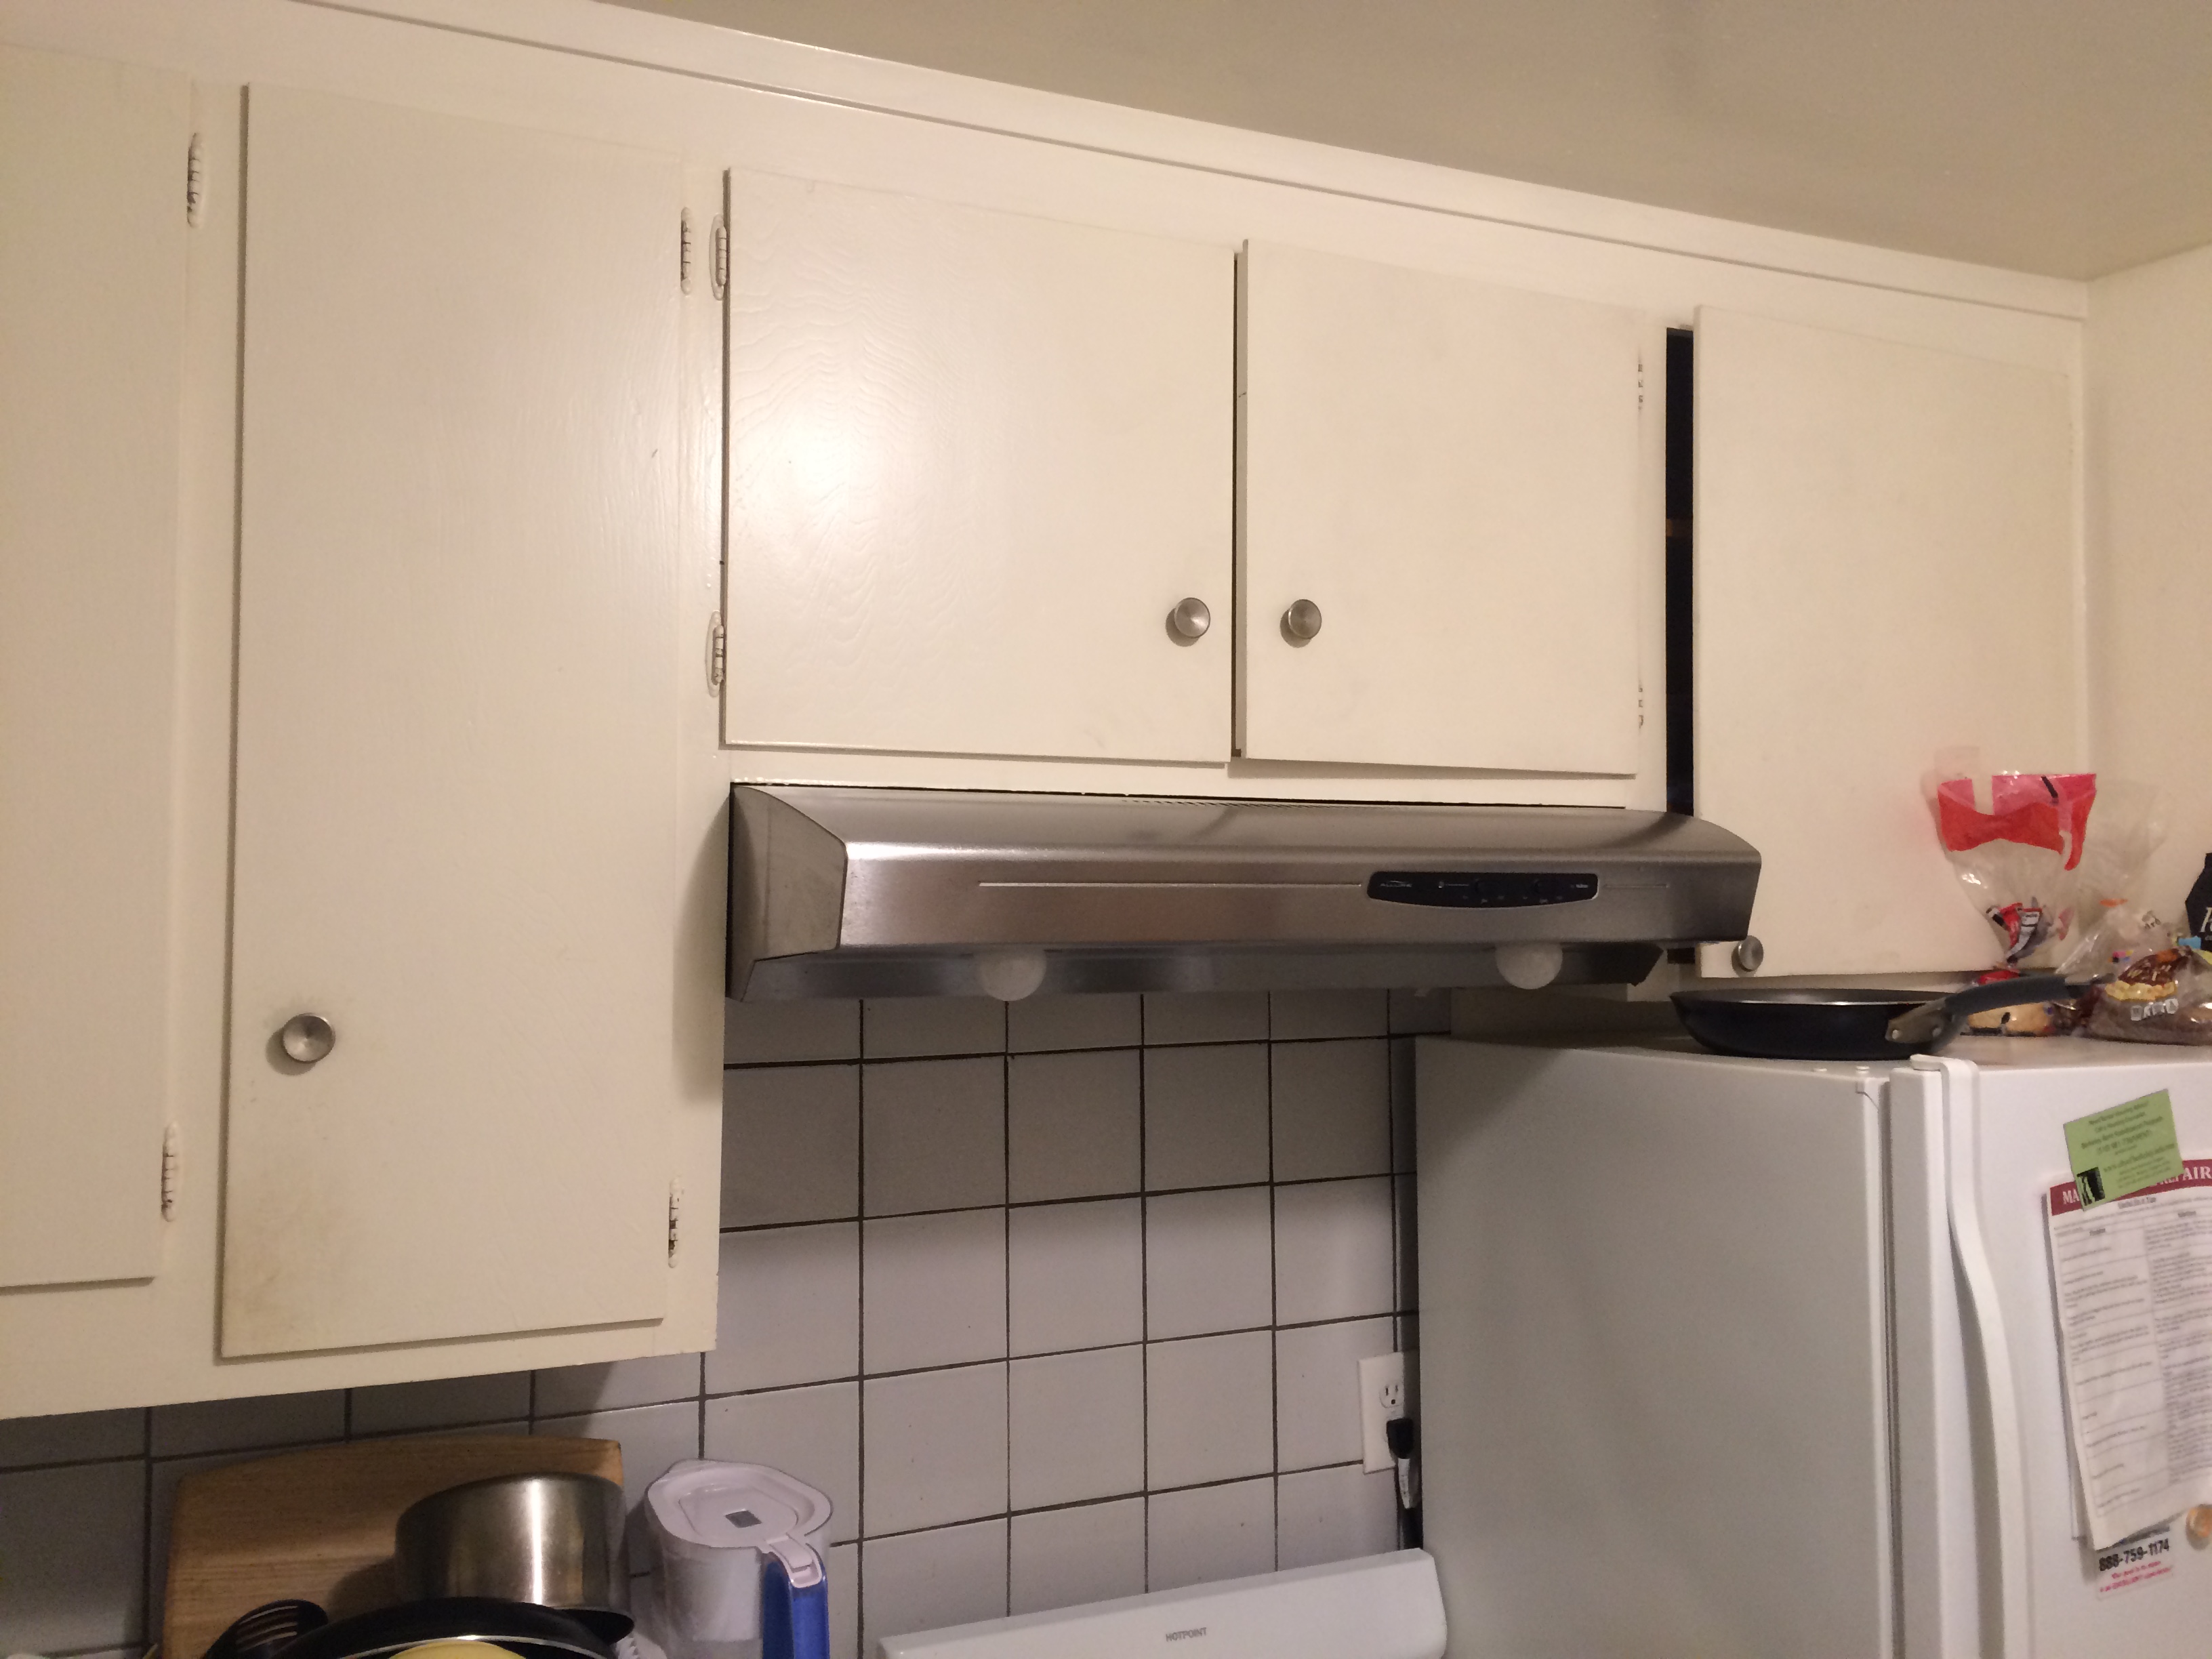 Kitchen-Right
|
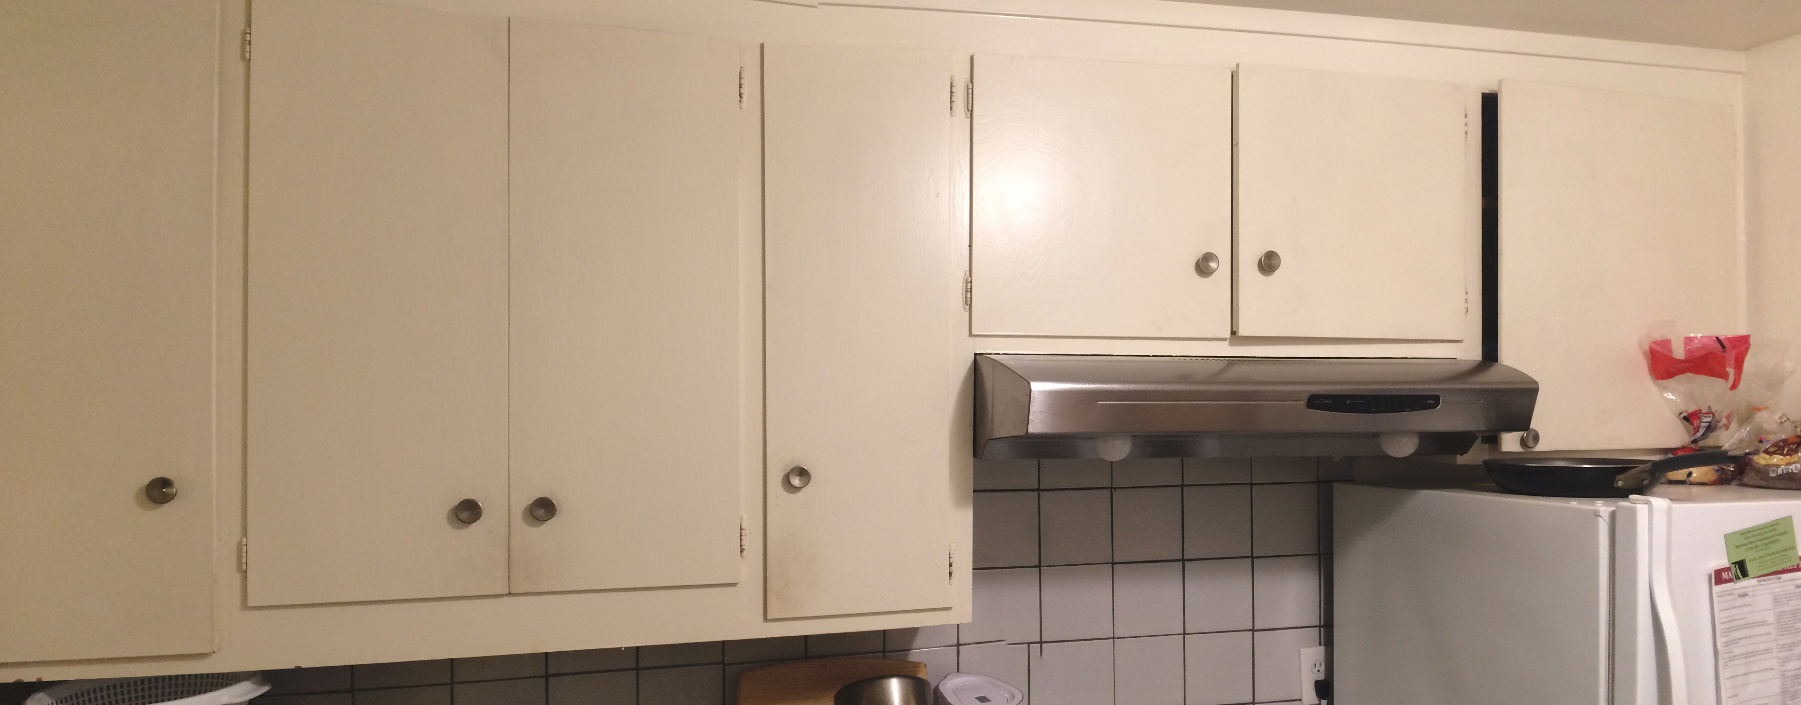 Kitchen-Combined
|
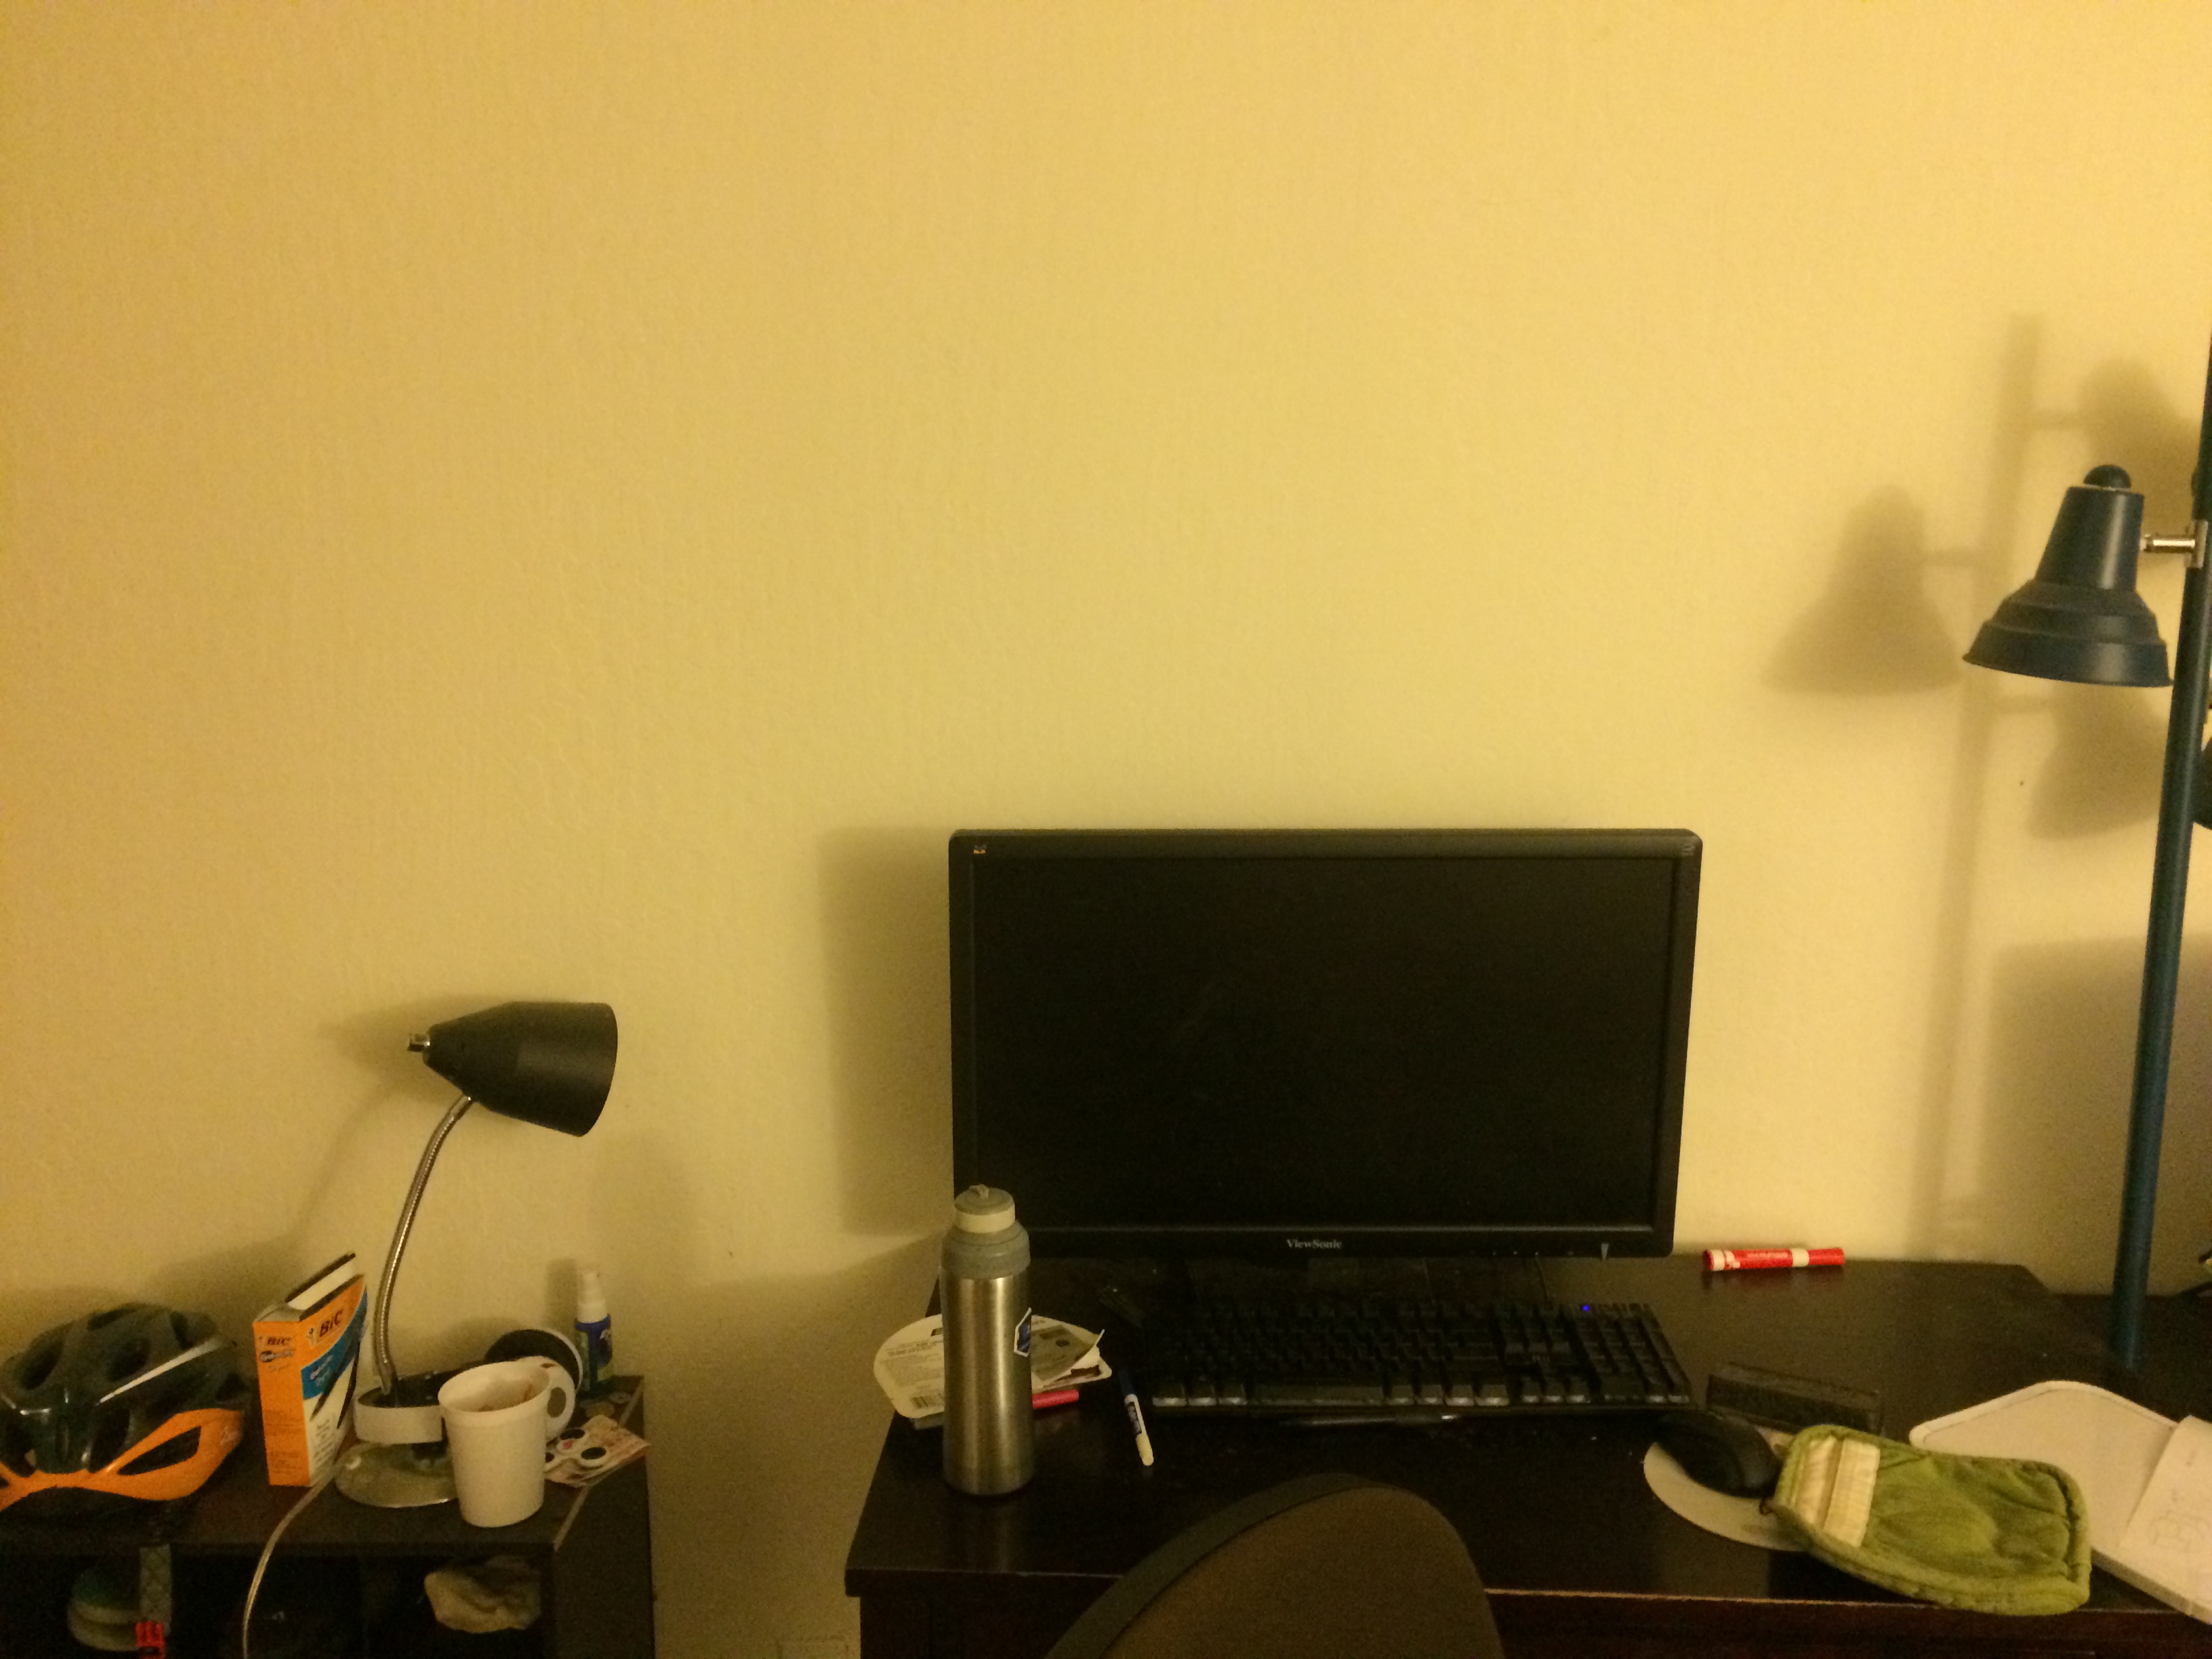 Desks-Left
|
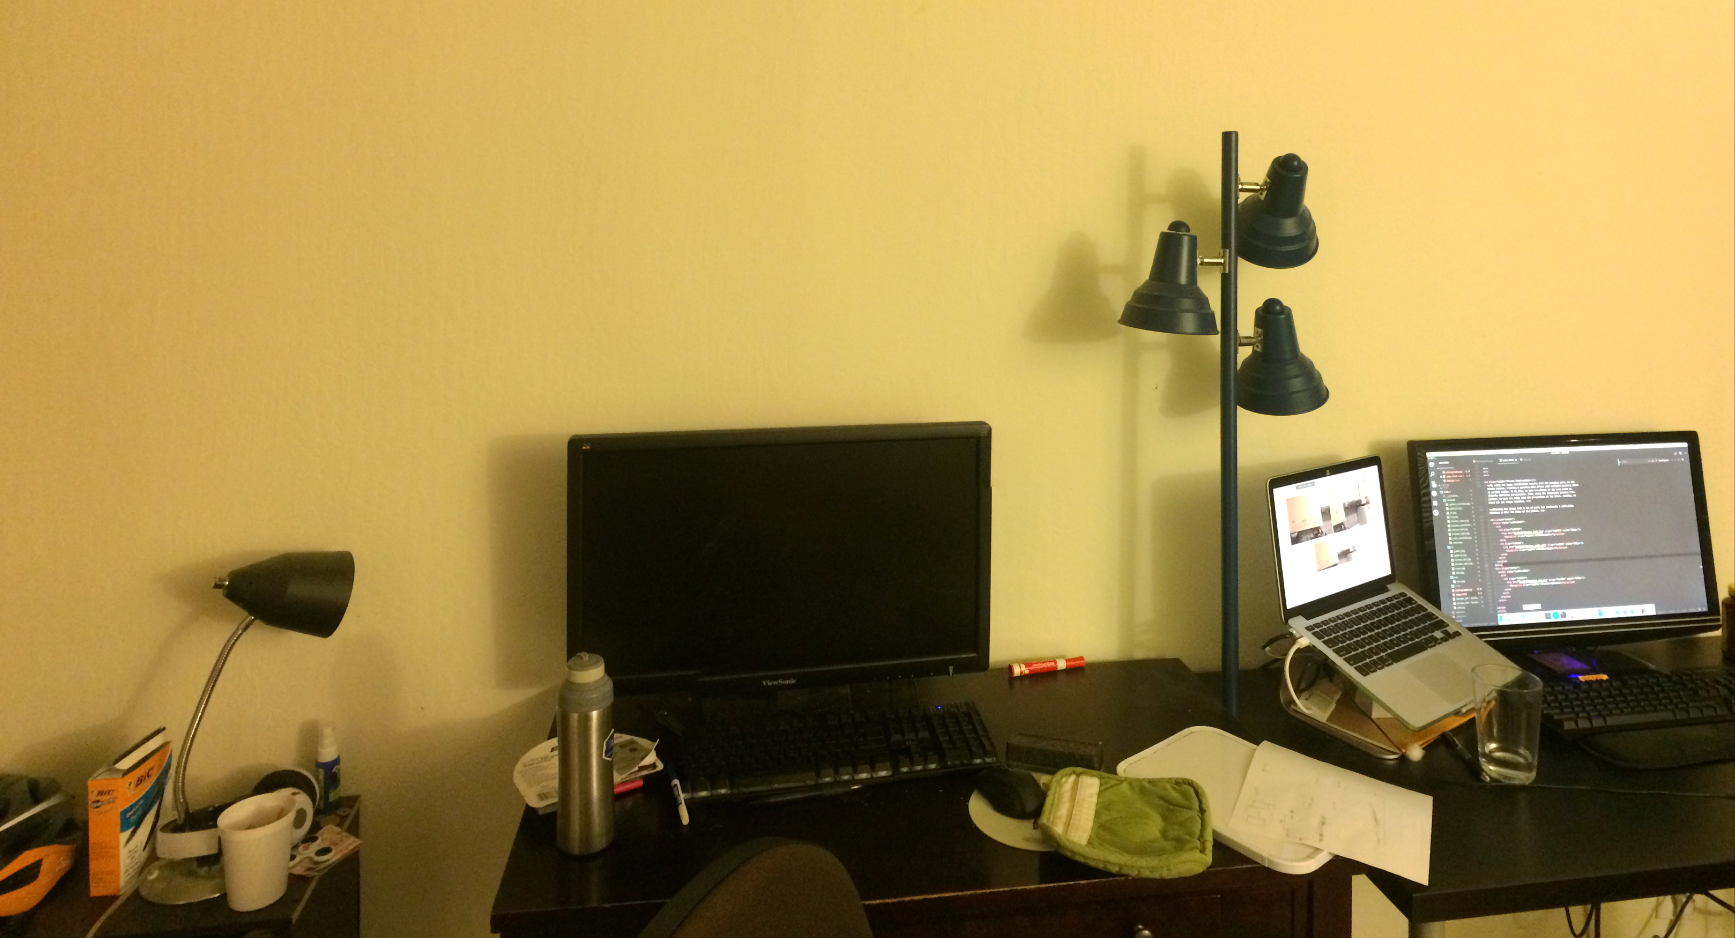
 Desks-Right
|
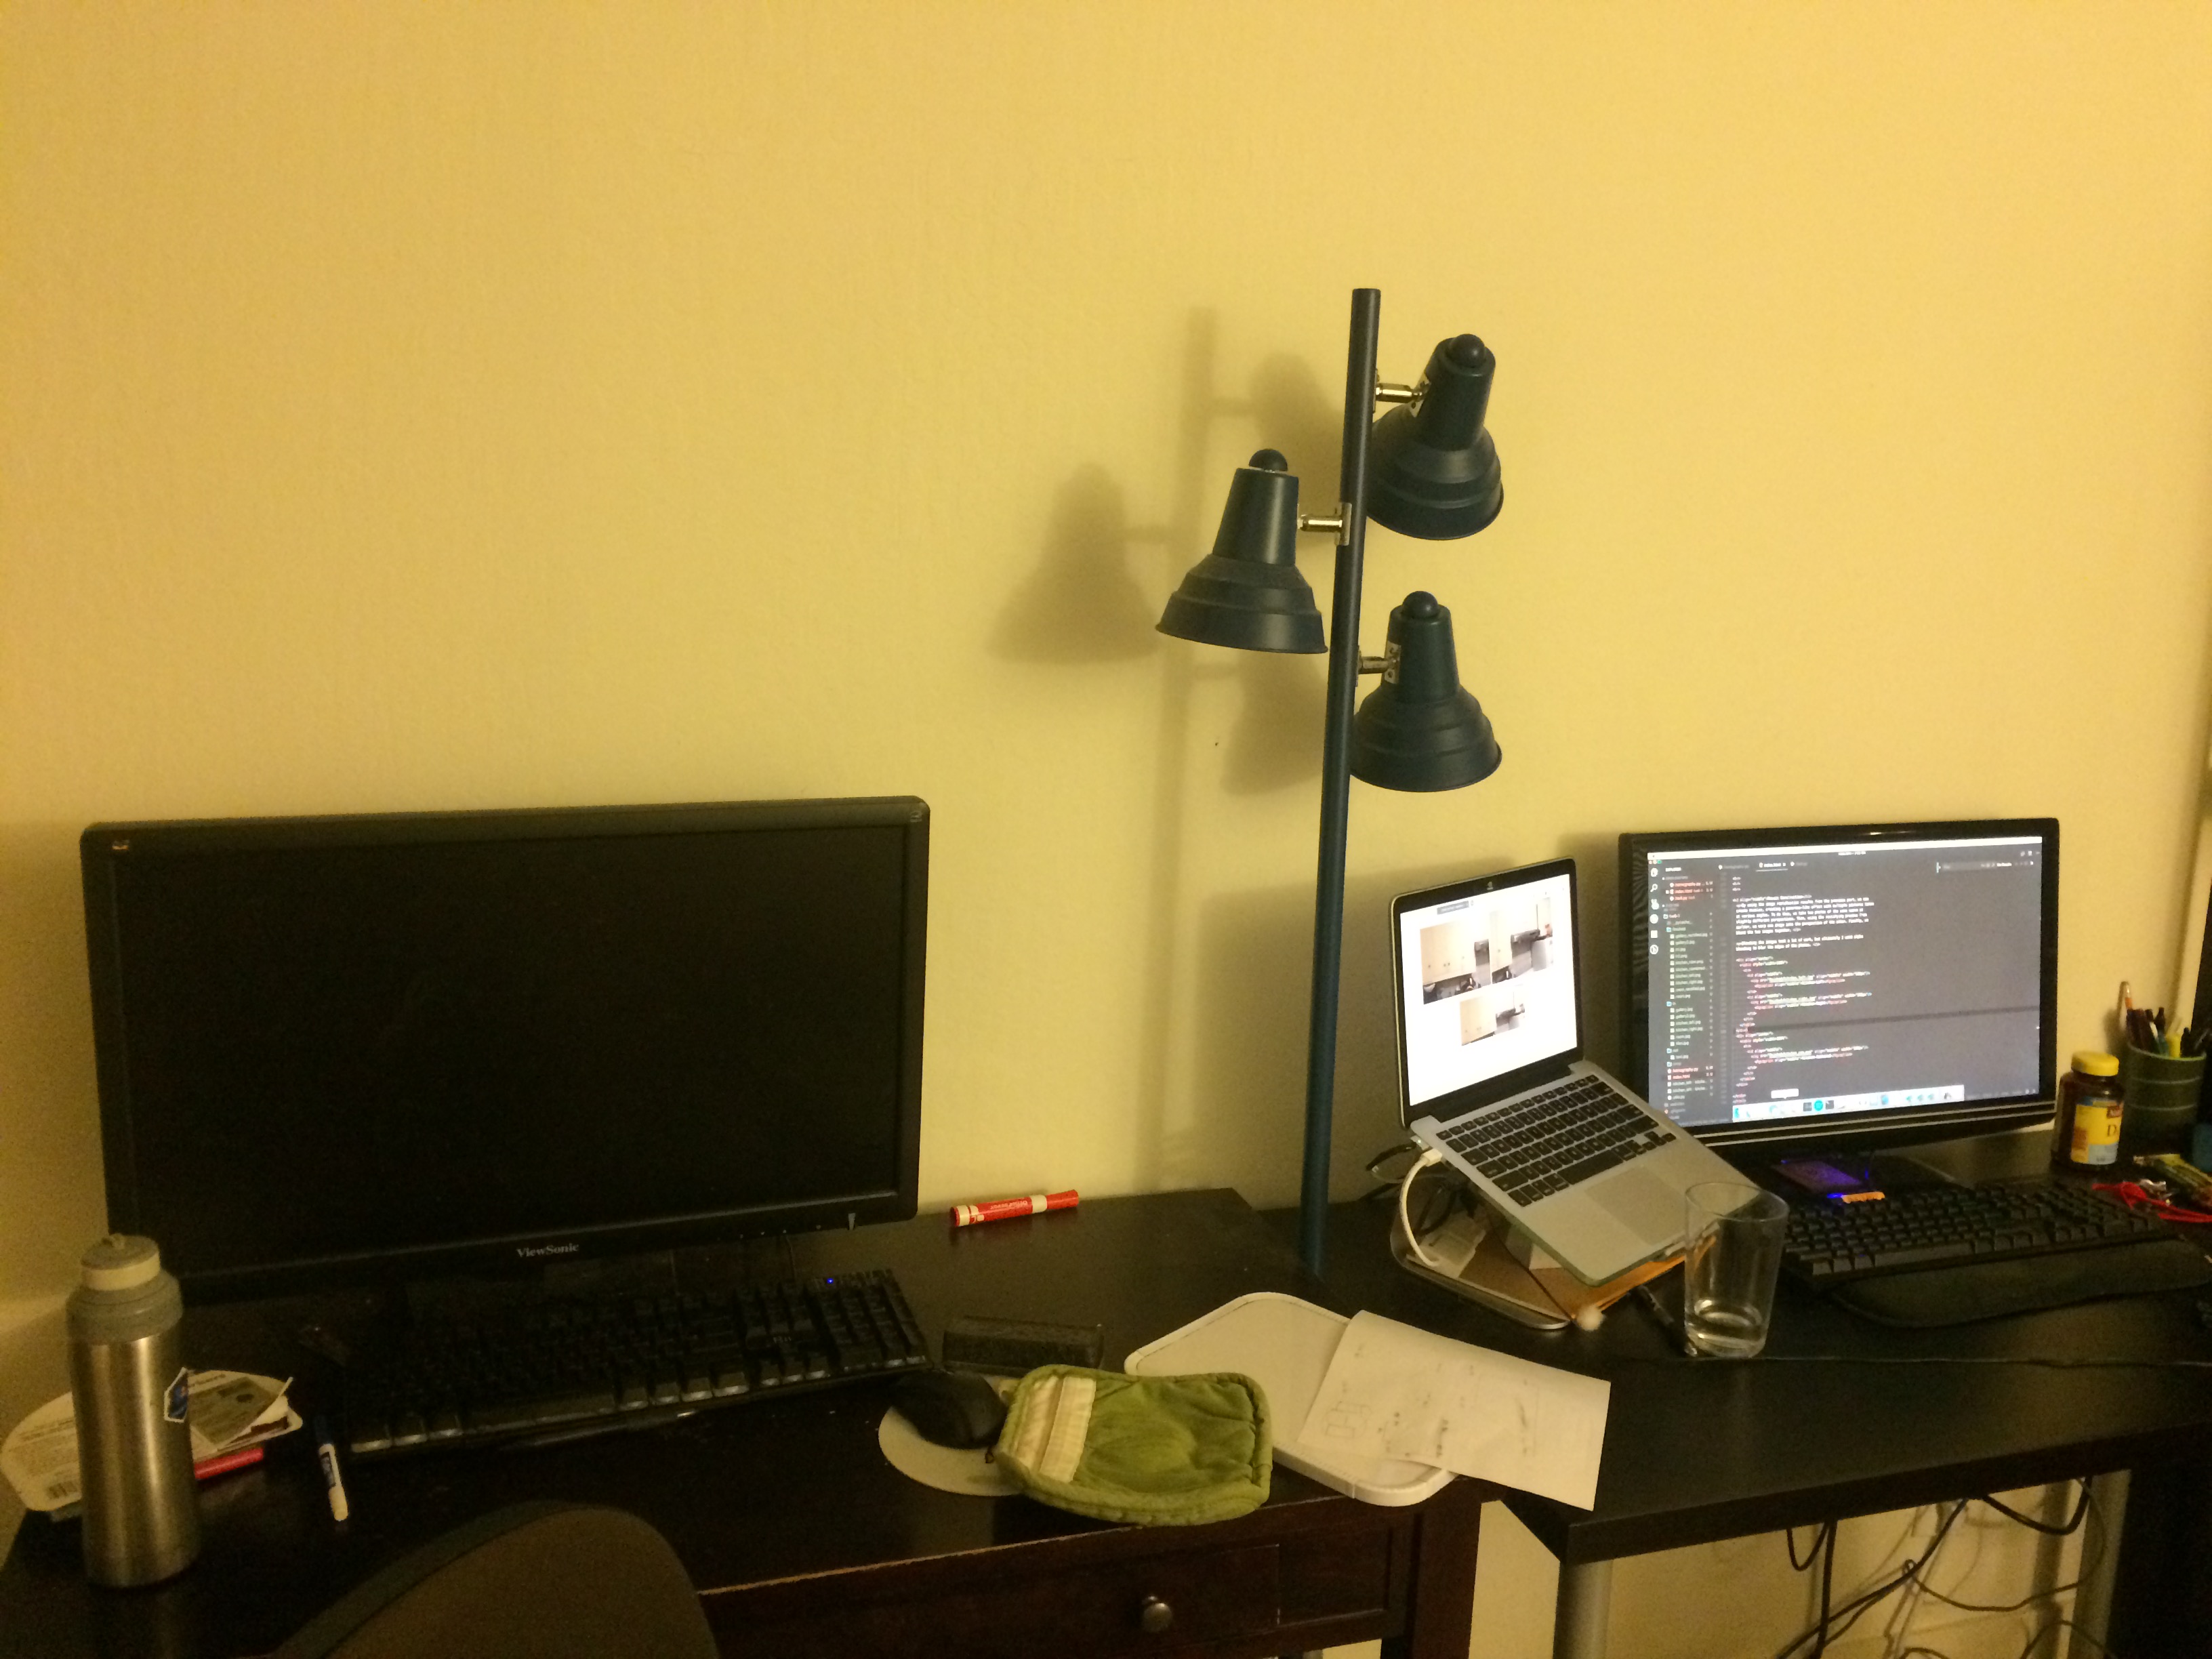
 Desks-Combined
|
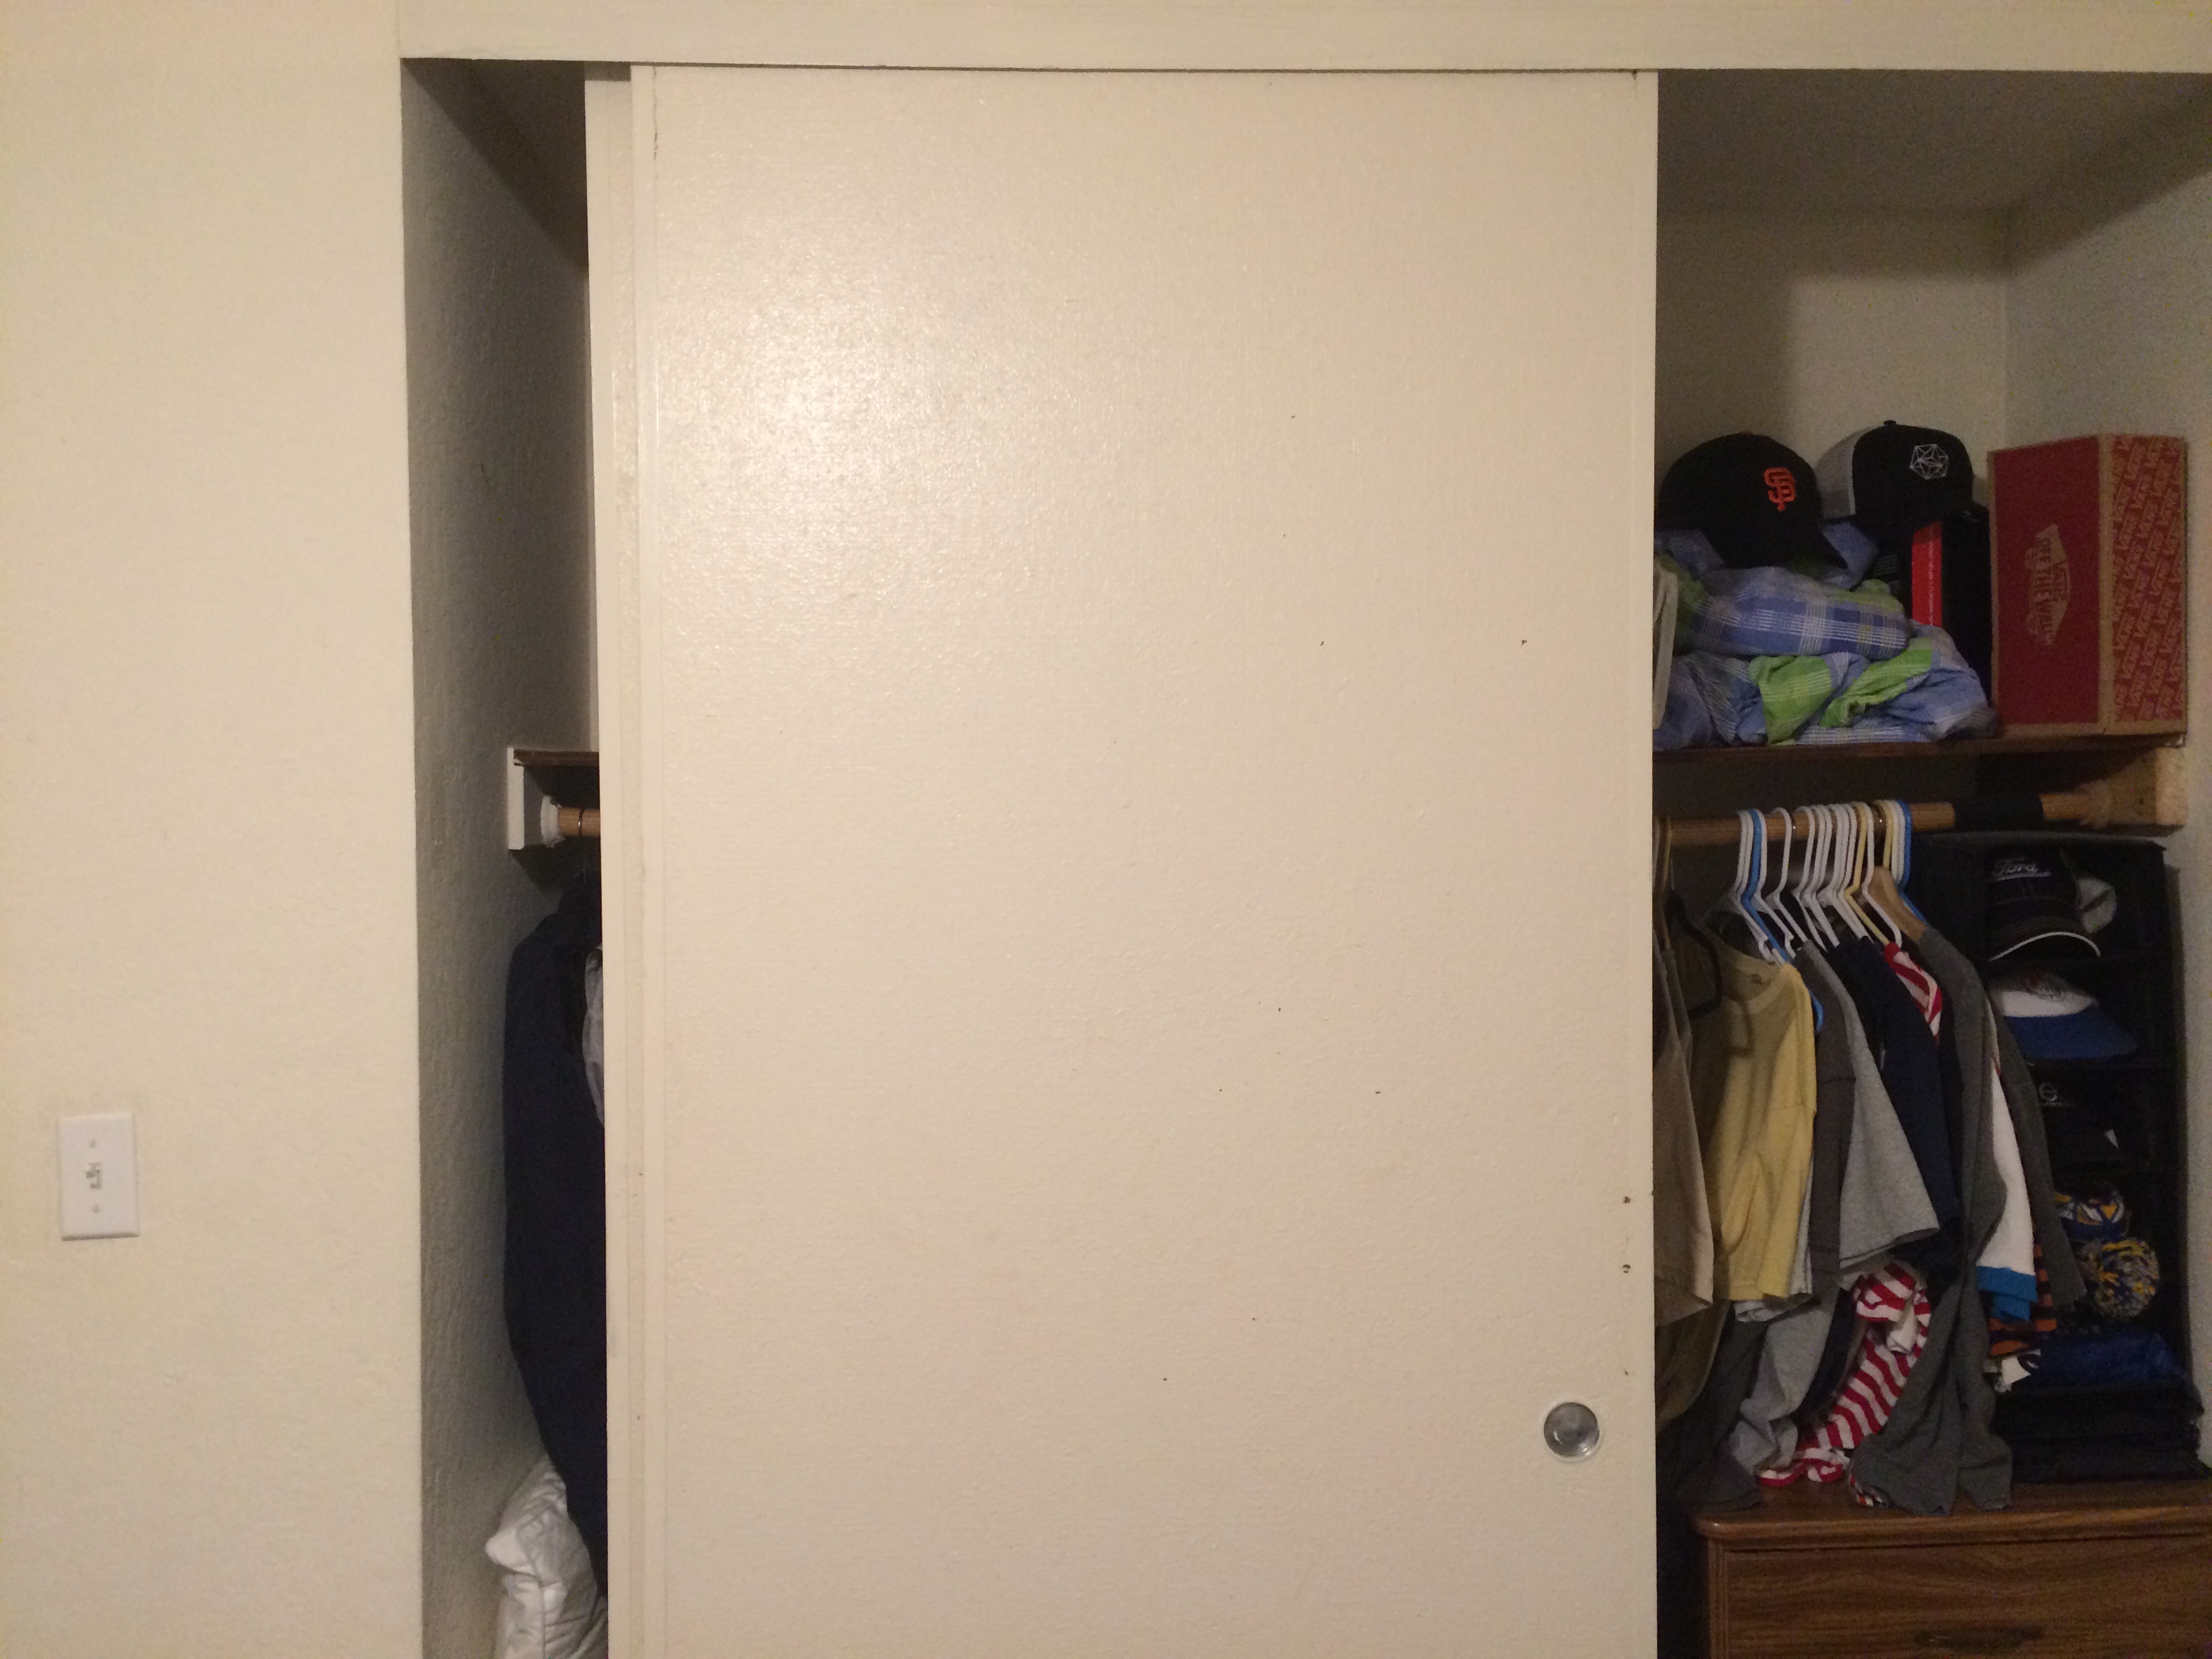 Closet-Left
|
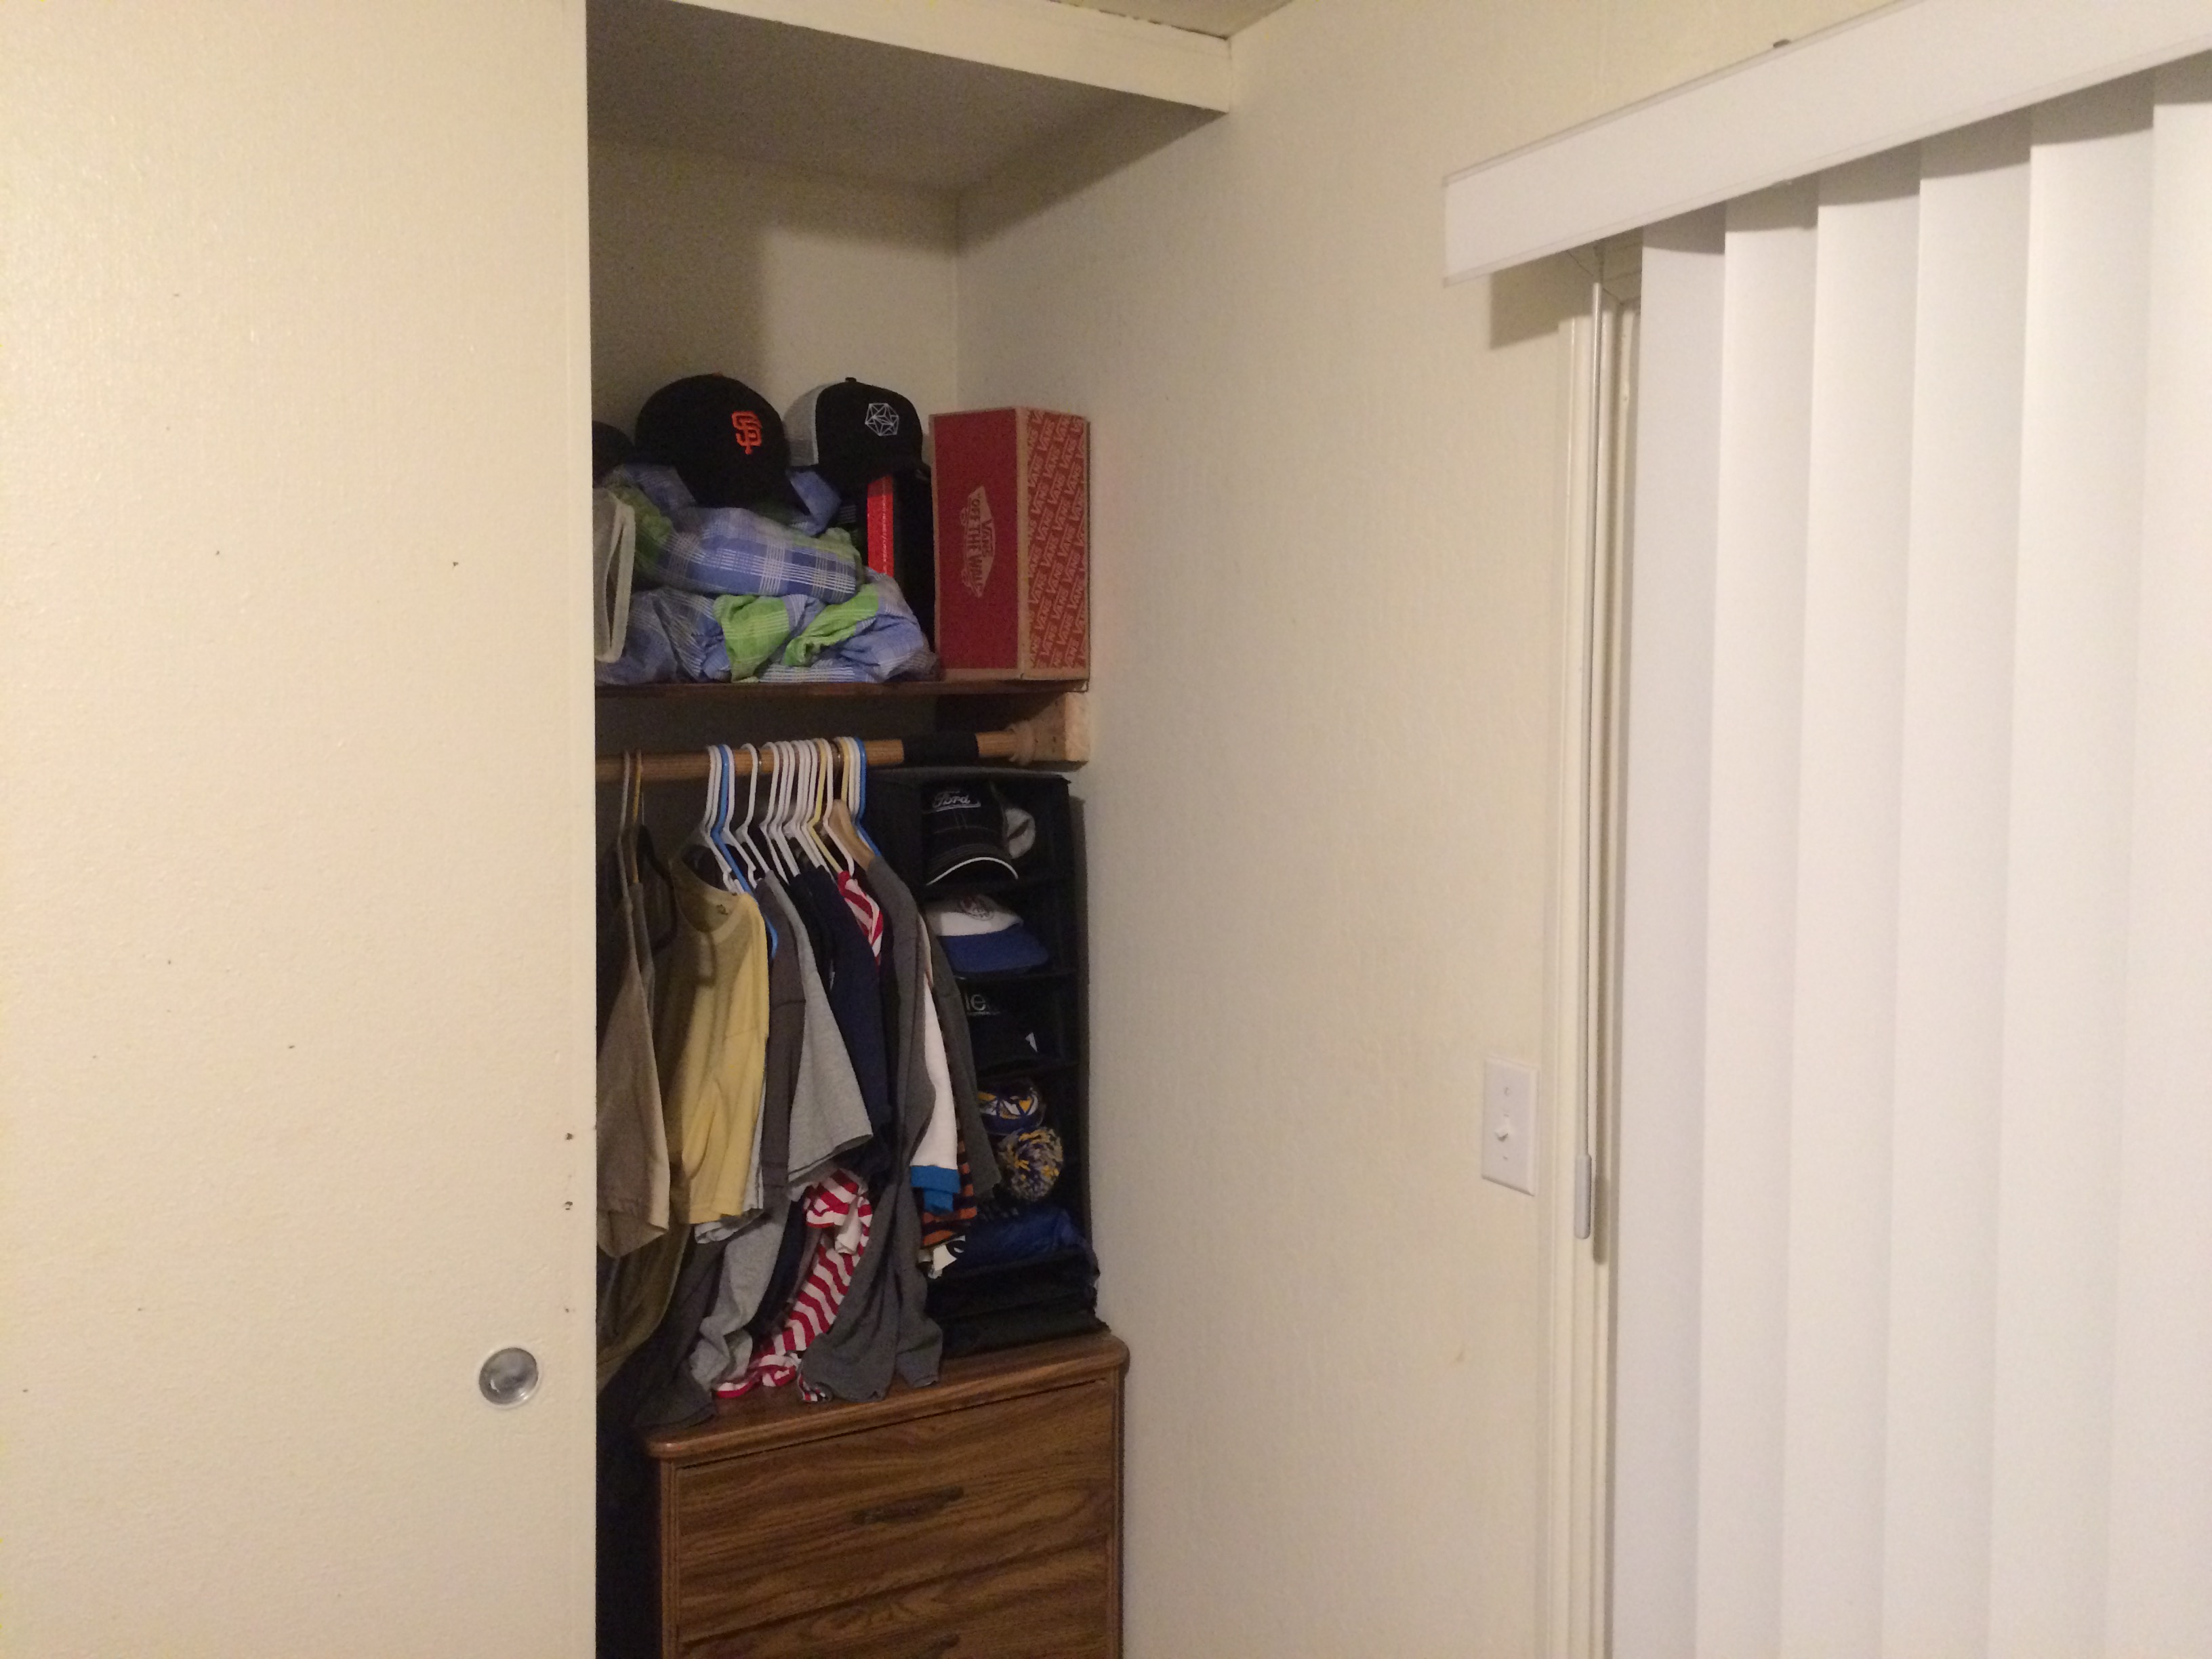 Closet-Right
|
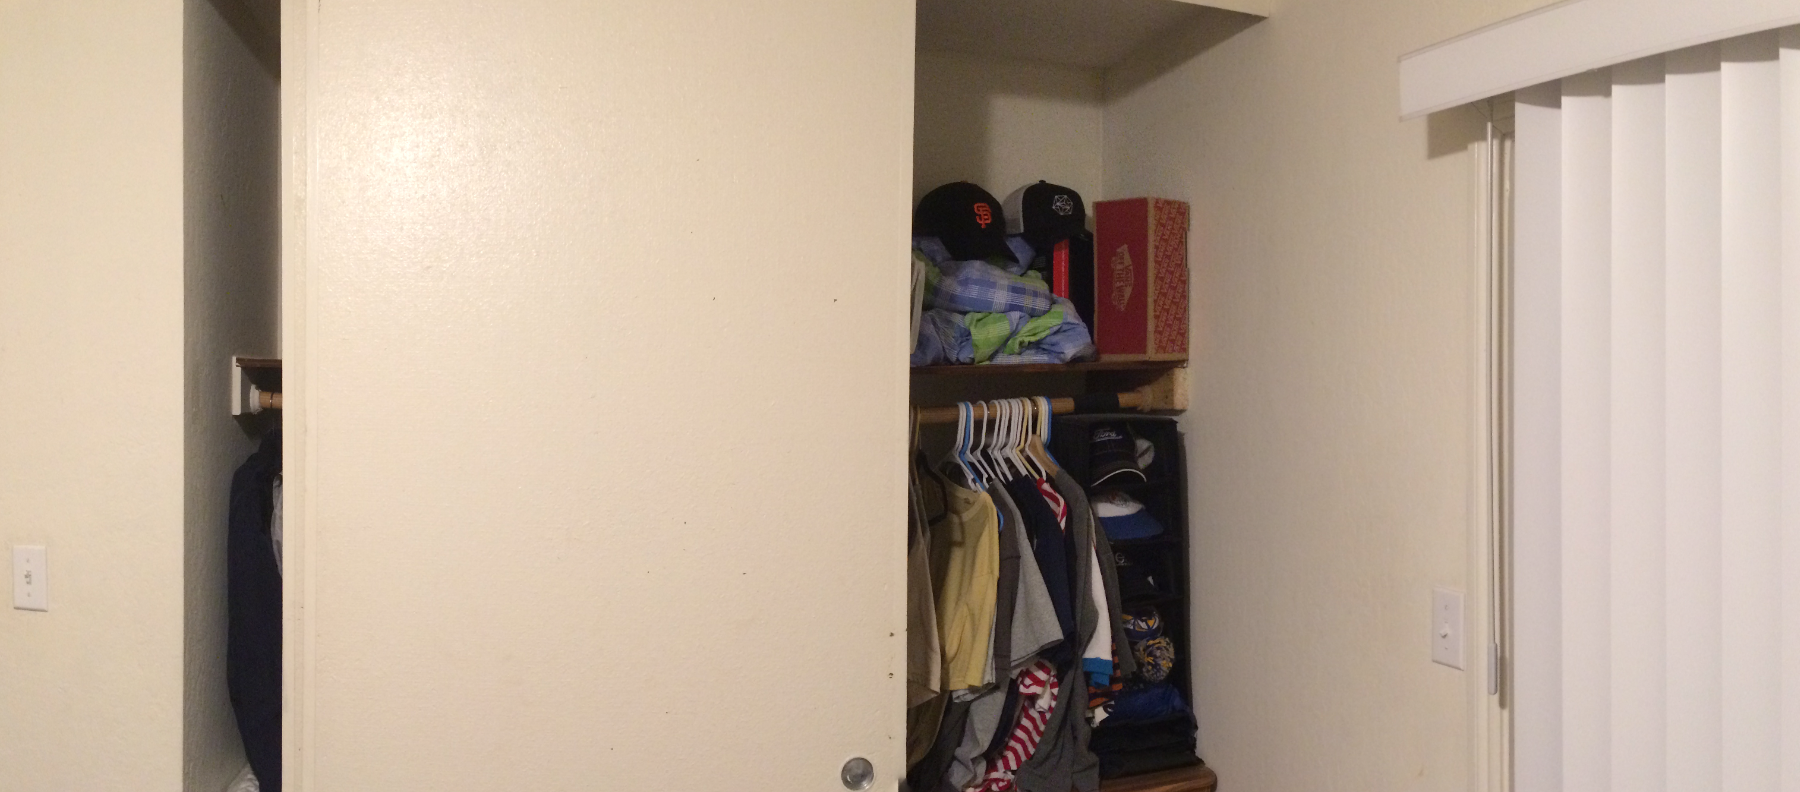 Closet-Combined
|
Conclusion
This project is pretty interesting. It has a lot of application in real world smartphone camera software. This past weekend I tried out the "360" photo feature on my friend's Google Pixel device. They probably use similar techniques to stich together photos as well. It's pretty awesome to be able to see the stuff we work on in class actively being developed in cutting edge consumer technology!
CS 194-26: Image Manipulation and Computational Photography, Fall 2018
Project 6-2: FEATURE MATCHING for AUTOSTITCHING
Justin Mi, CS194-26-afy
Overview
In this project, we are going to replace the manual process of selecting corresponding points to generate homographies from part 1 and develop an algorithmic way of generating points according to the MOPS paper by Brown et al.
Harris Interest Point Detector
We use the Harris Corner Detector algorithm to find corner points in the image, or areas where the local pixel neighborhoods have sharp contrast with each other. Shown below are the Harris points selected from one of my images from part 1.
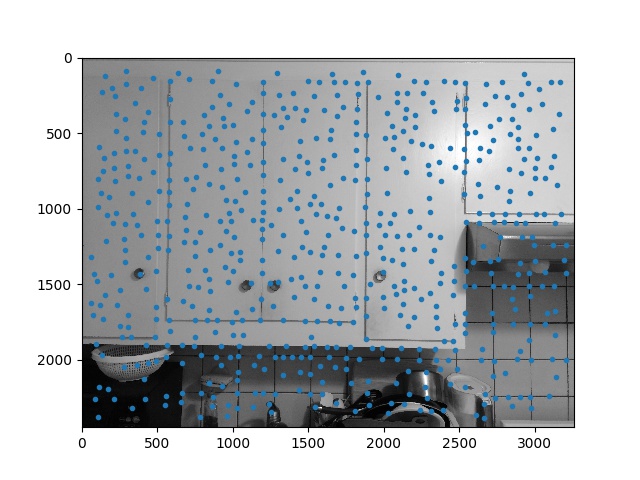 Kitchen-Left
|
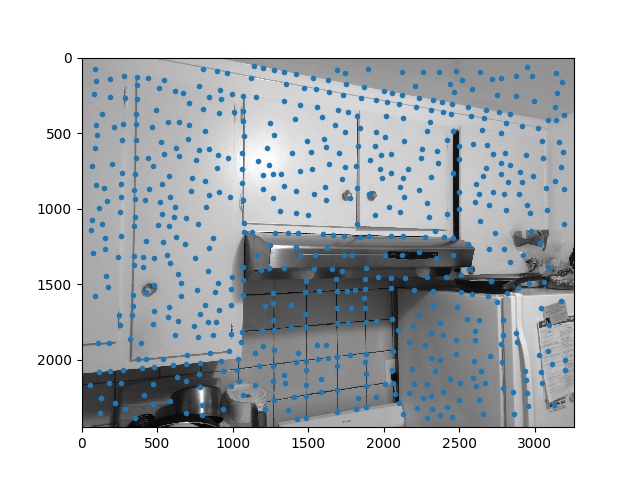 Kitchen-Right
|
Adaptive Non-Maximal Suppression
After finding the corner points, we want to filter the points so they are more evenly spread out. To do that we use Adaptive Non-Maximal Suppression or ANMS to filter out the pixels, so all the remaining pixels have the maximum amount of distance to the next "significant" pixel, and thus are more evenly spread out. In this case, I used a c_robust threshold of 0.6.
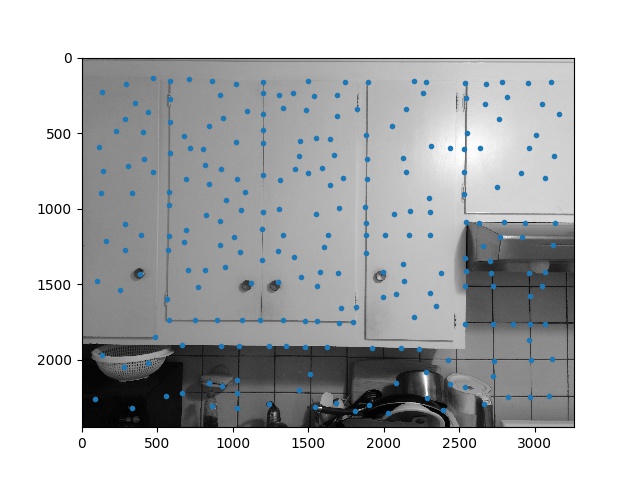 Kitchen-Left
|
 Kitchen-Right
|
Feature Descriptor Extraction
We then generate feature descriptors for each of these pixels by extracting a 40x40 patch of pixels around each corner pixel, and downsampling the patch so an 8x8 grid of values. We then normalize the grid by setting the mean to 0 and standard deviation to 1. This makes the features invariant to affine changes in intensity (bias and gain).
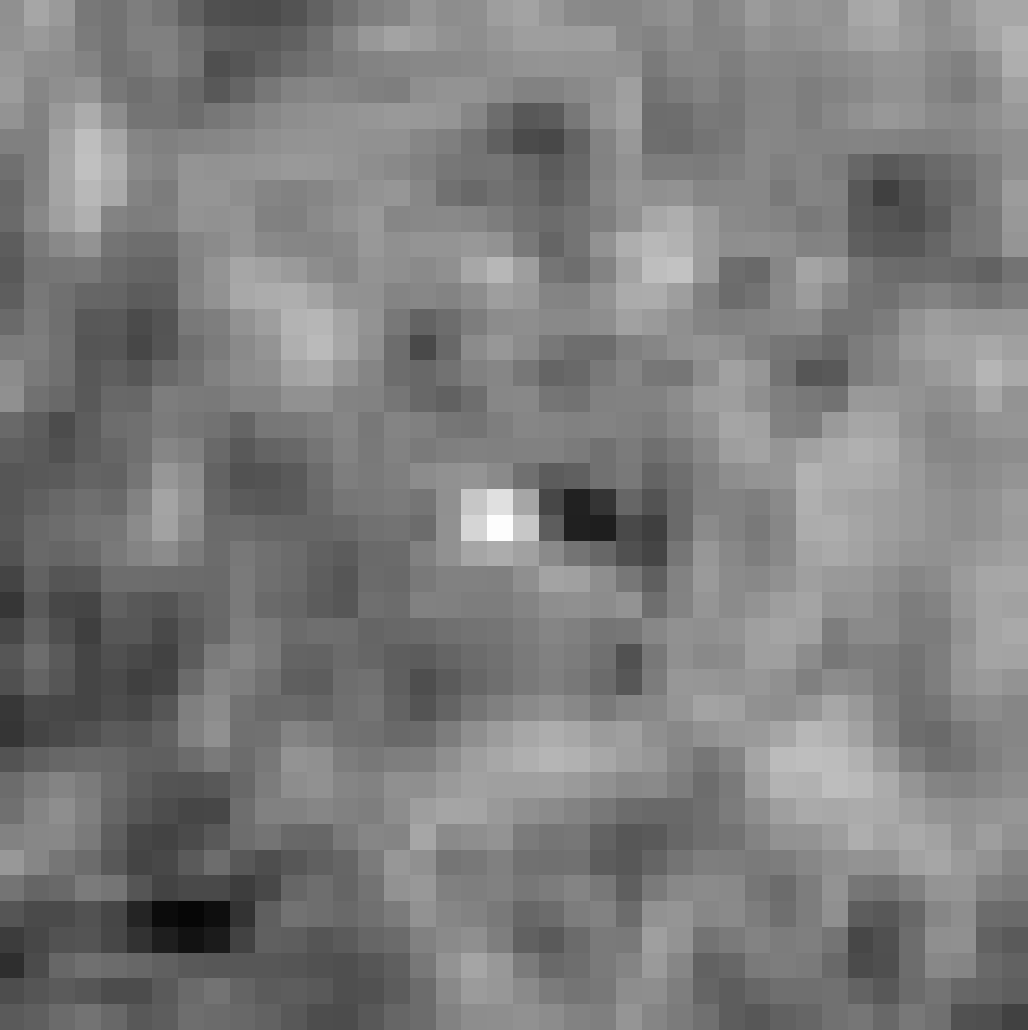 An Example 40x40 Patch
|
 An Example 8x8 Patch
|
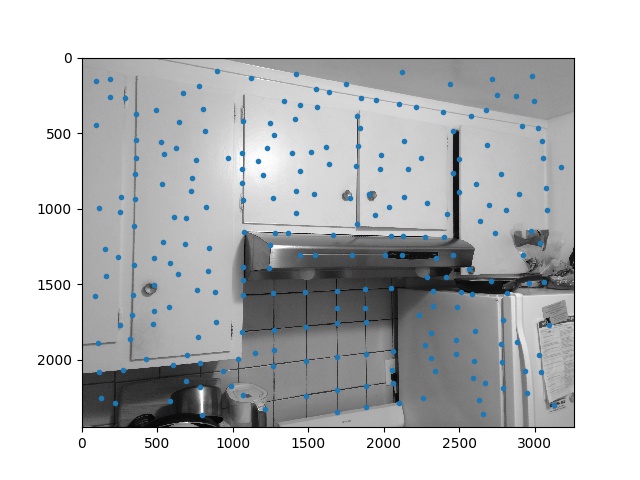
Feature Matching
We then find matching features in the left picture and the right picture. First, we vectorize every feature descriptor extracted from the previous step. Then we do a nearest neighbor search. We use the calculate the distance between each feature in the first image with its first nearest-neighbor feature and its second nearest-neighbor featre in the second image. We use the Lowe ratio test to check if the ratio between the distance to the 1-NN and the distance to the 2-NN is under a certain threshold (in my case, 0.9). If it is, then those features are kept. Note: the different colors in the images below do not mean anything.
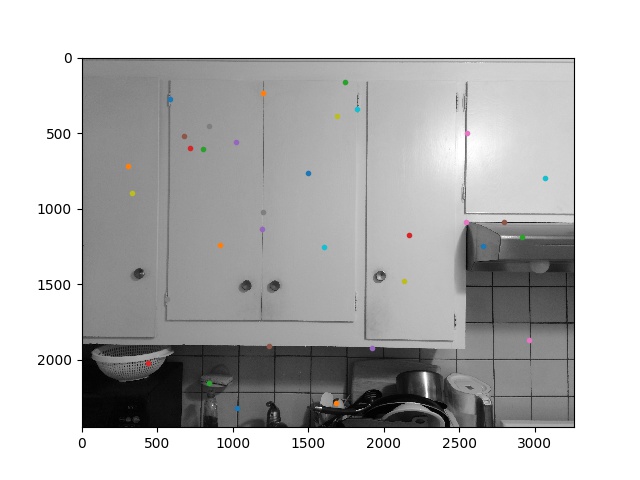 Kitchen-Left
|
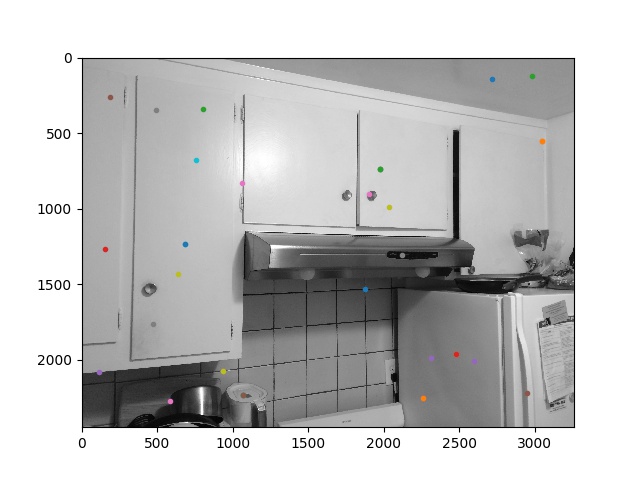 Kitchen-Right
|
RANSAC
To filter out outlier points that don't quite have correspondeces, we use a randomized method called RANSAC. We pick 4 points randomly, and generate a homography H from those 4 points. Then we calculate the SSD of the points transformed from the first image with the points in the second image. We do this process 1000 times and keep track of the points that have the lowest SSD. Using this H I can warp the first image onto the second and generate a stiched result. As you can see, there are artifacts remaining, but it is very comparable to the previous parts results.
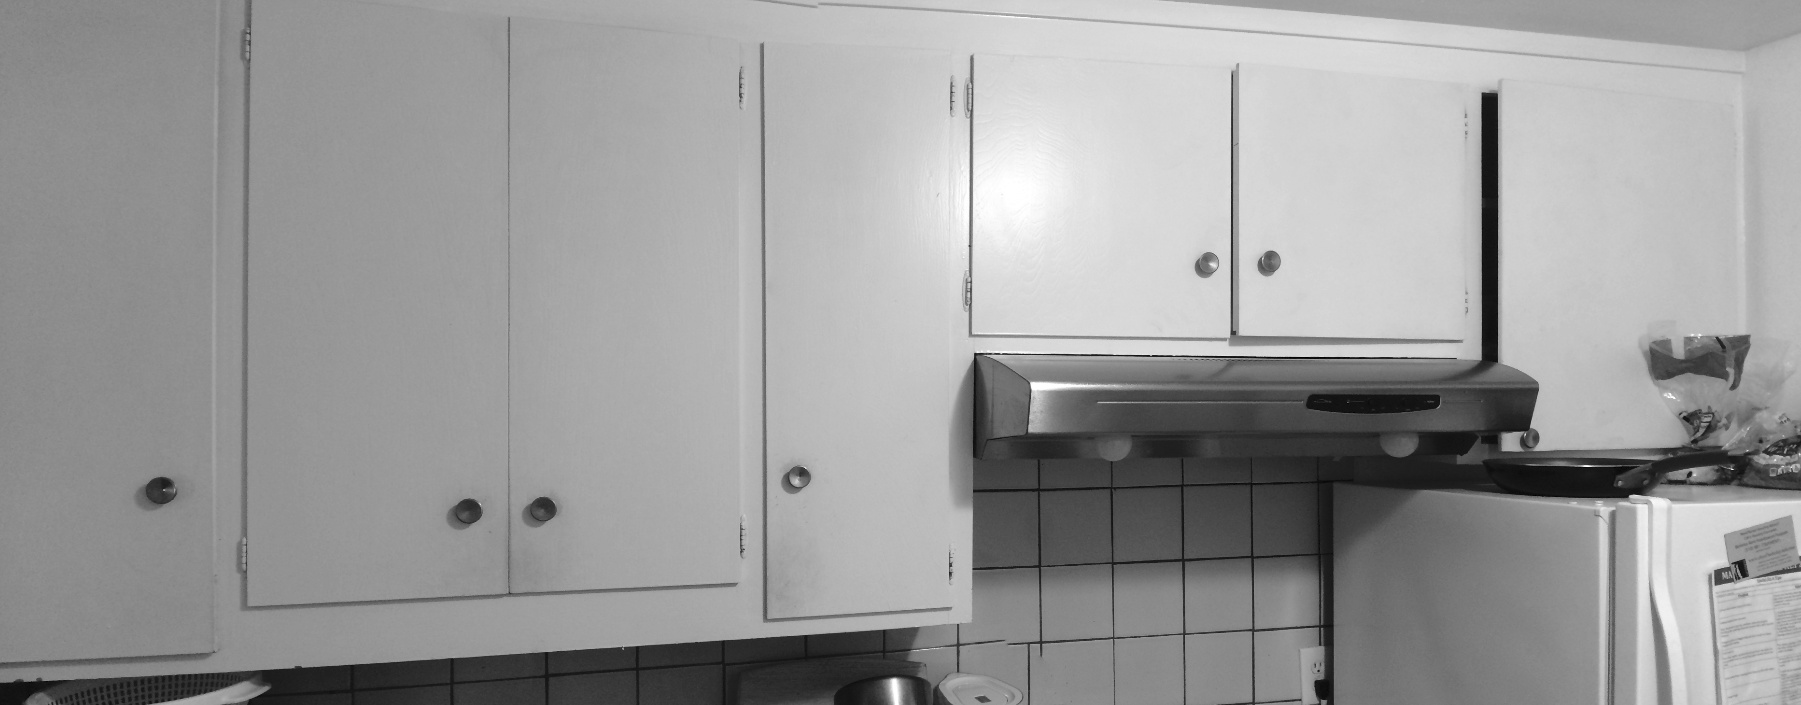 Kitchen-Combined
|
Mosaic Construction
Below are 2 more examples, for a total of 3.
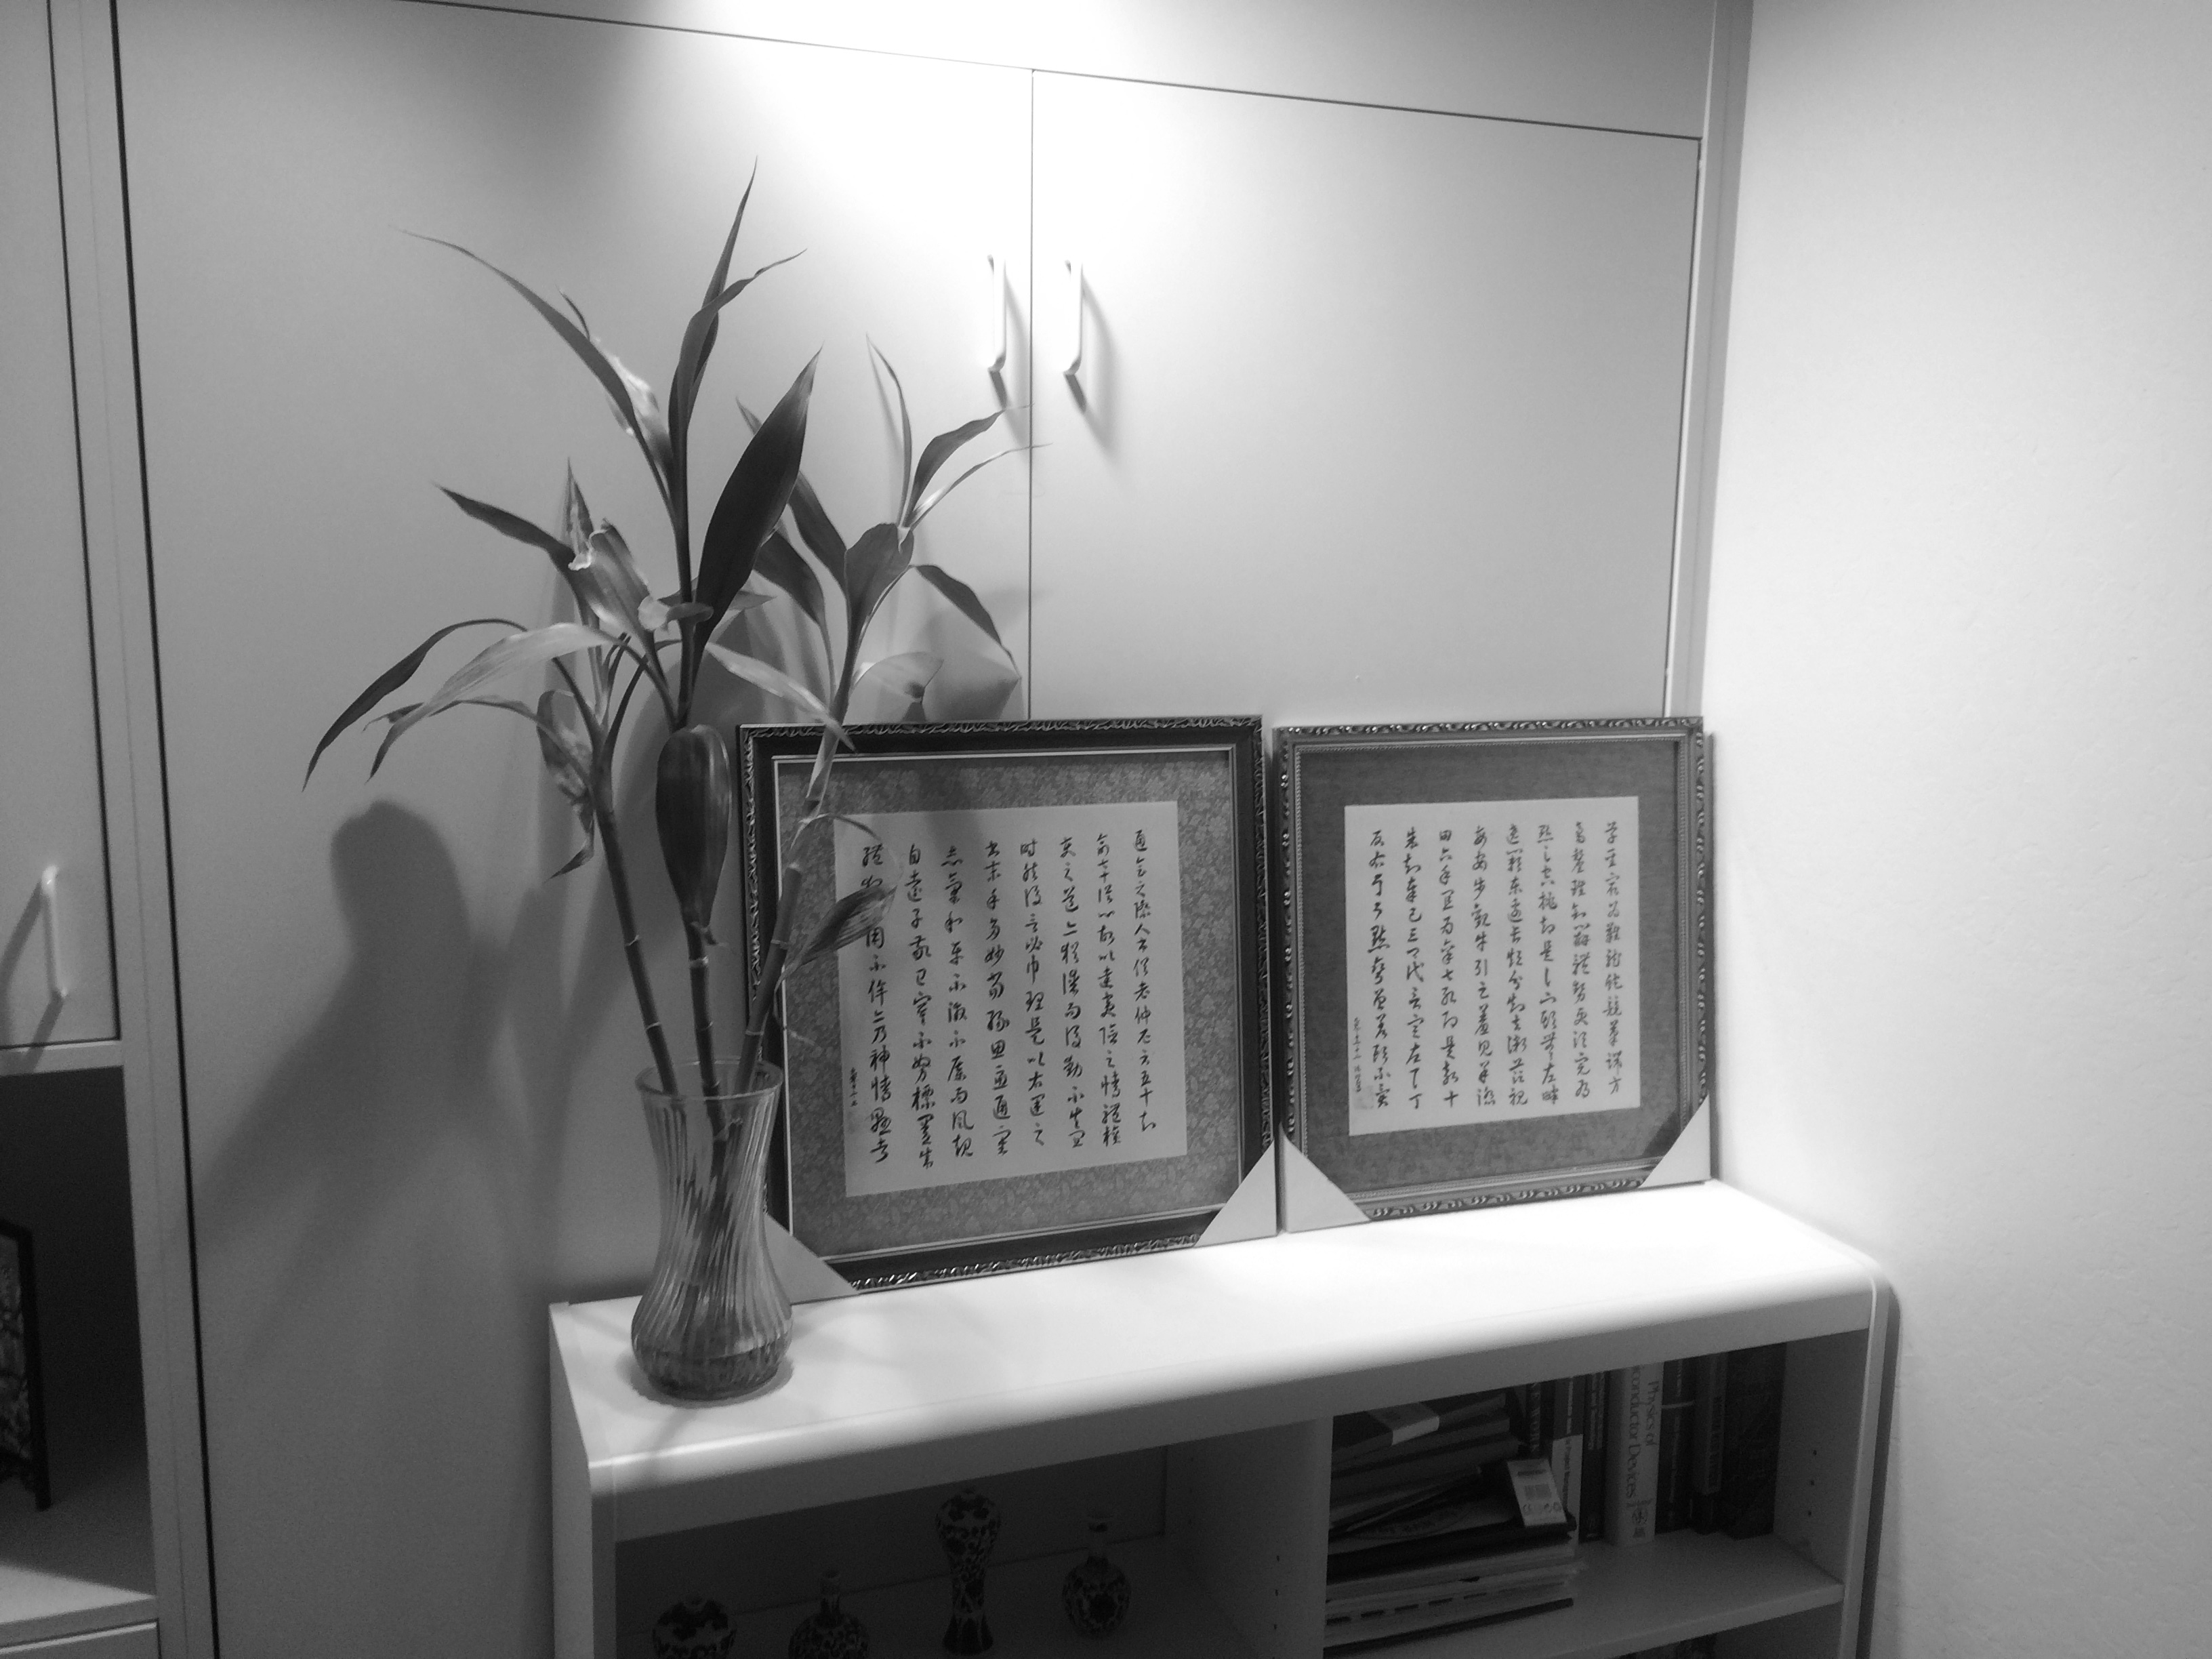
Blending the images took a lot of work, but ultimately I used alpha blending (From part 1) to blur the edges of the photos. For some of them you can see artifacts of edges (which I tried to crop out for aesthetics) but for the most part they look pretty good.
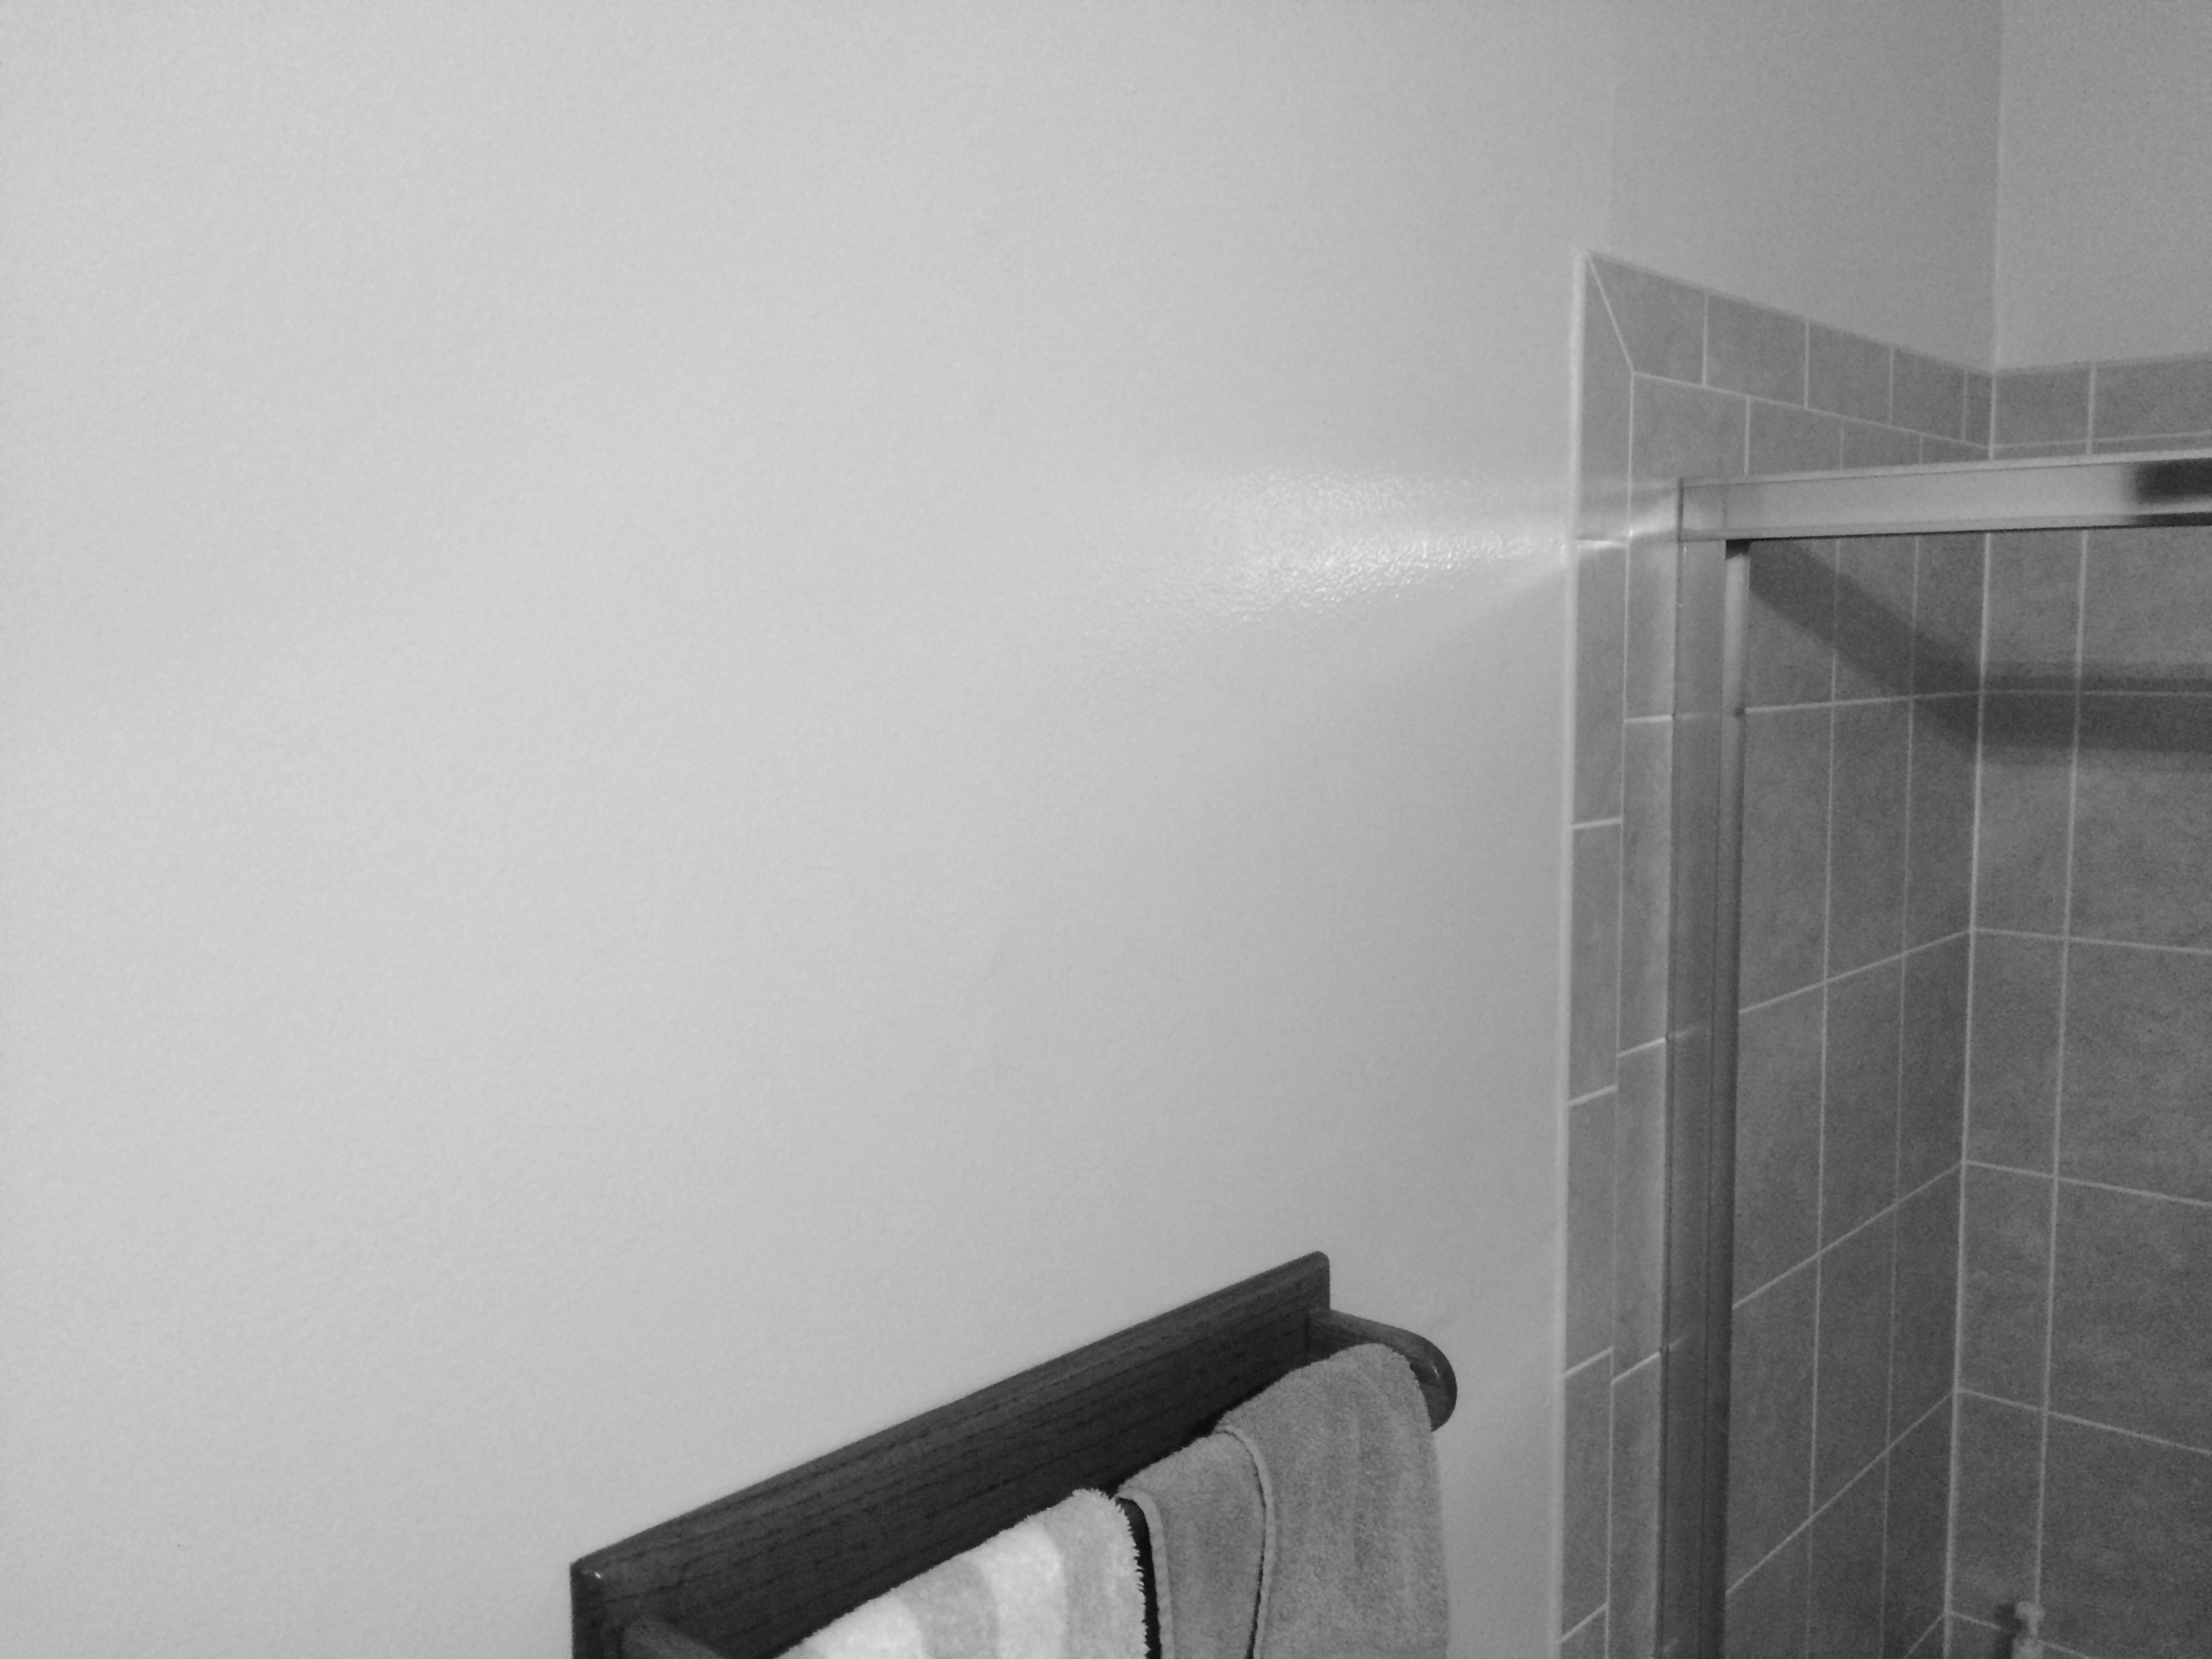 Bathroom-Left
|
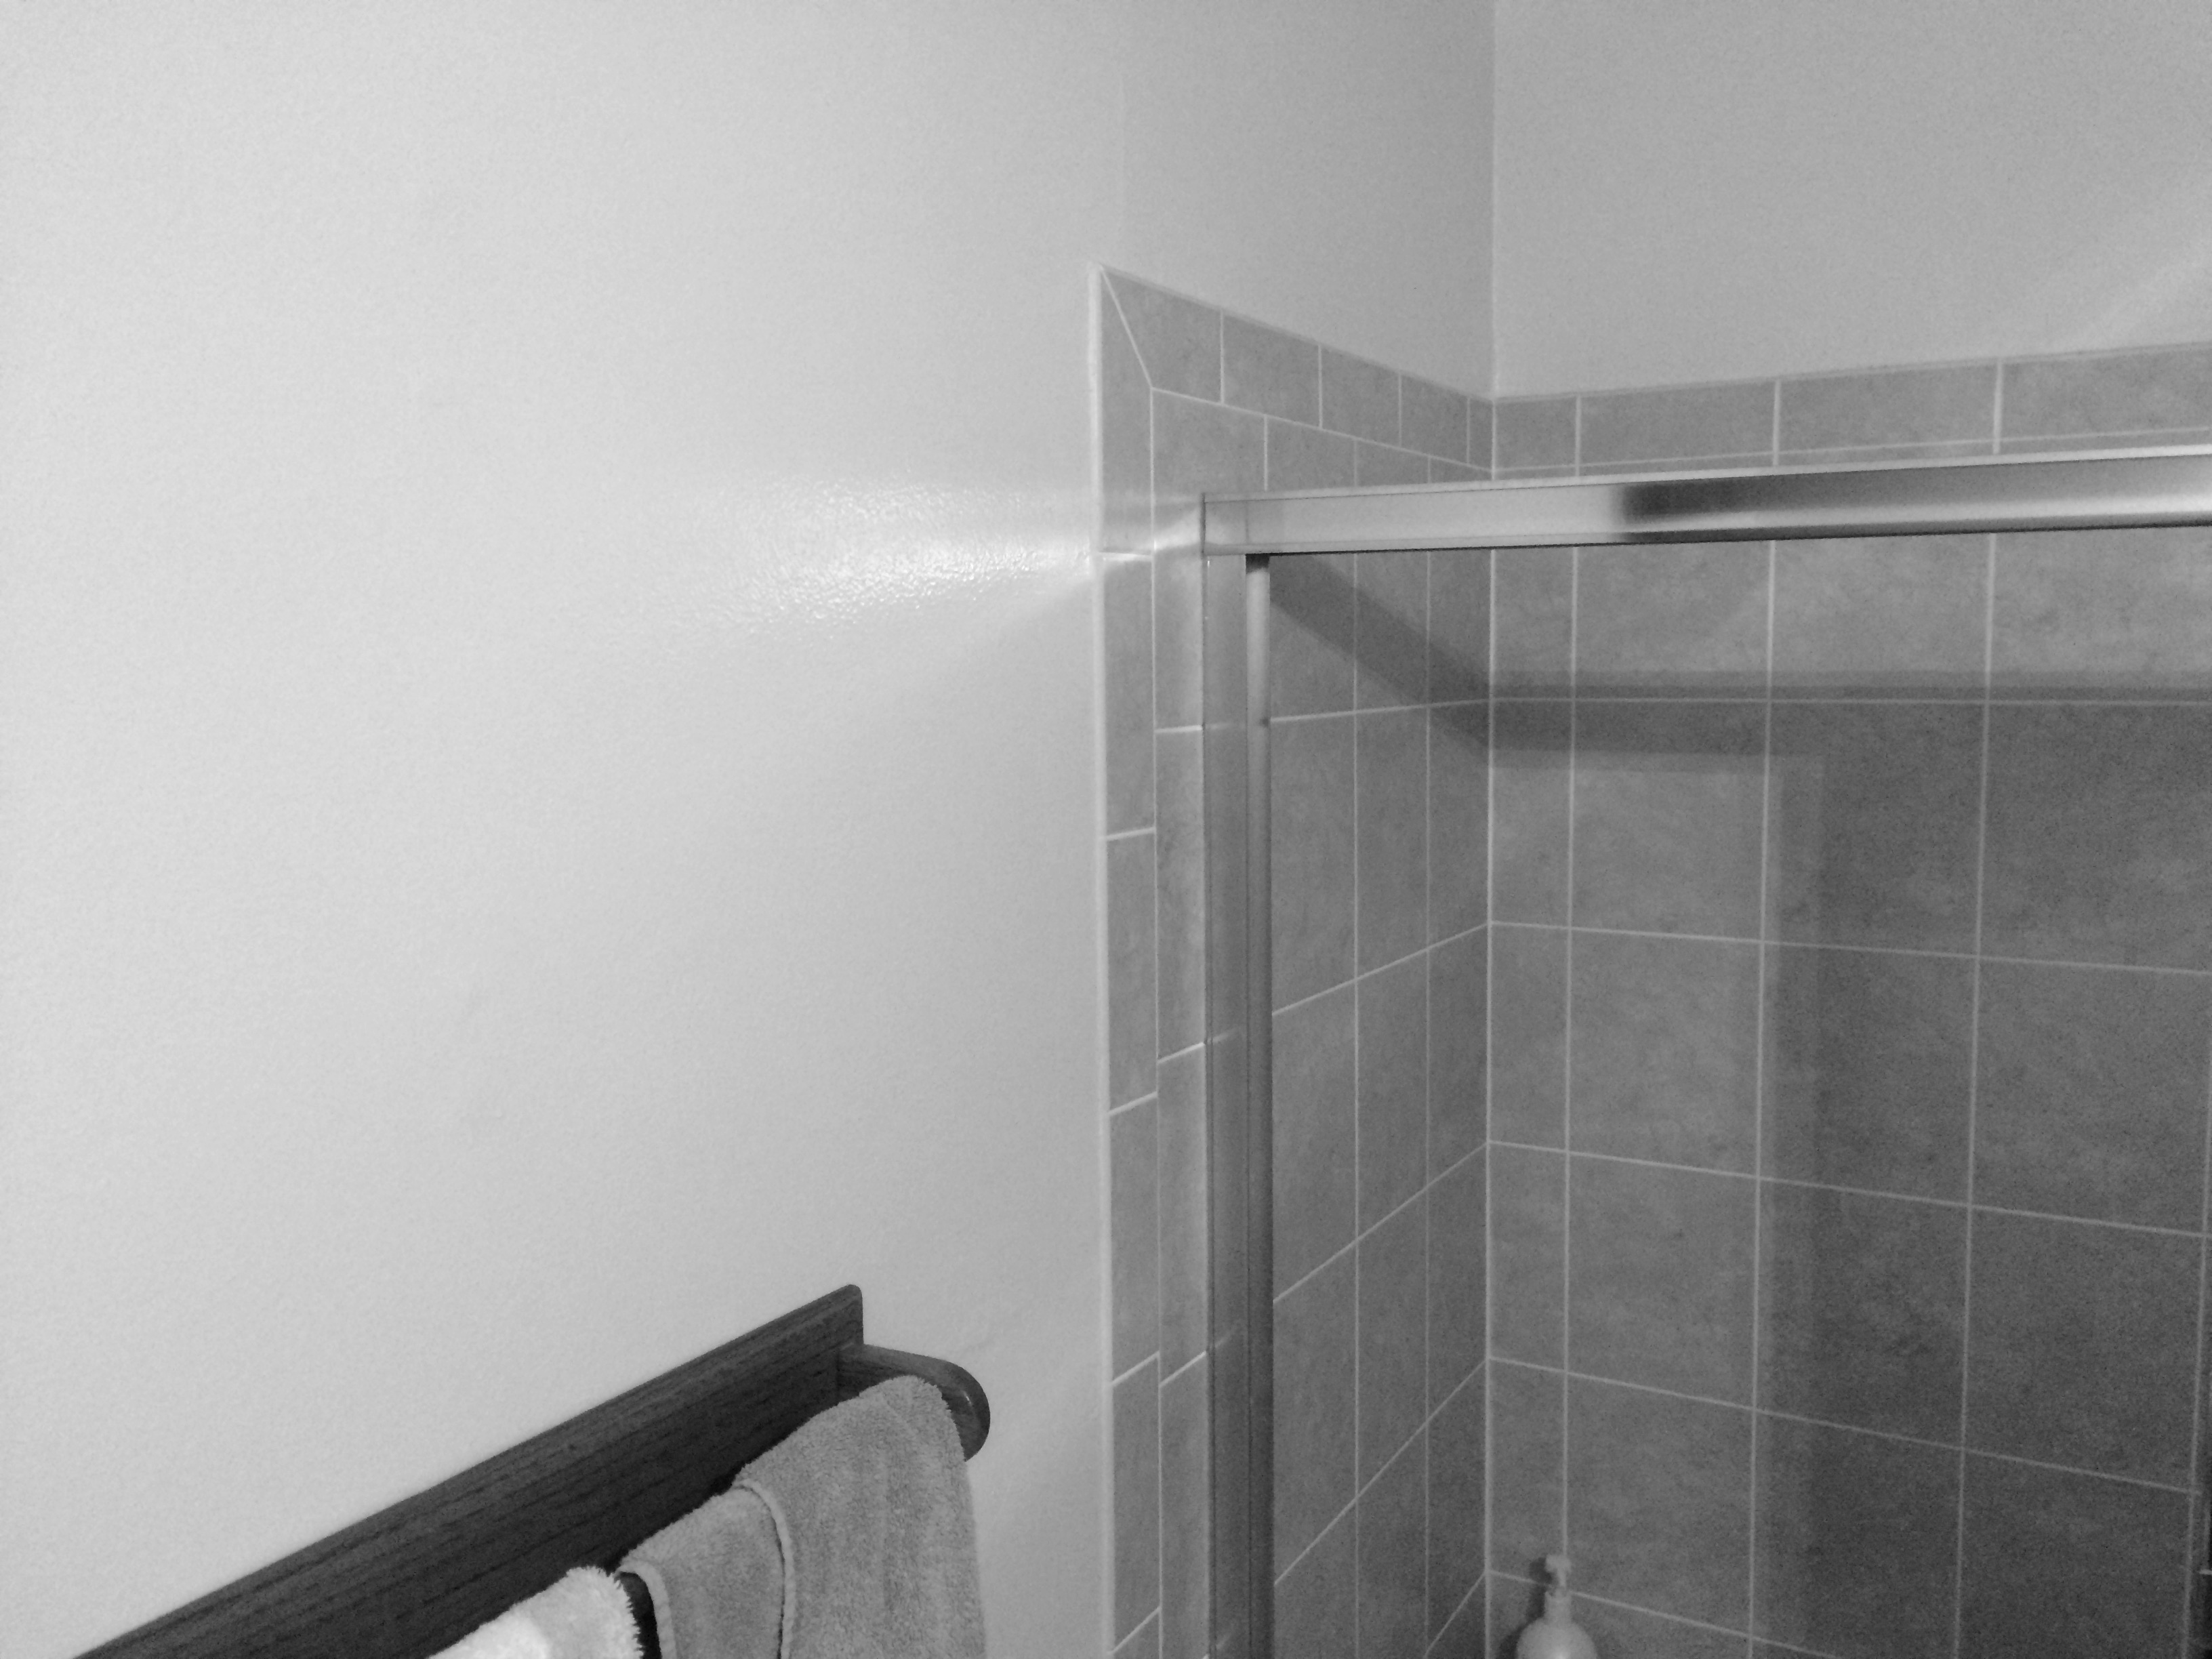 Bathroom-Right
|
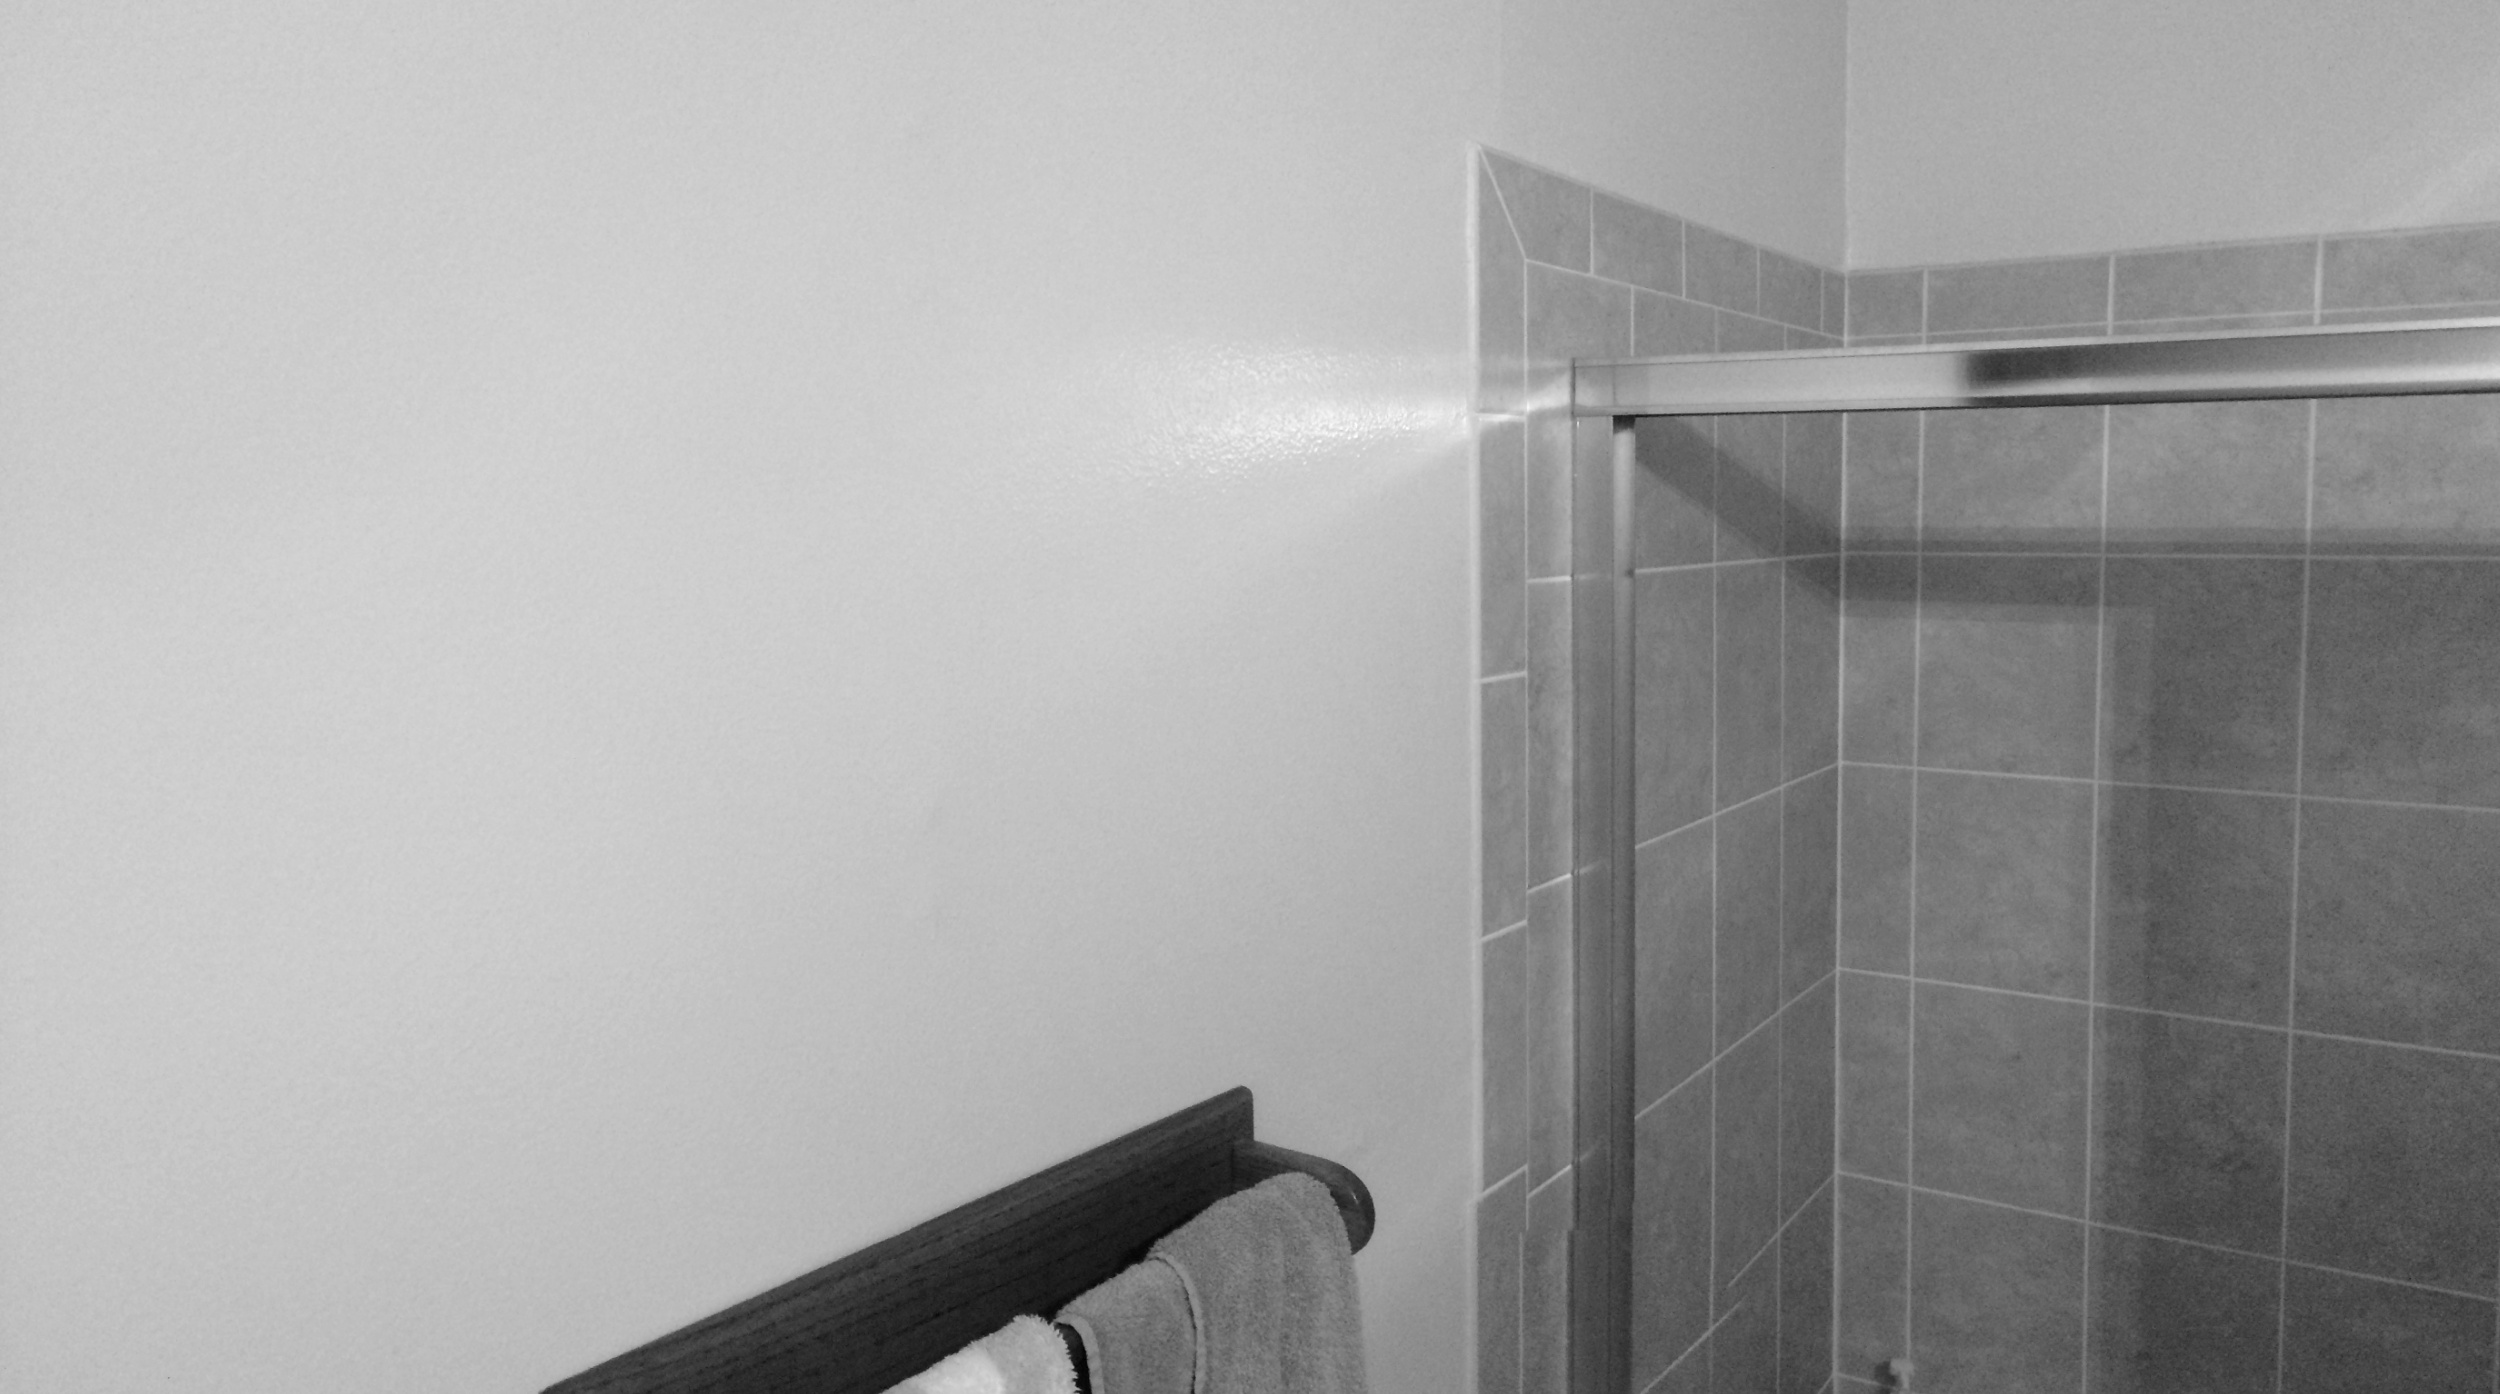 Bathroom-Combined
|
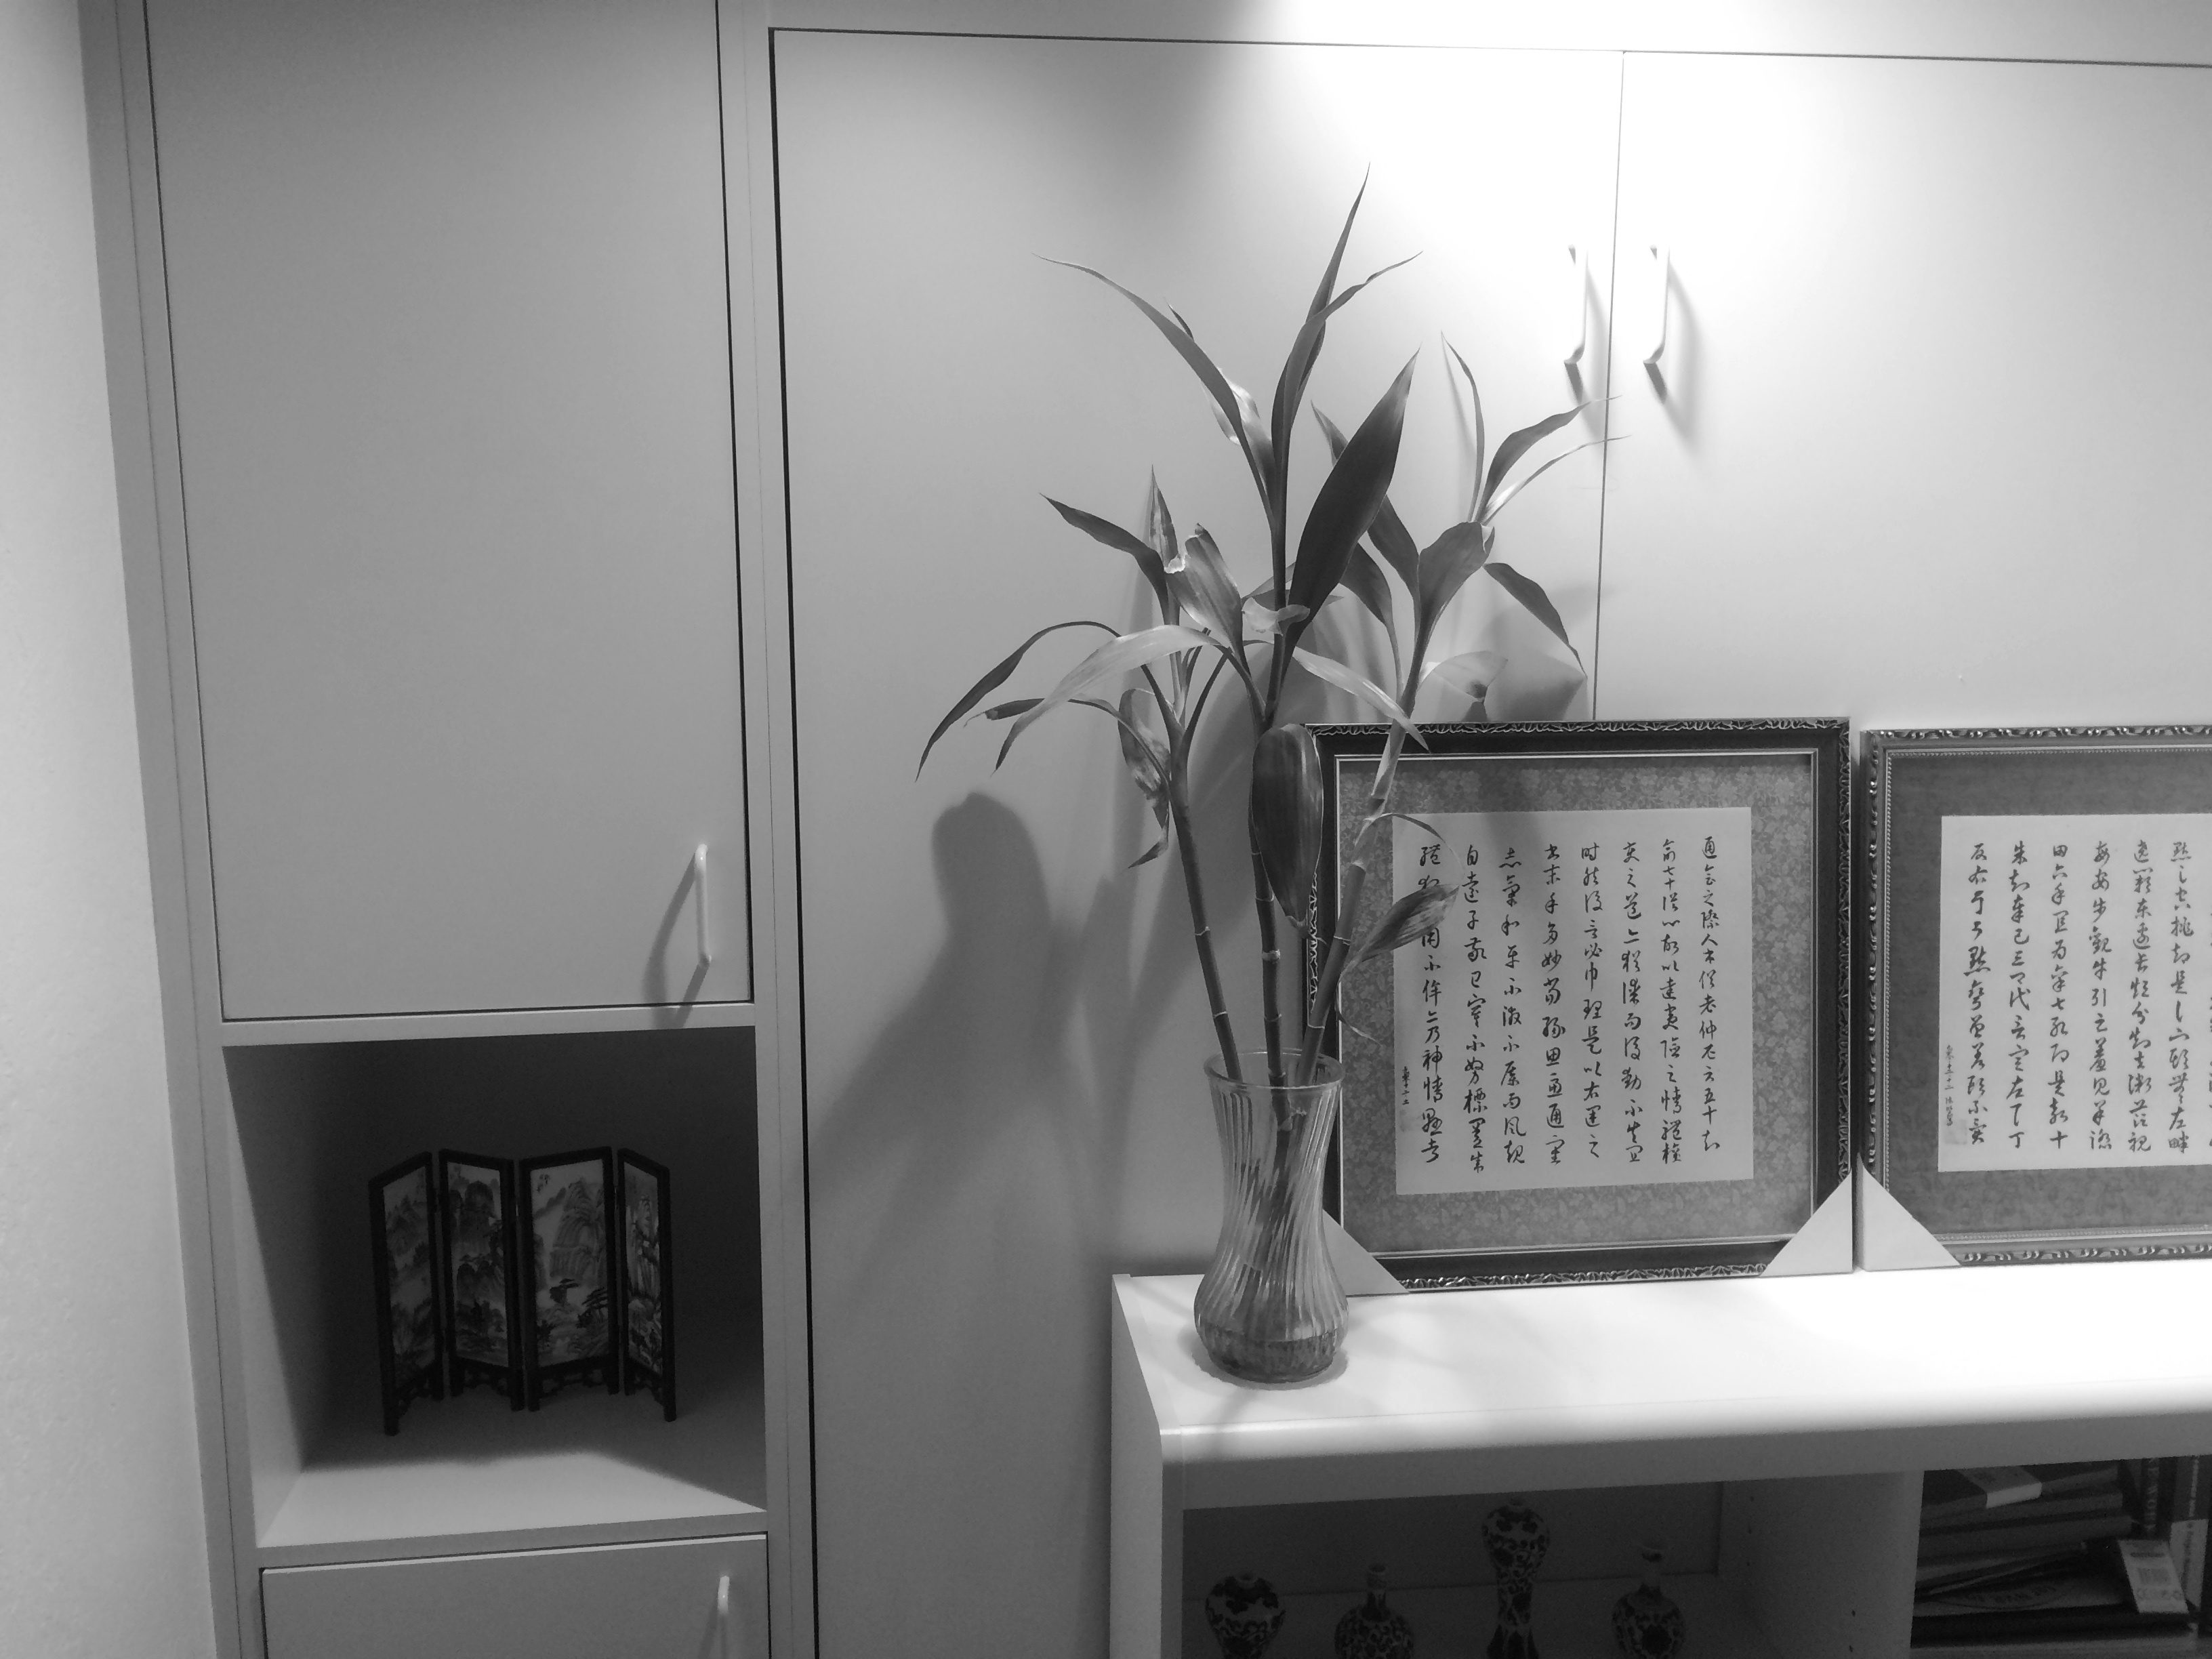 Bamboos-Left
|
 Bamboos-Right
|
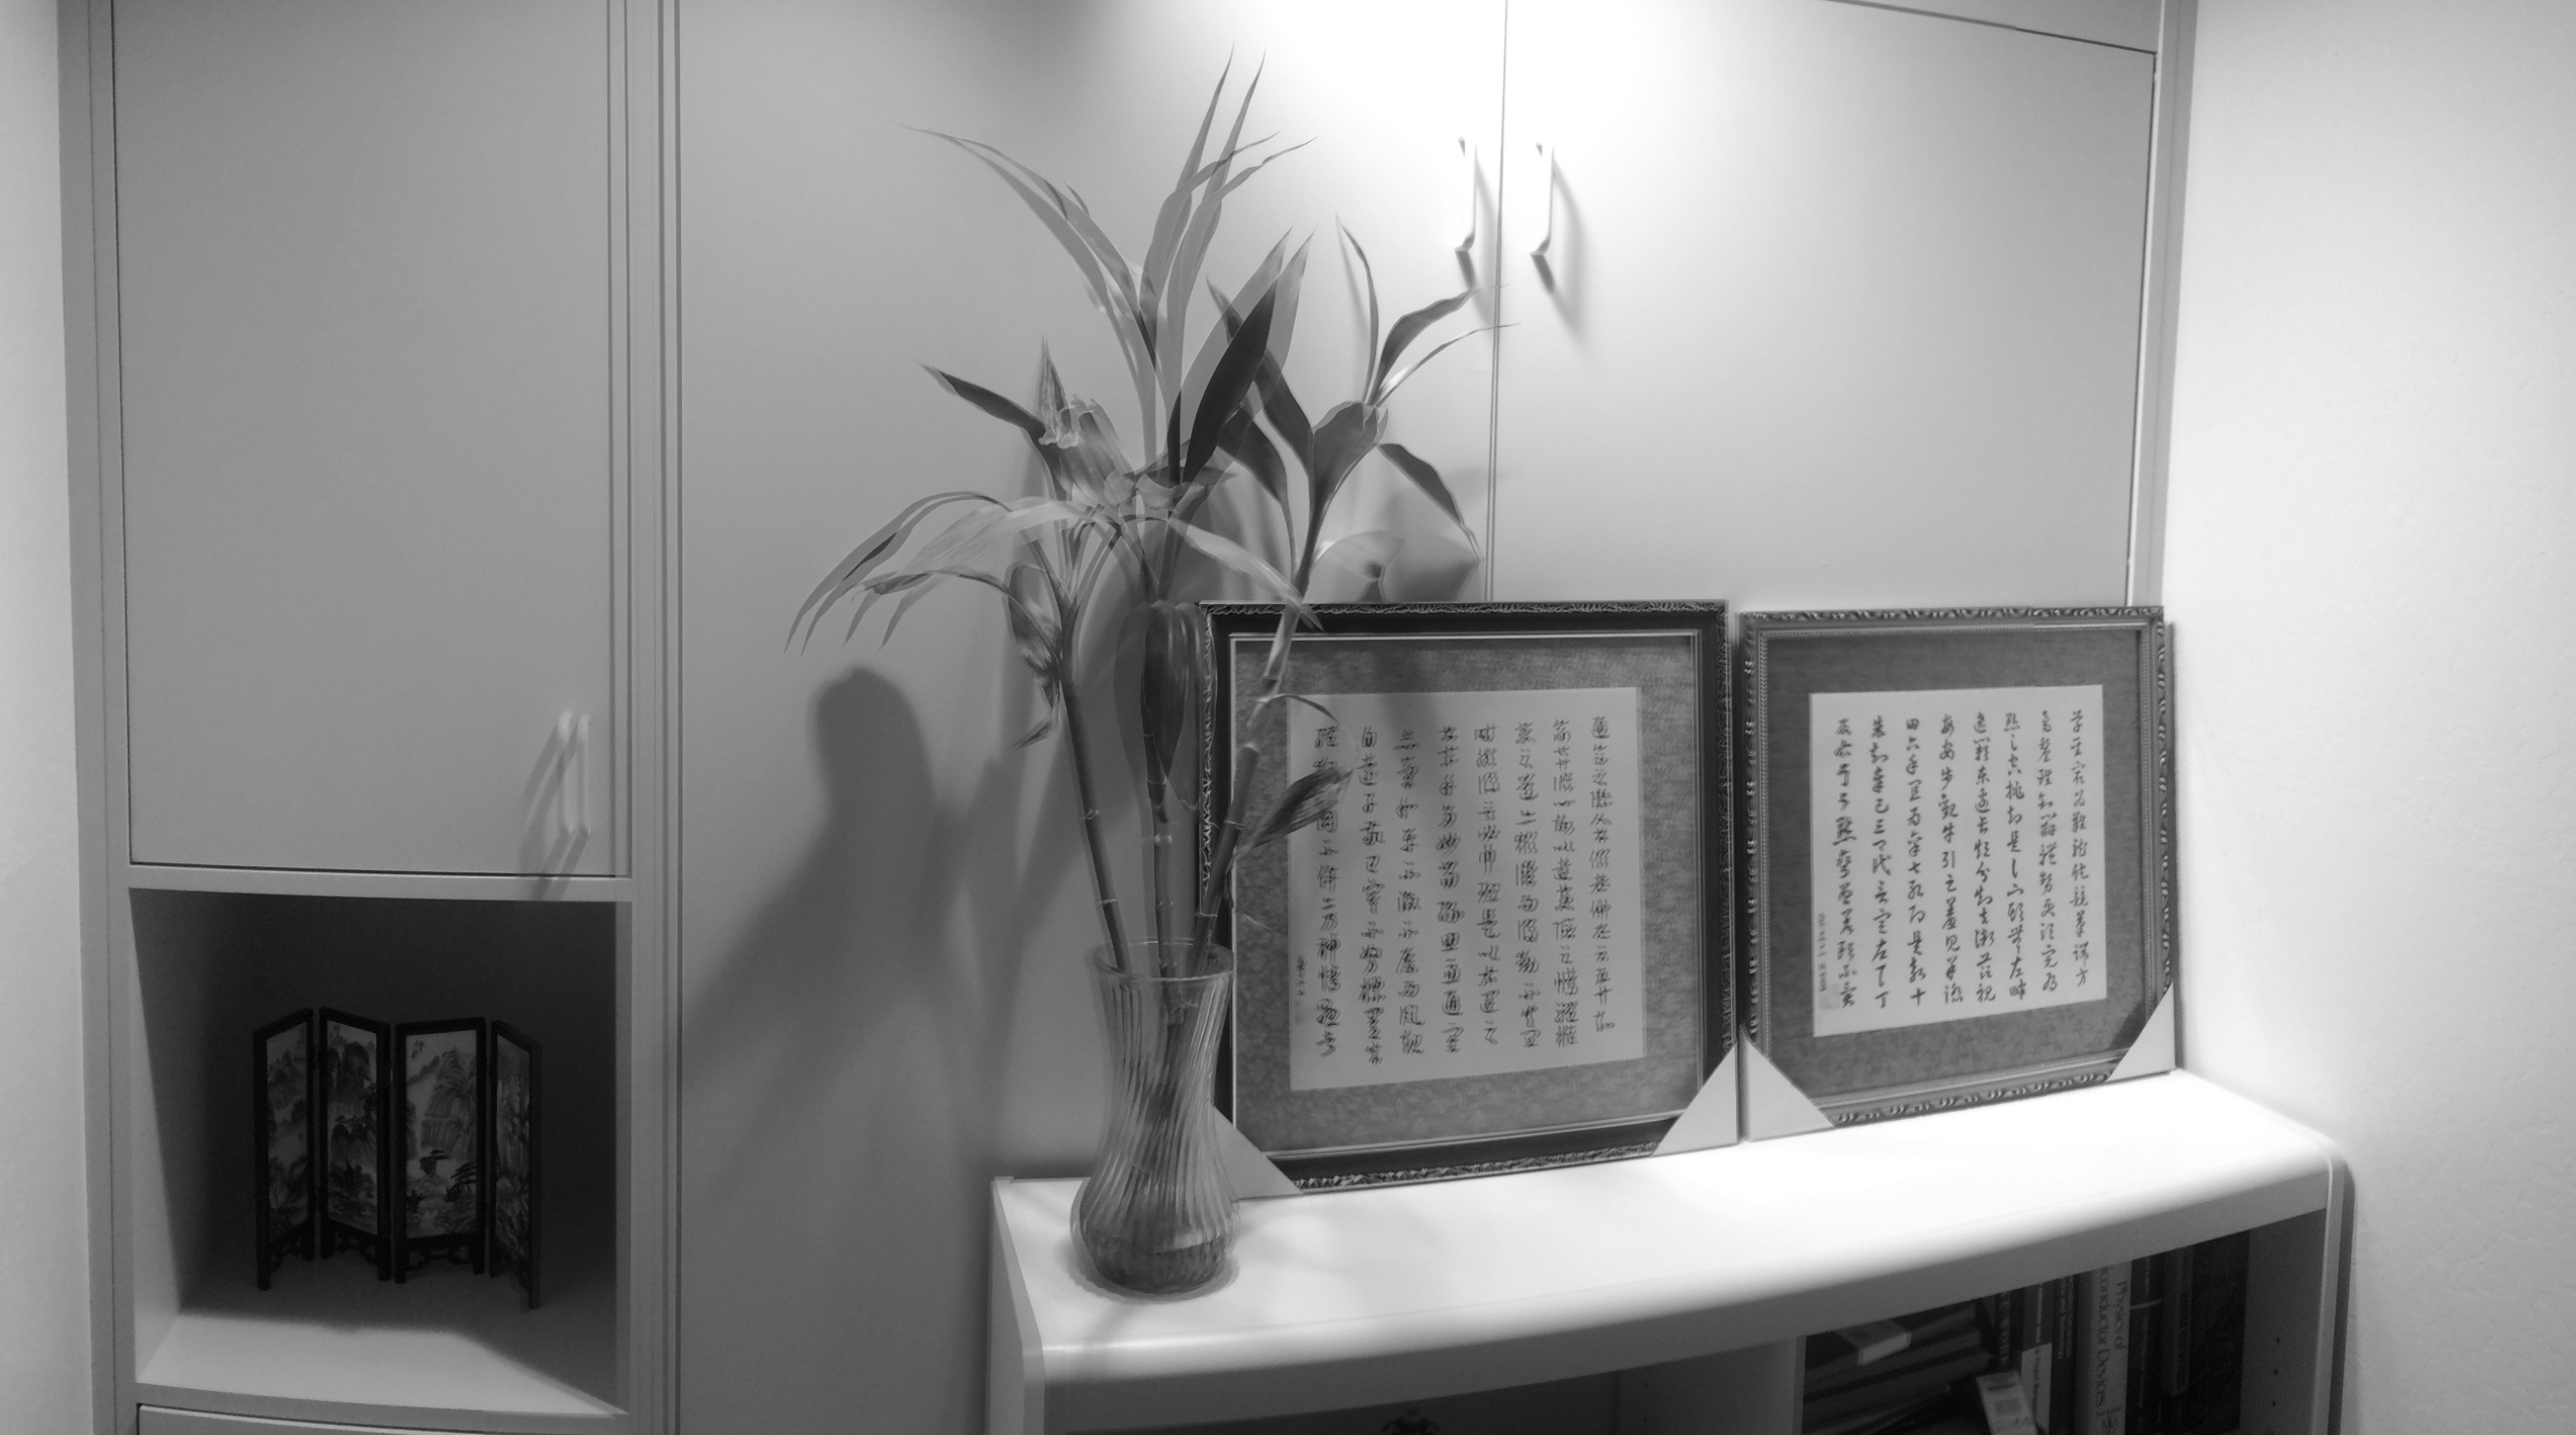 Bamboos-Combined
|
Conclusion
This project overall is pretty interesting. I think it was challenge because I had to interpret an academic paper, but with the help of Piazza and Google I was able to do it! It was satisfying being able to follow along with the results.